Sew an Easy Beginner’s Baby Quilt
This post may contain affiliate links · This blog generates income via ads
Quilts are so beautiful. I’ve always admired people that can make gorgeous quilts with intricate piecing and meticulous machine-work.
For my handmade Christmas this year, I decided to make a quilt for my one year old daughter. I’m a super-newbie quilter, so I thought it would be wise to start with something very simple and beginner-ish for my first “real” quilt. I found an absolutely adorable fabric panel that I instantly fell in love with and new it would be the perfect thing to make my beginner’s baby quilt with. The colours are some of my favourites (turquoise, yellow, orange, green and pink) and they’re just the scheme I’m dreaming of using when our new house is built and my littlest has her very own room (we’re both really excited about the prospect, I’m sure)!
Here’s what I did and what you can do too if you’re just starting the journey into Quilting World like I am. I found this quilt mostly quite easy (with only a little seam ripping – I’ll explain) and the end product is beautiful. I hope my Baby A loves her Christmas gift!
Materials:
- baby quilt sized fabric panel (I used Woodland Trails Panel Blue from Fabric.com
)
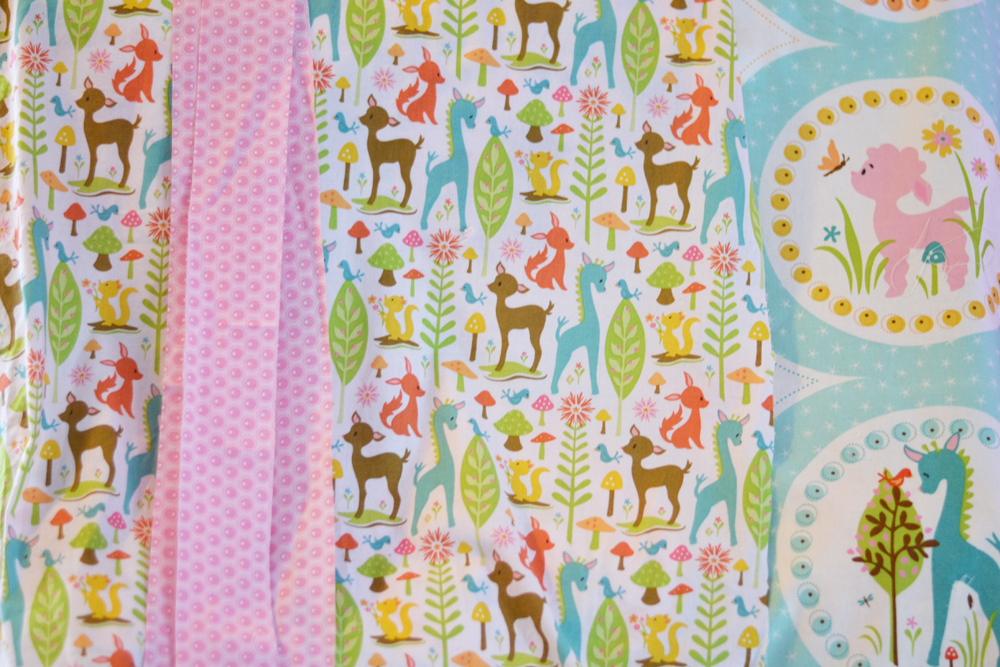
- 1 1/2 yards of a coordinating fabric for the reverse side (I used Woodland Trails Deer Pink from Fabric.com)
- 1/2 yard coordinating fabric for quilt binding (I used Woodland Trails Dots Pink from Fabric.com)
- baby quilt sized piece of cotton/polyester quilt batting
- fabric adhesive spray
- pins
Directions:
Wash & dry all of your fabrics before beginning. Cut a piece of the reverse fabric to match the size of the front panel. Cut your binding fabric into 2 1/4″ wide strips that are as long as the fabric is wide (44″). You’ll need 3 of these strips if using the same panel I used. Otherwise, measure the perimeter of your fabric panel to see how many strips you need for the binding.
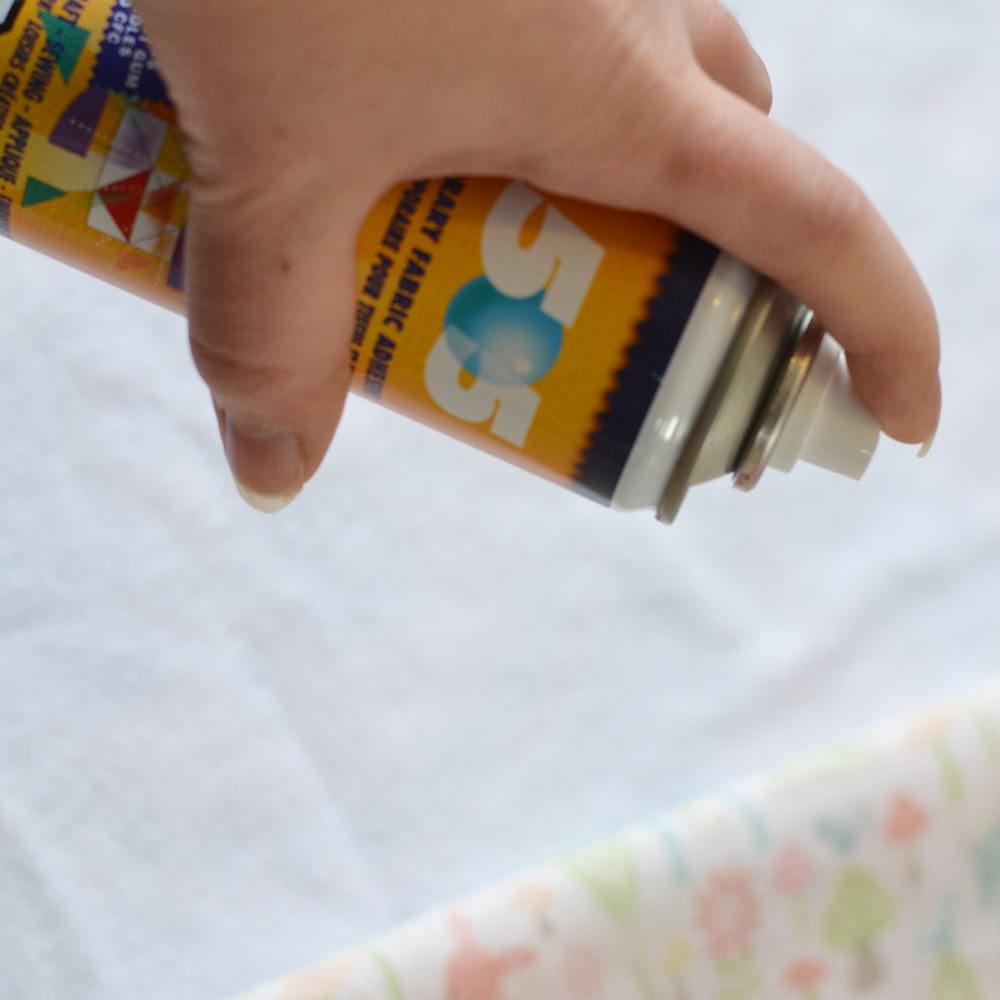
Someone on my Facebook page suggested that I use spray adhesive instead of pins to secure my quilt layers together and I thought that was a fabulous idea. Here’s how I did it…
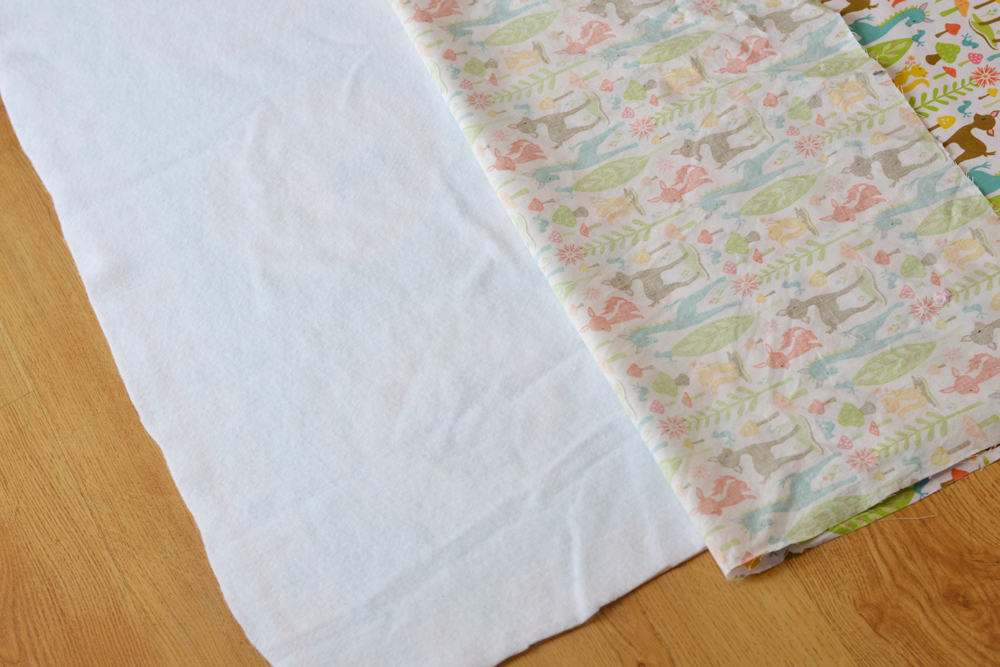
I started with the reverse side. I laid my piece of quilt batting on the floor, and then laid my reverse piece of fabric over it (right side up) and smoothed it out. I folded the bottom half up (as shown in the picture above) and sprayed the fabric adhesive spray as per it’s directions on to the quilt batting. Then, I unfolded the half of the reverse fabric and smoothed it back over the batting, patting it gently down. I repeated this process with the other half.
When the adhesive is dry, flip the quilt over and repeat this method with the front panel side (spraying the adhesive onto the batting layer). When the glue is dry you’re ready to start quilting!
The awesome thing about making a quilt with a fabric panel is that you don’t have to piece anything together – the work is done for you! Simply stitch through all of the layers where you think makes the most sense. Another bonus about this quilt? A baby size is a great size to start with on a standard machine – less fabric bulk to move around.
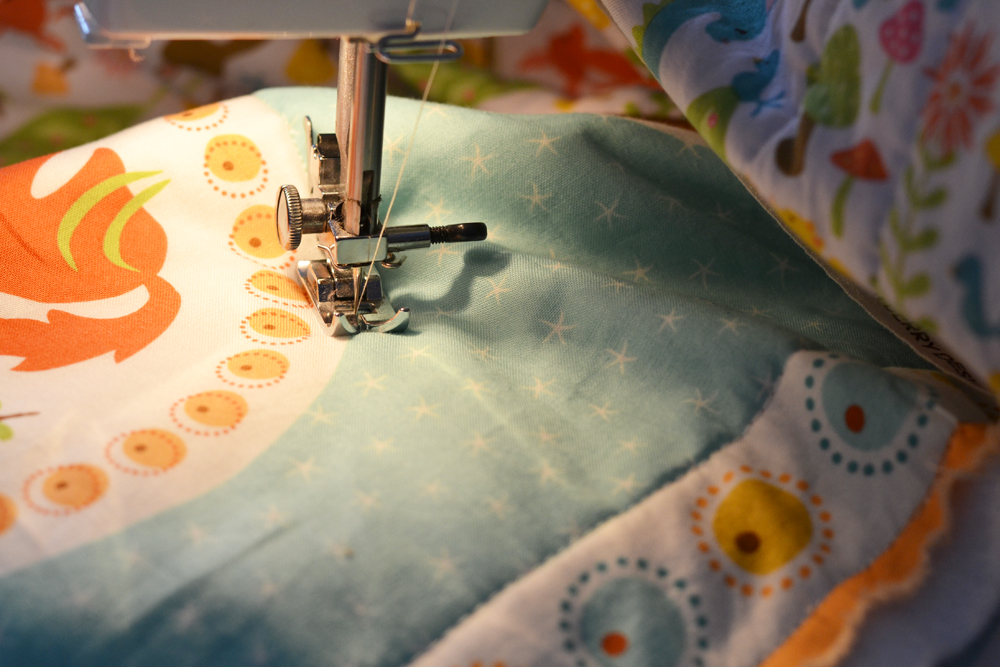
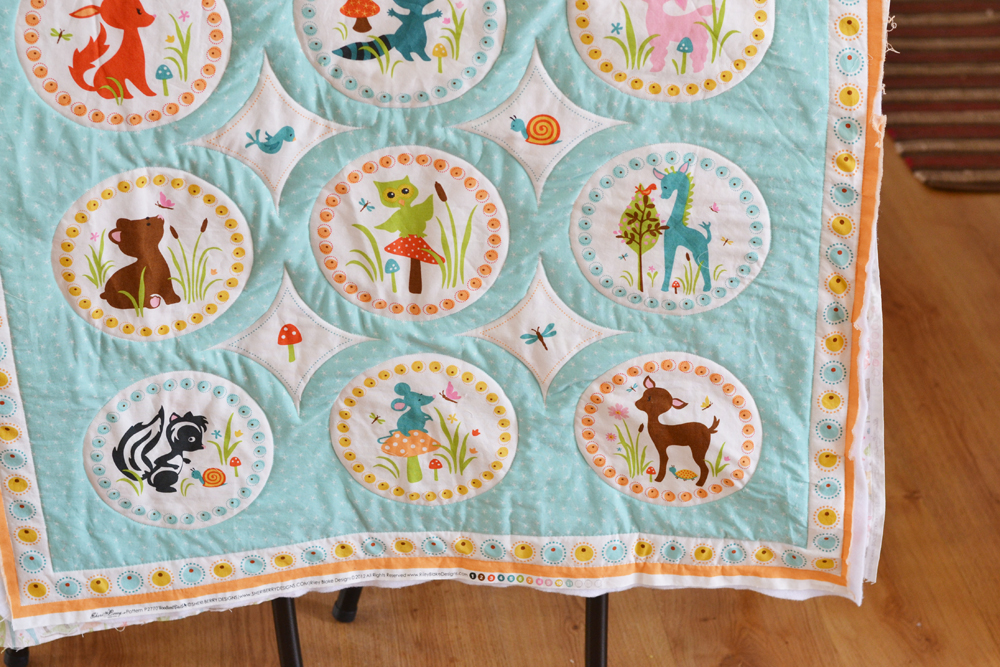
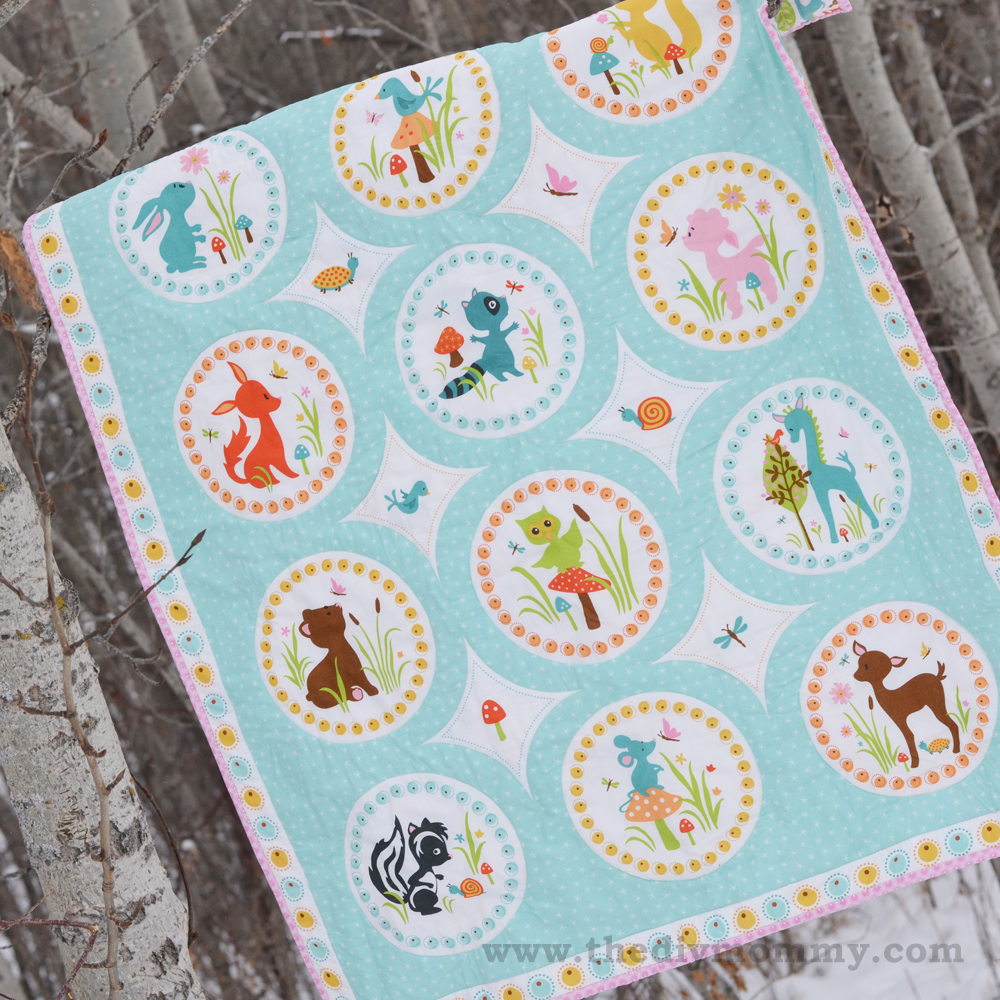
With this panel, I stitched around the large circles and the middle diamond shapes, and then on both sides of the outer border.
I found it helped to go slowly and keep my stitches on the smaller side. I held the fabric taught with my hands, but didn’t pull it too hard so that it wouldn’t stretch.
The hardest part for me was quilting the vertical sides. By the time I’d get 2/3 of the way down, my fabric had pulled a little and the square was skewed (fabric stretches more along this grain line). I ended up having to seam rip the two bottom sides and stitch them both again, going very slowly and carefully. I even had to make very miniscule tucks to make the piece square again because the fabric had stretched. I don’t notice them now that the quilt is done, but if anyone has any tips on how to prevent this happening I’d love to hear them in the comments! My only thought is that next time I’ll make sure there is more glue on the sides and I stitch at a slower pace.
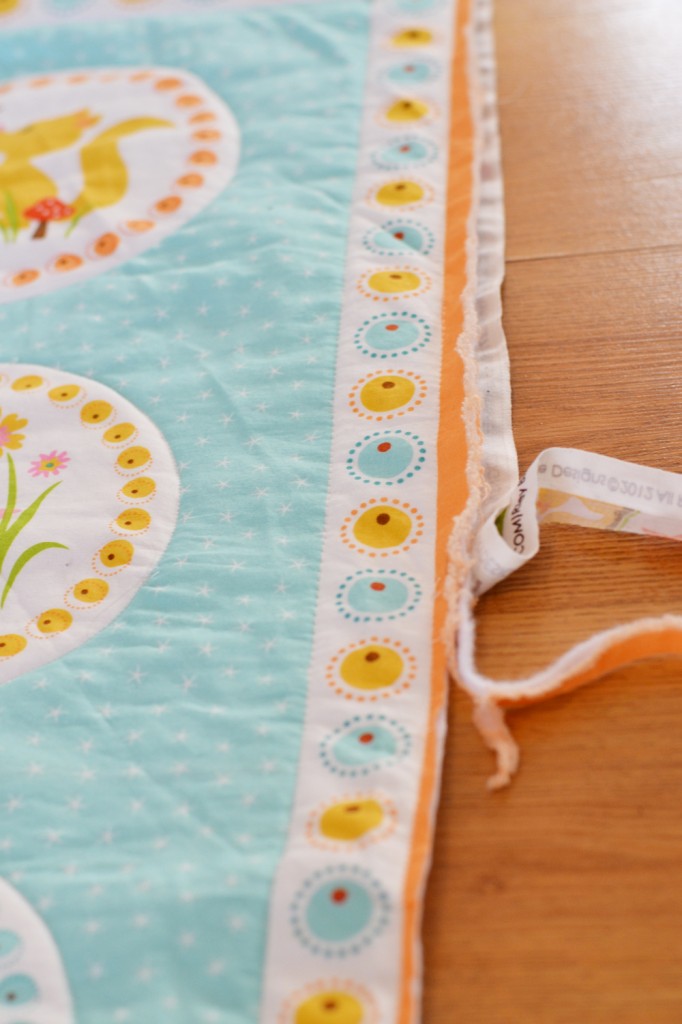
After you’re done quilting to your liking, Trim the sides of the quilt. I left a scant 1/8″ – 1/4″ of the orange border on this panel because I knew I wanted my pink binding to cover it completely.
To make the binding, sew all of the binding strips together (wrong sides together with a 1/4″ seam). Fold the binding in half lengthwise and press.
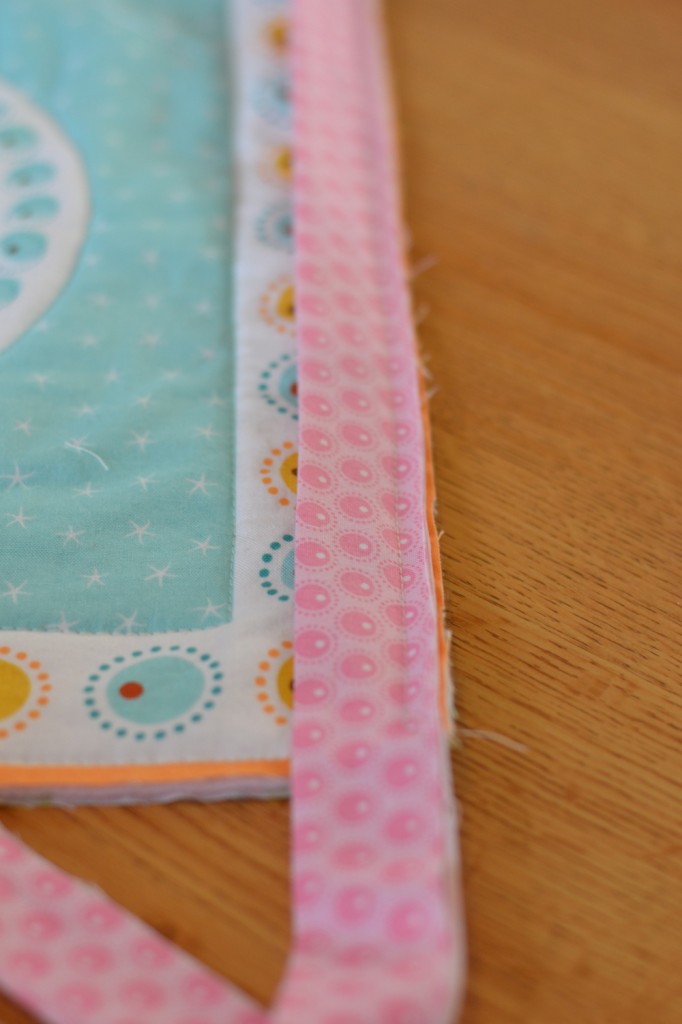
Start sewing the binding to the quilt in the middle of a side. Line up the raw edge of the binding with the raw edge of the quilt, leave a couple of inches (you’ll use this to join the binding together at the end) and stitch using a 1/4″ seam allowance.
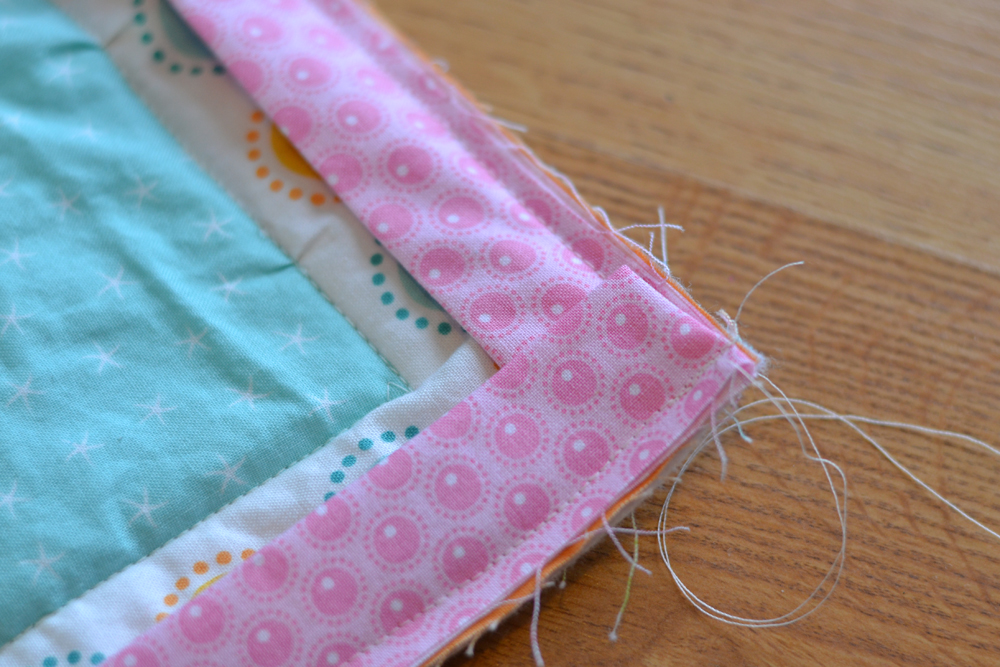
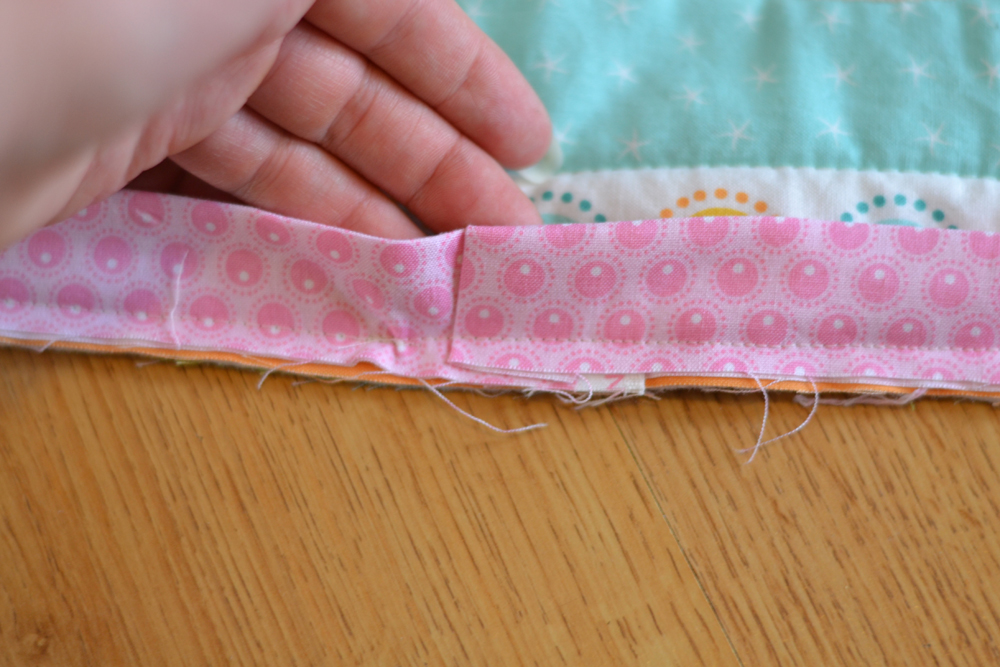
When you approach a corner, sew until you are 1/4″ from the edge. Backstitch and remove the needle. Fold the binding as shown above (there will be a triangle of folded binding underneath this fold) and then begin stitching again on the new side (as shown above). iCandy Handmade explains how to bind a quilt in wonderful detail if you need more help.
When you get to the end, stop sewing about an inch from where you began. Trim the binding so that it overlaps a couple of inches. Fold on end inward about 1/2″, and tuck the other end inside. Pin and sew to the quilt.
Now you’re almost done – there’s just some relaxing hand-stitching to go! This was honestly my favourite part because I could relax and watch TV at night while I stitched with my feet up. Ahhhh!
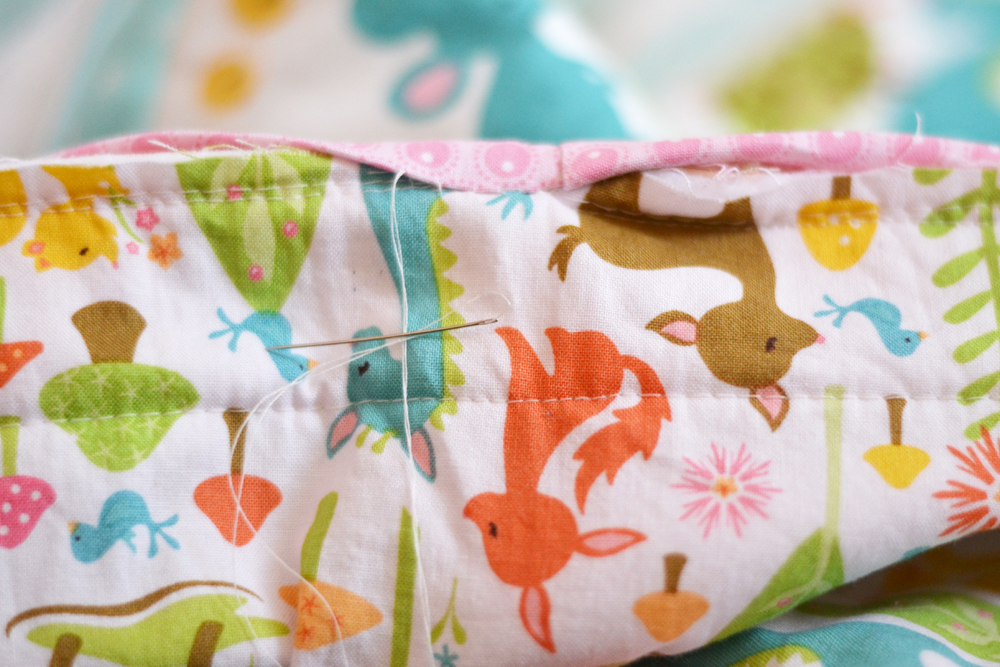
Turn the binding around the edge of the quilt to the back, and hand stitch it as above (it should cover the machine stitches you’ve made). Miter the corners as you go to make them nice and crisp (I hand stitched the mitered corners shut and also stitched the join of the binding shut).
After you’re done, you can wash the entire quilt as I did to give it that gorgeous handmade, puckery, quilty look.
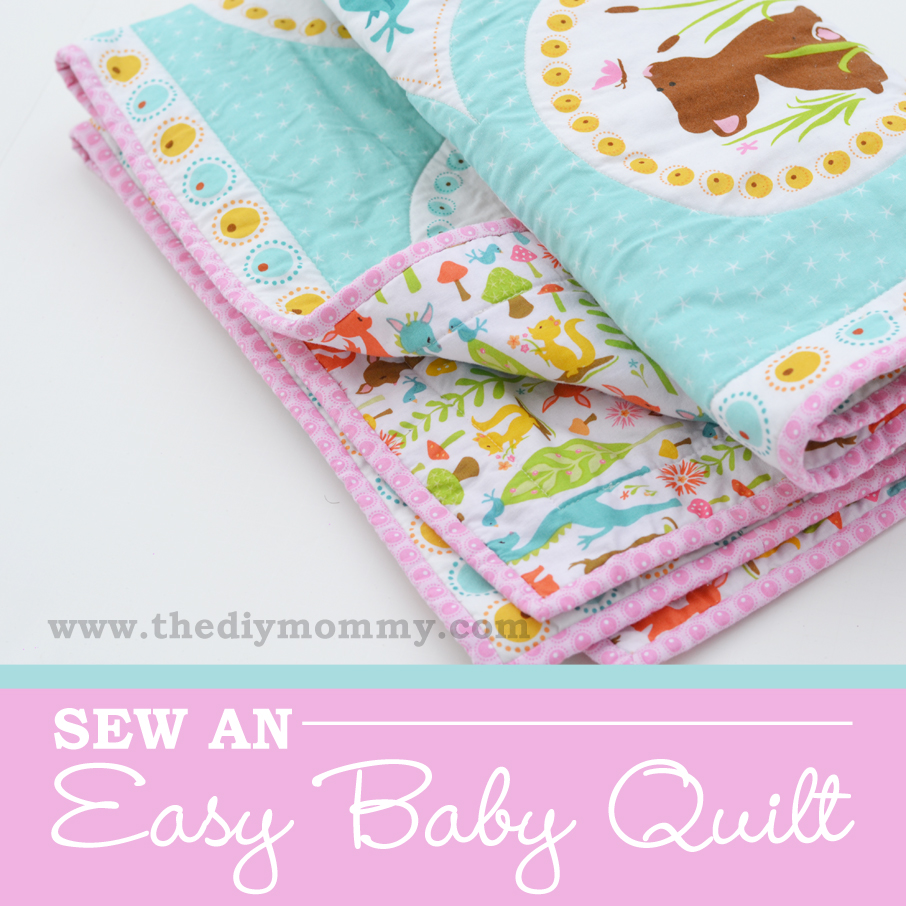
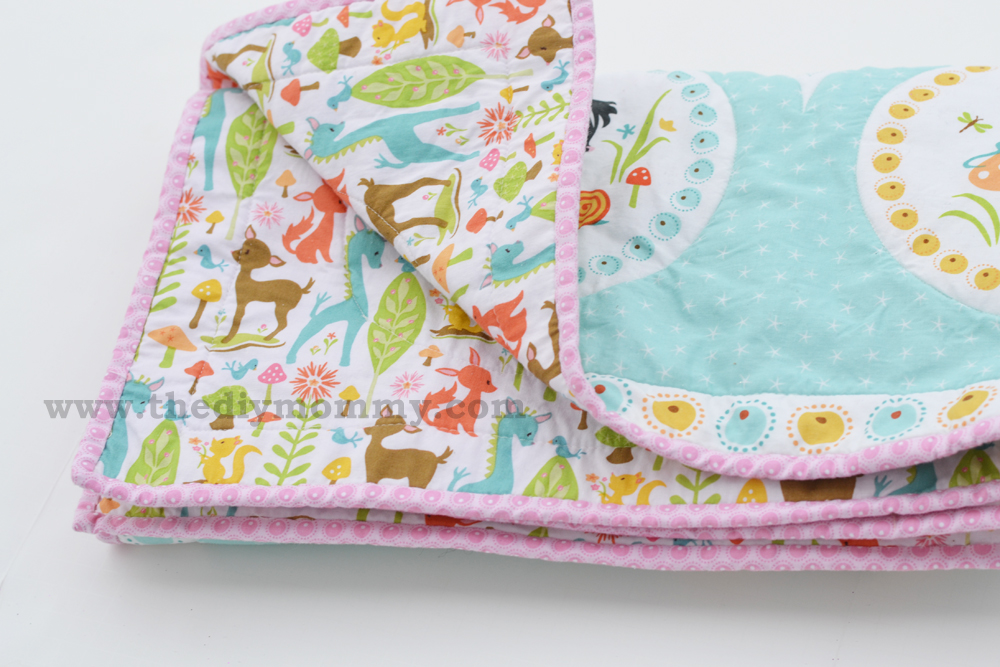
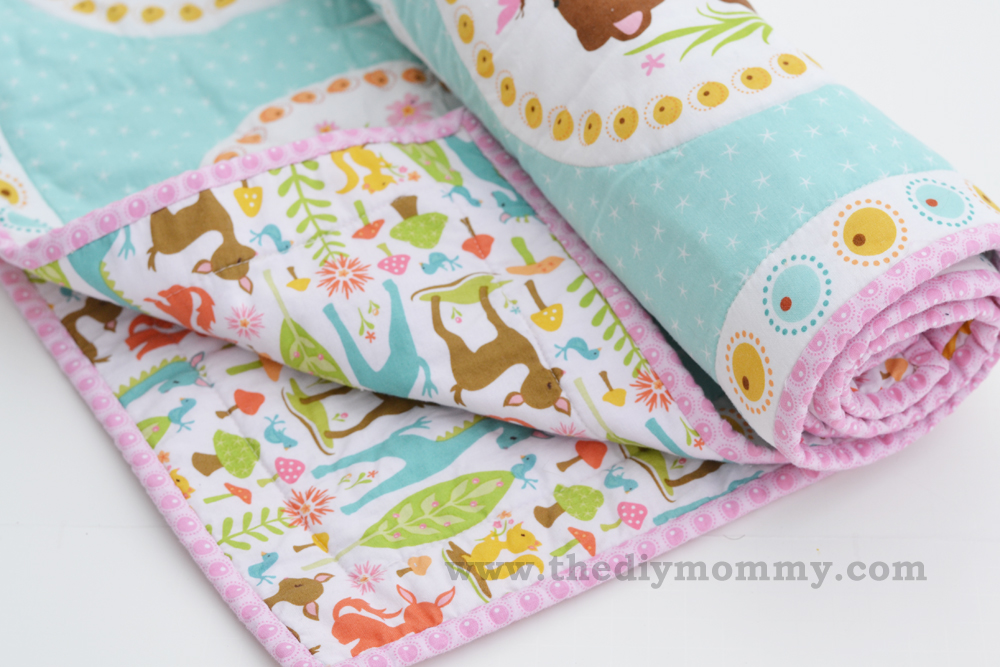
Isn’t it so very sweet? I just love the finished quilt!
It’s a simple little quilt, but it’s pretty and fresh and it only took me a day to sew.
I’m going to wrap it up and put it under our Christmas tree for my precious Baby A. She can play on it and cuddle with it as we wait for her new nursery to be finished (along with our new home)! I think it will be a great starting piece to work off of for her nursery decor.
Do you have any excellent quilting tips? I’d love to hear your thoughts in the comments below!
(Disclosure: This post contains affiliate links. If you decide to purchase products via these links, a small percentage of the sale will be given to me at no extra cost to you. It’s a win-win – thanks for helping support thediymommy.wpsc.dev!)
 This post is part of The DIY Mommy’s “A Handmade Christmas” series. Would you like to commit to giving handmade gifts (made by you or someone else) for Christmas this year? Join me by entering here!


When machine quilting it helps to use a walking foot to prevent the layers from shifting and stretching independently of each other and causing the problem you had. The walking foot can be purchased for just about any machine and is about $20 at Joann’s. It has feed dogs on the top layer that feed the fabric through in tandem with the feed dogs on your machine. This keeps all the fabric layers moving together at the same rate. It makes your sewing a little bit louder, but it makes a huge difference in the final result. I have found the walking foot helpful with any project where you have thick fabric or several layers to sew through.
Thanks, Rebecca! I’ll definitely try to find a walking foot for my machine and use it next time I attempt a quilt. That makes so much sense!
so.. just to clarify… you sewed inside first then the top and bottom edge and the side edges last?
Thank you!!
I realize this is an old post but I wanted to share this. I learned via a Google search at some point to use Elmer’s washable glue for all my quilt basting. I found there are several experienced quilters out there that use washable Elmers for basting. I’ve used it to baste a queen size quilt and multiple smaller ones. I also love to use it for attaching my binding. It keeps everything in place and I don’t have any stretching or shifting. This has made quilting much more enjoyable for me. I dreaded basting with pins and the sprays are pricy and do have a limit as to how long they hold their adhesive quality( like days if I remember correctly). My life is busy and I need to be able to work on a quilt over many days ( or weeks). I did purchase some special tips for my Elmers glue bottles that have a smaller hole so I don’t use as much glue when binding ( not absolutely necessary but handy to have). When I’m done quilting the Elmers glue washes right out.
Thanks so much for sharing, Tina! I’ve never heard of using Elmer’s washable glue before – what a great trick. I’m going to try that next time!
I love your quilt. I’ve never quilted but I do sew so I think I can make this for my upcoming first grandson. I actually want to make it using the same fabrics that you did but can’t find them anywhere. Any ideas?
Just getting ready for the holiday gift rush, these are great thank you! Does anyone know of good places for sewing equipment, I found a new sewing kit at a1vacuumandsewing.net
Instead of using binding I use a larger pieces of material on the back of the quilt & fold it over on the sides, you could either machine sew it or hand sew it, it’s just easier and looks good.