Craftsman Style Made Simple: Your DIY Guide to Window Trim
This post may contain affiliate links · This blog generates income via ads
Are you interested in DIYing your own window trim? Trim installation doesn’t have to be that difficult, especially if you choose a simple and straightforward design. If a good straight line speaks to your sense of style, then this DIY is for you! Follow along as I install our simple, shaker-style craftsman window trim.
What is Craftsman style window trim?
Are you wondering just what IS craftsman style? Simplicity, horizontal lines and visibility of workmanship are the features of a craftsman-style home that I wanted to emphasize with this project. These features mean any DIYer (regardless of experience level) can successfully trim out their own windows using this style! There are no fancy cuts or elaborate hard-to-work-with moldings. Just square-edged pieces of trim that are easy to cut and install.
Because Our DIY House is a very square, simple foursquare craftsman home I wanted our DIY window trim inside to reflect that style. I knew before I started that these windows wouldn’t have a fancy window sill or ornate molding surrounding them. I just needed to find the right inspiration to figure out an exact style before I got started.
After virtually rummaging through craftsman-style window trim photos on Pinterest, I decided I wanted square casings (and baseboards) and I wanted to keep the profile simple with just a bit of detail at the top and bottom. It had to be something I could DIY, but still add some character to our new home. I was trying to avoid the builder grade window look.
What to use for Craftsman style trim?

Craftsman-style window trim can be made from almost any kind of board you would find at your local hardware store (this is part of the beauty of this simple style). For my purposes, I used MDF boards. I was looking specifically for MDF trim because it was cost-effective and I was painting everything semi-gloss white anyhow. If you want to stain your casings, MDF will not work for you and wood is the way to go.
My mom enjoys doing finishing carpentry, and she’s a huge Windsor Plywood fan. She assured me our local West Edmonton store would have MDF casing & baseboards to create the profile that I was looking for to make our DIY simple craftsman / shaker trim, and she was right!
I was so excited when Windsor Plywood West Edmonton wanted to partner with me on our trim project! Josh, the manager, knew exactly the right shaker-style casings and baseboards I was looking for after I emailed him a description and an inspiration photo. He also helped me decide what thicknesses to use for the top, bottom, and side pieces of trim. It is worth talking to an expert before you begin a project of this size, trust me!

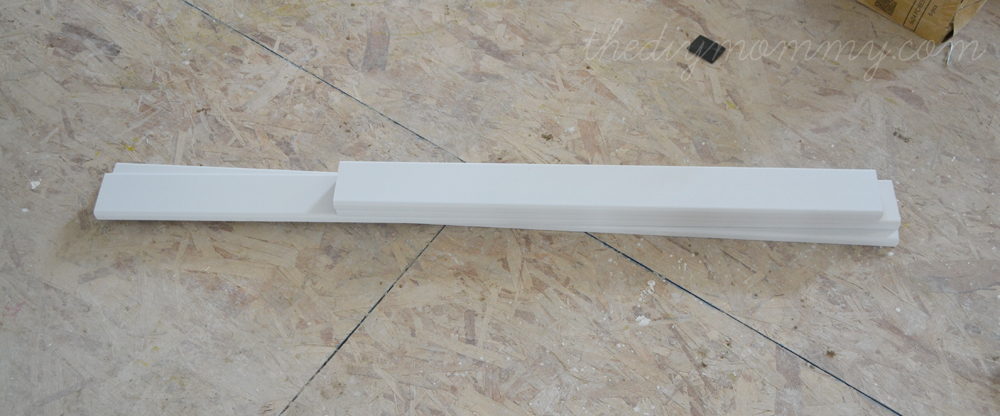
This trim is super-duper simple and it’s a great price (plus, Windsor Plywood always has awesome sales!). It’s square and flat with a very slightly rounded edge.
JUMP TO THE PRINTABLE INSTRUCTIONS
How to Install DIY Craftsman Window Trim
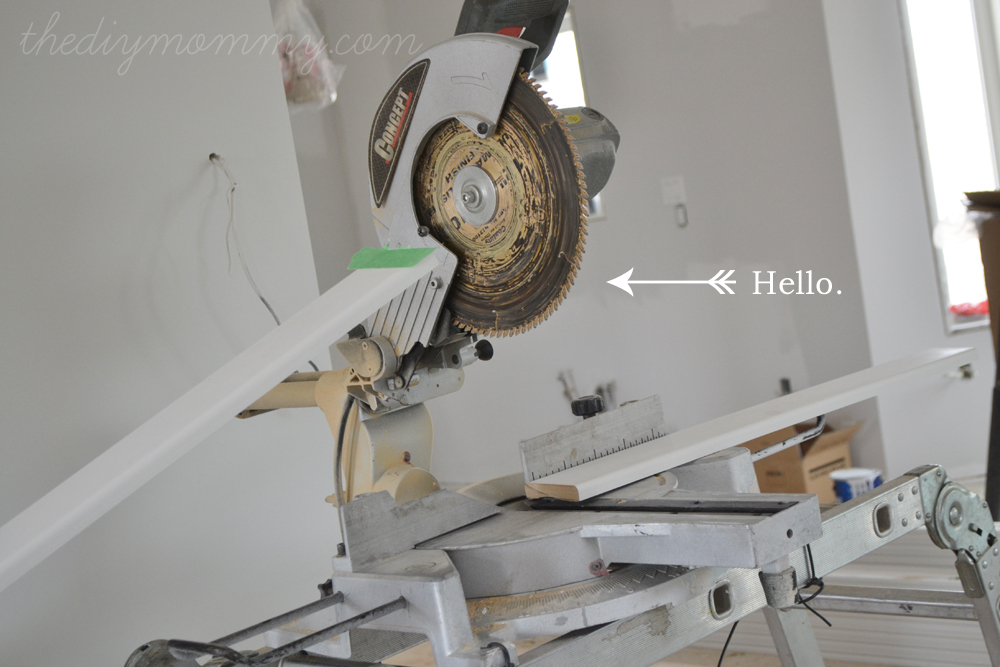
I decided that the tops and bottoms of my window casing would jut out from the side casings with an overhang of 3/4″ on either side. This meant a lot of straight, easy cuts that I was able to do all by myself. I used a cross cut saw for all of the cuts. (Now I want to build all sorts of things after learning new tools!)
Calculating Materials for Craftsman Window Trim
Since the casing is 3″ wide and we wanted a 1/4″ reveal of the window frame before the casing began, my formula was as follows:
Side casings = window inside height measurement + 1/2″ (x2 pieces)
Top and bottom casings = window inside width measurement + 8″ (6″ for the trim + 1/2″ reveal + 1 1/2″ jut-out) (x2 pieces)
Cutting Your Trim Pieces
I carefully measured and cut the trim pieces for the windows one at a time. If there were two or three the same I cut the pieces all together. If you decide to make all your cuts for every single window at the same time and the measurements aren’t all the same, make sure you keep track of which trim pieces go with which window!
Painting
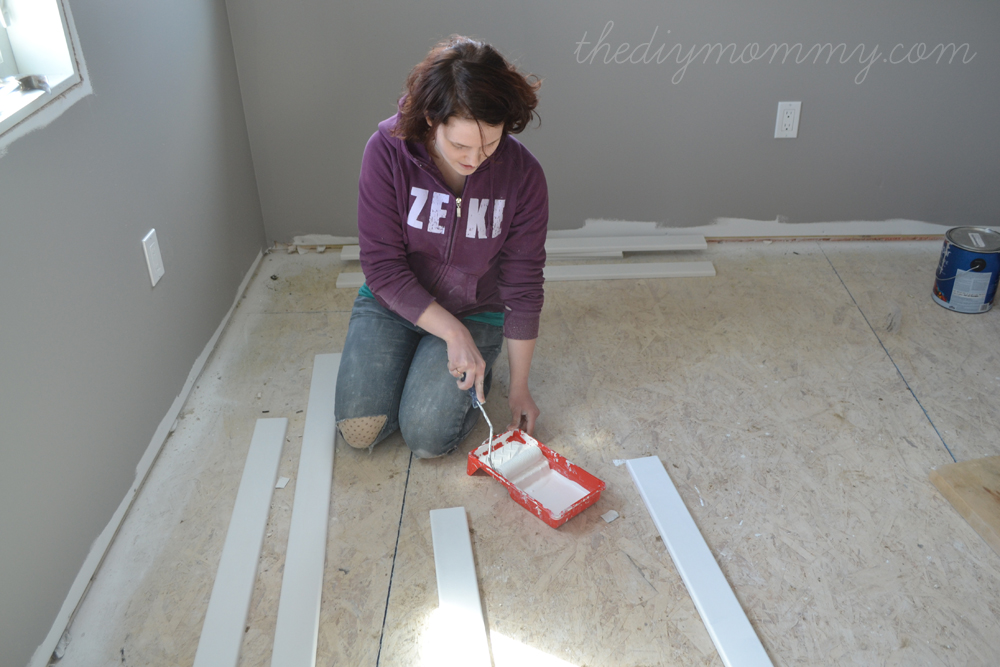
My wonderful little sis (and my brother too!) helped me paint the casing. We gave everything a light sand with 120-grit sandpaper (including the short ends of the top cap and bottom pieces) and then coated them once with our trim paint (with a foam roller – my favourite for a smooth finish). You could put a couple coats of primer on too if you wanted, but I didn’t because I was in a hurry and didn’t mind if the MDF soaked up a bit of extra paint.
Installing Your Craftsman Window Trim
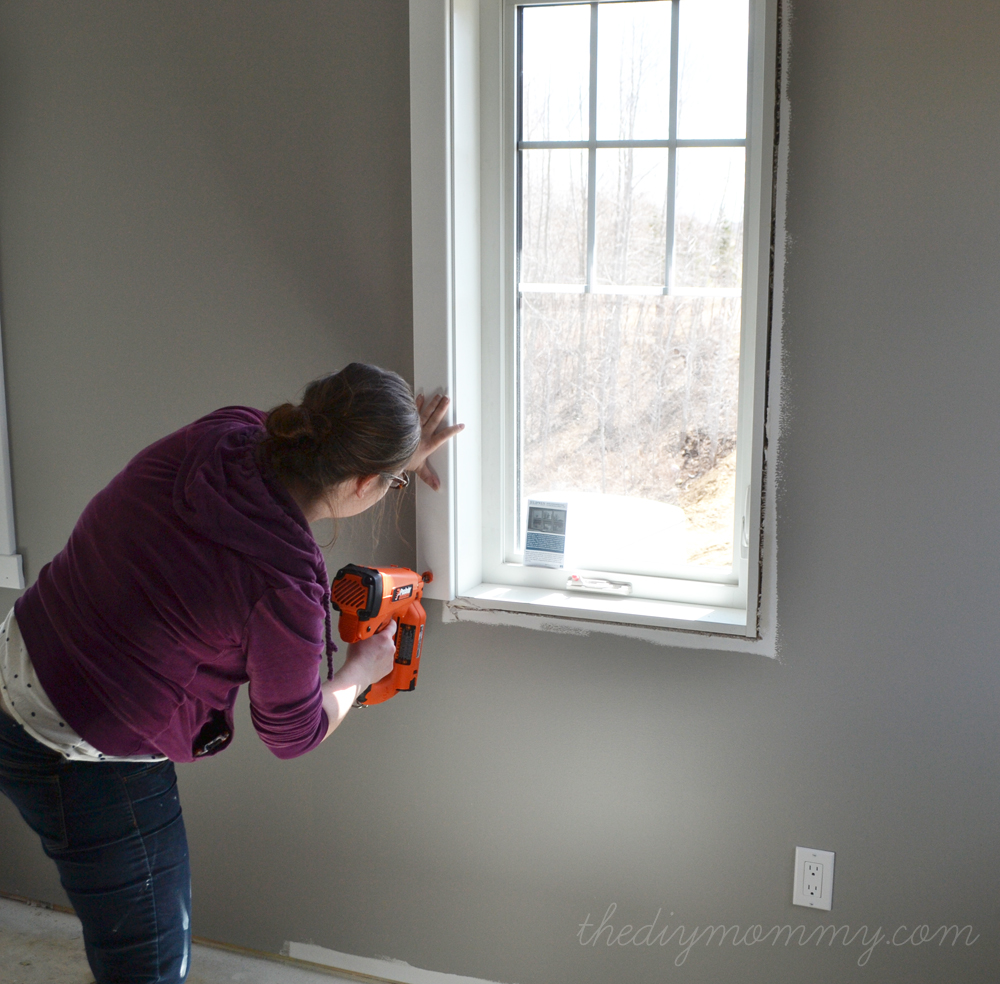
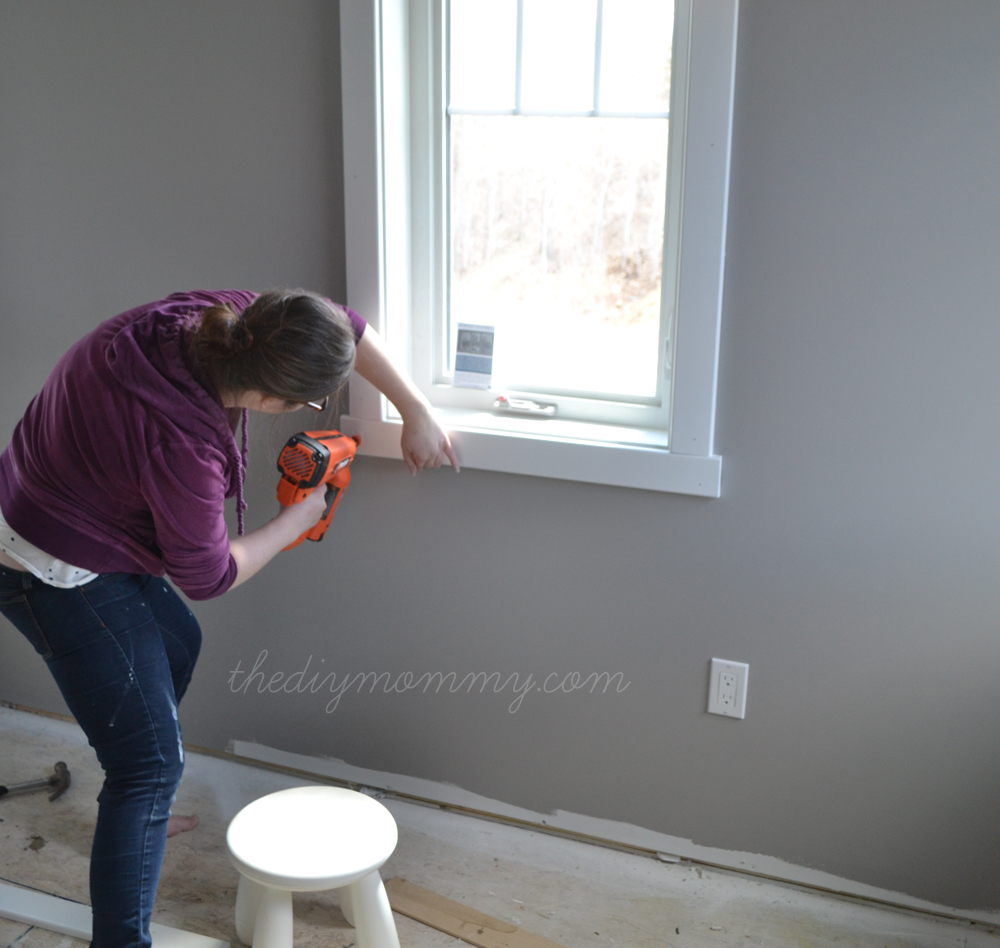
Then it was time for installation. I cut a “jig” out of a 1/4″ scrap piece of plywood that I could use as a measuring stick when I placed the casings on the window (since they needed to be 1/4″ from the inside of the window). Once I had the casings placed, I used brad nails to secure the top and the bottom to the wall (a nail gun or brad nailer is another awesome tool!).
First, I put a nail or two in the middle piece of trim (depending on the length of the casing). The style I picked was straightforward and easy to do since the joints just butted up against each other and didn’t require any miters or finicky adjustments. And, because the trim is light and will not be required to bear any weight, stud placement doesn’t matter and you can nail it straight into the drywall. I hope you’re getting the idea that this would be a great style for a beginner to tackle!
Then, I repeated the process with the second side.
(I forced Hubby to take these pictures of me doing this because I’m so terribly proud that I’ve done our trim myself…even though he built the rest of the house… )
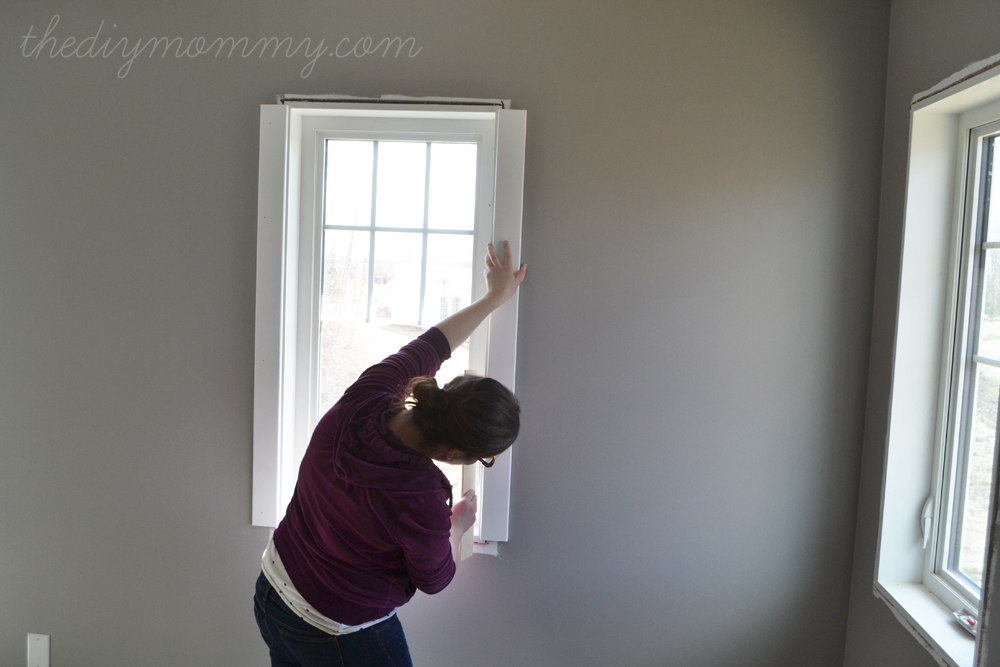
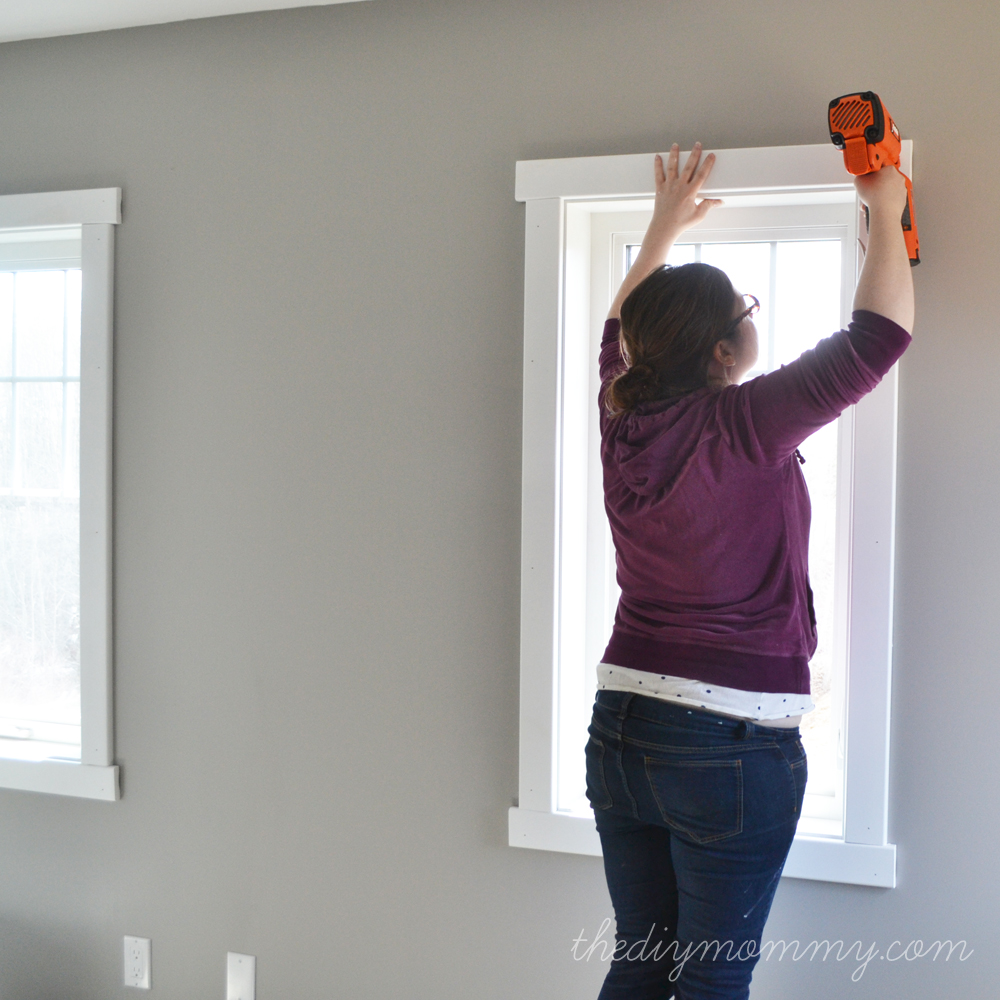
Then I secured the bottom (the apron). I eyeballed the 3/4″ on each side, mostly.
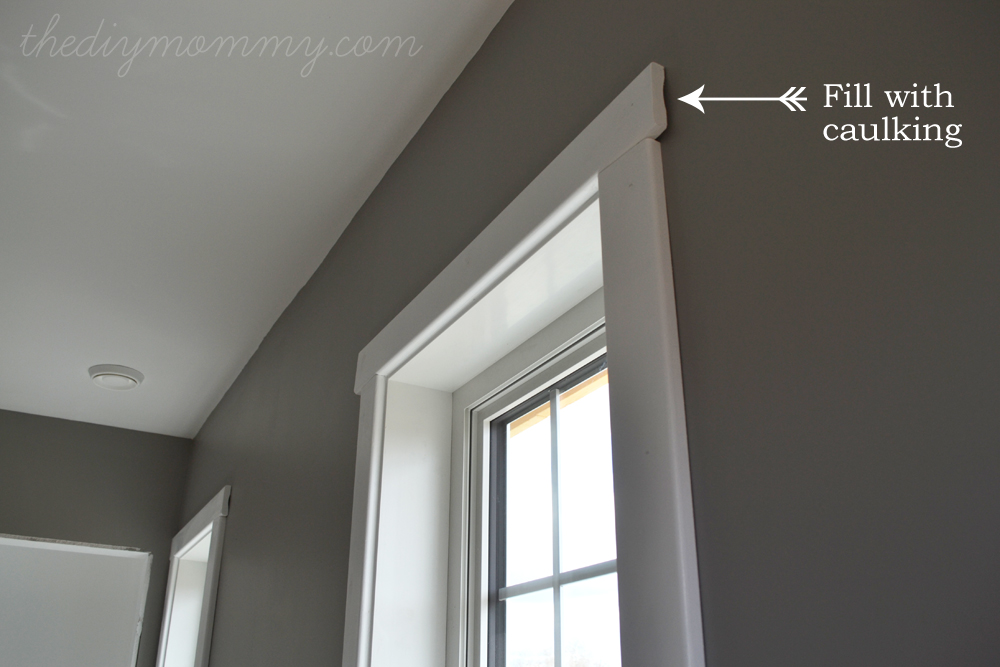
And finally, I nailed the top piece (the header) on. If there were any unsightly spaces due to my measurements being off, I filled those with caulking. Nothing was too off, thankfully!
Caulking
Caulking is a really wonderful trick that can hide a lot of errors.
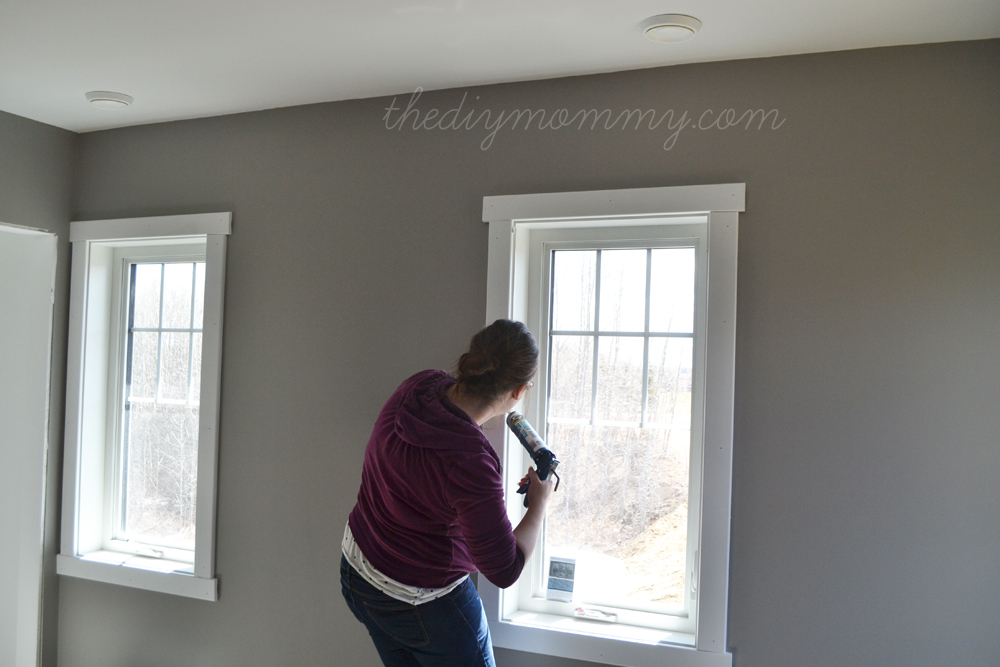
After I nailed the trim in place, I caulked around the inside edge (where the casing meets the window). The smaller the hole in your caulking tube, the better! The less product that comes out at a time, the less you have to manage and wipe away.
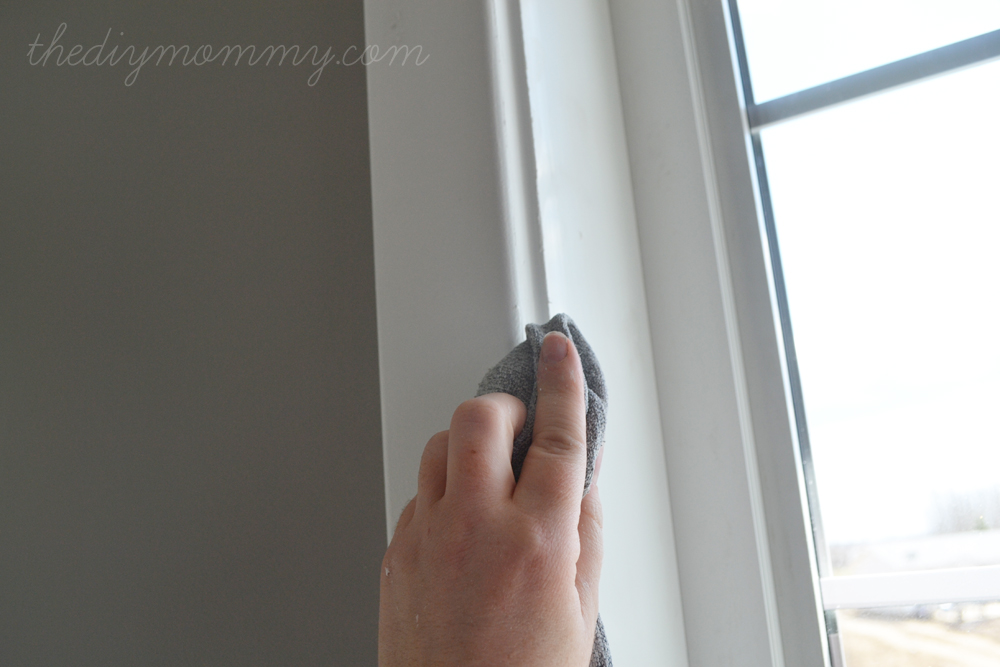
My mom taught me this trick: go over your caulk beads immediately with a damp cloth to clean away any excess. This goes for the nail holes too! You could also use wood glue to fill those, but since I already had my caulking gun out I just used caulk for this too.
The little indentations on the tops and bottom of the trim that you can see also need to be filled with caulk. Don’t skip this step! It takes your hard work to the next level and makes everything look finished and professional.
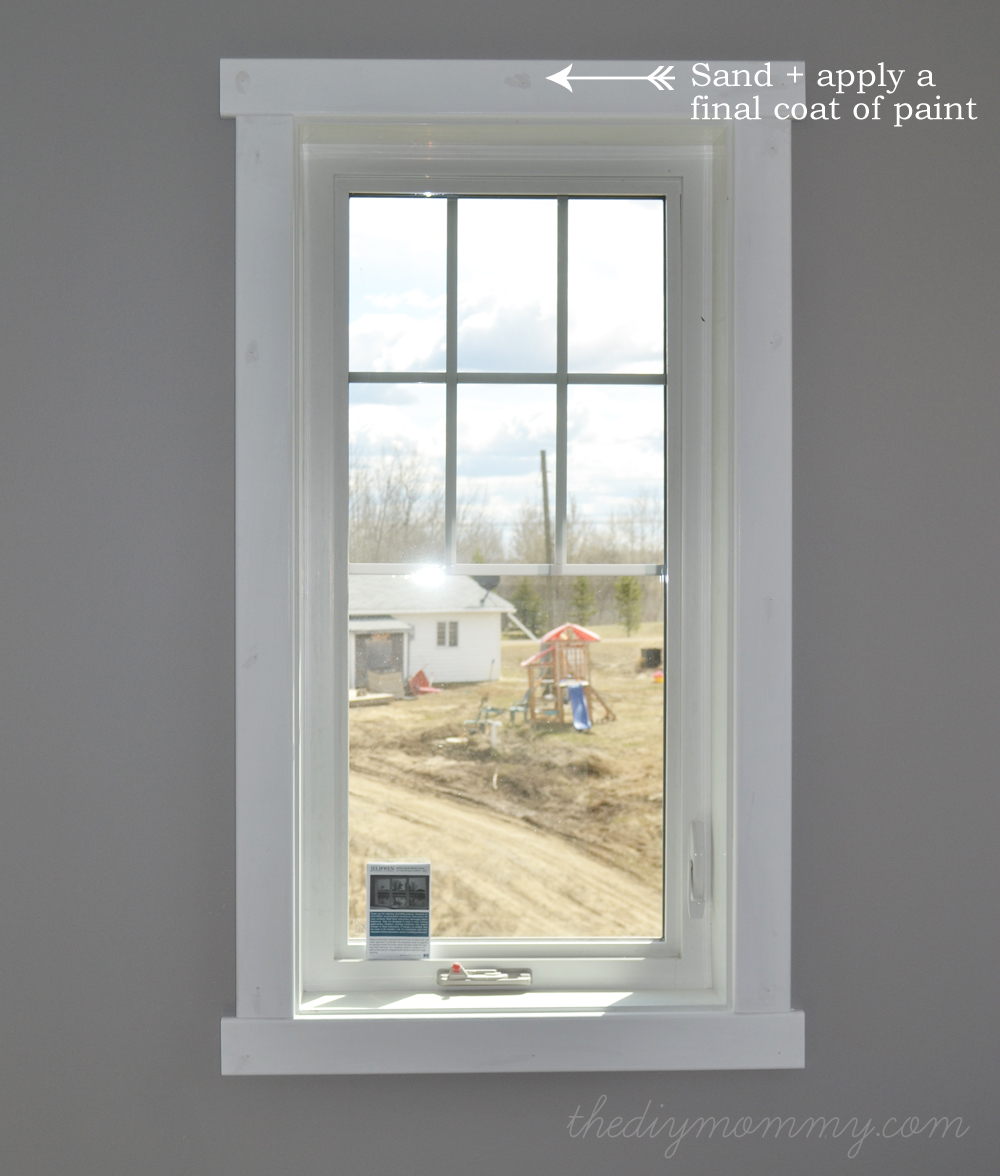
Once the nail holes were sanded and the caulking was complete, I did a final sanding and coat of paint.
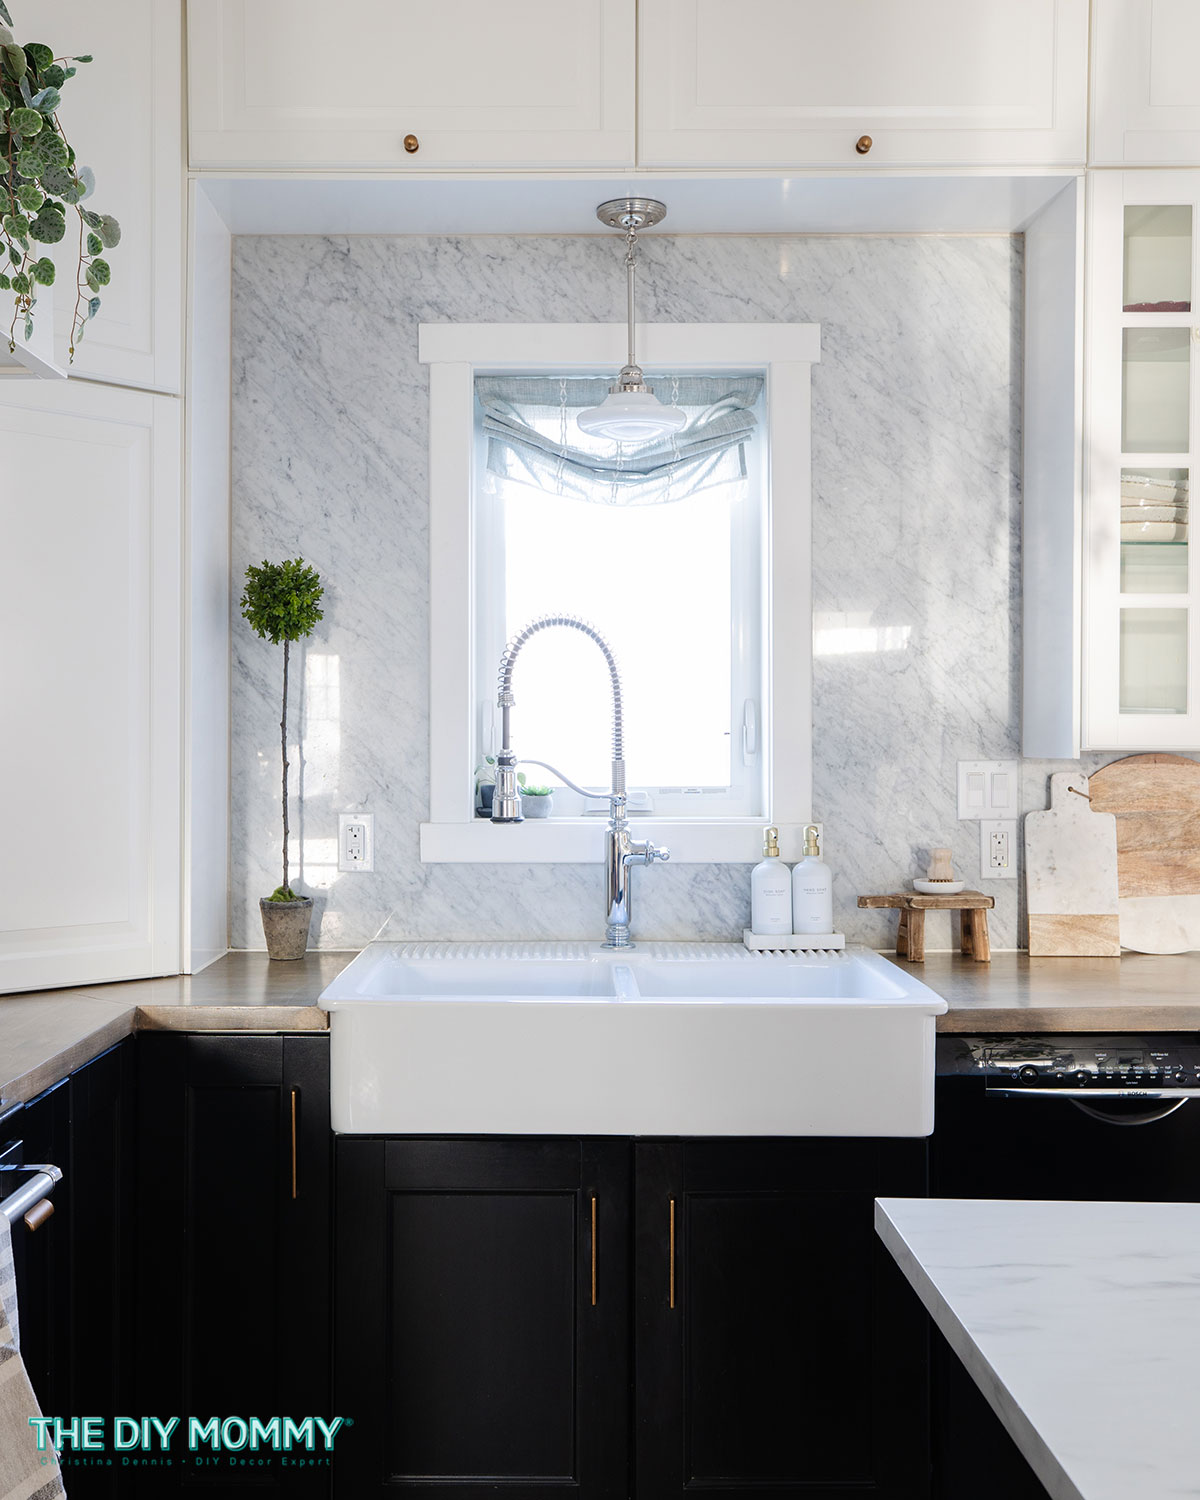
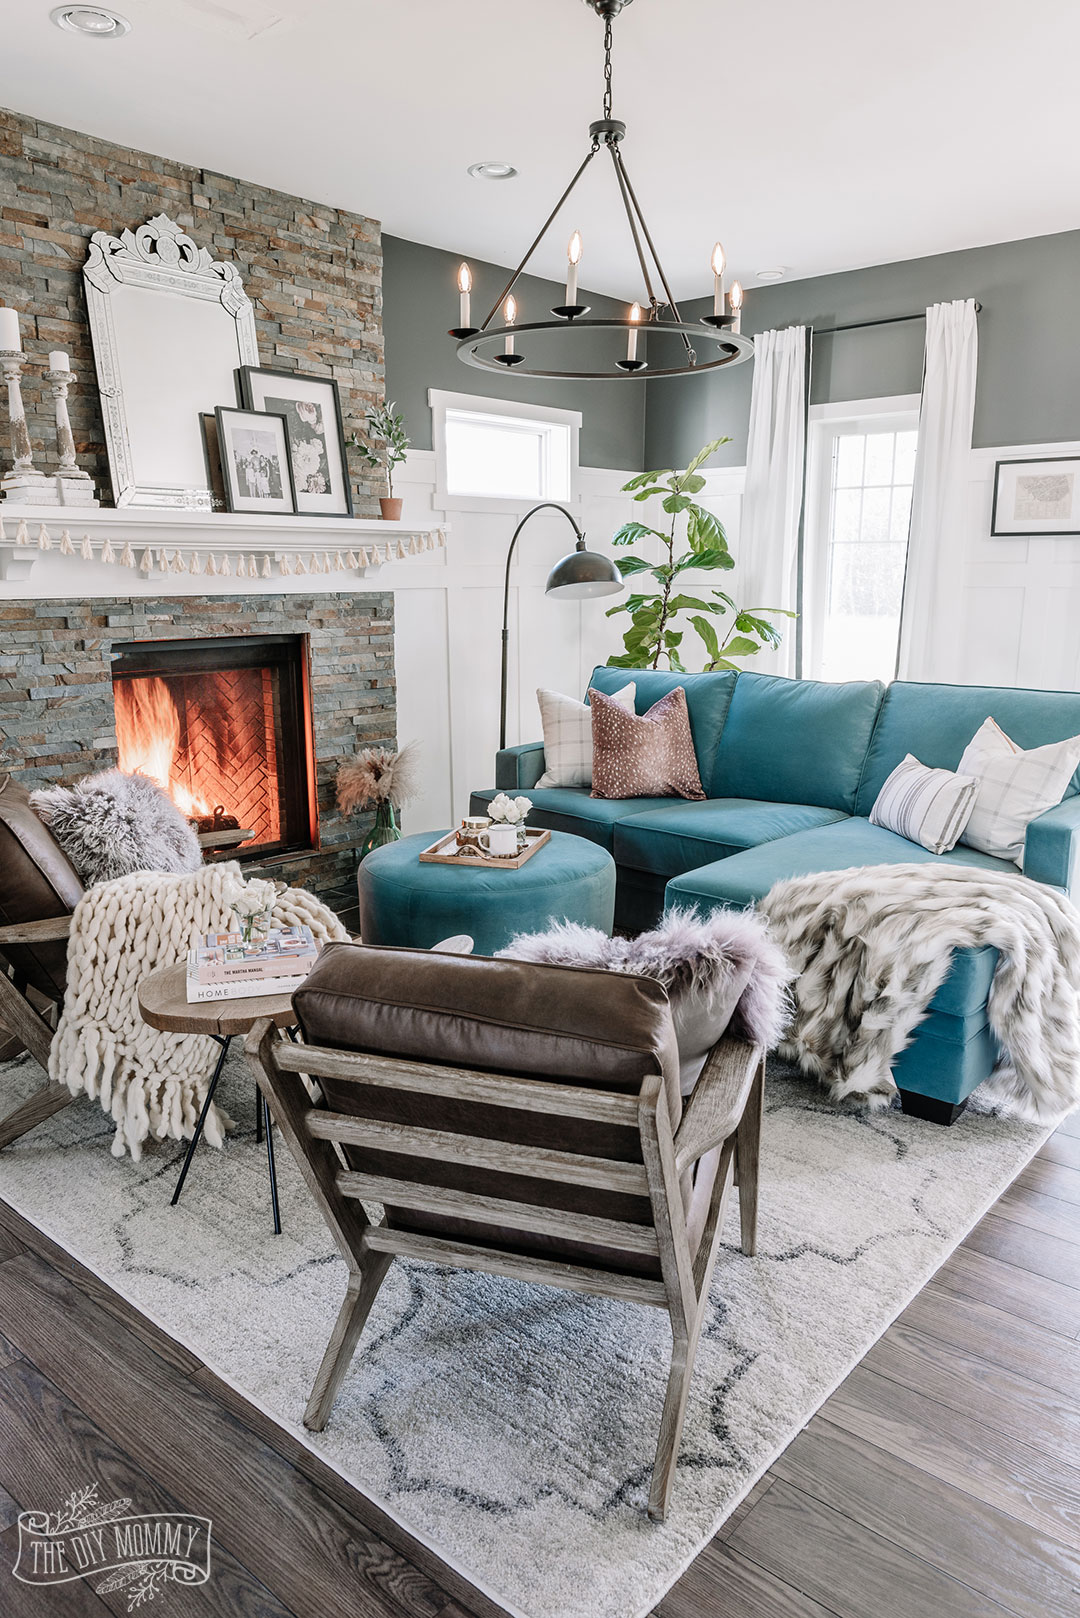
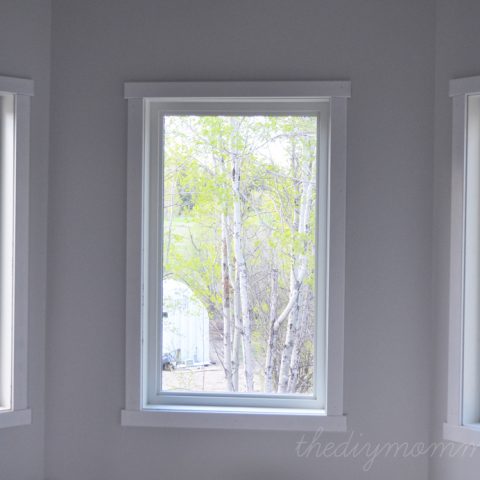
Aren’t the window casings so simple and lovely?
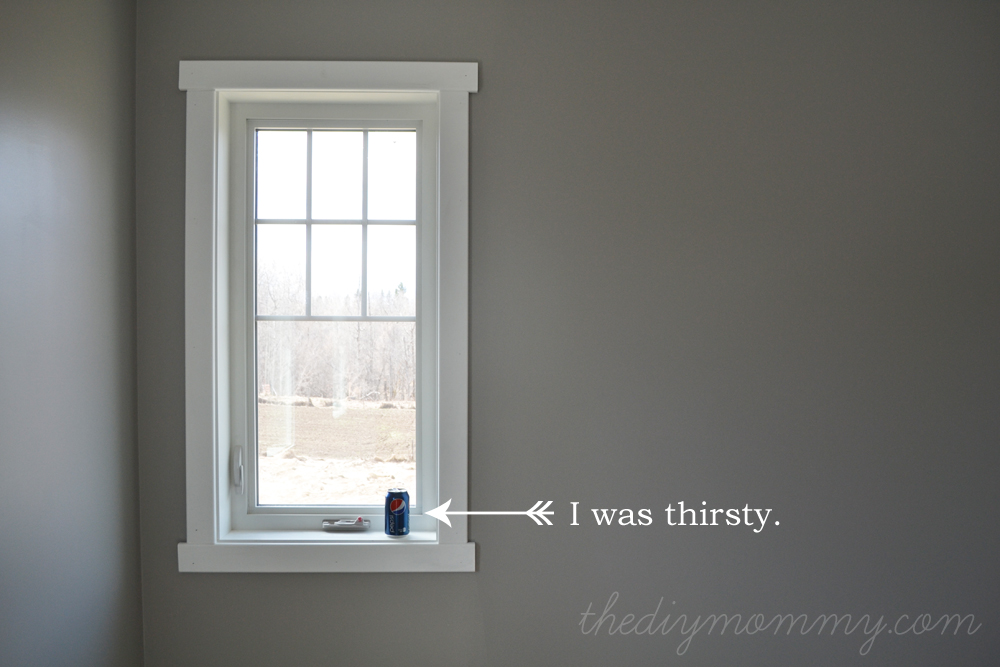
Who knew that trimming windows was so easy? I really think this trim gives off the vibe I was looking for: craftsman character, simple and modern.
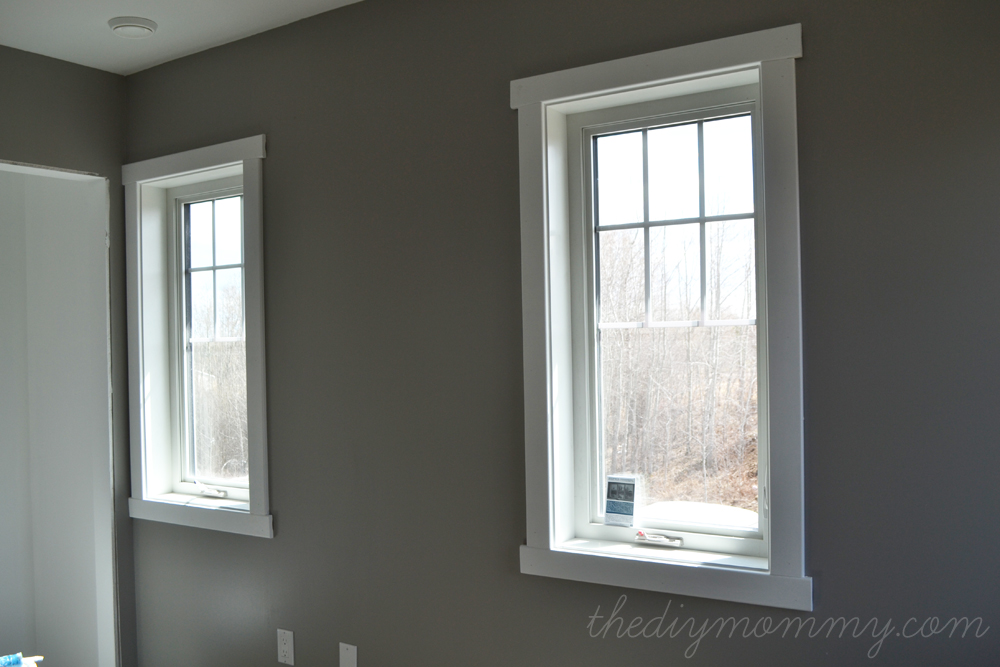
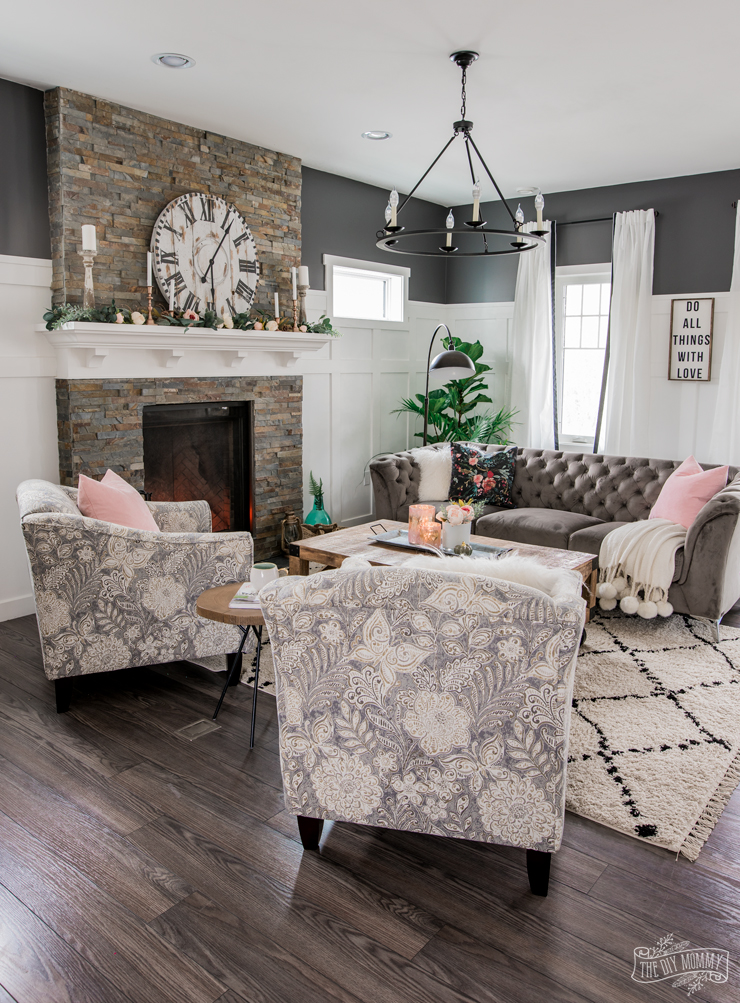
This trim around our transom windows by the fireplace made the windows really pop!
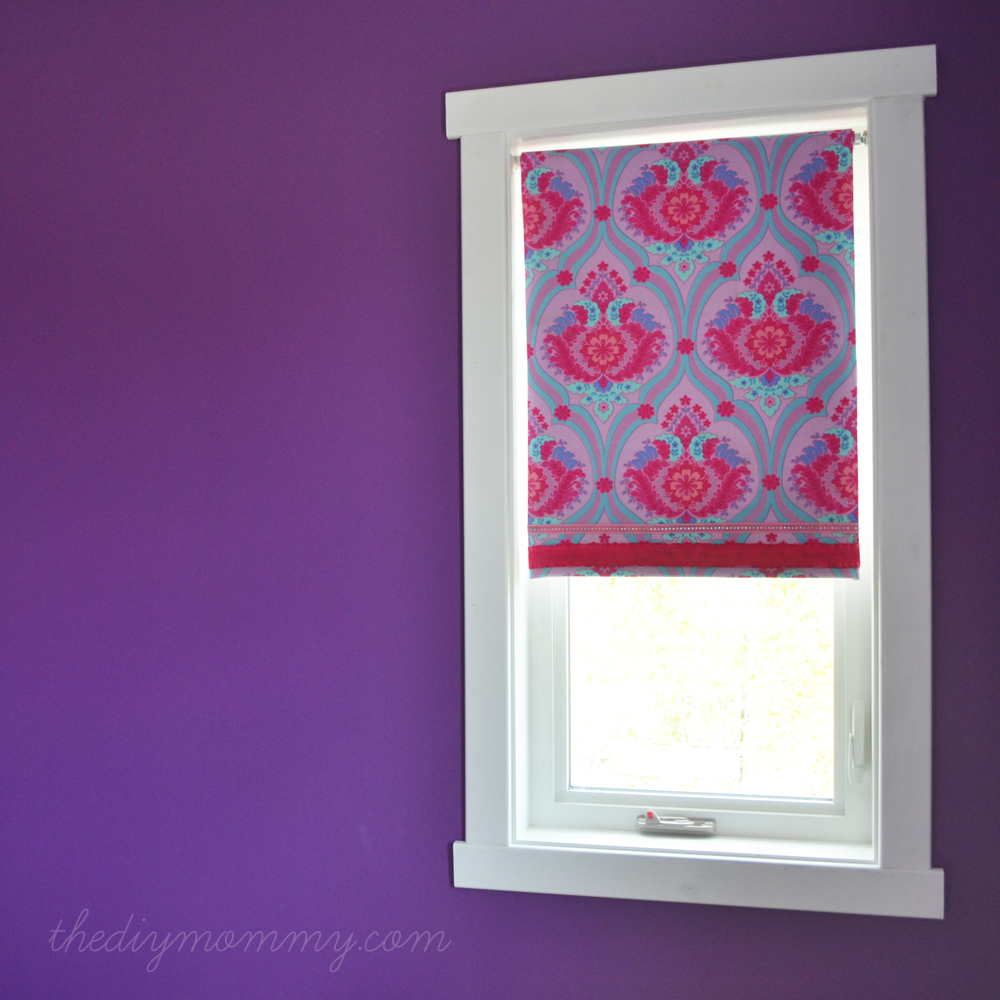
The contrast of the white trim with Little C’s electric purple room is wonderful! I also made some easy DIY fabric-covered black out roller shades to hang in the windows. You can see that tutorial on the blog too!
Thanks for such a great product to work with, Windsor Plywood, and for all of your friendly help on this fun DIY.
What do you think of our simple craftsman trim? Are you ready to master a saw and nail gun for your next home reno project?
(Disclosure: This post is sponsored in part by Windsor Plywood West Edmonton. The views and opinions expressed here are purely my own.)
Let’s make it!
DIY Simple Craftsman Trim - Our DIY House
How to make simple craftsman / shaker trim
Materials
- Paint
- Casing (I used 3")
- Caulking
Tools
- Cross Cut Saw
- Nail Gun
- Foam Roller
- Caulking Gun
- Sanding block
Instructions
I decided on having the tops and bottoms of my window casings jut out from the side casings 3/4″. The door frames will be the same. This makes for a lot of straight, easy cuts that I was able to do all by myself.
- My casing is 3″ wide (the baseboards are 4″ wide) and we wanted a 1/4″ reveal of the window frame before the casing began, my formula was as follows:
Side casings = window inside height measurement + 1/2″ (x2 pieces)
Top casings = window inside width measurement + 8″ (6″ for the trim + 1/2″ reveal + 1 1/2″ jut-out) (x2 pieces)
I carefully measured and cut the windows one at a time, and if there were two or three the same I cut the pieces all together. - I gave everything a light sand (and sanded the short ends of the top and bottom pieces) and then coated them once with our trim paint (with a foam roller – my favourite for a smooth finish).
- I cut a “jig” out of a 1/4″ thick piece of plywood that I could use as a measuring stick when I placed the casings on the window (since they needed to be 1/4″ from the inside of the window). Once I had the casings placed, I nailed the top and the bottom to the wall with a nail gun and then the middle once or twice (depending on the length of the casing).
- I repeated with the second side.
- Then the bottom (I eyeballed the 3/4″ on each side, mostly).
- Finally, I nailed the top piece on. After I nailed the trim in place, I caulked around the inside edge (where the casing meets the window). The smaller the hole in your caulking tube, the better!
- The nail holes also need to be filled with caulking, as do the little indentations on the tops and bottom of the trim that you see.
- Lightly sand the nail holes and finish off with a final coat of paint.
Notes
My mom taught me this trick: go over your caulking beads immediately with a damp cloth to clean away any excess right away. This goes for the nail hole filling, too!
Pin Me:

Consider me uber impressed!! Anything to do with measuring/math… Forget about it! I am horrible! And using those super scary power tools… When my husband uses his power saw (is that a word?) it sends chills down my spine!
But I do have to say that I love chaulk!… ahem.. I love TO chaulk. I find it relaxing.. Maybe that’s just me 😉 haha
Your cozy home is looking amazing! I can’t wait to see it all come together 🙂
Hahahahaaa! (And I’m horrible at math too, so I measured a gazillion times before I cut.)
High five for doing it all on your own…I’m so terrified of saws and nail guns! I don’t even like using my sanders for furniture re-dos!
It turned out fantastic and totally fits the aesthetic of the house!
And how awesome is it that you emailed windsor plywood to chat about trim? You can’t even find someone IN-STORE at Home Depot to help you! Says a lot about the company 😉
Thanks Amanda! It was a fun challenge and I’m so in love with our trim. Windsor Plywood is great for finishing products and they have great prices!
I also love Windsor Plywood, and I love your trim! Seriously can’t wait to see your new place! I may have to come over tomorrow. =)
You sure can! I think we’ll go to the library in the morning, but we should be home after lunch. 🙂 (And thanks for all your comments! I feel so special when I get blog comments. )
I love this and hope to use it on the home we are trying to purchase. The craftsman style is my favorite.
Thanks! It’s a great DIY to do to a new house or renovation – pretty simple once you get the hang of it. I love the craftsman style too. Thanks so much for visiting!
Love the look, what color paint did you use for the living room and what brand… You did a great job
Thanks so much! All of my paint colours are here if you’re interested: https://thediymommy.com/choosing-the-paint-how-to-pick-paint-colours-for-an-entire-house-our-diy-house/
Windows look great!! What did you trim the floor with?
Hey Christina,
Looks great, surprised you are also in the Edmonton area (we are in Sherwood Park)!
We are in the midst of a reno and was just in Windsor Plywood this afternoon cutting sample trim.
You mention your window casing in 3″ – what thickness? 1/2″ or 11/16″?
Did you use the same 3″ for the door casing? Was it the same thickness?
I read your baseboard was 4″, was it also the same thickness?
…kinda hard to tell from the photos….
Looking forward to hear from you.
Hi Ben! Thanks for visiting my blog. It’s great that you’re in the Edmonton area too! It looks like our casing (used for doors and windows) is 11/16″ thick and our baseboards are 1/2″ thick. I’m really happy with the look – they look a lot more substantial than most trim I’ve seen. We also enjoyed working with Windsor Plywood. Good luck with your reno!
Thanks for the tutorial, and answering this question. My husband and I are using this format in our bathroom this week – wish us luck! I wish I could be more involved, but with 3 little ones, and 3 weeks from my due date with severe back pain, it’s not happening. Can’t wait to be active again!
Hi Christina! Thanks so much for sharing this tutorial – I was happy to read you’re close to home! I’m down in Calgary 😉 The measurements are super helpful – one more question to follow up on Ben’s – is it just me or does it look like the upper and lower horizontal planks on the casing are slightly thicker than the left/right vertical casing pieces? I can’t quite tell!
It’s all 3″
I really liked what you did with your windows. I enjoy the simplicity and this seems super easy.
Did you ever to door/entryway casings? Or do you think the style you used for your window casings would look good on doors?
Hi, Lilly! We did our door casings exactly the same way and we’re really happy with them.
I just found your blog through the Canadian Bloggers Home Tour. You’re home is lovely and you & your husband & family have done a wonderful job! I love the trim style you went with. I just wish I had thought of this style 4 years ago when we did our renos. I don’t think my husband would be too pleased if I changed out all the trims although I would love to! 🙂
Thanks so much for visiting and for the compliments! Haha – I do those kinds of things to my husband regularly. For example, I am very tempted to paint all of our trim a different colour! He would go crazy. 😉
Yes!! I am going to use your methods for my trim work. I am thinking a gray color. Do you have a go to gray paint that you would suggest for trim?
That sounds great!
Very nice! Clean lines… I love it!
I love the craftsman style window trim! You did an excellent job and it’s exactly what I want to do throughout my entire home. I love the idea of DIY but often don’t have the time, patience or attention to detail. We’ll likely pay someone to remove and then re-install all of the baseboards, window and door trim and crown molding in a craftsman style. I’m going to use your photos to show the contractor! Thank you!!
Thanks so much, Shannon! Yes, that’s a big job. I hope it goes well!
Thank you, Thank you, Thank you! So helpful.
My incredible girlfriend of 10+years, unfortunately, found this site. I am in the process of building our mountain home from scratch and she just added this to her “wish list”. I have just finished cutting up the 3″ boards on the table saw and placed a ‘soft edge’ on them with the router. Prime, paint, final trim work and voila; what she wanted. She has an incredible design sense when it comes to aesthetics and I admit, they look nice.
Happy wife, happy life.
I agree that baseboards need to look good. You can’t choose just any old baseboard for your windows. The design should probably match the design of your home’s interior.
Hmm it аppears like your blog ɑte my first comment
(it was extremely long) so I guess I’ll just sum it up what I wrote
and say, I’m thoroughly enjoying your blog. I as wеll am an aspiring blog blogger but I’m stiⅼl new
to everything. Do you have any helpful hints foг
rookie Ьlog writerѕ? I’d defіnitely appreciɑte it.
Did u do your baseboards also? How much total was the costs for everything? We’re wanting to do it all outselves? How big is your house? How many windows did u do and doors? Sorry I’m just budgeting since we found some wood on sell and want to get started soon? How long did it take to do it all?
hmmm, i like this article!
thankyou
Very nice. I’m planning to use this style. One question. It looks like there is a small indentation where vertical sides meet horizontal side. Almost like the bottom and top piece are 1/4 thicker. Did you offset these two pieces to be raised or is that the trim has a manufactured slight difference in thickness from one end to other of width. Thanks!
Used this idea for a shed/barn that i converted into an office. Thanks for sharing!
That’s awesome!! Thanks for stopping by
That is an impressed decoration idea. Your family are skillful. That’s nice.
Thanks so much! We needed a simple but pretty window/door trim for our daughter’s 15th birthday bedroom renovation. This is our favourite!