A Handmade Christmas: Knit Pearly Girly Mittens
This post may contain affiliate links · This blog generates income via ads
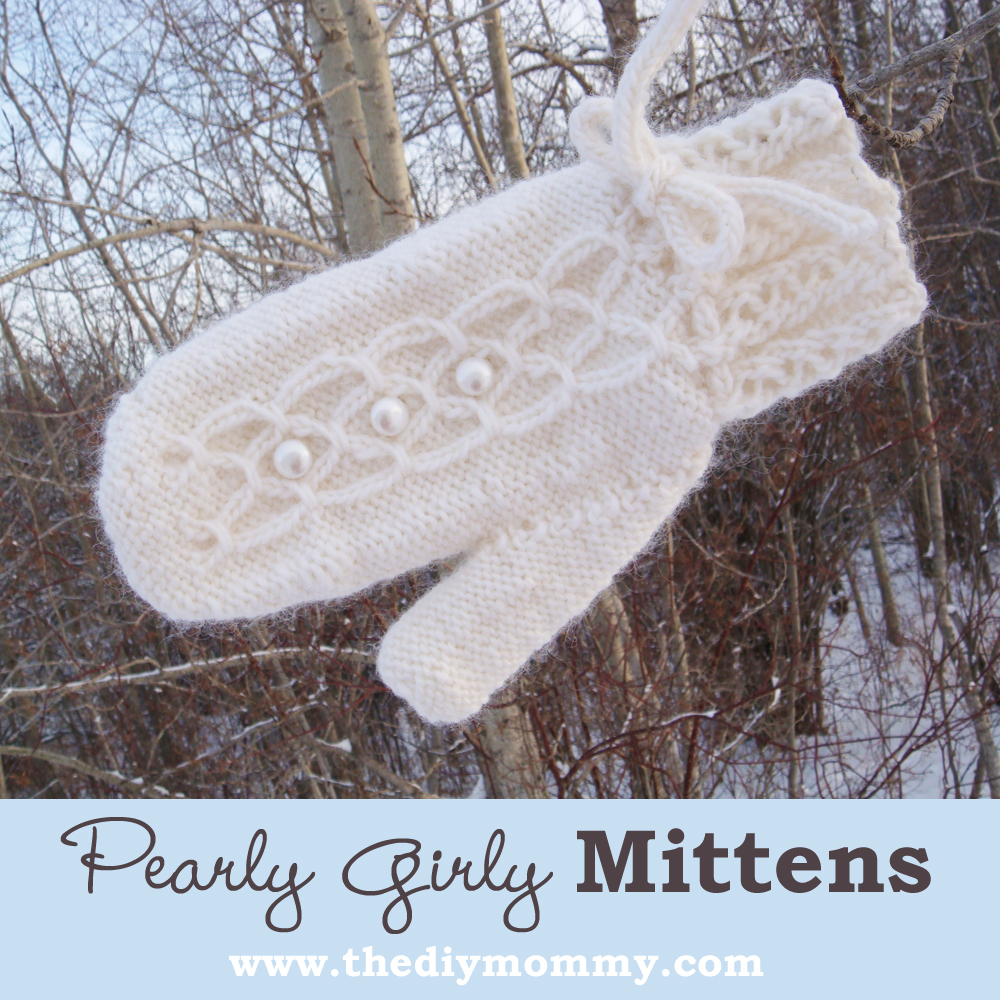
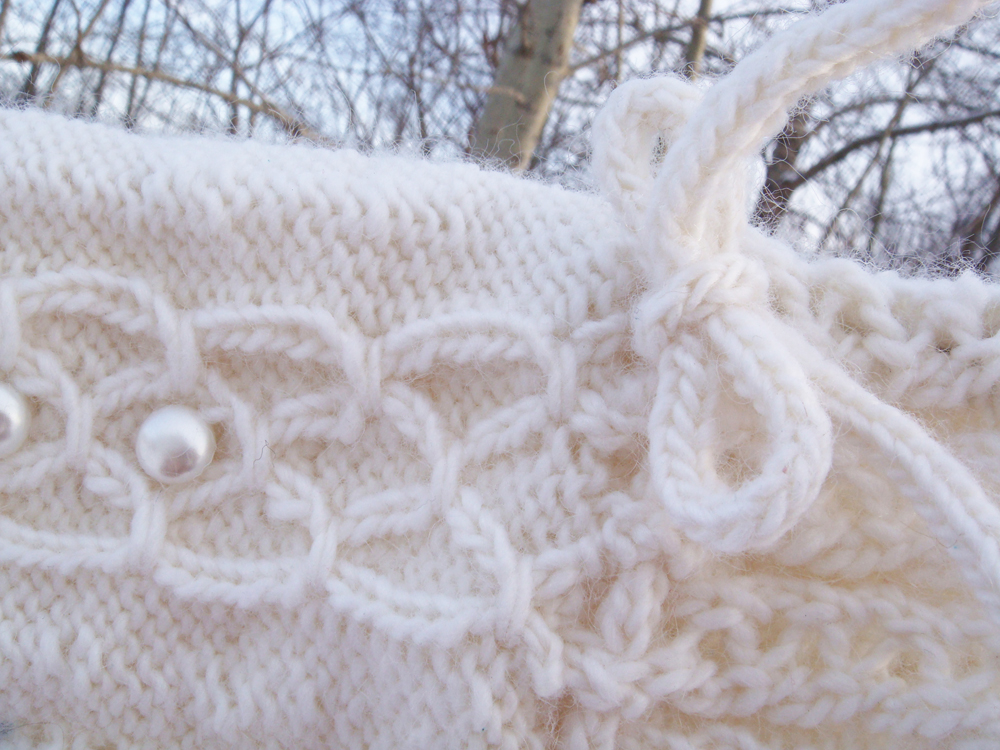
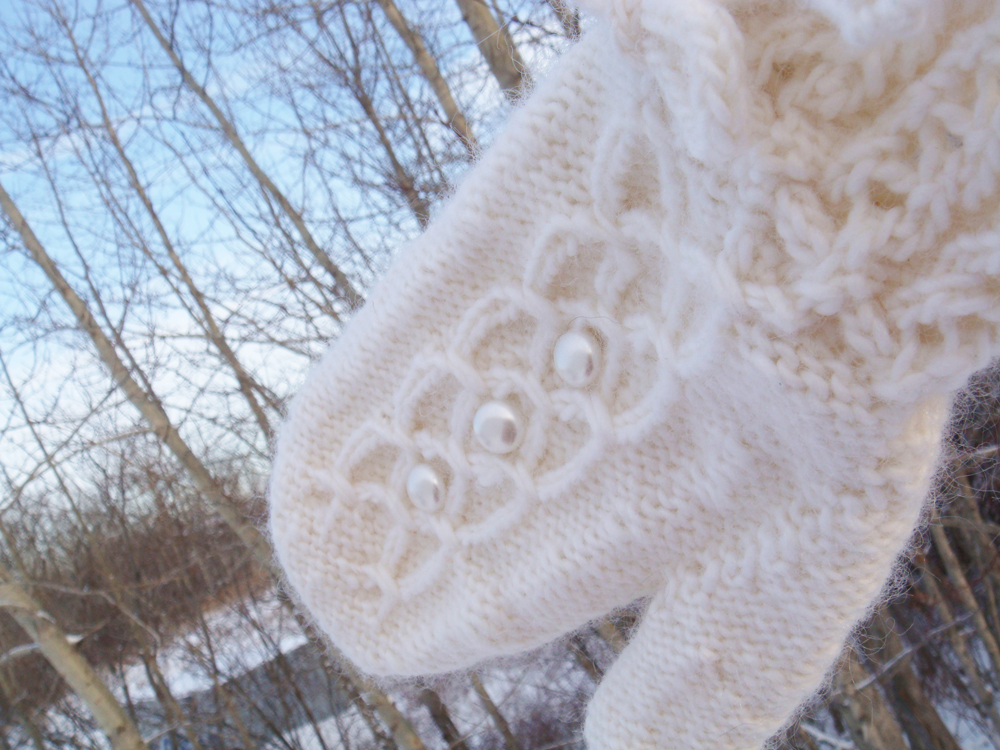
I have a “thing” for cream coloured, lacey knits. When the weather dropped to minus 30°C a couple Christmases ago (this is common up here in Edmonton, Alberta!), I decided that I could use a new pair of warm, wooley mittens. Rather than buying a pair, I decided to design some using odds and ends from home. Et Voila! The Pearly Girly Mitts were born! These would make a great gift for the ultimate girly-girl in your life, or for yourself! These mittens feature a lacey ribbed edge, a feminine and practical tie around the wrist, a smocked pattern down the center, and they’re topped off with some lovely faux pearl button embellishments.
Materials:
- Yarn: 2 skeins Lamb’s Pride Worsted (85% wool/15% mohair) in White Frost or a similar worsted weight yarn
- Needles: 4 Size 6 US (4 mm) double pointed needles (or size needed to obtain gauge)
- Cable Needle
- 6 faux pearl buttons
- Scrap yarn
- Yarn needle
- Thread to sew on buttons
Sizes: Women’s size medium
Gauge: 4.5 st = 1”
Abbreviations & Explanations:
K = knit
YO = bring yarn over needle to create an extra eyelet stitch
P = purl
St st = stockinette stitch
PM = place marker
K2tog = knit two stitches together
ssk = slip 1, slip 1, knit 2slipped stitches together
M1 = make one stitch by inserting tip of left needle underneath the strand of yarn between two needles, place the lifted strand on the left needle, and knit the lifted strand, twisting to avoid leaving a hole
Sl = slip
Tie st = sl next 5 st on to cable needle, wrap yarn around these 5 st twice, then K1, P3, K1 from cable needle
Openwork Rib Pattern:
Round 1: K1, YO, ssk, P2 (repeat until end of round)
Round 2: K3, P2 (rep to end of round)
Round 3: K2tog, YO, K1, P2 (rep to end of round)
Round 4: Same as R2
Repeat rounds 1-4 for pattern
Smocked Honeycomb Pattern:
Round 1 & 2: P3, *K1, P3*, rep from * to end of round
Round 3: P3, *tie st, P3, rep from * to end of round
Round 4, 5 & 6: As round1 & 2
Round 7: P3, K1, *P3, tie st, rep from * to end of round, ending last rep with K1, P3
Round 8: As round 2
Repeat rounds 1-8 for pattern.
The pattern
Ribbing:
CO 42 st evenly onto 3 double pointed needles.
Work in Openwork Rib pattern until ribbing measures 2.5” from start.
Next Round: K2tog, YO, rep to end of round.
Next Round: Working in K3, P2 rib pattern, increase 4 st evenly across round
Thumb Gusset:
Right Hand:
Round1: P12, work 19 st in Smocked Honeycomb pattern, P3, PM, M1, P1, M1, PM, P to end of round.
Left Hand:
Round1: P7, PM, M1, P1, M1, PM, P3, work 19 st in Smocked Honeycomb pattern, P to end of round.
Both Hands:
Round 2: P12, work 19 st in Smocked Honeycomb pattern, P to end of round (slip markers as you go)
Round 3: Work in pattern as established (Smocked Honeycomb pattern in center front of mitten bordered by reverse stockinette stitching) to thumb gusset, M1, P to marker, M1, work in patt to end of round
Rounds 4 & 5: Work evenly in patt as established
Rep rounds 3 – 5 until you have 15 thumb gusset st between markers, ending with a Round 3.
Next Round: Work in patt to thumb gusset, remove markers, place thumb st on scrap yarn, CO one st, cont in patt to the end of the round
Cont in patt as established until mitten measures 6.5” from ribbing (or to desired length).
Shaping Top:
Discontinue Smocked Honeycomb pattern and work all st in reverse stockinette.
Round 1: *P2, P2tog, repeat from *.
Round 2 – 4: Purl.
Round 5: *P1, P2tog, repeat from *.
Rounds 6 – 8: Purl.
Round 9: *P2tog, repeat from *.
Cut yarn leaving a long tail. Thread tail onto yarn needle and draw through remaining st. Pull and fasten on the inside of the mitten.
Thumb:
Place thumb st onto 3 double pointed needles and pick up an extra stitch on both sides of the CO st. Work in reverse stockinette until thumb measures 2” from base.
Next Round: *P2tog, rep from *.
Cut yearn leaving a long tail Thread tail onto yarn needle and draw through remaining st. Pull and fasten on the inside of the mitten.
Wrist Cord:
CO 3 st onto a double pointed needle and knit one row.
Do not turn work. Push stitches to other end of the needles.
Swap the RH needle with the LH needle, pull up the yarn and K the 3 st again.
Rep for each row until cord measures 20”.
Bind off. Thread knitted cord through eyelets created at the top of the ribbing. Tie in a bow where desired.
Finishing:
Sew 3 pearl buttons with needle and thread in the centers of the Smocked Honeycomb pattern (use picture as a guide).
Sew in all loose ends.
Block if desired.
Pearly Girly Mitts pattern © 2008 Christina Marie Dennis of thediymommy.wpsc.dev
Christina has made every effort to produce a pattern void of any errors. If you find any, please contact Christina, and the pattern will be changed accordingly. This pattern for personal use only and is NOT for resale. This pattern may not be photocopied, or distributed in any hardcopy or electronic form without the written consent of Christina.


Hello i payed for sweater babe but cannot print any of the patterns. I do not have a home computer use mine at the office and cannot add programs. if i cannot print how i normally print i need my subscription cancelled and refunded. I was able to print one pattern but it was 13 pages and included all advertisement and comments. Please resolve this issue as i love your site.
Thank you
If you right click on mouse, you should get drop down that contains the option to print. Make sure you due print review and only pick the pages you want to print. hope this helps.
Thanks for sharing, Sharon!
Pls how many stitchs do I have to cast on?
42 stitches.
I’m wondering if I should cast on 45 stitches? I notice that the even rows of the cuff pattern, K3, P2, work on multiples of 5 stitches. This is my first attempt at trying something other than a straight knit/purl, so I may be missing something obvious. I LOVE the pattern! Thank you for sharing it!
Yes, you might be right! Sorry – this pattern was made so long ago that I’m not 100% sure. That makes sense though!