 By Christina Dennis
When it’s warm outside, nothing is more cute on a baby or toddler than a ruffly little dress! This dress design is based on the popular & very simple pillowcase dress idea, but I’ve added a unique ruffle embellishment. If you’re a beginner seamstress, this is a great starting project! The ruffle is completely optional – if you want to skip it, simply at a couple of inches to the dress length and machine-hem it instead. This sweet dress also makes a great gift!
Materials:
- 1 yard main fabric 44-45″ wide
- 1/2 yard coordinating fabric 44-45″ wide
- sewing machine
- serger (optional, but helpful!)
- rotary cutter & mat (optional, but helpful!)
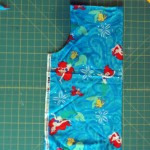 |
1. From the main fabric, cut a two squares that are 22″ wide each (should be able to cut both from the width of the fabric) and the following length depending on age:
- 6 months: 15″
- 12 months: 16″
- 18 months: 17″
- 24 months / 2 years: 19″
- 3 years: 20″
- 4 years: 21″
- 5 years: 22″
- 6 years: 24″
Fold the squares in half lengthwise, and cut a “J” shape from the outer corner that is approximately 2″ wide and 5″ long (see picture). |
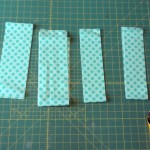 |
2. From the coordinating fabric, cut 2 strips that are the full width of the fabric and 4″ high (for tie) and 2 strips that are the full width of the fabric and 3″ high (for the ruffle). |
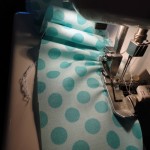 |
3. Sew the ruffle strips together at the short ends to make one long strip. Ruffle the strip on one long end with your serger or using a long running stitch on your sewing machine and pulling one thread to gather. |
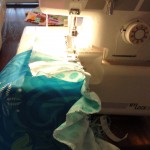 |
4. Place the ruffled edge of the ruffle, right sides together, on one of the bottoms of the main dress piece. Sew/serge together. Cut off excess. Repeat with second dress piece with remaining ruffle strip. Cut off excess. |
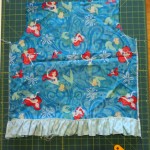 |
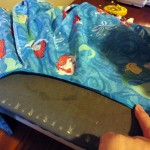
5. Place the dress pieces with ruffle right-sides together. Sew/serge along side seams. |
 |
6. To finish the armholes, turn the raw edges of the “J” cuts in 1/4″ all around the curve. Press. Turn in 1/4″ again. Press. |
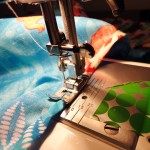 |
7. Sew this rolled hem in place on the sewing machine. |
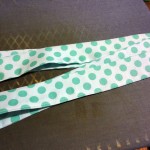 |
8. Turn the tie piece in half lengthwise, right sides together. Sew along short ends and long end, leaving a 2″ opening. Turn right side out. Sew opening closed with machine. |
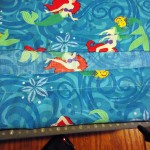 |
9. To make the casing for the tie, turn each upper edge of the dress sides over 1/2″, then again over 1.5″. Sew in place. |
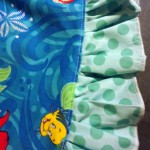
|
10. To finish the ruffle, use a serger to narrow-roll hem the edge OR fold over 1/4″ then 1/4″ again and stitch with a machine. Optional: stitch a stitchline 1/4″ above the ruffle, catching the seam allowance and helping the ruffle stay down (see photo). |
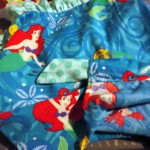 |
11. Thread the tie piece into one casing using a safety pin attached to one end to make it easy to find and move through the casing. Turn, thread through the second casing on the second side. |
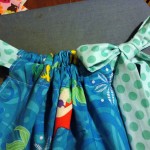 |
12. Tie the strap piece on one side in a bow. You can gather and adjust the dress casing to fit your child. |
 |
13. All done! |
Christina Dennis is the creator and designer behind Golly Gee Baby, a collection of unique and colourful baby clothing and accessories that are ethically manufactured.


