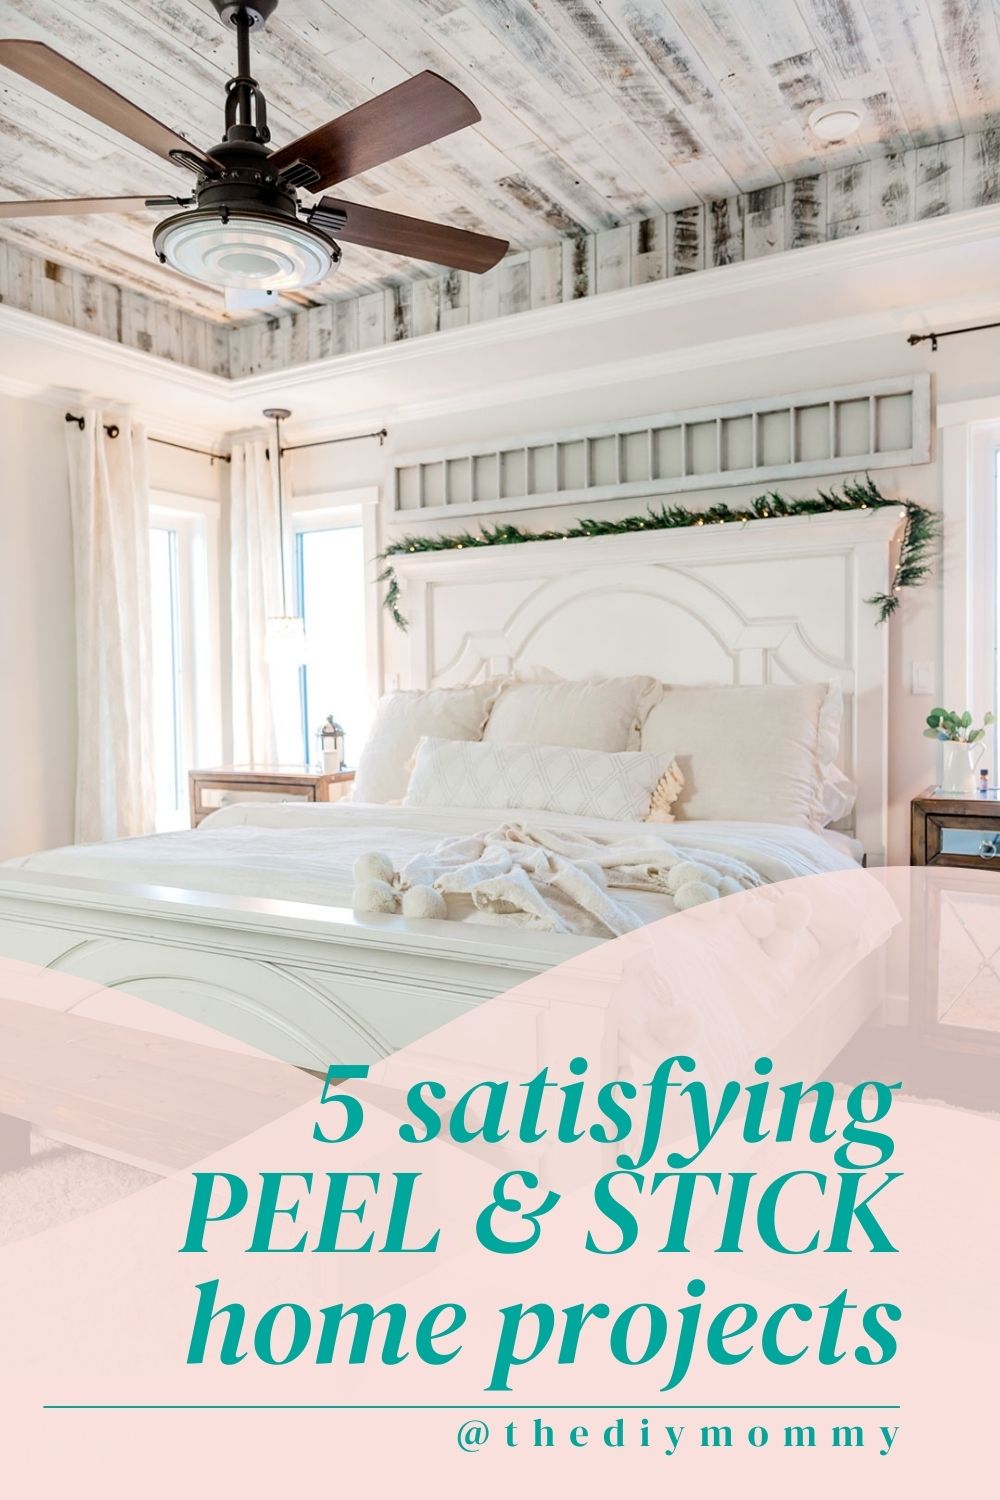
5 SATISFYING DIY PEEL AND STICK projects to make your home look AMAZING!
This post may contain affiliate links · This blog generates income via ads
Using DIY peel and stick products can be an easy way to make your home look incredible on a budget. Most are very easy to install, and you might be surprised at how fabulous they look! Let’s talk about 5 peel and stick projects that you can try, and all of my favourite tips and tricks to make them look high-end.
Peel & stick home improvement products have come a long way in recent years. Products like peel & stick tile, wallpaper, contact paper and even peel and stick wood are easy to install and can give your home a ton of personality! They’re a great option for renters who might need to remove the products afterwards, and for people who are new to DIYing and want a simple installation process. Here are some of my favourite DIY peel and stick products and how to install them:
Peel and Stick Tile Backsplash
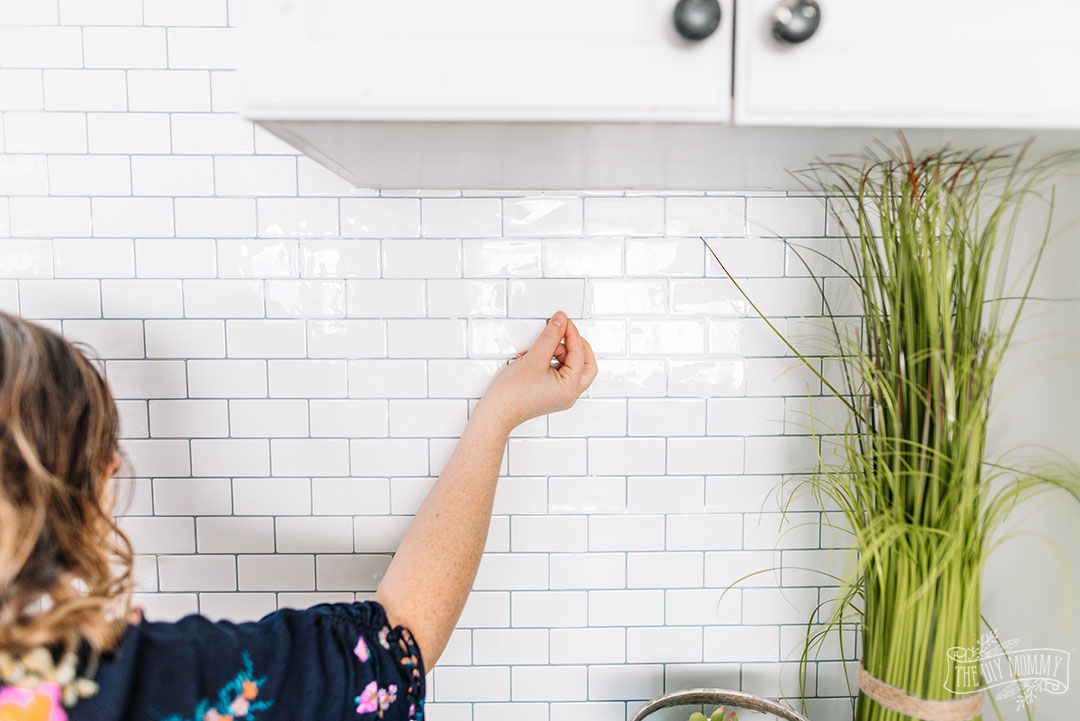
Installing peel & stick tile backsplash is one of my favourite DIY projects for a quick, budget-friendly room addition. I’ve used it in our camper renovations, in my brother’s condo, and in my studio kitche wasn. Of all the brands I’ve tried, Smart Tiles are my favourite because they are easy to install, they have lasted in my projects for years, and I think they look the most realistic.
How to install peel & stick tile backsplash
To install these, measure out the square footage your space to see how many tiles you’ll need to purchase. Buy a few extra tiles to account for any odd cuts or mistakes you may make. Prepare your surface by giving it a thorough clean with a degreasing cleaner, and sand it if necessary to make it smooth. Most peel and stick tile backsplash should be able to stick to existing tile as long as the existing tile is relatively smooth and clean.
- Cut the jagged edges of the first piece of tile off with scissors. You can mark a straight line with pencil and a hard ruler before cutting.
- Peel off the tile backing, and press it onto the starting corner of the wall. I like to start in the lower right corner of a backsplash.
- Once the tile is in position, press it firmly in place by smoothing it with your hand.
- Peel the backing off the next piece of tile, and place it beside the first piece making sure to align all the corners.
- Once the tile is in position, press it firmly in place by smoothing it with your hand.
- Continue in this way until you finish the backsplash.
- If you need to cut around any windows, cupboards or outlets, make a template with kraft paper or measure and mark the piece of tile & cut it to size.
Once you are finished installation, you can caulk any seams with a latex or latex/silicone caulking to prevent the seams from lifting.
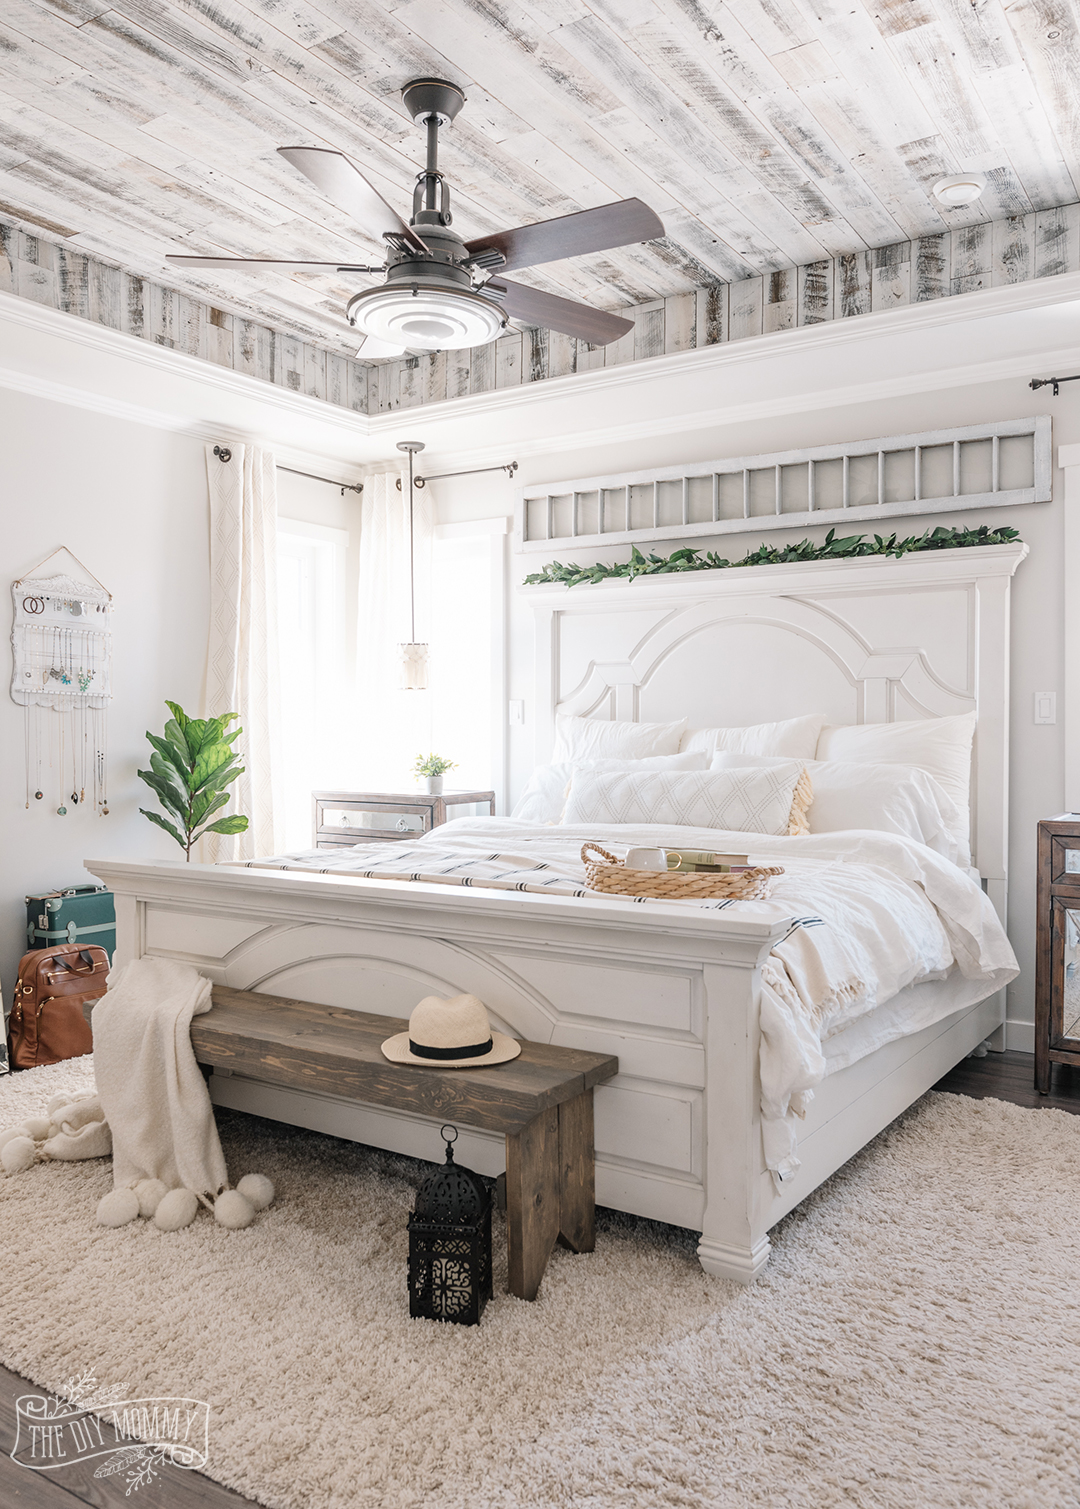
DIY Peel and Stick Shiplap Ceiling
Another favourite product of mine is peel & stick wood. The brand I love is called Stikwood, and they make thin pieces of wood with a sticker backing in all sorts of colours and finishes. While this product is pricey compared to other peel and stick products, I think it looks extremely high-end. I’ve used different colours of Stikwood for both my primary bedroom ceiling and the vaulted ceiling in my parents’ bedroom.
How to install a peel & stick shiplap ceiling
- Measure out the square footage of your ceiling to determine how much peel & stick wood to purchase. Buy extra for cutting and mistakes.
- Prepare your surface by cleaning it and sanding it as needed. Check the Stikwood website to see what kinds of surfaces will work for this application.
- Find the center of your ceiling with a measuring tape and mark it. Use a laser level to create a straight line to follow when applying the wood pieces.
- Choose the pieces of the Stikwood you want to use in the first row from the center. Peel off 2 of the 3 sticker backings from your first pieces of wood, push the piece onto the ceiling, and then remove the final sticker backing. Press the wood firmly to the ceiling, and use a roller if necessary.
- Continue applying the wood in this manner, staggering it as you go. Continue using a laser level to ensure all of your lines are straight.
Once finished, you can trim your ceiling with crown moulding to finish the look. I’ve had our Stikwood ceiling up for 5 years and it still looks fabulous! You can use this product for walls as well.
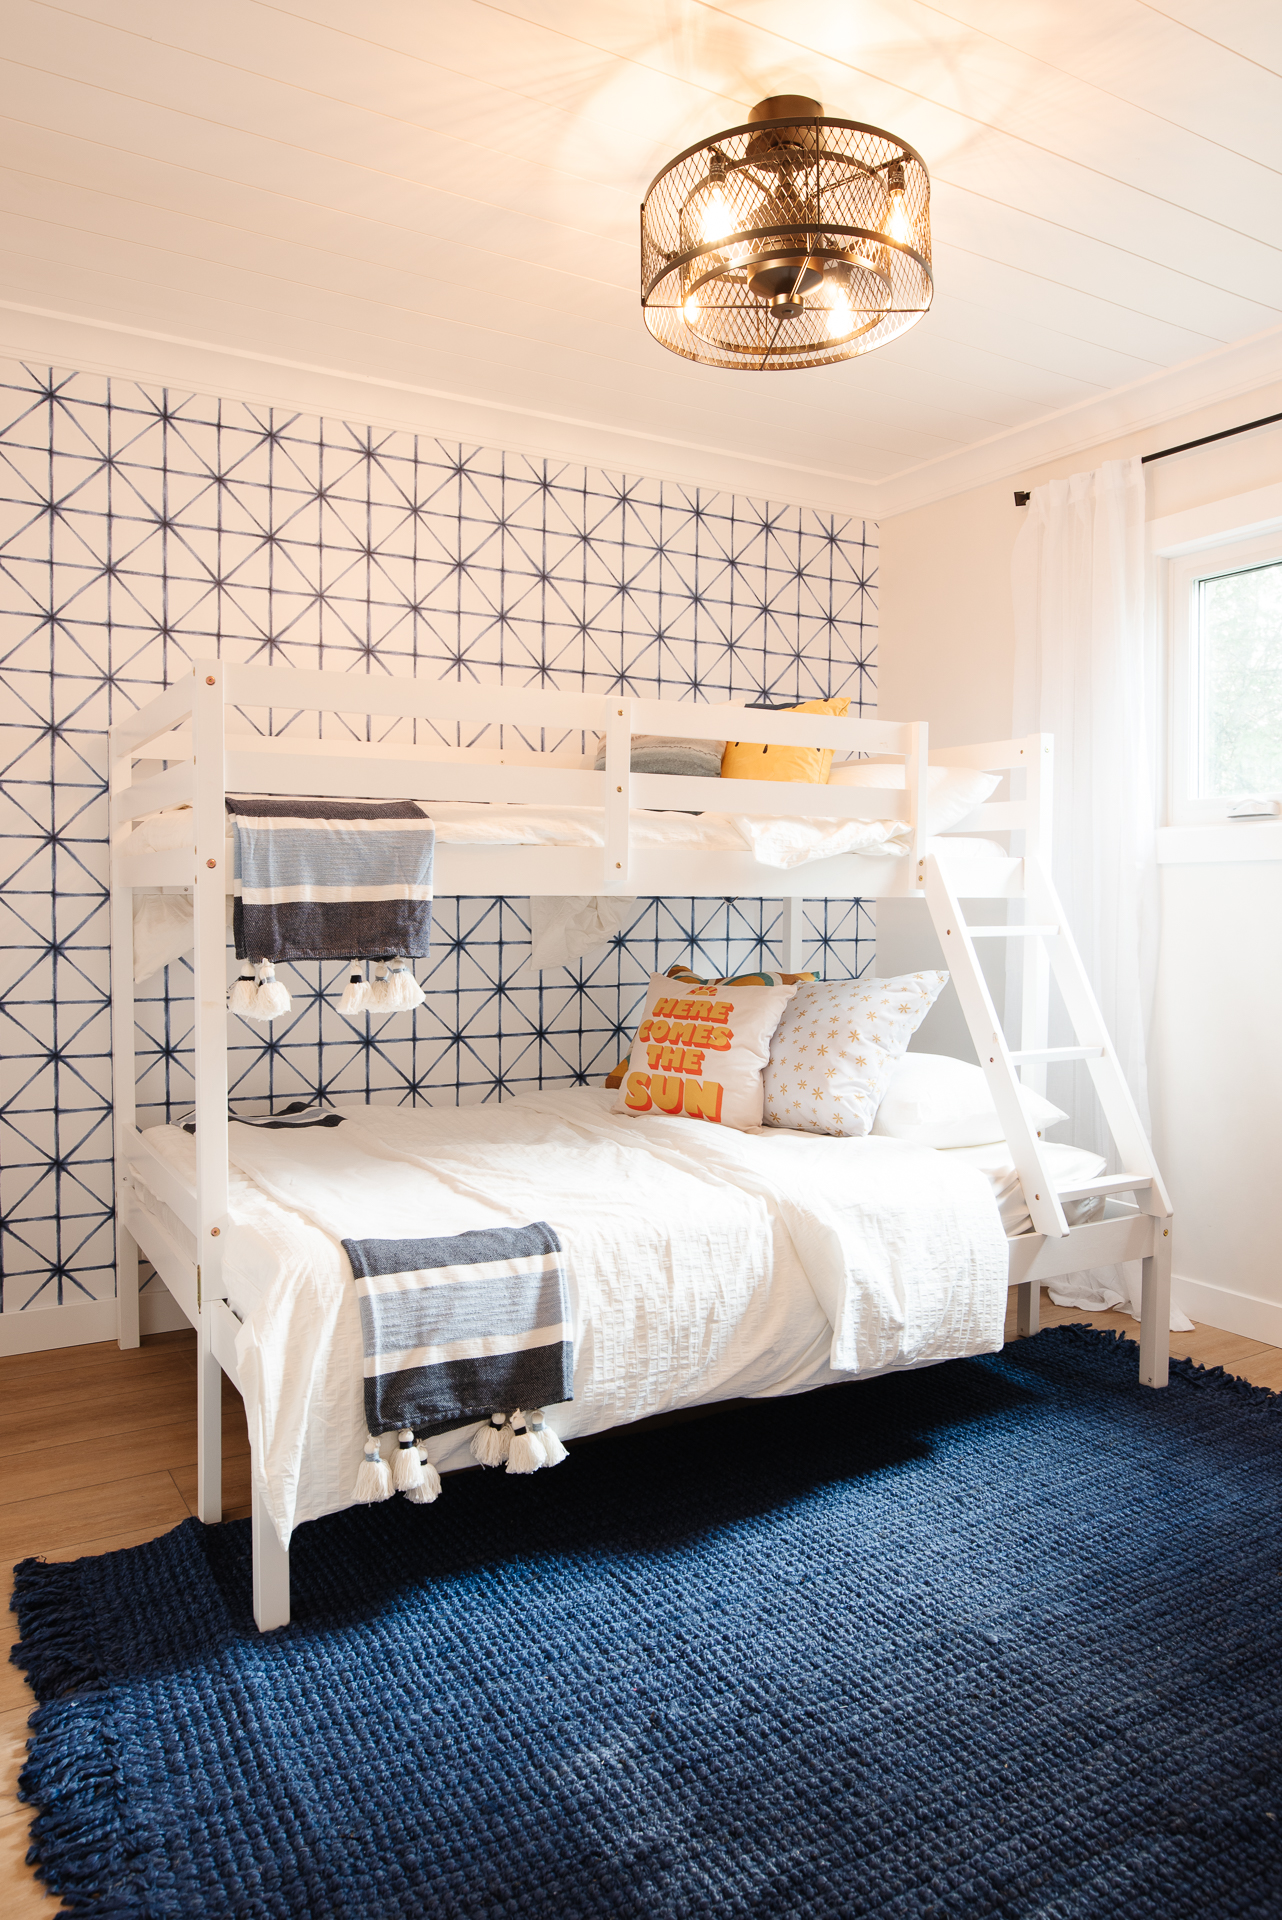
Peel and Stick Wallpaper Feature Wall
Have you ever tried peel & stick wallpaper? I find it a lot easier to install than traditional pre-pasted or regular wallpaper that requires additional paste. It’s essentially a large sticker sheet with a removable backing, and there are many brands available. I like the RoomMates brand wallpaper as it’s quite think and goes on the wall nicely. It’s the perfect product to create a show-stopping feature wall in a bedroom.
How to install a peel & stick wallpaper feature wall
- Ensure your wall is clean, sanded and smooth. Don’t install peel and stick wallpaper on freshly painted walls; wait for the paint to cure for several days before applying.
- Measure out the square footage of your wall to determine how much peel & stick wallpaper to purchase. Buy extra for cutting, pattern matching and mistakes.
- Cut a strip that’s slightly longer than the height of your wall and peel off the first few inches of backing.
- Place the strip at the top corner of the wall, start smoothing it onto the wall from the top to the bottom and peel off the backing as you go.
- You can smooth it onto the wall with your hands or carefully with a plastic card.
- Continue applying the wallpaper in this way, lining up the pattern as you go.
- Trim off any excess with a utility knife, and add any trimwork.
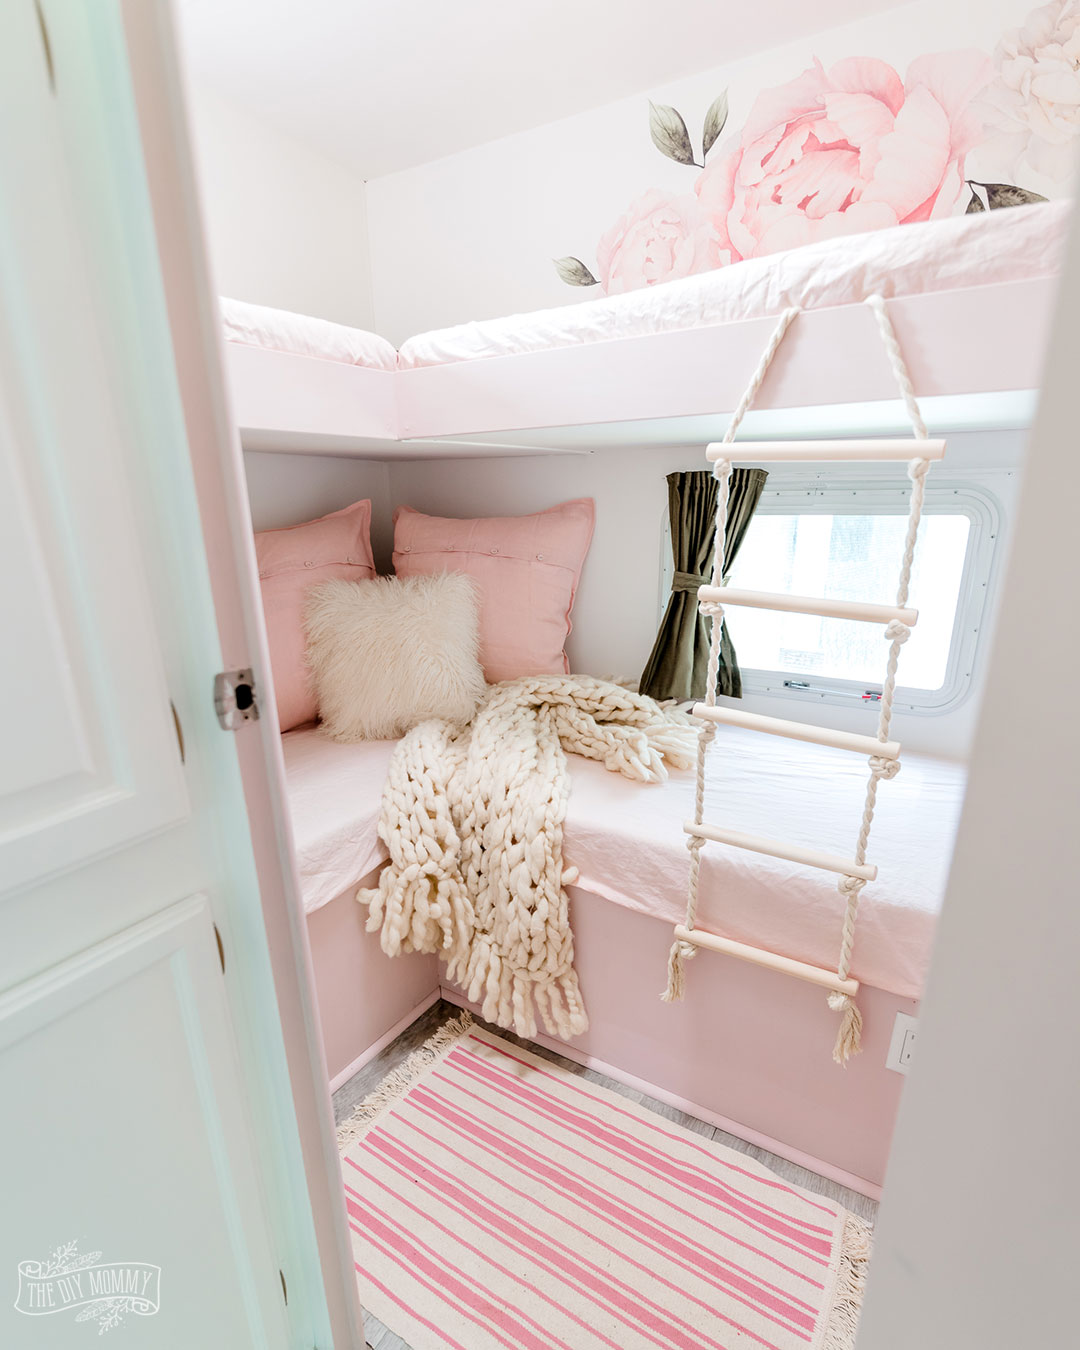
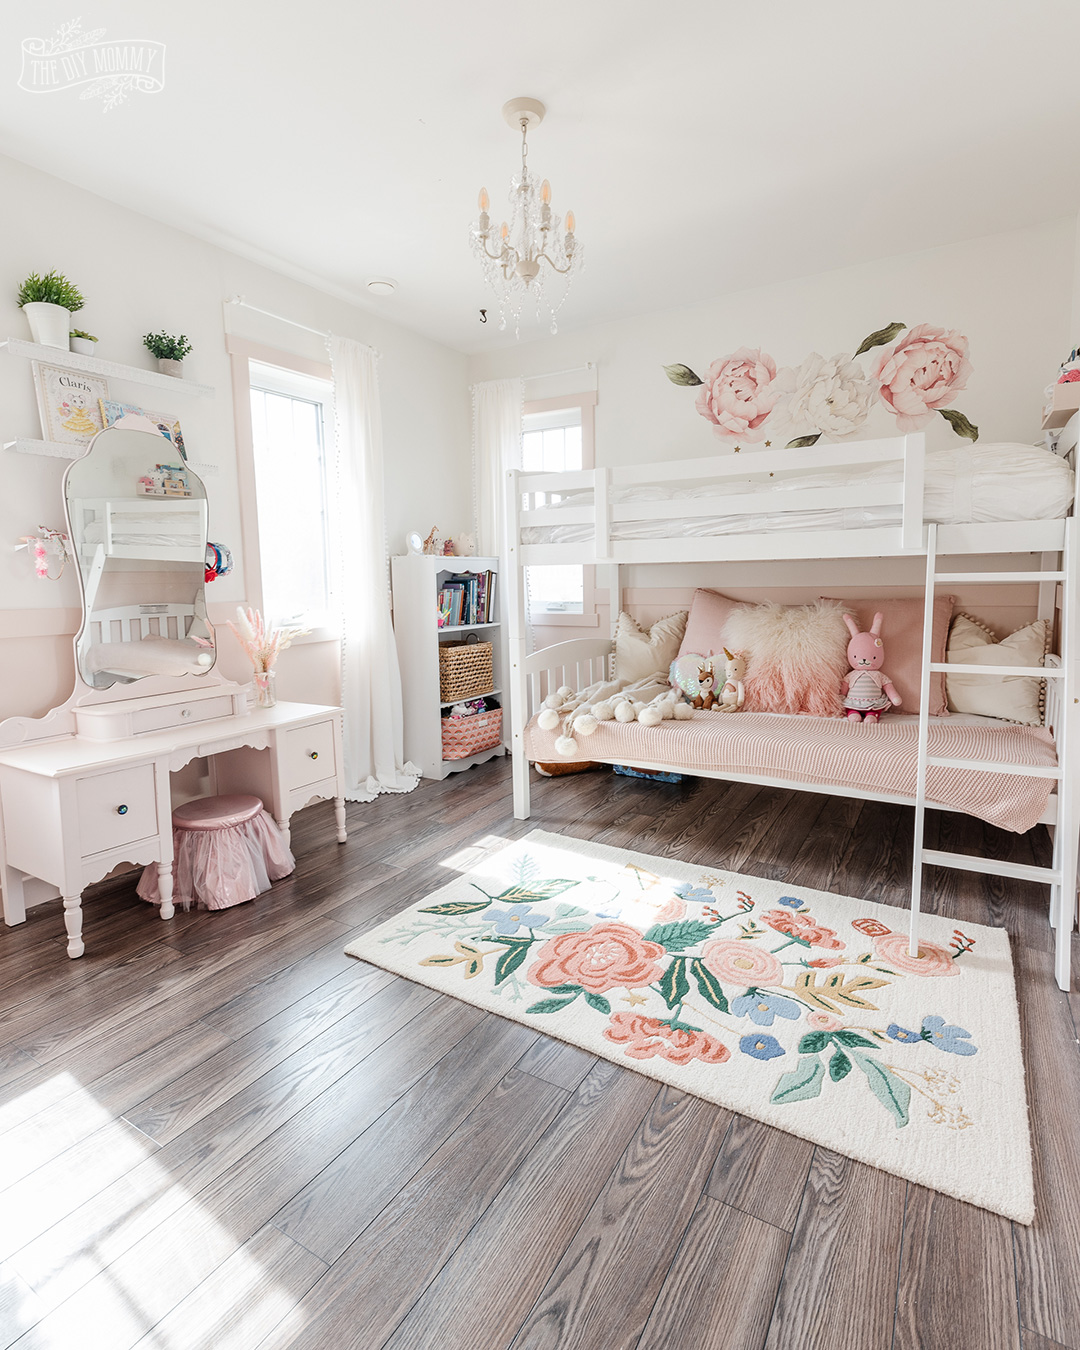
Don’t want to install a full wall of wallpaper? Get this look on a smaller scale with a peel & stick wall decal like these peony ones I used in our camper bunkroom and my daughter’s bedroom:
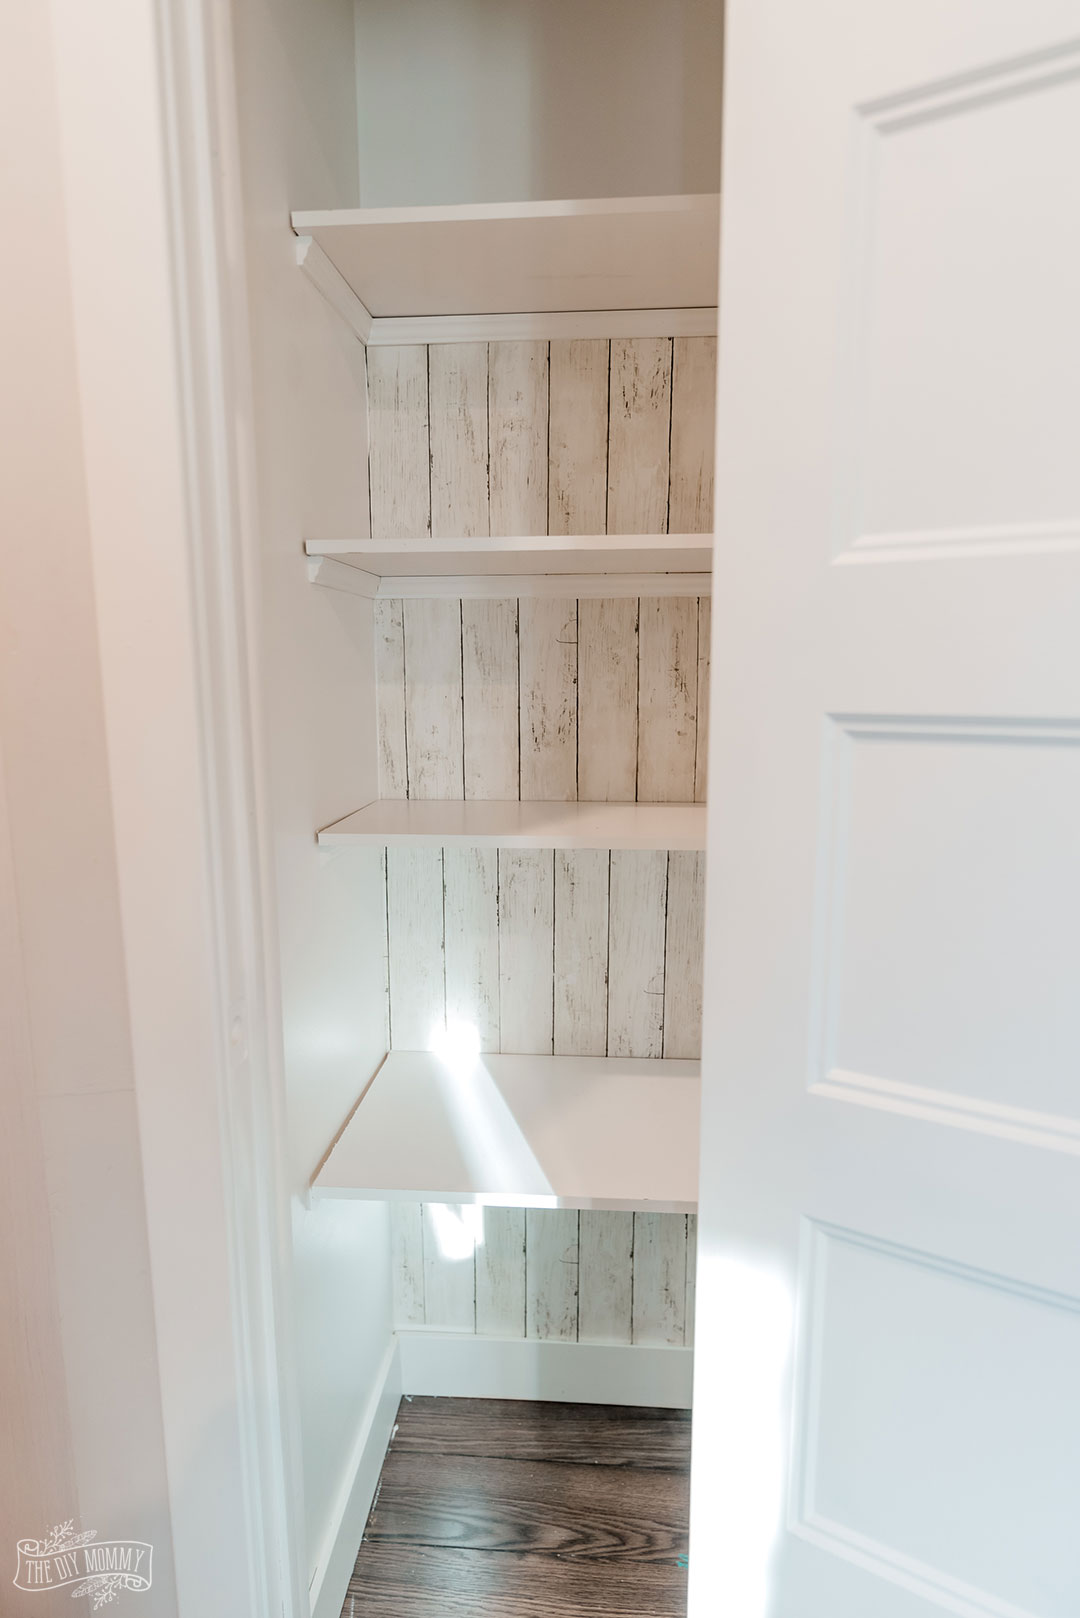
Using Contact Paper as Pantry Backing or Shelf Liner
You can use peel & stick patterned contact paper at the back of your pantry or bottom of your drawers to help protect surfaces and add some interest to your kitchen storage. I used this pretty vintage wood look contact paper at the back of my pantry to give it some style. Contact paper is budget friendly, and you can find a pattern and colour for any decor style! It’s thinner than peel and stick wallpaper, but applied in a similar manner.
How to install contact paper as a pantry backing
- Ensure your wall is clean, sanded and smooth.
- Measure out the square footage of your wall to determine how much patterned contact paper to purchase. Buy extra for cutting, pattern matching and mistakes.
- Cut a strip that’s slightly longer than the height of your wall and peel off the first few inches of backing.
- Place the strip at the top corner of the wall, start smoothing it onto the wall from the top to the bottom and peel off the backing as you go.
- You can smooth it onto the wall with your hands or carefully with a plastic card.
- Continue applying the contact paper in this way, lining up the pattern as you go.
- Trim off any excess with a utility knife, and add any trimwork.
- Install this in a similar manner on the inside bottoms of your kitchen drawers to help protect them and add some style. It’s also usually very easy to remove!
See this entire pantry makeover right here.
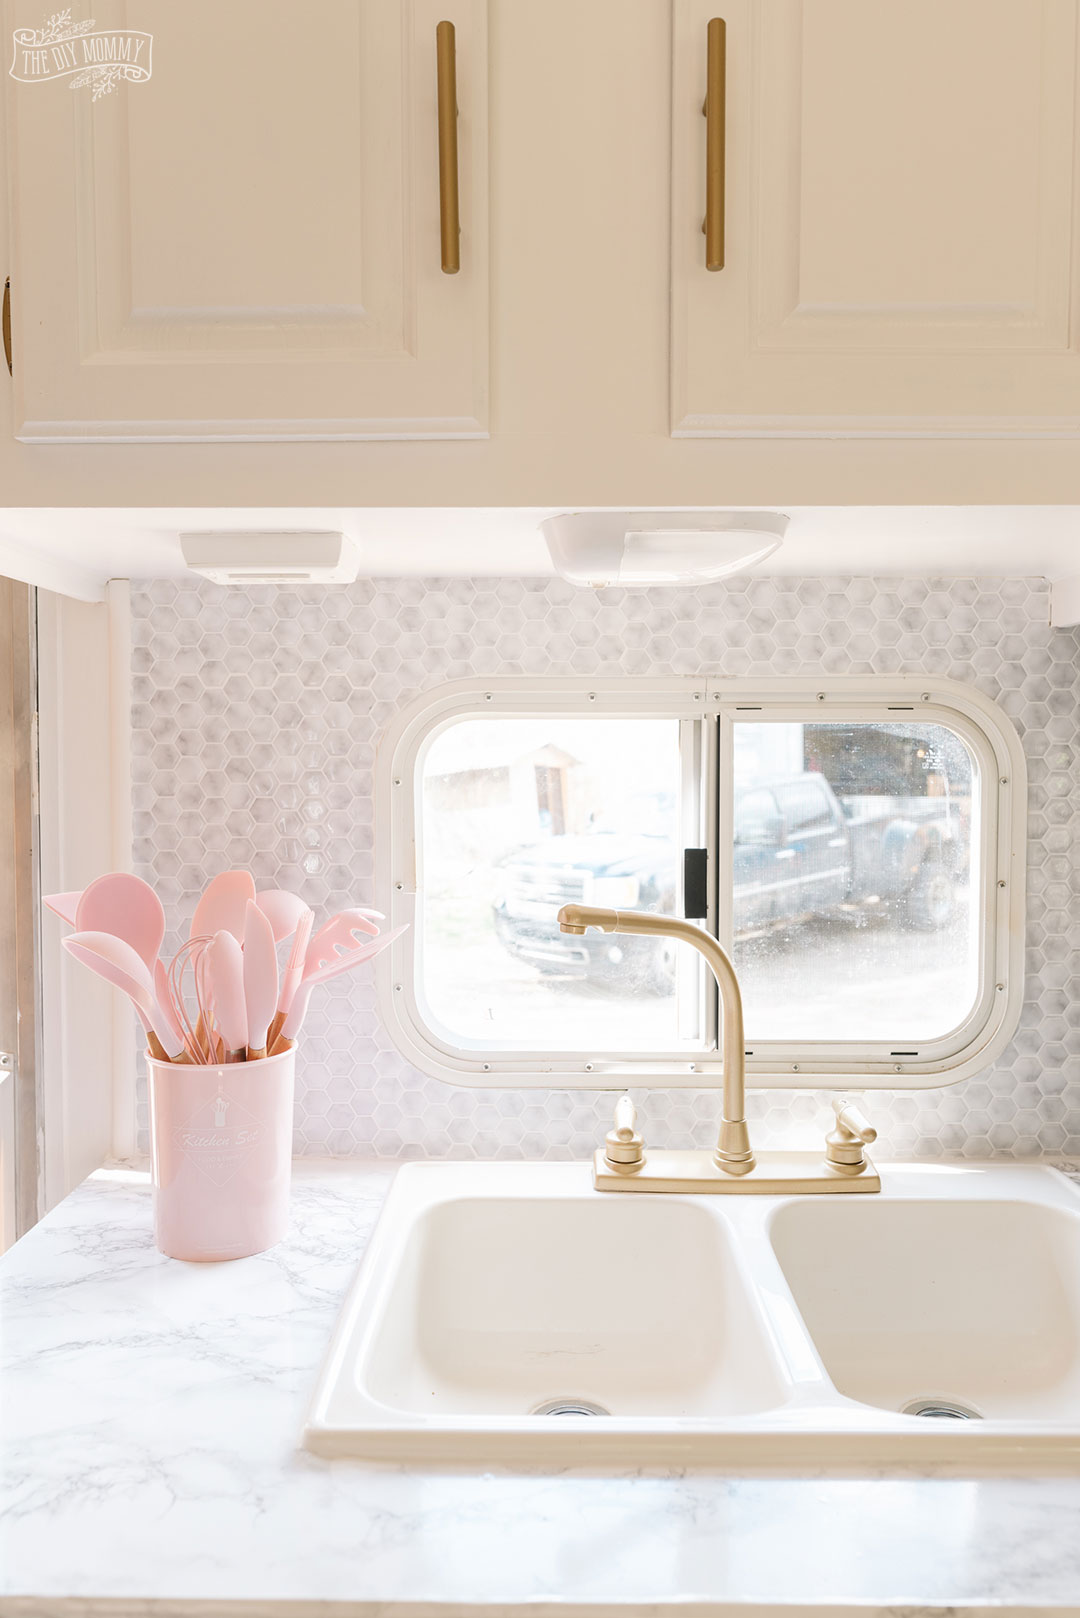
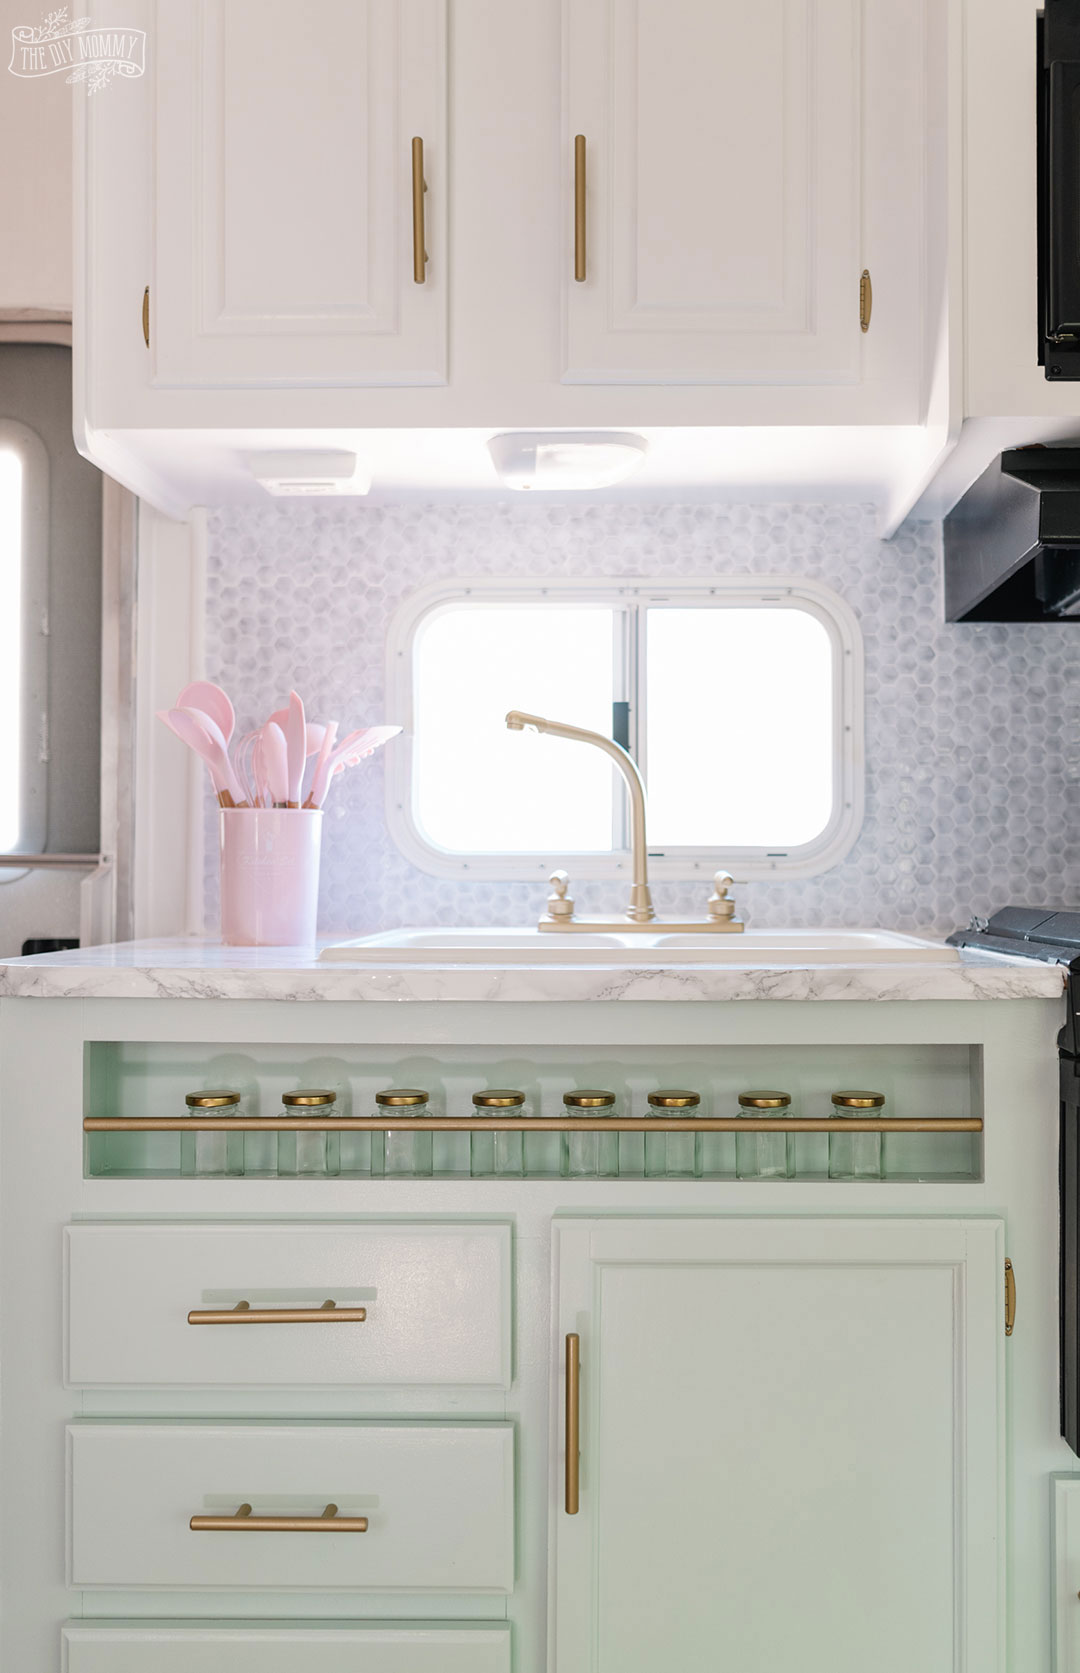
Faux Marble Adhesive Film Countertops
Marble look adhesive film can completely transform dated or damaged countertops in a snap! My favourite brand is the d-c-fix adhesive film from Amazon. It’s quite thick, simple to install, and I think it has a realistic look. I’ve installed faux marble adhesive film countertops in two RVs and on my studio kitchen island. They’ve held up fabulously! This adhesive film is thicker than most regular contact papers.
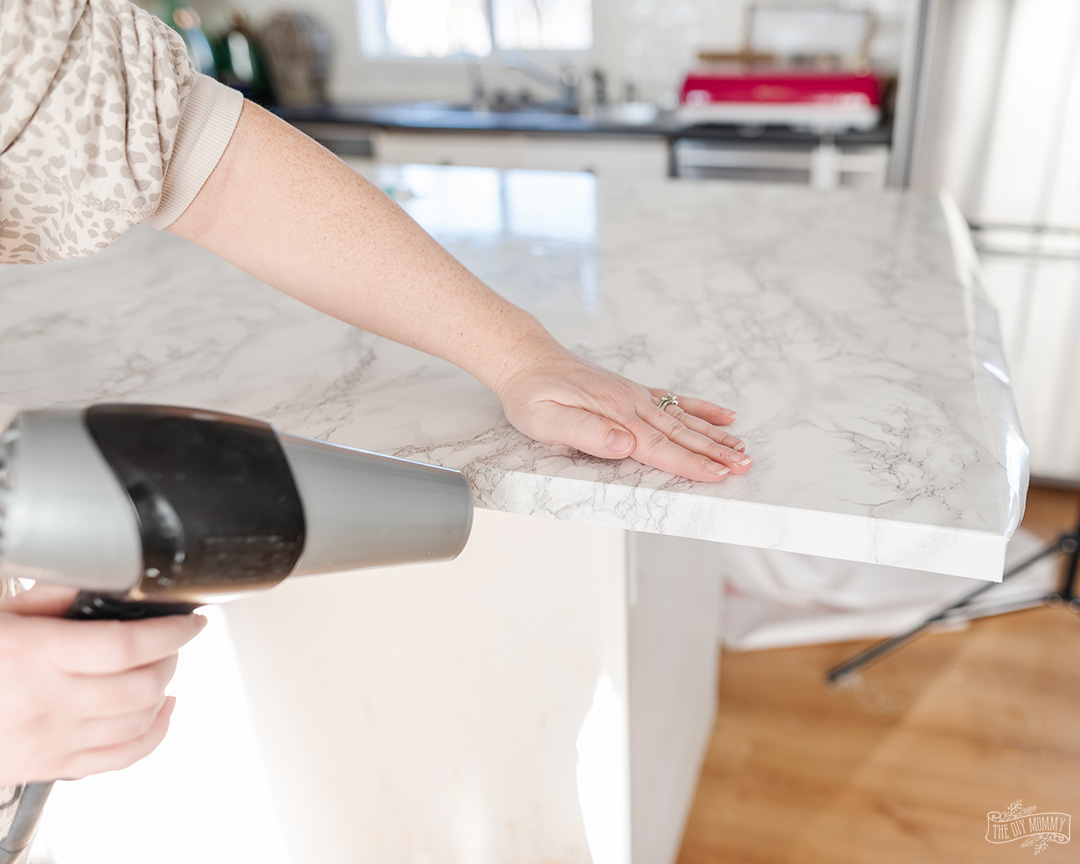
How to install faux marble adhesive film countertops
- To begin, clean your countertop thoroughly with a degreasing cleaner. If you’re covering a butcher block counter, you can also sand it to make it smooth.
- Next, measure you counter and then cut the contact paper to the required size with sharp scissors. If you’re using D-C-Fix, you can use the grid on the back for straight cuts. Make sure to leave extra product to wrap around the sides and bottom of your counter.
- Gently remove just the first couple inches of the backing paper and put it in place.
- Begin smoothing the contact paper onto your counter with a plastic spatula, a dry cloth, or your hand.
- Continue pulling off the backing and smoothing the vinyl onto your countertop a few inches at a time.
- Keep measuring, cutting, and applying the contact paper until your entire counter is covered.
- For extra adhesion and to help remove any air bubbles, move a hair dryer on a low heat setting over the covered surface to shrink the contact paper. Use your hand to gently press out any air bubbles.
Read more about faux marble countertops and answers to FAQs here.
Watch my YouTube video for more on these DIY peel and stick projects for your home:
Now tell me: Have you tried any of these DIY peel and stick products in YOUR home? Which look do you like the best?
PIN ME:
I absolutely LOVE the marble counter top! When I saw it first with the back splash in your camper I thought it was real! We have dark granite counters, which aren’t my favorite-but doing an island with this would lighten it up SOO much! A pin legged round plant stand…floating end tables. My ideas are over flowing!! ( I’m also obsessed with anything on a ceiling! )
I love your website, and this post is so great!
Hi I was wondering how the decals and peel and stick wallpaper have held up in RV with the temperature fluctuations?
Really good!
Oh my! I got hooked on the contact paper thing last summer. but I’ve never done the back splash make over. I’ve been thinking about it. I really need to just dive into it. thanks so much.