Learn how to use Cricut Design Space for FREE!
This post may contain affiliate links · This blog generates income via ads
Did you know that you can upload your own images and fonts to Cricut Design Space? Instead of paying for a Cricut Access monthly subscription or for individual fonts and images, uploading your own is a FREE way to use your Cricut and make unique free designs. Let me show you how!
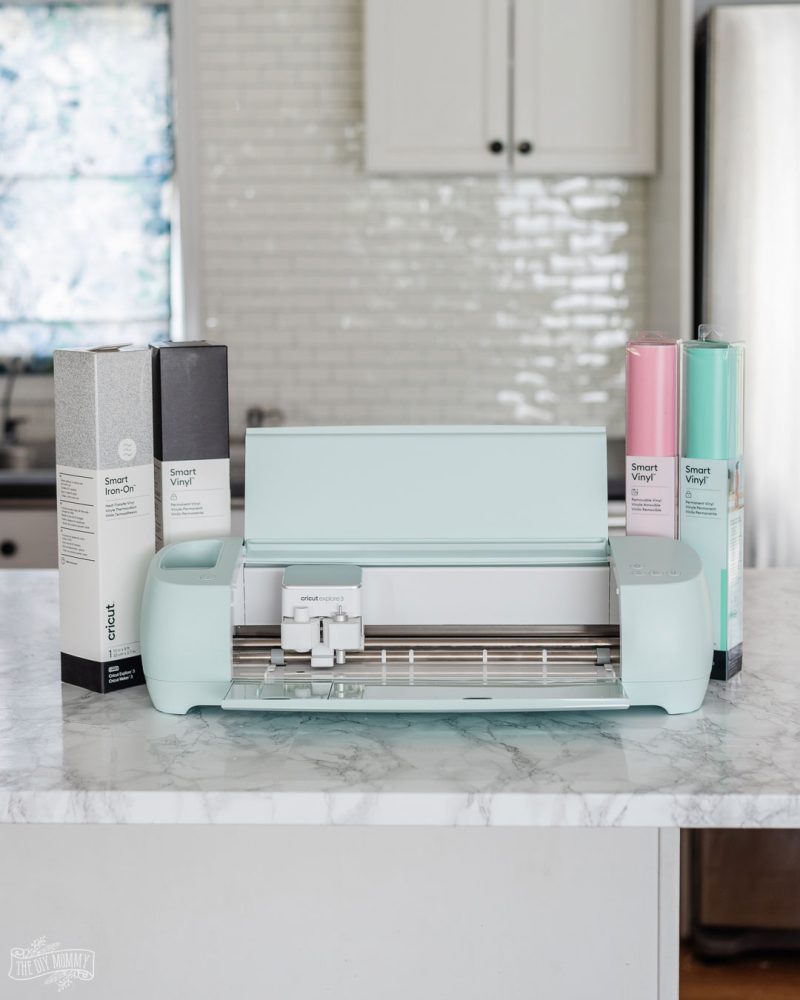
First of all, are you a new Cricut user? Click here to learn all about Cricut and how you can use it. The following instructions will work for all of the following Cricut models: Cricut Maker, Cricut Explore Air 2, Cricut Joy, and the Explore 3 & Maker 3 cutting machines. Welcome to the Cricut family, and you’ve come to the right place to learn everything you need to know about making beautiful projects from your own designs!
Can I Use Cricut Design Space for Free?

Yes, you can! Cricut Design Space itself is free and you do not need to pay the monthly subscription. However, many people find it frustrating some of the projects and images on Cricut Design Space cost money. There ARE some free Cricut fonts and images that can be a great place to start. Chances are though, you’re going to do a project or two with what is available on Design Space for free and then start asking yourself: How do I download and add fonts to Cricut? Where can you find free fonts/images to import?
I’m way ahead of you on this, and very excited to share my knowledge about how to expand your selection of fonts and images for free. So if you want to cut unique designs that you just won’t find on Cricut without the paid subscription, keep reading for how to find a free version of what you are looking for and get going on your own more advanced projects right away!
Watch my video to learn how to upload free images and fonts to use with Cricut:
How Can You Find Free Images in Cricut Design Space?
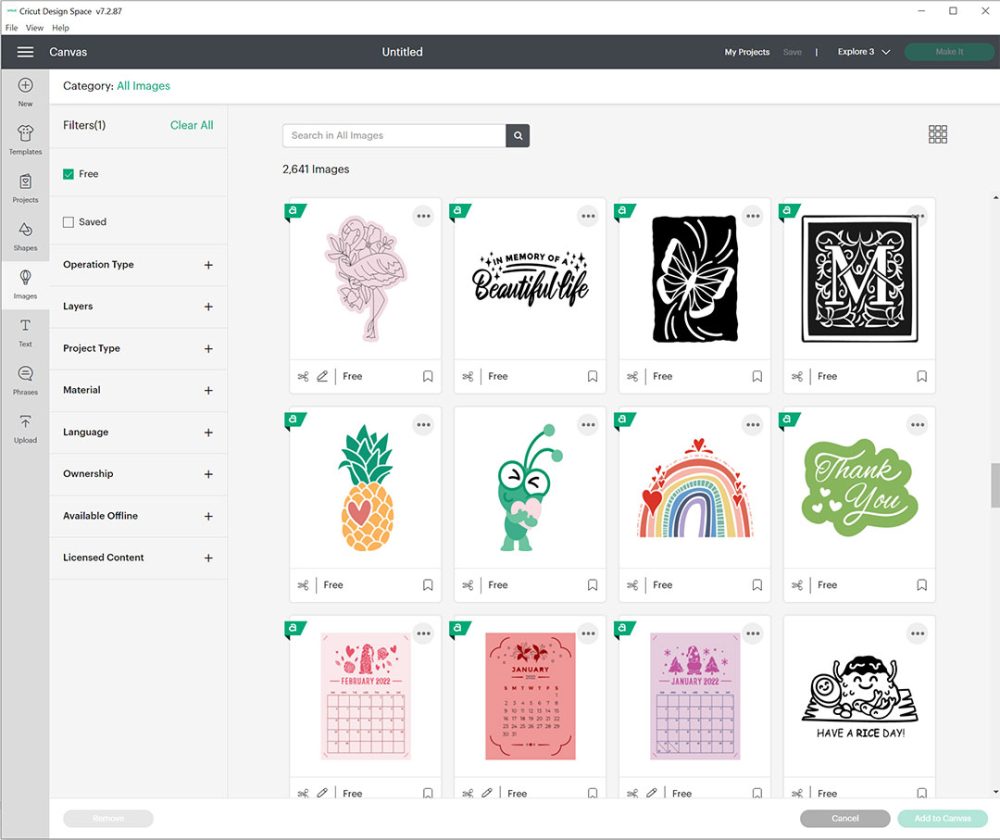
Cricut DOES offer free images in the Cricut image library in Design Space. To find them, click on the Image menu, and then click the “FREE” filter when searching for an image. However, this library is not extensive and after you have done an easy project or two, you will probably want to expand your horizons and go looking for your own!
How to Upload Images to Cricut Design Space
Do you already have images on your computer that you would love to upload to Design Space but you aren’t sure how? To begin uploading images to Cricut Design Space so that you can create free projects without making purchases, follow this simple step-by-step guide:
- Open up the Cricut Design Space app on your desktop computer or mobile device. (New to design space? Start here.)
- Click on the “New Project” button on the top right of the screen.
- Click on the “Upload” button on the bottom left of the screen.
- Click on the “Upload Image” button in the center of the screen.
- Click “Browse”, and then navigate through your computer’s or smart device’s folders to find the file you want to upload. I like to use JPG or PNG files for this. You can also upload SVG files which can be used right away without doing steps 6,7 and 8!
- If you are not using an SVG file: Click on your file and then select the Image Type: Simple, Moderately Complex, or Complex. Design Space walks you through what each of those types means.
- Click “Continue”, and then remove the background of the image manually or with Cricut’s automatic background removal feature. You can also crop any unwanted sections of the image on this screen.
- Click “Apply & Continue” and then decide if you want the image to be a “Cut Image” (the Cricut will cut the lines) or a “Print then Cut Image” (you will print the design on a printer and then cut out the lines with your Cricut). Usually, I choose Cut Images. I think it is just simpler to eliminate one extra step from the process.
- Click “Upload” and your image will appear in your “Recent Uploads” folder.
- To insert your uploaded image into your new project, click on the image and then click “Add to Canvas” on the bottom right of the screen.
Isn’t that easy? Now, if you’re wondering where you can actually find free images for your next DIY project, read on!
Where Can You Find Free Images to Import?
So, what if you don’t already have your own images? Never fear! There are a variety of places to find free images to bring into Cricut Design Space. Just make sure that you are able to legally use them for your project if you are planning to sell your finished piece.
- Sweet Red Poppy has a ton of free SVG files
- …and so does blogger Jennifer Maker!
- Blogger Angie Holden has free SVG images as well
- There are some adorable free SVG images from Diana Miller
- Design Bundles has a variety of free SVG images
- Noun Project has free SVG and PNG simple icon files
- You can also do a search on Pinterest for free SVG files that import easily into Cricut Design Space!
Tips on Importing Images into Design Space
- SVG files are easiest because they scale nicely and are ready to go!
- Images with a lot of clear contrast always work best, and
- So do images that are simplistic and made up of basic shapes (complex images or intricate designs can be difficult to cut with a Cricut).
Creating Your Own Images
If you’re wondering, can I use my own images with Cricut? The answer is yes! You can upload your very own original art to Cricut Design Space. Whether you’ve drawn something on a piece of paper or done it digitally, save it as either a JPG, PNG, or SVG file and import it in the same way you would a downloaded image. One of my favourite things about Cricut Design Space is how easy it is to use your own creations. It gives you total creative freedom to do your own thing.

Can I Use My Own Fonts with Cricut?
Yes, you can! There is no need to use only what is already available in Design Space. It is actually very simple to upload fonts you have downloaded onto your own computer.
How to Upload Fonts to Cricut Design Space
Cricut does have a limited selection of free fonts available, but it’s always fun to try different fonts for craft projects. A fun and interesting font is a great way to make your project unique. To begin uploading fonts to Cricut Design Space so that you can create projects for FREE, follow this simple step-by-step guide:
- Download your desired font onto your computer.
- Install your font on your computer
- Open up the Cricut Design Space app and click on the “New Project” button on the top right of the screen.
- Click on the Text tool on the left-hand side of the screen.
- Type the word or phrase you’d like, and then click on the “Font” drop-down menu at the top left of the screen.
- Click on “System” fonts at the top, and then the menu should display all of the fonts you have installed on your computer, including the new font. Click on the desired font you want to use.
Where Can You Find Free Fonts to Import?
There are a variety of places to find free fonts to bring into Cricut Design Space. Just make sure that you are able to legally use them for your project if you are planning to sell your finished piece. Do they offer commercial licenses, or is the image solely for personal use? How does image ownership work? Most sites will let you know, so just make sure you do some due diligence to make sure your image is REALLY free with no strings attached.
- Dafont
- 1001 Free Fonts
- Urban Fonts
- Even though the fonts aren’t free, I love Creative Market for their gorgeous fonts. I buy them every so often, but use them a lot for Cricut crafts and graphic design.
Tips on Importing Fonts into Design Space
- Just like images, the simpler the better when it comes to fonts if you want them to work well for cutting.
- When using script or handwriting fonts, you might need to ungroup your letters and move them around to achieve the look you want.
- When you’re ready to cut your design, create a copy of your word or phrase, hide the first copy, select all the letters of the new copy, and then click “Weld” to make the letters of the word into one image, ready to cut.
I hope this helps you make the most of your new machine and opens up the door to even more creativity! Have you made any amazing Cricut projects? Please tag me on Instagram so that I can see and comment: @thediymommy!
Have fun crafting!
Pin Me:

I recently got a cricut maker and this article was super helpful. Answered so many questions I had!!! Thank you so much for sharing!
Nice!
I’ve been looking for this tool to import fonts for free, thanks a lot!
When I upload the image for “cut” is blacked out and only the print and cut image is available (which I do not intend to use) what am I doing wrong!
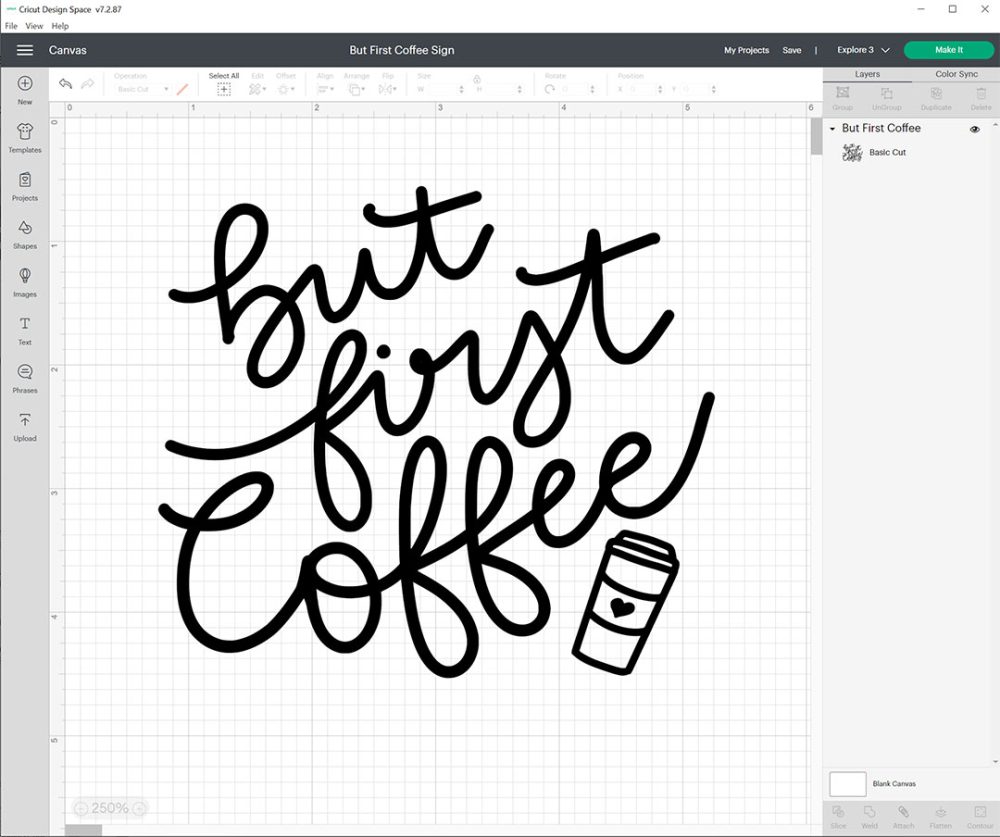
Thanks so much for sharing my “But first coffee” design. ❤️