Sew a Ruffled Apron with a Heart Applique
This post may contain affiliate links · This blog generates income via ads
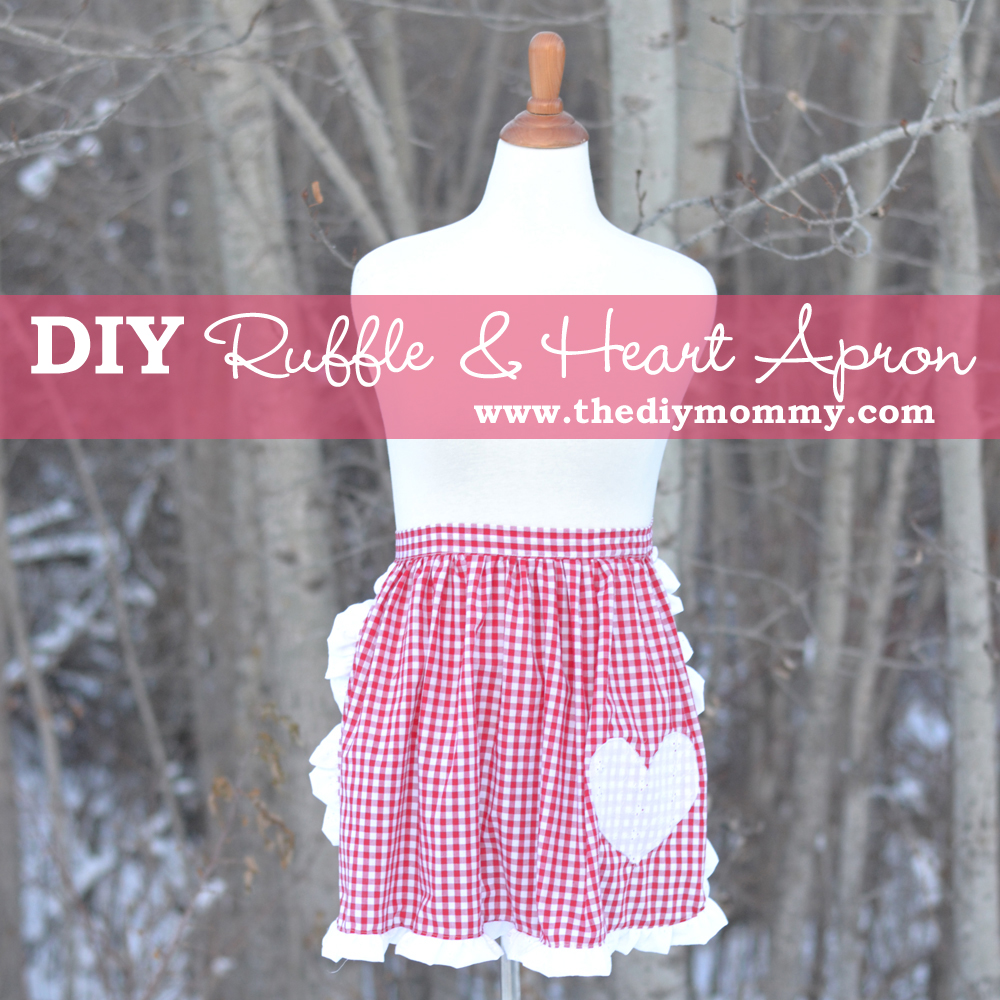
One of my friends needed an apron for a costume this month. It had to be red gingham with a white ruffle and heart applique, so I set to designing it from scratch. I absolutely loved the result and I think this feminine little apron would make an adorable Christmas gift for a friend (or make a smaller version for a toddler’s dress-up collection)!
This is a simple project, and a great one for beginner seamstresses. It requires little fabric and can be whipped up in about an hour.
Materials:
- 2 yards gingham fabric (I used red & white gingham – you could order only a yard, but then you will have to cut the apron tie in two pieces and stitch them together making a visible seam)
- 1/2 yard white eyelet fabric
- applique adhesive paper
I purchased my fabric for this project from fabric.com:
Directions:
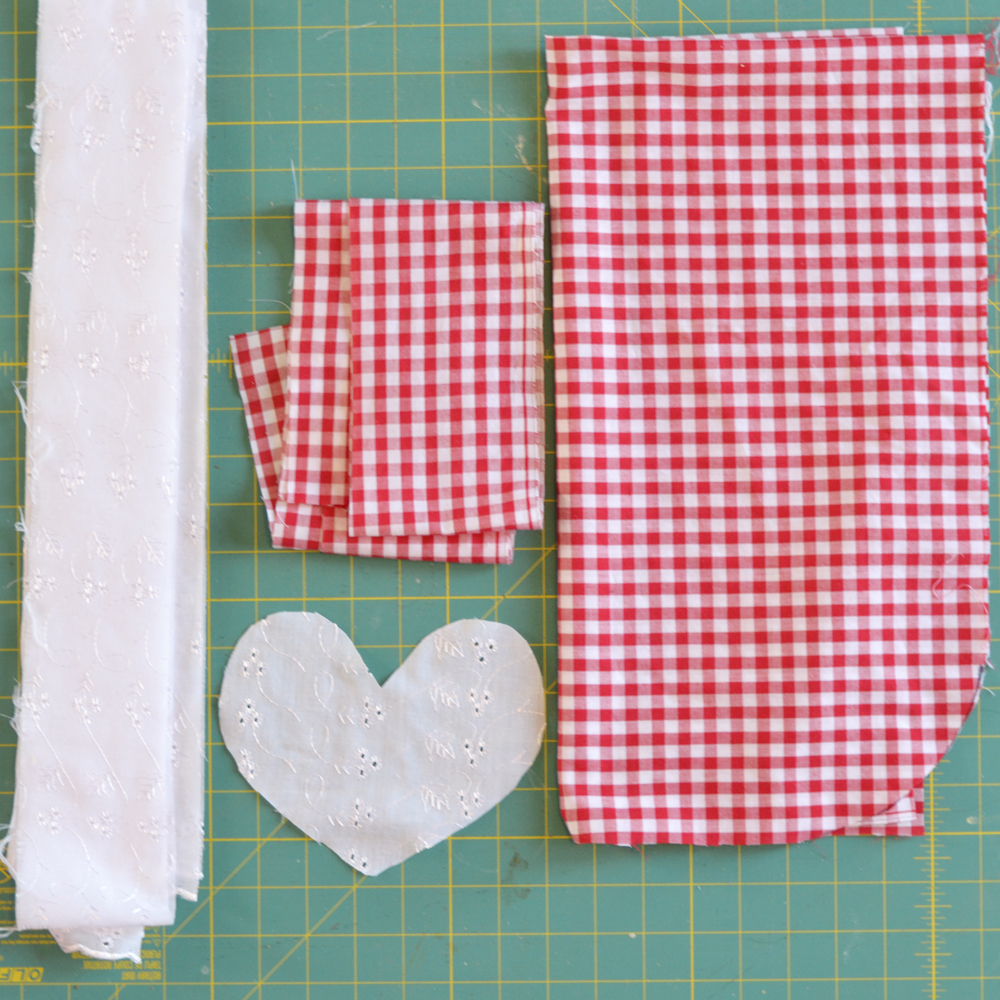
Cut 3 strips from the white eyelet fabric that are 3 inches wide and 44″ long (or whatever the width of your fabric is – mine was 44″) for the ruffle. Cut a 5″ square out of the white eyelet fabric and the applique adhesive paper, fuse them together (according to the directions on the applique paper’s packaging), and then cut out a heart shape (I free-handed mine, but you could also print out a 5″ wide heart and use that as a pattern). Cut a piece of the gingham fabric that is 4″ wide by 70″ long (for the apron tie – use the full length of the 2 yards for this so that it is one continuous piece) and one that is 16″ long by 35″ wide (for the main apron piece).

The ruffle: Sew the three ruffle strips together, and then fold the entire strip in half lengthwise with the wrong sides together. Gather the raw edge (I use a serger and adjust the tension, but you could also use a regular machine basting stitch and pull the threads to gather).
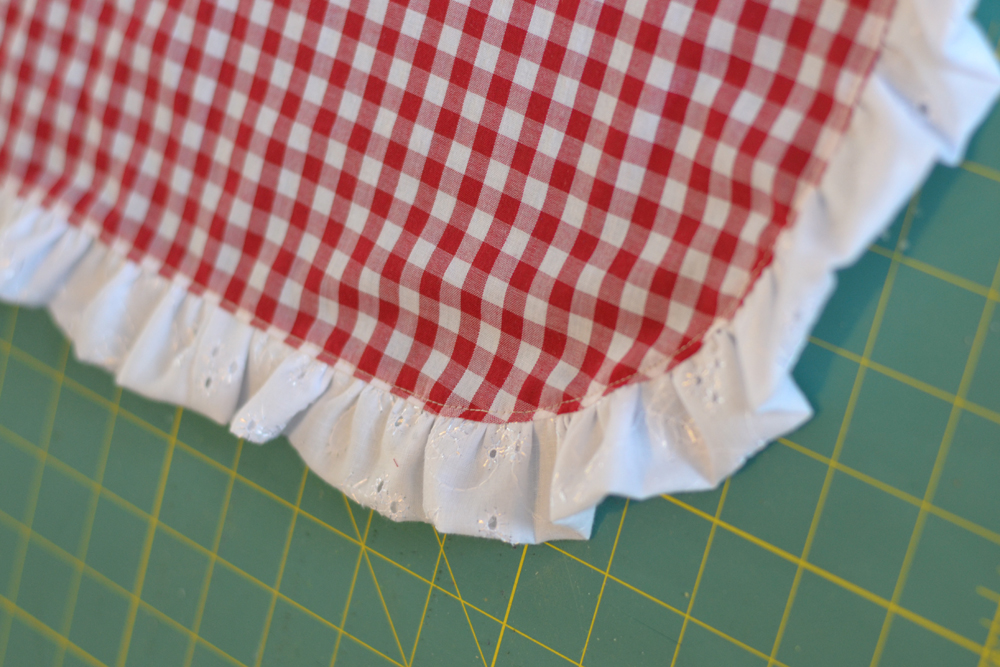
Round the two bottom corners of the main apron piece (I use an ice cream pail lid as a guide) and then pin the ruffle to the sides and bottom of the main apron piece, raw edges together. Stitch together, fold the ruffle down and then top-stitch about 1/4″ away from the seam as shown above. This helps the ruffle stay flat!
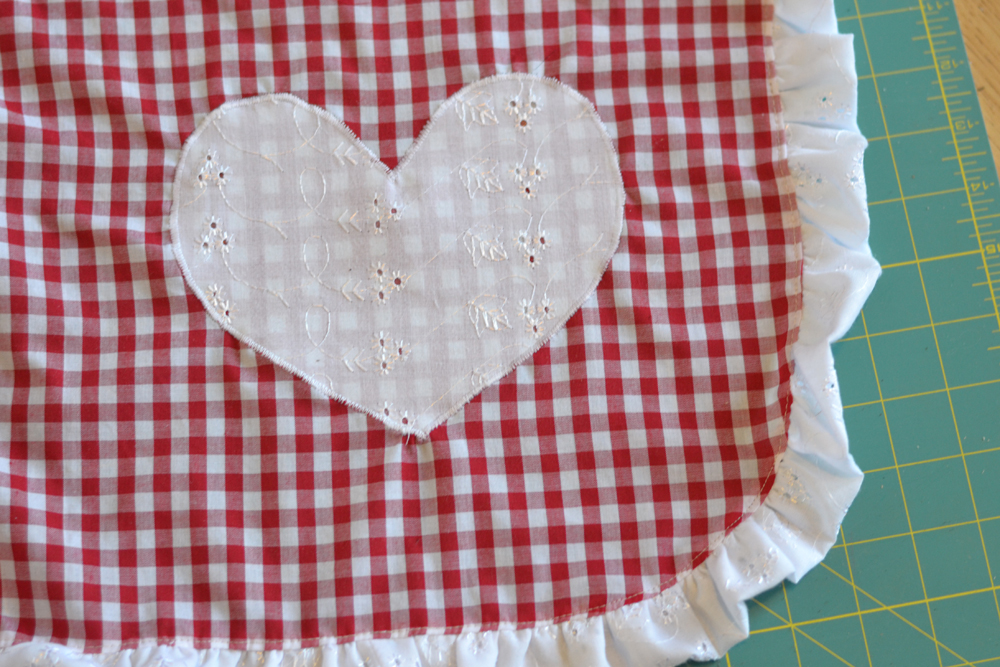
Apply the heart applique to the lower right corner of the apron (about 3 or 4 inches from the edge) and satin stitch it to the apron.
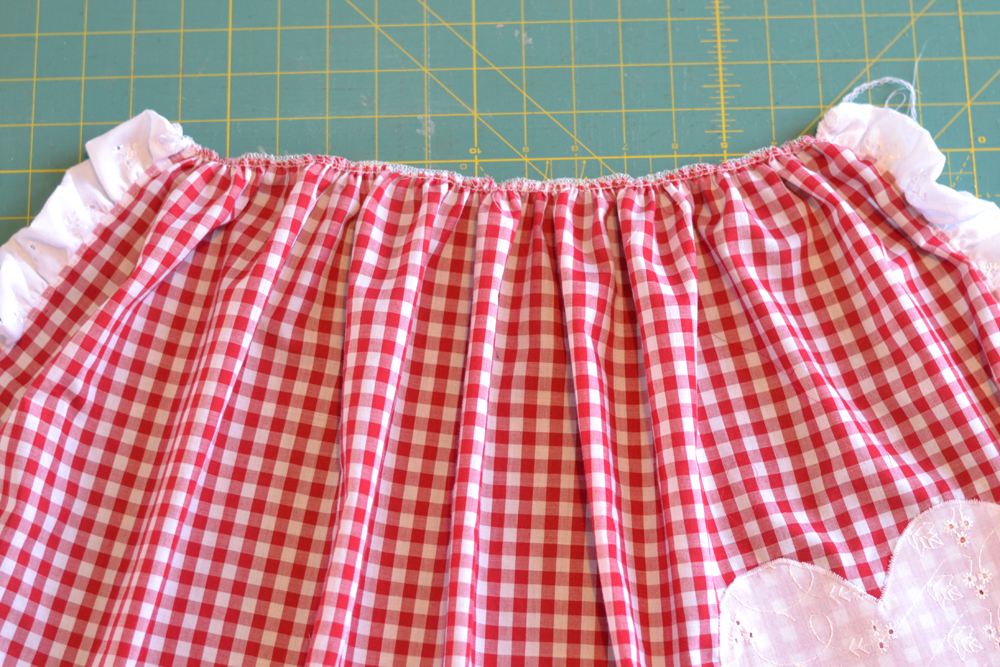
Gather the top of the apron so that it measures approximately 17″ wide.
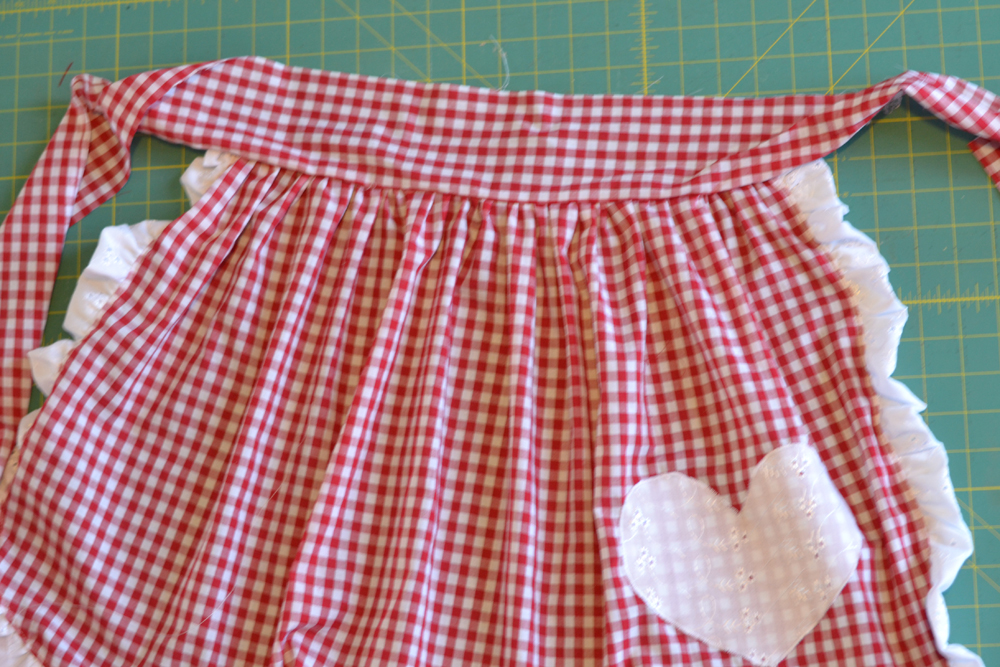
Find the center of the apron and the center of the apron tie piece (by folding each in half). Pin them together, right sides together and raw edges aligned, with the centers matching. Sew together using a 1/2″ seam allowance.
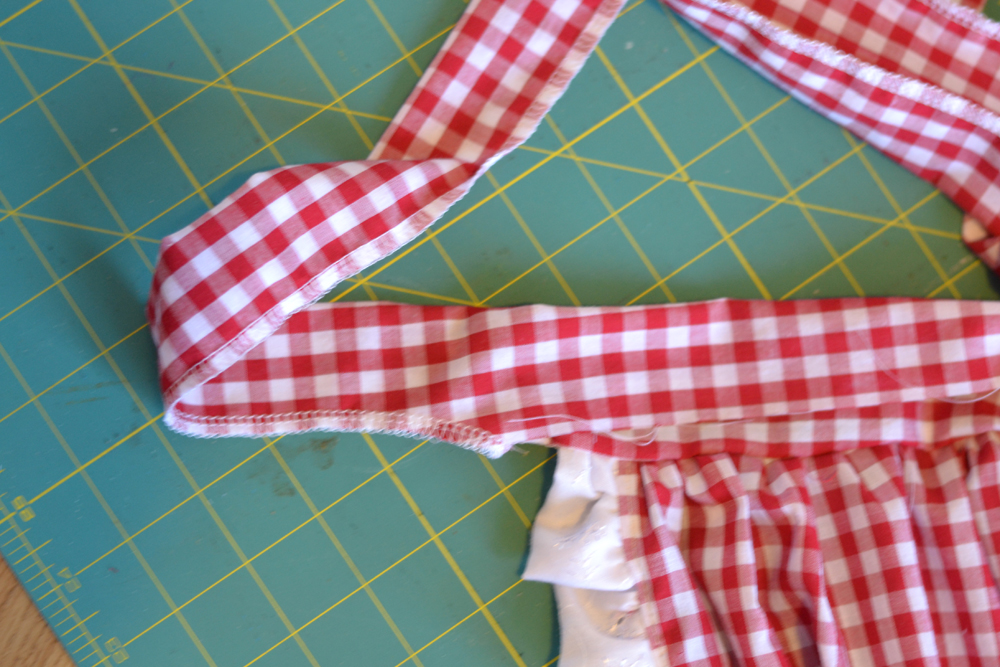
Fold the apron tie in half lengthwise, right sides together, and pin. Sew the ends together using a 1/2″ seam. Then, sew the strap together on either side of the main apron piece, ending the seam about 1/2″ from the apron (as shown above).
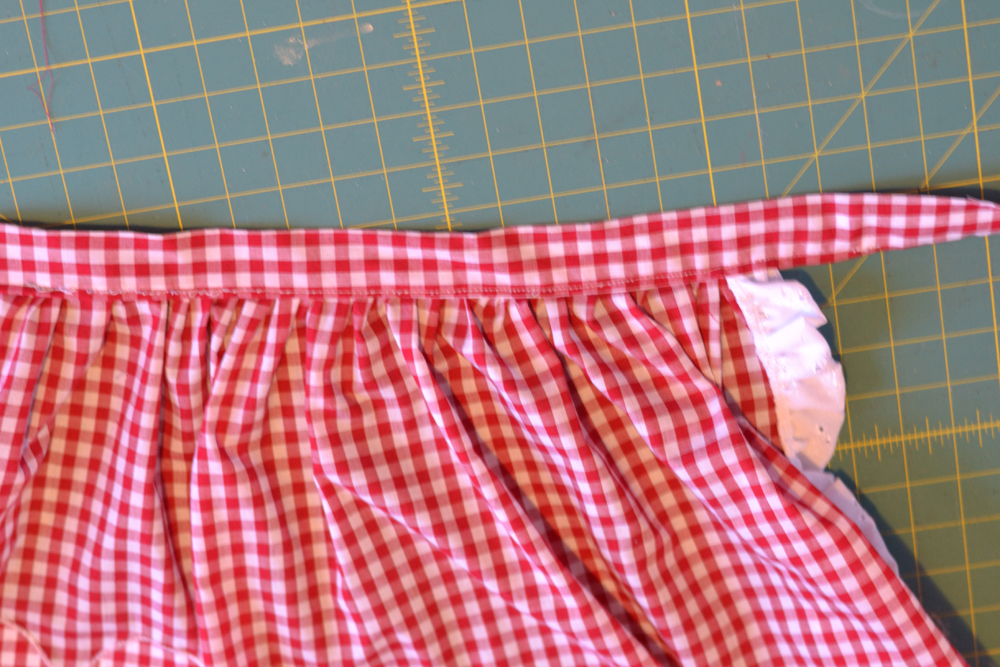
Finally, fold the remaining raw edge of the tie under 1/2″, pin it to the apron, and sew it about 1/4″ from the folded edge to the apron.
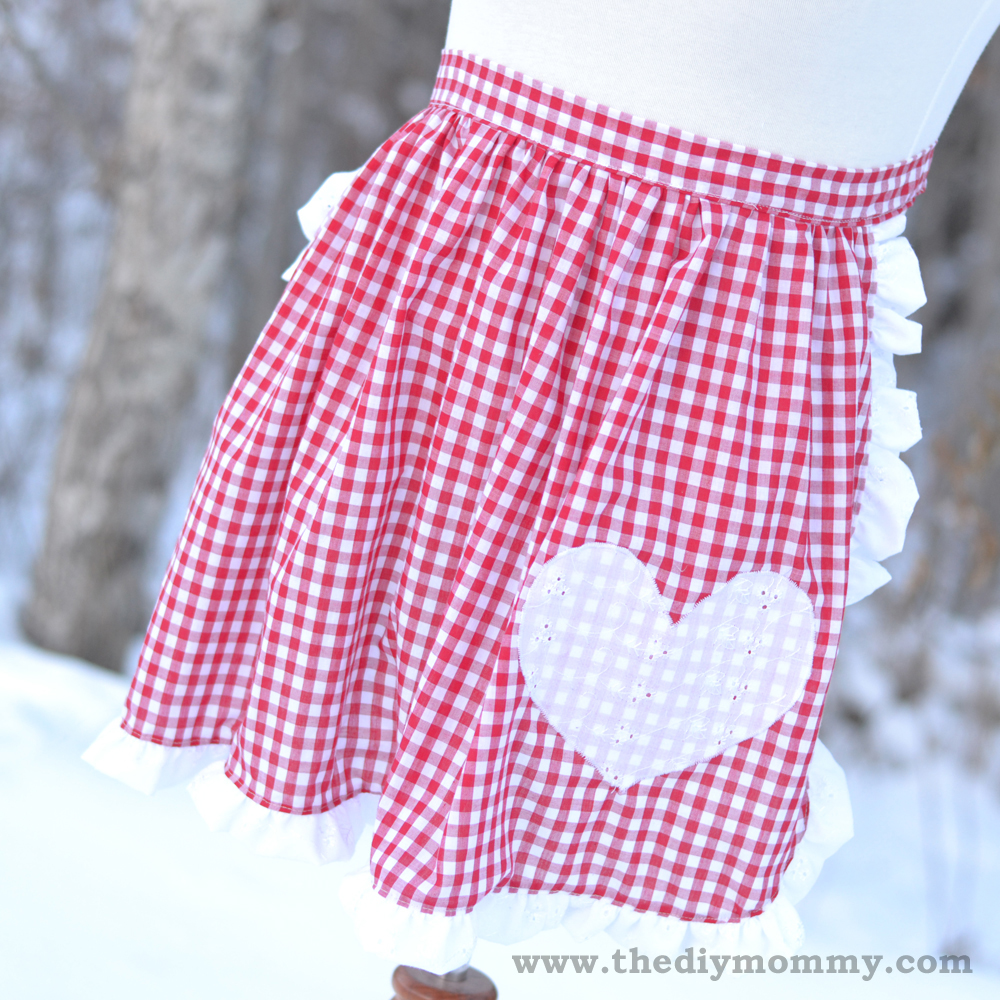
Your pretty little ruffled apron is done! Now, go bake some cinnamon buns or give the apron to your bestie as a cute Christmas gift.

This post is part of The DIY Mommy’s “A Handmade Christmas” series. Would you like to commit to giving handmade gifts (made by you or someone else) for Christmas this year? Join me by entering here!

Little confused on the tie, sewing right sides together, so it will be turned out?
This apron is super adorable! I am just going over my past posts on diyThought and wanted to stop by to say how much I like your work. I have featured it in our post of 10 DIY apron tutorials 🙂 https://www.diythought.com/10-diy-aprons/
Thank you!
I am also confused on the ties, sew right sides together, so do you turn it out?