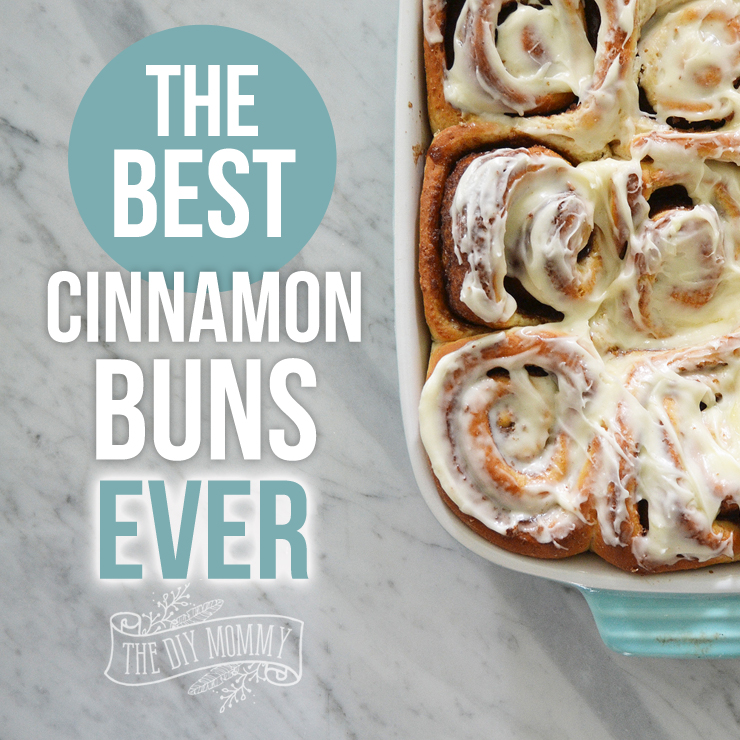
Bake the Best Cinnamon Buns Ever (A Clone of a Cinnabon Recipe)
This post may contain affiliate links · This blog generates income via ads
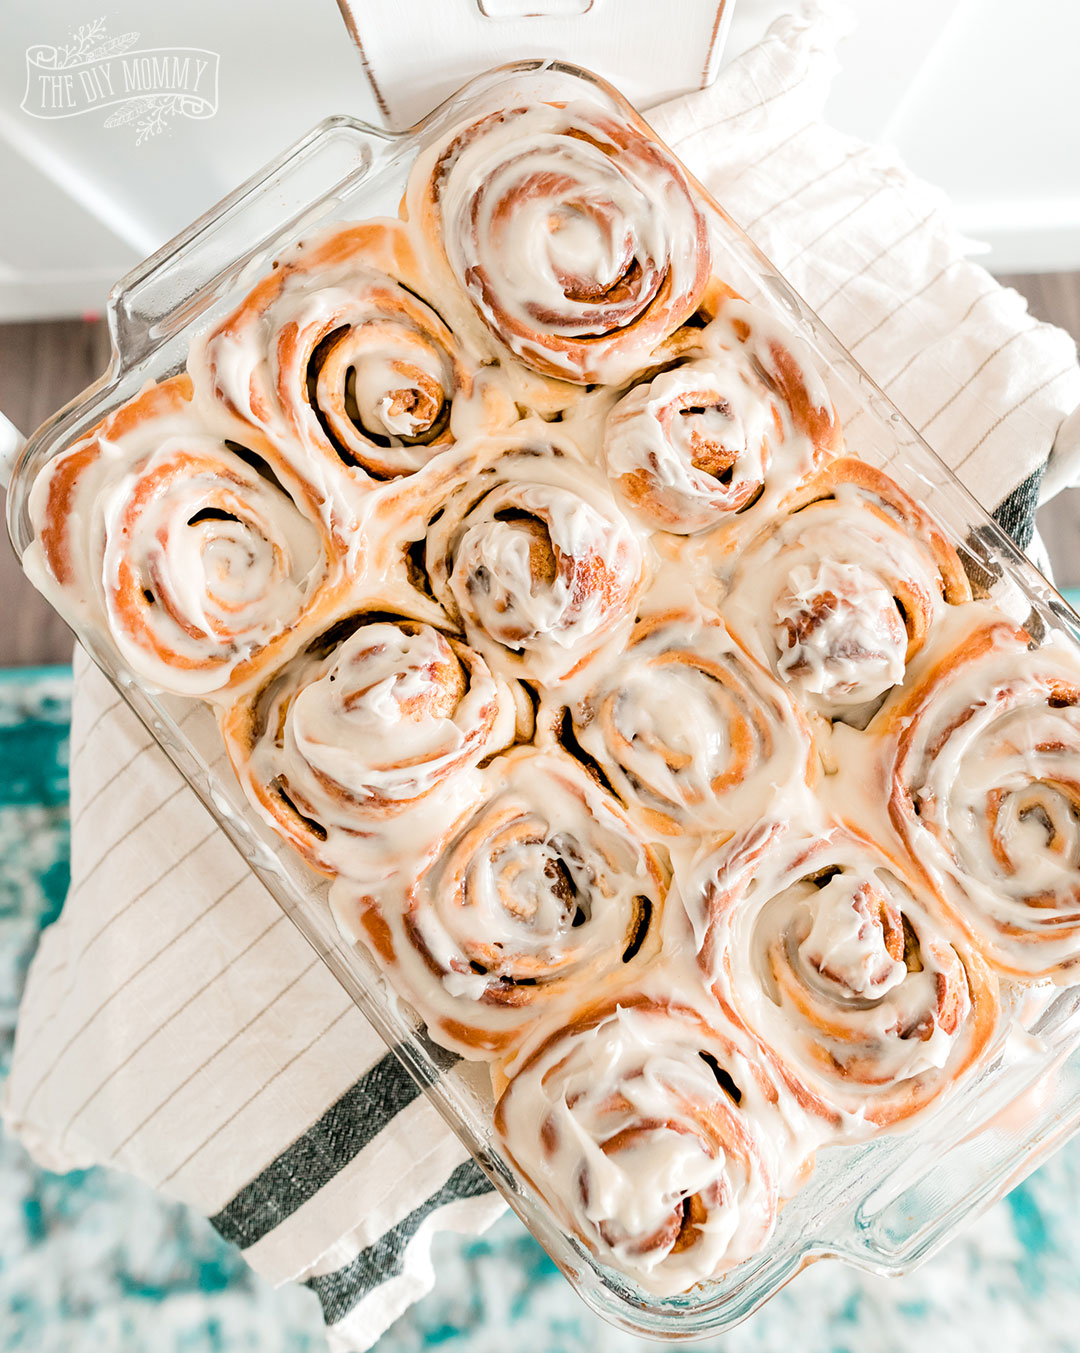
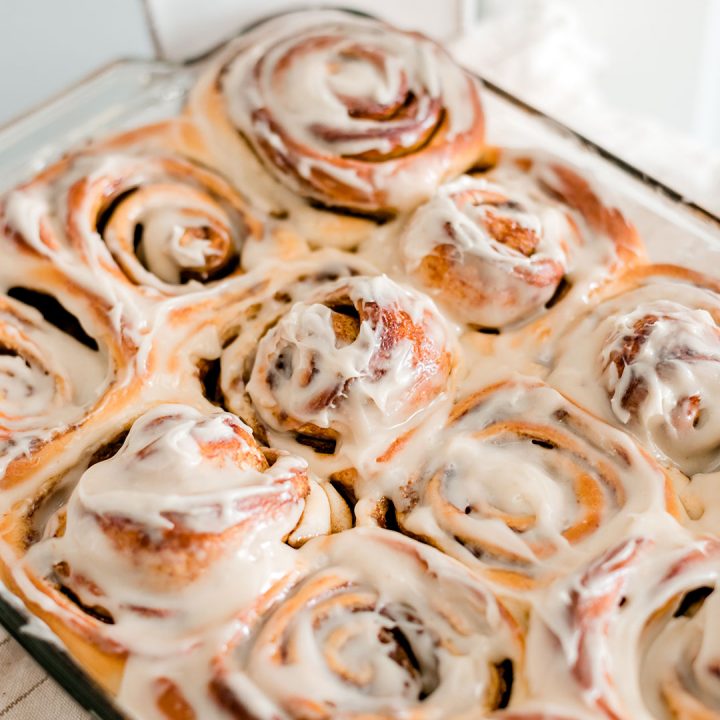
These rich, gooey cinnamon buns are the best cinnamon buns ever! They are very similar to the ones you might find at the mall, and they’re sweet, moist and delicious. Enjoy this “clone of a Cinnabon” recipe!
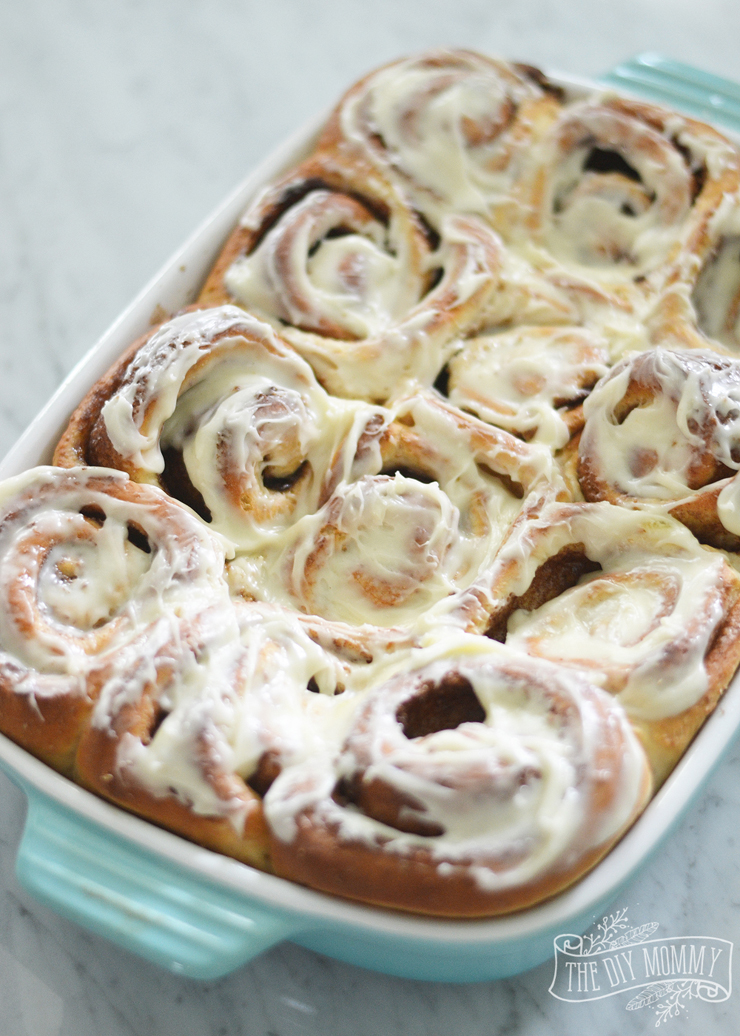
(This recipe was first published here in October 2012 and has since been updated with new photos. The buns in the aqua dish are made with 1/2 whole wheat flour.)
There are some things a person like me should only make once every few months. By “a person like me”, I mean the type of woman that tends to get addicted easily to cakey and bready things. A cakey thing with sweetness and spice? EVEN MORE ADDICTING.
This cinnamon bun recipe truly makes the best cinnamon buns I’ve ever tasted. Be warned: I recommend you bake these when you know there will be other equally-as-addicted-to-cinnamon-buns types around when they’re done so that you do not eat the majority of the pan yourself. (If you love cinnamon buns like I do, you might also love this German yeast bread treat called Streuselkuchen!)

I’m sure they are about half my recommended caloric intake for any given day, but they’re darn delicious and a tasty treat every so often!
This recipe is based off of the very popular “Clone of a Cinnabon” recipe from allrecipes.com, but I’ve altered it a little and I make them without a bread machine. Are you ready for ooey-gooey comfort food at its absolute best?
You Will Need:
(Find the exact recipe with measurements in the printable recipe card at the bottom of this post.)
- milk
- yeast
- eggs
- margarine
- white sugar
- salt
- all purpose flour (whole wheat flour optional)
- dark brown sugar
- ground cinnamon
- butter
- cream cheese
- butter
- icing sugar
- vanilla
- salt
Basic Instructions
Dissolve the yeast in the warm milk and let stand for 5-10 minutes to “proof” (yeast will bubble and float to the top – this tells you that your buns will rise later!).
Mix the eggs, margarine, sugar and salt into the milk & yeast mixture. Mix in flour a cup at a time with a spoon, then by hand.

Knead the dough for about 5 minutes until it forms a smooth, round ball. Place in a greased bowl, cover and let it sit in a warm place for an hour or two until it’s almost doubled (I have a “proof” feature on my convection oven, so I just pop that on and place the dough inside to rise!).

Roll the dough out to a 17″ by 22″ rectangle. In a small bow, mix the brown sugar & cinnamon together. Spread the softened butter on it, then sprinkle it with the brown sugar & cinnamon mixture, making sure it’s spread evenly and reaches to all of the edges.

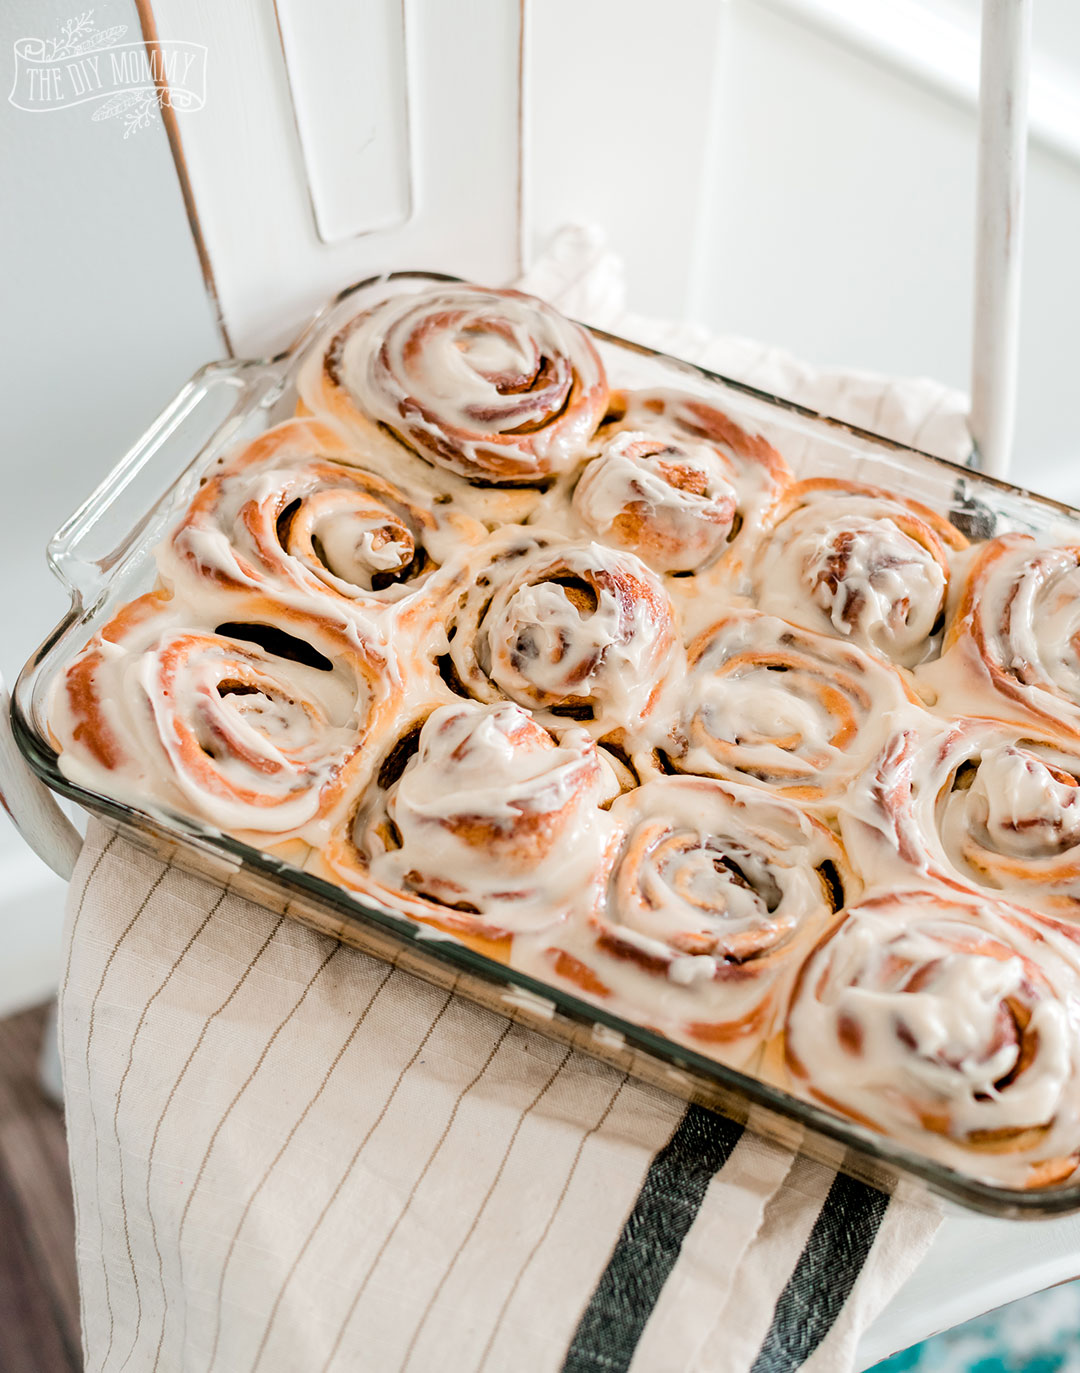
Roll the dough up (starting on one long side) tightly, patting as you go. Cut it into 12 equally(ish) sized slices and place in a greased baking dish. Let them rise again until they are about doubled, about 1 hour.

Bake them at 400 degrees F for 15-20 minutes (I like to underbake them a little for the gooeyness factor). While they are baking, make the cream cheese icing by whipping together the cream cheese, butter, icing sugar, vanilla and salt.

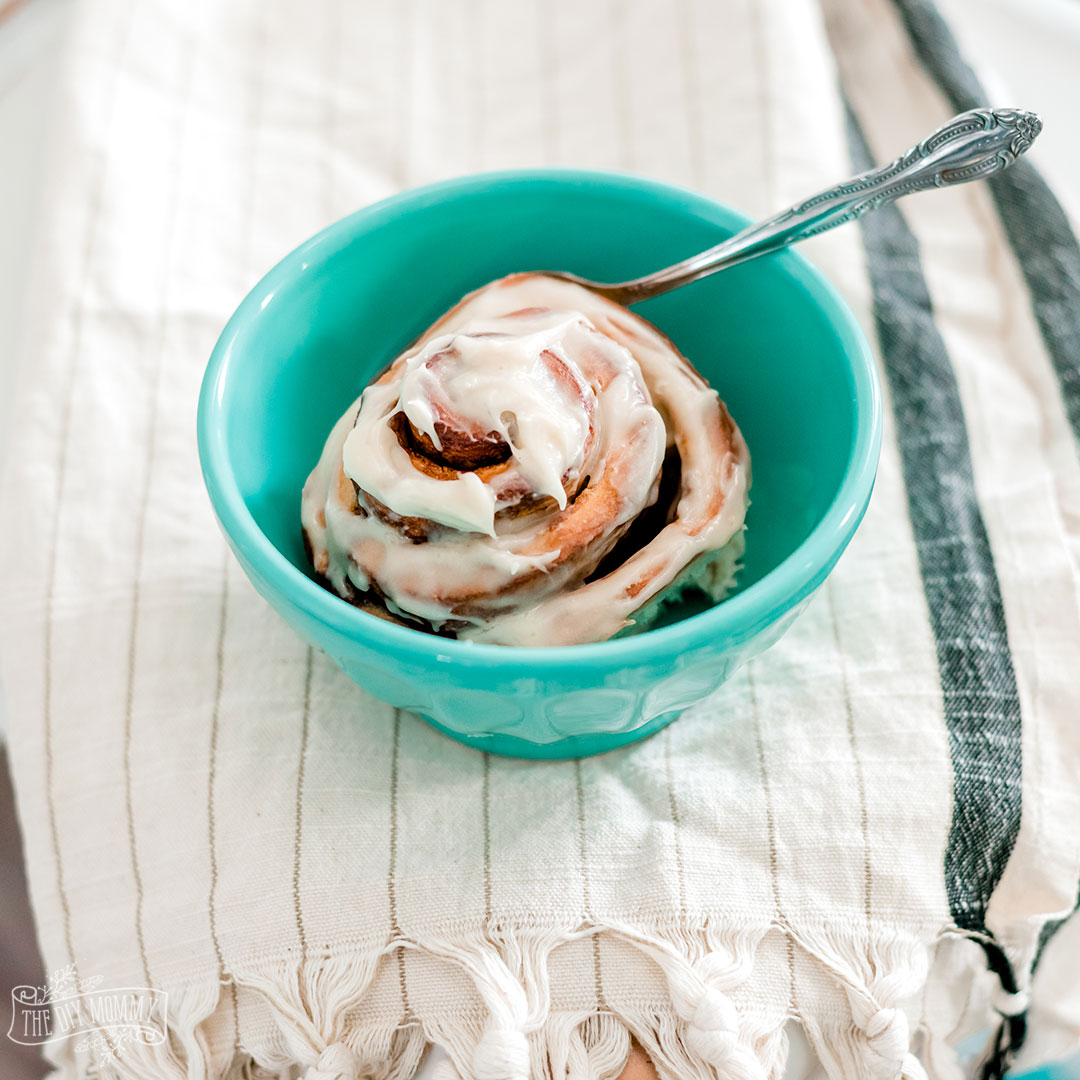
You’ll want to ice these babies as soon as they’re out of the oven so that the icing can melt and drip down into the buns. Then, eat one right away too and tell yourself: “I’m only going to eat just this one!” *wink!*
Substitutions
- Instead of margarine, substitute with softened butter for an even richer taste
- Instant yeast can be substituted for active dry yeast in this recipe. To substitute instant (or rapid rise) yeast for active dry, use about 25 percent less yeast: about 2 tsp of instant yeast
Storage
You can store my best cinnamon buns in an airtight container for about 3 days. You can also freeze them before you ice them for about 2 weeks, and then take them out to defrost and ice when you’re ready to enjoy them.
Top tip
For best results, make sure you are using fresh yeast for this recipe. Ensure that you have proofed the yeast in the warm milk before you continue with the recipe.
FAQ
You can use any ground cinnamon you have on hand, but I especially like the bold taste of Saigon cinnamon for these!
Your yeast may be too old, or your milk may be too hot or cold. Ensure your milk is around 95°F for best results.
The first rise (after the dough is made) and the second rise (after the buns are formed) is key to making a delicious, fluffy cinnamon bun.
To save time in the morning (hello, Christmas Day!), you can refrigerate the buns after they are shaped and before they are baked. Cover the pan tightly with cling wrap and refrigerate up to 24 hours. When ready to bake, remove the rolls from the refrigerator, partially unwrap and let rise until doubled. You can now bake the cinnamon buns according to the directions.
Best Cinnamon Buns Recipe
Bake the Best Cinnamon Buns Ever (A Clone of a Cinnabon Recipe)
These cinnamon buns taste just like the ones you'd buy at Cinnabon. They're sweet, gooey, and so decadent!
Ingredients
- 1 cup warm milk
- 2 ½ tsp yeast
- 2 eggs at room temperature
- ⅓ cup margarine, melted
- ½ cup white sugar
- 1 tsp salt
- 4 ½ cups all purpose flour (OR use 2 ½ cups whole wheat flour and 2 cups all purpose flour)
- 1 cup dark brown sugar
- 2 Tbsp ground cinnamon
- ⅓ cup butter, softened
- 3 oz cream cheese
- ¼ cup butter
- 1 ½ cups icing cugar
- 1 tsp vanilla
- ¼ tsp salt
Instructions
- Dissolve the yeast in the warm milk and let stand for 5-10 minutes to "proof" (yeast will bubble and float to the top - this tells you that your buns will rise later!).
- Mix the eggs, margarine, sugar and salt into the milk & yeast mixture. Mix in flour a cup at a time with a spoon, then by hand.
- Knead the dough for about 5 minutes until it forms a smooth, round ball. Place in a greased bowl, cover and let it sit in a warm place for an hour or two until it's almost doubled (I have a "proof" feature on my convection oven, so I just pop that on and place the dough inside to rise!).
- Roll the dough out to a 17" by 22" rectangle. In a small bow, mix the brown sugar & cinnamon together. Spread the softened butter on it, then sprinkle it with the brown sugar & cinnamon mixture, making sure it's spread evenly and reaches to all of the edges.
- Roll the dough up (starting on one long side) tightly, patting as you go. Cut it into 12 equal sized slices and place in a greased baking dish. Let them rise again until they are about doubled, about 1 hour.
- Bake them at 400 degrees F for 15-20 minutes (I like to under-bake them a little for the gooeyness factor). While they are baking, make the cream cheese icing by whipping together the cream cheese, butter, icing sugar, vanilla and salt.
- After the buns are out of the oven and cooled for 15 minutes, ice.
Pin me:
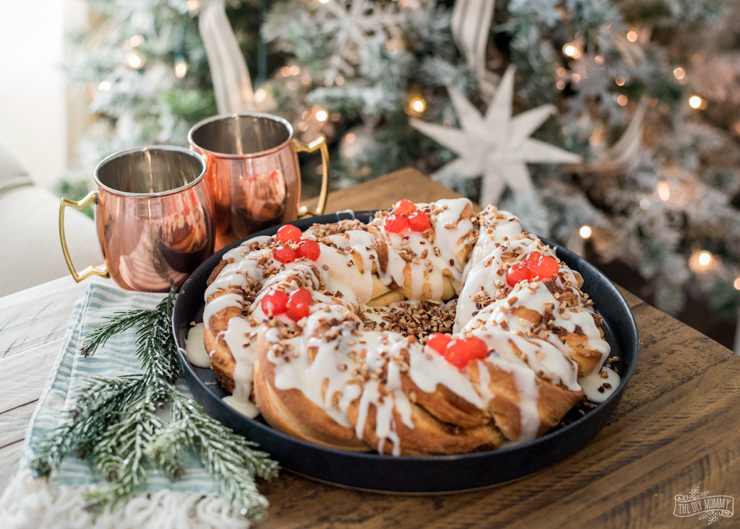
If you like these, you might love my cinnamon breakfast wreath for the Holidays!
I found that they were undercooked after 15 minutes, so I left them in for 20 minutes, which caramelized the butter/cinnamon/sugar (sooo good!) I also added 1/4 tsp nutmeg to the filling for some added flavour. My hubby and I both loved them! This is now my “go-to” recipe!
I love the nutmeg idea, Emily! I’ll have to try that next time. I’m so glad you enjoyed this recipe and thanks so much for your comment!
I made these this weekend for a family brunch and EVERYONE LOVED THEM! Thanks for a wonderful recipe. 🙂
I’m glad they were loved! THanks so much for visiting!
Oh so good! I can’t enjoy underbaked dough so I leave mine for the full 20min. And a trick I picked up from the all recipes site is to put half the frosting on right away while the buns are hot so it melts down into them. Then once they’re cooled spread the remainder of the frosting and it will stay ontop. Hands down my favorite, thank you for a wonderful recipe!!
So glad you like it!!
thank you so much for this! i don’t have a bread machine, so this was super helpful! can i just say how shocked i was that it tasted SO like a cinnabon! i’m definitely bookmarking this and making it for holidays! ps i thought i totally messed it up, because i measured out 4.5 cups in grams (the google said 120g is one cup of flour) instead of using actual cups. my dough was SO sticky, but maybe that’s how sweet doughs are? either way, phenomenal!! thanks again!!
Can butter be used instead of margarine?
I don’t see why not… Christina has only made it with margarine but I can’t imagine why it wouldn’t work with butter.
Christina, I just baked your cinnamon rolls. I modified them a bit, added plum jam, sprinkled with cinnamon and sugar. They are delicious. The smell rises throughout the house. Thank you for the recipe. Greetings from Poland, from Warsaw. Monika
Omg!! These look amazingly delicious!! Thanks for sharing at Fiesta Friday party!
Hi Christina, what if you use fresh yeast, how much would that be? Thanks a lot! Want to try these for Easter Sunday. I love your channel by the way. Tanja
I’m not too sure what you mean by fresh yeast, but I usually use 2 1/2 tsp of active dry yeast.
Can these be made the night before? Would I leave them on the counter to rise again or refrigerate?
I think you could, though we’ve never tried. I’d refridgerate them overnight and then take them out for at least an hour or until they’ve risen again.
This recipe was great! But is it just me or did it not say when to add the milk yeast mixture to the flour? I add it in between cups of flour. It turned out great anyway. Thanks!
After it get’s foamy, you add in everything from Step 2 🙂
a friend shared this recipe to me…it’s so good!!! thank you so much…
Can this be made with quick yeast?
I’ve only tried it with Active Dry Yeast… I just googled it and supposedly you can use them interchangeably except for “instant” yeast can be mixed into the dough. If you try it, less us know how it work out!
Is there any reason you couldn’t make the dough in the breadmachine? I have one, and find it useful for mixing and kneading the dough.
Can you keep them in the fridge for a day or so before baking them? Will they stay risen? I’d like to make them in advance and then bring them to someone else to bake.
These look great! Do you have a guess of how long they take to double in size? I am planning to make for Christmas brunch and want to ensure they will be ready in time. Thanks!
I have a fresh packet of active dry yeast and I couldn’t get the yeast to blossom in warm milk at all. I tried 4 times. I usually activateyeastin water with no problems. Is there some secret I don’t know? The dough was reallytough to work with too.
Love these! Make these every Christmas for the past 3 years. My daughter says we should make them much more often! So easy and so good!