Building Our Fireplace: Installing the Slate Split-Face Tile – Our DIY House
This post may contain affiliate links · This blog generates income via ads
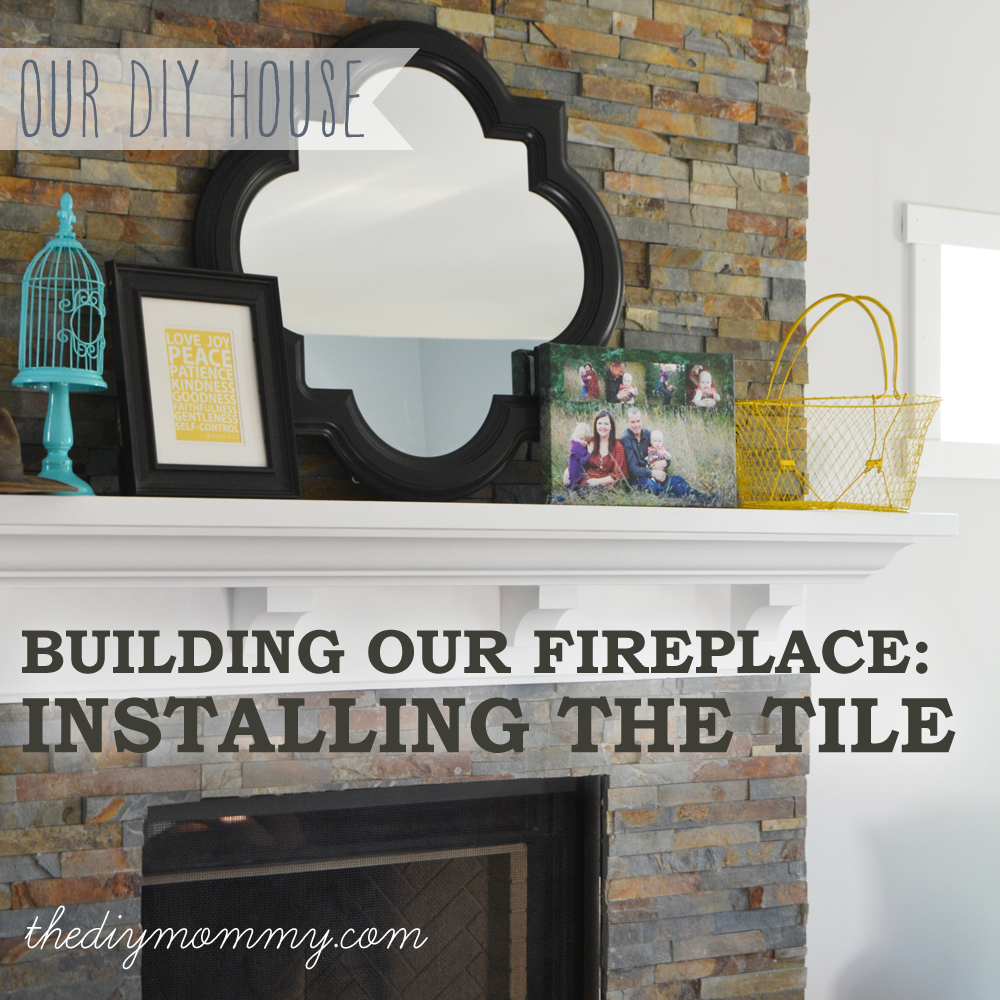
This has GOT to be one of my most favourite features of our new, DIY home: this gorgeous, custom fireplace that we designed and built. It was a ton of work, but I think it totally sets the stage for our living room and I’m so very proud of it.

In case you missed it, here is the post explaining how we designed and built our custom mantel. The finishing touch to our “rustic glam” fireplace, was the installation of these beautiful slate split-face tiles made by TruStone that we found from our friends at Lowes.

![]()
Thank you, TruStone and Lowes for making our beautiful fireplace possible! It was a joy to work with you and with this product… truly.
We chose to use the TruStone split-face quartzite slate look tile in Forest Brown. We loved the rustic look of this colourway, and it ties right into our beautiful flooring in similar tones! This tile comes in pieces that are about 6 x 24″ with staggered ends. It can be easily cut with a tile saw and it’s not too tricky to install because of its rough look and changes in thickness – it makes it relatively fool proof!
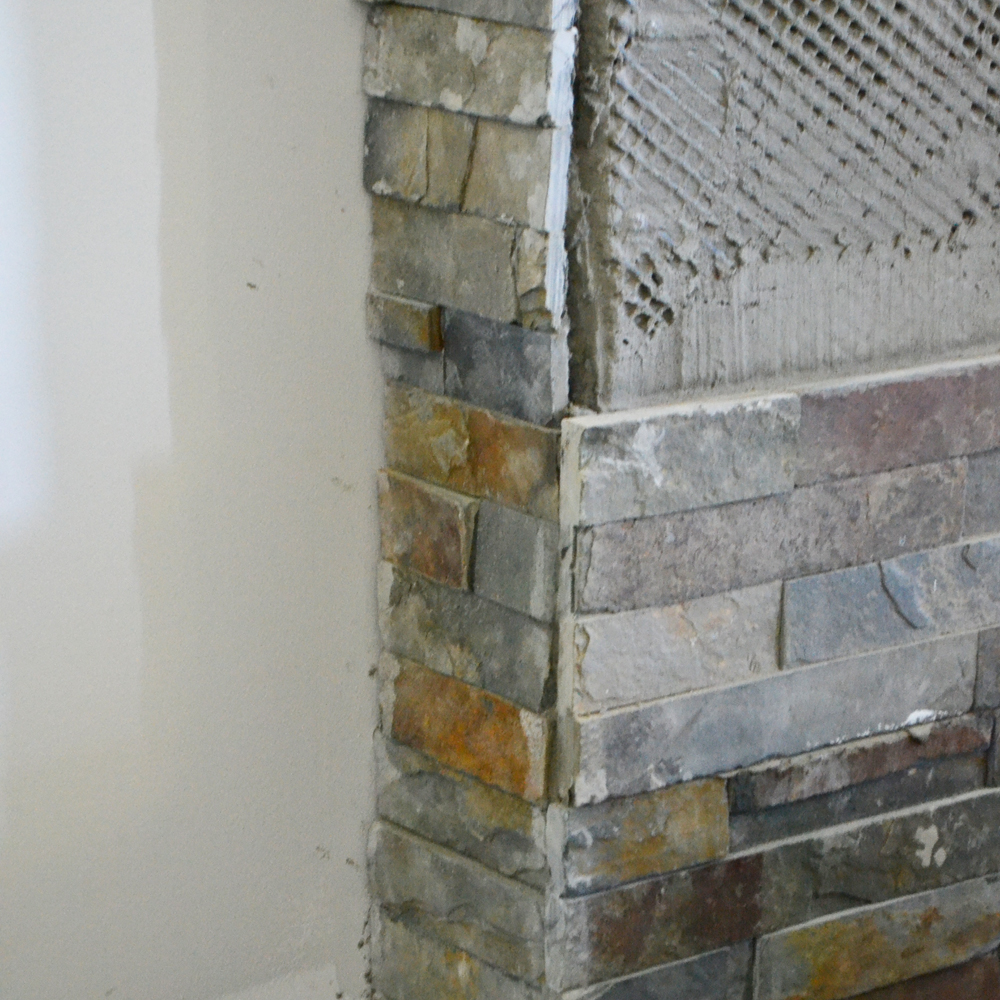
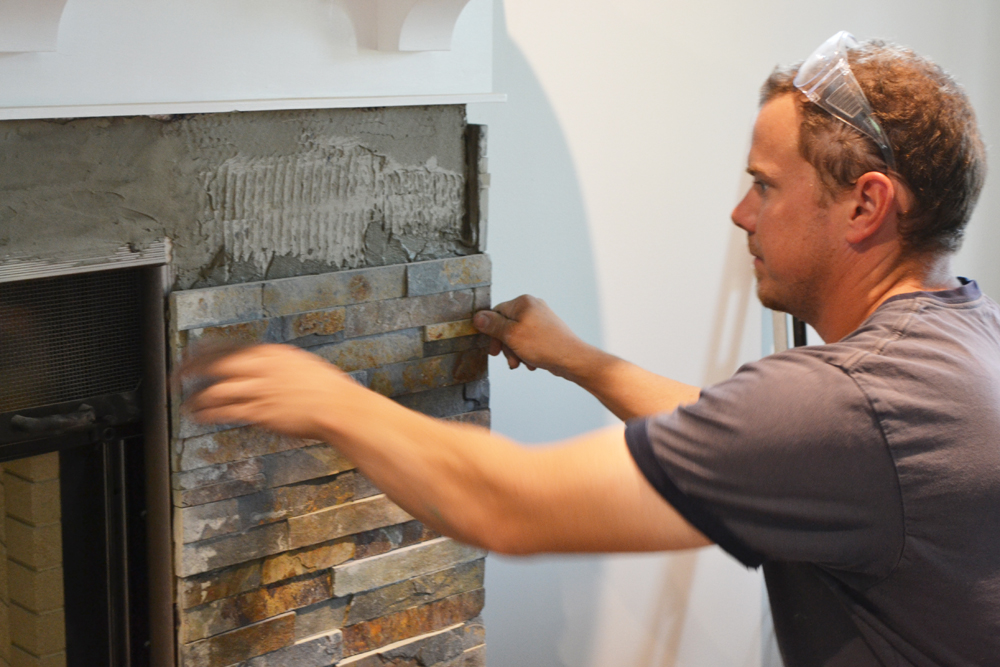
First, my husband covered the cement board on our fireplace surround with a troweled layer of thin-set. After this dried, he screwed wire mesh onto the entire surround. He then trowled another layer of thin-set over the mesh.
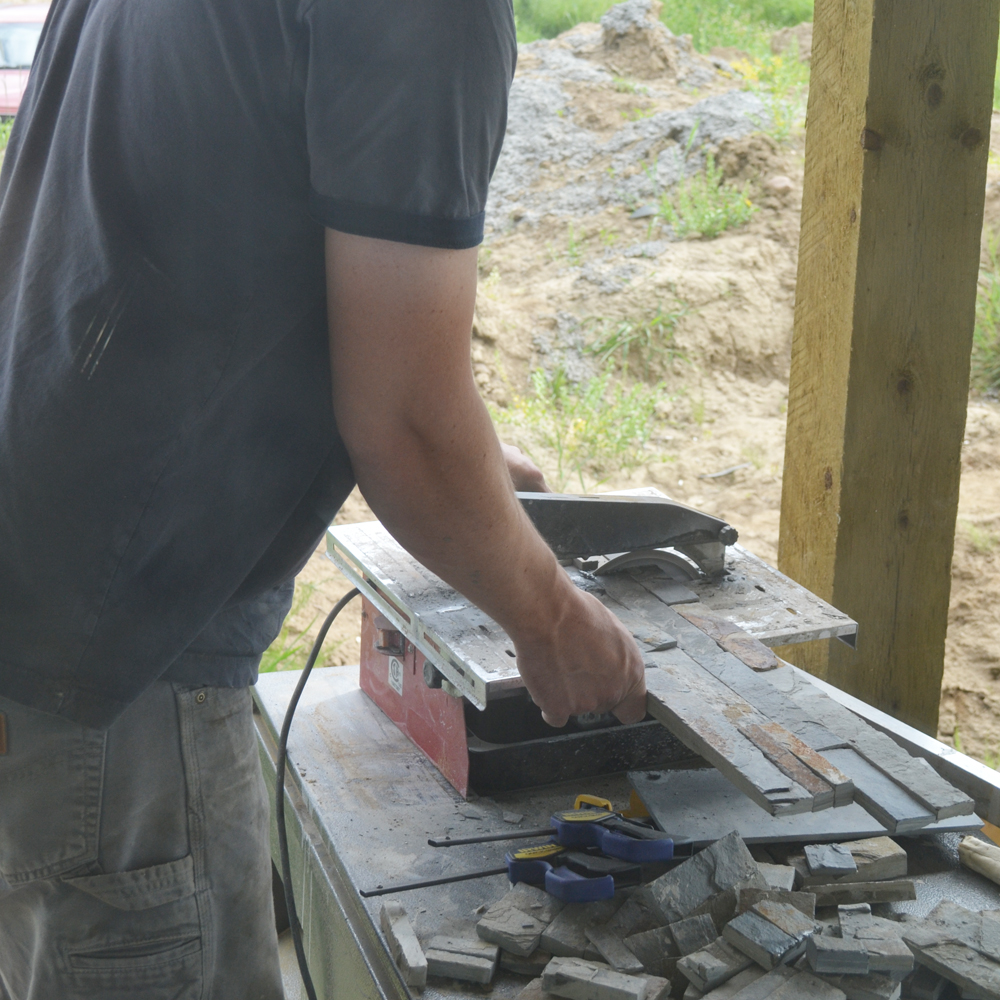
Hubby cut the pieces of tile to size with a regular tile saw.
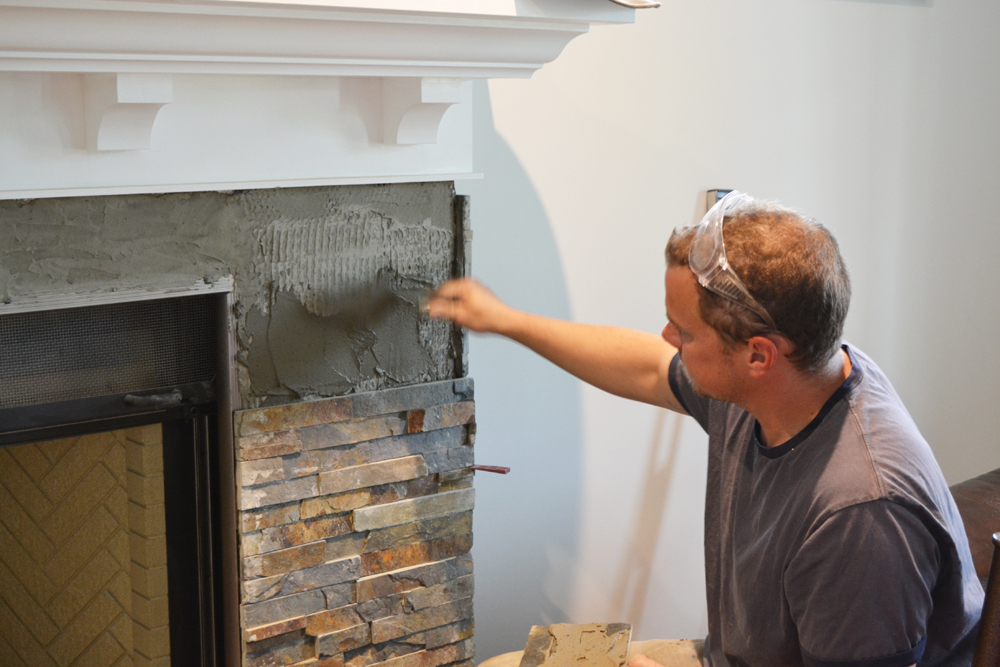
Starting at the bottom of our fireplace surround, he applied another layer of thin-set, then pushed a tile into place.
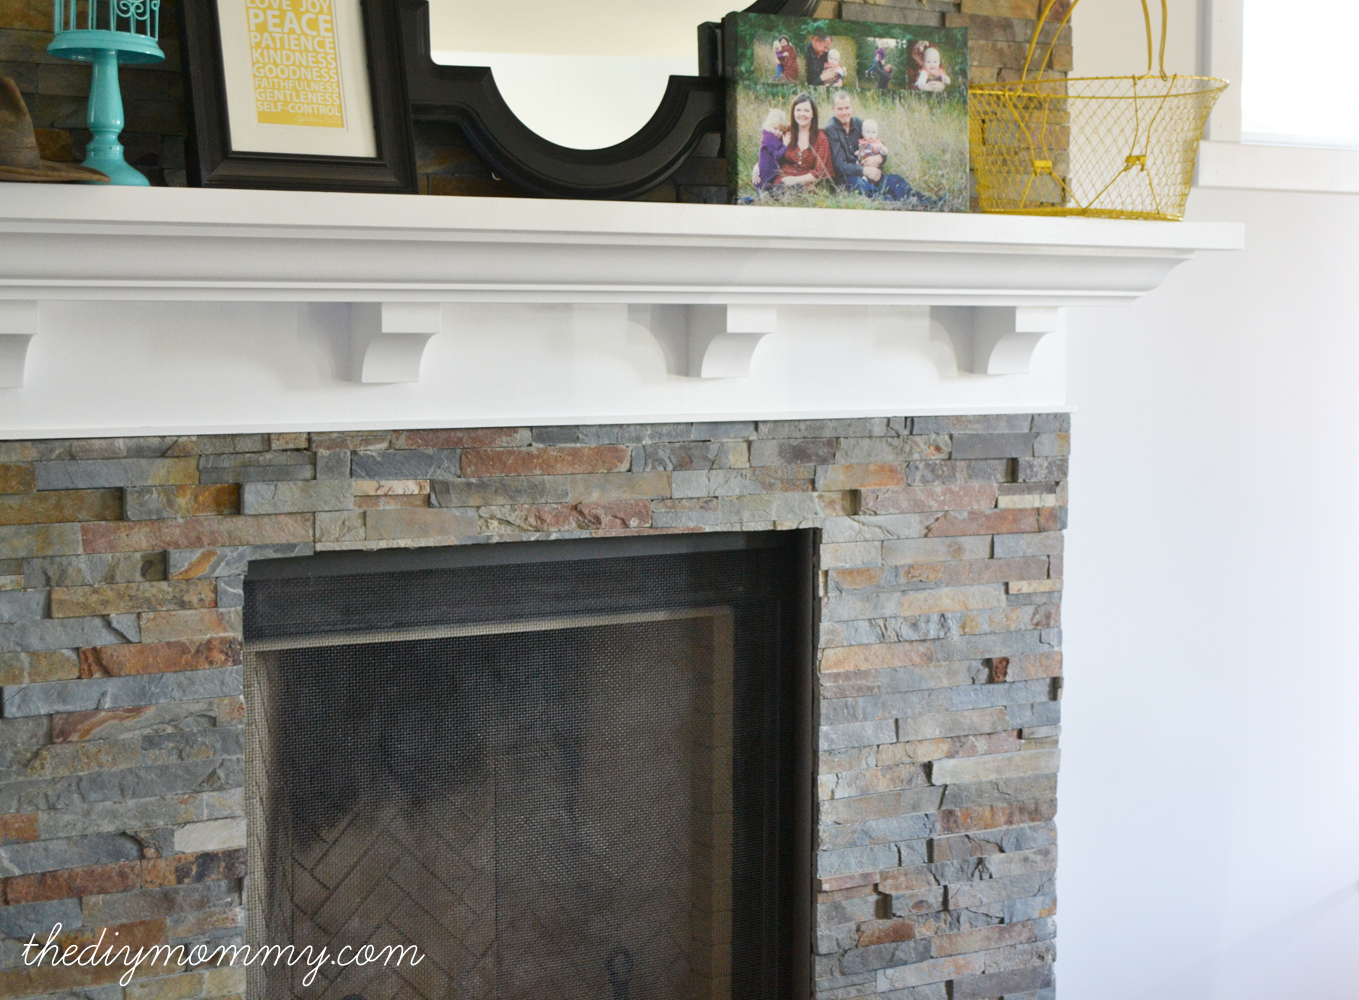
We installed the tile on the sides of our surround first, and then the front (starting from the bottom). We debated for a while over how we’d approach the corner finishing on the fireplace tile, and ultimately we decided to do blunt cuts (instead of attempting 45 degree angles or chipping at the edges). I’m happy with this look!
The tile installation took a couple of days (in bits and spurts), and then after about a month I finally scrubbed the tiles free of excess thin-set. I do have a slate sealing spray that I can apply to the tile, but I decided that I’m too tired and pregnant to do that anytime soon, so I’m leaving that for another day!
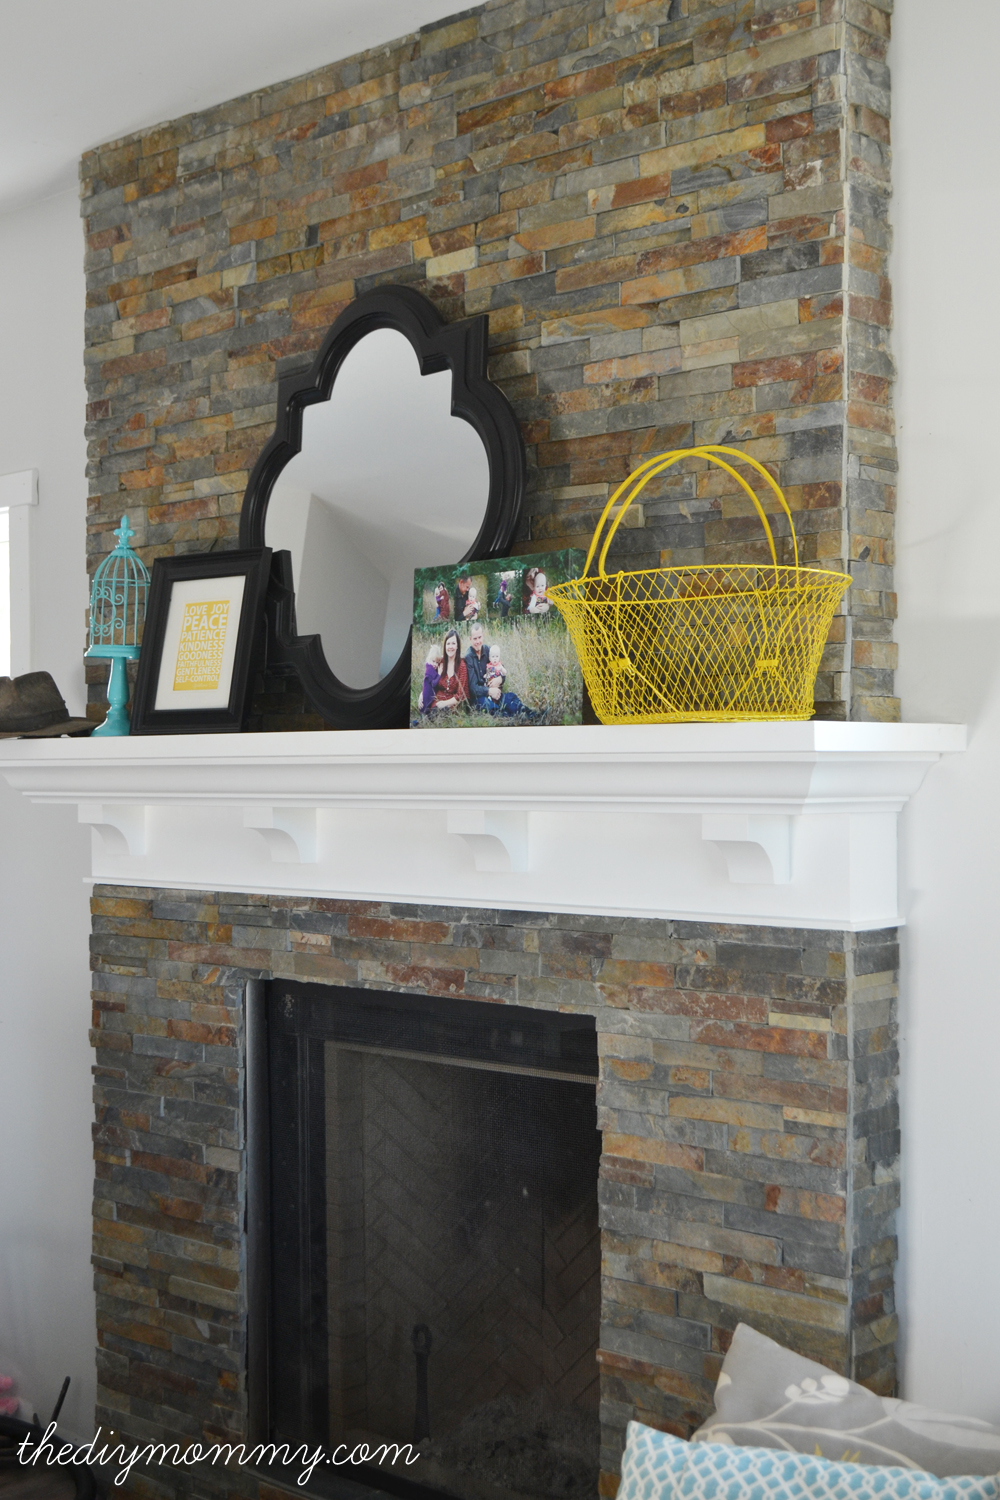
The stone on our fireplace has given me exactly the “rustic glam” look I was going for. The crisp, white mantel contrasts so beautifully with the dark ruggedness of the split-face tile.
I’d recommend this tile to anyone looking for a pretty way to update their fireplace. I bet if you had a flat tile already on your fireplace surround, this tile could easily be installed with a similar method we used.

As for decorating our lovely new fireplace, I’ve used some things I had on hand (and found for great prices!) so far. Our pretty & unique centerpiece – this quatrefoil mirror – was also found at Lowes!
Now that our fireplace is finally done, I’m determined to finish the rest of the room and finally have a relatively complete room in our new house to “reveal” here on my blog. I can’t wait to share the rest of our living room with you!
(Disclosure: This post is sponsored by Lowe’s Canada and TruStone. The views and opinions expressed here are purely my own.)
Linked to: Make it Pretty Monday at The Dedicated House, From Dream to Reality at The DIY Dreamer, That DIY Party at DIY Show Off
 This post is part of my “Our DIY House” series where I’ll share with you my most exciting DIY ever – building a country house from the foundation up with my talented hubby!
Absolutely gorgeous! I love the contrast of the crisp white mantel against the dark stone. Fantastic job! You give me hope that there is an end in sight for our fireplace makeover from hell. 😉
Thanks so much, Jenny! It was certainly a long process, but totally worth it. Good luck with your fireplace makeover! 🙂
Beautiful work! Where did you get your white shelf? It’s gorgeous and it fits perfectly!
Thanks so much, Denise! The white mantel? My parents and I designed it and made it!
How much did the slate end up costing you? Did you purchase it from a wholesaler?
Looks awesome! How did you handle the unfinished white edges that surrounded the fireplace?
Hi, I would like some advice if possible regarding your split face chimney breast you blogged about. I am going to do exactly the same using oyster sate split face tiles. I noticed in your pictures that you have a mesh wire on the chimney breast that you are adding the slates to. Is this something that you have added yourself? If so, why and how did you add this on. My fireplace is a brock construction that has beed plastered over. I am wondering if I need to remove all the plaster down to the brickwork and then add the mesh or would it be possible to add the slate either right onto the brick or easy still the plaster. Thanks in advance.
We’re preparing to do the same project. Did you place the mantel first and stone around it? Or mount the mantel on top of the stone? We can’t decide which would work best.
We built the mantel first and then installed the slate tile around it. That worked well!
I have the same set up and am fretting about the corners. I have seen some pretty awful corners on fireplaces. What were your thought?
Hey Christina,
Just love the whole thing. Such an inspiring ideas. Probably would try something similar with this in the future. Thanks for sharing this cool stuff.
Cheers,
Oliver
Love it! This fireplace looks pretty great. Thank you for sharing the process of getting this great look.
Thank you, McKenzie.
House stonework is a good way to add value to your home. and it looks good too.
Wow, this looks good. Pity I don’t have a space to install something like this in my rented apartment.
Thank you!
Hi, Lindsay
Your fireplace looks awesome to me.
Your hubby did a great job.
Thank you for taking the cool snap and share everything in details.
Thank you. Christina is happy to like her fireplace.
My husband and I want to use this exact tile around our fireplace, but we’re unsure what to put on the floor. Can you please send a picture of your floor in front of your fireplace? Thanks!
It is a wonderful tile ? you can view Christina’s flooring in her Spring home tour. Hope that helps and you feel inspired.
https://thediymommy.com/spring-2018-living-room-tour/
I have been looking at this for some time, and I am ready to give it a try. Looks so wonderful. My questions is how did your husband build the cement board out from the wall? I assume nothing combustible like metal studs, and then screwing the cement board to them (that was what I was going to try). Thanks
Accents can highlight or ruin a well designed interior space. In this case, you made a great choice, Christina. 😉
This is some really good information about getting a new fireplace installed. I liked that you pointed out that it would be smart to think about the feel you want from the stone. That does seem like a good thing for me to know that because I want to get a new fireplace installed soon.
Thank you! Glad you enjoyed it
Need a good glue to use for your tiles so that it will really stay on it’s placement.
Wonderful job. I love the work you have done. Now it looks so nice.
Tile works well in kitchens and bathrooms because it’s one of the easiest floor materials to maintain. Additionally, tile is extremely versatile aesthetically as well and can can work for a variety of interior designs styles