• Skip to primary navigation
  • Skip to main content
  • Skip to primary sidebar
The DIY Mommy
  • Home Decor
  • DIY Crafts
  • Organize
  • Printables
  • Recipes
  • Life
  • Shop My Home
  • Lake House
  • About
  • Contact
    • Facebook
    • Instagram
    • Pinterest
    • Twitter
    • YouTube
menu icon
go to homepage
search icon
Homepage link
  • Home Decor
  • DIY Crafts
  • Clean & Organize
  • Recipes
  • Free Printables
  • Life
  • Our Little Lake House
  • Shop Our Home
  • About
  • Contact
    • Facebook
    • Instagram
    • Pinterest
    • Twitter
    • YouTube
  • ×

    Home » DIY Crafts

    Make DIY Monogram Wall Art for a Nursery

    Published: Jan 29, 2014 · Modified: Feb 5, 2014 by Christina Dennis · This post may contain affiliate links · This blog generates income via ads
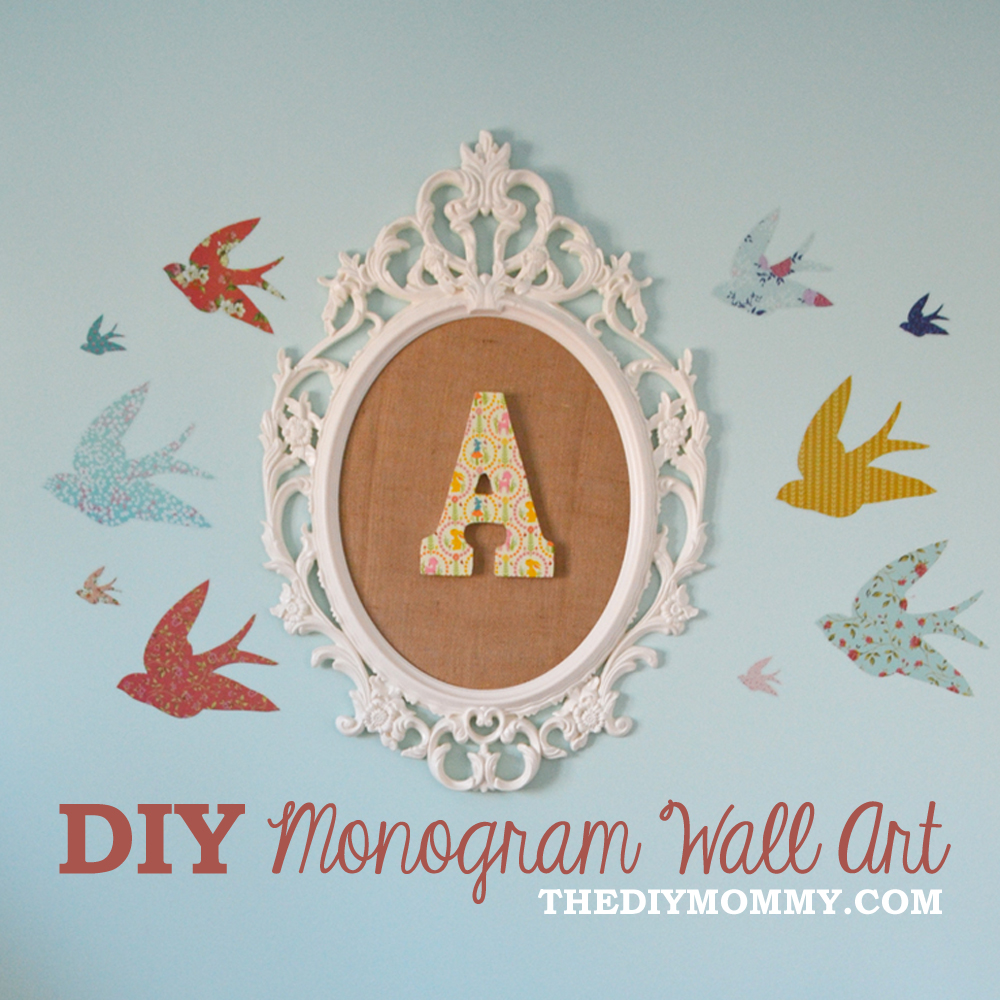
 · 6 Comments

    Just above Little A's crib in her newly decorated bedroom, is a pretty monogram art made from an Ikea picture frame, some burlap fabric, an MDF letter "A", Mod Podge, and some scrap fabric that matches her room decor. I made it in an afternoon (during nap time, of course!) and I'm really happy with how simple it was to make and what a big impact it makes in her room! I was inspired by this photo and this photo and I thought I'd combine the two ideas and make up the steps as I go. Would you like to make your own DIY monogram wall art for your little's nursery? Read on!

    How to make DIY monogram wall art for a nursery or kid's room with burlap, and Ikea frame and scrap fabric.

    Materials:

    • Ikea "Ung Drill" picture frame
    • 1 yard of burlap fabric
    • MDF letter
    • scrap printed cotton fabric
    • 1 yard quilt batting
    • glue gun
    • Gorilla Glue (or another heavy duty adhesive like Super Glue)
    • Mod Podge
    • pencil & scissors

    How to make DIY monogram wall art for a nursery or kid's room with burlap, and Ikea frame and scrap fabric.

    Directions:

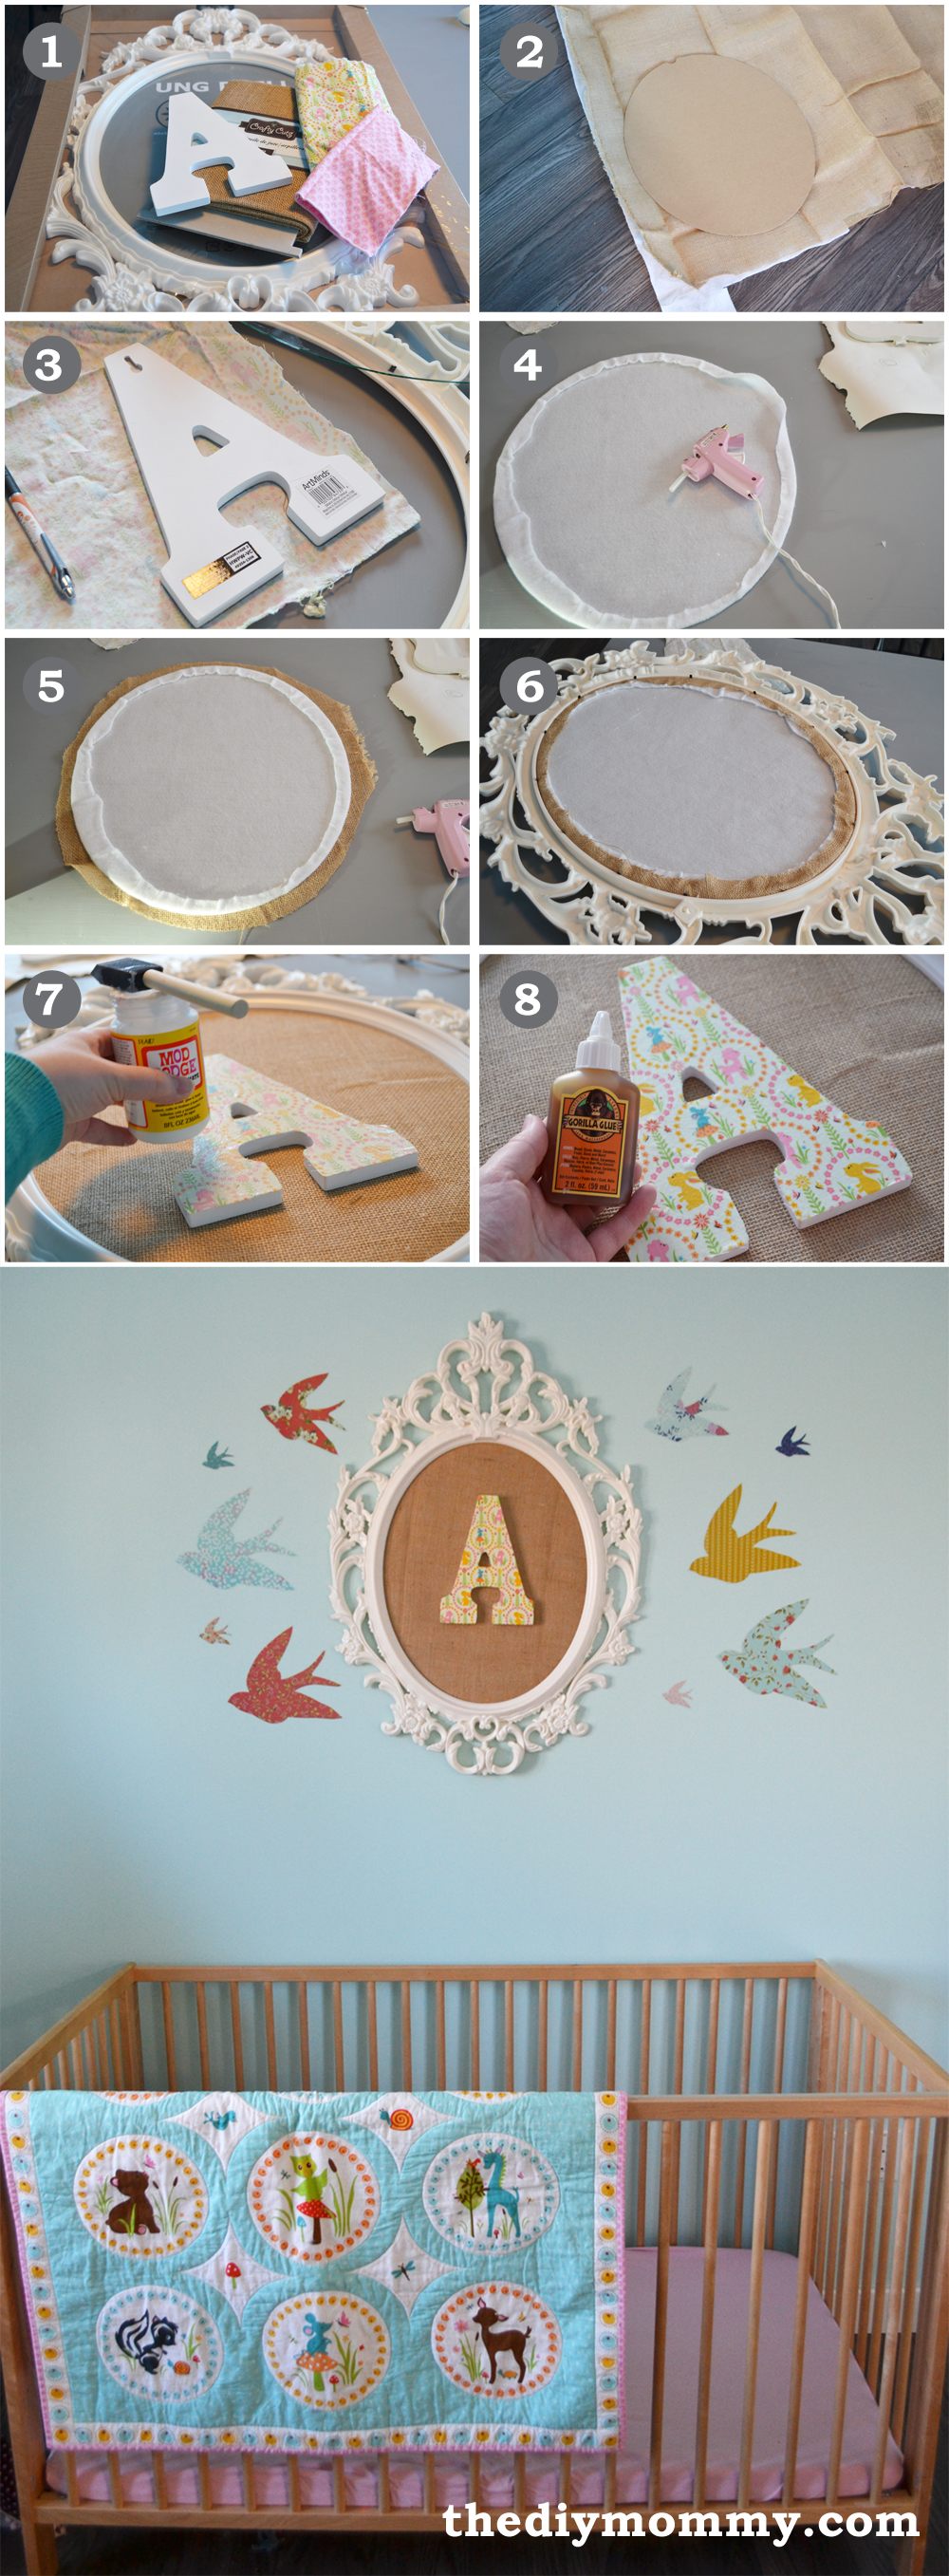
    1. Gather the materials.
    2. Take out the cardboard backing from the picture frame, and use it to trace an oval shape from the burlap fabric. Cut out an oval that's about 1 ½" larger than the cardboard (to account for the fabric being turned and glued).
    3. Put the MDF letter upside down on the printed cotton fabric and trace around it's shape with a pencil. Cut out the fabric carefully.
    4. Cut out an oval of quilt batting using the same method as #2, place it on a hard surface, and then place the glass insert from the picture frame over top. Using a glue gun, turn the edges of the batting over and around to the back of the glass and glue it in place. I used a generous amount of glue!
    5. Place the covered glass on top of the burlap oval, centered, and repeat the gluing process from #4 to attach the burlap.
    6. Place the covered glass piece into the frame and secure it well with the metal hooks.
    7. Cover the MDF letter with Mod Podge and smooth the printed fabric you cut in the letter shape on top. Once it's dry, paint a thick layer of Mod Podge over top of the fabric (making sure to pay attention to the edges - these will fray or peel if there's not enough Mod Podge holding them down).
    8. Using Gorilla Glue (or another really heavy duty adhesive), adhere the monogram to the center of the burlap-covered glass. You may have to let it set and dry for some time before you hang the piece on the wall. Make sure to test it on the wall for a day or so to make sure it sticks!
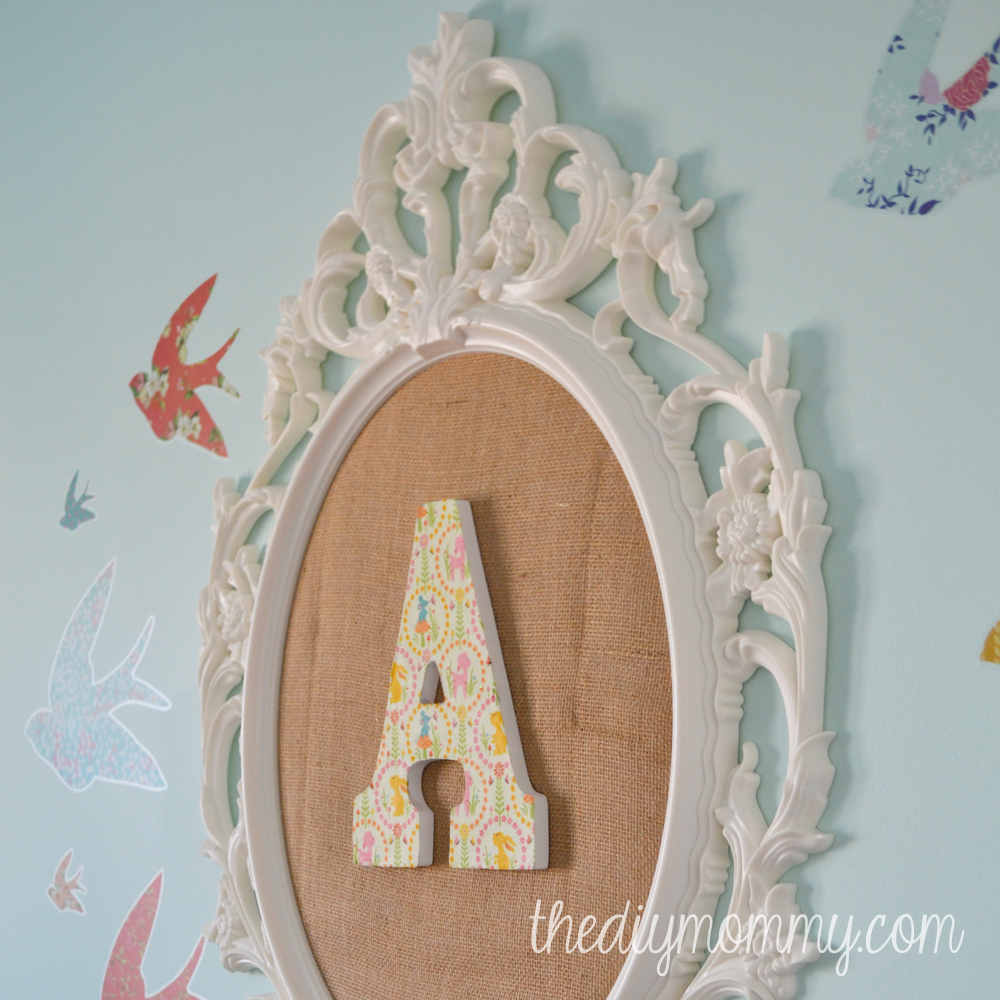
    How to make DIY monogram wall art for a nursery or kid's room with burlap, and Ikea frame and scrap fabric.

    This monogram art is Little A's favourite art in her nursery; it makes me so happy! Every night as I tuck her in, she point to it and says "A!". It's the sweetest thing.

    How to make DIY monogram wall art for a nursery or kid's room with burlap, and Ikea frame and scrap fabric.

    Happy crafting, friends!

    More Inspiration

    • DIY Dollar Tree Heart Shaped Wreath
    • How to Set Up a Cricut for the First Time (Step by Step!)
    • Inexpensive Gift Wrapping Ideas that look stunning!
    • Free Printable Christmas Coupon Book for Kids

    Reader Interactions

    Comments

    1. Jess @ Save Your Fork There's Pie

      January 29, 2014 at 9:57 am

      You've done it again, Martha! So cute and easy!

      Reply
      • Christina Dennis

        January 30, 2014 at 10:00 am

        HAHA! Thanks so much, Jess. 😉

        Reply

    Trackbacks

    1. DIY Fabric Wall Art Ideas and Inspirations says:
      April 16, 2014 at 2:01 pm

      […] of The DIY Mommy added a sweet touch to a baby nursery with a lovely fabric-covered monogram. Backed by textured […]

      Reply
    2. Would You Hang This On Your Wall? - Beautifully Designed Homes says:
      April 23, 2014 at 4:50 am

      […] of The DIY Mommy added a sweet touch to a baby nursery with a lovely fabric-covered monogram. Backed by textured […]

      Reply
    3. Our DIY House: 2014 Home Tour | The DIY Mommy says:
      August 18, 2014 at 4:01 am

      […] I made her teepee play tent, recovered the rocking chair, and made the monogram artwork. […]

      Reply
    4. 14 IKEA hacks for babies nursery says:
      April 9, 2015 at 9:00 pm

      […] is for awesome! The UNG DRILL picture frame is the perfect piece for this super cute monogram idea from the DIY Mommy. Want to try this one at home? Christina has the full tutorial on her site. (via […]

      Reply

    What do you think? Cancel reply

    Your email address will not be published. Required fields are marked *

    This site uses Akismet to reduce spam. Learn how your comment data is processed.

    Primary Sidebar

    Welcome!

    Christina Dennis, The DIY Mommy

    I'm Christina and I'm sharing budget-friendly DIY & decor ideas to create a cozy home and life you love!

    Read more about me

    Latest Posts

    • We built a small bathroom wet room from scratch!
    • Creative And Unique DIY Wall Art Ideas
    • DIY Dollar Tree Heart Shaped Wreath

    What's my home decor style?

    Discover the home decor style that best fits your personality and lifestyle. This two-minute quiz is going to give you the direction you need to start the big, bold room makeovers that you've always wanted to try!

    Find out now!

    Archives

    Footer

    ↑ back to top

    About

    • About The DIY Mommy
    • Privacy Policy
    • Disclosure Policy
    • Terms of Service

    Newsletter

    • Sign Up! for emails and updates

    Contact

    • Contact

    As an Amazon Associate I earn from qualifying purchases.

    Copyright © 2009 - 2023 The DIY Mommy. "The DIY Mommy" is a registered trademark.