Easy DIY Kids’ Art Display (+ Little C’s Bedroom Makeover Progress for the ORC)
This post may contain affiliate links · This blog generates income via ads
Redesigning a room with my 7 year old daughter is turning out to be really, really fun! When we first designed her room, she was 4 and didn’t really have her own sense of style yet. Now, she really seems to know what she wants and I’m just loving it. Today I want to give you a little bit more of a peek at our room makeover progress for the One Room Challenge, and share with you how we displayed kids’ art in Little C’s bedroom.
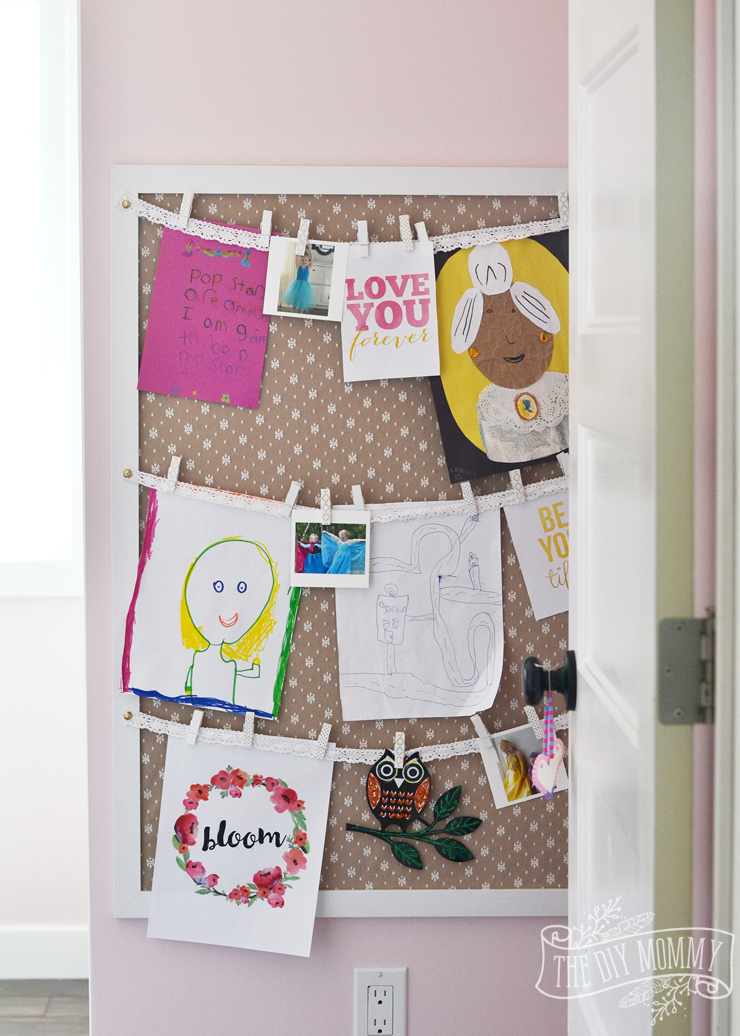
As you may have seen in yesterday’s post about our DIY thrifted gallery wall, I’ve finished painting Little C’s bedroom walls the softest blush pink and both she and I are definitely happy with the colour. It’s gorgeous and so very sweet. You can see how it looks when you enter her room here, and how very delicate it looks further back into the room where the walls are bathed in the sunlight from the windows.
One of the things that my daughter was very clear about when we started planning her room makeover was that she needed a spot to hang her artwork. She loves to draw and display things she’s made at school, so this was something really important to her.

Originally, in her old room design, I was going to create a magnetic chalkboard wall on the wall facing the door, but it didn’t work out. The magnetic paint I used didn’t stick right, and the whole thing was a bit of a mess. Together, Little C and I came up with this alternative that I think looks great and matches the shabby chic aesthetic of her new room design.
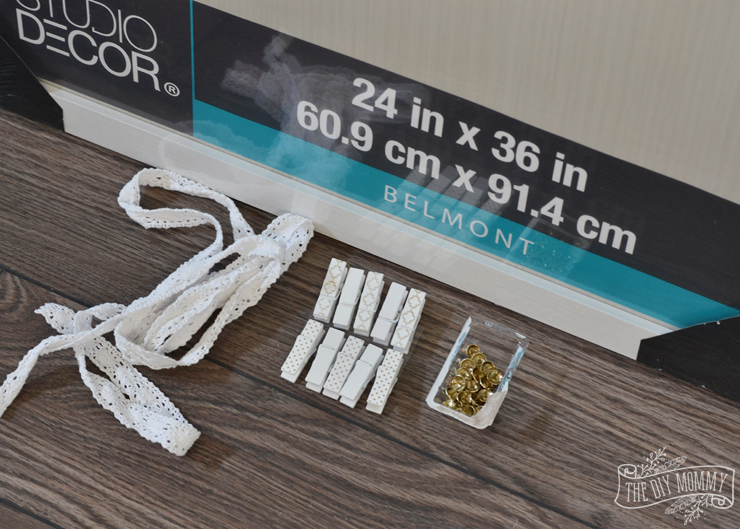
I bought a large, inexpensive picture frame that measured 2′ by 3′, and gathered together a scrap piece of lace, some gold + white clothespins and some gold upholstery tacks.
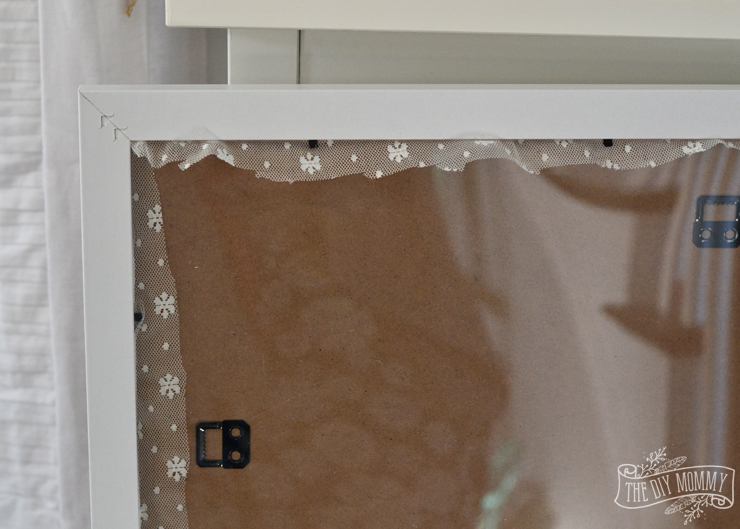
Then, I popped out the chip board backing and clear plastic covering, and wrapped a piece of lace fabric around them both. I placed the whole thing back in the frame and tugged gently on the lace to make it taught.
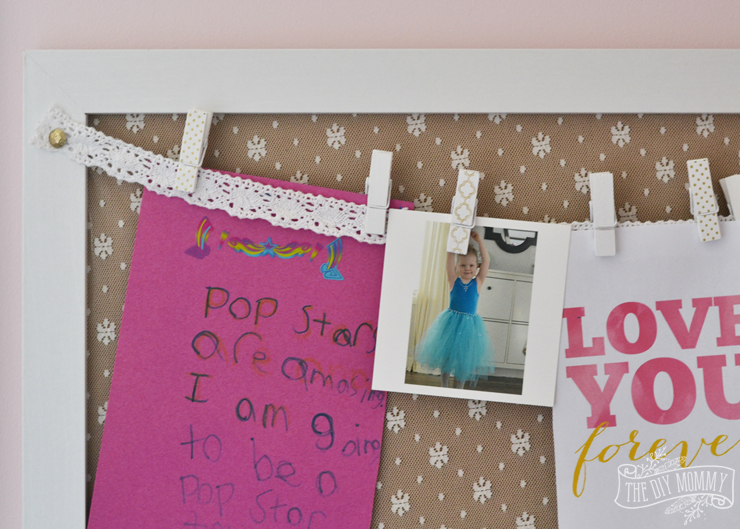
Finally, I placed three pieces of lace trim horizontally across the front of the frame and secured them to the sides of the frame with the upholstery tacks.
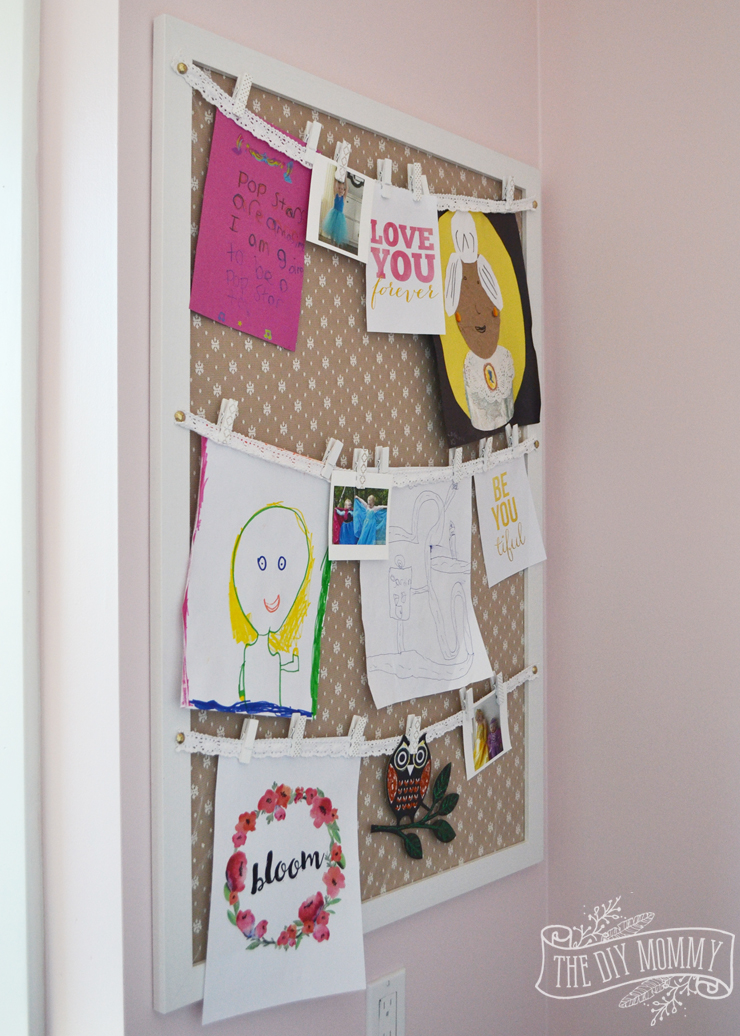
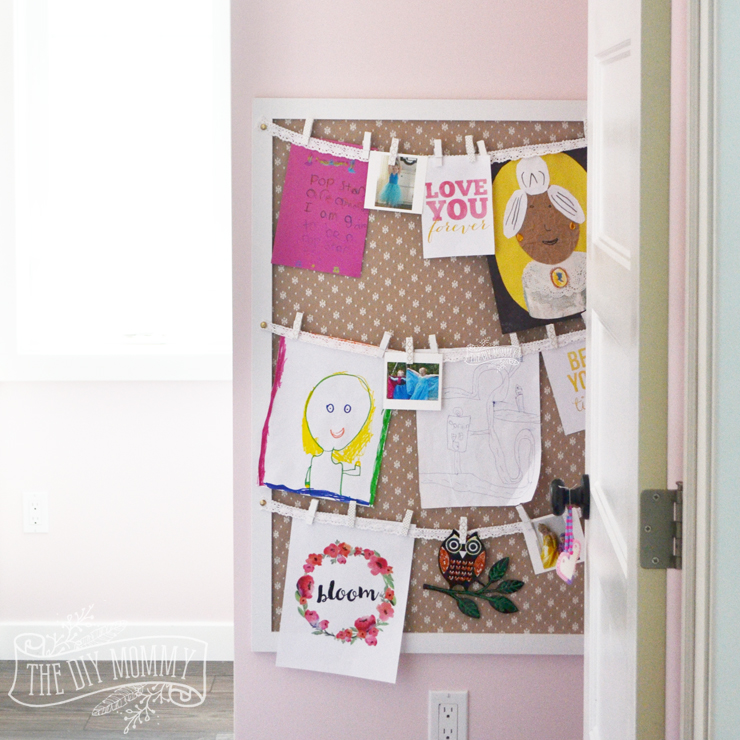
I mounted the frame on the wall facing Little C’s door, and now she can hang all of her artwork and special photos on her new art wall with clothespins for everyone to see!
You could use any type of fabric, tacks or trim to make this art display match your child’s room exactly. I may even go back and spray paint the chip board gold, but I also like how the paper bag colour gives this piece a more rustic look.
Make sure to come back next Thursday to see more progress on Little C’s pink & shabby chic room makeover, and don’t forget to visit all of the other One Room Challenge guest participants to see what their up to this week!
I’m curious to hear your experience with the magnetic paint. I want to use it, but I’m concerned it won’t be strong enough to hold anything. The paint store told me those thin flat plastic magnets only. But once I add a piece of paper behind the magnet, will it hold? I’d love your opinion if you have time to share.
What a daring accent piece. The room is going to be so pretty.
I was wondering where you found the cute clothes pins? We are almost ready to start building this!