FREE Baby and Toddler Sewing Pattern: Grow-With-Me-Bubble Dress
This post may contain affiliate links · This blog generates income via ads
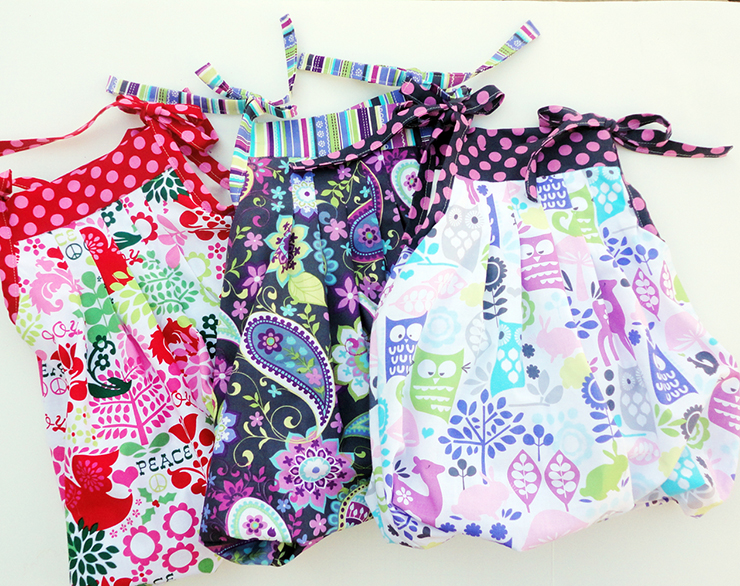
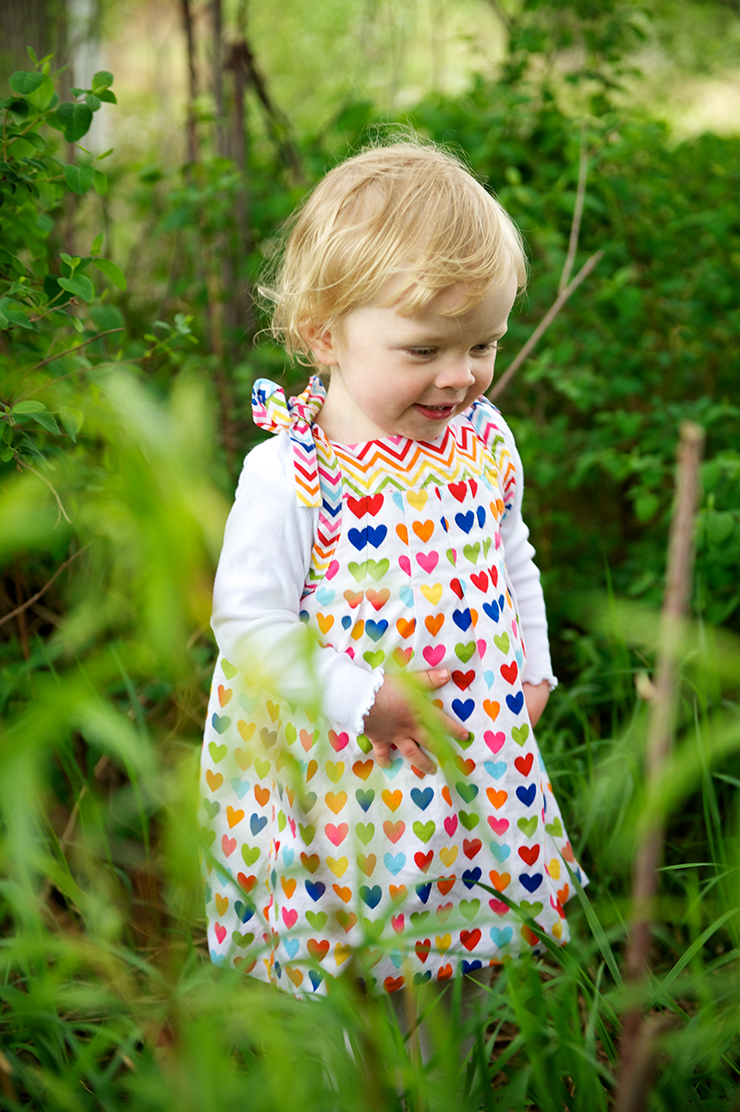
I can feel summer in the air, and my little family and I are really taking advantage of it! Every moment we can, we’re outside soaking in the sun. The other day as I was watching my girls play, I was reminded of this cute little dress that I designed years ago when I made and sold baby clothes. This baby dress has the sweetest bubble hem, and the shoulder straps are adjustable so that it can grow with your child. As a “happy summer!” gift to you, I thought I’d share this sewing pattern on my blog today for free. All I ask is that you share it with your friends (you can use the sharing buttons at the bottom of this post) and have fun sewing it for your little ones! Let me show you how to make this Grow-With-Me Bubble Dress.


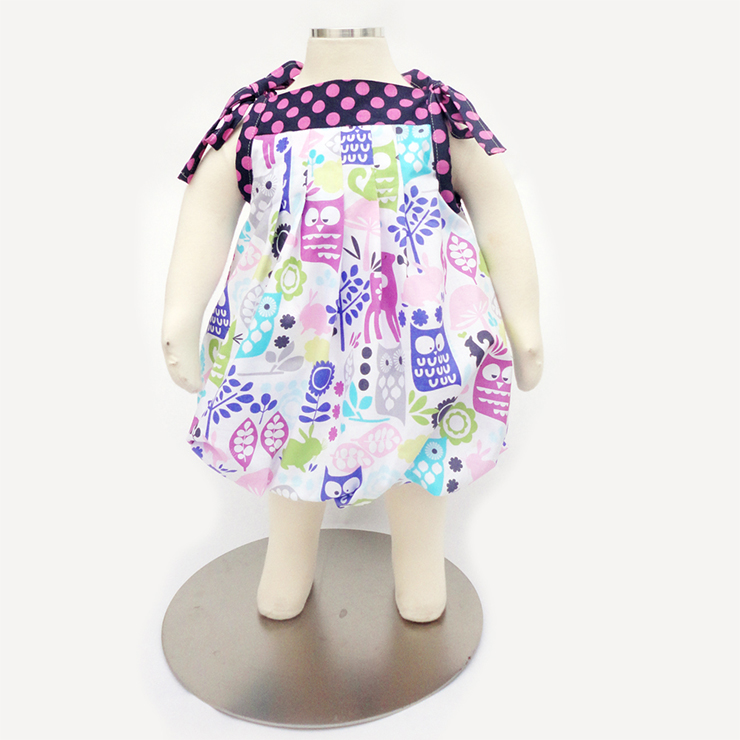
Grow-With-Me Bubble Dress by The DIY Mommy
Materials Required:
Medium weight cotton is recommended.
For sizes 6-24 months & 2-4 years:
1 yard main fabric
1/2 yard contrasting fabric
1 yard lining fabric
1 roll 1/4” elastic
For sizes 4-6 years & 6-8 years:
2 yards main fabric
1/2 yard contrasting fabric
2 yards lining fabric
1 roll 1/4” elastic
GET YOUR FREE PATTERN BY CLICKING HERE
NOTE: This sewing pattern is for personal use only.
Pattern Piece Assembly Guide:
(Tape together with no overlap & make sure to check that black square measures 1” x 1”!)

Directions:
Assemble pattern pieces. Cut out fabric as directed on pattern pieces (refer to the cutting guide for the main piece).
All seam allowances are 1/2”.
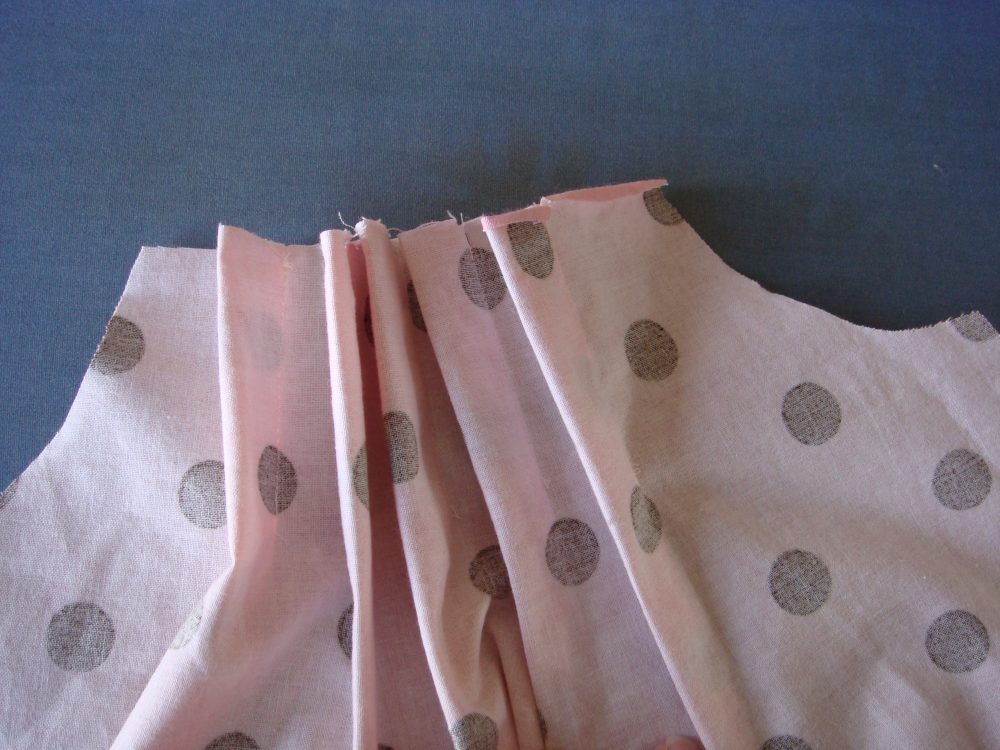
Sew darts on each front and back piece by aligning the dart lines together and sewing a straight line from the top to the bottom about 4” long. There are 5 darts total, as shown.
Sew front & back together by serging side seams (or sew with a regular machine).
Sew front & back of lining together by serging side seams (or sew with a regular machine).
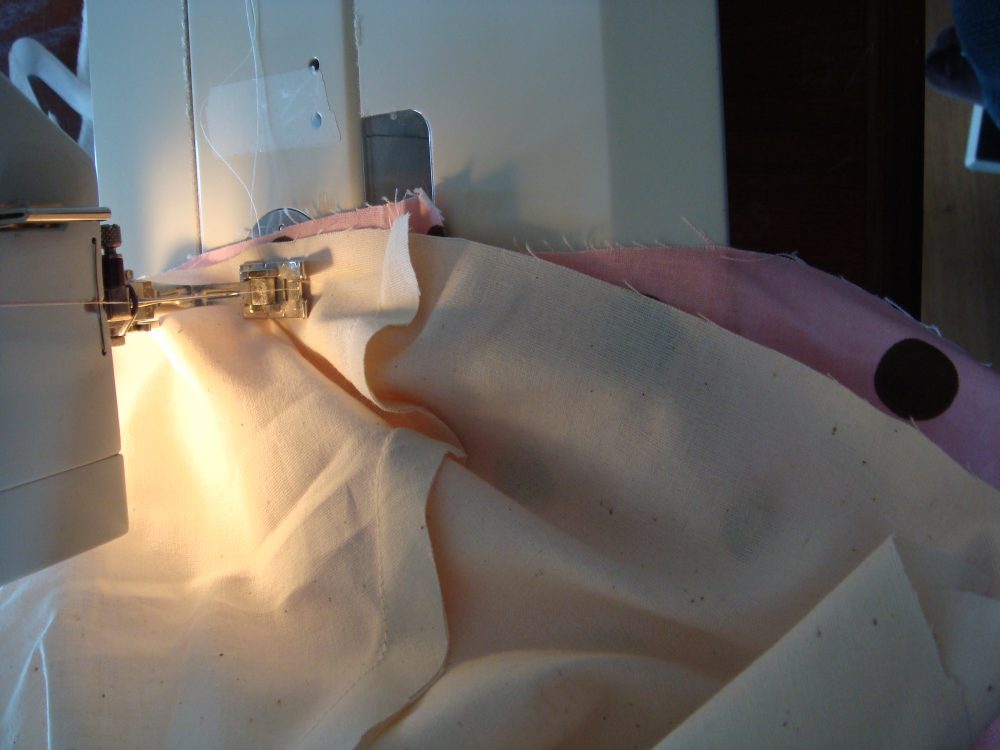
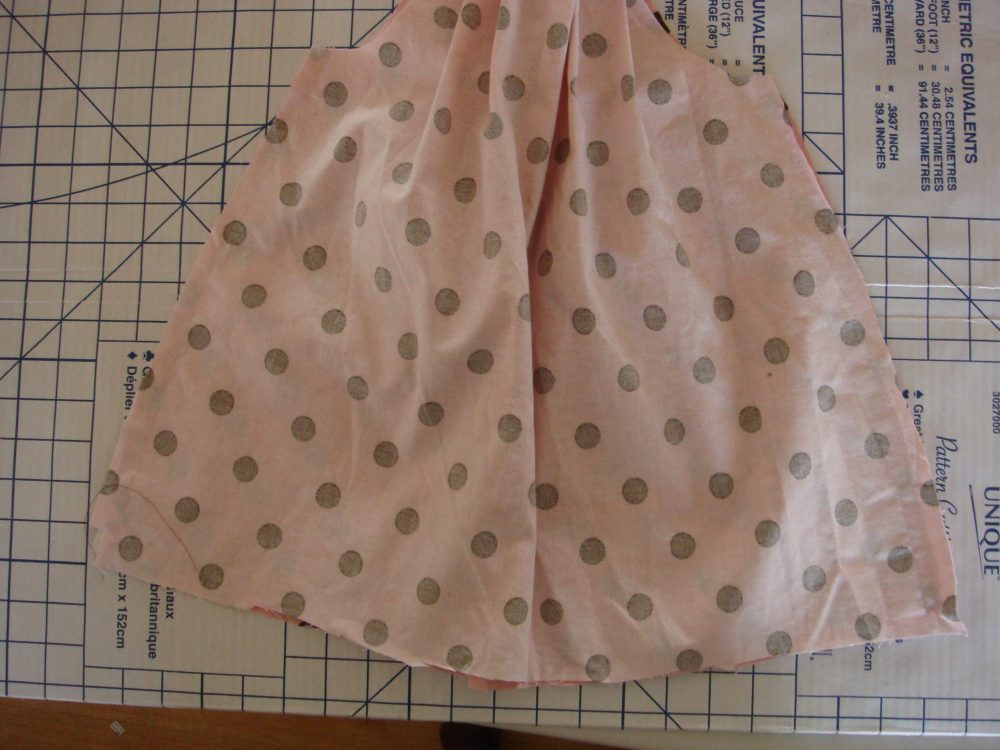
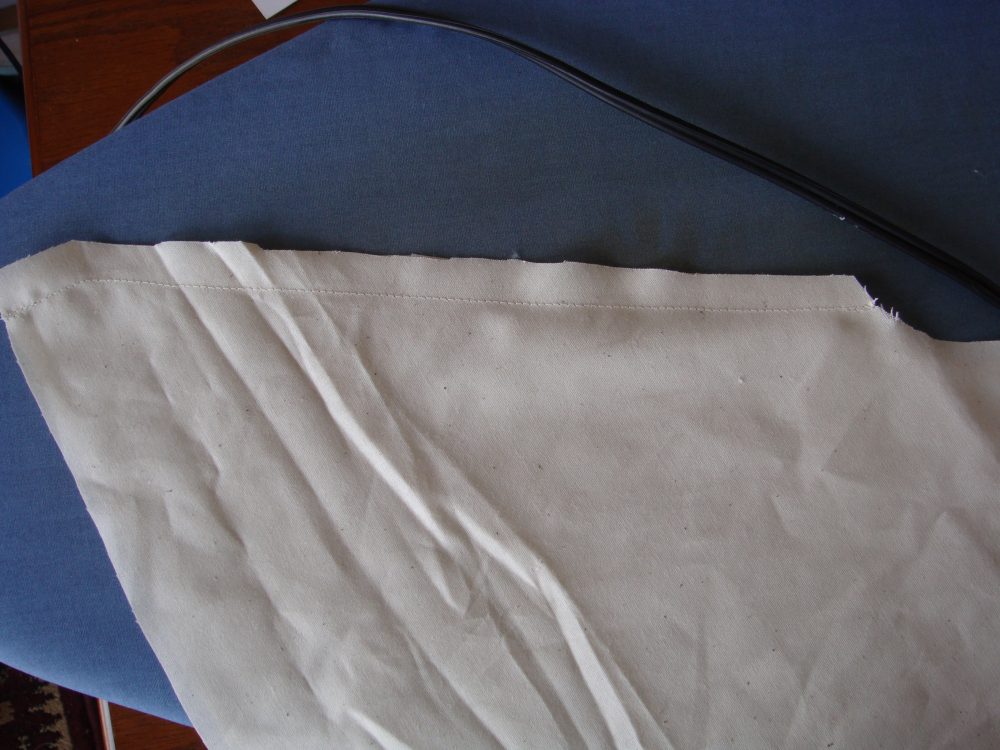
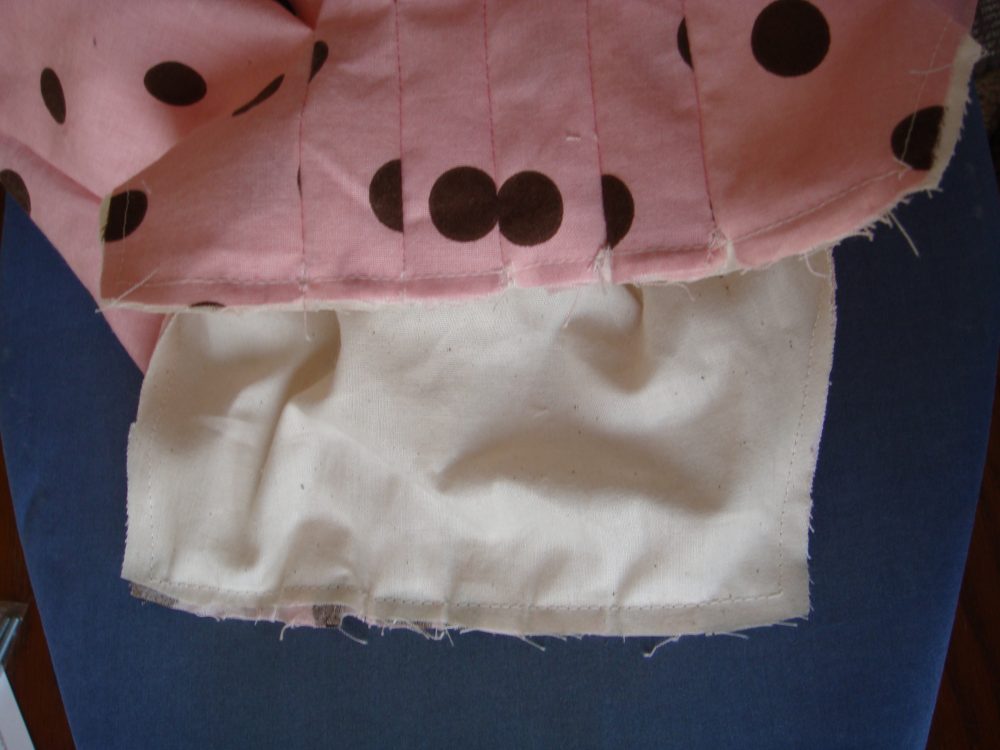
Sew lining to outer fabric after pinning them, right sides together, at bottom hem. Leave a 1/2” opening to thread elastic through.
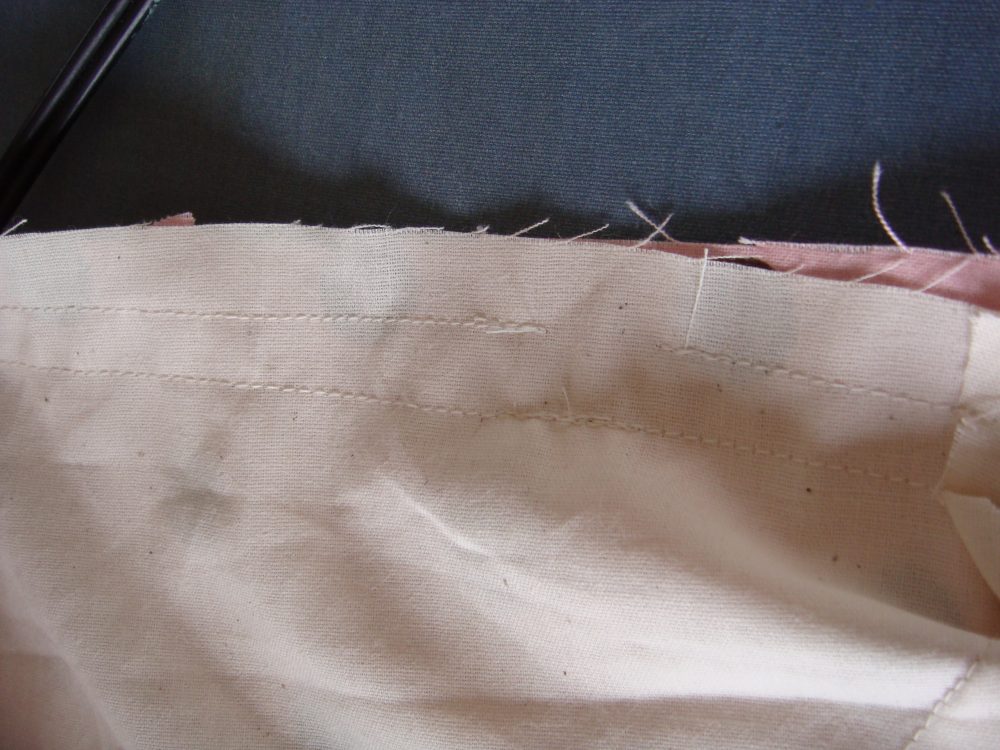
Sew a second seam 1/2” from the first seam to form a casing around the hem of the dress.
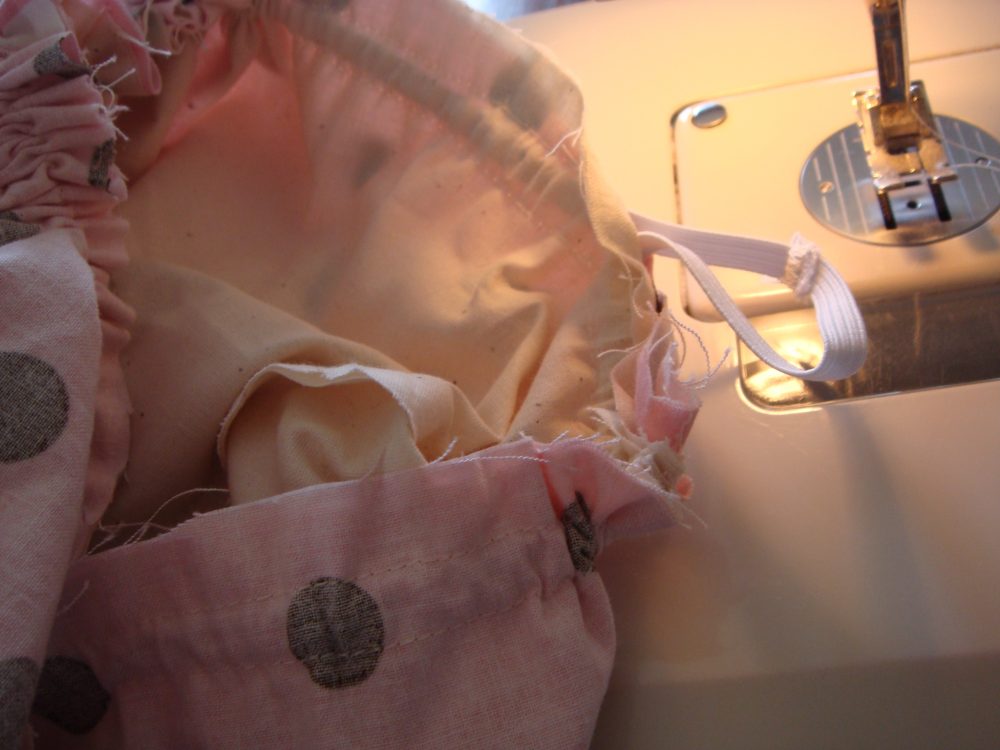
Cut a piece of elastic approximately 25” long for sizes 6-24 months & 2-4 years or 28” long for sizes 4-6 years & 6-8 years.
Insert elastic through the casing, sew its two ends together to secure.
Turn dress right side out, with wrong sides of lining & outer fabric facing eachother. Stay-stitch the lining and the other fabric together at the top, matching the side seams.
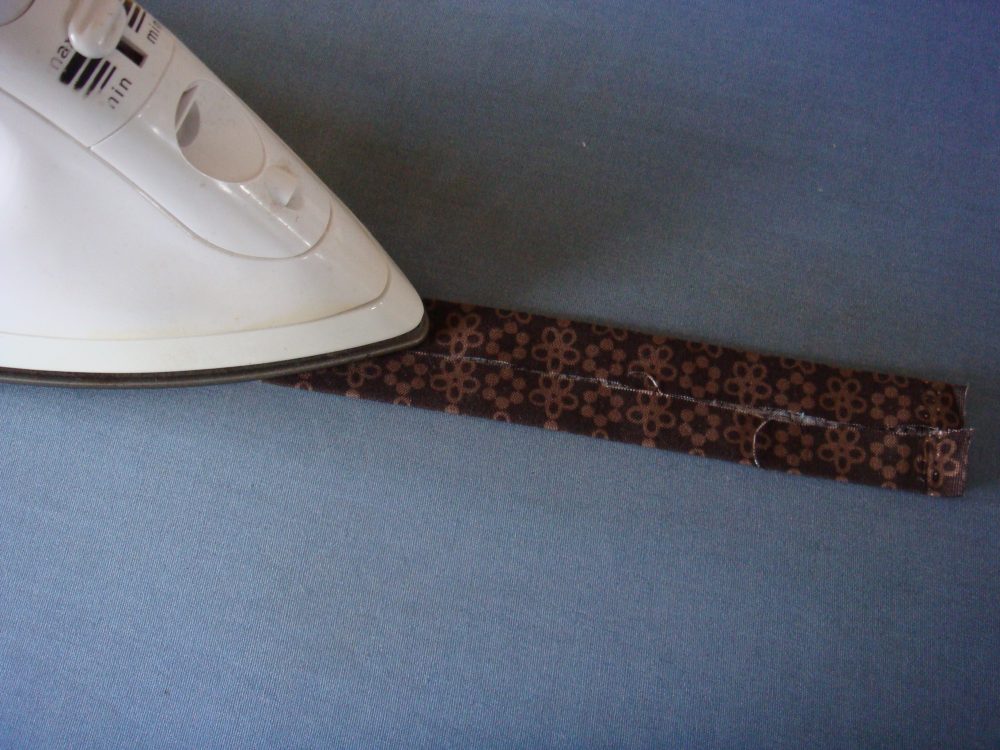
To make straps, fold the sides of the strap pieces in to meet at the centre. Press.
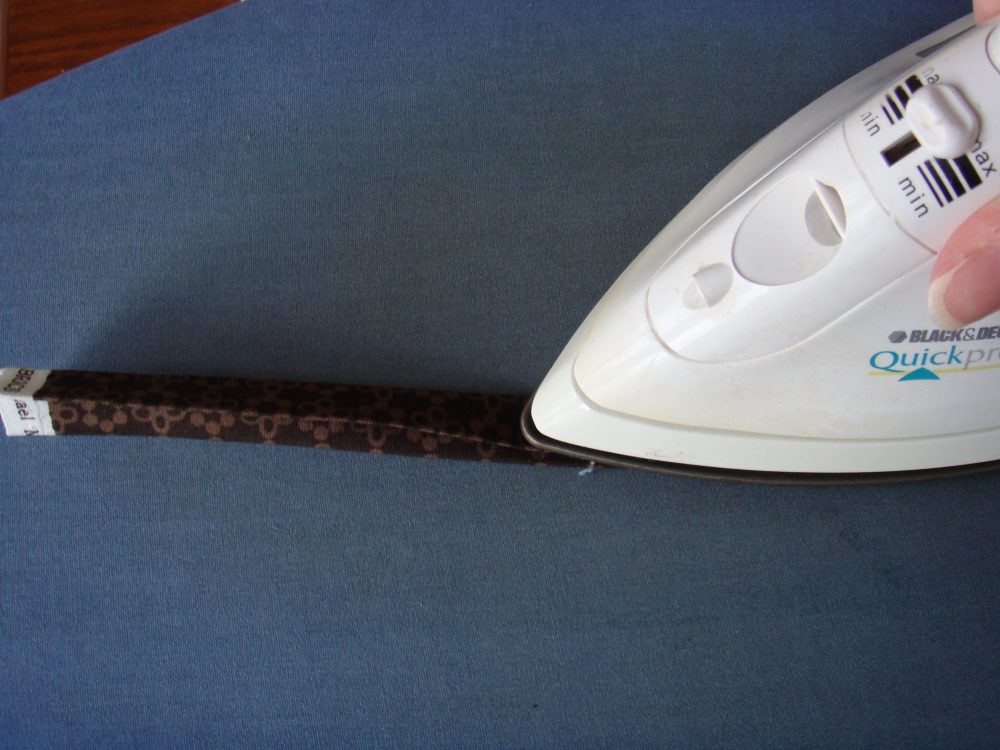
Fold strap in half & press.
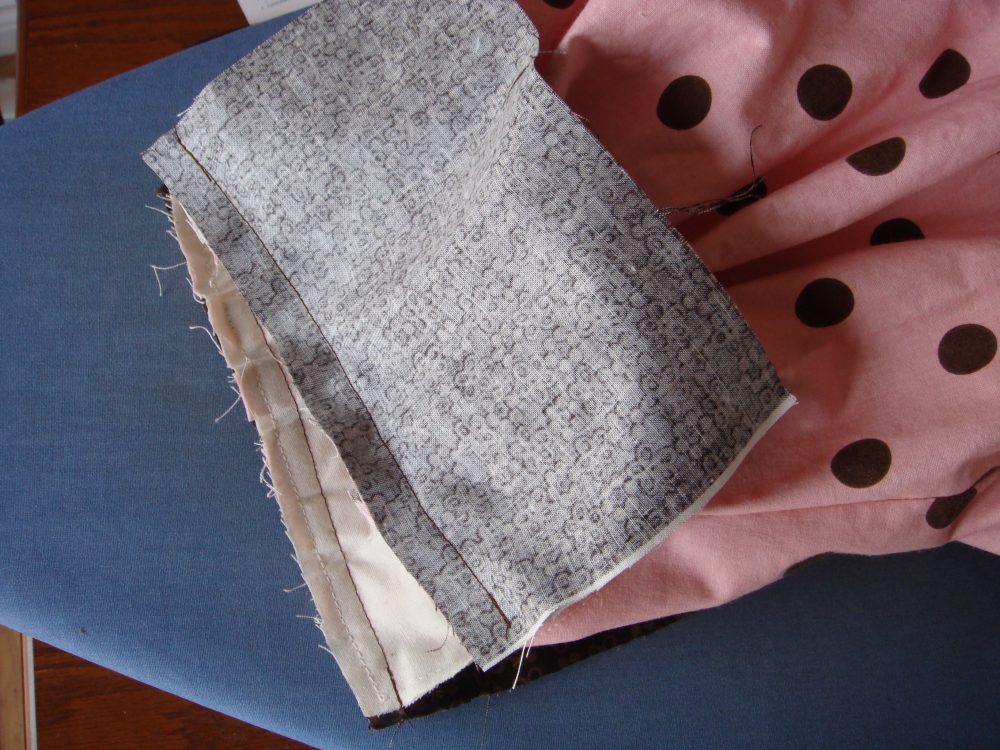
Sew each yoke piece to dress at top, right sides together.
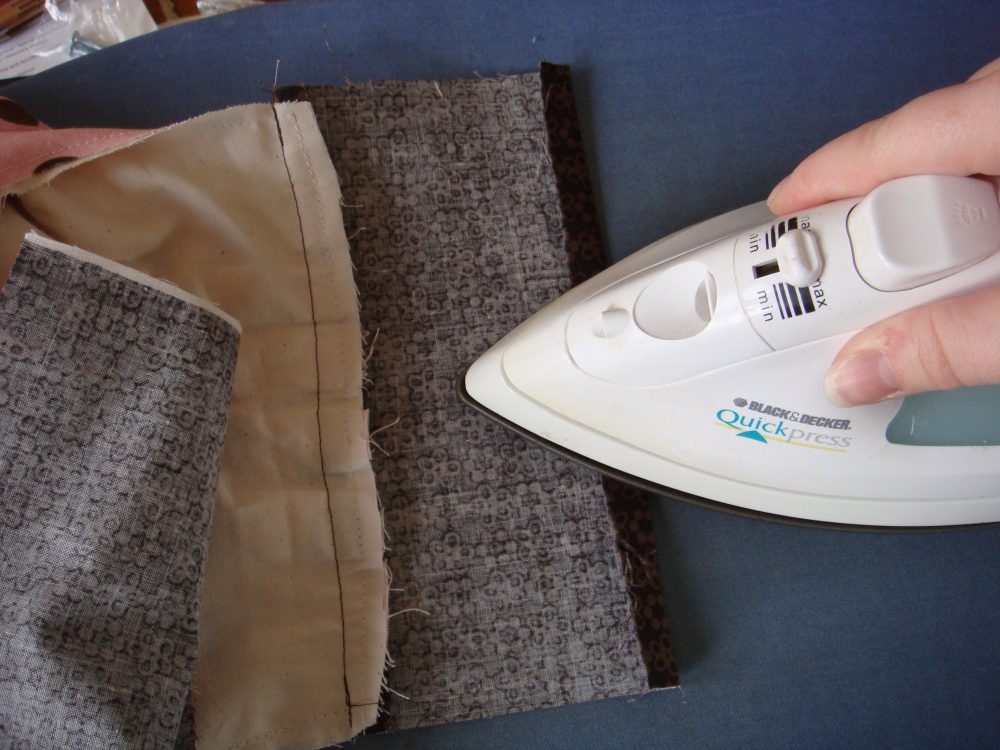
Press yoke flat, and then press top edge of yoke piece under 1/2”. Repeat for back side.
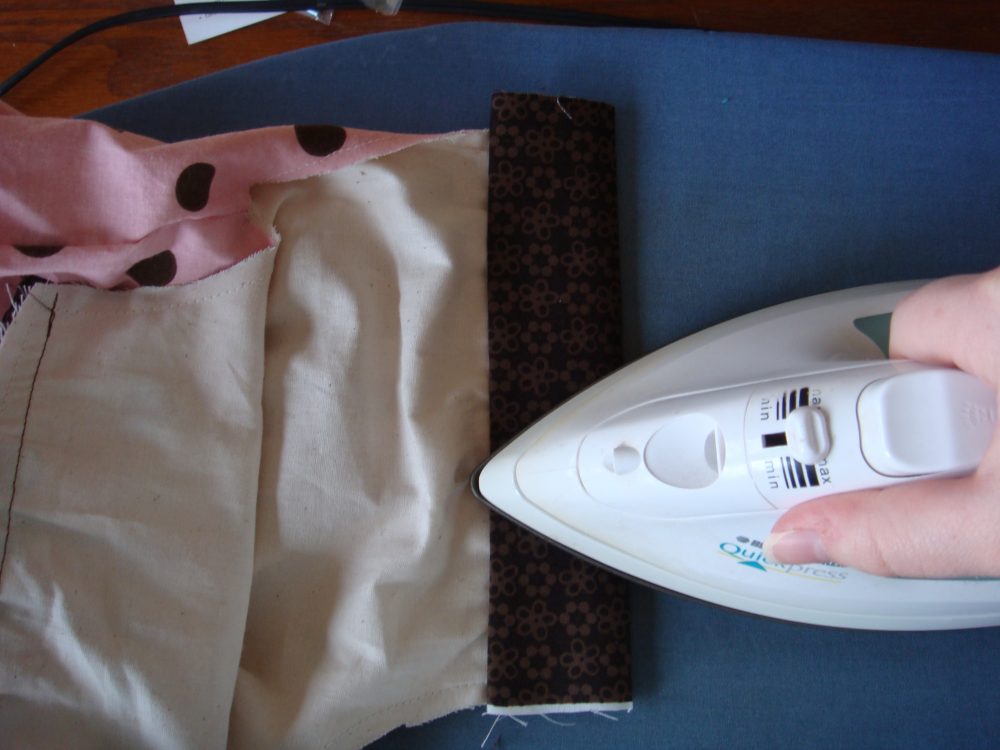
Fold yoke in half, press, ensuring edge of yoke is covering seam.
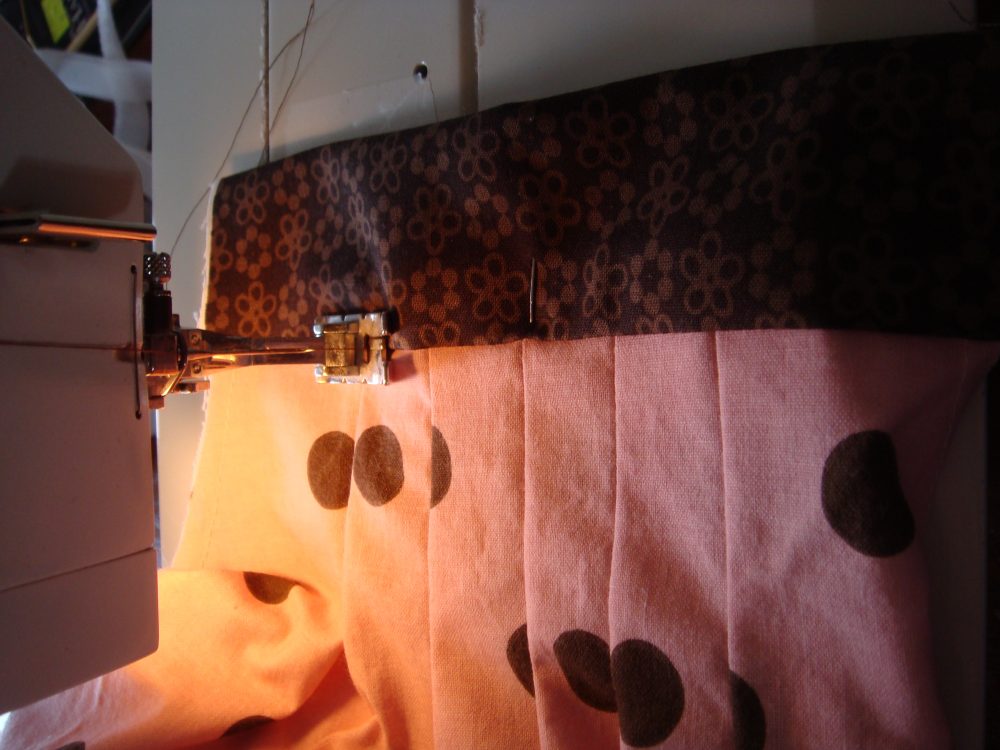
Sew folded edge of yoke to dress by sewing in previous seam on the right side to make a hidden stitch.
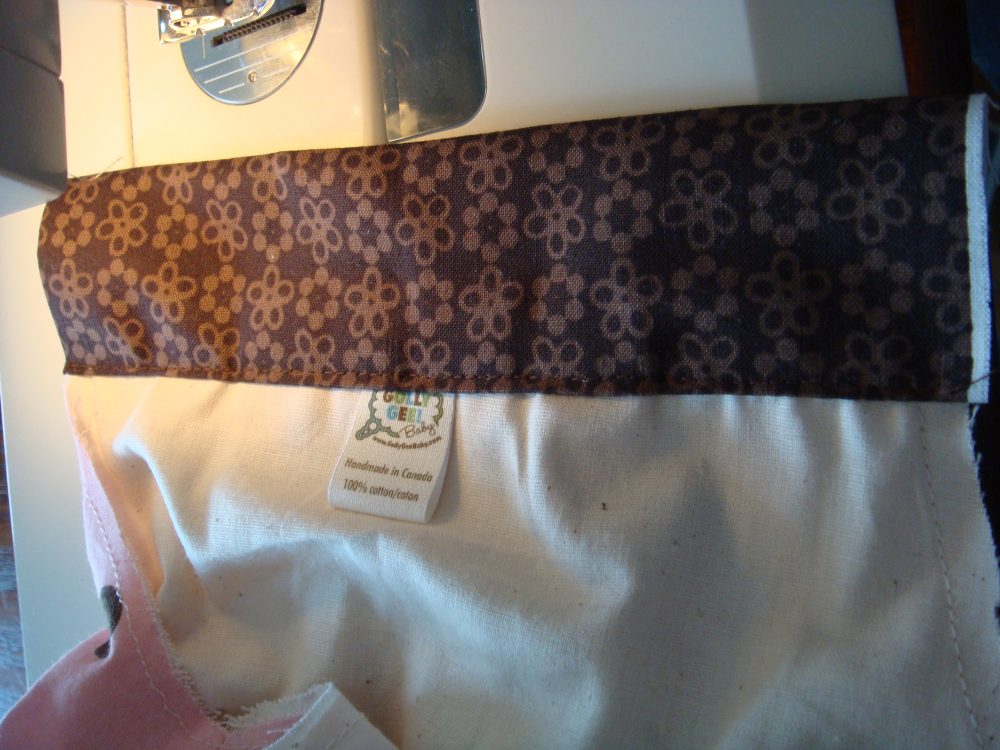
Repeat for back side.
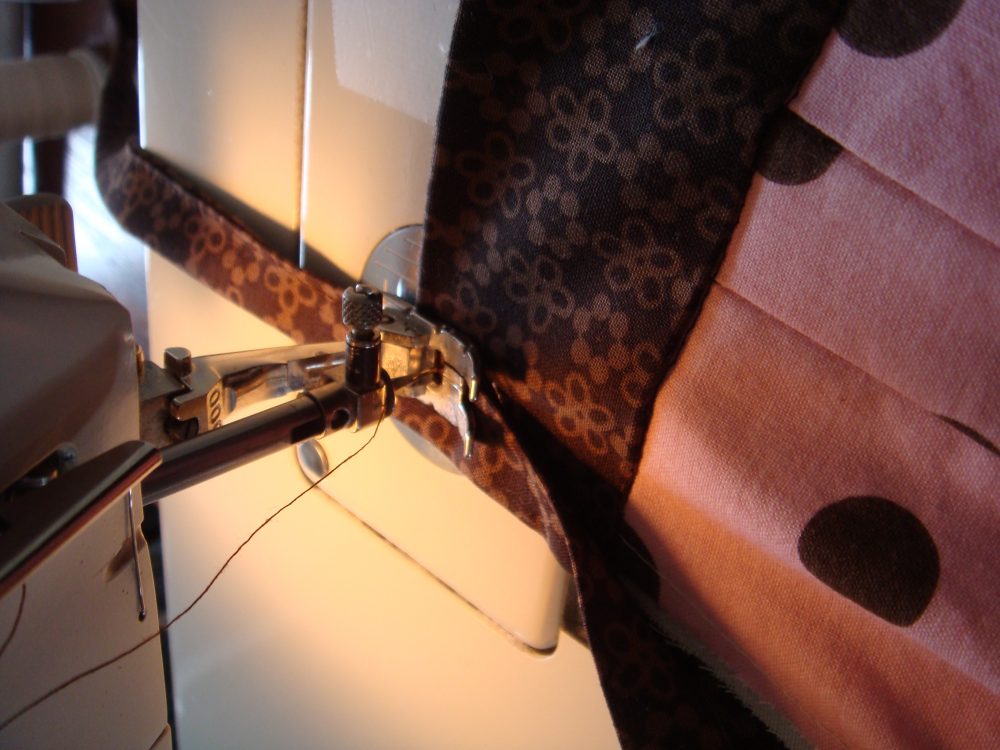
Sew on straps by sewing strap together for 12”, then wrapping it around the dress armhole and sewing, then finishing by sewing another 12” of the strap. Repeat for second side.
Tie straps at the shoulder to finish.
I hope you enjoyed this free sewing pattern today! If you liked it, please share with your friends. Thank you!
PIN ME:

I was thinking this could be made reversible…
in that case would you do the darts on the lining fabric as well? I have gobs on gobs of batiks my mom gave me I think this could be cute with.
Oh your little one is so adorable! I love how those dresses look on her!
You’re too sweet, Emma ?
The length of the lining and main fabric do not match up correct? Is that what gives it the bubble effect?
Oh I love the one with the owls! Where do you get your printed fabric? I haven’t had much luck with the stores in my area 🙁
Thank you, Kayleigh. Christina purchased her fabric from frabric.com
Have a look at these other resources she uses for her projects as well.
https://thediymommy.com/my-favourite-places-to-buy-fabric-online/
When I printed this out it was really weird. 39 pages, at least 2 copies of the main and lining, plus several unlabeled (and I think unnecessary) sections. The lining piece is a significantly shorter (4″) than the main fabric piece, but that doesnt seem reflected in the schematic above. I do see how that will give the bubble effect, but it’s not explained well in the tutorial.
Hi Katie: Yes, there are two dress pieces here because I have 2 sizes on each for a total of 4 sizes. Yes, the shorter lining piece gives the bubble effect and I’ll note these in the directions.
The little dress is really adorable as the model. Thanks for sharing. I think my little girl will be happy to wear it in a short time 😉
The little dress is really very pretty as the model. Thanks for sharing. I think my little girl will be happy to wear it in a short time.
Great work. The designs are looking awesome
Thank you!
The dress is amazing and is also sewed properly. Whenever you are doing a some type of sewing work then you have to be very picky about the accessories you are going to use for sewing clothes and well you have to proper take care of your sewing machine.
Couldn’t agree more, Jenni
On the back side of the top, the middle dart is wider than the others! It that correct or am I placing them incorrectly?
Wondering how to print just instructions without pictures so only use one piece of paper!
I could not print the pattern. How do I do it? Virginia
It seems to be working fine, I just clicked on the link “Get your free pattern by clicking here” and it took me to this page and the pattern is all there: https://drive.google.com/file/d/0ByFsQ24rgG3dZUFiSGhHM1c1Y3M/view
Right beneath that link, there is also an assembly guide to show you how to tape it together. Let us know if you have any more questions – Happy Sewing!
The Toddler sewing is far the most crucial thing, but you did it brilliantly. Kudos!
Thank you, Kayleigh. Christina purchased her fabric from frabric.com
Have a look at these other resources she uses for her projects as well.
Hello. How are you. I couldn’t download this pattern. Is there another way to download this pattern please. Its an beautiful and precious dress.
Thank you
The link takes you to google drive. You will need to sign in.
PLEASE PLEASE PLEASE send me the Bubble Dress Pattern. I have requested this twice now and have not heard from you. I can’t find anything like it in the commercial patterns and I really need it to make a costume for a pageant. Thank you in advance.
You have to use the google drive link in the post. You will need to sign in.