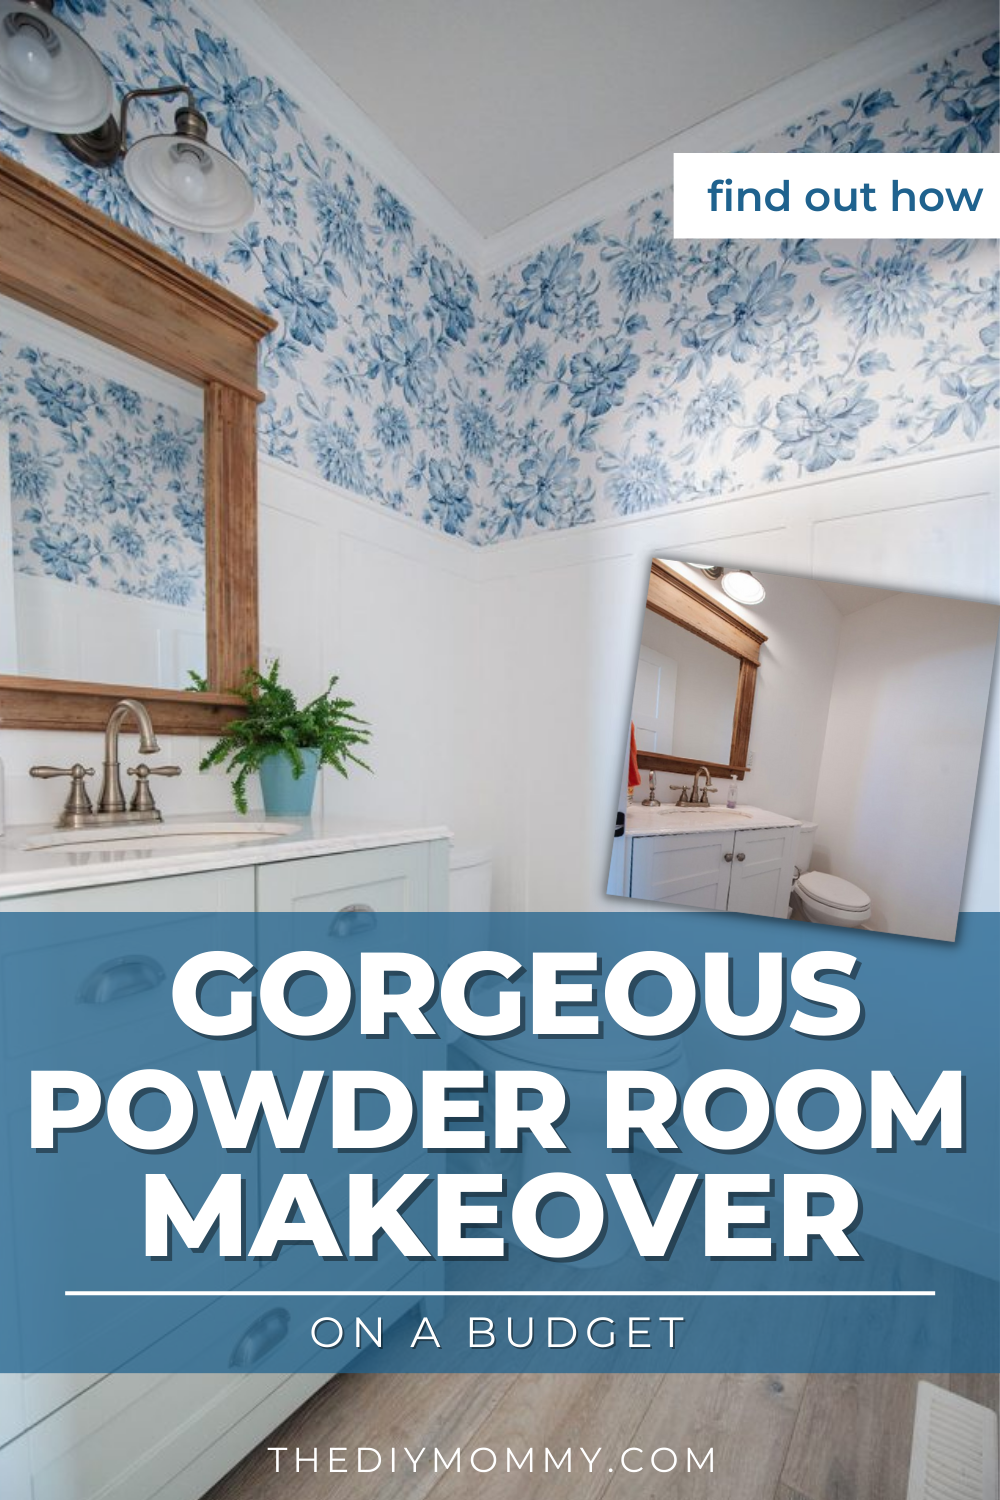
Gorgeous Powder Room Makeover on a Budget
This post may contain affiliate links · This blog generates income via ads
Do you have a small bathroom that needs some love? Let’s give this small powder room a design makeover and turn it into something so much more exciting!
From the time I was little, my mom has been a huge source of inspiration to me. Not only as a mother but also as a DIYer. She’s been working on her own decorating and DIY projects for as long as I can remember! She is definitely the original DIY Mommy.
With the help of Supreme Silicone Sealants from GE Sealants, we made over her small powder room on her main floor into something more show-stopping and interesting not only for my parents but also for all of their guests. This was a team effort for my mom, my dad, and me!
Watch the full YouTube Video here
Let’s get started.
My parents built their lake home a few years ago and it is absolutely beautiful. It’s got a classic cottage look with lots of whites and light colors that you would see in many new homes. And one of my favorite spaces in the house is the kitchen. It has beautiful white cabinetry that my mom painted herself, plus it has a beautiful island. My mom painted the island a lovely colour called Comfort Grey, and because the house is relatively small, she wanted to continue this colour in her powder room.
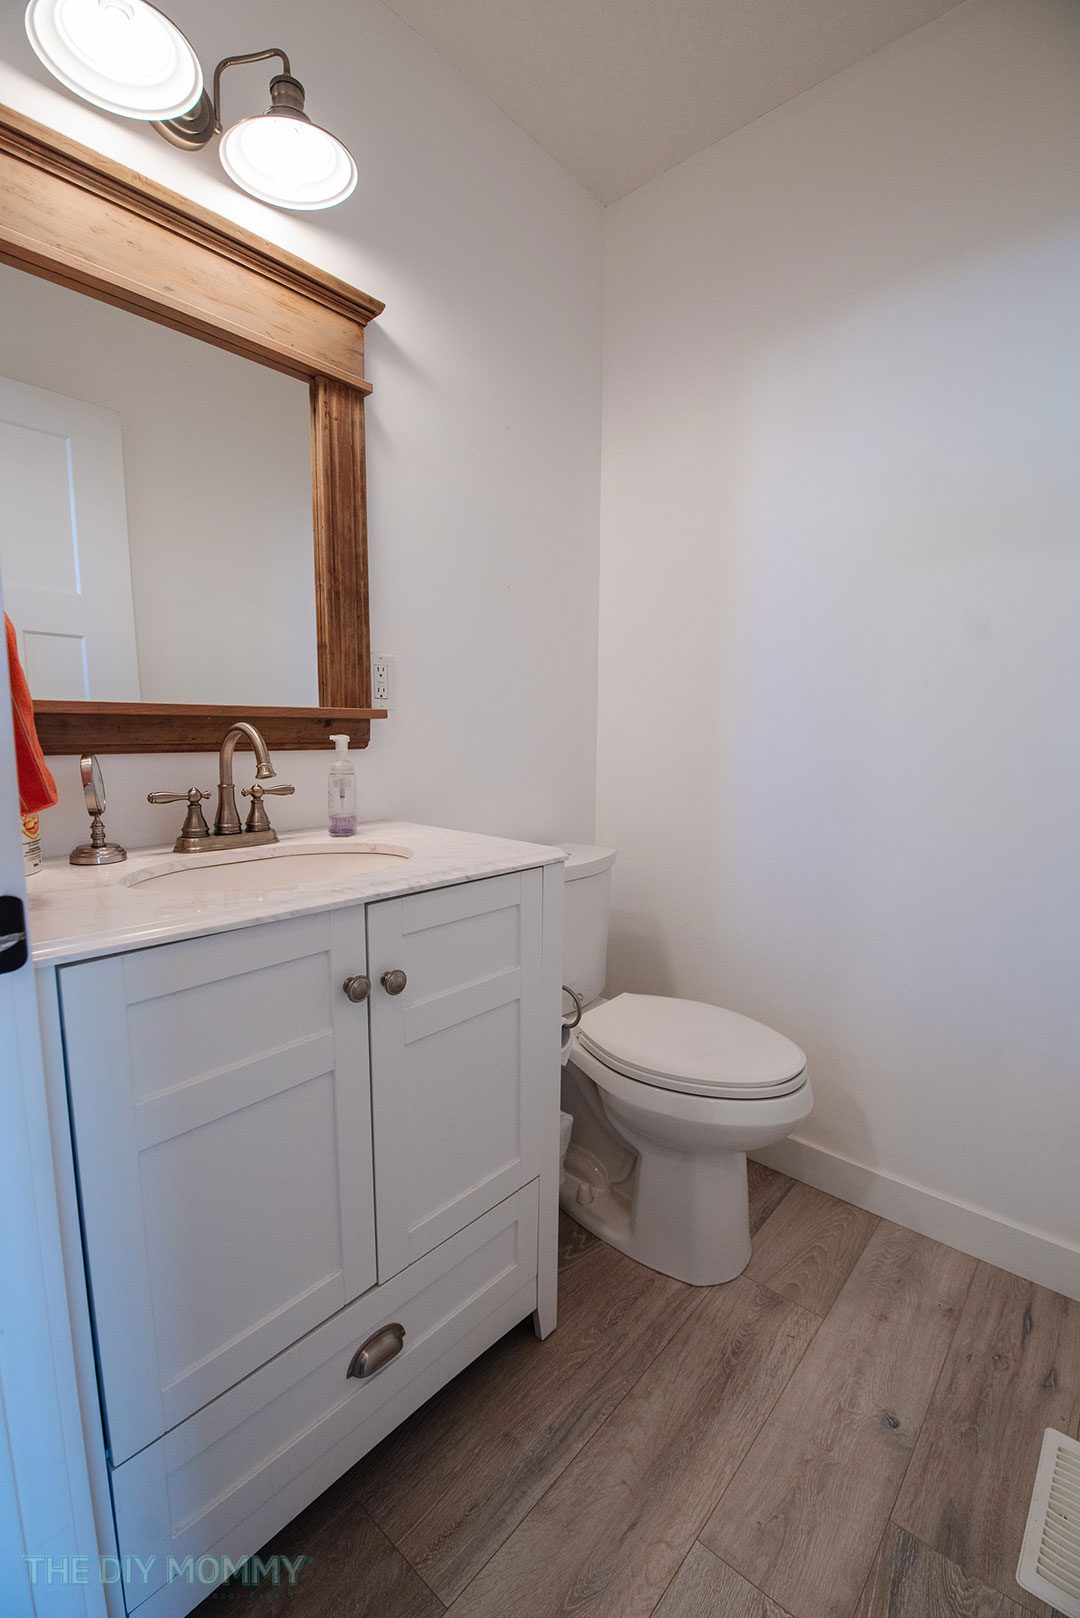
The powder room was fine as it was. The vanity is actually an upcycled project and came from Sean and me. The room was a nice neutral white color and my parents built the mirror frame themselves. Everything was nice and functional. It had some nice classic brushed nickel hardware and fixtures. There was nothing wrong with any of it. But there was no charm or anything special either!
Because the bathroom is fairly new and structurally sound and already a lovely colour, we didn’t want to get too in depth with this renovation. So while we could have gotten really serious and added a pocket door, a marble sink or floating vanity, new shelves, or other really big changes, we didn’t need to and didn’t feel that’s what the space needed anyway.
So, what we decided to do with this space was just give it a lift! We wanted to make it more interesting and give it a show-stopping quality with simple changes. And we also wanted to make sure that everything was sealed up and waterproof, especially the area around the sink.
Adding a Budget Powder Room Wall Treatment
To begin this refresh project, we decided to DIY some board and batten trim work in this space. I love board and batten wall treatments, especially in small spaces like a powder room. It gives some architectural detail but it’s really easy to install.
My dad cut down some MDF into thin strips, both vertical and horizontal. Cutting down sheets of MDF is a really budget-friendly way to create trim pieces for this board and batten look. We measured the space and decided how many strips we would need and then cut them all at once.
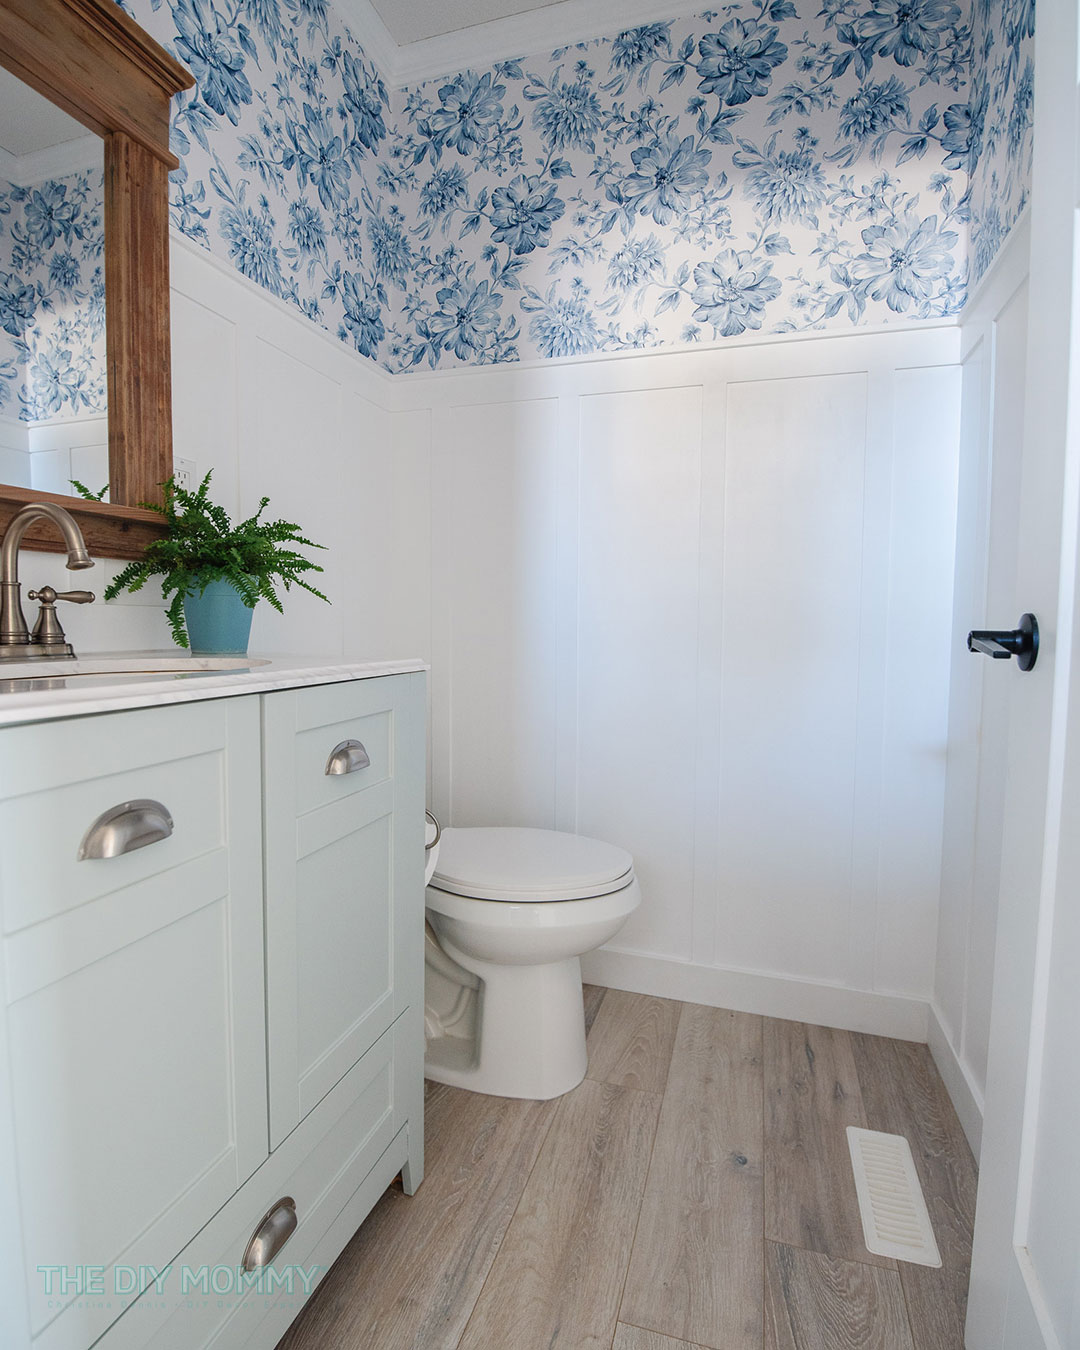
We decided to go for a two-thirds look. This means the board and batten go two-thirds of the way up the wall. And then we decided to do a really dramatic wallpaper treatment on the top third of this space. But let’s not get ahead of ourselves, board and batten first! We used a small pin nailer to put the MDF on the wall. You can hardly see the nail holes when you use this tool. It’s one of my mom’s favorite DIY helpers.
We started by putting the top rail on the wall first and then added the vertical pieces underneath it. You will have to measure a distance between your vertical pieces that feels right to you! Use a level to make sure each piece is perfectly straight before nailing it in place. Once that was done, we put a small piece of trim on the very top of the horizontal rail for an interesting finished look.
After all the board and batten were on the wall, we primed all the trim and MDF and then painted it a simple white colour. It is the same white as the rest of the trim in the whole house, so it will be cohesive with all the other rooms.
Updating the Upcycled Vanity
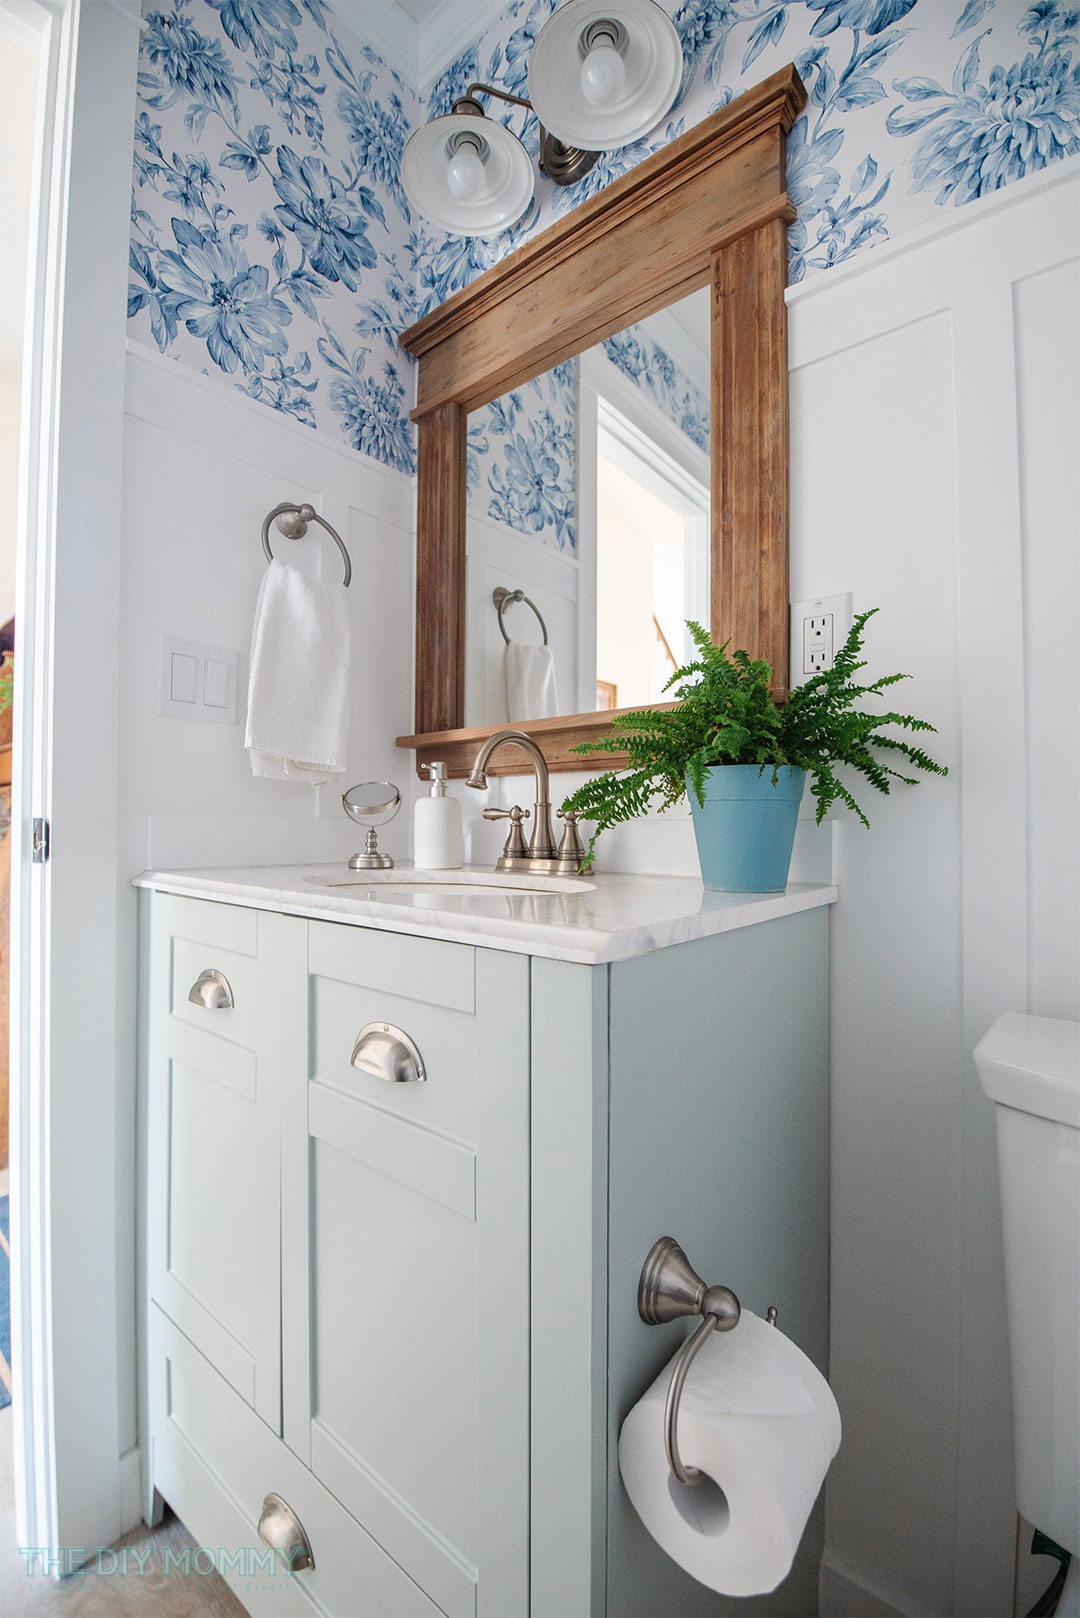
Then it was time to update the already upcycled vanity! You already know that I love painting as a budget-friendly way to update almost anything. So it won’t surprise you that we decided to repaint this vanity in the same Comfort Grey as the kitchen island so that it matches the space closest to it, and also to give the powder room an interesting not-white feature. We primed and painted the entire exterior of this cabinet.
We did one more really fun and unique design feature to this powder room vanity! My dad is a talented woodworker and DIYer and is another source of design inspiration for me. He used some birch plywood and created some inserts for the vanity to fill the space behind the simple swinging doors that were there before. He created pull-outs that will maximize the available storage space and make everything easier to reach, and then he attached the old doors to them when he was finished.
Then we put the inserts on sliders inside the cabinet so they would pull out properly. We also replaced the handles with some beautiful brushed nickel pulls. So while it LOOKS like all we did was change the handles out, this is really almost a whole new vanity!
We actually left the light fixture and the faucet as they were, because they matched the new pulls perfectly. We also didn’t have to mess with any of the plumbing, which made this renovation so much simpler than it could have been. Isn’t this finished vanity amazing? Even if you aren’t my dad’s biggest fan like I am, you have to admit it turned out so great!
We used GE Sealant Supreme Silicone Kitchen and Bath Sealant to make everything waterproof on the edges of the vanity countertop around the sink area. We first put a bead of sealant down around the outside edge of the vanity top where it meets the wall, and then on top of that, we put some waterproof trim for a simple, neutral, yet elegant backsplash. This was much easier than using tile and created the exact look we wanted.
Then it was time for crown moulding where the ceiling meets the wall! My mom and dad took care of this. They cut and installed it themselves to give the entire bathroom a beautiful, elegant, finished look.
Adding an amazing wallpaper
Then it was time for my favorite part of this powder room makeover: this amazing patterned wallpaper we found at Home Depot! It has a beautiful vintage look, and classic blue and white pops of colour. We knew this accent wall was one of our very best powder room ideas before we even started! We first thought about pulling one of the colours out of the wallpaper for the vanity paint, but in the end, we were so happy we went with the Comfort Grey. All the colours complement each other so beautifully.
My mom put up all the wallpaper herself! She shared some tips with me, such as cutting the panels to size using a square to keep everything straight and making sure the wallpaper paste covers every inch of the wall by using a paint roller to apply it. She also goes over the seams to make sure there’s no lifting. With the crown moulding at the top, I just cannot get over how amazing this wallpaper looks!
After my mom installed the wallpaper, we re-hung the mirror above the vanity using the pin nailer again. When we were done my mom filled and painted the nail holes to make sure everything looked finished and complete once again.
Seal all the seams and edges with caulk
Then it was time to seal all the seams and edges of the trim backsplash with the same GE Sealant Supreme Silicone to make the entire vanity top look finished and to ensure there is no way for water to get in behind it. This sealant is 100% silicone and 100% waterproof, so it is perfect for areas that are exposed to moisture on a regular basis. It offers 50% joint movement capability, it won’t shrink, and it has a crack-proof seal. This is a fantastic product for use in the space between the vanity and the wall where there might be a little bit of movement.
I apply caulk with a caulking gun. Then I take my finger and press it down and wipe away the excess. You can also buy a proper caulking smoothing tool if you would like. Make sure you put enough caulking down to fill the space properly and block out any water. I caulked around the vanity top, down the sides, and around the toilet base as well.
The finishing powder room design touches
I’m so pleased with how this powder room makeover turned out! We took it from a “just fine” little bathroom to a jaw-dropping beautiful space. I love the impact the wallpaper has on this space, and I also love the texture that the board and batten bring to the room! I am so pleased that this once-upcycled vanity got another makeover to make it fresh and new again. And it’s nice to know that everything is sealed properly so it’s nice and waterproof. I know this room will stand the test of time.
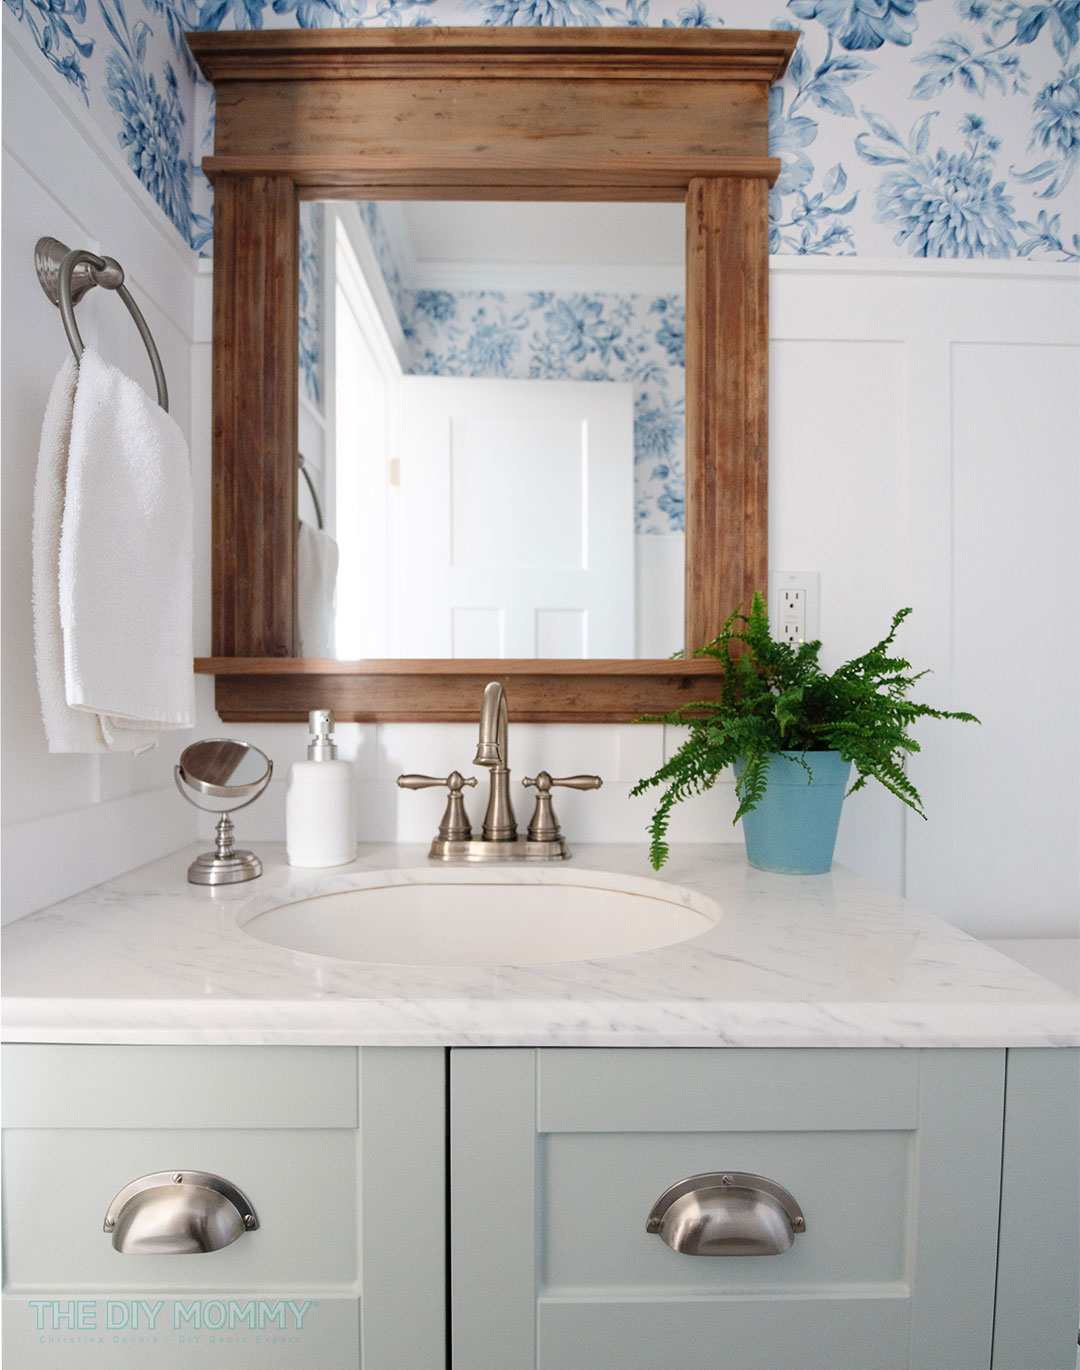
Of course, we added some decor when we were all done with the hard stuff! We added some little accessories like a potted fern, a fresh white hand towel, a soap dispenser and a handheld mirror. These little touches really finish off the space beautifully and make it welcoming for anyone who enters.
Do you have a wallpaper before and after DIY with a big impact? Tag me @thediymommy, I would love to see it!
Pin Me!