Hoop Wreath with DIY Fabric Flowers
This post may contain affiliate links · This blog generates income via ads
Learn how to make a beautiful hoop wreath from an embroidery hoop, ribbon, faux greenery and gorgeous fabric peonies that you can make with fabric! This is a beautiful wreath for Valentine’s Day or Spring.
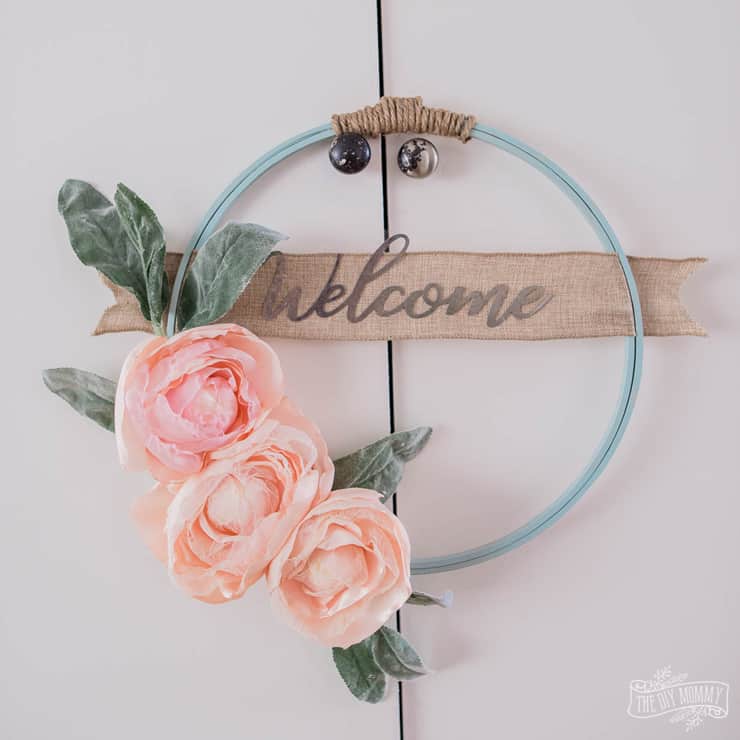
There’s no hiding that I’m a huge fan of anything with flowers on it, and this cute little hoop wreath is no exception. To make it, I used supplies I already had on hand and I’m so happy with the result! I love how the green-blue of the hoop contrasts with the peach-pink of my fabric peonies. It’s a romantic piece that would look sweet on a front door, or change up the word art and use it in in a kids’ room!
This project is part of this month’s 3 Ingredient Challenge that I’m taking part in with some other fabulous creators. After you read my tutorial, make sure to check out the bottom of this blog post to see what my friends made with the three ingredients we had to use: fabric, paint & trim.
To make this DIY hoop wreath with fabric flowers, you’ll need the following:
- fabric scraps for the flowers (satin, organza and stiff lace work well)
- small styrofoam balls for the flower centers
- wire flower stem (optional)
- a candle (to singe the petals)
- a glue gun
- fabric scissors
- large embroidery wreath
- leftover paint
- thick twine
- 2″ wide wired burlap ribbon
- faux greenery (I used lamb’s ear)
- metal word decoration (optional)
To begin making your DIY fabric peonies for the wreath, click the link below to download and print the peony petal pattern:
Click here to download the free printable flower petal pattern.
Next, use the pattern and some scissors to cut the peony petals from your scraps of fabric. I cut six of each petal size for each of the 3 flowers I made for this wreath and used a variety of different types of scrap fabric I had on hand (satin, lace and organza in shades of blush pink).
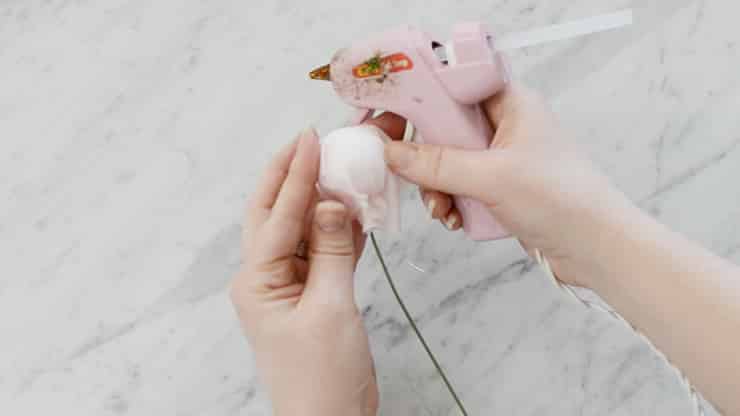
Attach a strofoam ball to a wire flower stem (this is optional, but it’s handy) with a glue gun, and then wrap a scrap of fabric around the ball and glue it in place with hot glue.
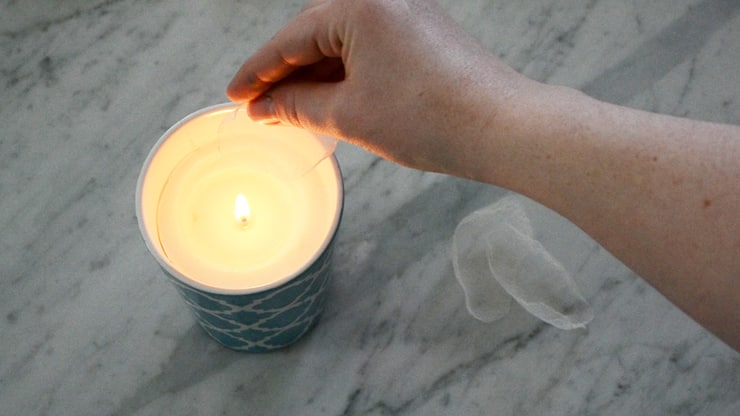
Next, carefully singe the edges of all your fabric petals by hovering them over a lit candle until the edges curl from the heat.
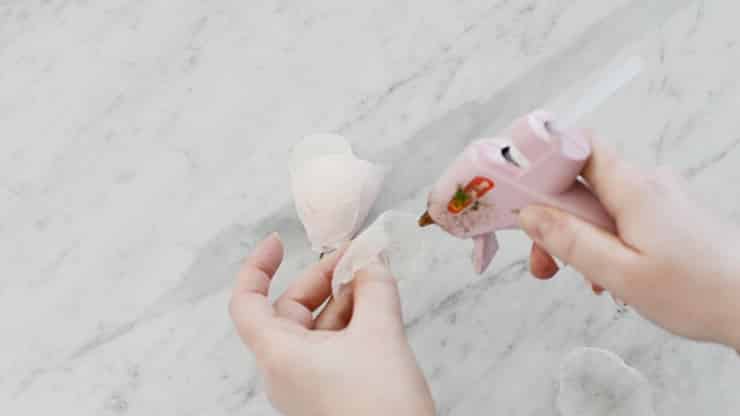
Then, begin attaching all of the petals to your center ball by gluing them on their short edge, and attaching them to the base of the ball (where it meets the stem). Start from the smallest petals and go to the largest petals. You can overlap them and gather their bottom edges slightly to create your desired peony effect.

The bottom of your flower will look something like this once you’ve attached all of the petals. Repeat this process until you’ve created the number of flowers you want for your wreath. I made three large peonies.
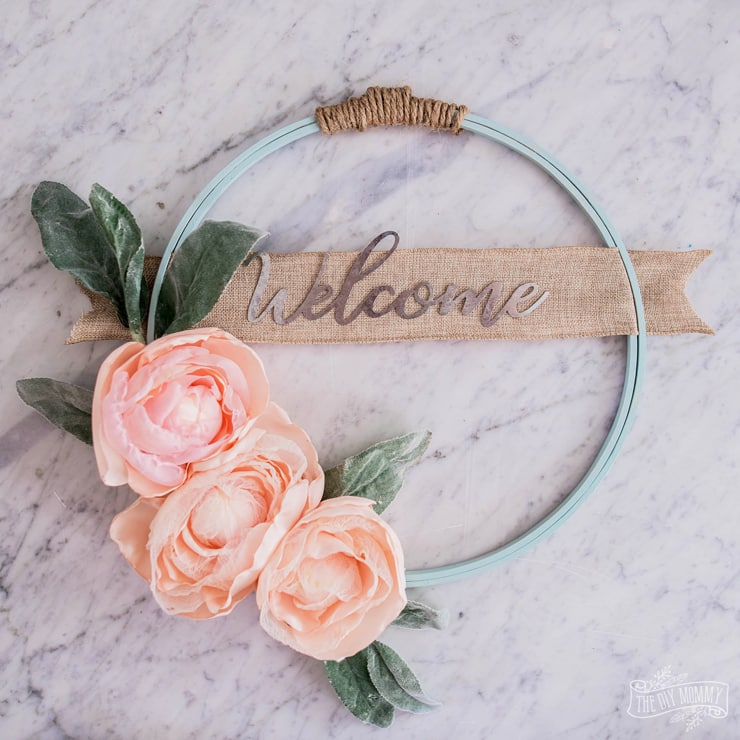
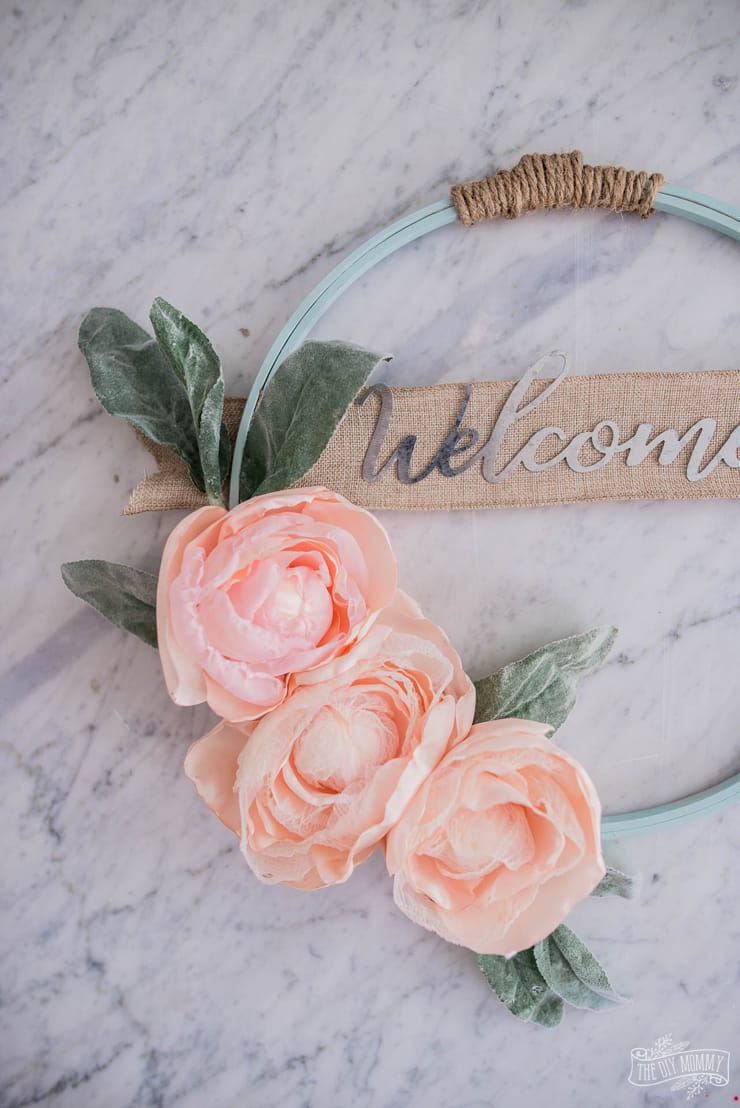
To make the actual wreath, it’s so simple! I painted a large embroidery hoop with some leftover latex paint I had, and then once it was dry I attached my DIY fabric flowers to once side of the wreath with hot glue. I also glued some faux lambs ears stems around the flowers for more texture.
Then, I cut a piece of burlap ribbon trim that was slightly longer than my hoop’s diameter, and attached it to my hoop by placing its edges in between the two parts of my embroidery hoop. I cut V’s on each side and hot glued a metal “welcome” sign I found at the Dollar Tree last year.
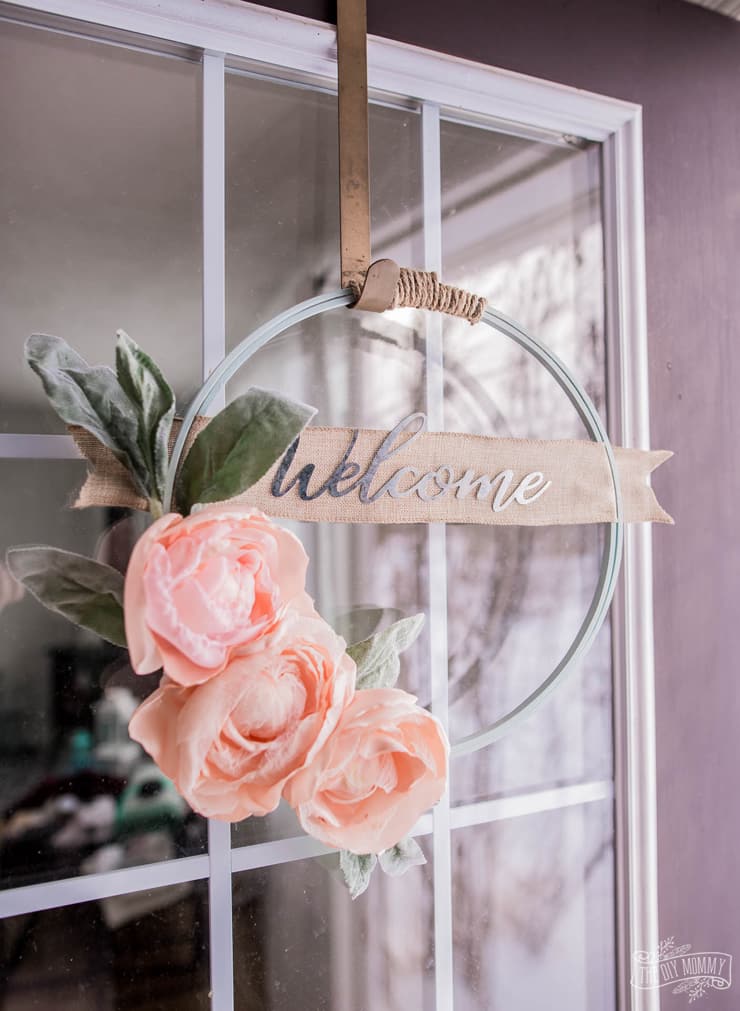
The final touch is a length of thick twine that I wrapped around the top of the embroidery hoop to hide the metal screw. I secured the twine with hot glue. My wreath is ready to hang to celebrate Valentine’s Day and the coming Spring!
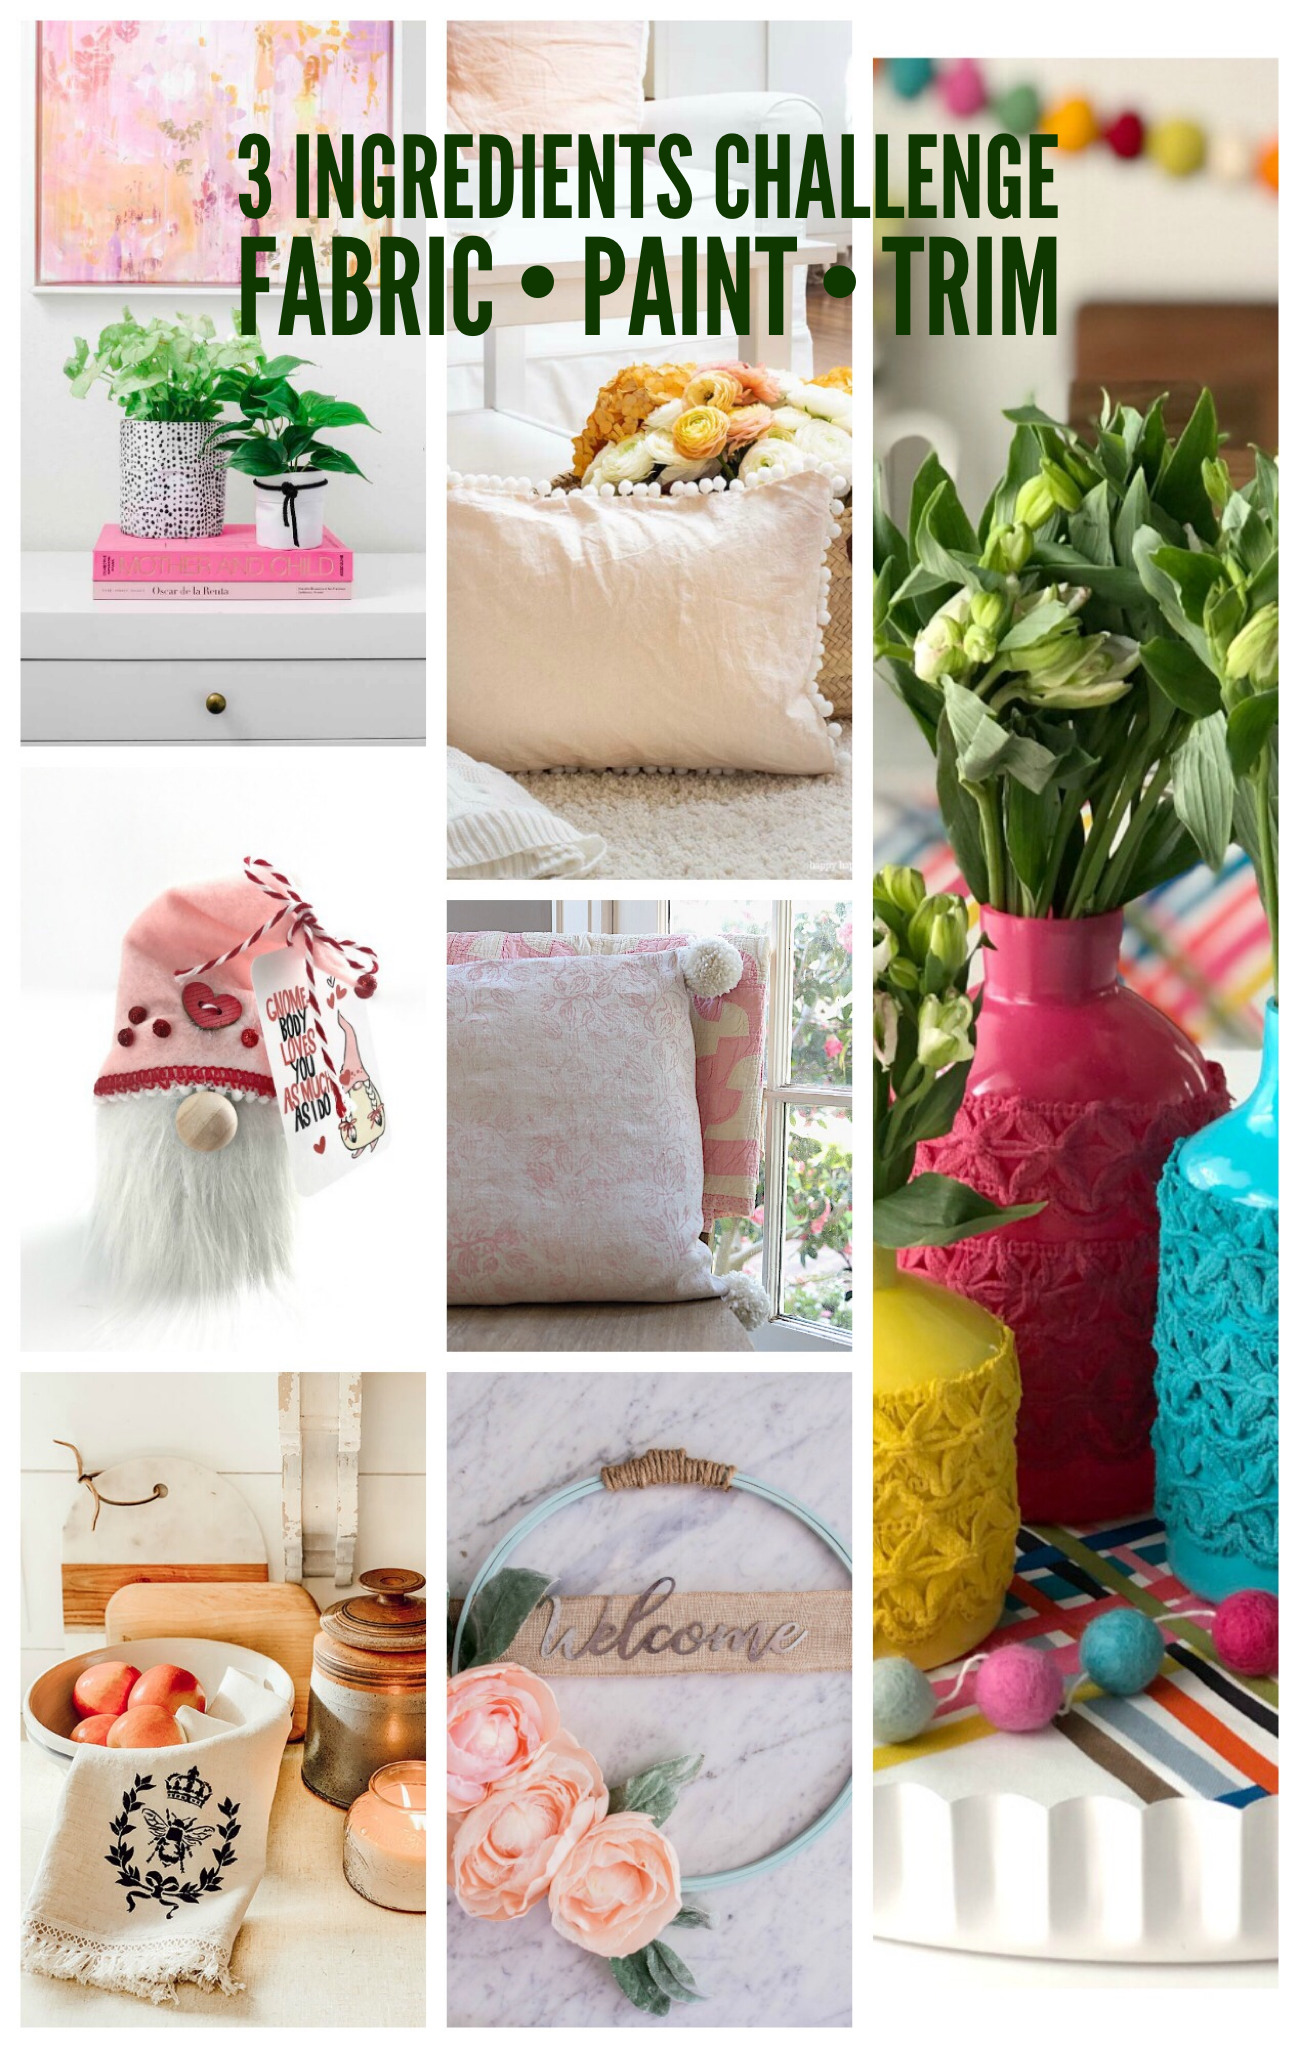
More DIY Ideas with Fabric, Paint and Trim
Now, let me show you some more fabulous DIY ideas from my blogging friends. Be sure to visit the links and comment which is your favorite idea!
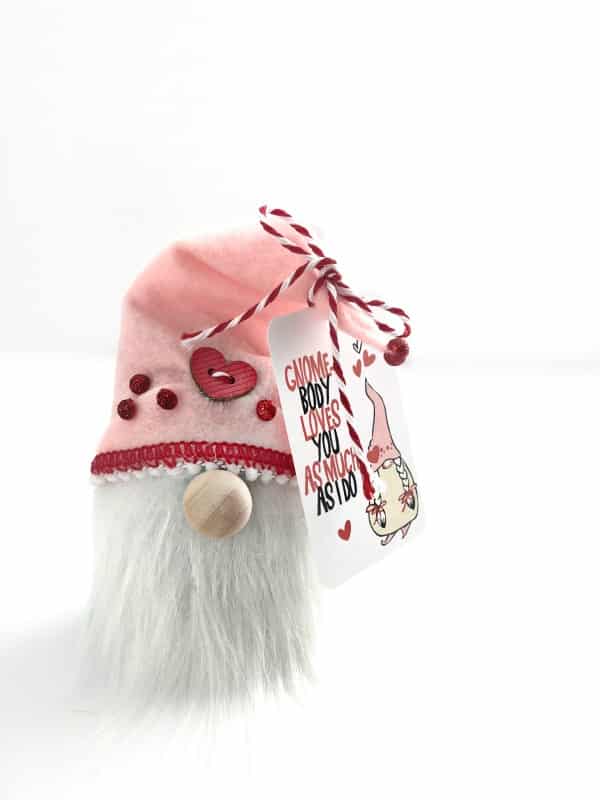
How cute is this DIY Valentine’s Day Gnome from Tauni Everett? What a clever way to incorporate all of the challenge ingredients!

Did you know that you can try dyeing fabric with avocados?! Happy Happy Nester is showing us how – so neat!
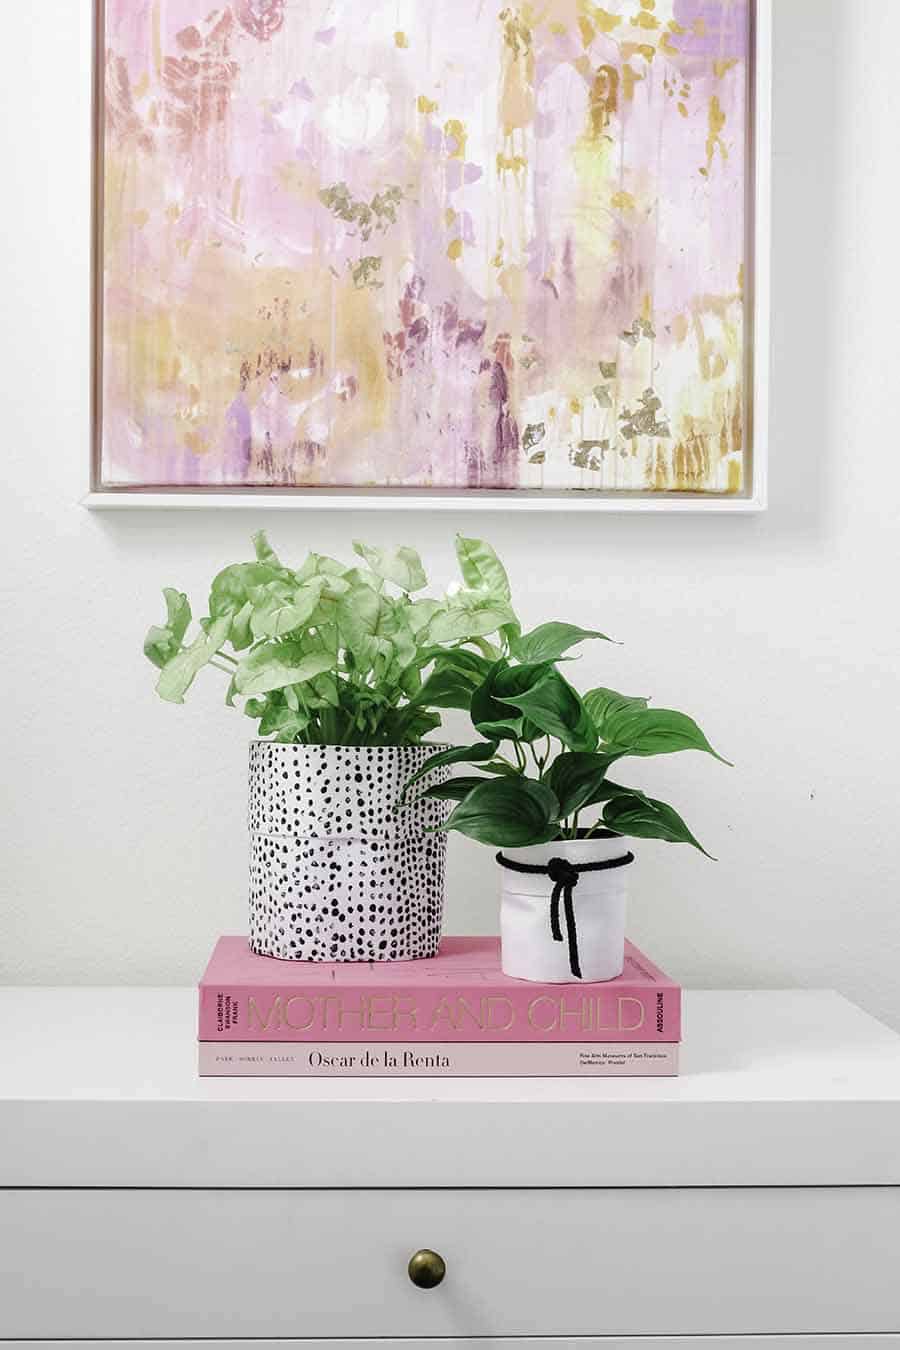
Ashley from Modern Glam is sharing this lovely Fabric Planter DIY.
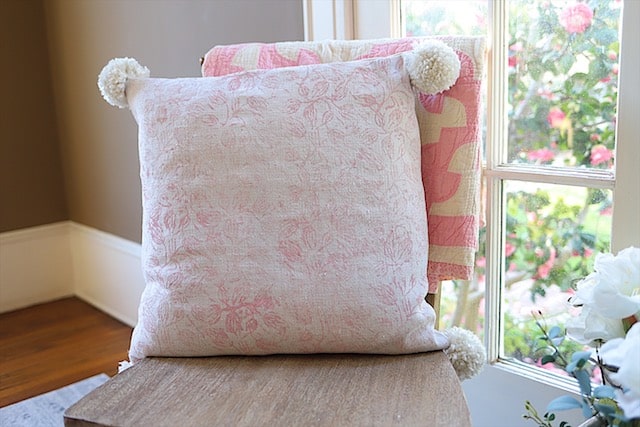
This Painted Fabric Pillow is gorgeous and 100 Year Old Home has the tutorial on her blog!

I’m loving the fringed trim on this tea towel. Hallstrom Home is sharing How to Stencil Tea Towel with Chalk Paint.
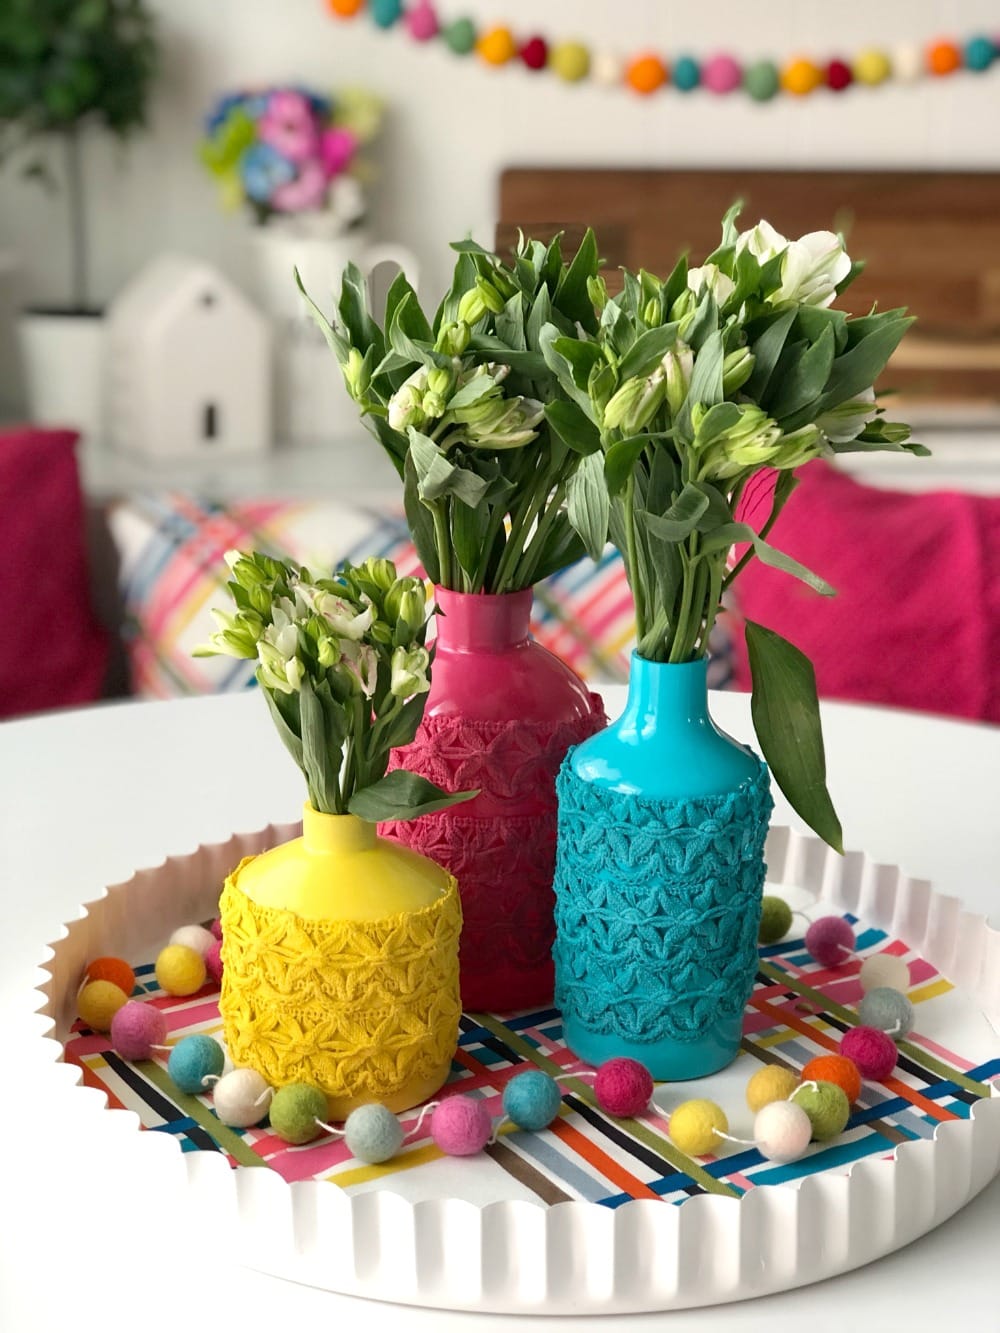
These Anthropologie Inspired Colorful Spring Vases by Tatertots + Jello are so bright and fun!
Pin Me:
Christina,
I love that you made your own fabric flowers! They look fabulous on your gorgeous wreath. Thanks so much for joining us this month!
Christina, your flowers are amazing. I can’t believe you made them yourself! Pinning for the future. xo
Christina these are beautiful. But surely not as simple as these seem. I wish i could do that too.
Your fabric flowers are so beautiful, and being on a minimalist wreath the really stand out.
this is beautiful, thanks for the idea! I love the colors you used!