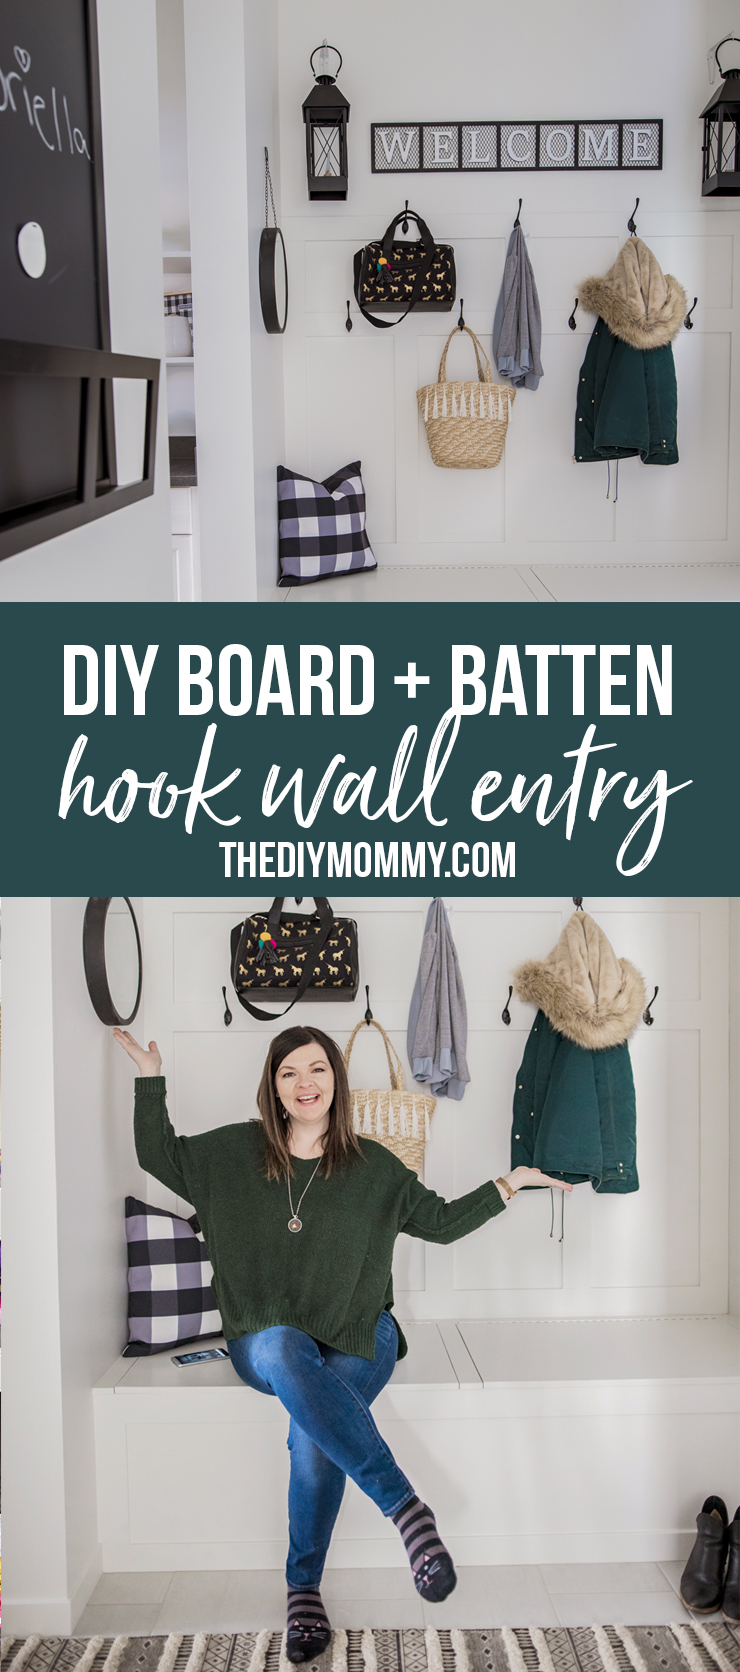
How To Build A Board & Batten Hook Wall Entry
This post may contain affiliate links · This blog generates income via ads
Learn how to build a board & batten hook wall entry on a budget with simple tools. This is a great way to organize a family home entry or a mud room!
Disclosure: This post is sponsored by Brookfield Residential. As always, all of the opinions here are my own.
I’m so excited to be partnering with Brookfield Residential here in Edmonton this year for some fun, functional and easy DIY ideas that you can re-create in your home. Over the next several months, I’ll be working on DIY projects in some of their gorgeous show homes all over the city to give YOU ideas on what you could build in your own home to add to its function and value.
First up? It’s the beautiful Dawson show home in the Edgemont community in west Edmonton. Edgemont is the best of both worlds – it’s close to all of the amenities of the city’s West end, but it’s also surrounded by beautiful, natural areas. It features timeless homes and access to great perks like bike trails, and the ravine.
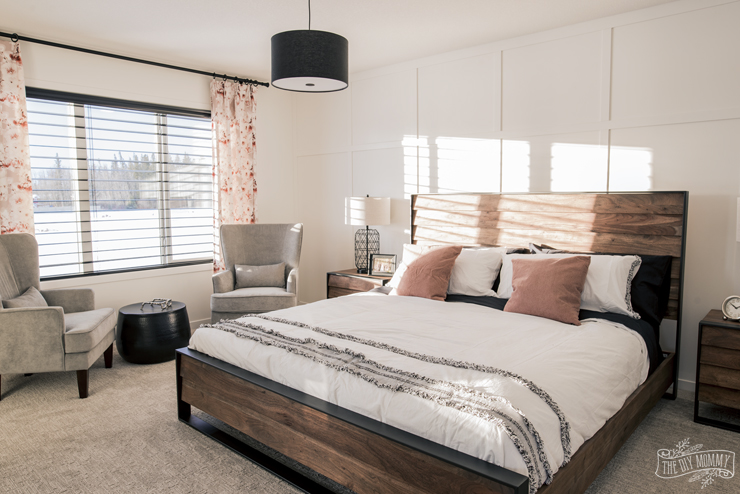
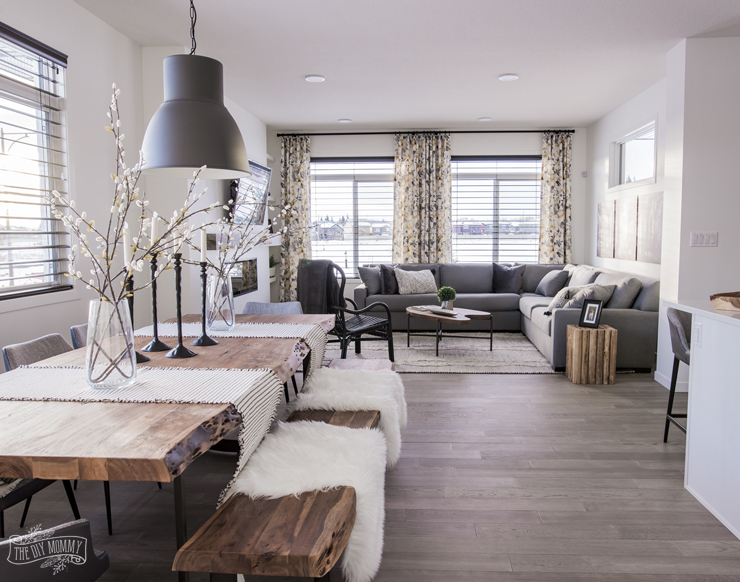
This home boasts one of my favourite decor styles – Modern Farmhouse – and features an open-concept main floor, stunning master bedroom suite and a bonus room.

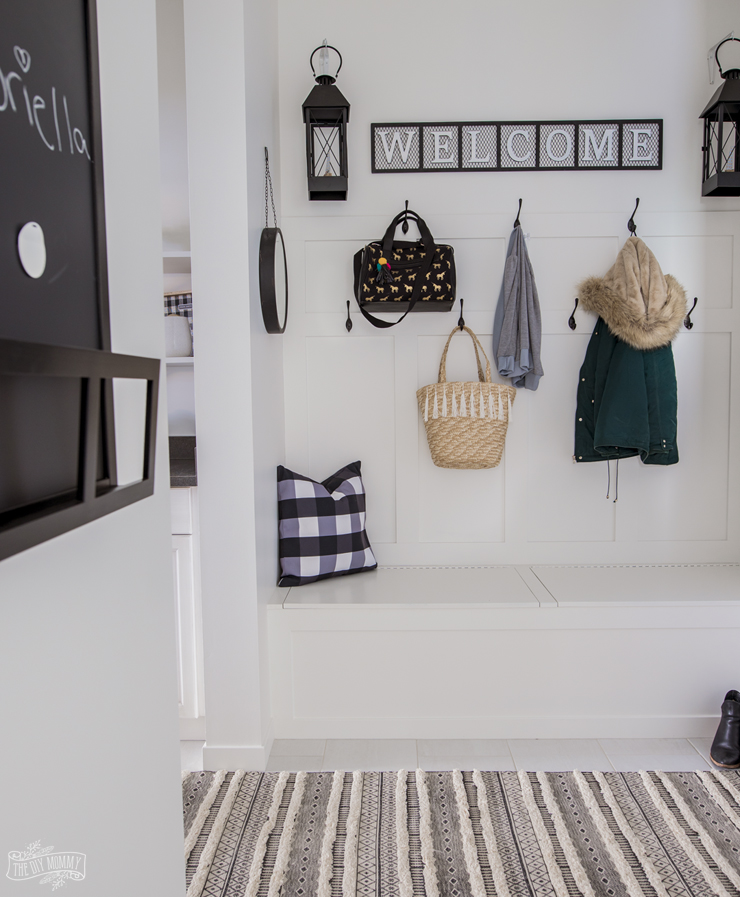
Just off the kitchen is a fantastic walk-through pantry that leads to the back entry of the home – the family-friendly mud room area.

This is the space that we’re going to tackle today. The built-in bench and mounted shelves with hooks work, but I’m going to show you how to make this space even more functional with a DIY board and batten hook wall. Creating this custom feature is a relatively straight forward DIY, and you could customize your own board and batten hook wall to completely maximize the wall space that you have in your own home’s entry or mud room area.
If you’re local, make sure to come see this DIY in person and enter to win $500 towards making your own DIY project with Brookfield Residential! You can find all of the contest details here on Brookfield’s DIY site.
Watch my YouTube video below to see how I built this DIY board and batten hook wall in the Dawson’s mud room, or follow the step-by-step written instructions below:
How to Build a Board & Batten Hook Wall for Entry or Mud Room Organization
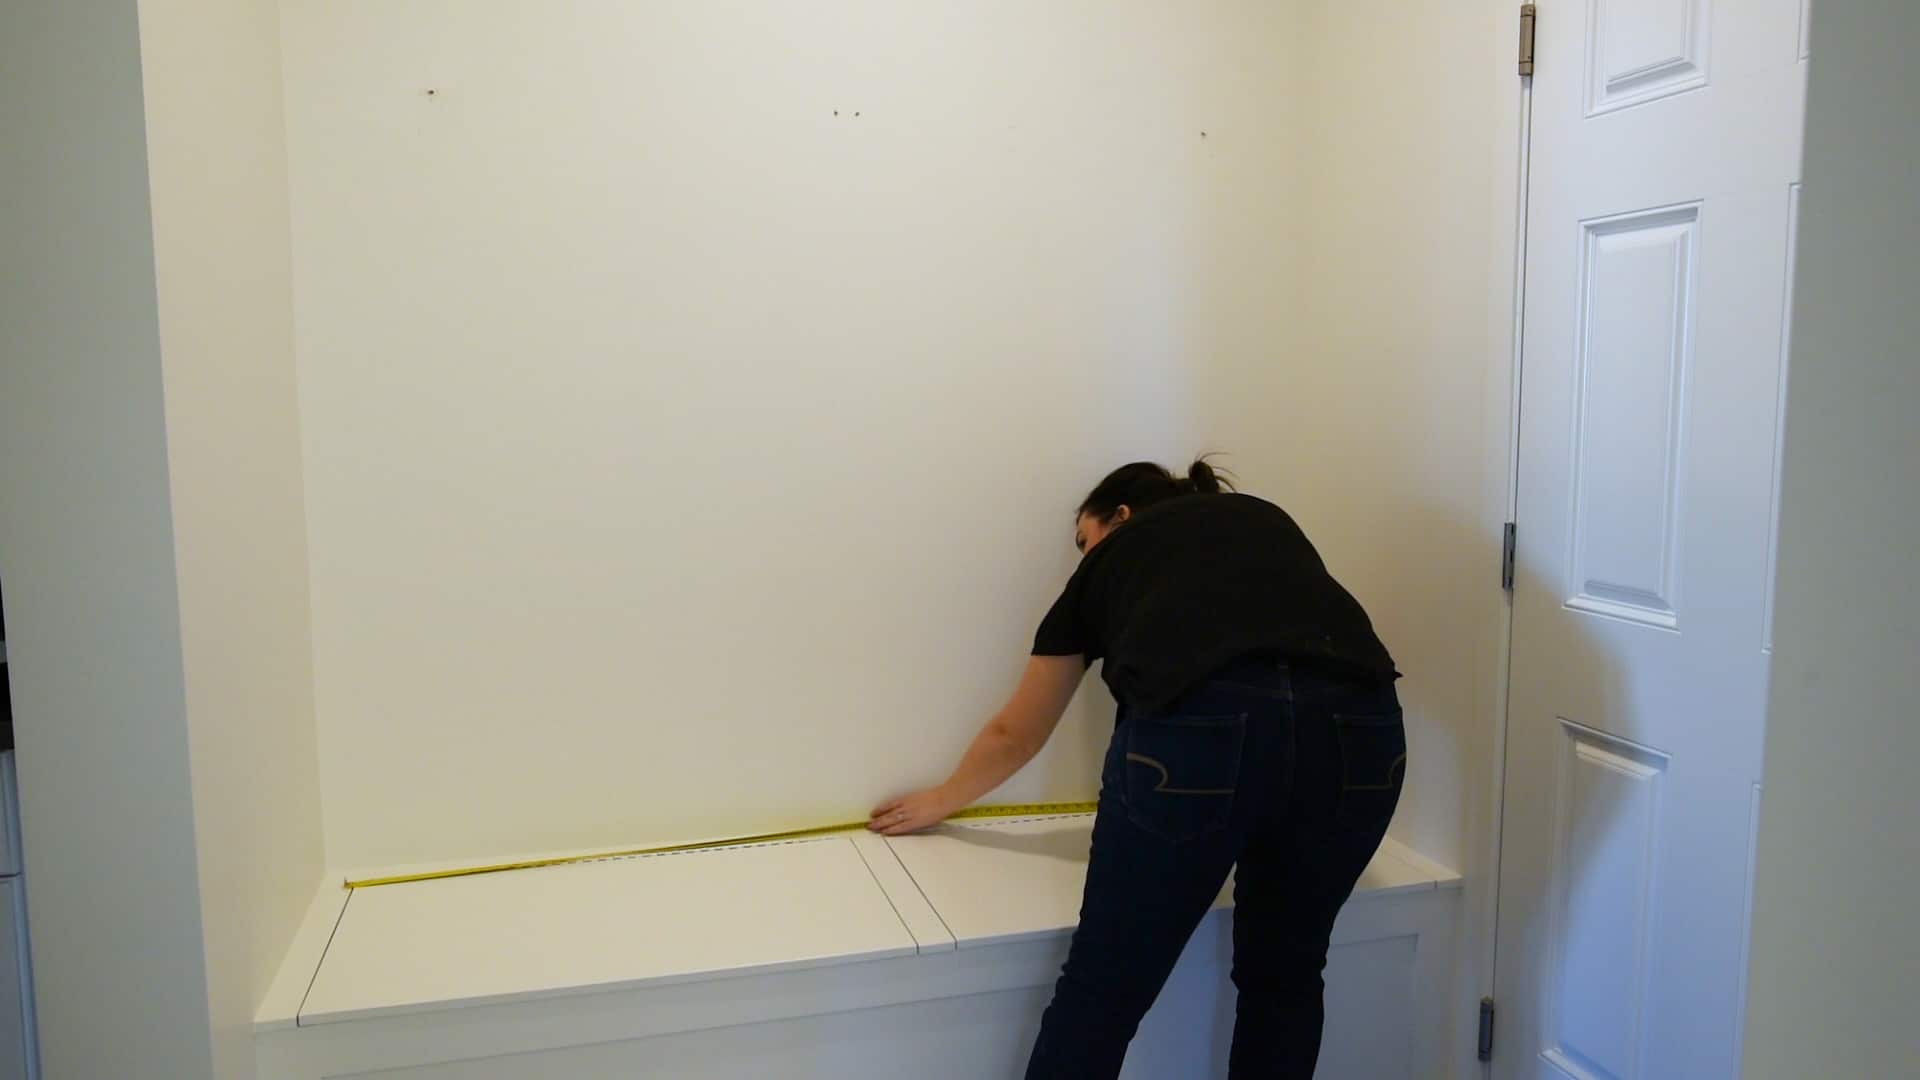
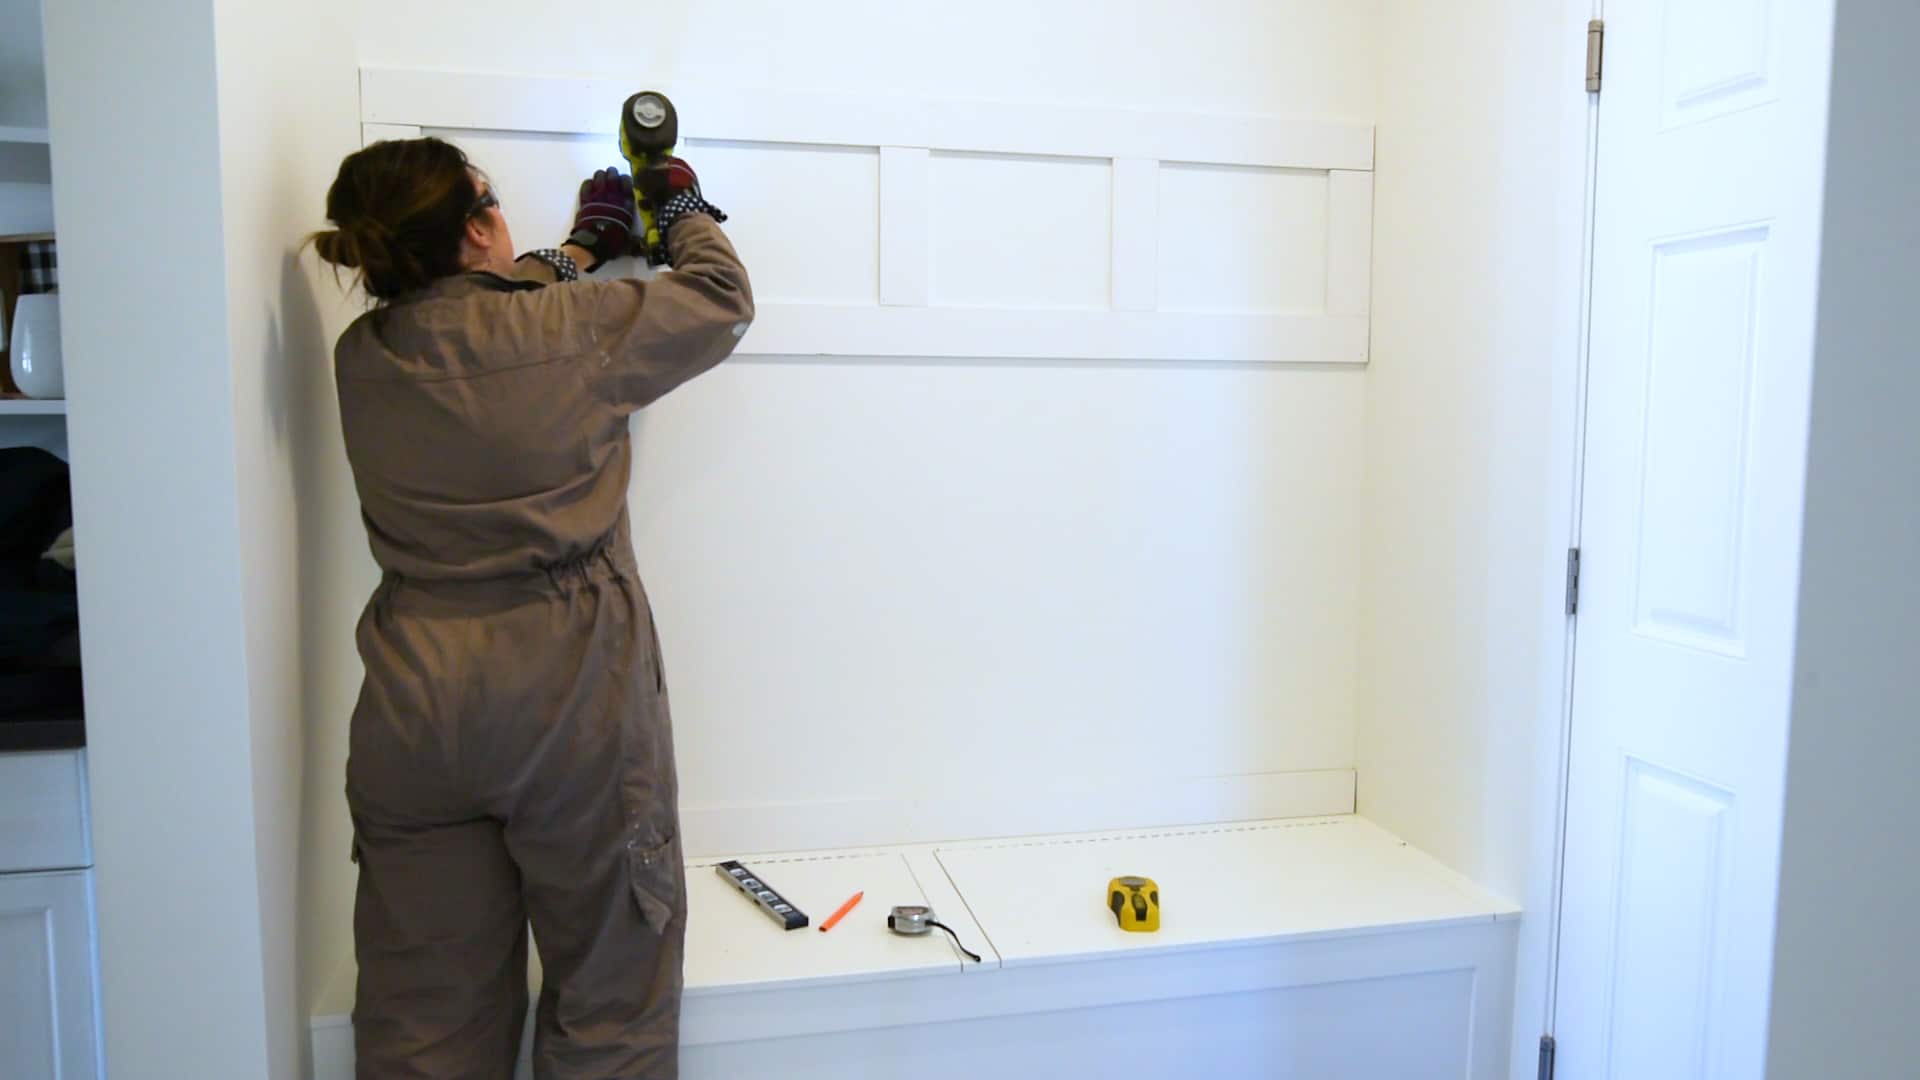
The first step to build a custom board & batten hook wall is to determine the length that you want your horizontal pieces of trim to be by measuring the width of your wall. For this mud room wall in the Dawson show home over this built-in bench, I used 60″ long pieces of 3 1/2″ wide MDF trim.

Cut your horizontal trim pieces to size using a miter saw. My saw is a 7 1/4″ saw that’s the perfect size for cutting trim.

Next, mark where you want your horizontal trim pieces on the wall using a measuring tape and a pencil and then nail them to studs in the wall using a finishing nail gun. I decided to do one piece of trim at the bottom of this wall, one about 4 feet up, and then a final piece 6 feet up. Use a stud finder to find the studs in your wall.
Then, measure your wall for the vertical batten pieces. I decided to divide this wall into four sections, so I cut 5 pieces of 3 1/2″ wide trim for the top section of the wall and 5 for the bottom. Cut your trim to size, mark where you want it on the wall, and nail it in place with a finishing nail gun. Since not all of your vertical batten pieces will land on studs, you can add some construction glue to the back of your trim before nailing it in place.
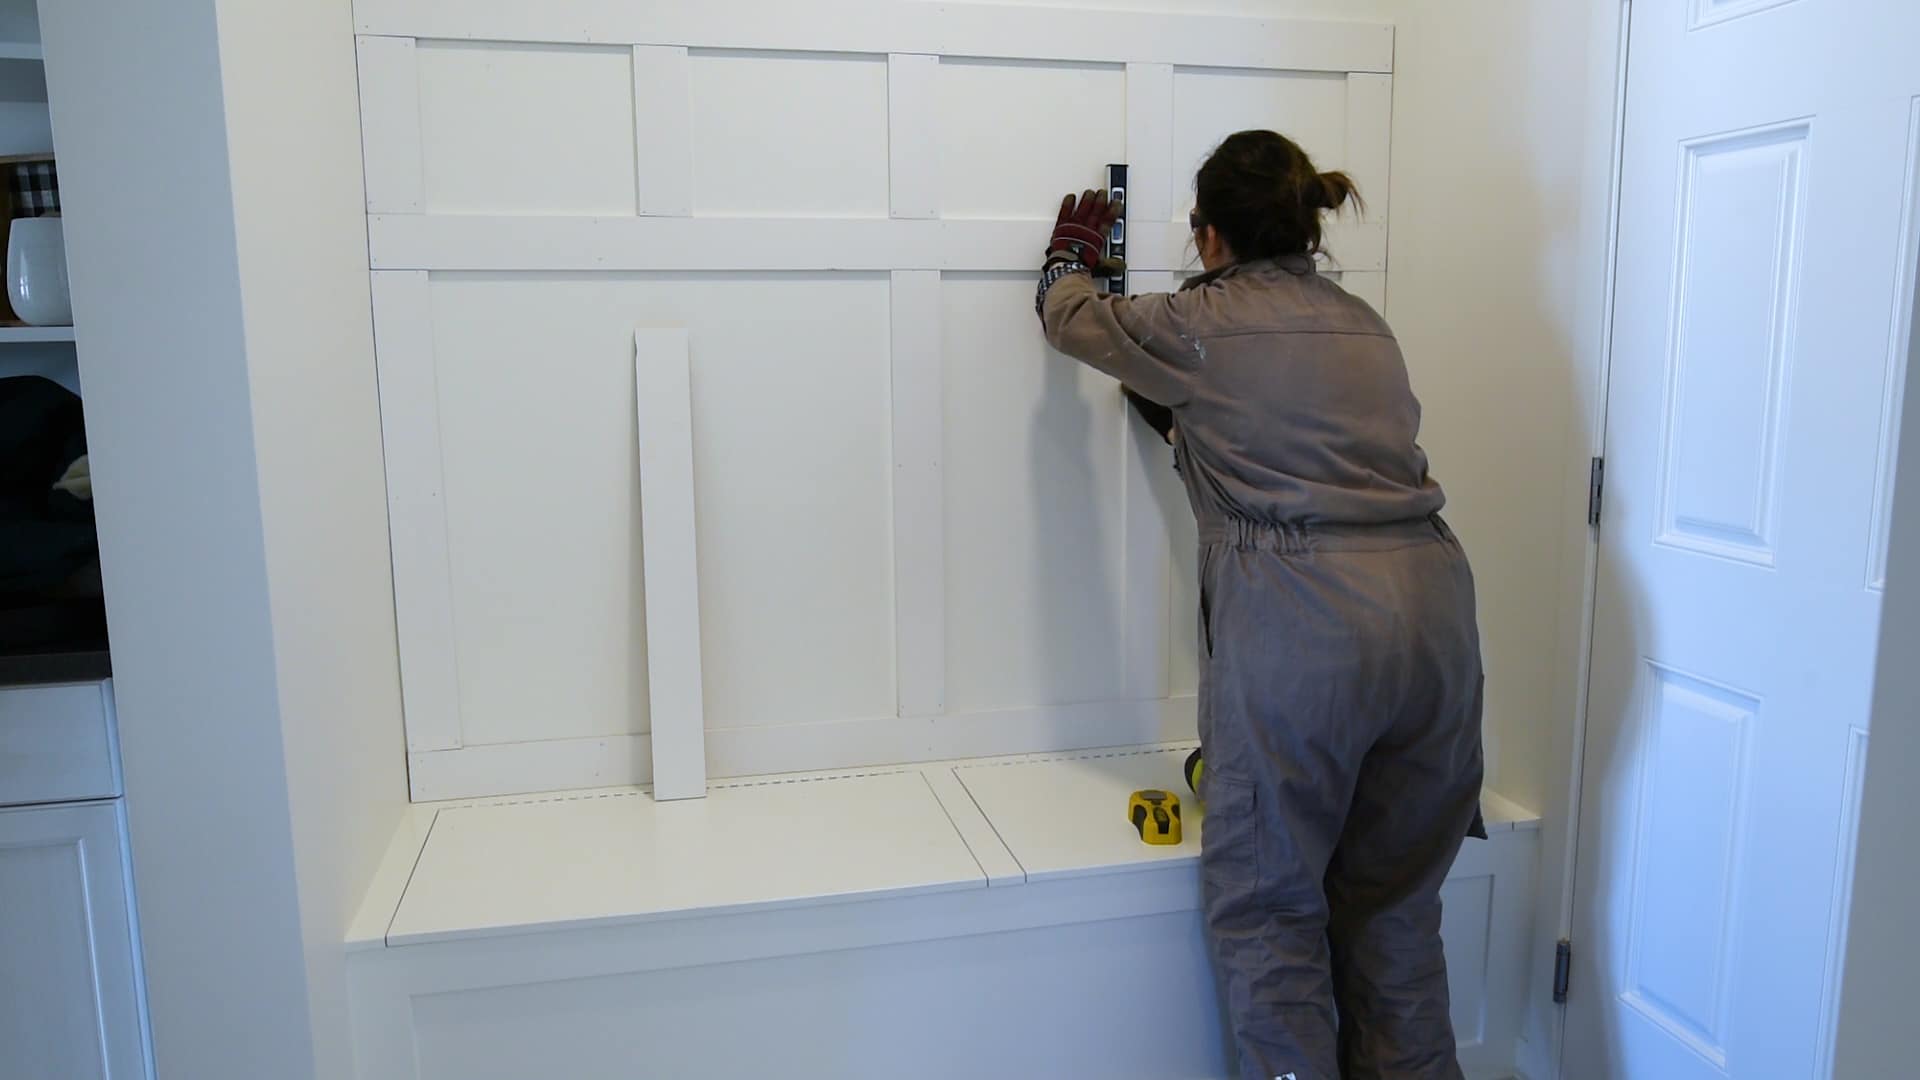
I cut & nailed the vertical batten pieces of trim in my smaller top section first, and then did the vertical pieces for the bottom section of the wall. You can use a level and measuring tape to ensure the trim is straight.

Next, use latex caulk and a caulking gun to caulk all of the seams on your board and batten wall. I caulk everywhere the trim meets the wall, where trim pieces intersect, and over the nail holes. Run a thin bead of caulk along these areas, and then dip your finger in water and run it over the bead of caulk to smooth it down.

As the caulk dries, you can start adding decorative features to your hook wall like art and lighting. For this wall, I added a modern farmhouse look “welcome” sign and hung some battery operated lanterns on either side of it supported by shelf brackets. Make sure to use drywall anchors when mounting items like this to your wall (if your screws don’t hit studs).
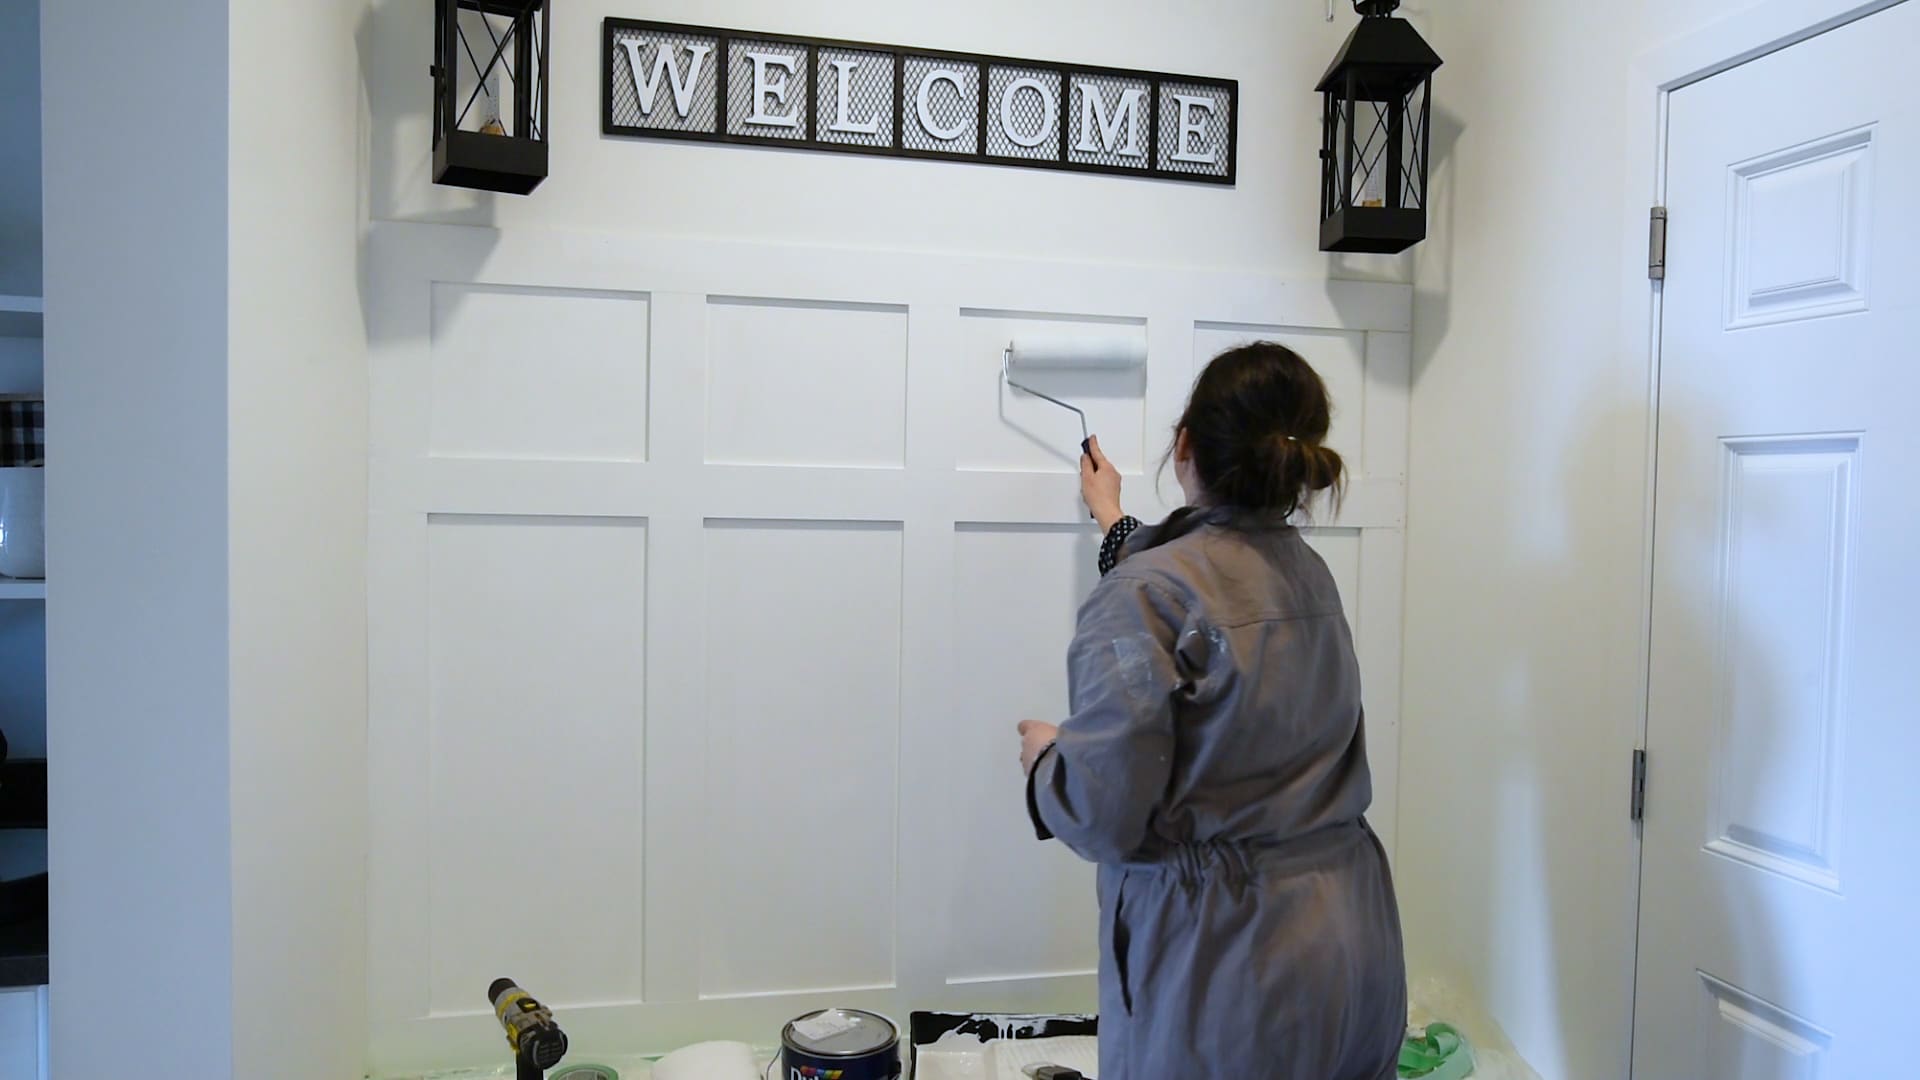
Once your caulk is completely dry (I like to let mine dry for at least 2 hours), you can paint your board and batten. For this wall, I’m painting it a bright white that’s the same colour of the trim throughout this modern, beautiful home.
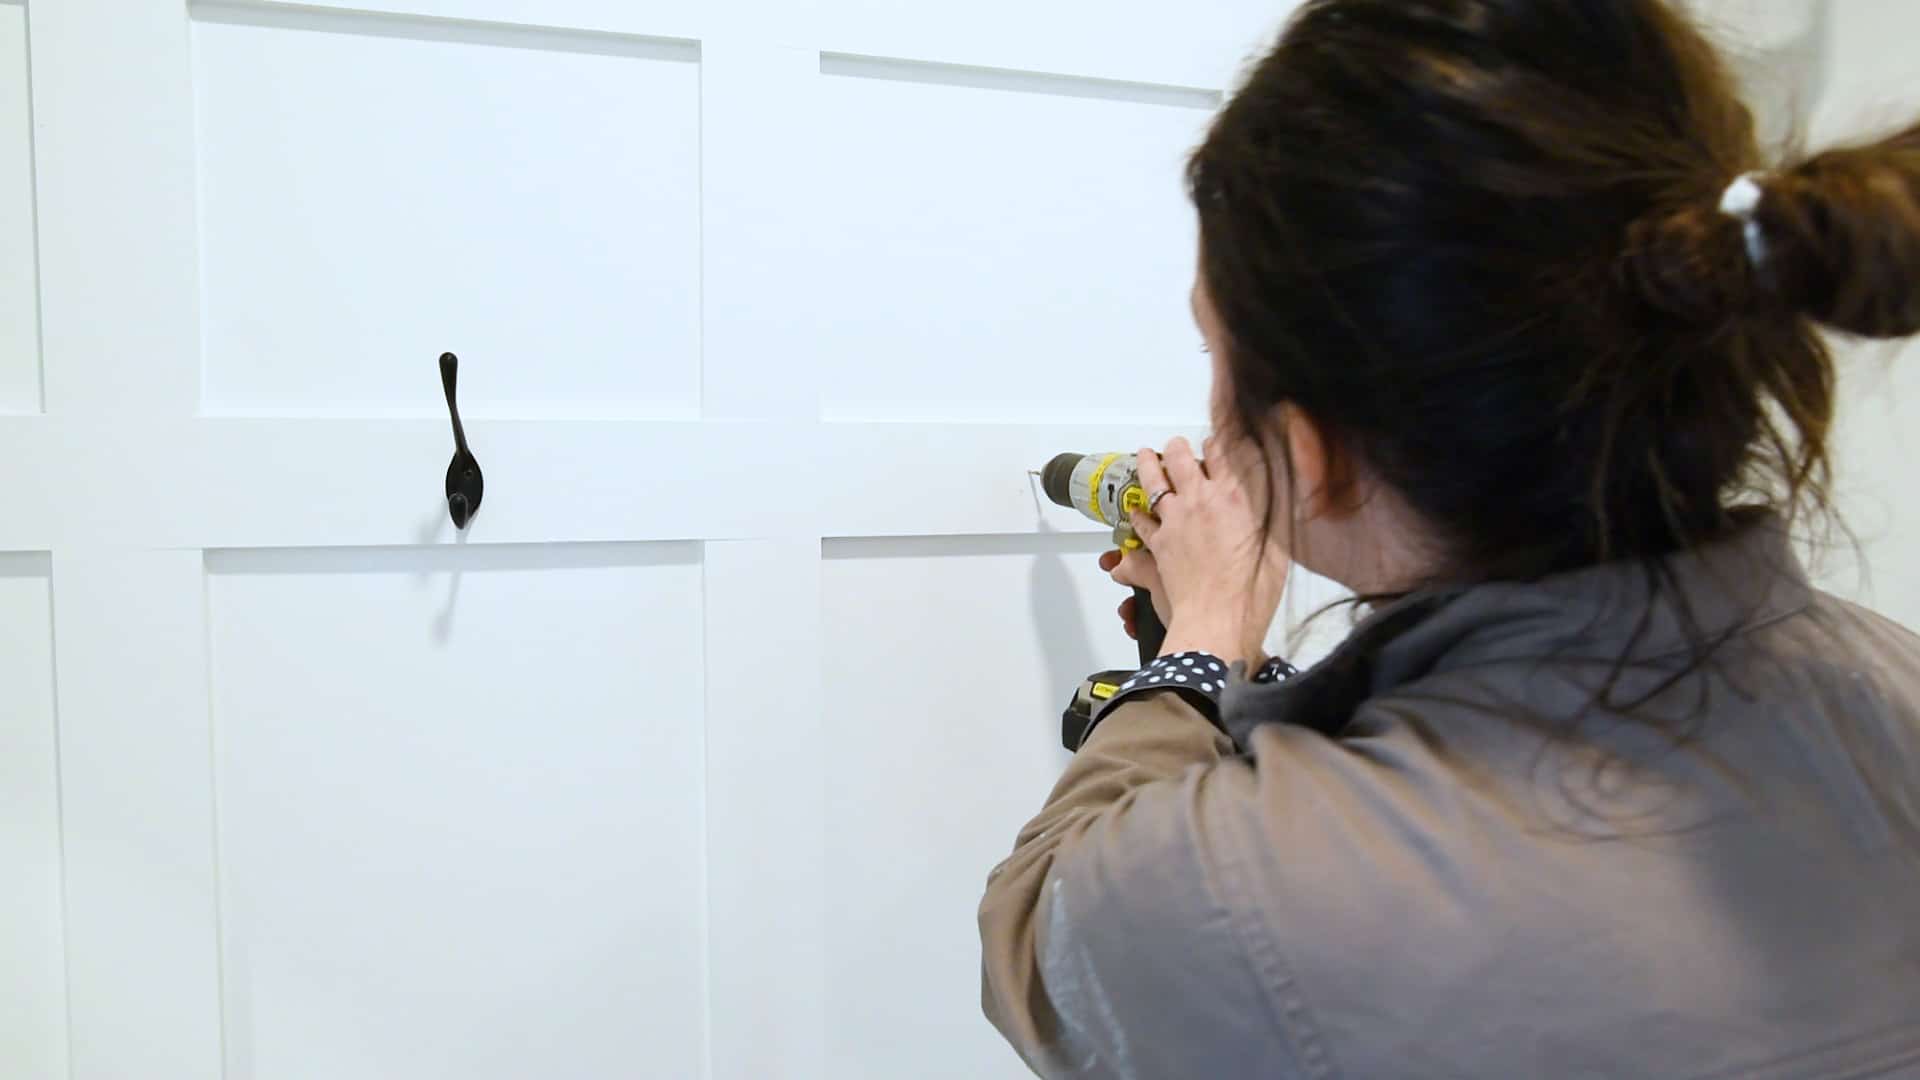
When the paint is completely dry, measure where you want your hooks to be and mark with a pencil. Then, place the hooks on the mark and use a pencil to mark any screw holes. I used a drill to make pilot holes into my trim before screwing my hooks to the batten pieces. This helped guide my screws into exactly the right place.

For this wall, I decided to place four black hooks on the middle horizontal piece of trim, and 3 on the top. I staggered them so that they would be more functional.
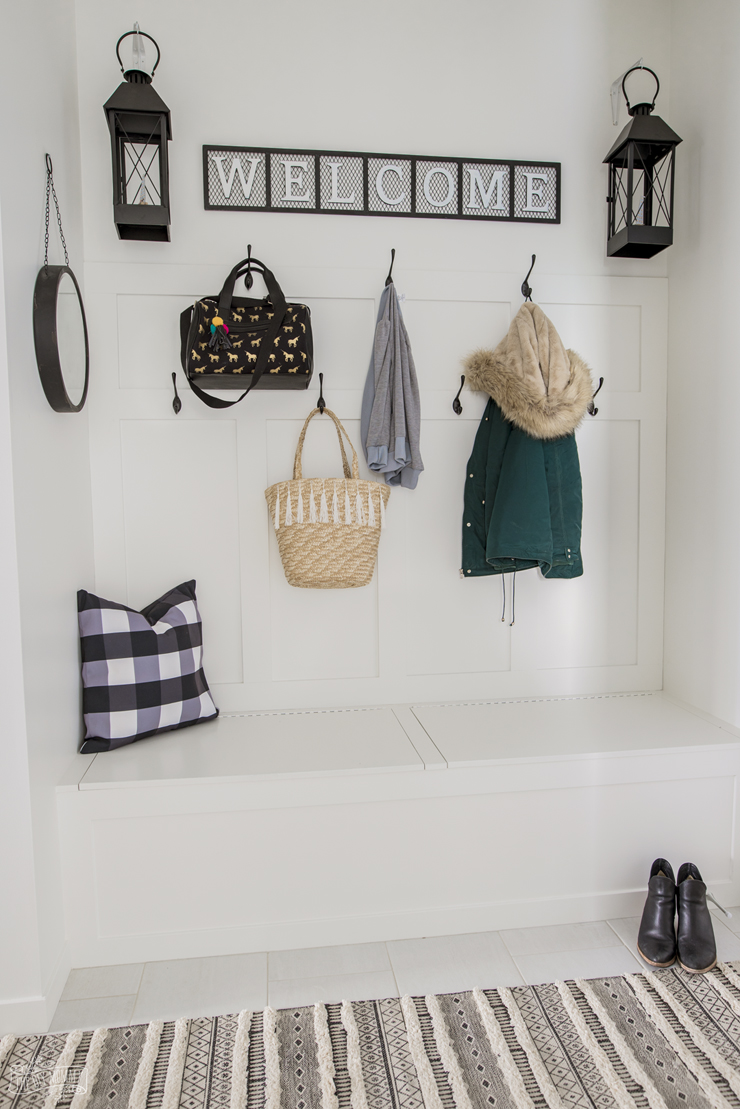
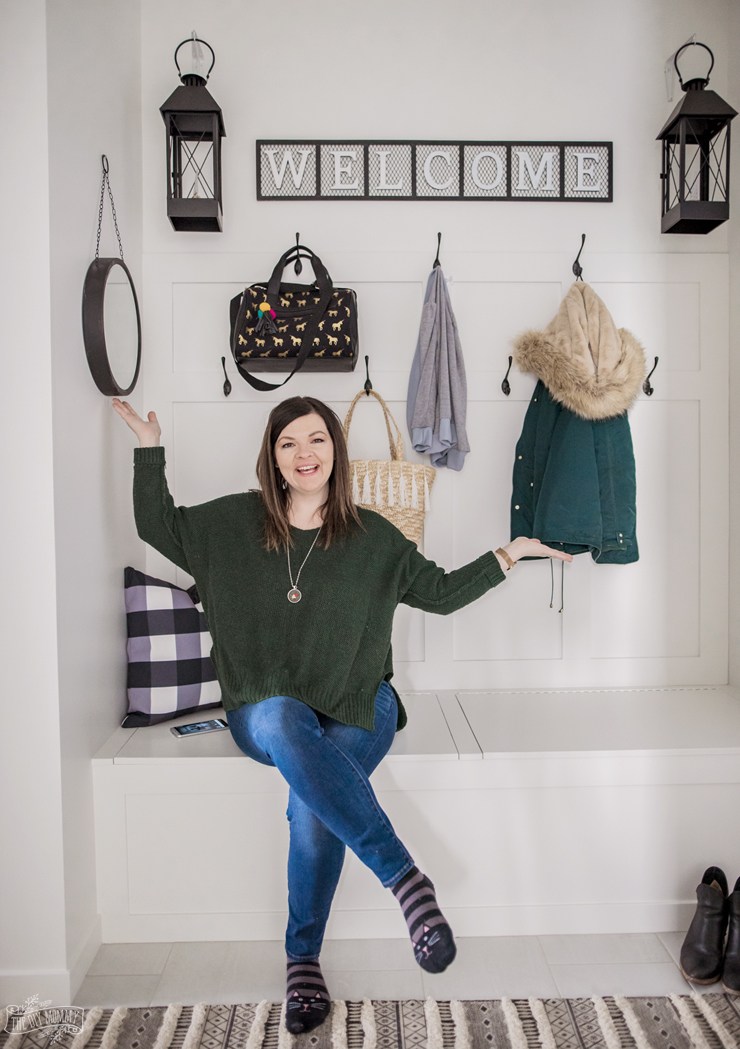
Once you’ve mounted your hooks, you’re all finished your beautiful custom board & batten hook wall!
Doesn’t it look beautiful in this modern farmhouse home? This family can easily hang up all of their outdoor gear on the hooks as they enter their mud room.
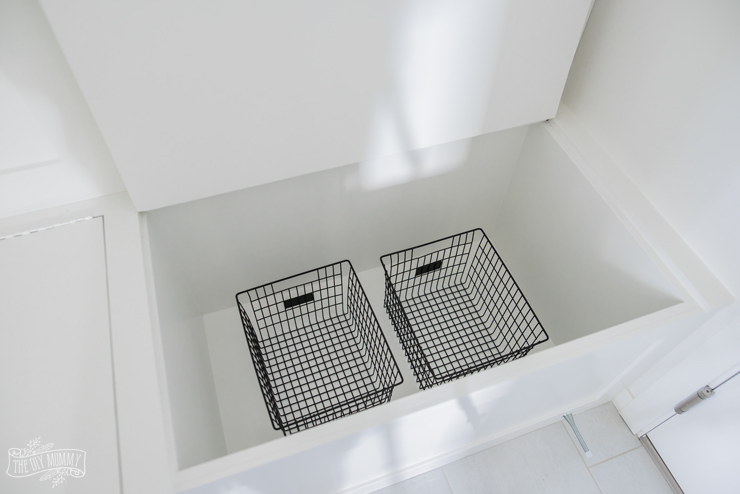
In this home, I also added some inexpensive baskets into the built-in bench to make it easier to organize and find everyone’s accessories.

A farmhouse styled pillow and a mirror hung on on of the side walls also add some extra style and functionality to this mud room area.
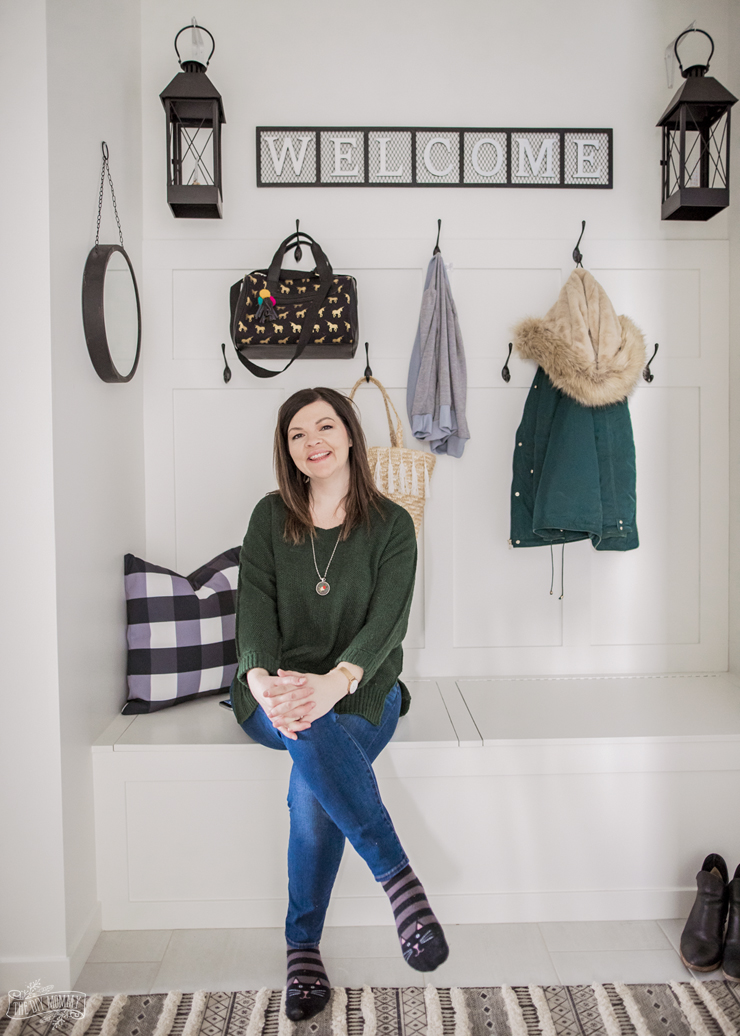
I’m so happy with how this DIY board & batten hook wall turned out, and I hope this project has inspired you to create something similar in your entry or mud room!
Learn more about the Brookfield Residential Dawson show home right hereand if you’re local, make sure to come see this DIY in person and enter to win $500 towards making your own DIY project! You can find all of the contest details here on Brookfield’s DIY site.
PIN ME:
I love how this turned out!! I’ve been eyeing such an idea for my very small back back entry/laundry room. This is a great solution for those of without a closet. Thanks for the inspiration!
It turned out really great! I now got an inspiration for our backyard. Hopefully I’d be able to do this soon. Thanks for sharing 🙂 Love lots!
This turned out perfectly. I am trying to decide how to do moulding through my back entrance and down some very ugly basement stairs.
Thanks for inspiring me that us women can do this.
Wow, Christina! GREAT job! Look at you in your coveralls! 😉 This was a perfect post to link-up at Homestyle Gathering! Thanks!
This turned out beautifully, Christina! I bet it’s super functional with all the hooks and closed storage too. Featuring you at Homestyle Gathering today 🙂
Great project! The supply list couldn’t be simpler :). The finished look is stunning!
Thanks. Cindy
So glad I found this post through Julie and Kim’s link party. This is something I’m planning to do in the future and have been gathering ideas – pinned this to my ‘Hallway’ board for reference because you do such a great job of explaining everything and your photos are fantastic 🙂
Thanks for stopping by! We’re so happy you found some inspo
Hi Christina,
Wow !That’s really a great job.
Thanks, Sawyer
This is helpful. Thanks for this. However, hiring the professional and right contractor is really important because it will surely get the job done right without any accident or damage.
Very very informative post. Just lovely. This’ll help me a lot as I was really searching for this kinds of creative idea. Keep this up. Thanks for sharing.
i am very happy to read the above information . it was really helpful for me i learned many new things from your website . Big thank to you all for everything and i am really very happy