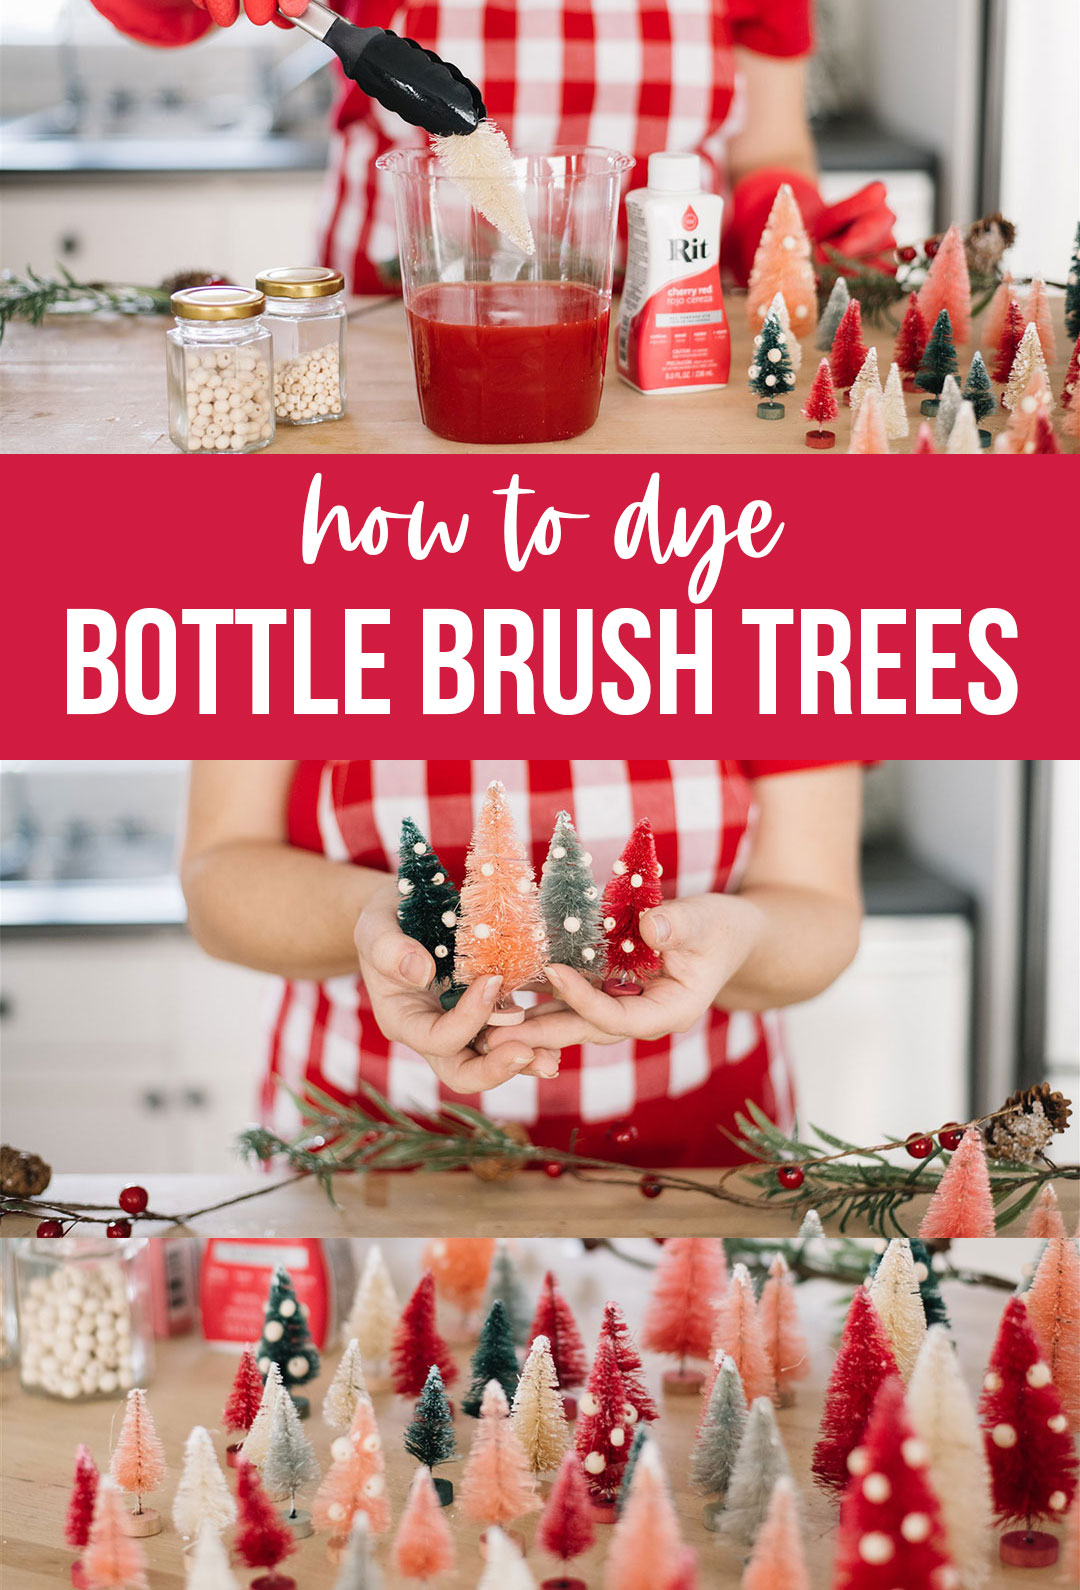
How to dye bottle brush trees in the cutest colours for Christmas!
This post may contain affiliate links · This blog generates income via ads
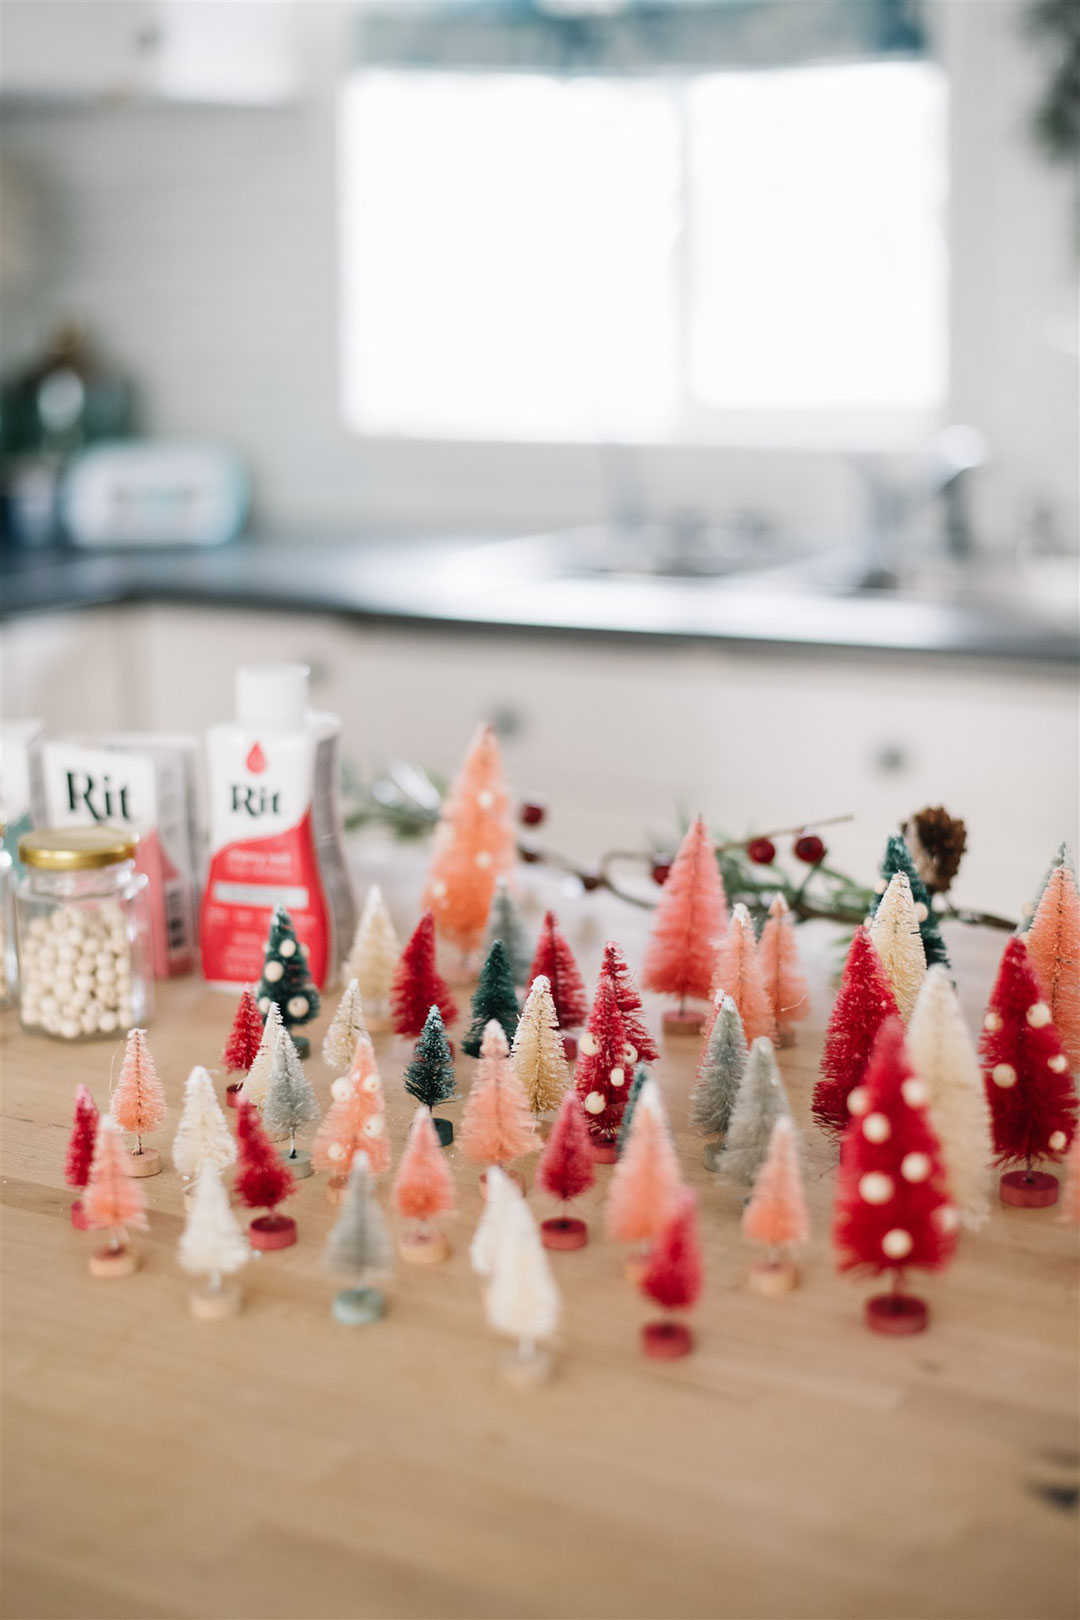
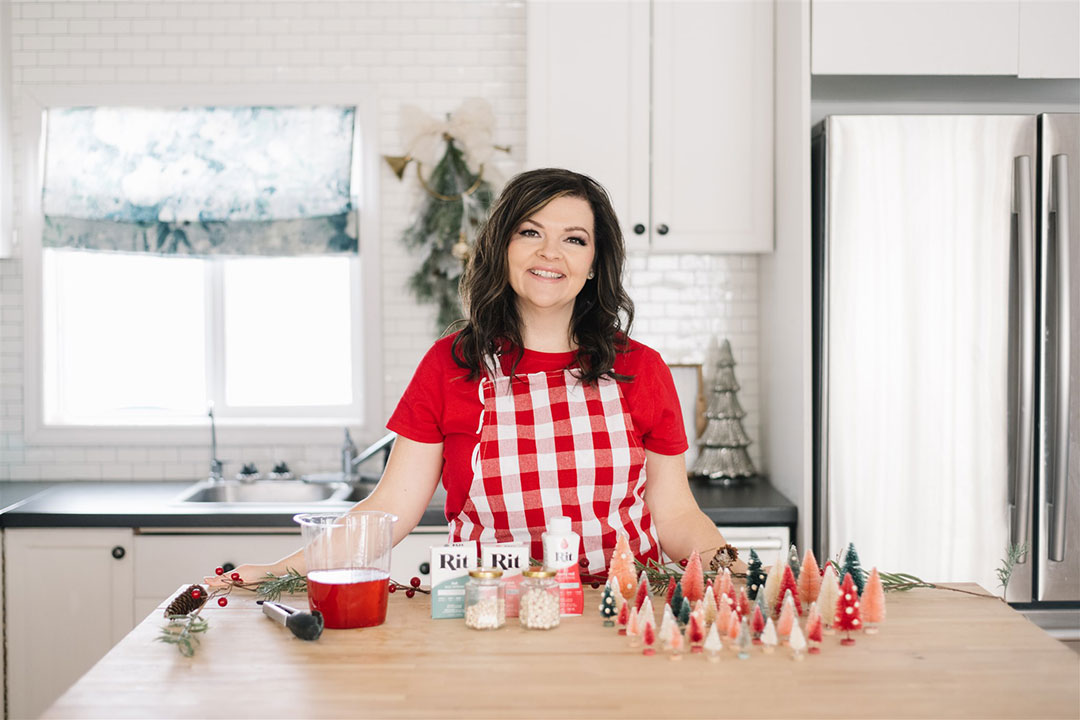
I wanted a pretty collection of bottle brush trees for my Christmas decor in my favourite colours, but I couldn’t find them. The solution? Dyeing natural colored bottle brush trees to make them perfectly match my decor! It’s a lot easier than you might think, and such a fun Christmas craft. Let me show you how to dye bottle brush Christmas trees.
Photos in this post by Tracey Jazmin.
All of the supplies from this craft were purchased from Amazon, so they’re quite easy to find and budget-friendly. You can also add wooden beads to the dyed trees for a cute, boho style touch!
How to dye bottle brush trees
Disclosure: This post contains affiliate links. When you purchase an item via these links, I receive a small commission at no extra cost to you.
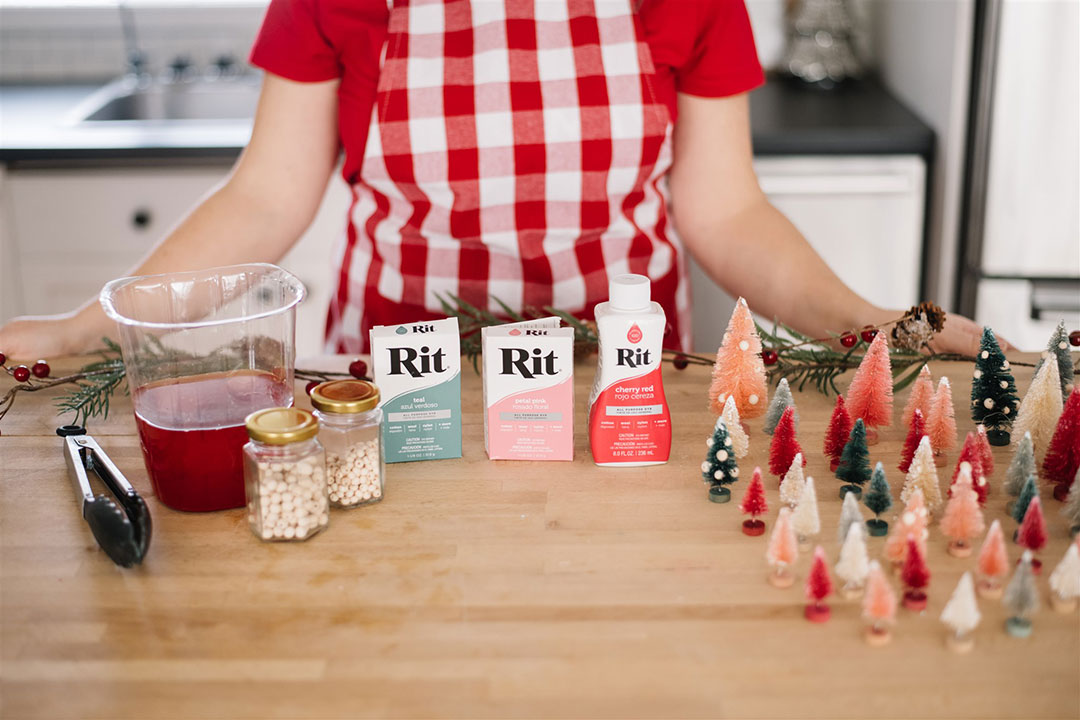
First, gather your materials. You’ll need:
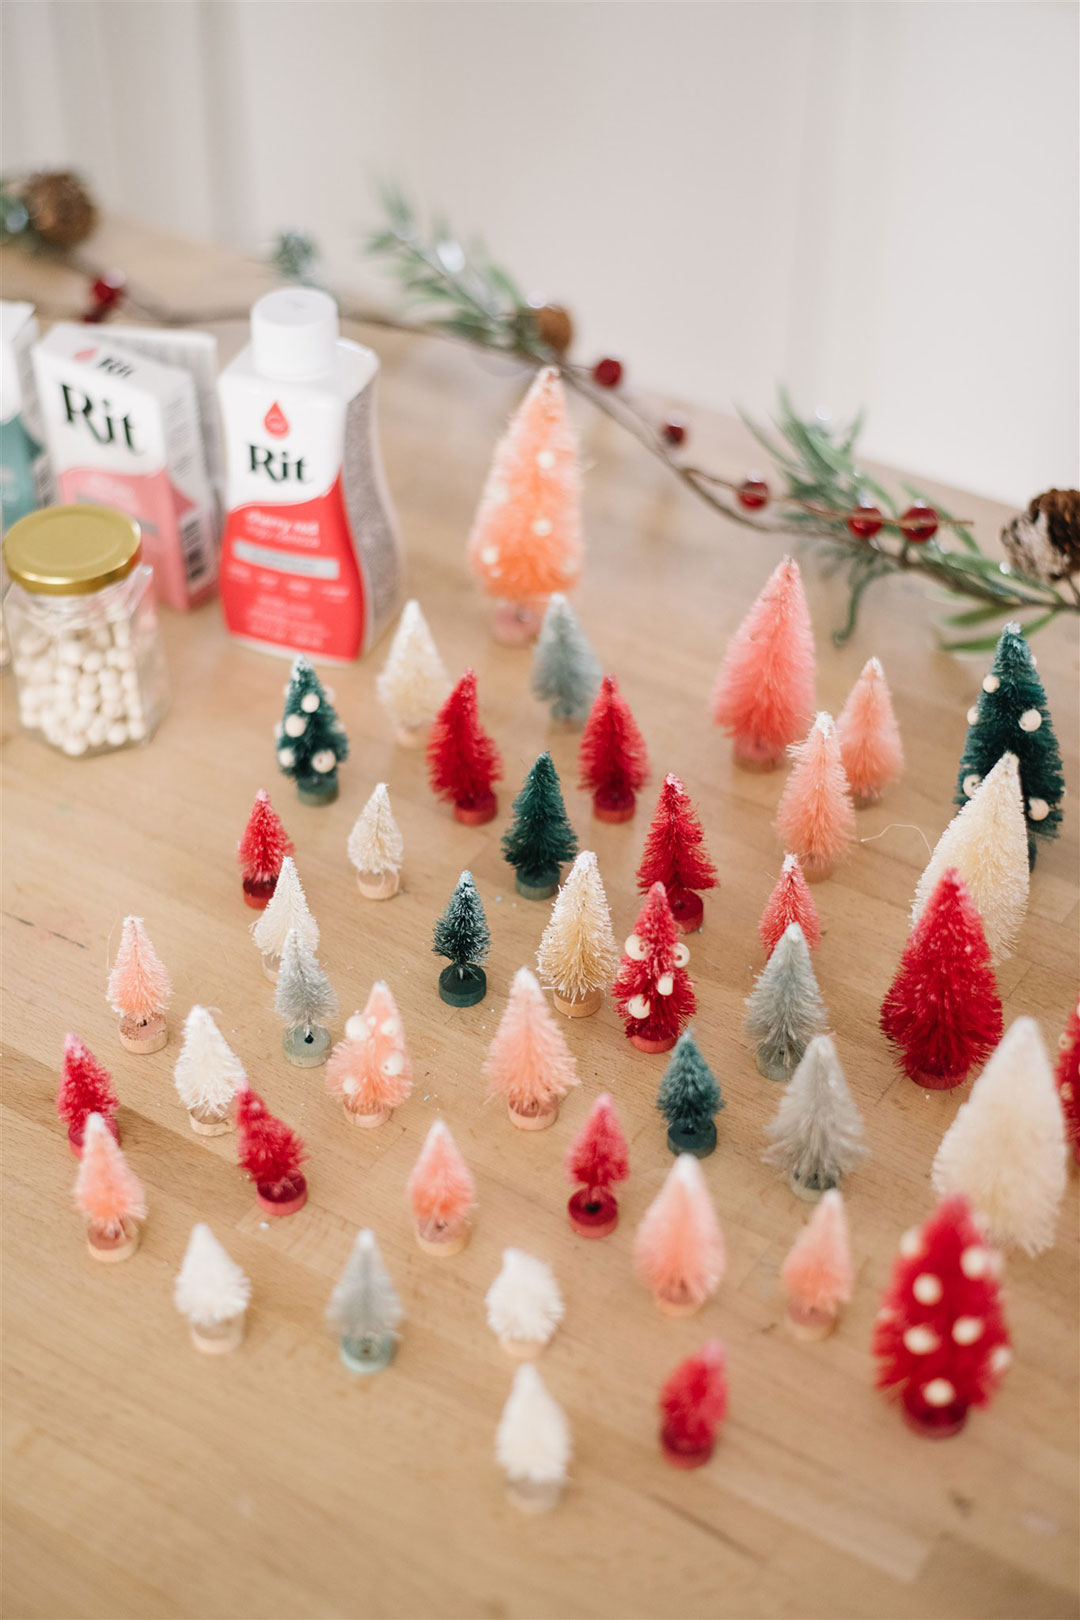
- natural bottle brush trees in various sizes
- Rit dye in teal, petal pink & cherry red (or your favourite colors)
- wooden beads in two different sizes
- one container per colour of dye to mix the dye
- tongs
- bleach (this is optional, and can be used to lighten any overdyed trees)
- a glue gun
Start by mixing your dyes in the containers according to the package directions. I used hot water and the dye. I used pink, red and teal dyes to match this year’s Christmas tree, but you can use any colours you love!
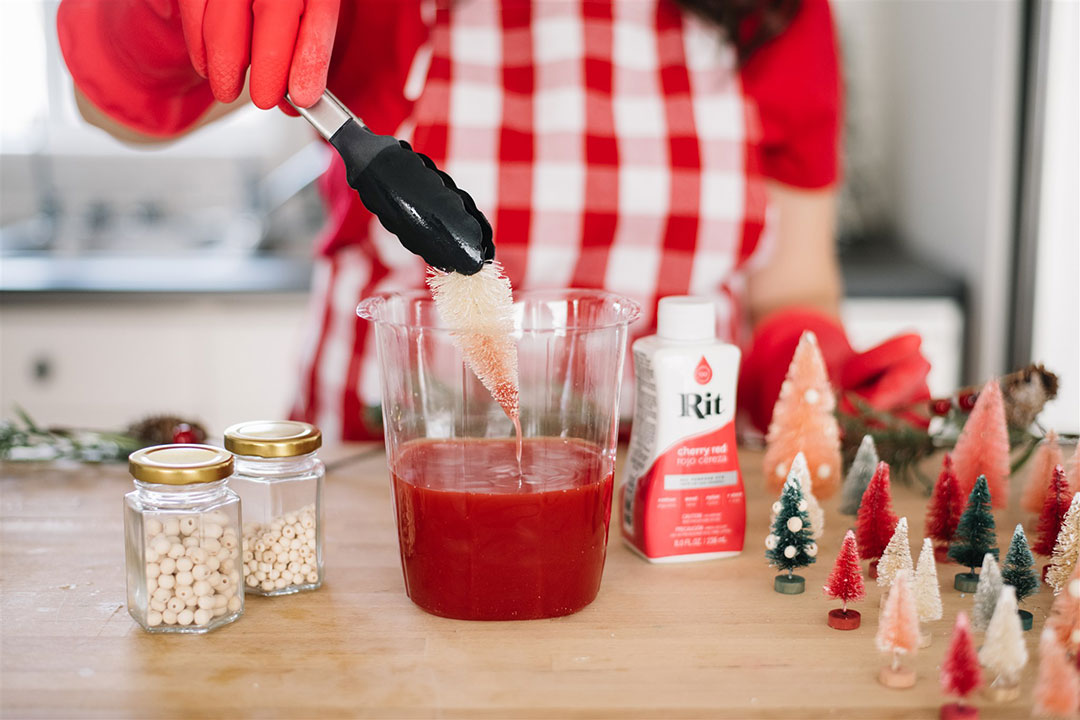
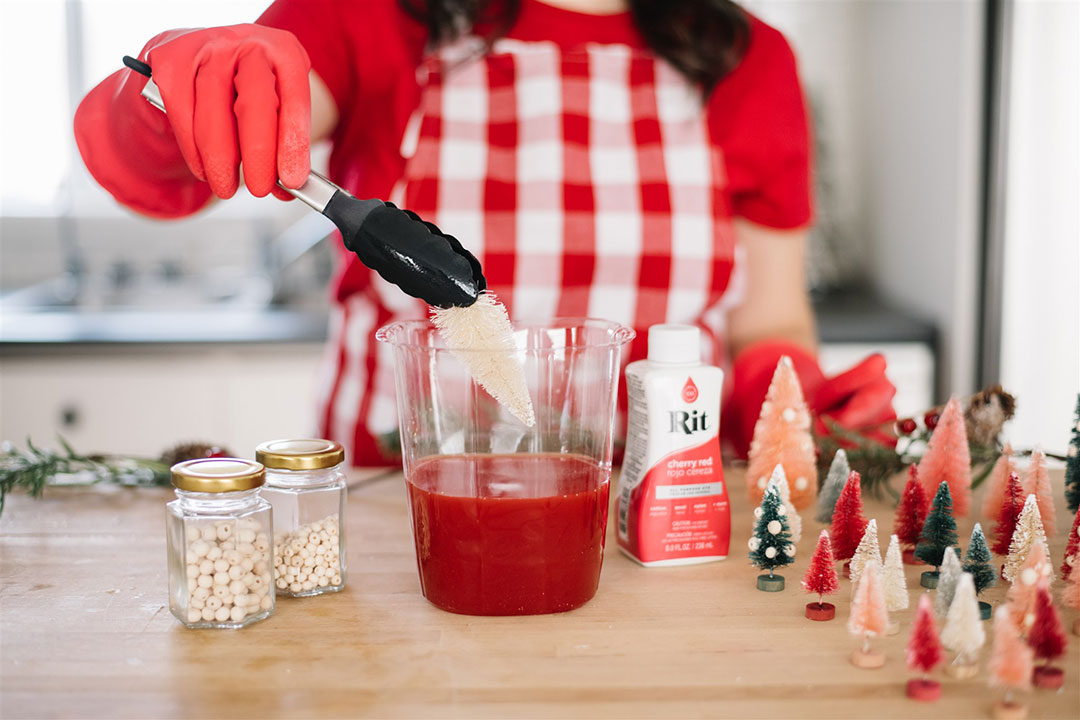
Next, place a variety of sizes of bottle brush trees into each dye solution. I left some natural too so that I’d have a fun mix of colours.
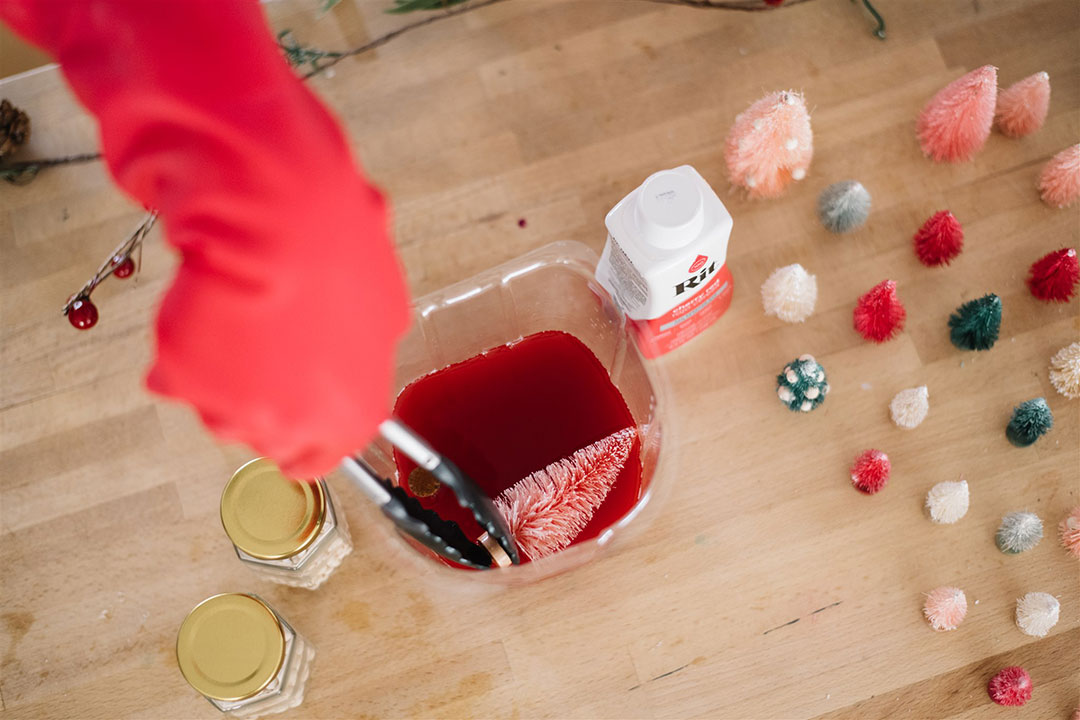
You can follow the package directions for how long to leave your bottle brush trees in the dye. I wanted mine a little lighter than the package had shown, though, so I’d recommend taking them out after only about 30 minutes if you want the same.

After the trees are all dyed, place them in a colainder and rinse them with warm water. If your trees are too dark for your taste, you can place them in a bleach and water solution for a few minutes to lighten them. These trees dye surprisingly well!
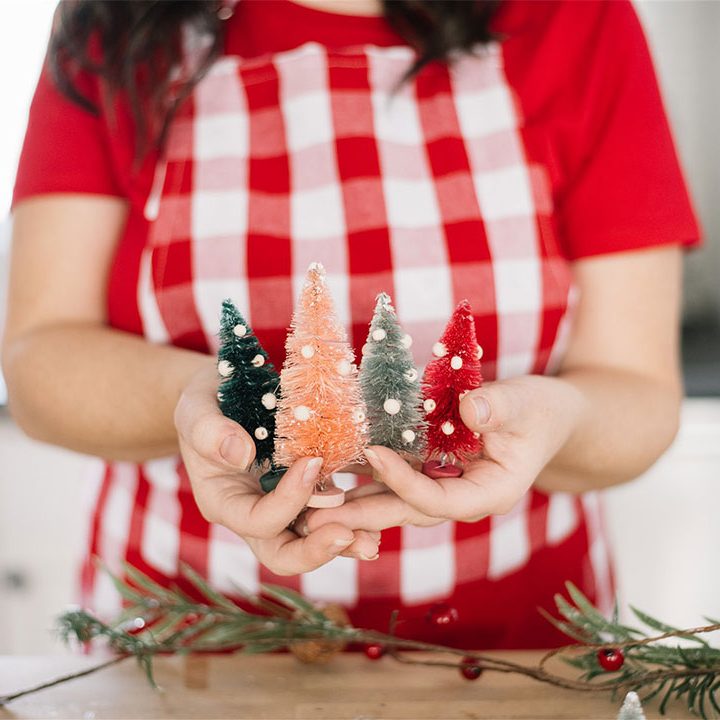
Dry the bottle brush trees completely in a paper towel lined container. When they’re dry, you can leave them as-is, or embellish them with wooden beads.
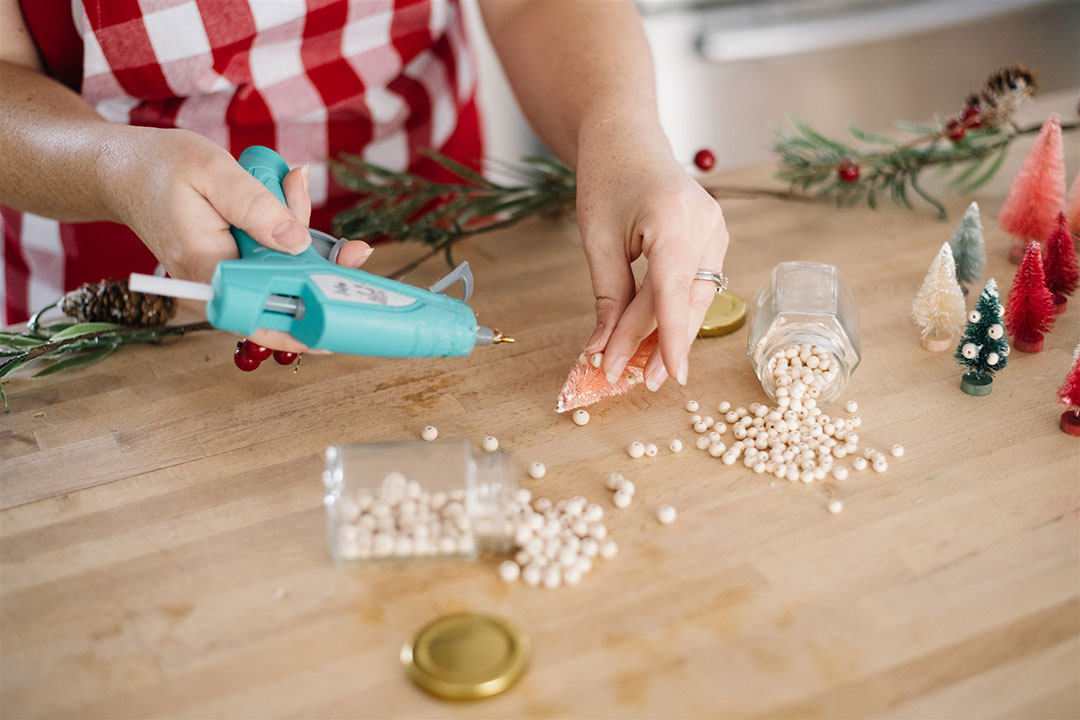
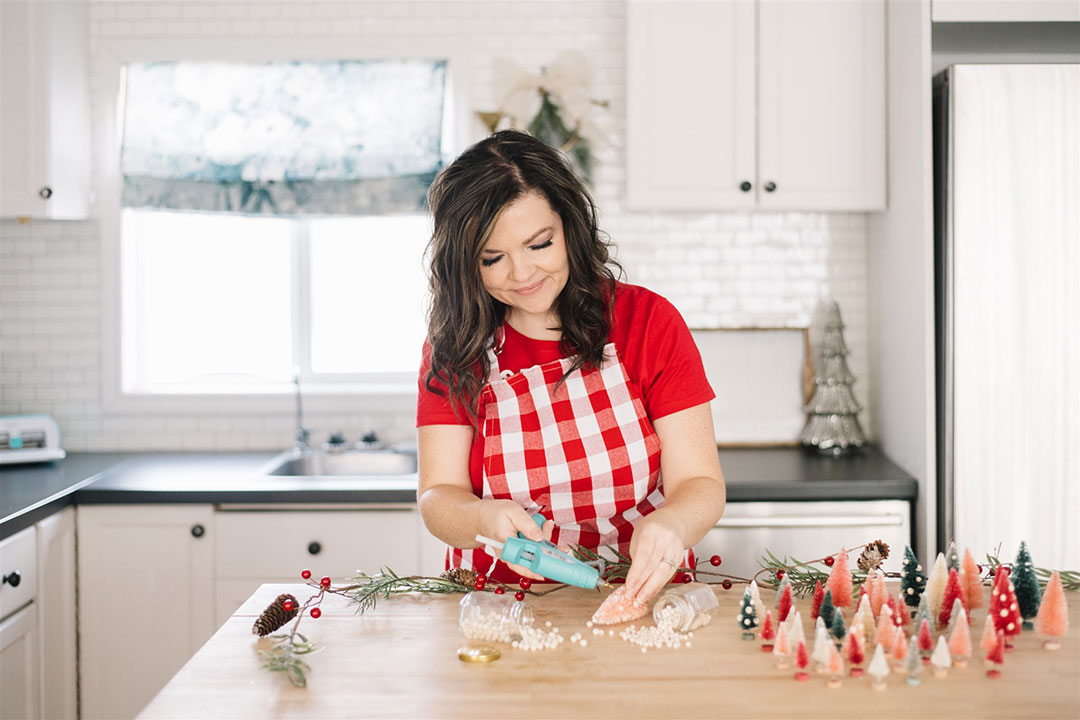
Embellishing with beads
To add the beads, put a small dab of hot glue on a bead and place it on the tree. Add as many beads per tree as you’d like, and mix and match the sizes of the beads.
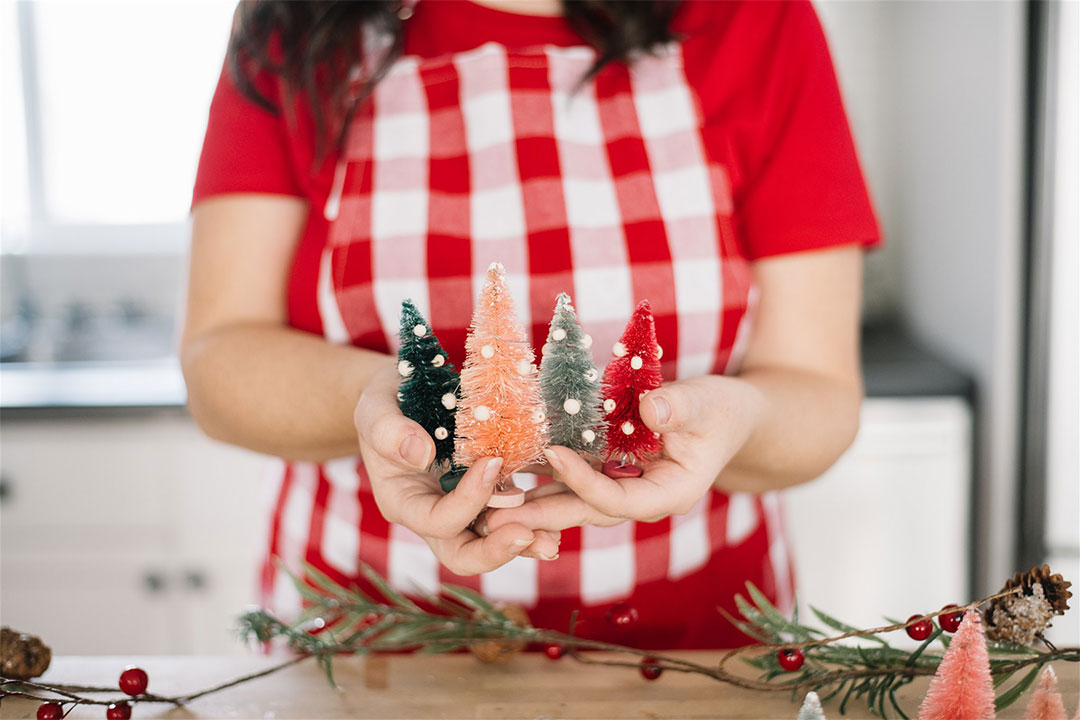
Aren’t these dyed bottle brush trees the cutest?! I love the colours, and I think they’d look great on a Christmas mantel, Christmas table, or even as a Christmas gift topper.
I can’t wait to sprinkle these around our home this year for a cheerful pop of colour!
Now tell me: Have you ever dyed bottle brush trees? Would you make these?
How to dye bottle brush trees in the cutest colours for Christmas!
Let me show you how to dye bottle brush Christmas trees in your favourite colours. It's so easy!
Materials
- natural bottle brush trees in various sizes
- Rit dye in teal, petal pink & cherry red (or your favourite colors)
- wooden beads in two different sizes
- one container per colour of dye to mix the dye
- bleach (this is optional, and can be used to lighten any overdyed trees)
Tools
- a glue gun
- tongs
Instructions
- Mix your dyes in the containers according to the package directions. I used hot water and the dye.
- Place a variety of sizes of bottle brush trees into each dye solution. I left some natural too so that I’d have a fun mix of colours.
- You can follow the package directions for how long to leave your bottle brush trees in the dye. I wanted mine a little lighter than the package had shown, though, so I’d recommend taking them out after only about 30 minutes if you want the same.
- After the trees are all dyed, place them in a colainder and rinse them with warm water.
- If your trees are too dark for your taste, you can place them in a bleach and water solution for a few minutes to lighten them.
- Dry the bottle brush trees completely in a paper towel lined container. When they’re dry, you can leave them as-is, or embellish them with wooden beads.
- To add the beads, put a small dab of hot glue on a bead and place it on the tree. Add as many beads per tree as you’d like, and mix and match the sizes of the beads.
I’d totally make these now that I see it’s easy! Love them so much we are featuring them over on the Farmhouse Friday Link Party! Thank you for sharing it with us and hope you link up again. Merry Christmas!
Great tutorial! Do you have to bleach them first to make them white if they are already green? They are all so lovely! Pinned!
Merry Christmas!
Hugs,
Tee @ Teediddlydee
I love your little trees! They have so many possibilities for decorating. Nice color choices!