How To Make A DIY Acrylic Keychain (Step By Step Instructions)
This post may contain affiliate links · This blog generates income via ads
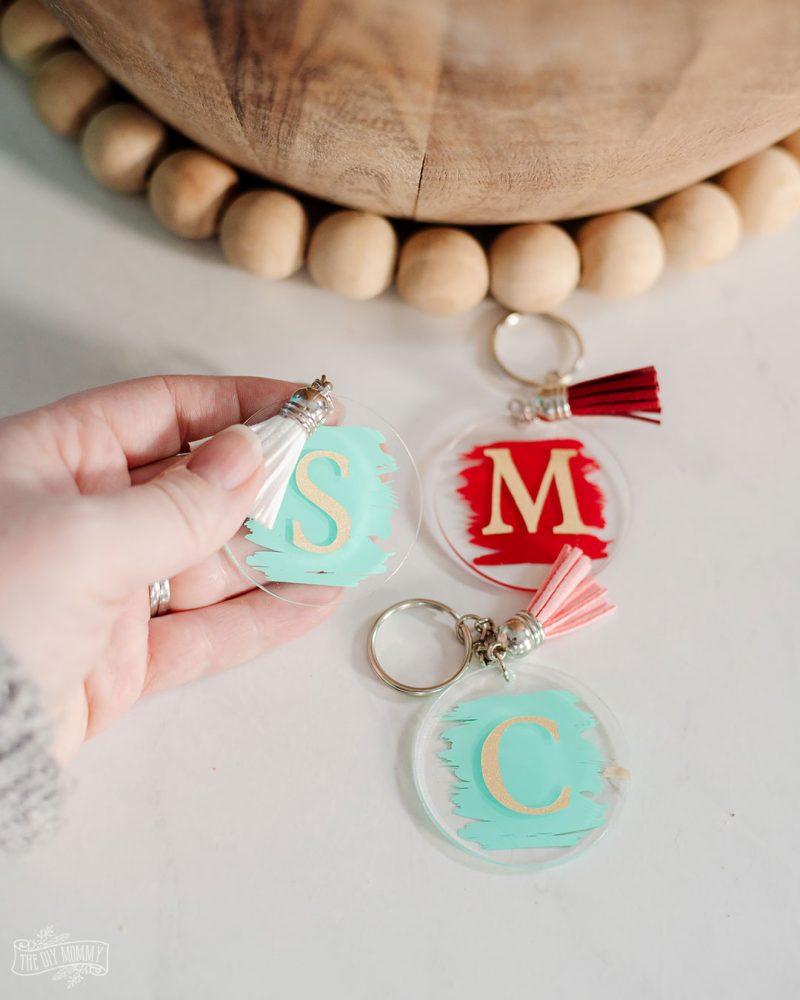
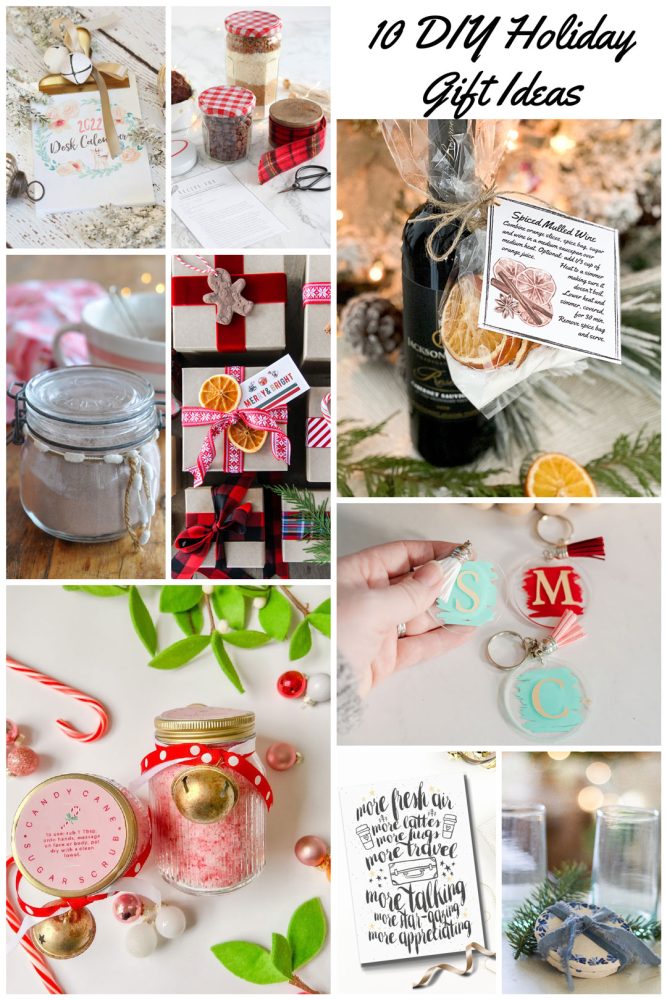
Learn how to make a DIY personalized acrylic keychain with layers using a Cricut machine. This is a complete step by step tutorial with pictures and a video, and these keychains make great gifts!
This blog post is part of a seasonal blog hop – Seasonal Simplicity – hosted by The Happy Housie. Make sure to check out all of the other DIY Christmas gift ideas from my blogging friends linked at the bottom of this post!
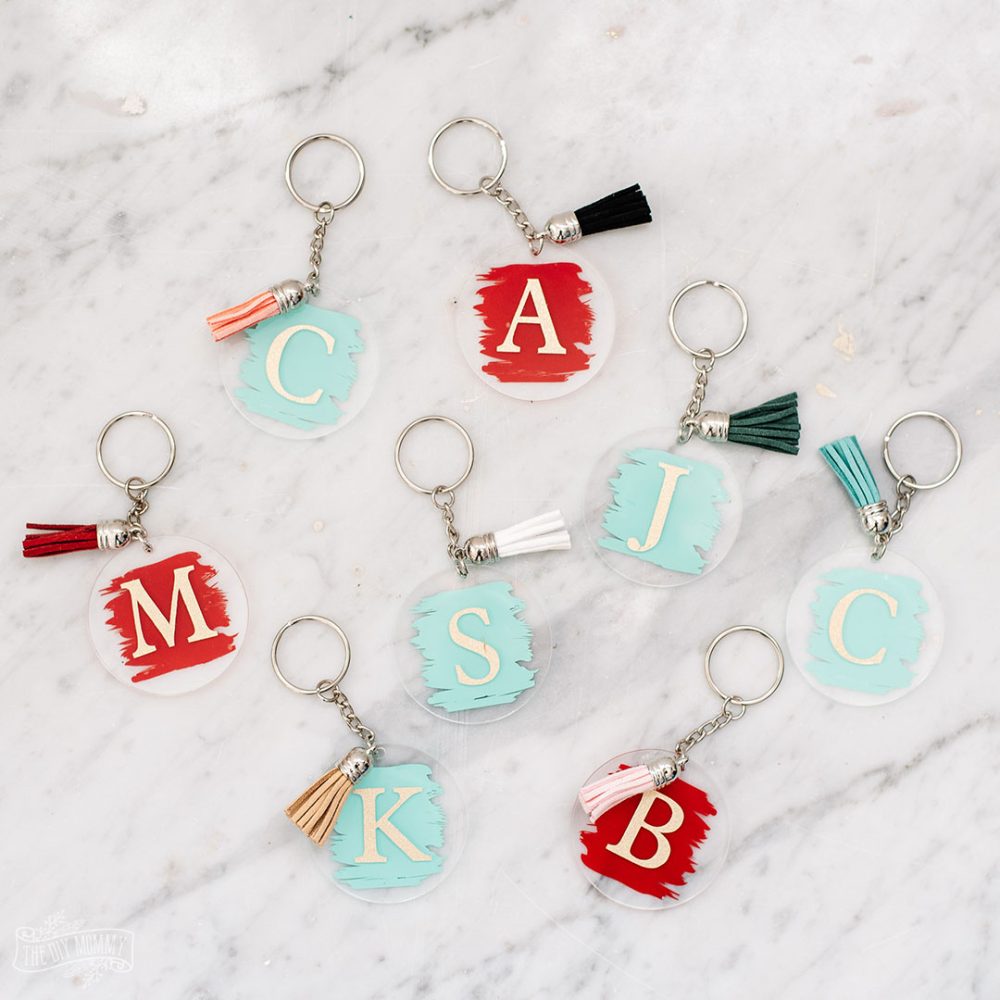
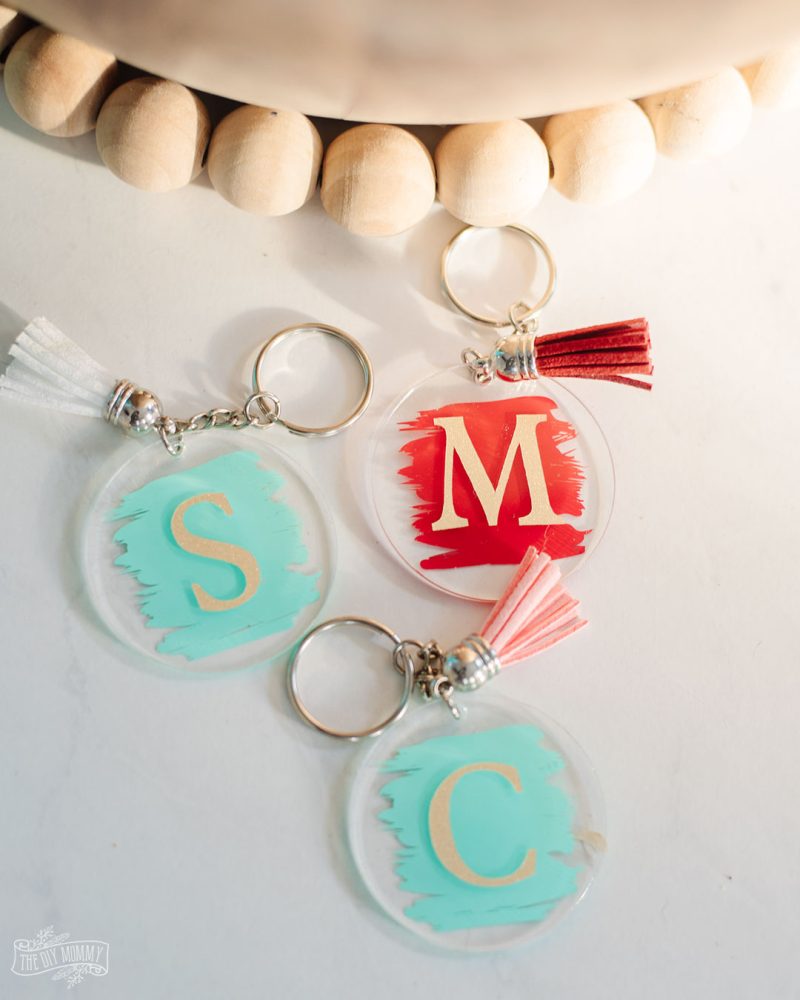
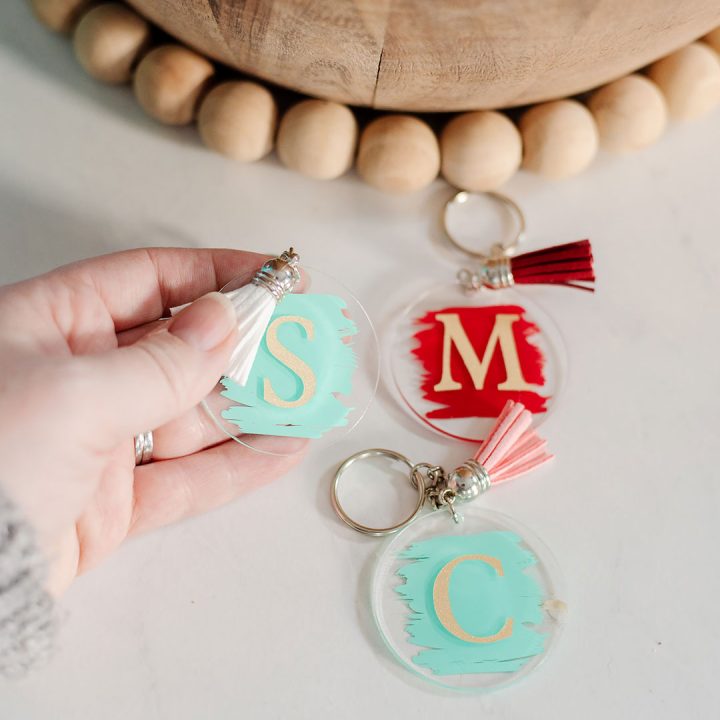
A DIY personalized acrylic keychain makes a lovely gift for Christmas or any time of year. We’re making them for our teachers and friends this season! They’re super-simple to make with a Cricut, and you can customize them with a monogram or other personalized design. If you have lots of leftover vinyl scraps from larger Cricut projects, this DIY is also a great way to use them up!
What is needed to make the keychains?
For this project, you’ll need:
- this pack (or similar) of acrylic keychain blanks, tassels & rings from Amazon
- Cricut machine (I’m using the Cricut Explore 3, but you could use the Explore Air 2, Joy or Maker)
- 2+ colours of permanent vinyl (I’m using Smart Vinyl)
- transfer tape
How to make a DIY personalized acrylic keychain with Cricut
You can watch my video tutorial below to learn how to make these DIY personalized acrylic keychains, or follow the written instructions:
Preparing the design
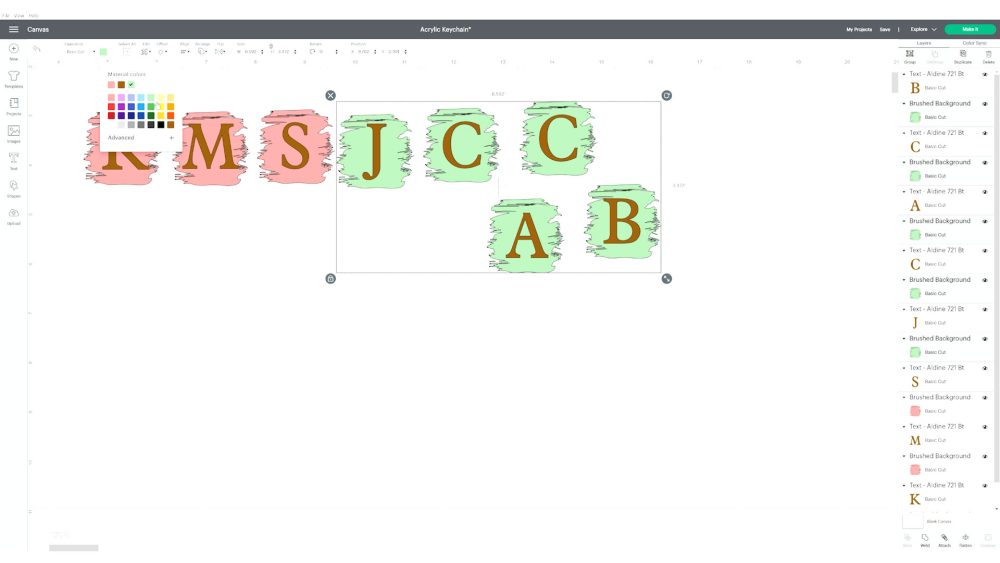
To begin, open up Cricut Design Space and create your design. I created a 2″ circle to match the 2″ acrylic keychain blanks. Then, I inserted the Cricut image Brushed Background (#M9A10A80) and resized it to fit inside the circle. Finally, I used the Aldine font to create monograms on top of each Brushed Background. Make sure to choose different colours for the background and the monograms so that they cut on different colours of vinyl. Delete the original circles and send your design to your Cricut for cutting!
Cutting the pieces
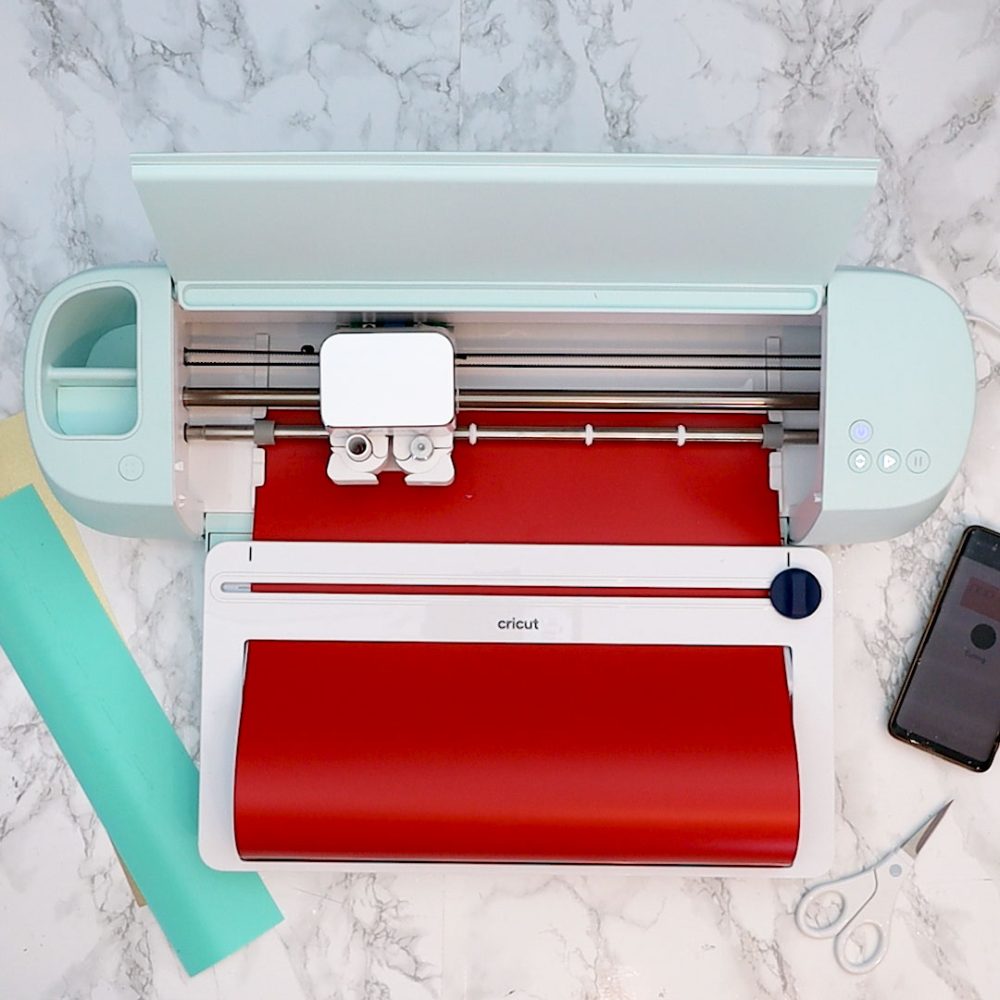
Now, cut out all of your Brushed Background shapes one one (or two!) colours of vinyl, and your monograms on another. I used red & turquoise vinyl for my backgrounds and glitter gold vinyl for my monogram letters. I’m using Smart Vinyl so that I don’t have to use a Cricut mat (and so this project is really fast)!
Weeding & applying the design for the DIY personalized acrylic keychain
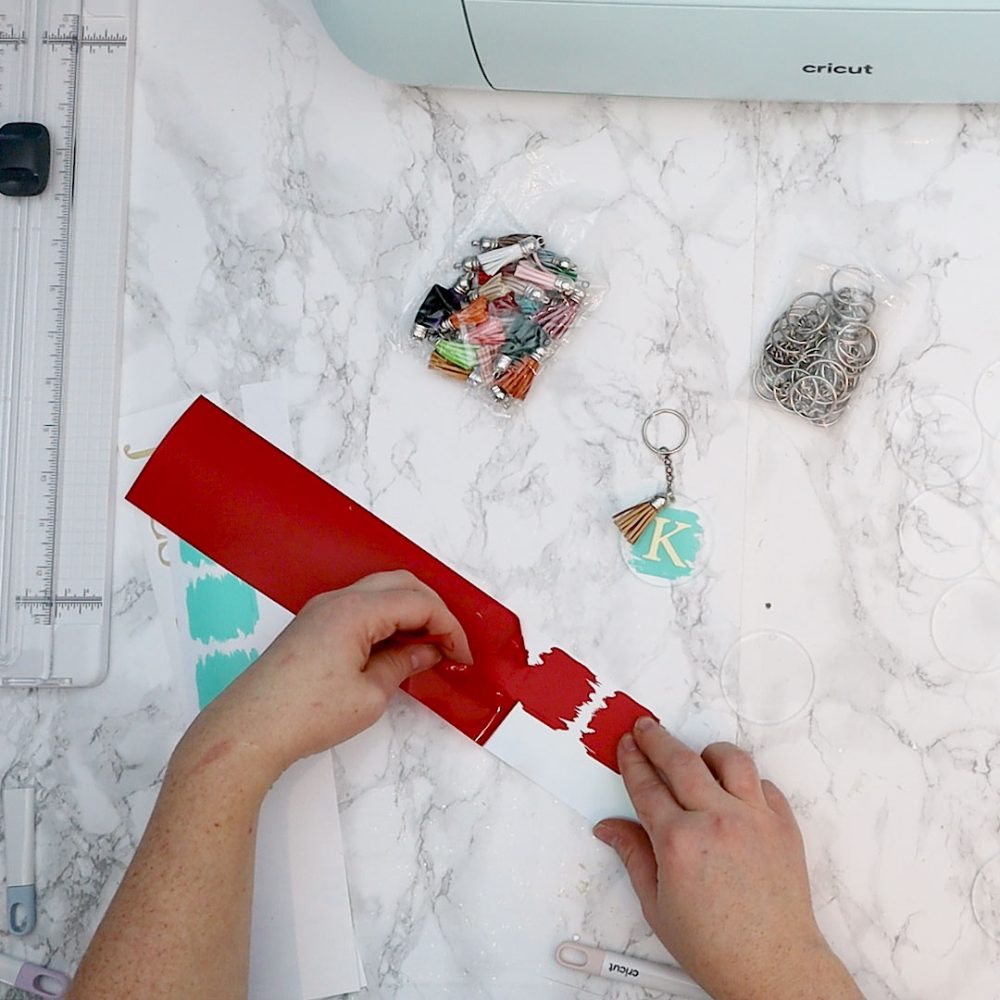
Once all your pieces are cut, weed out any excess vinyl on the background shapes and the letters.
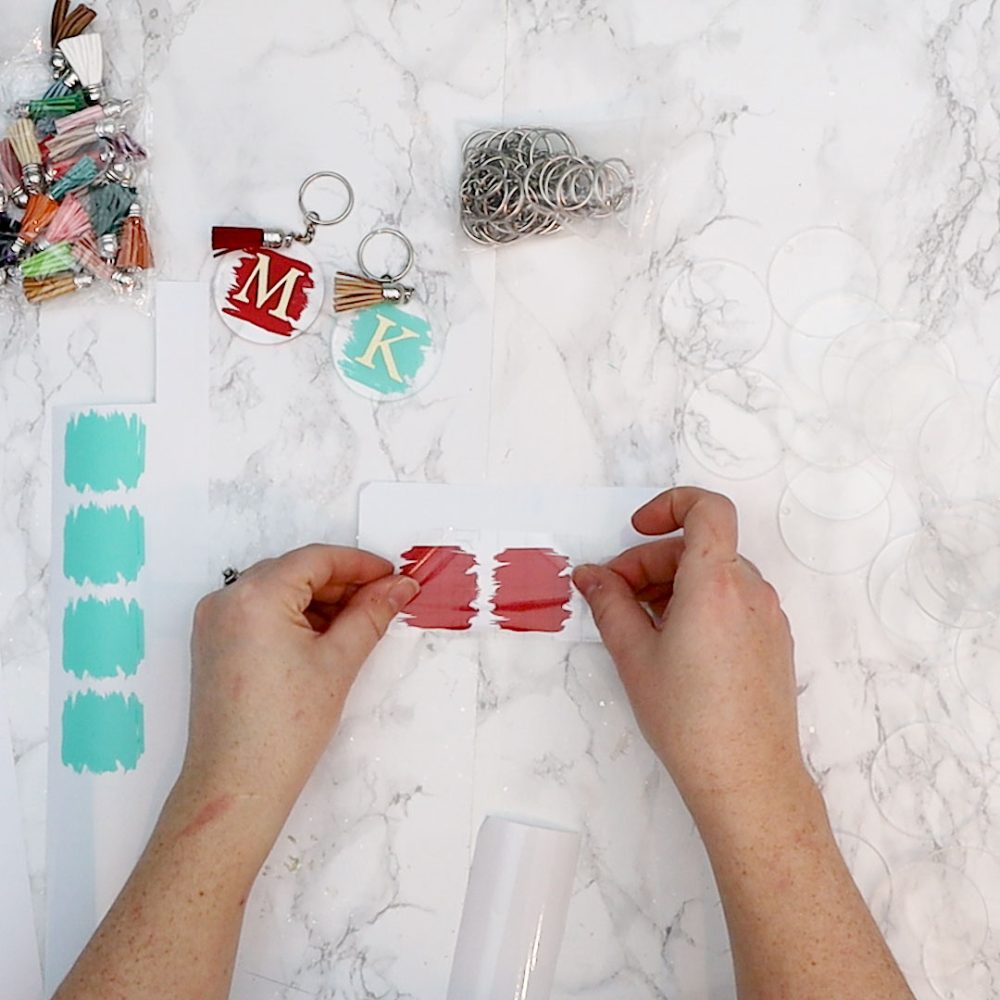
Next, place transfer tape on your background pieces and your monogram pieces.
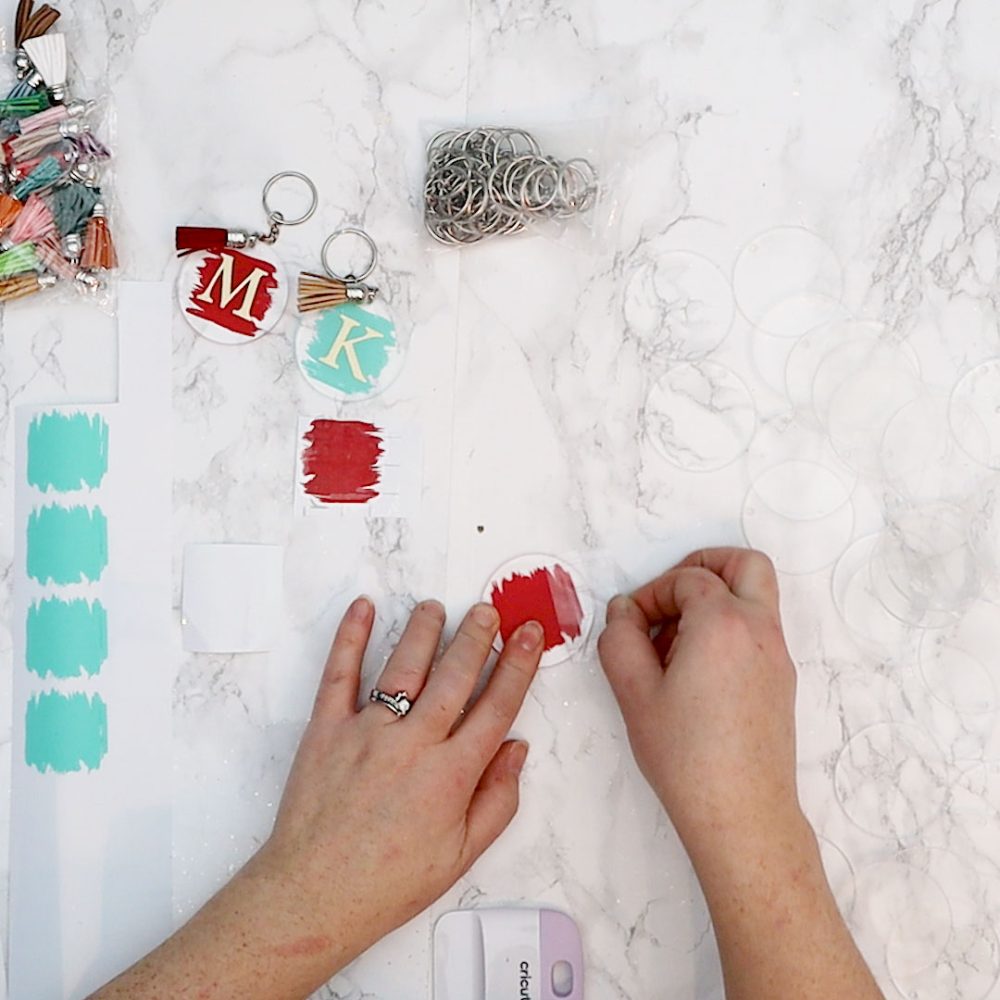
Now, remove any protective covering on the acrylic blank round if there is any. Then, place your background design on the round, smooth it carefully, and remove the transfer tape.
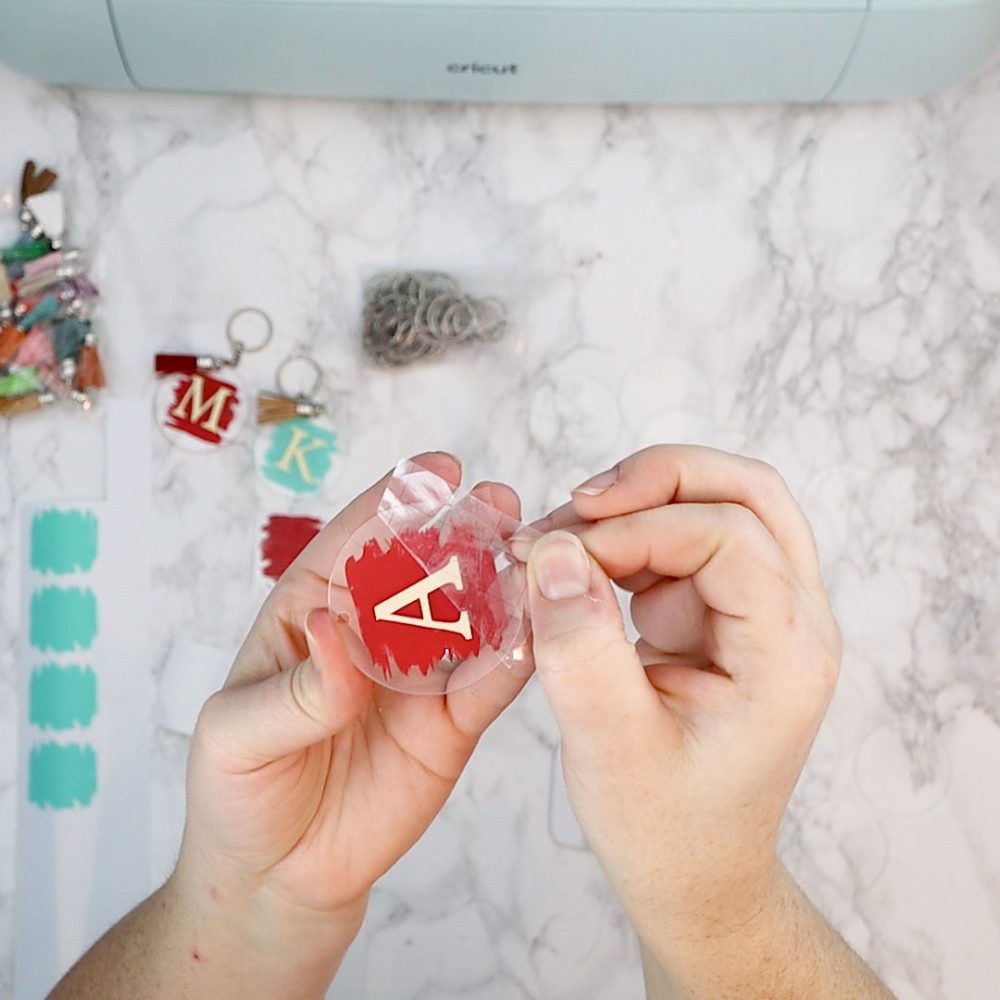
Flip the acrylic round over, remove any protective covering and then apply the monogram vinyl to this side. Placing the background and the monogram on opposite sides creates a beautiful, layered look effect.
Finishing the DIY personalized acrylic keychain
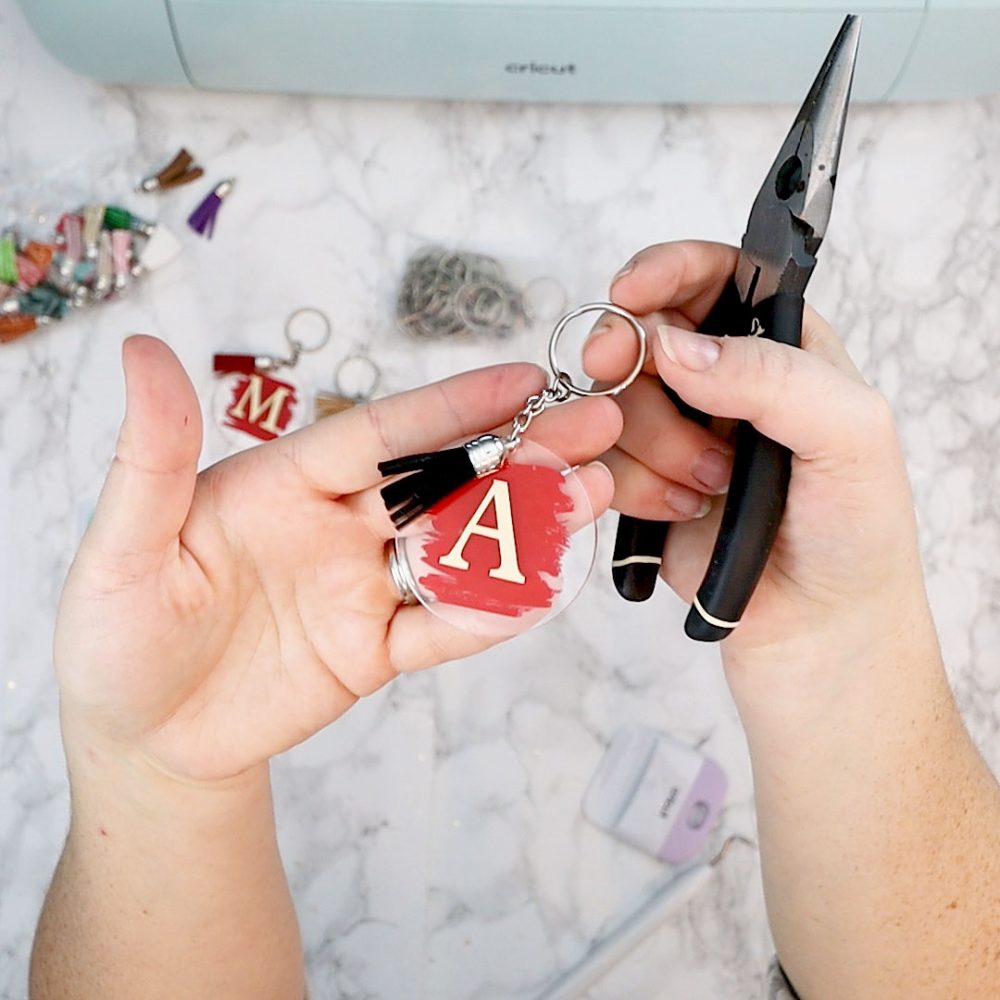
Finally, use needle nosed plyers to attach the ring and the tassel to the keychain. Repeat this process for all the keychains you want to create and have fun with it!
DIY Acrylic Keychain
Learn how to make a DIY personalized acrylic keychain with layers using a Cricut machine. This is a complete step by step tutorial with pictures and a video, and these keychains make great gifts!
Materials
- A pack of acrylic keychain blanks, tassels & rings (I got mine from Amazon)
- 2+ colours of permanent vinyl (I'm using Smart Vinyl)
- Transfer tape
Tools
- Cricut machine (I'm using the Cricut Explore 3, but you could use the Explore Air 2, Joy or Maker)
Instructions
- To begin, open up Cricut Design Space and create your design. I created a 2" circle to match the 2" acrylic keychain blanks.
- Then, I inserted the Cricut image Brushed Background (#M9A10A80) and resized it to fit inside the circle.
- Finally, I used the Aldine font to create monograms on top of each Brushed Background.
- Make sure to choose different colours for the background and the monograms so that they cut on different colours of vinyl.
- Delete the original circles and send your design to your Cricut for cutting!
- Cut out all of your Brushed Background shapes on one (or two!) colours of vinyl, and your monograms on another. I used red & turquoise vinyl for my backgrounds and glitter gold vinyl for my monogram letters.
- Use Smart Vinyl if you don't want to use a Cricut mat (and so this project is done quickly)!
- Once all your pieces are cut, weed out any excess vinyl on the background shapes and the letters.
- Next, place transfer tape on your background pieces and your monogram pieces.
- Now, remove any protective covering on the acrylic blank round if there is any.
- Then, place your background design on the round, smooth it carefully, and remove the transfer tape.
- Flip the acrylic round over and remove any protective covering.
- Then, apply the monogram vinyl to this side. Placing the background and the monogram on opposite sides creates a beautiful, layered effect.
- Finally, use needle nosed plyers to attach the ring and the tassel to the keychain.
- Repeat this process for all the keychains you want to create and have fun with it!
Preparing Your Design
Cutting The Pieces
Weeding and Applying the Design
Finishing Up
 This week is my friends and I are sharing our DIY gift ideas just in time for the holidays. You can visit their posts by clicking on the links below the images.
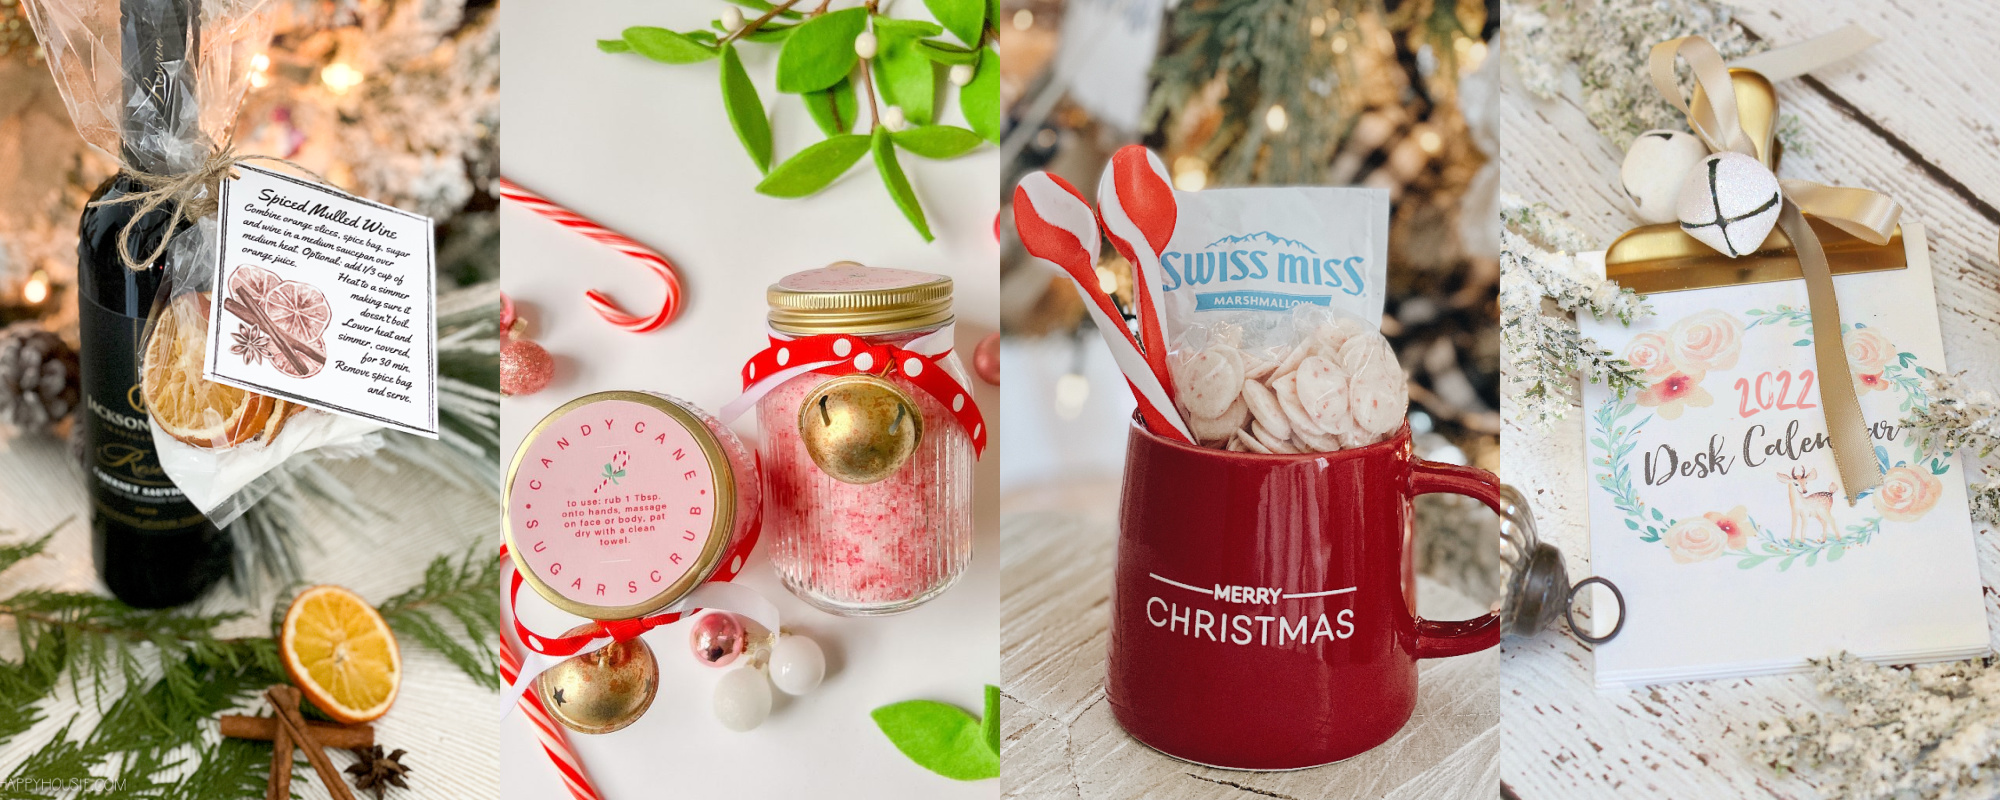
Spiced Mulled Wine Gift with Printable Tags at The Happy Housie
3-Ingredient Candy Cane Sugar Scrub with Printable Tag tatertots and jello
10 DIY Stocking Stuffer Ideas at She Gave it a Go
2022 Desk Calendar at Clean and Scentsible
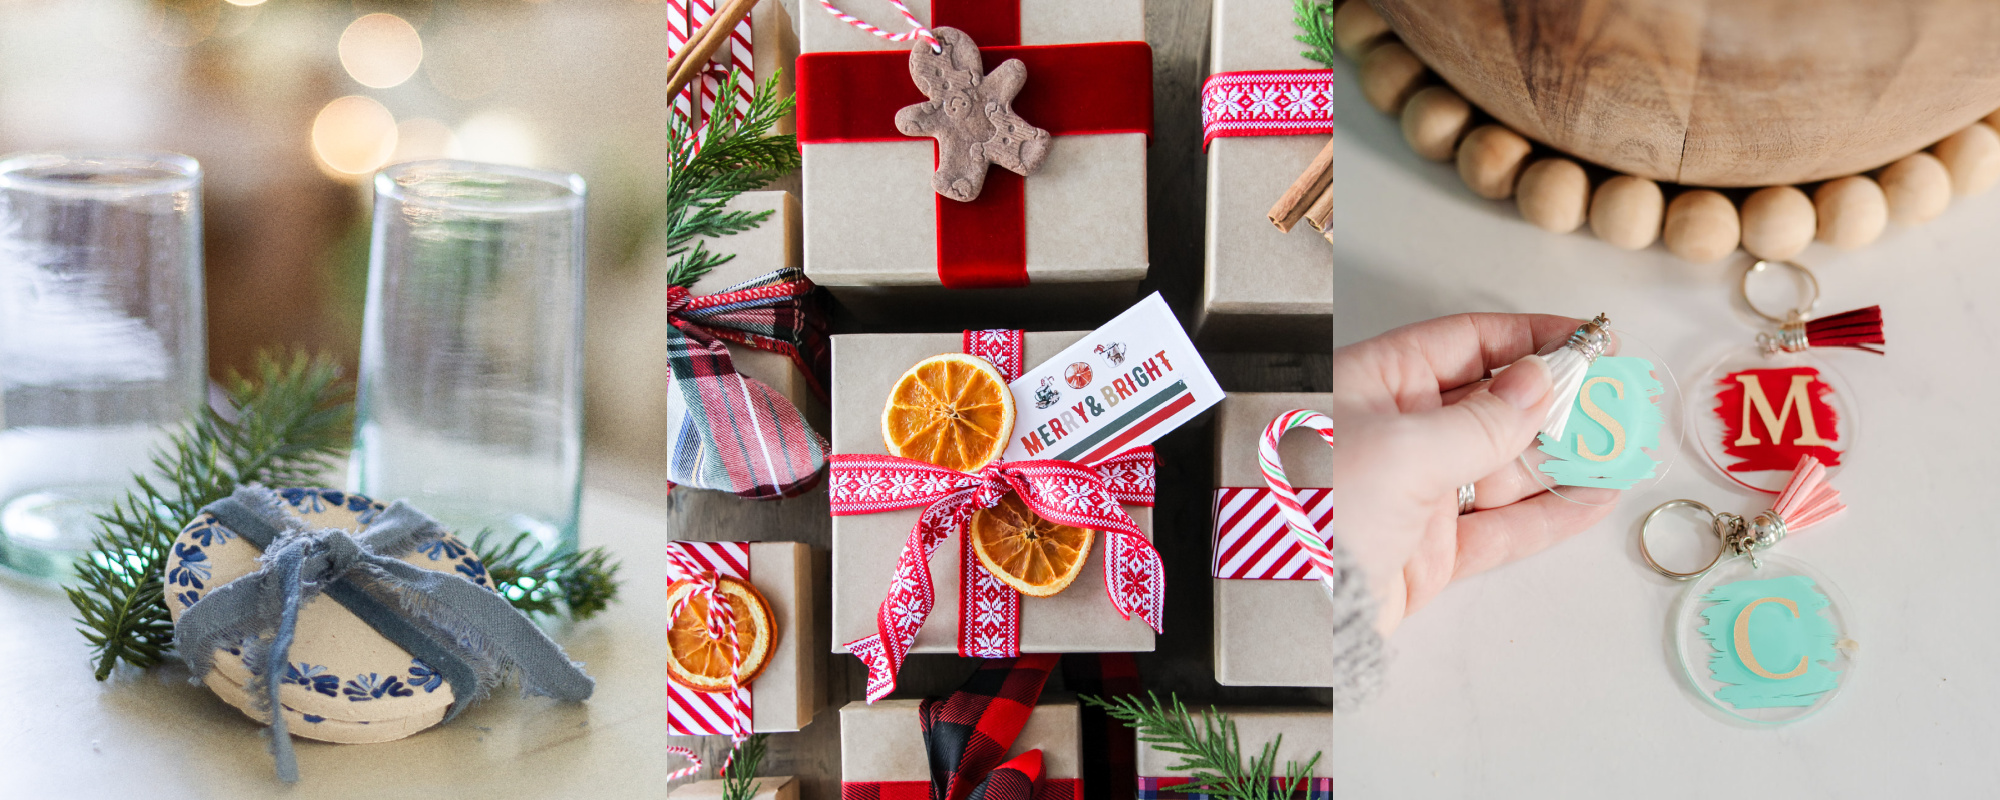
DIY Clay Coasters at Zevy Joy
Printable Christmas Gift Tags and Gift Wrap Ideas A Pretty Life in the Suburbs
How to Make a DIY Acrylic Keychain at The DIY Mommy
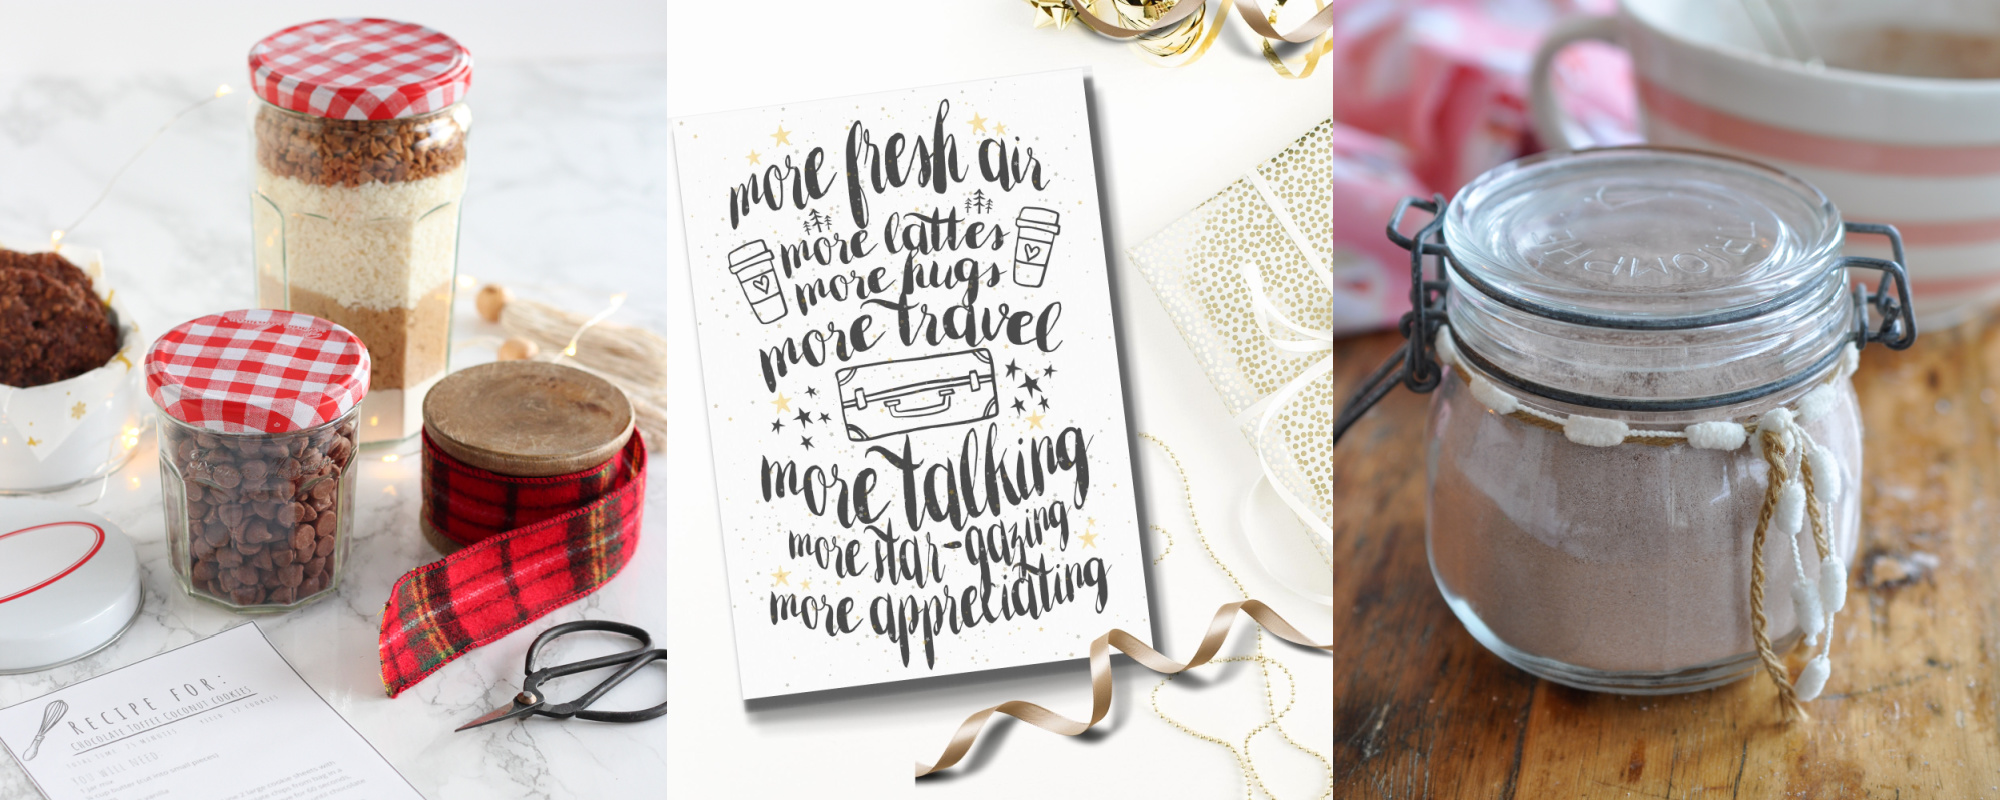
Chocolate Toffee Coconut Cookie Mix Jars at Satori Design for Living
Easy DIY Inspirational Quote Canvas at Pop of Pretty
DIY Hot Chocolate Mix Gift Idea at Life is a Party
PIN ME:
These are adorable! What a wonderful personalized gift, or a cute idea to add on to a bigger gift, as well! Thanks for sharing, Christina.
Christina,
Thank you so much for sharing this cute idea! I will definitely be making these.
Cheers to a wonderful holiday season,
Brendt
Love these!!! Can’t wait to make some! Thank you so much 🙂