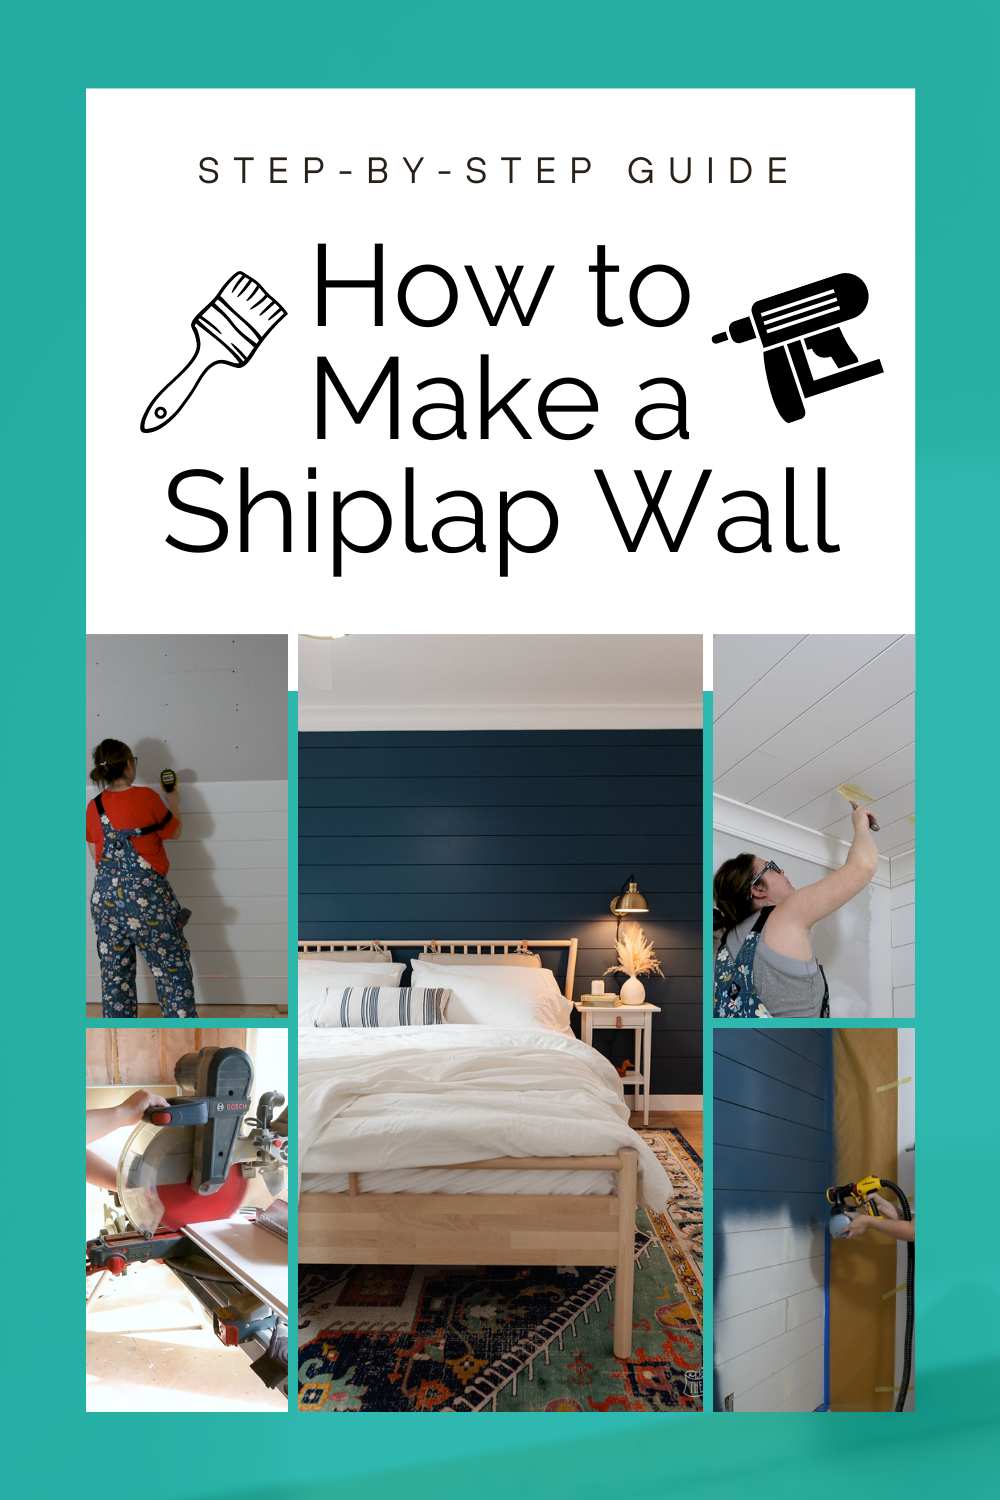
How to Make a Shiplap Wall – Step by Step Tutorial
This post may contain affiliate links · This blog generates income via ads
Shiplap walls bring a cozy, rustic feel to your space and instantly add tons of texture and interest. Whether you are a novice DIYer or an experienced home decorator, this guide will provide all of the information necessary to help you create stunning shiplap walls in no time at all. So grab your tools, find some plywood (or ready-made MDF shiplap!), and follow these simple instructions for creating a beautiful shiplap accent wall in your home.
I’ve installed a few DIY shiplap walls and ceilings over the last few years, and I’m still madly in love with them. They add a subtle texture to walls or ceilings, and they’re not too hard to install… especially if you use pre-made MDF shiplap planks. Let me show you how to make your own shiplap wall!
What is a shiplap wall and why should you add one to your home
If you’ve ever scrolled through Pinterest or binge-watched HGTV, then you’ve probably seen a shiplap wall or two. But what exactly is shiplap? It’s a type of wooden board that’s commonly used for exterior siding on barns and sheds1. But in recent years, these horizontal or vertical planks become a popular trend in interior design thanks to the likes of Chip & Joanna Gaines.
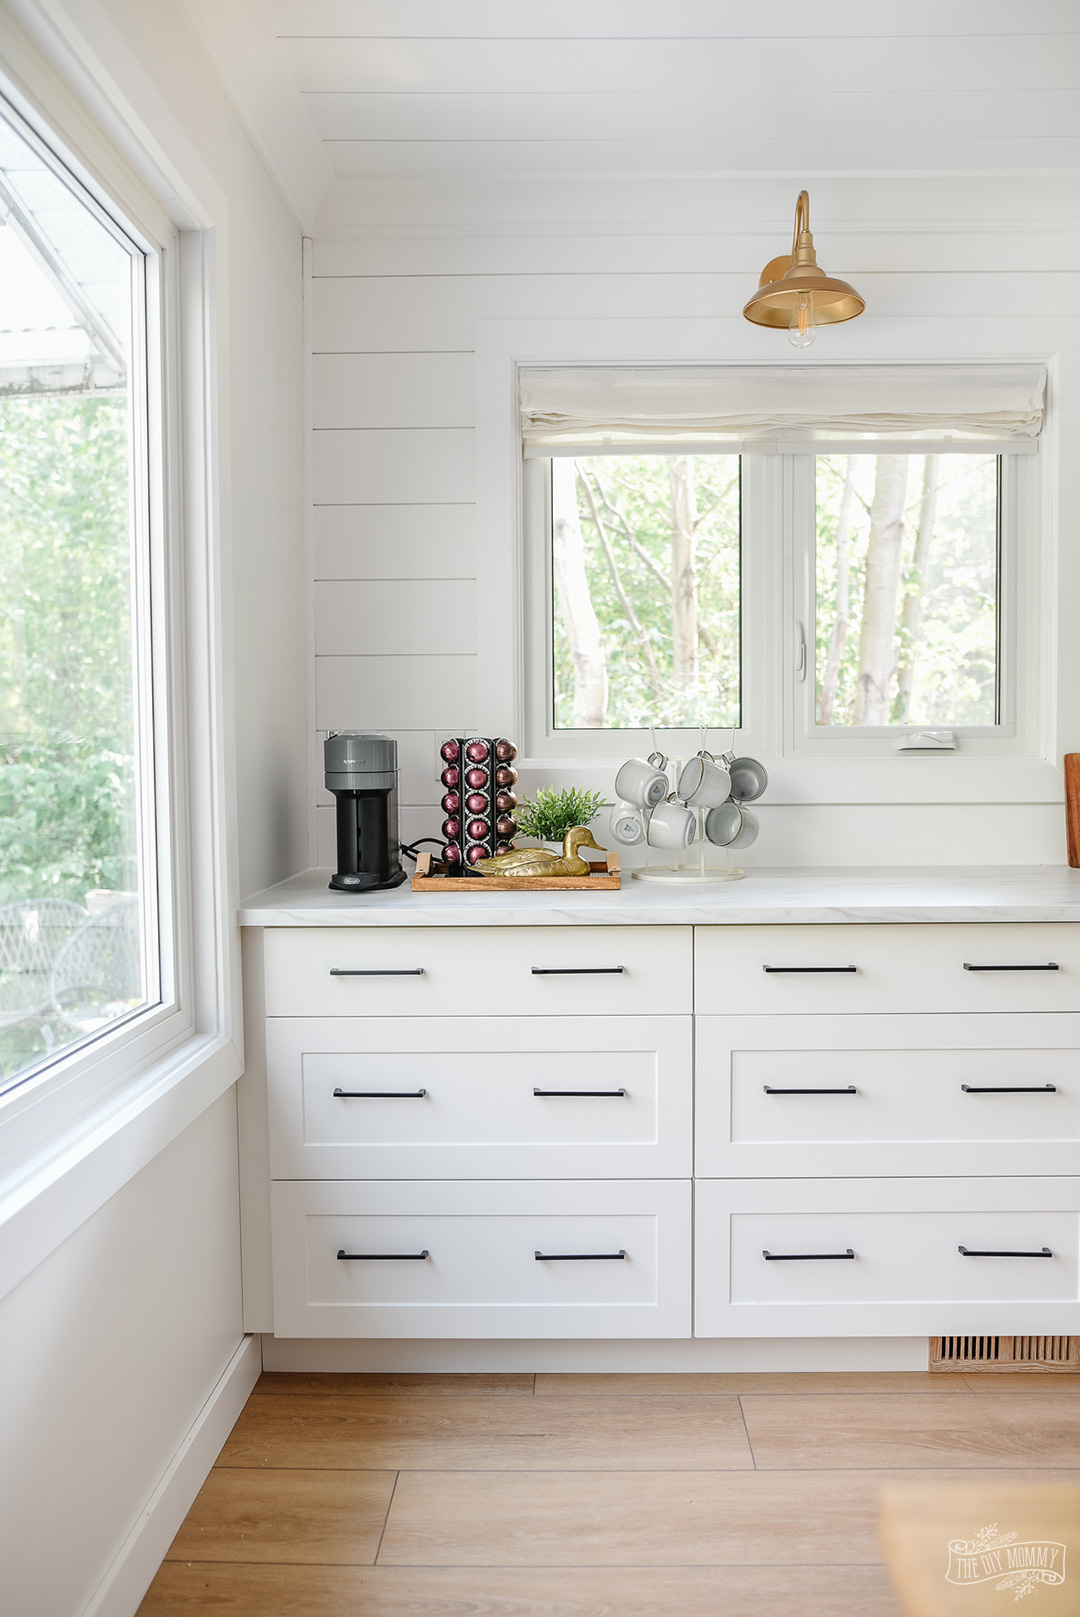
A shiplap wall is made up of horizontally laid boards with small gaps between them, creating a charming rustic look. Not only does it add texture and character to a room, but it can also make a space feel larger. The horizontal lines can give the illusion of a longer/wider room. And the best part? You can easily learn how to make a shiplap wall yourself with just a few tools and some basic DIY skills. I think shiplap is the perfect way to add a modern coastal or a modern farmhouse vibe to any space! We’ve added some to both of our lake house rentals to give them both a coastal farmhouse style.
Selecting the right type of shiplap material
Selecting the right type of shiplap material is crucial for making the project a success. One popular option is pre-primed or pre-painted MDF shiplap, which is easy to work with and provides a smooth, paint-ready surface. This is what we used in our lake house rentals, and it’s definitely my recommendation for anyone (especially a beginning DIYer). These MDF shiplap boards have notches in them so that when they’re put together a perfect groove is created between the boards that’s the same size every time. They’re similar to a tongue and groove board, but even simpler to install. Here’s the pre-painted MDF shiplap we used for our Tiny Lake House ceiling, and here’s the primed MDF shiplap we used for our Little Lake House walls & ceiling. You can usually find this product (or something similar) at your local hardware store.
Alternatively, you could opt to create shiplap boards yourself using plywood. This is a more budget-friendly version, but it requires more labour and the finished look may not look as professional. Here’s an excellent tutorial from Jenna Kate at Home on how to create a shiplap wall with plywood. She used plywood sheets, had Lowe’s rip them down into 8″ planks for free, and then installed them using a nickel as a spacer to create a gap. I’ve seen well executed plywood shiplap walls (like Jenna’s), and ones that don’t look so good. You definitely want to do your research before choosing this option.
To determine how much MDF shiplap you’ll need, I like to first determine the square footage of a single plank. Then, I divide the square footage of my wall by that of my shiplap plank. Finally, I add 10% to that number to account for mistakes or cutting waste.
Preparing the surface – steps to take to make sure your wall is ready for installation
Before diving into installation, it’s important to prep the surface for optimal results. Proper prep work always makes any renovation job go more smoothly. Check with your local building codes or a professional contractor in your area to determine if you’ll need drywall / sheetrock behind your shiplap. In our case, we needed to install drywall behind our shiplap on the perimeter walls of our Little Lake House. If you already have a drywalled wall ready to go, simply ensure there are no large bumps or textures on the wall so the shiplap lays flat against the wall. Sand and wipe your wall with a damp cloth if required. You’ll also need to remove any baseboard, window trim or crown molding on the wall before shiplap installation.
Measuring and cutting shiplap boards – techniques for getting accurate measurements and tips on making smooth cuts
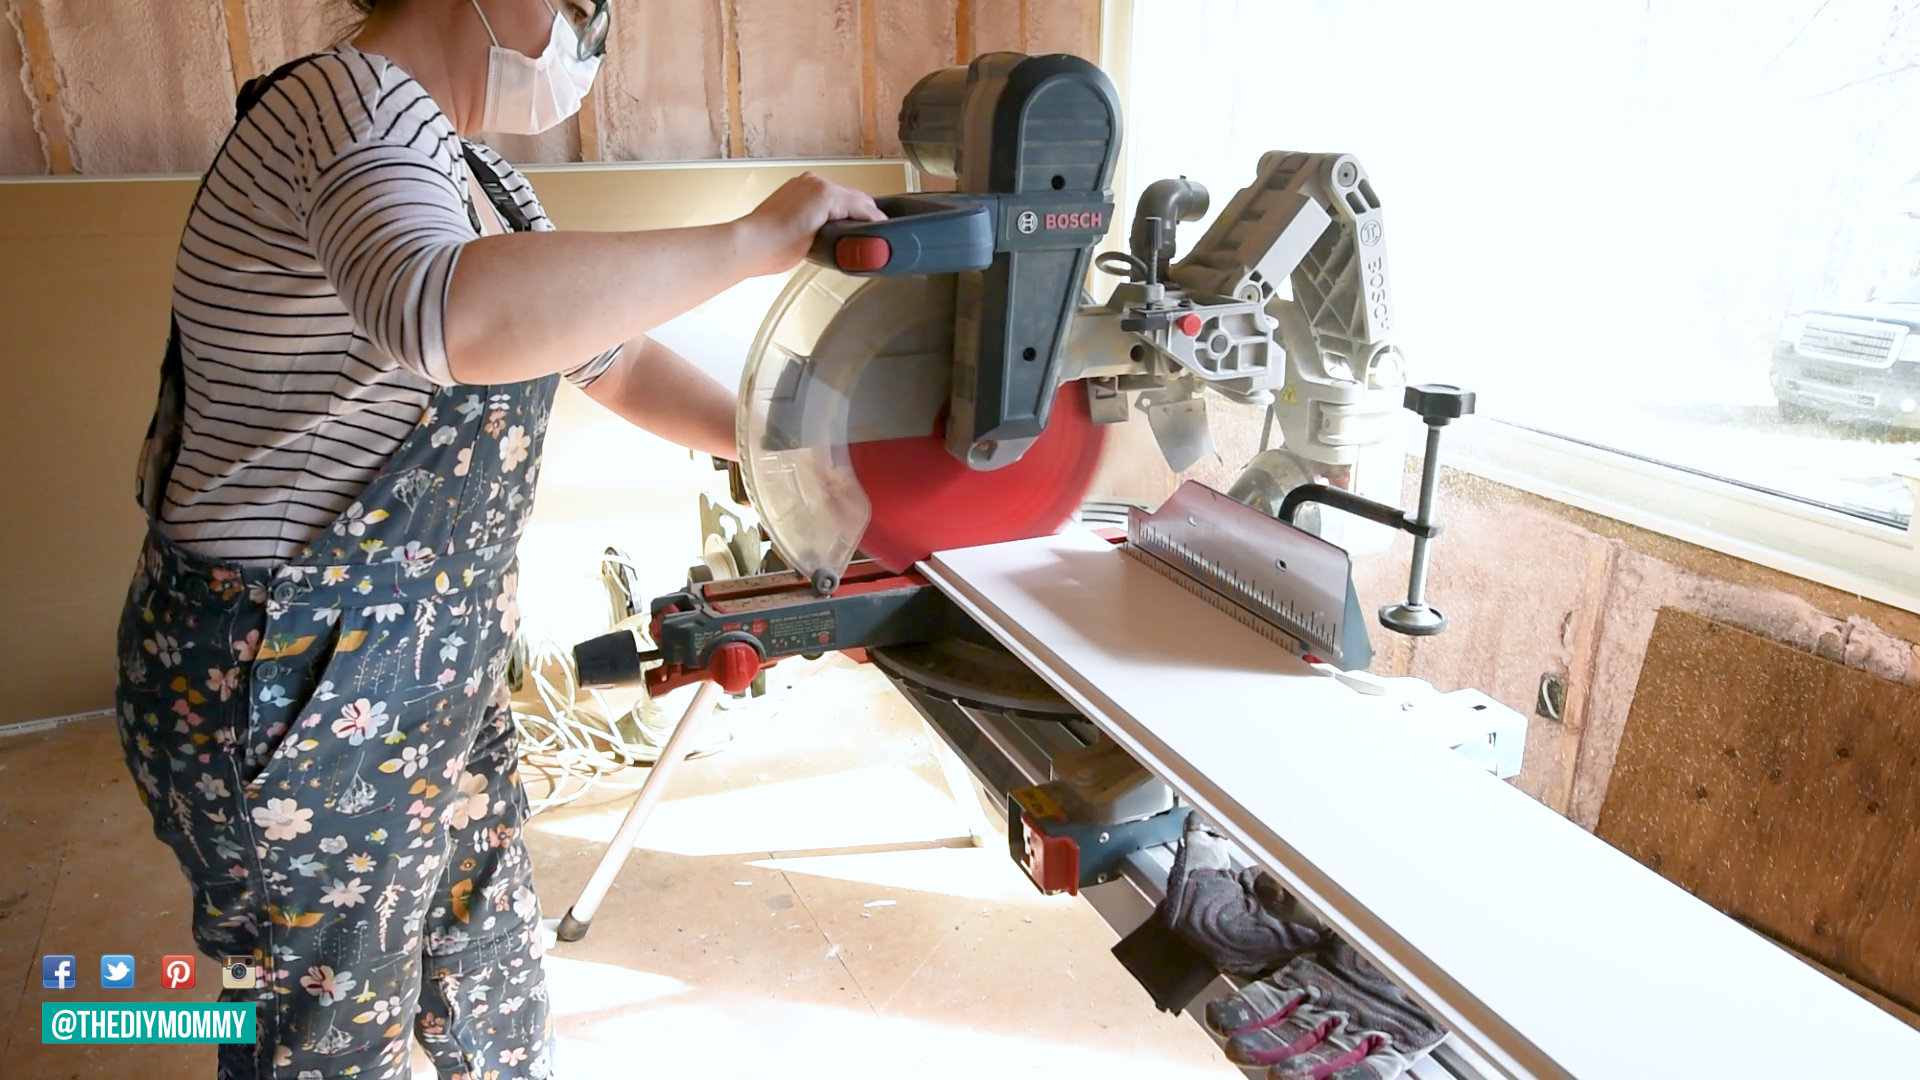
Measure twice, cut once! This is a motto that I definitely use for all of my DIYing, but especially when I’m working with a more expensive material like MDF shiplap. Here are my tips to make sure you’re measuring and cutting your shiplap strips with precision. First, make sure to measure each board carefully, ideally using a tape measure in good condition, to ensure a seamless fit. It’s always better to err on the side of too long than too short because you can trim the board down slightly if needed.
Depending on the size of your room, you may be able to use only one shiplap board per row. However, in the case of our Little Lake House primary bedroom, we had to use a board and a half for each row on this 12′ wall. To make the cuts, a miter saw is an excellent choice, providing accuracy in both angle and length. Remember to take your time and be patient, as rushing can lead to mistakes and uneven cuts.
Tip: Measure the height of your wall before cutting your shiplap to determine how many rows you’ll need. I think it’s always better to have a full shiplap plank on the top of the wall, and then strip the bottom plank as needed with a table saw.
Installing the shiplap boards – step-by-step guide to attaching the boards
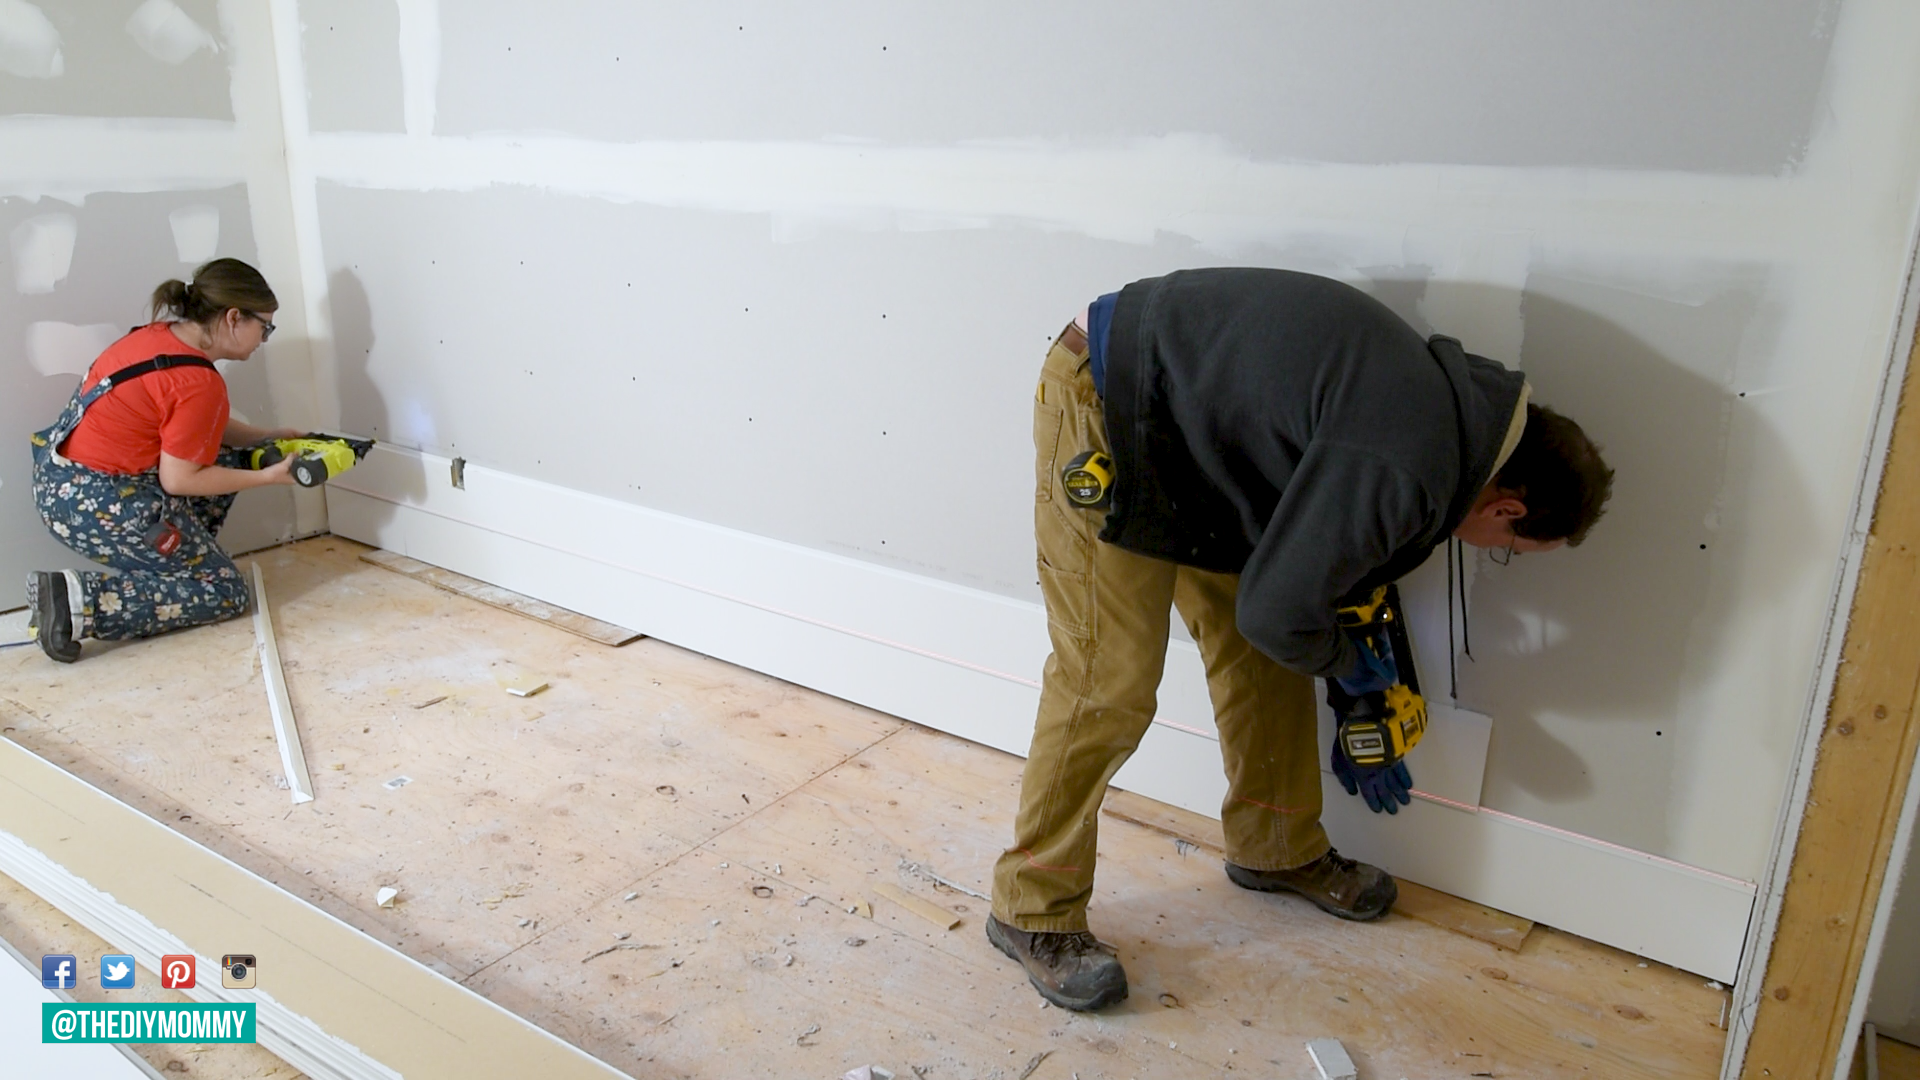
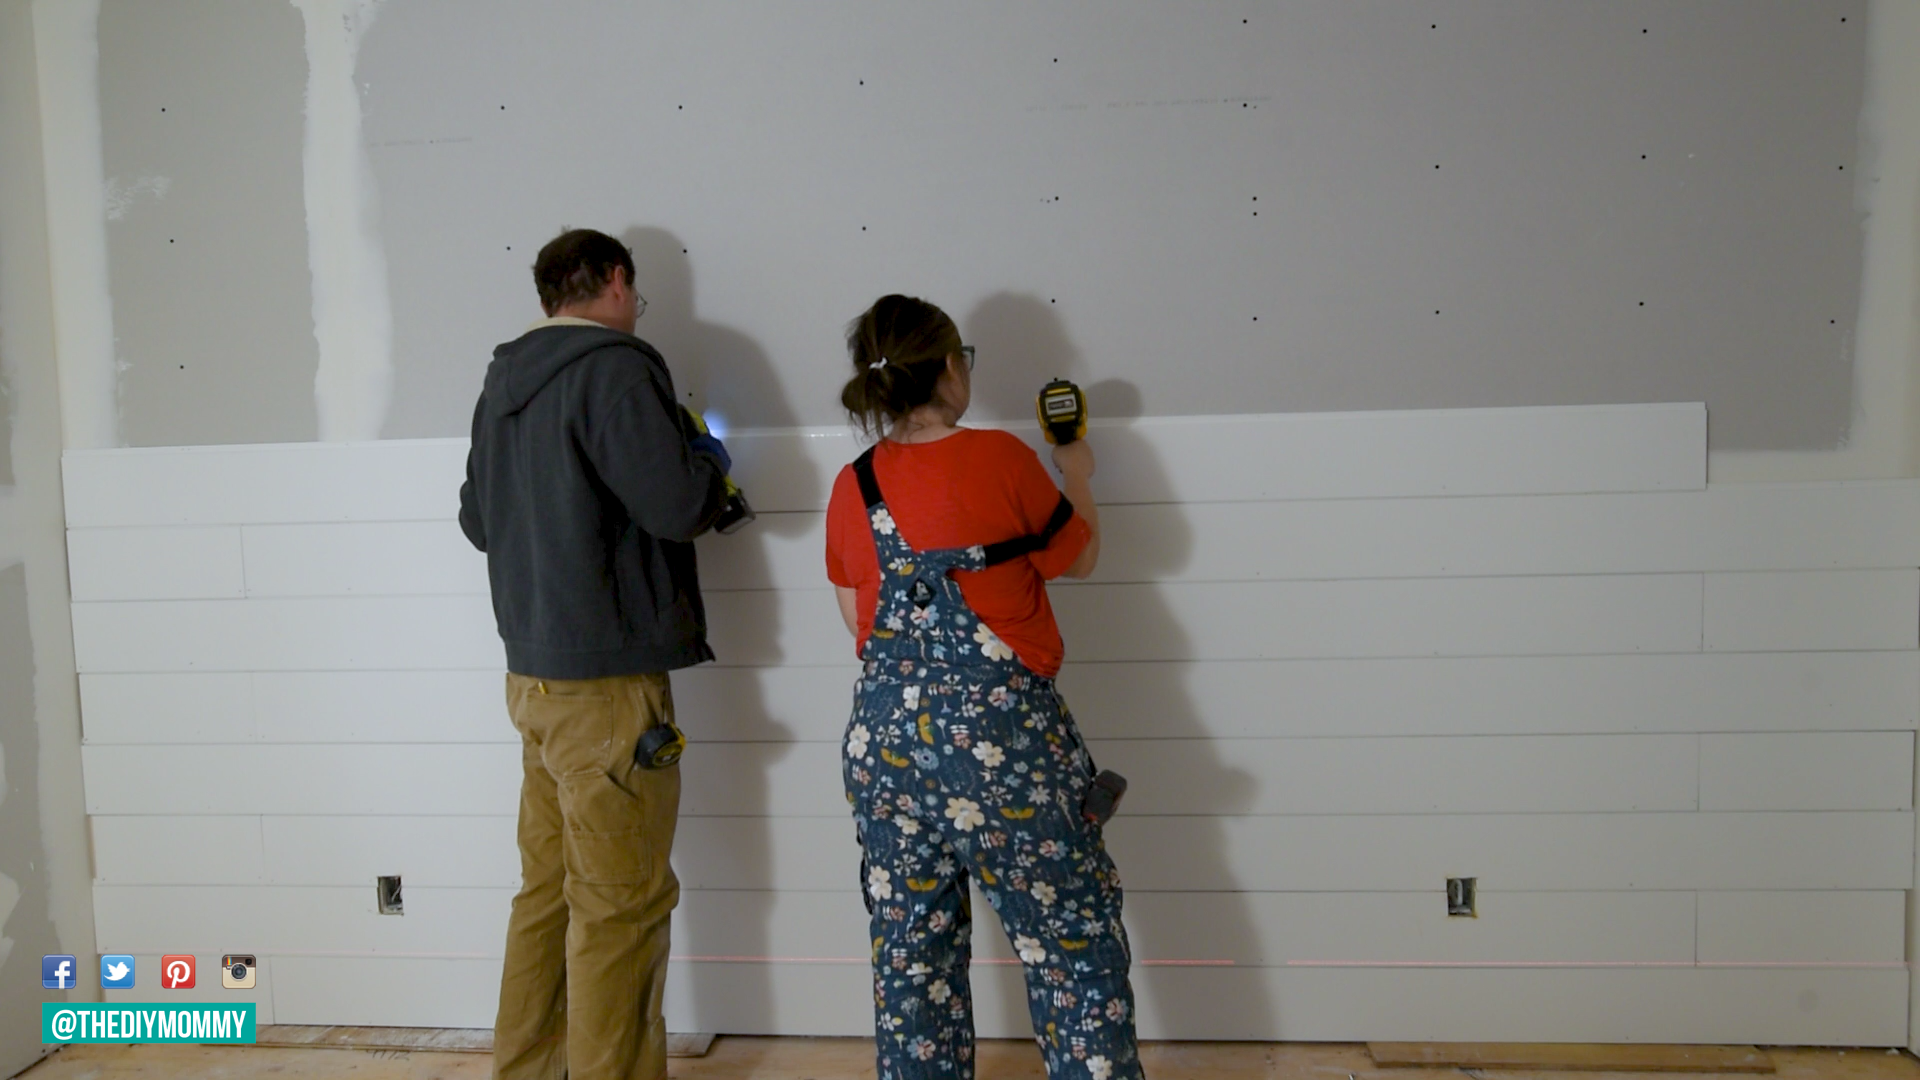
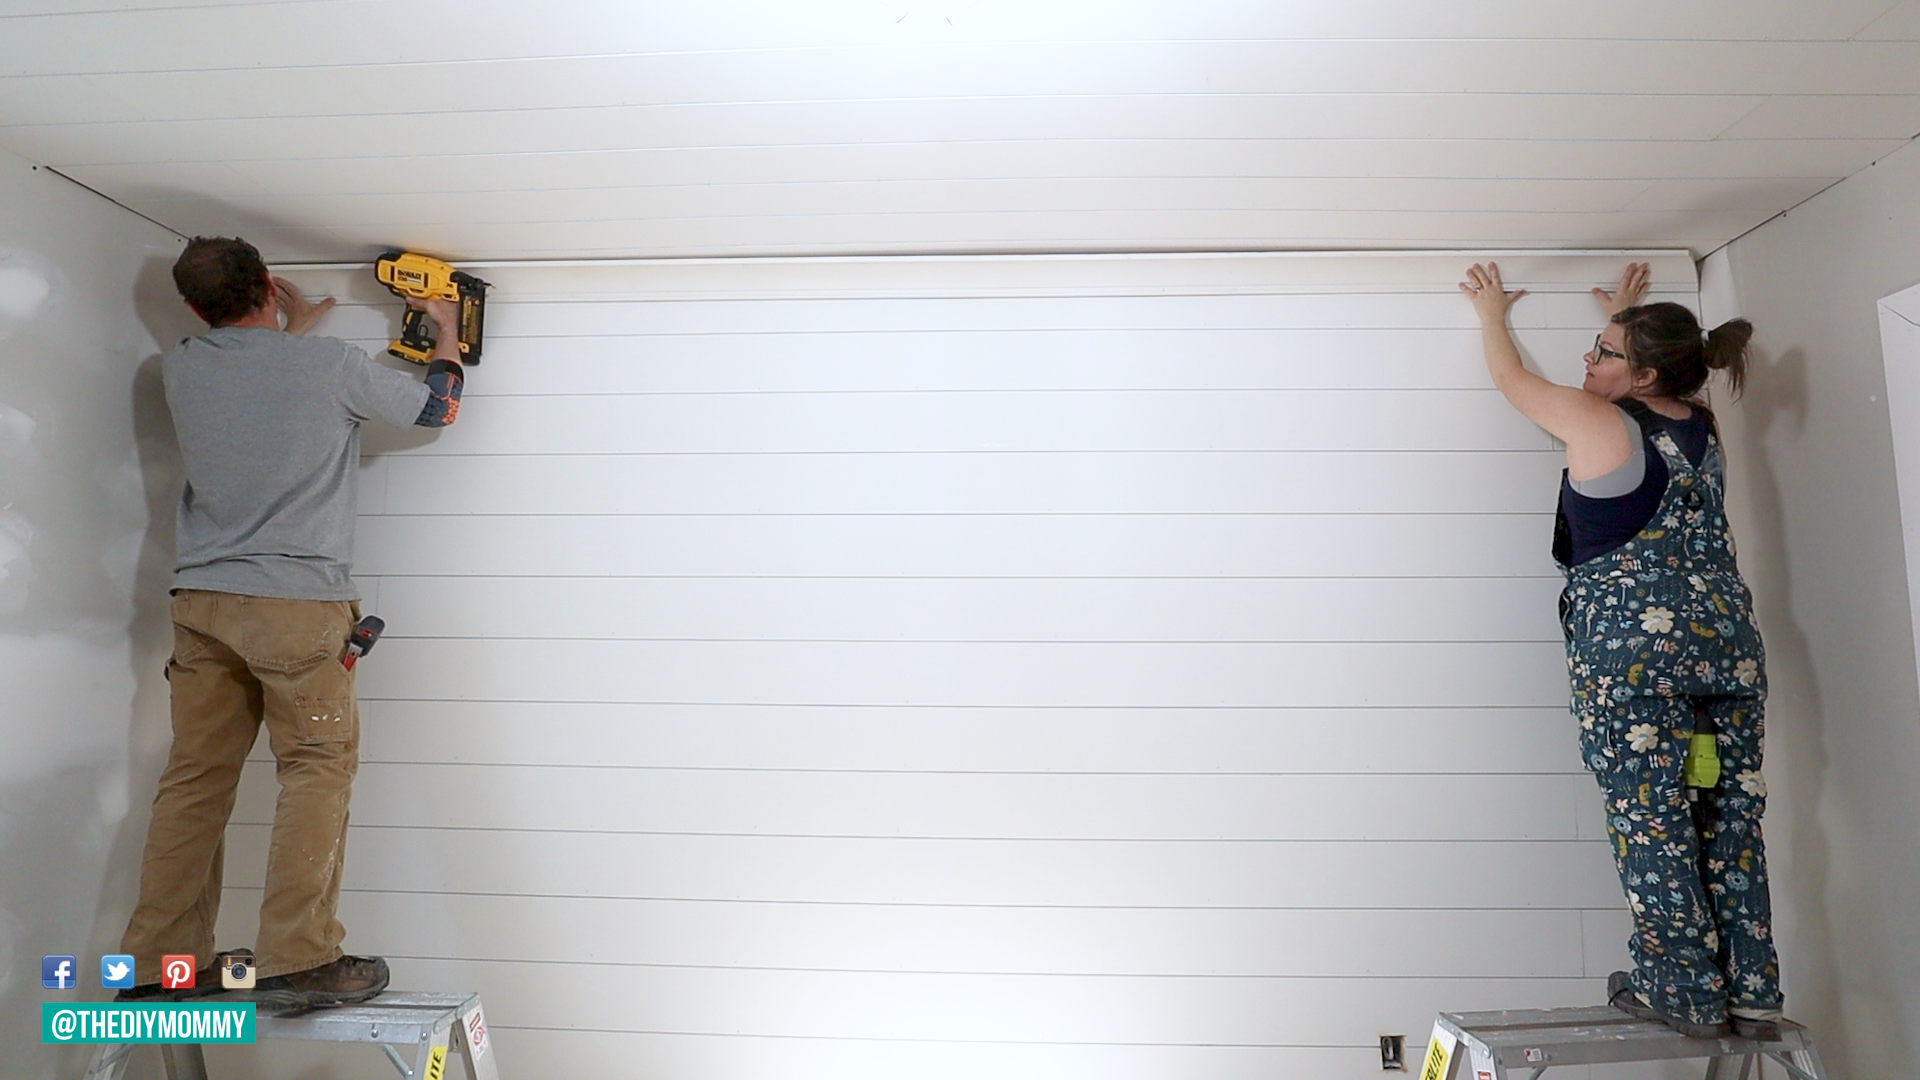
It’s important to know how to properly install the shiplap boards to avoid any unsightly gaps or unevenness. First, make sure you have the right tools on hand, such as a finishing nail gun or brad nailer. Next, measure and mark your wall to determine where the boards will fit best. Use a stud finder and a pencil to mark where the studs are in your wall. It’s crucial to use a level at this stage so that your first row of shiplap is level. If not, your whole wall will look crooked! I like to use a laser level for this.
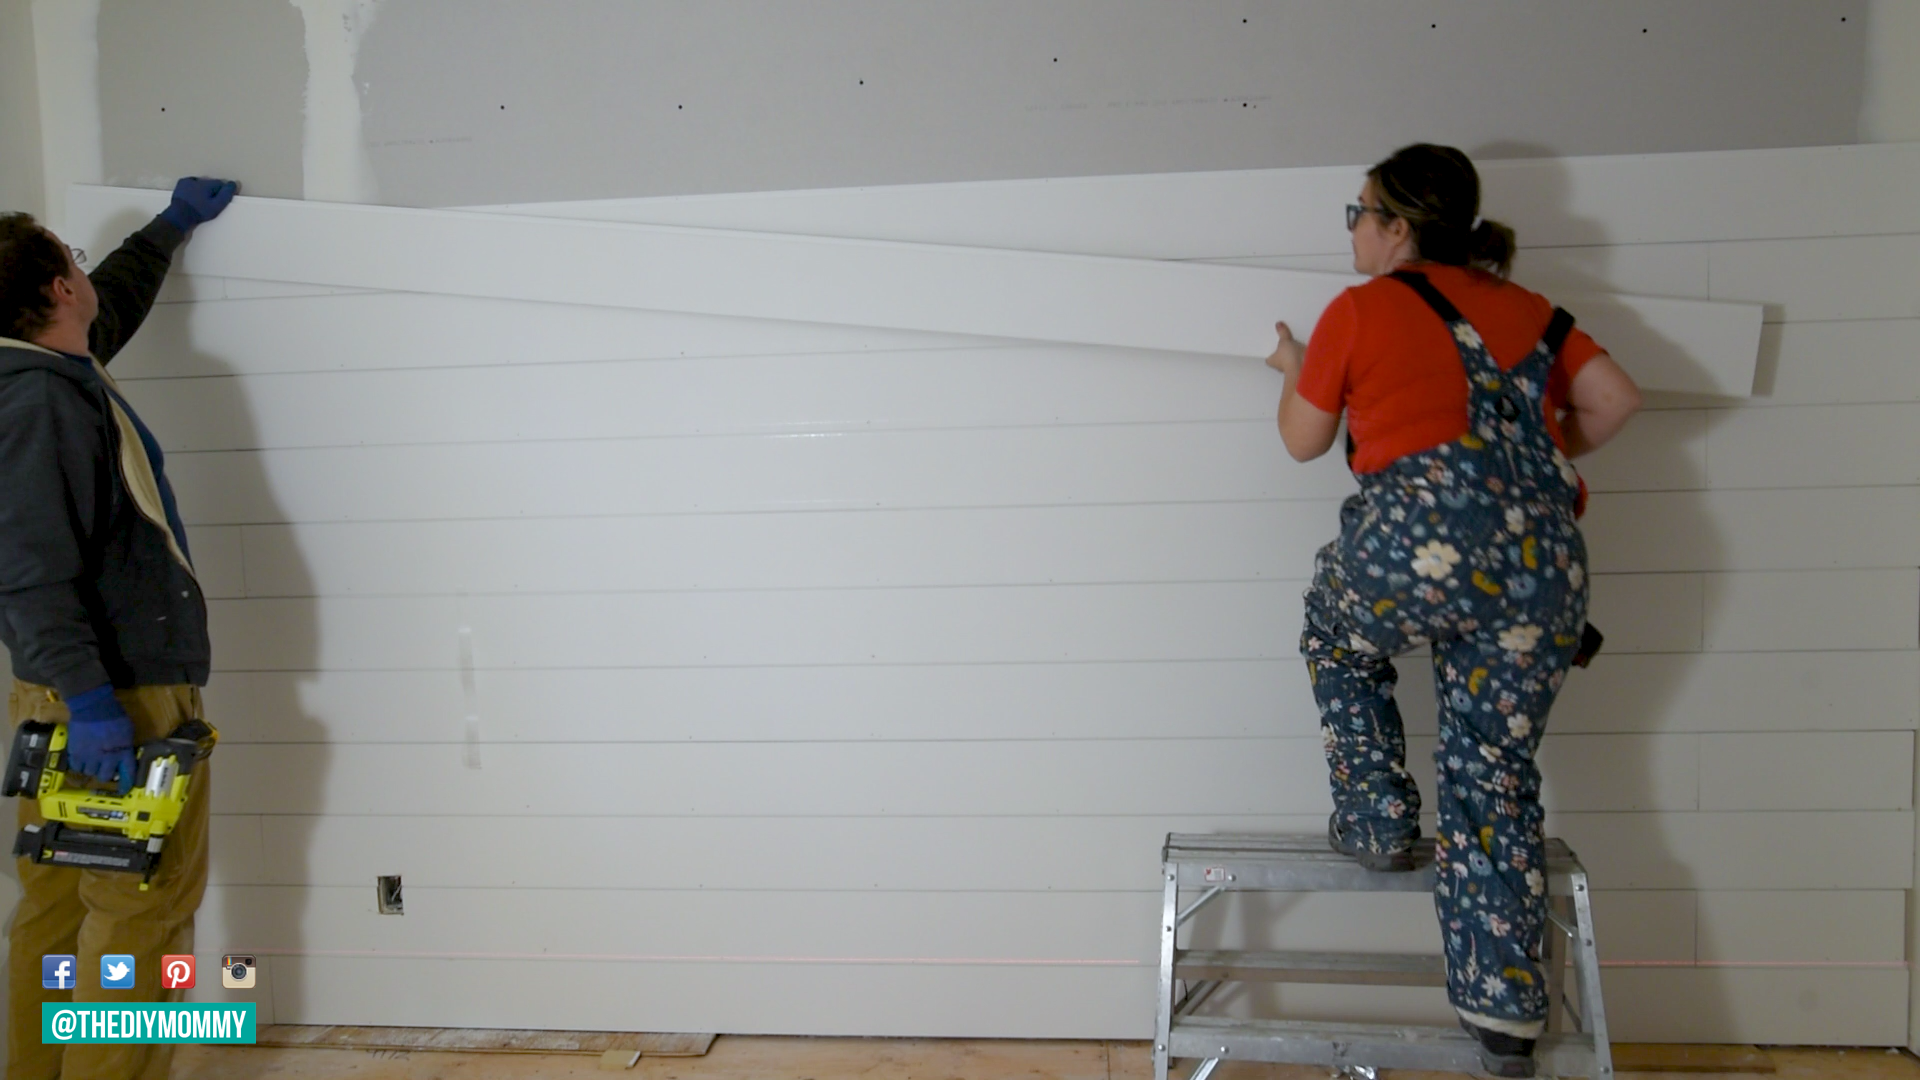
Beginning at the bottom, attach each board securely to the wall with a finishing nail gun and brad nails. Ensure that you’re nailing into the wall studs so that your shiplap is secure. This is really quick when you have two people – both Sean and I installed the shiplap in our lake house bedroom. We each had a nail gun, and it was a lot easier to move the shiplap with a person on either end.
Tip: If you don’t have many/any wall studs to attach your shiplap properly, you can use construction adhesive. Apply a generous amount of adhesive to the back of your shiplap board. Then, place it on the wall and tack it with a finishing nail gun.
If you’re using pre-made MDF shiplap like we are here, you simply have to butt the planks up to one another and the perfect gap will automatically be created.
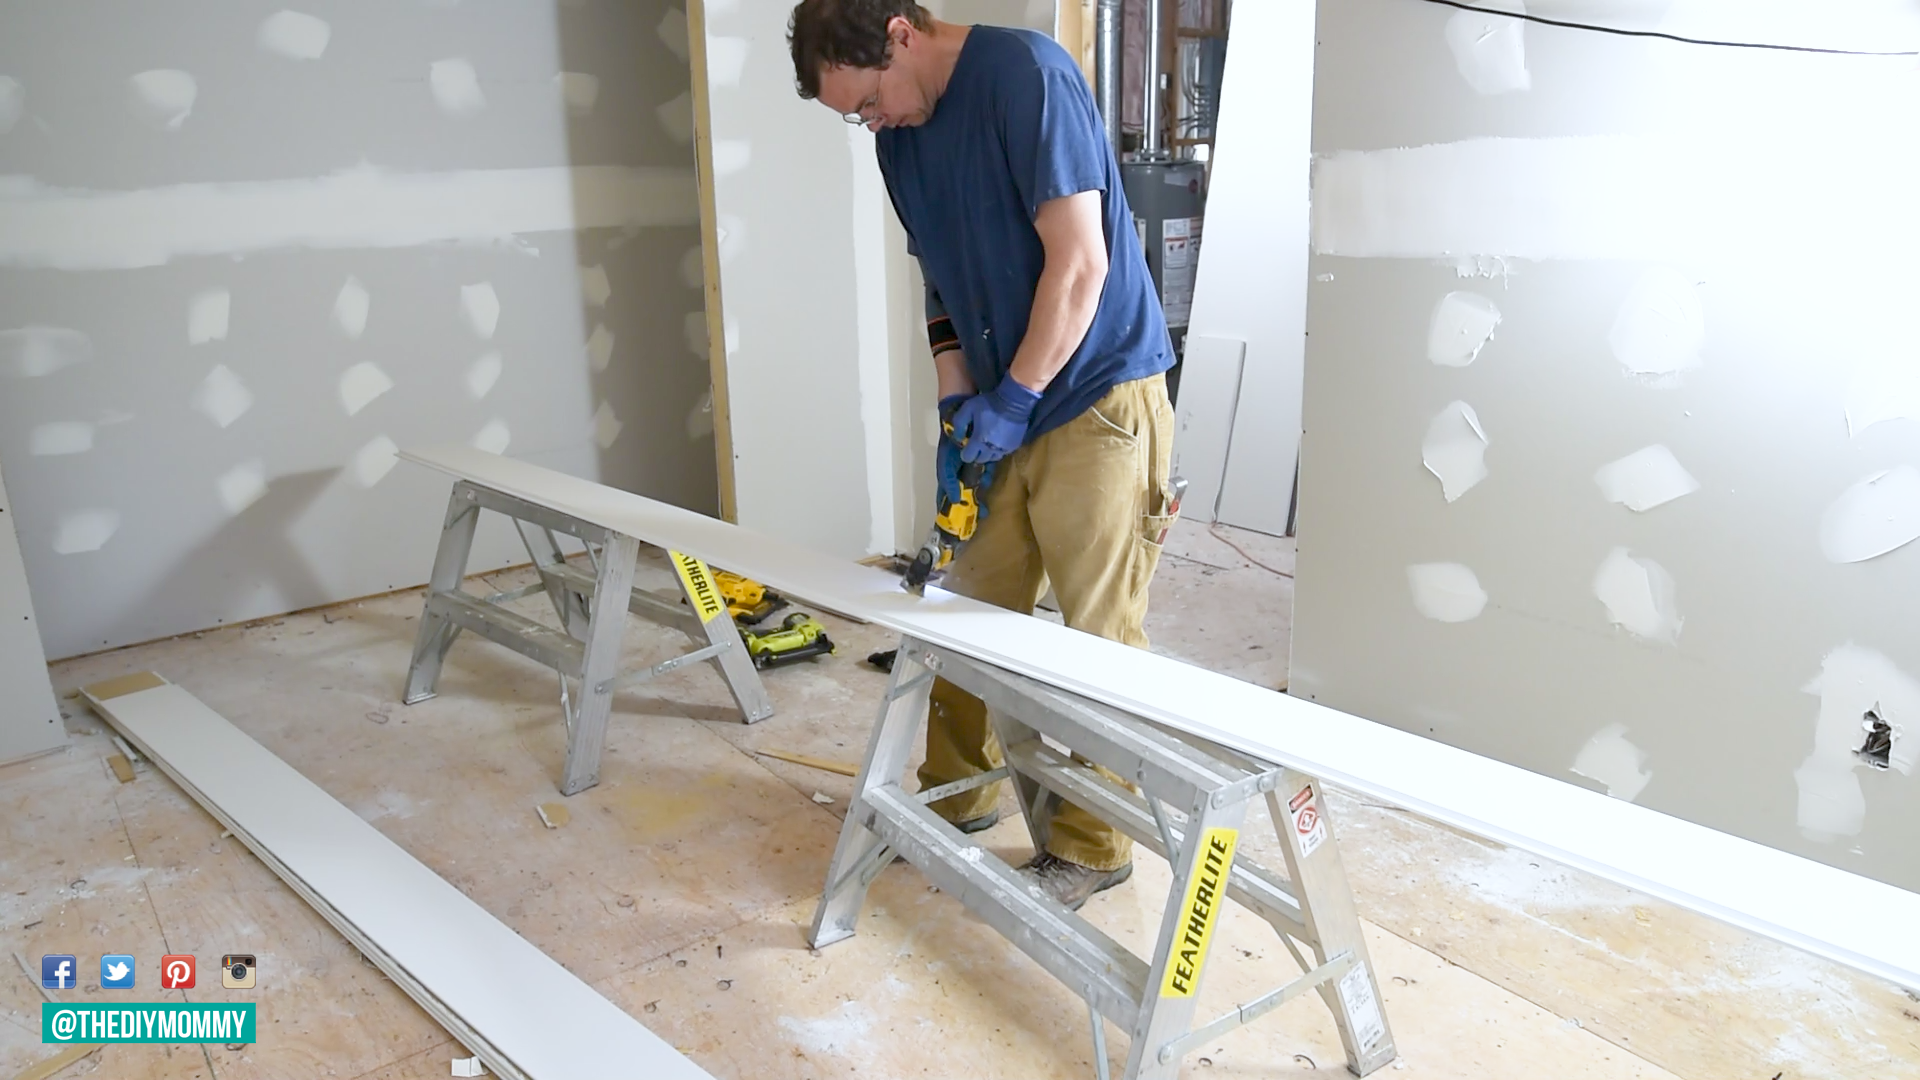
To cut around any electrical outlets, light switches or light fixtures, we found it easiest to use an oscillating multi tool. Measure where you need to make the cut, place the shiplap board on a steady surface, and notch out the area with the tool.
Filling holes & finishing
Once your shiplap wall is up, adding some finishing details will make it look high-end. First, it’s important to fill in any nail holes with some wood filler or caulk. You may also want to use wood filler to fill any horizontal joins – where one board meets another.
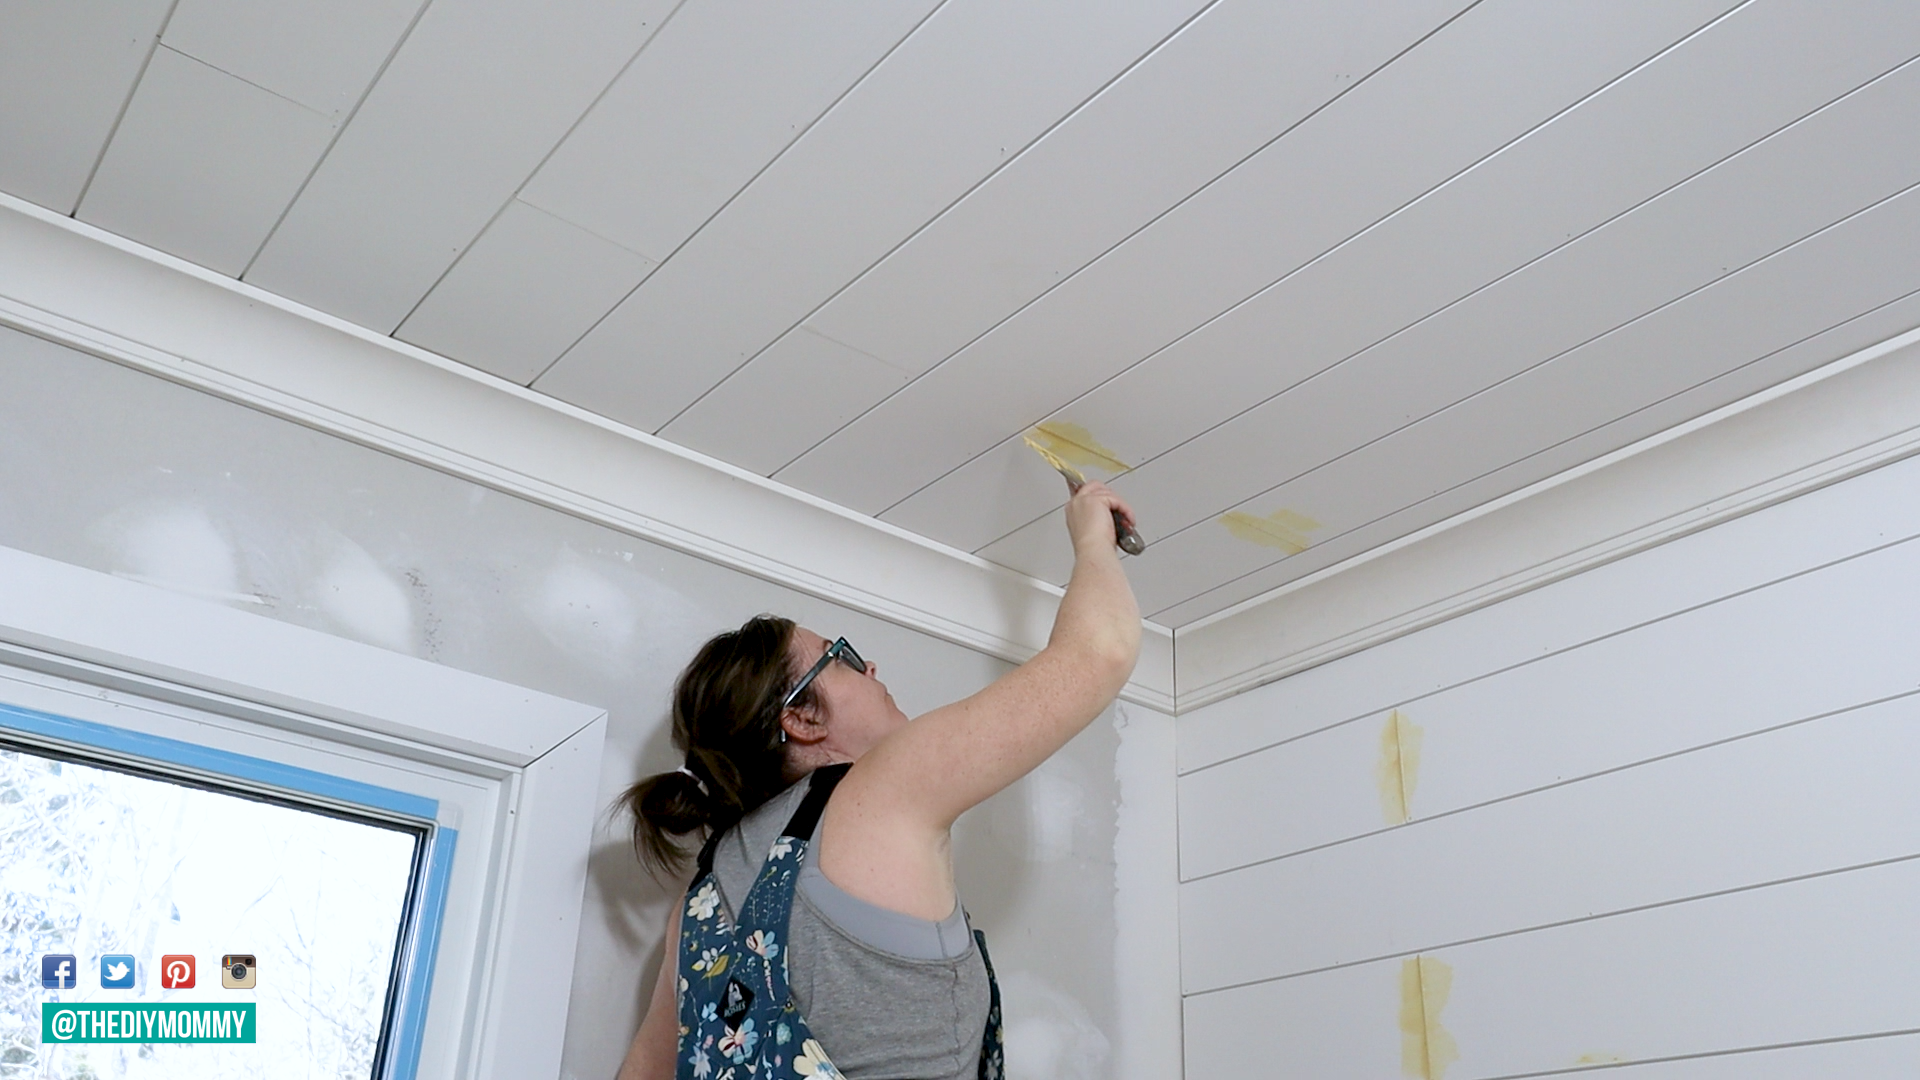
Use a putty knife to apply wood filler generously into the spaces where the boards join. We did this on the ceilings and walls at our Little Lake House. However, we decided to leave the joins visible at our Tiny Lake House for a more rustic look. Once the wood filler is dry, sand it with 100 grit sandpaper for a smooth finish.
Painting & adding trimwork
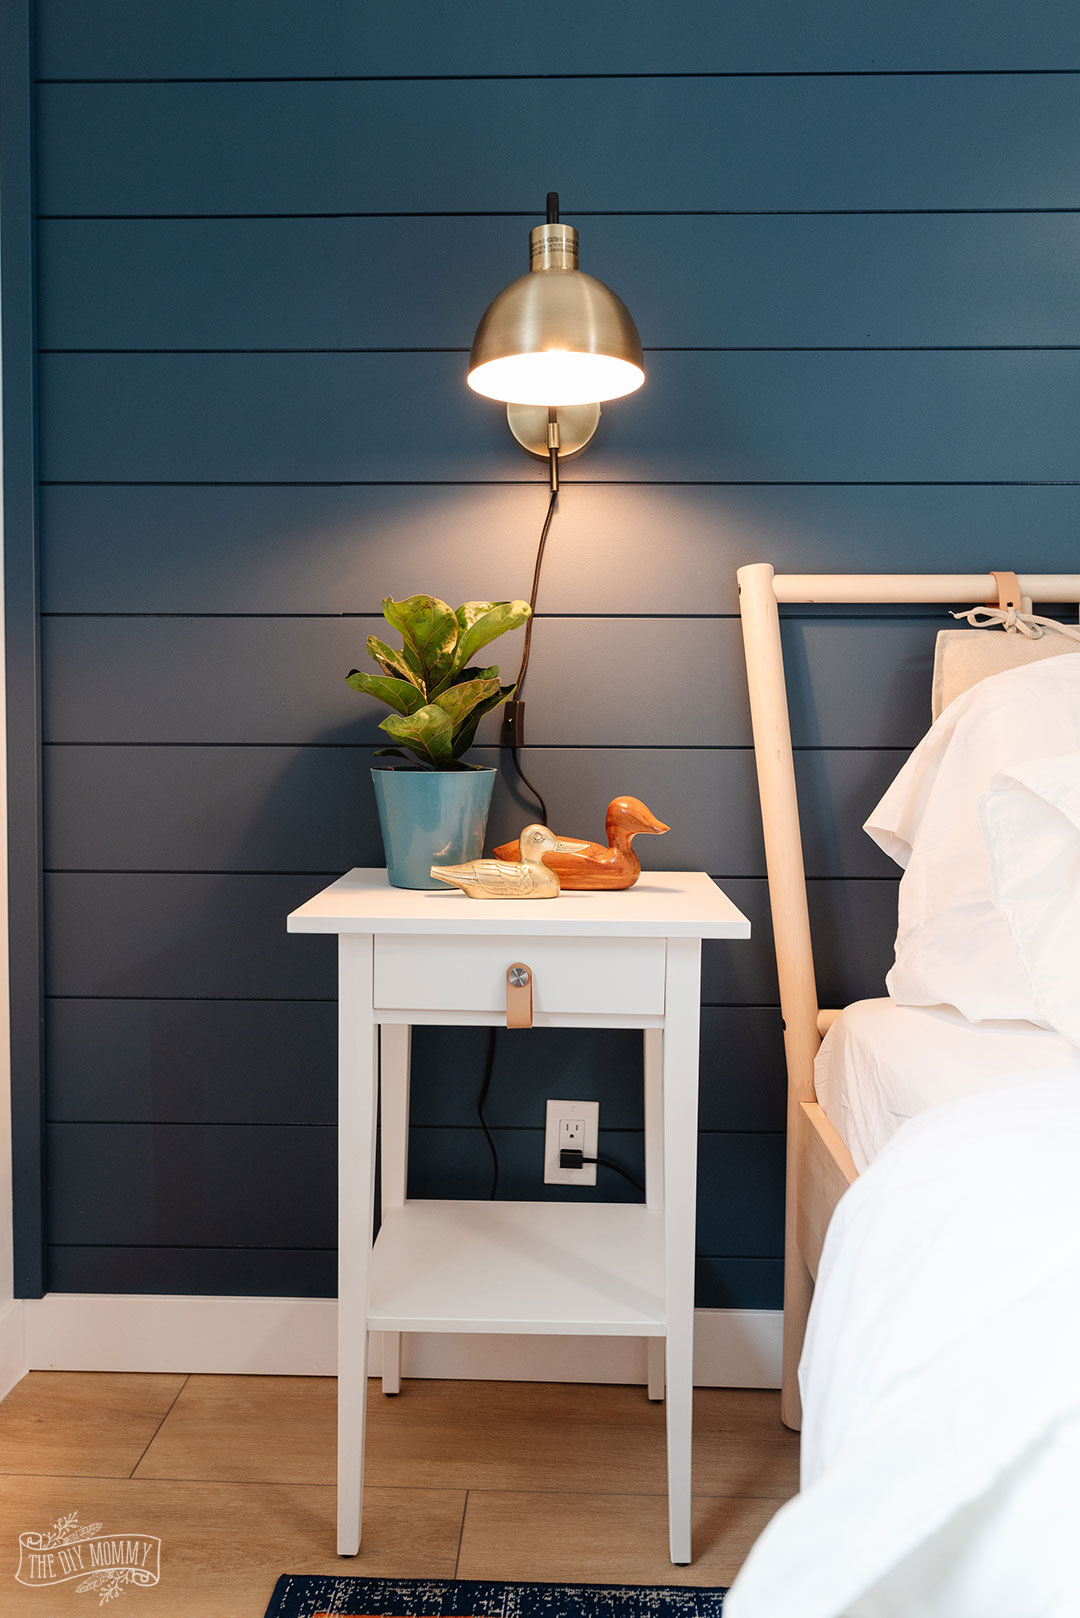
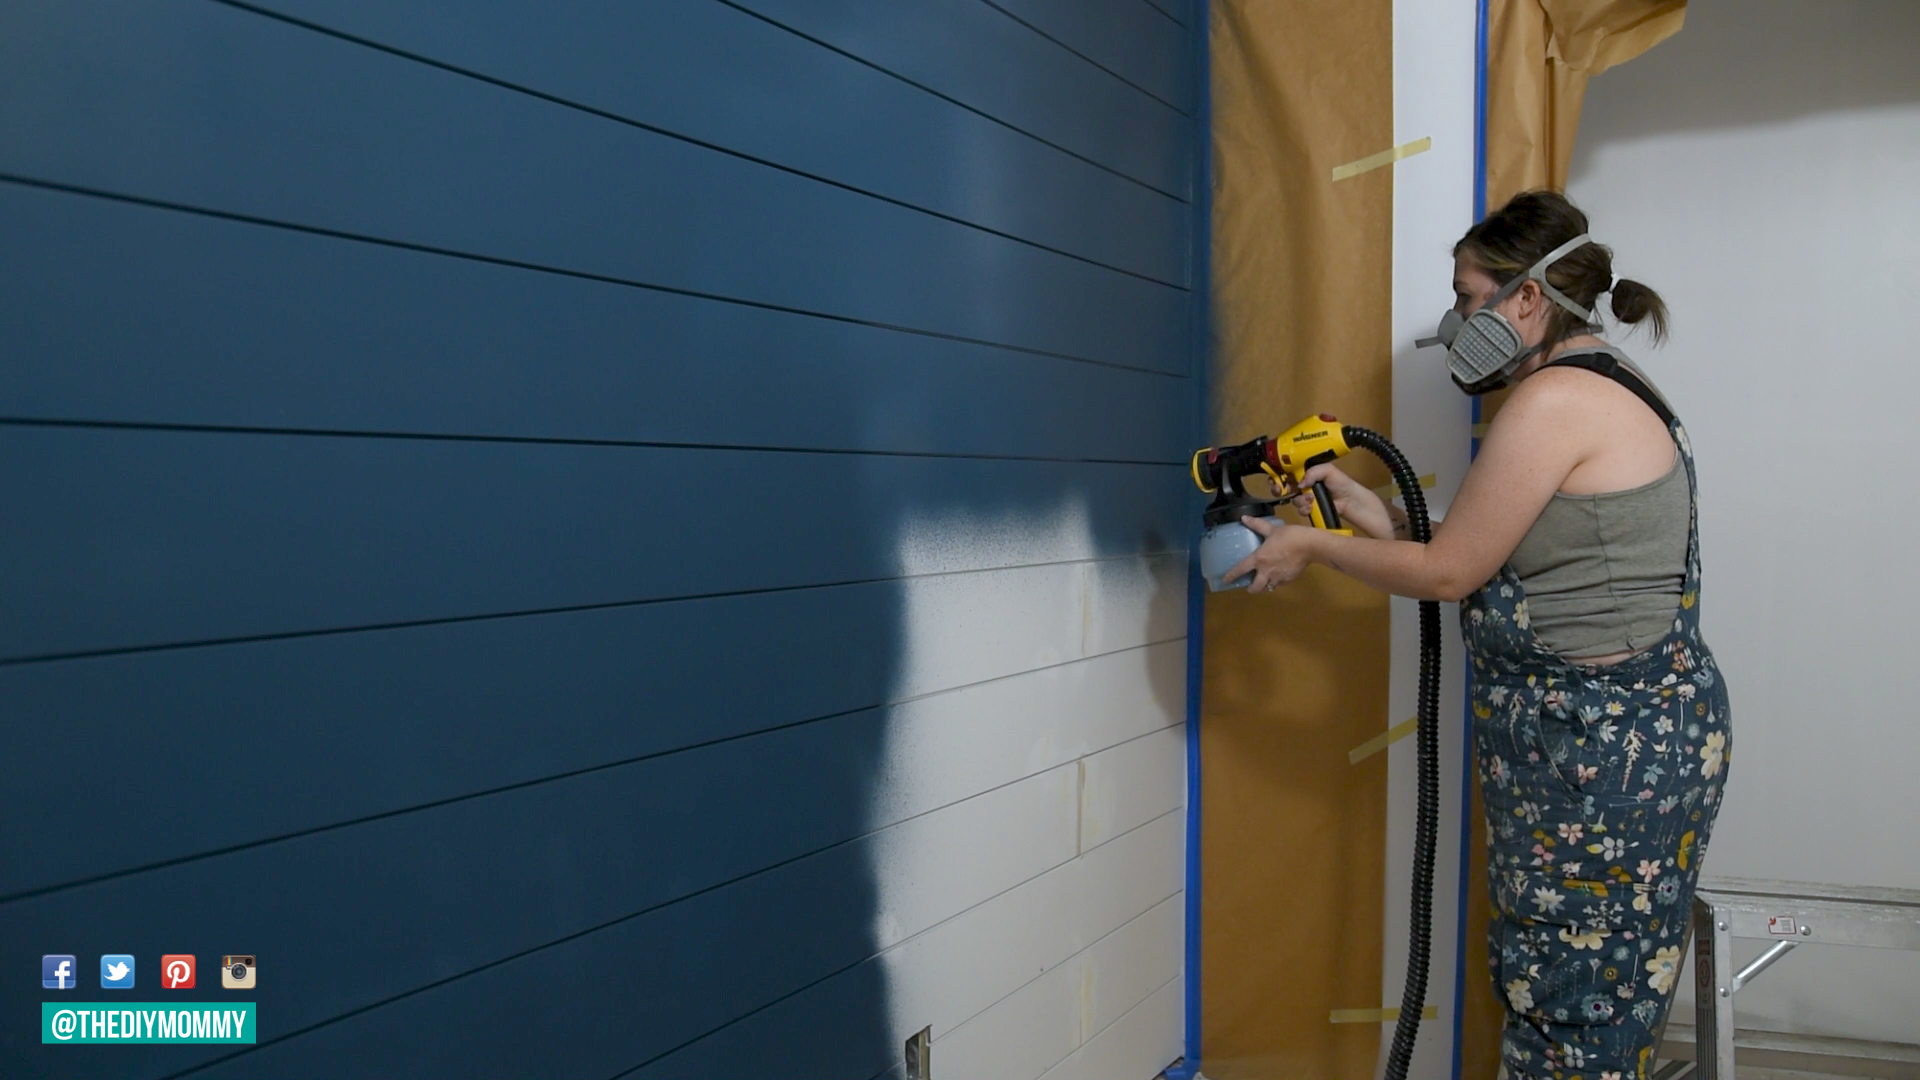
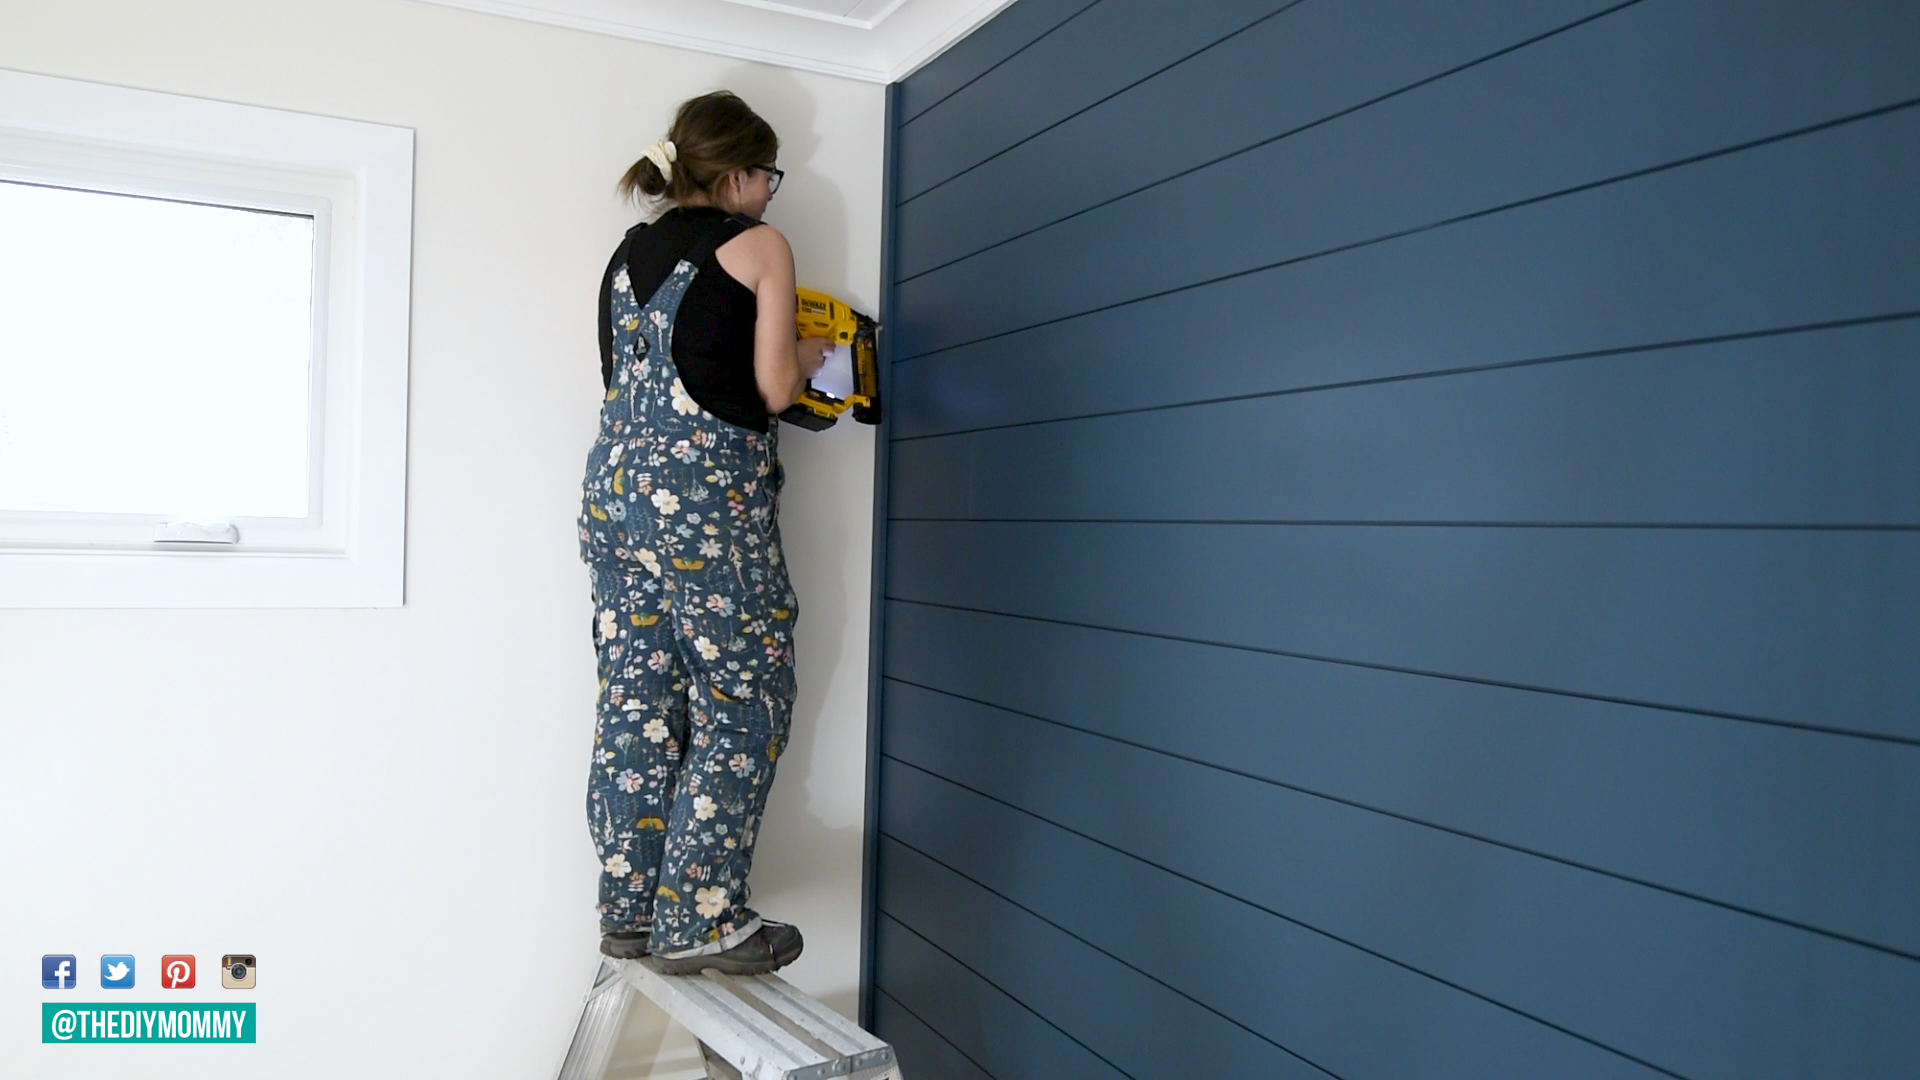
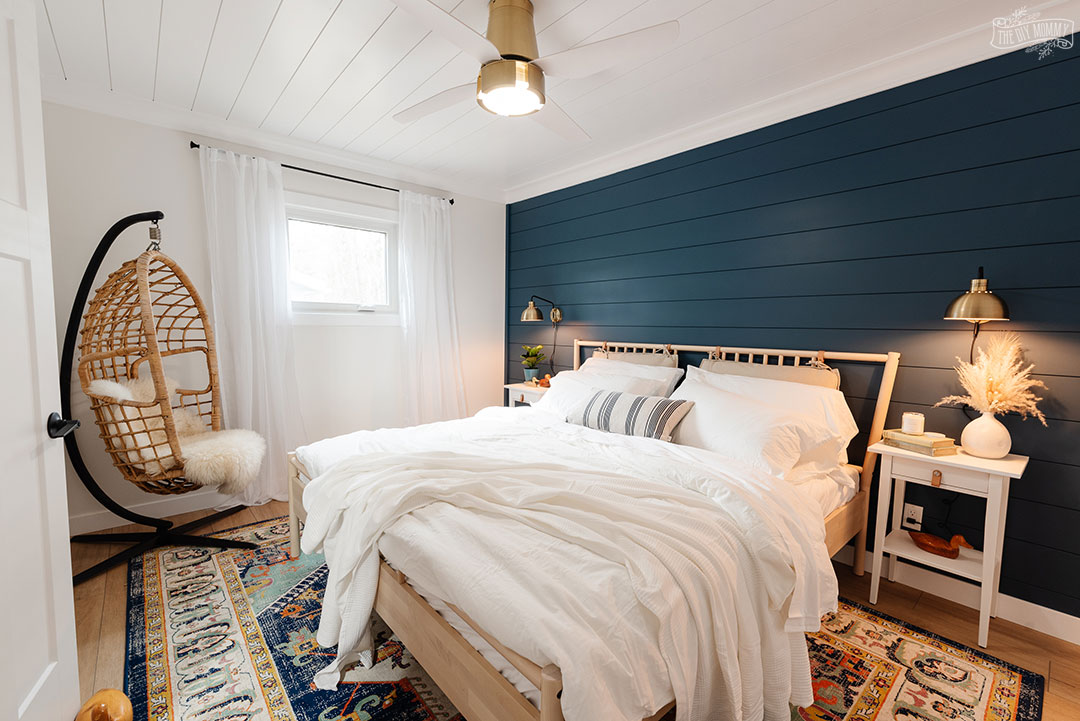
Now it’s time for paint. I love a classic white shiplap wall for a timeless farmhouse look, or painting the wall a bold colour is a fun choice too! Here in our Lake House primary bedroom, I chose to paint the wall a deep warm blue called Observatory by Behr. I highly recommend using a paint sprayer to paint shiplap so it’s easy to paint all the grooves. If you don’t have a sprayer, use a small brush to paint the grooves, and then a regular roller to paint the rest.
Next, you can add some crown molding to the top of your wall, or you can caulk the seam where the wall meets the ceiling. (In our bedroom here, we added the crown before painting, but I wish I would’ve added it after!) Then, you can install the baseboard at the bottom with a brad nailer.
Finally, you may want to consider adding quarter round trim to either side of your feature wall like I did. Alternatively, caulk the seam where the shiplap wall meets your other walls.
So what do you think? Would you ever try installing a shiplap wall? Let me know in the comments! And perhaps more importantly, make sure you share photos of your finished project on social media so everyone can see your space! Tag me @thediymommy!
Sources:
PIN ME: