How to Paint Kitchen Cabinets professionally so they actually last
This post may contain affiliate links · This blog generates income via ads
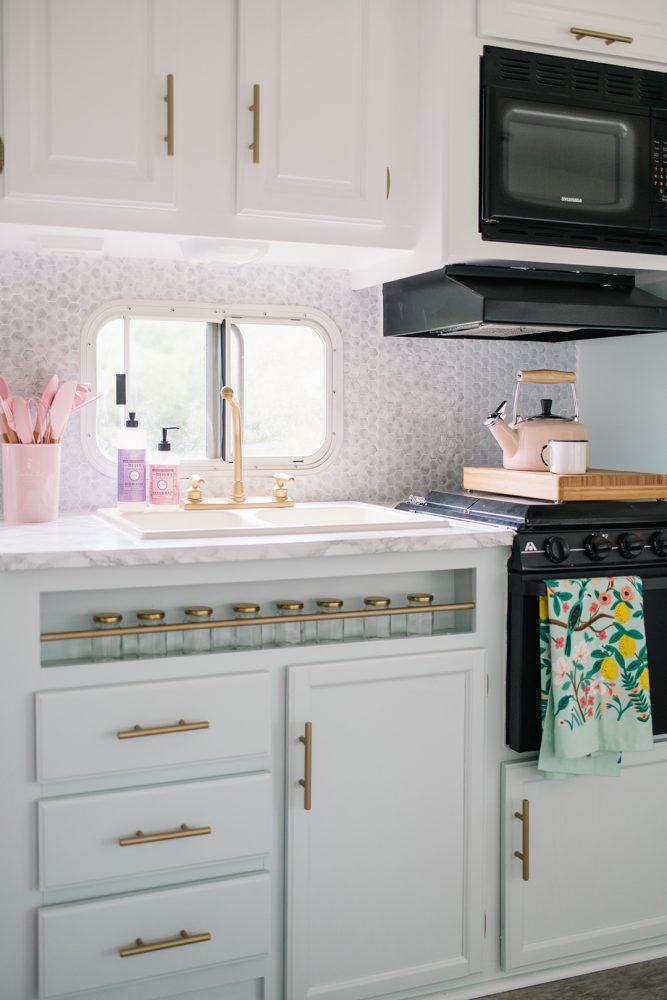
Painting kitchen cabinets can boost a kitchen’s value and help to update its look. Learn how to use the right techniques to create a kitchen that lasts. In this blog post, I’ll show you how to paint kitchen cabinets professionally so they look great and don’t chip or peel.
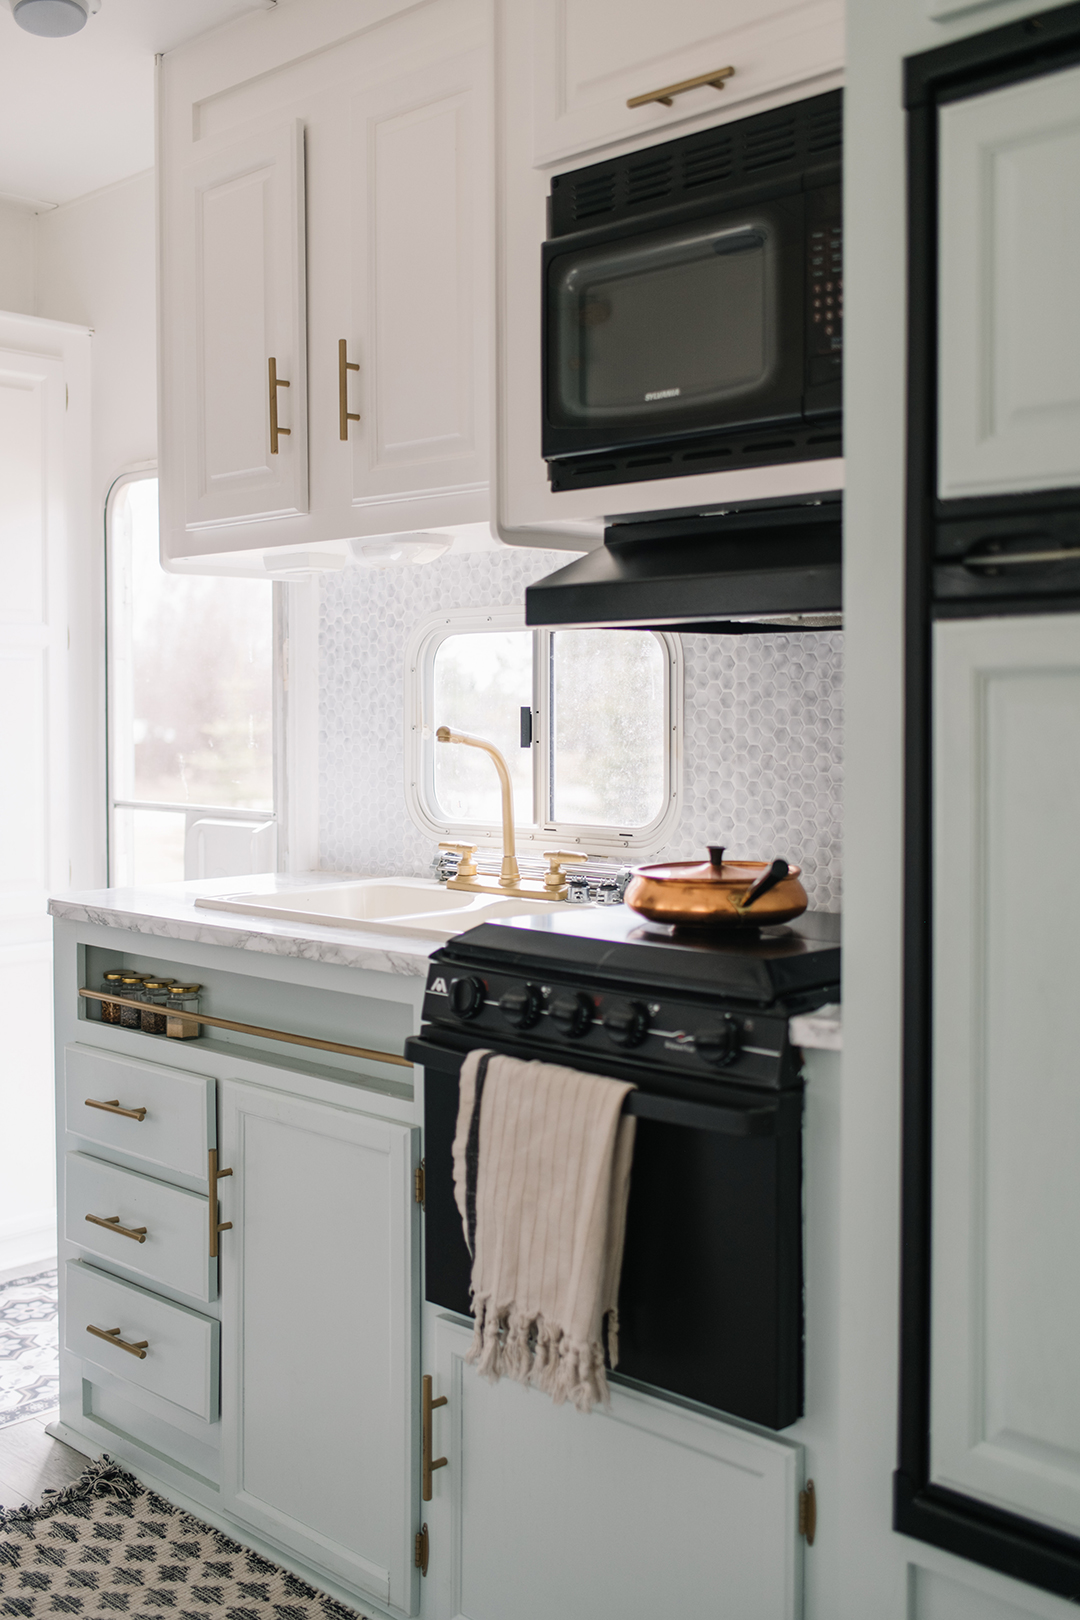
Over the years, I’ve painted a LOT of cabinetry! Some I’ve painted correctly, and some I have NOT, so today I want to share with you how to paint kitchen cabinets so they actually last. This is my tried-and-true method that helps prevent chipping and paint peeling. So, whether you’re painting an old RV kitchen or tackling a larger kitchen in your home, I hope you find these tips helpful!
Watch my YouTube video for visual examples on how to paint kitchen cabinets:
Listen to my Dear DIY Mommy podcast episode for an audio version of these painting tips:
Can you paint kitchen cabinets?
You sure can. I’ve painted wooden cabinetry, melamine cabinets, laminate cabinets and MDF pieces with good results. Painting is a fantastic option when brand new cabinets aren’t in the budget.
How much does painting cabinets cost?
The cost will vary dependent on the type of paint you use and what supplies you have on hand. If you don’t have any painting supplies at all, you may have to spend a few hundred dollars to buy all of your trays, rollers, a sander primer and paint. If you have painting supplies, it might only be around a hundred dollars for the paint only.
Can I paint kitchen cabinets without taking them down?
I recommend taking the cabinet doors, hinges, and hardware off of all your kitchen cabinets for the best result. Remove all the drawers too. You can paint the cabinet frames on the wall, and paint the doors and drawer fronts separately.
Tip: label all your doors and drawers before taking them down so you know where they go!
What other prep should I do?
It’s a good idea to tape off and cover your countertops and floor so that you don’t get them splattered with paint or covered in dust. Mask the perimeter of your backsplash with painter’s tape. Move your appliances so that you can access the sides and nooks of the cabinetry. If there are any holes or dents in your cabinets, repair them with some wood filler and a spatula. Let it dry, and sand it well before moving on to the next step.
Do you have to sand cabinets before painting?
If your cabinetry has a glossy finish, I think you definitely should sand them before painting. Paint has a hard time sticking to glossy finishes, so the rougher you can get your cabinets, the better. Even if you’re priming (which you should!), sanding even a little will help create a lasting finish. You can sand with a 100 grit sanding block, an orbital sander, or you can opt for a deglosser or liquid sandpaper like this one if you want to try to skip sanding. Do a test on an inconspicuous spot first! Make sure to wipe your cabinets down with a tack cloth to remove any dust or debris from sanding before priming & painting. Consider also cleaning your cabinets with TSP to remove any oils or grease.
Should I prime before painting?
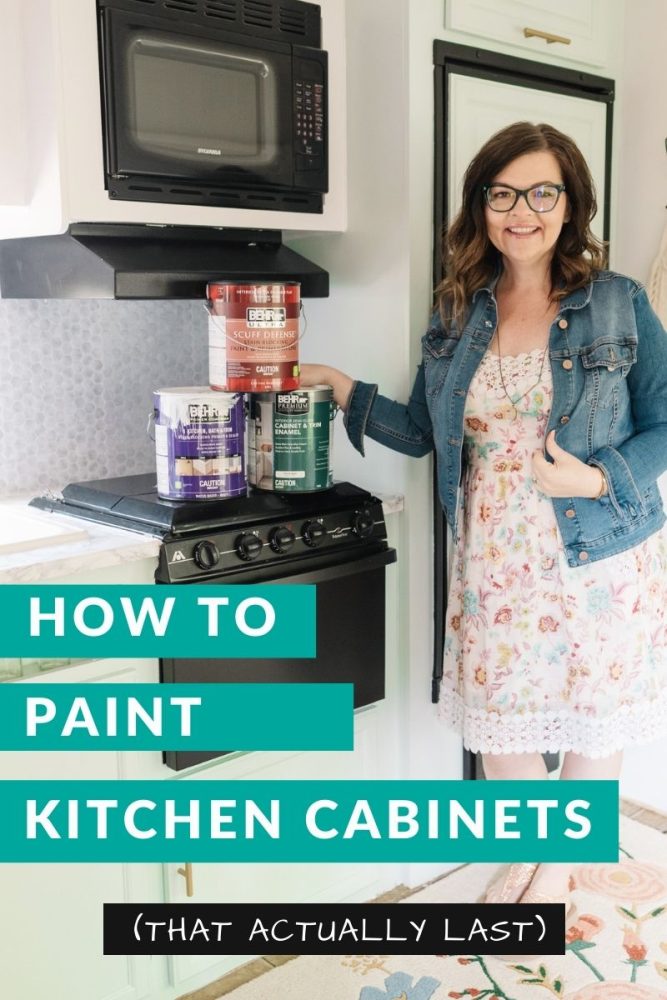
Yes, I definitely recommend using a primer before painting cabinetry. A nice, sticky primer will adhere well to wood, melamine or MDF and it will help prevent your paint from peeling or chipping. I like to use BEHR® Kitchen, Bath & Trim Stain-Blocking Primer & Sealer for cabinetry. Make sure you let your primer dry and cure completely as per the directions on the can.
What’s the best paint to use for kitchen cabinets?
I’ve experimented with lots of paint from chalk style paint to enamel. My favourite paint out of all of them is BEHR PREMIUM® Cabinet & Trim Interior Semi-Gloss Enamel. From experience, this one cures to the hardest, most durable finish out of all the paints I’ve tried. You don’t need any sort of top coat after painting with this enamel, and it looks great. It comes in a semi-gloss and a satin finish. I’ve used plain latex paint for cabinetry in the past, but an enamel paint definitely holds up better over the long run.
The best paint finish that I’ve used on cabinets is a satin finish. It’s durable and wipeable, but not as unforgiving to apply as high gloss paint.

Is it better to brush, roll or spray cabinets?
If you can, I think using a paint sprayer is the best choice for the smoothest finish. This is usually what professionals will use to get the most high-end look with zero brush strokes. I like my Wagner FlexiO 5000. If you don’t want to buy a sprayer, my next favourite tool is a foam roller. A really good quality paint brush can be used for nooks & crannies in your cabinetry.
How do you get a smooth finish on cabinets?
To get the smoothest finish on your kitchen cabinetry, a thorough sanding before painting and using a paint sprayer is your best bet. The next best thing is to use a very fine sanding sponge in between coats of primer and paint to smooth out your rolled or brushed surface for the ultimate smooth look.

Does white paint yellow over time?
I’ve never experienced white paint yellowing after a while, however I’ve seen clear poly top coats yellow. Oil-based (alkyd) white paint can yellow, but most latex or enamel white paints should keep their colour over time. Also be careful of excess moisture, smoke or grease in your kitchen that may cause white paint to yellow.
How I paint kitchen cabinets step-by-step
How to Paint Kitchen Cabinets
Here's how I paint kitchen cabinetry so they actually last with minimal chipping or peeling.
Materials
- paint tray
- foam brush or paint sprayer
- paint brush
- sanding sponge
- primer
- enamel paint
- painter's dropcloth
Instructions
- Remove all of the doors from your kitchen cabinets, and remove any hardware like hinges and knobs.
- Clean all of your cabinetry and doors with a degreasing cleaner like Krud Kutter.
- Sand all of the cabinetry and doors with a battery operated sander or sanding sponge. If the cabinets are matte, it can be a light sanding. If they are glossy, give them a heavy sand.
- Clean the cabinetry and doors again to remove any dust.
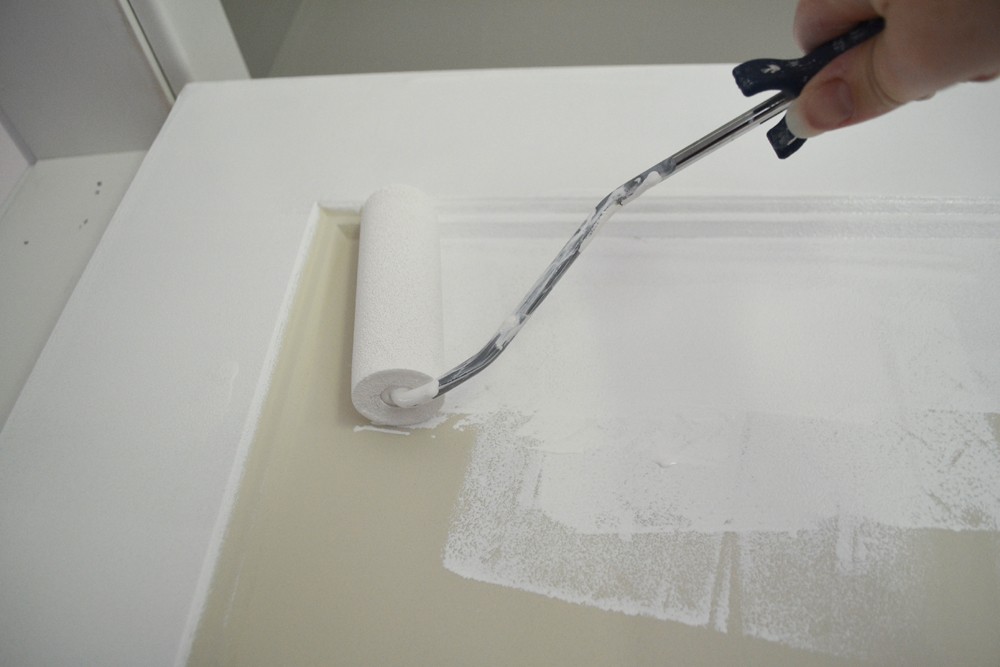
- Prime the cabinet boxes and doors with a high-quality primer like Behr Kitchen & Bath primer. Use a paint sprayer (recommended) or foam brush and paint any details with a small paint brush.
- Wait the recommended amount of time for the primer to dry before flipping any doors or painting another coat. I place my doors on scrap pieces of wood or cans to elevate them as they dry.
- After the primer has completely dried and cured, paint the cabinetry with an enamel like Behr Kitchen & Bath enamel. Use a paint sprayer (recommended) or foam brush and paint any details with a small paint brush.
- Paint more coats of enamel as needed, ensuring you let each coat dry and cure properly before painting the next coat. This is essential!
- Once your cabinets are completely dried and cured, place the hardware back on the doors, and install the doors back on the cabinetry.
- Add plastic bumpers to the bottom corners of the doors to help prevent any paint scratches.
Notes
Noting and following the drying and curing times on your primer and paint cans is essential to DIYing a long lasting paint finish.
This week’s challenge:
This week, I challenge you to paint something. It doesn’t have to be kitchen cabinets, but how about a small piece of furniture or a thrifted accessory? Play with sanding the piece, priming it and using different brushes and rollers to practice your painting technique. Let me know what you’re going to paint in the comments below!
Happy DIYing!
PIN ME:
We bought a Wagner paint sprayer to use in painting our cabinets. But, we keep getting little ‘globs’ of paint that spit out of the sprayer. Any suggestions on preventing that?
Thanks for this kind of article, It was very helpful!
Your newly painted kitchen cabinets can last up to 15 years if correctly painted and looked for.
Great info!! How do I paint PAINTED cabinets that were NOT primed or sanded previously and now are begining to chip and wear? The previous owners of our home painted over their kitchen cabinets. While orignal was not a glossy finish, they were treated and definately needed some sort of priming. How do I remedy this? I’d like to repaint them but don’t want to paint a bad job over a bad job. Thank you for any guidance.
Give the the cabinets a good sanding, and then prime and paint over top. However, it’s hard to say how much sanding or even stripping would be required without seeing the cabinets.
What color paint is on the bedroom cabinets? Looks like a deep green…I love it!!
Thanks
That’s Black Evergreen by Behr.