How to Set Up a Cricut for the First Time (Step by Step!)
This post may contain affiliate links · This blog generates income via ads
Have you recently purchased a Cricut? Learn how to set up a Cricut for the first time step by step, plus get an easy beginner project idea to get started with the machine!

I’m obsessed with all things Cricut, and I use the machine a lot while I craft to create unique home decor items and gifts.
What’s a Cricut, you ask?
Click here to learn more about this craft cutting machine with endless DIY possibilities! I use mine to cut vinyl labels for organizing my home, to create DIY wooden signs, to make personalized gifts for family and friends, and to create unique home decor.
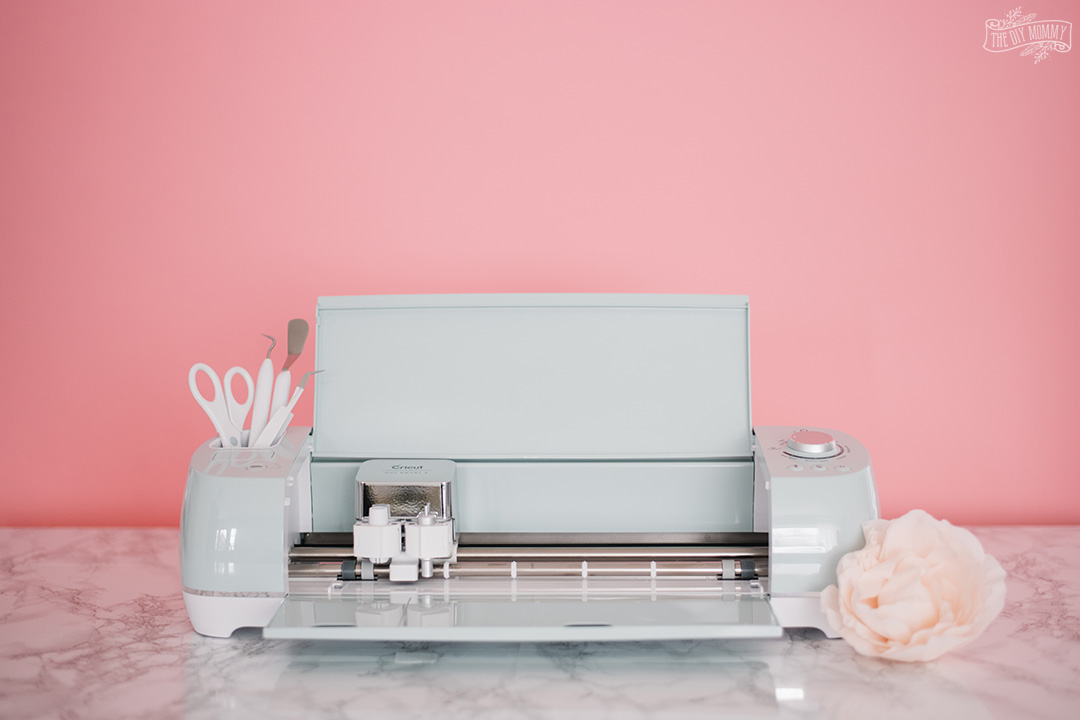
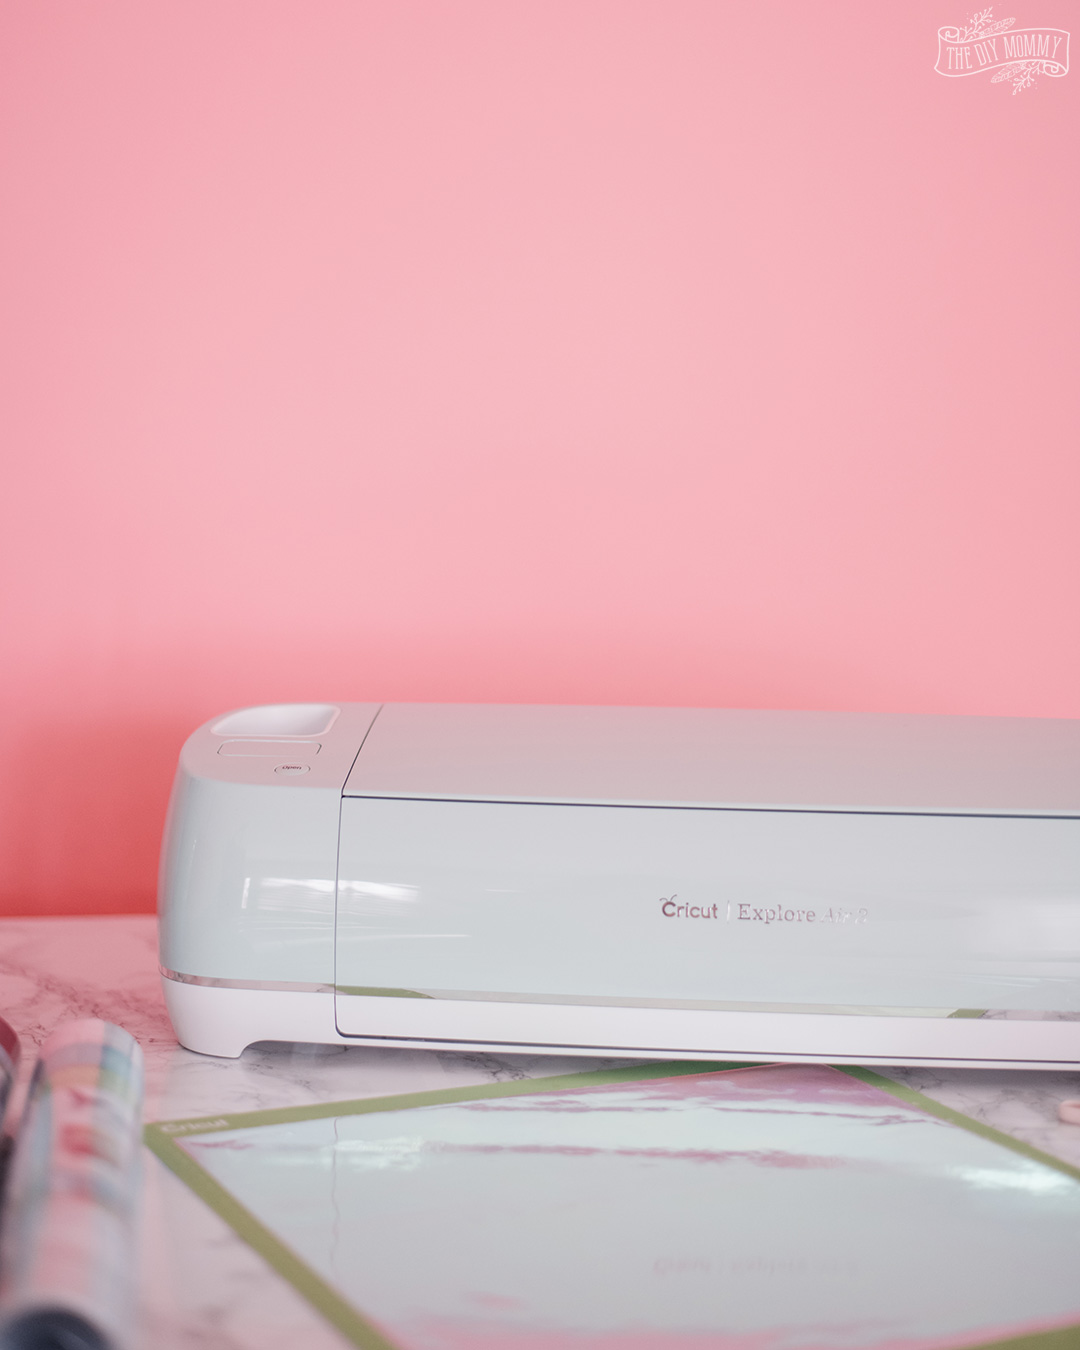
In today’s post & video, I’m unboxing a Cricut Explore Air 2 and showing you how to set it up for first time use. In the video, there are also 3 projects you can make that are perfect for beginner Cricut users!
Here is the exact Cricut Explore Air 2 that I’m using today.
How easy is it to set up a Cricut?
Setting up a Cricut is quite straight forward, and the setup for an Explore Air 2 is very similar to that of the Cricut Explore Air 3, the Maker or the Cricut Joy.
To begin with Cricut, you will need:
- your Cricut and everything in the box it comes in
- an internet connection
- a desktop computer, laptop computer, tablet or smart phone
Do you need a computer to set up a Cricut?
You can use a smart phone or tablet instead of a computer to set up a Cricut, but there are some features in the desktop version of Cricut’s software that aren’t available on a mobile device.
Do you have to pay per month to use a Cricut?
As of the time of the writing of this post, NO you don’t have to pay a monthly fee to use a Cricut. Design Space is Cricut’s free software, and there are some free images you can use in Design Space plus you can upload your own. You CAN pay a monthly fee for Cricut Access which is Cricut’s subscription service that offers you thousands of images and designs you can use in Design Space.
Video Tutorial on How to Set Up a Cricut
Disclosure: The embedded YouTube video was sponsored by Cricut.
Here’s how to set up a Cricut for the first time
Plugging in the machine
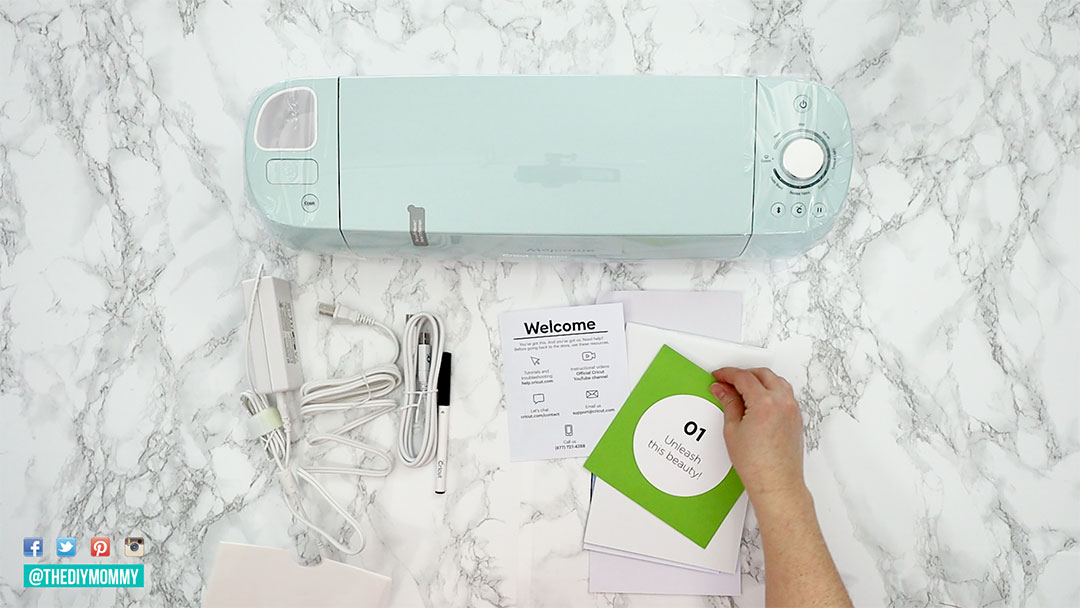
Inside the Cricut box you’re going to find the machine, a mat, some cords, a pen and more. In a packet there is a simple guide on how to get started.
Open up the guide and you’ll see the first page tells you to plug your machine in, so go ahead and plug it into an electrical outlet using the little input at the back. Make sure there’s a lot of space in the front and the back of your Cricut.
Installing the Cricut Design Space software or app
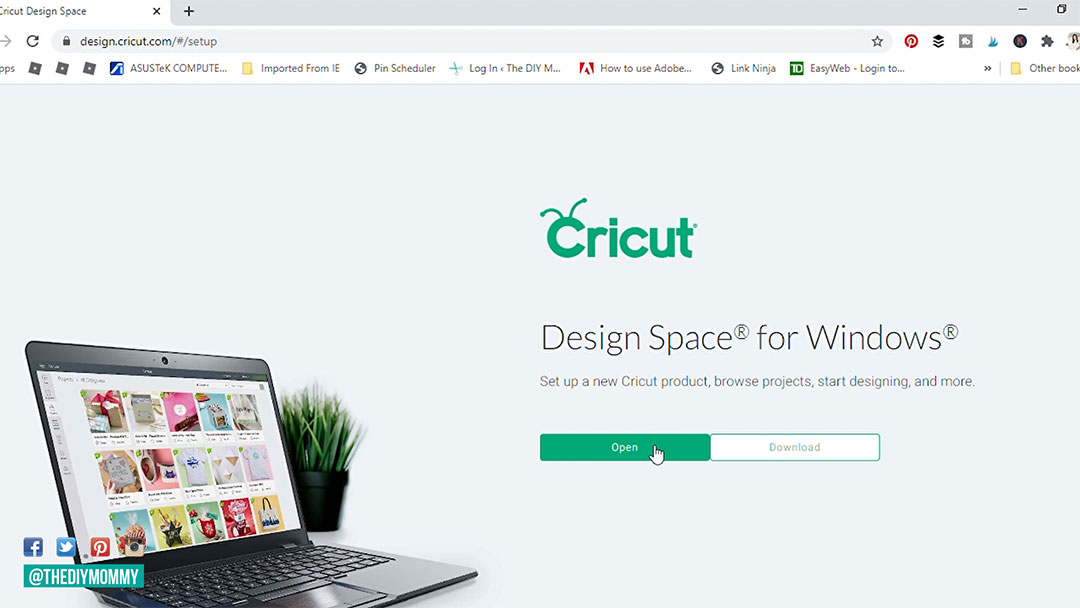
The next page tells you to go to Cricut.com/setup. Note: you can download Cricut’s mobile app (Cricut Design Space) and you can set up your machine from there. I use the mobile app a lot when I want to create something really quickly on the go. Once you’re at Cricut.com/setup you’ll be prompted to download a program called Cricut Design Space. Once you have that program downloaded and installed on your computer simply follow the prompts to set up your new machine.
Connecting the Cricut to your computer or mobile device
You can connect your machine to your computer using the included cord in the box or you can connect it via Bluetooth. Connecting it by Bluetooth is really going to depend on your type of computer; here’s a Cricut article on how to do it. Then, you can set up a Cricut ID account using your email address and register your machine. Once your machine is registered it’s all ready to go. Cricut Design Space provides a few test cut images but I’m going to show you an easy project to start with.

How to Set Up a Cricut for the First Time (Printable Instructions)
Learn how to set up a Cricut for the first time step by step, plus get an easy beginner project idea to get started with the machine!
Materials
- Cricut Permanent Vinyl
- Cricut Transfer Tape
- Cricut mat
Tools
- Cricut cutting machine
- an internet connection
- a desktop computer, laptop computer, tablet or smart phone
Instructions
- Plug the Cricut into an electrical outlet using the little input at the back. Make sure there's a lot of space in the front and the back of your Cricut.
- Go to Cricut.com/setup and download a program called Cricut Design Space. Once you have that program downloaded and installed on your computer simply follow the prompts to set up your new machine.
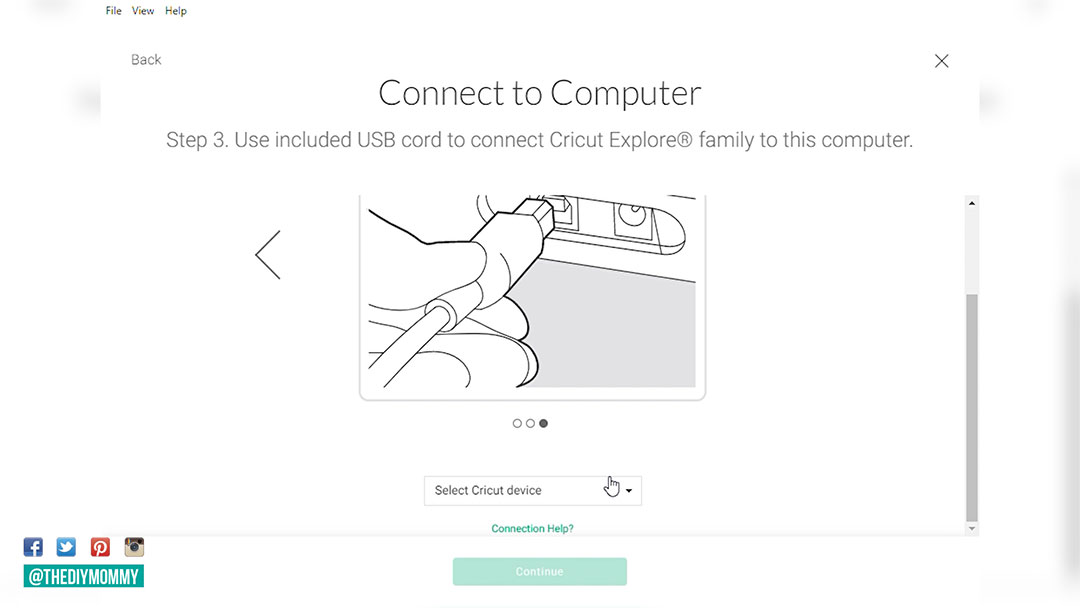
- You can connect your machine to your computer using the included USB cord in the box or you can connect it via Bluetooth. Connecting it by Bluetooth is really going to depend on your type of computer
- Then, you can set up a Cricut ID account using your email address and register your machine. Once your machine is registered it's all ready to go. Cricut Design Space provides a few test cut images, but here’s an easy project to start out with: a vinyl mug decal!
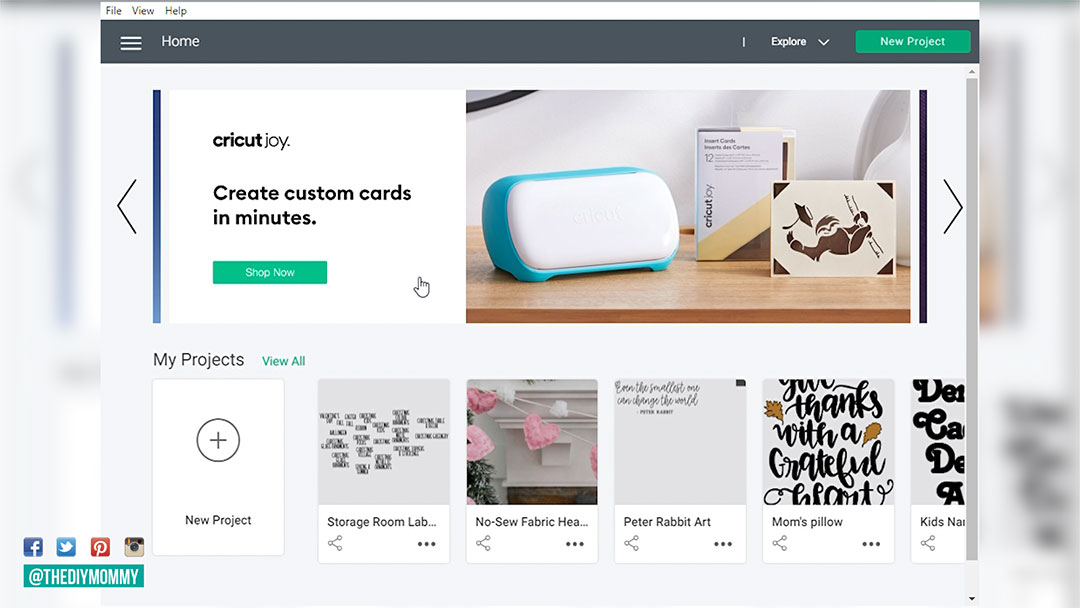
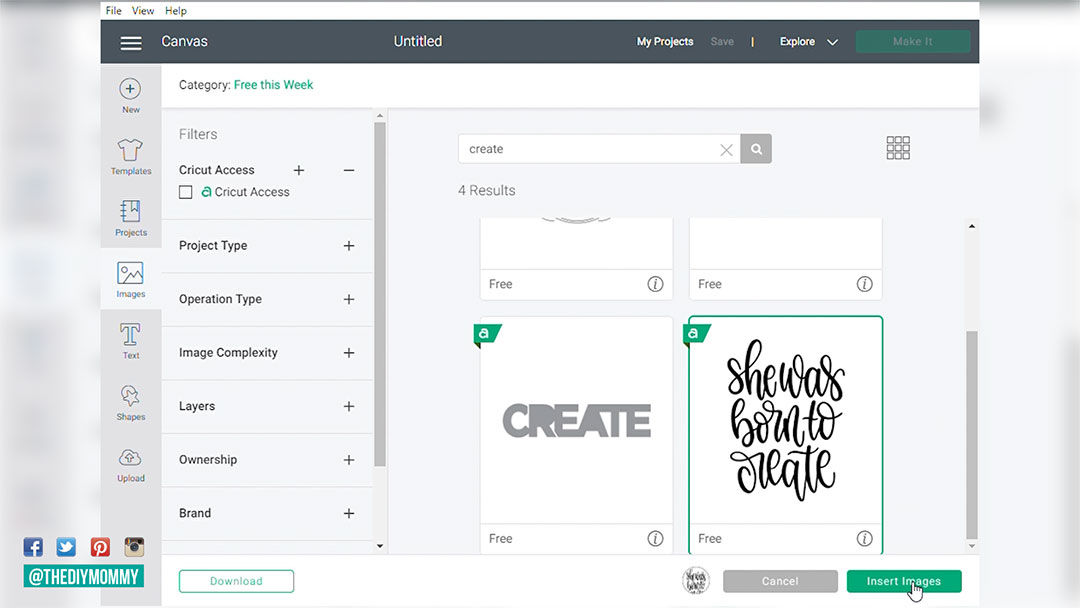
- In Cricut Design Space click "New Project". Then, click on the "Image" icon on the left. I found this free "she was born to create" image - I searched "create" - and I'm inserting it into my new project. Click the left button that says "Templates" and search for a "mug template". This is going to help you make your mug decal the right size.
- Click on the image, and use the little arrow in the lower right hand side to resize the image. You can also change the width and the height to whatever you'd like using the "Size" menu at the top. Move the image to where you want it on the Mug Template.
- Now, turn your Cricut on. Your Cricut comes with the Fine Point Blade already inserted.
- In Cricut Design Space, click "Make It" and you'll see how the design is going to look cut on your vinyl. Then click "Continue" and you can select your Cricut device in the drop down menu.
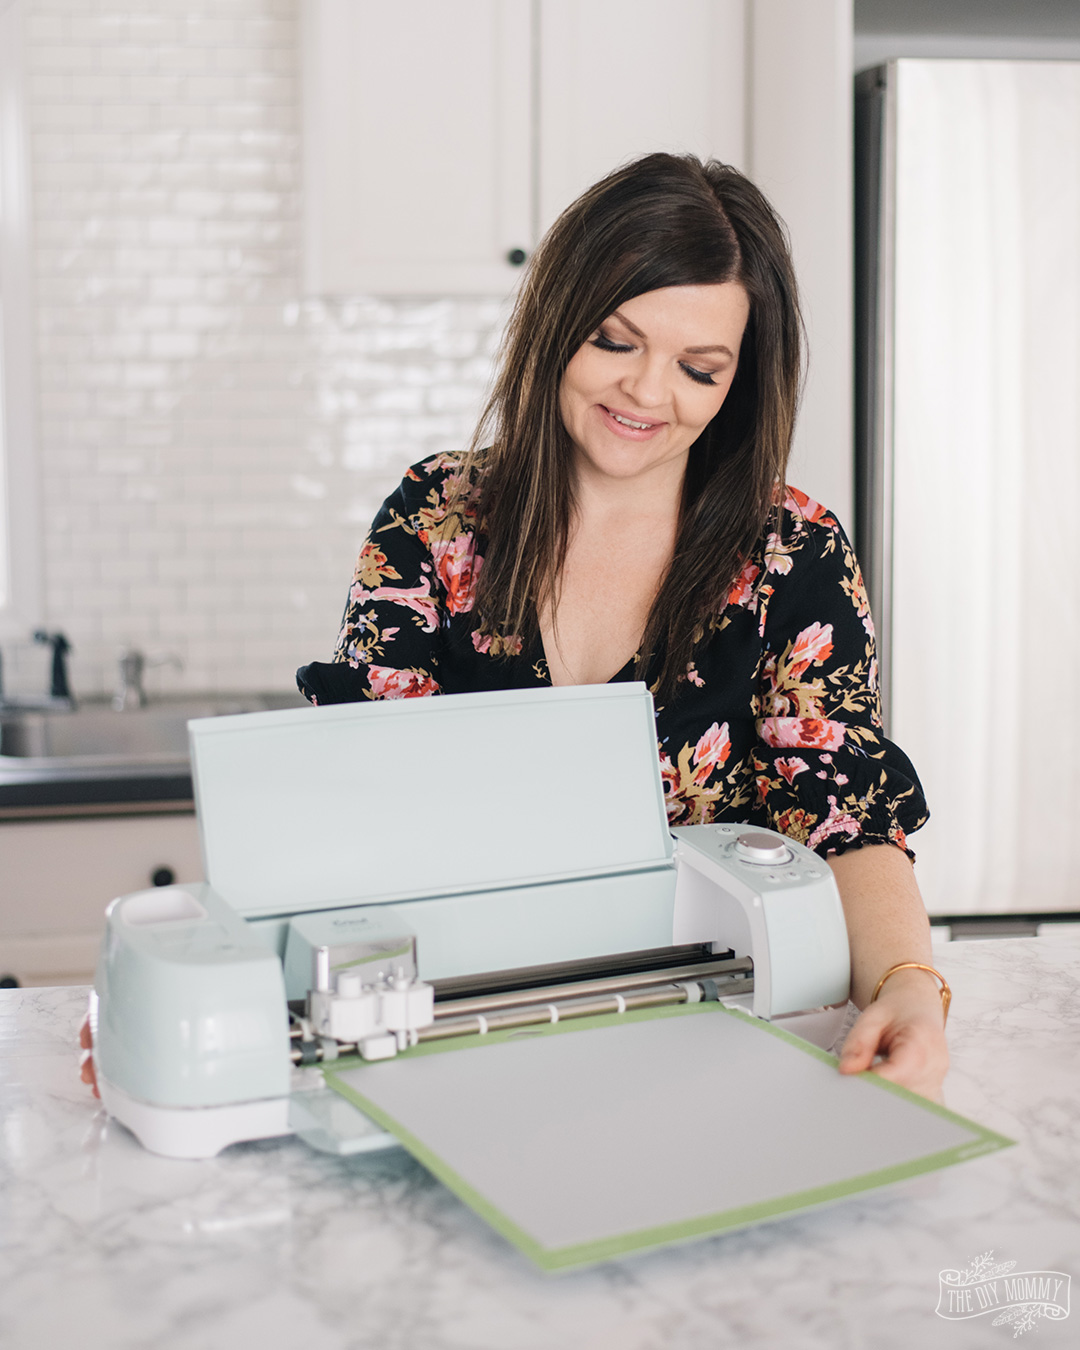
- Now put some Cricut Permanent Vinyl material on the Cricut mat. Remove the protective clear sheet on the mat and then attach your material to the mat.
- Next, turn the dial on the machine to the material type you're using - Cricut Permanent Vinyl. Put your mat inside the machine and click the "Load" button. Once the mat loads, click the Cricut button and it's going to begin cutting your design.
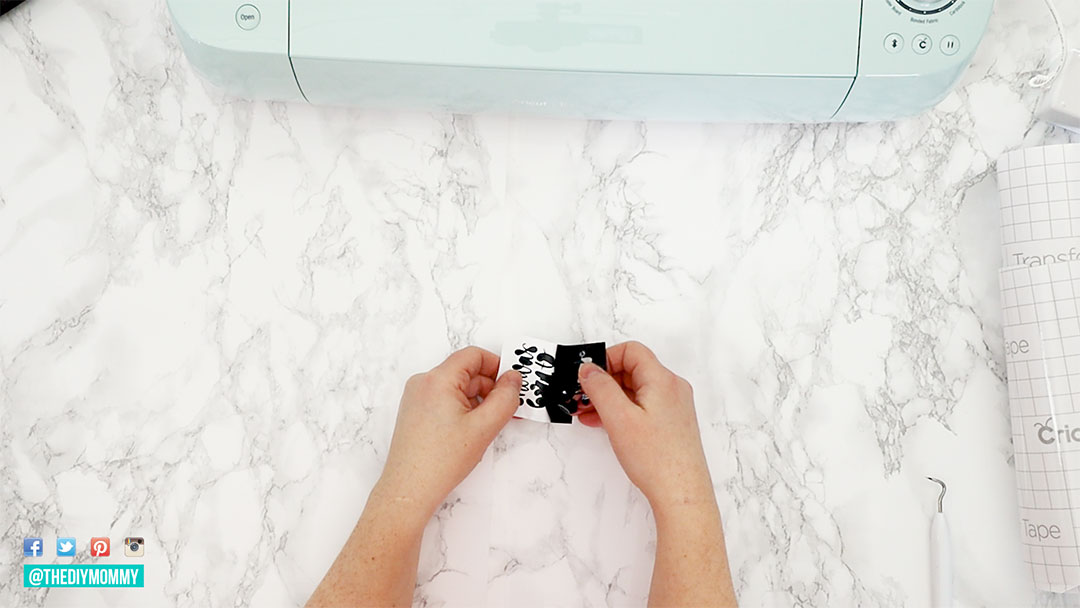
- Once your cut is all finished, press the "Load" button again to unload your design. Now weed the design - that means removing all of the excess vinyl from your design. You can do this with your fingers or you can use Cricut's tools to help you get those little bits and pieces.
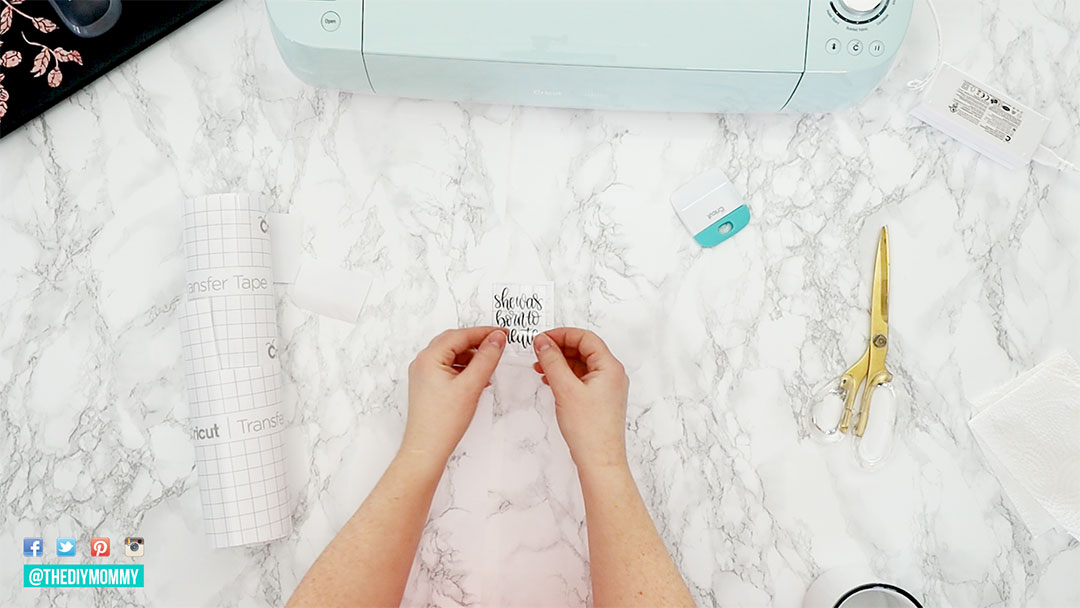
- Once you're all finished weeding your design, use transfer tape to transfer your design perfectly onto your mug. Cut a piece of transfer tape that's the same size as your design and then smooth it onto the design with a Cricut tool. Now take your mug and wipe it with a degreasing cleaner.
- Then, take the decal that you made and remove it from the transfer tape. Place it upside down and remove the backing. Then, carefully place your design on the mug making sure not to touch that sticky back of the vinyl. Smooth it in place
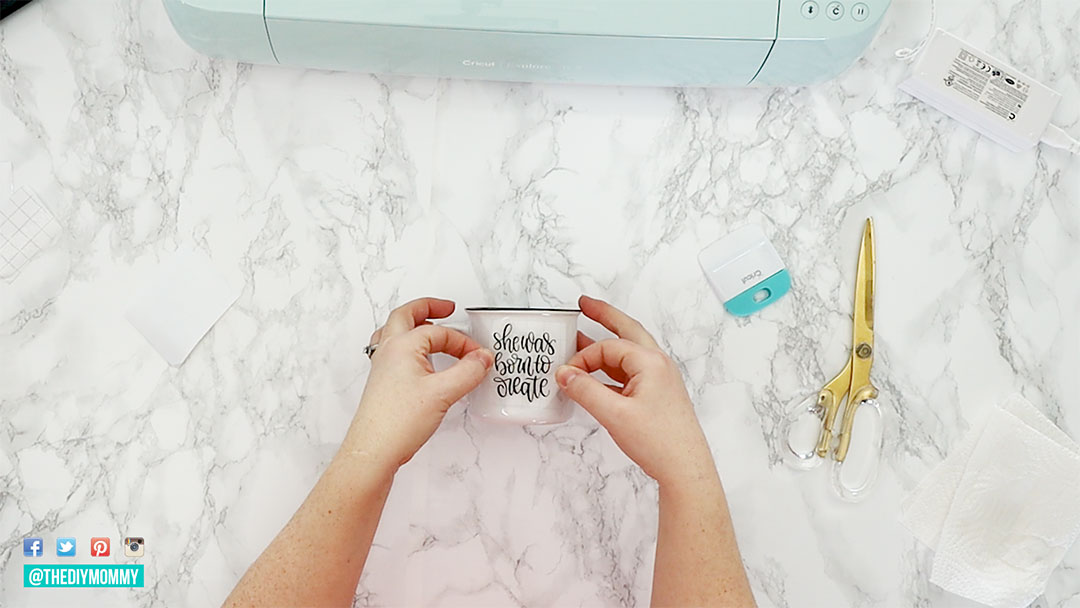
- Finally, remove the transfer tape from the corner and your mug is all finished! These mugs can be hand washed or I've had success washing them in the top rack of my dishwasher as well.
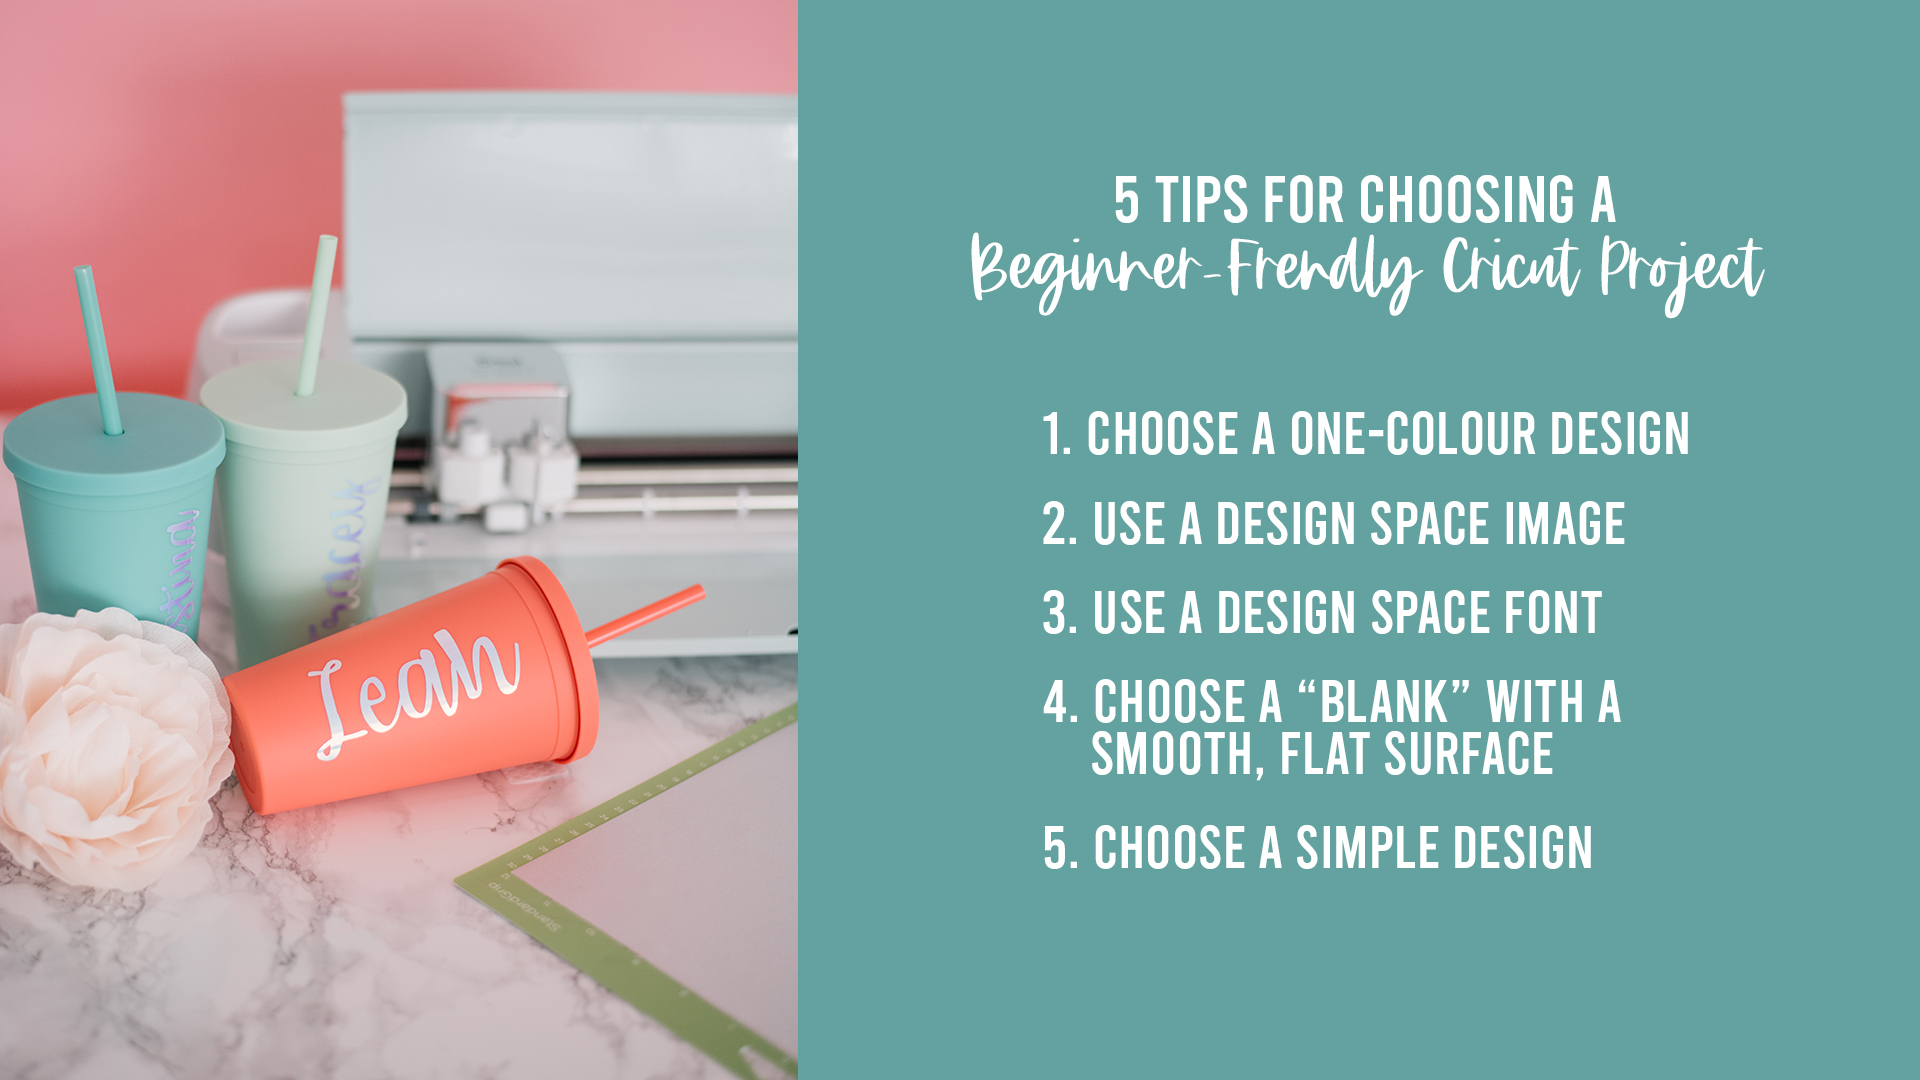
5 tips for choosing a beginner friendly Cricut project
- Choose a one color design – it’s going to be so much easier to make
- Use a Design Space image (but you can upload your own later!)
- Use a Design Space font
- Choose a “blank” (a mug, t-shirt, etc) that has nice smooth straight surfaces
- Choose a simple design

Beginner Mug Cricut Project Tutorial
Let’s make a cute mug as our first project! This is the exact same method I use to make labels as well.
Setting up your design
In Cricut Design Space click on the little button in the top right hand side called “New Project”. Then, click on the “Image” icon on the left. Cricut has thousands of images in Design Space. Some are free and there are some that are a part of a Cricut Access subscription which is a monthly fee. I found this free “she was born to create” image – I searched “create” – and I’m inserting it to my new project. Click the left button that says “Templates” and search for a “mug template”. This is going to help you make your mug decal the right size.
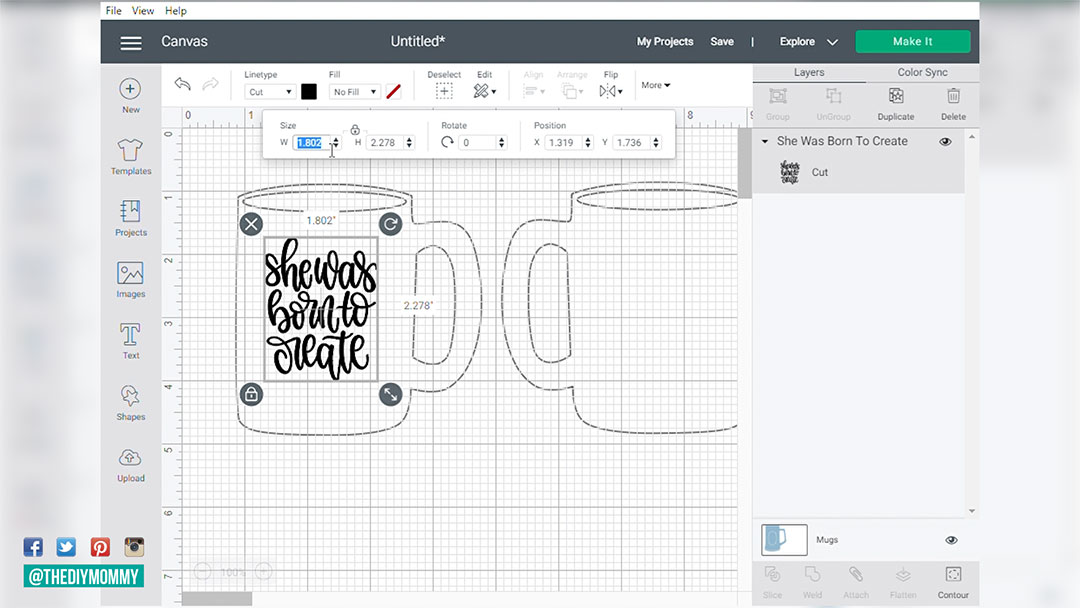
Click on the image, and use the little arrow in the lower right hand side to resize the image. You can also change the width and the height to whatever you’d like using the “Size” menu at the top. Move the image to where you want it on the Mug Template.
You can also click here to open up my Design Space file for this mug project!
Now, turn your Cricut on. Your Cricut comes with the Fine Point Blade already inserted

Cutting your design
For this project use Cricut’s Premium Vinyl. This is their permanent vinyl and it’s the one that I recommend using for mugs or labels.
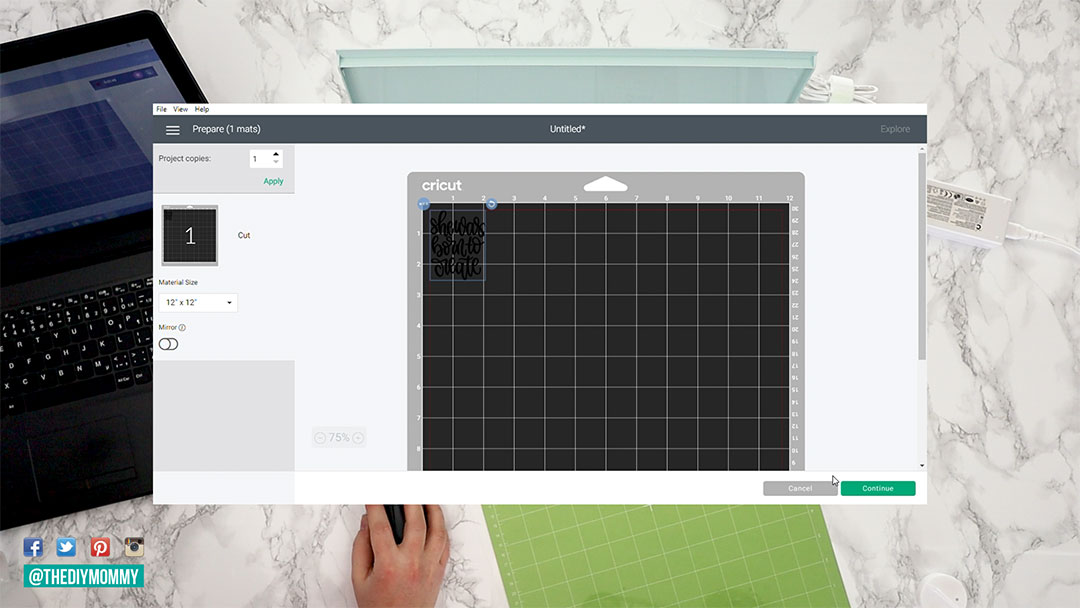
In Cricut Design Space, click “Make It” and you’ll see how the design is going to look cut on your vinyl. Then click “Continue” and you can select your Cricut device in the drop down menu.
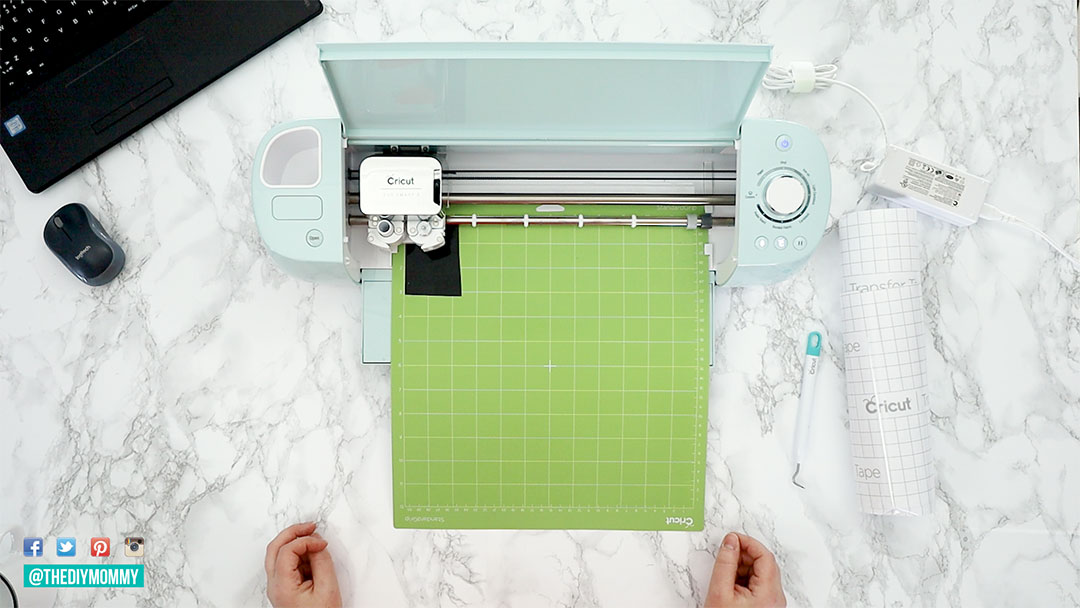
Now put your material on the Cricut mat. Remove the protective clear sheet on the mat and then attach your material to the mat. The sticky mat is what keeps your material in its place while you’re cutting it. You can also cut a smaller piece of material like I’m doing here and put it on your mat.
Next, turn your dial to the material type you’re using. I’m using a vinyl so I’m turning my dial to the vinyl setting. Put your mat inside the machine and click the “Load” button. Once the mat loads, click the Cricut button and it’s going to begin cutting your design. You can see the progress of your cut in a Cricut Design Space and it’s actually really fun to watch the cut progress!
Weeding your design
Once your cut is all finished, press the “Load” button again to unload your design. Now you’re going to do what’s called weeding your design which is basically removing all of the excess vinyl from your design. You can do this with your fingers or you can use Cricut’s tools to help you get those little bits and pieces.
Applying your design
Once you’re all finished weeding your design, use what’s called transfer tape to transfer your design perfectly onto your mug. It’s going to keep all of your words in the right spot and all of those tiny little parts of your design in the right place. Cut a piece of transfer tape that’s the same size as your design and then smooth it onto the design with a Cricut tool. Now take your mug and wipe it with a degreasing cleaner to make sure it’s really clean and ready to go.
Then, take the decal that you made and remove it from the transfer tape. Place it upside down and remove the backing. Then, carefully place your design on the mug making sure not to touch that sticky back of the vinyl. Smooth it in place; you want it to stick really nicely to your mug.
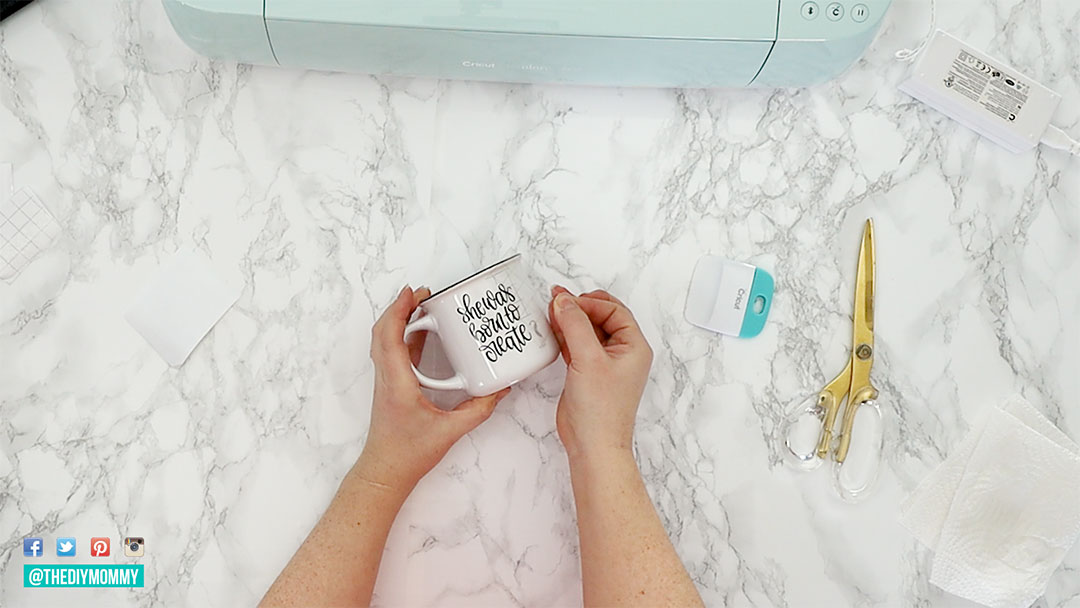
Finally, remove the transfer tape from the corner and your mug is all finished! These mugs can be hand washed or I’ve had success washing them in the top rack of my dishwasher as well.
I hope you found this step-by-step Cricut beginner’s guide helpful and that you’re now confident knowing how to set up a Cricut!
Now tell me: Have you recently purchased a Cricut or received one as a gift? What do you think of it so far?
I am considering buying a cricut.
I was thinking of getting one as well! The crafts you create are so gorgeous, Christina!
I just opened my new CRICUT! Thank you for the information