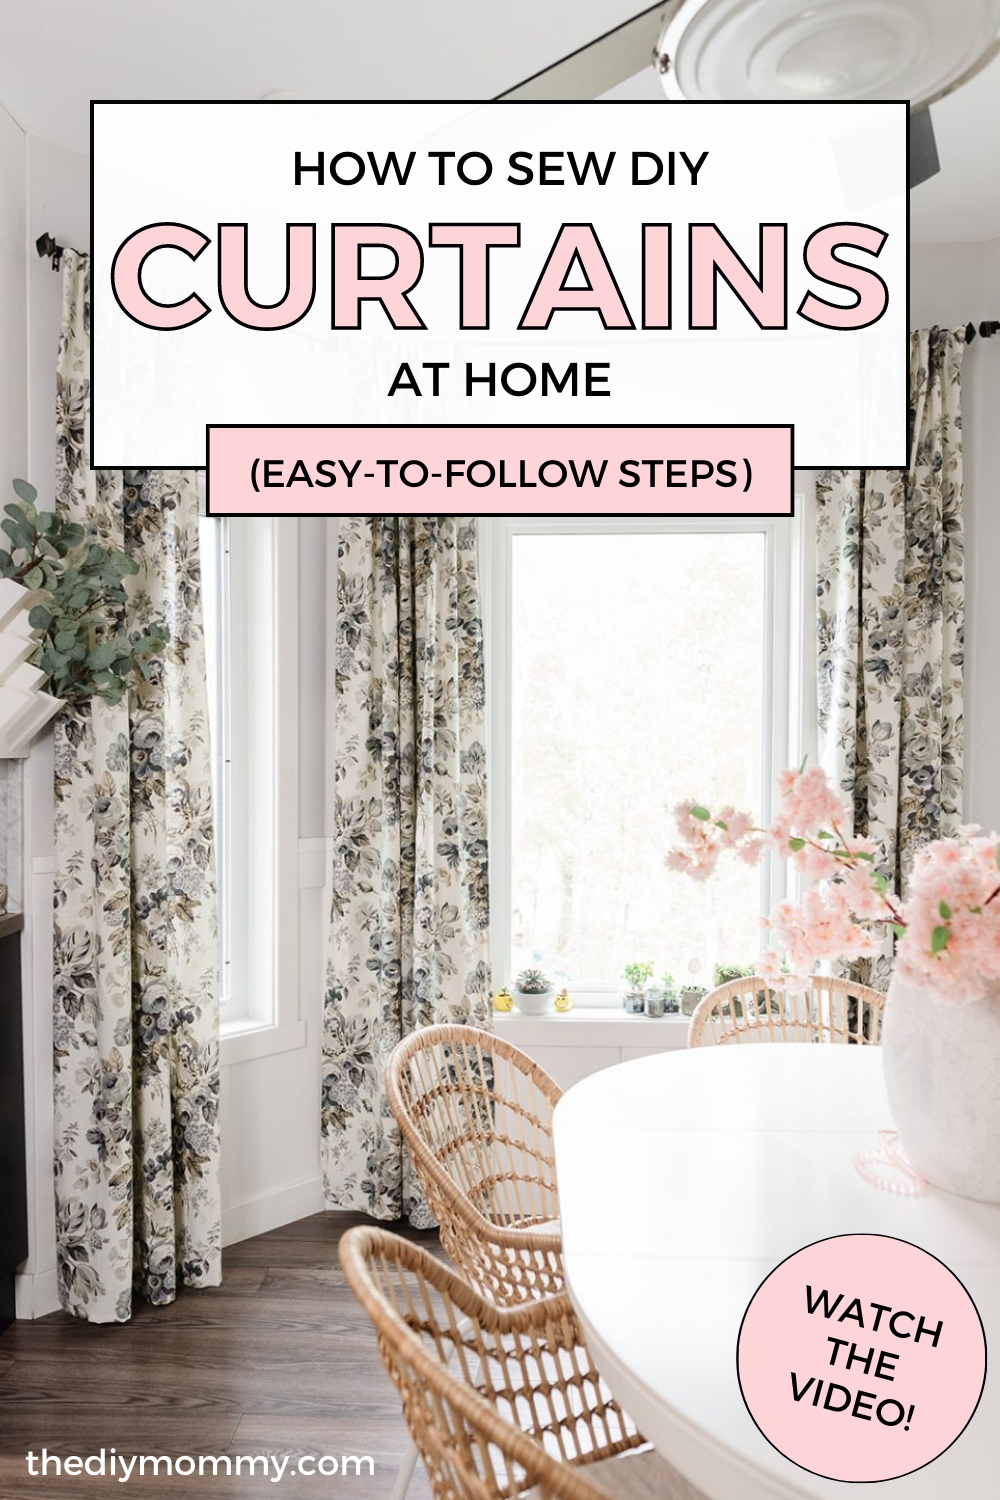
How to Sew DIY Curtains at Home (Easy-to-follow Steps)
This post may contain affiliate links · This blog generates income via ads
Let me show you how to sew your own curtains with pleater tape that look beautiful and professional. These DIY curtains are a great beginner project if you’re new to sewing, and they can completely change the look of your space!

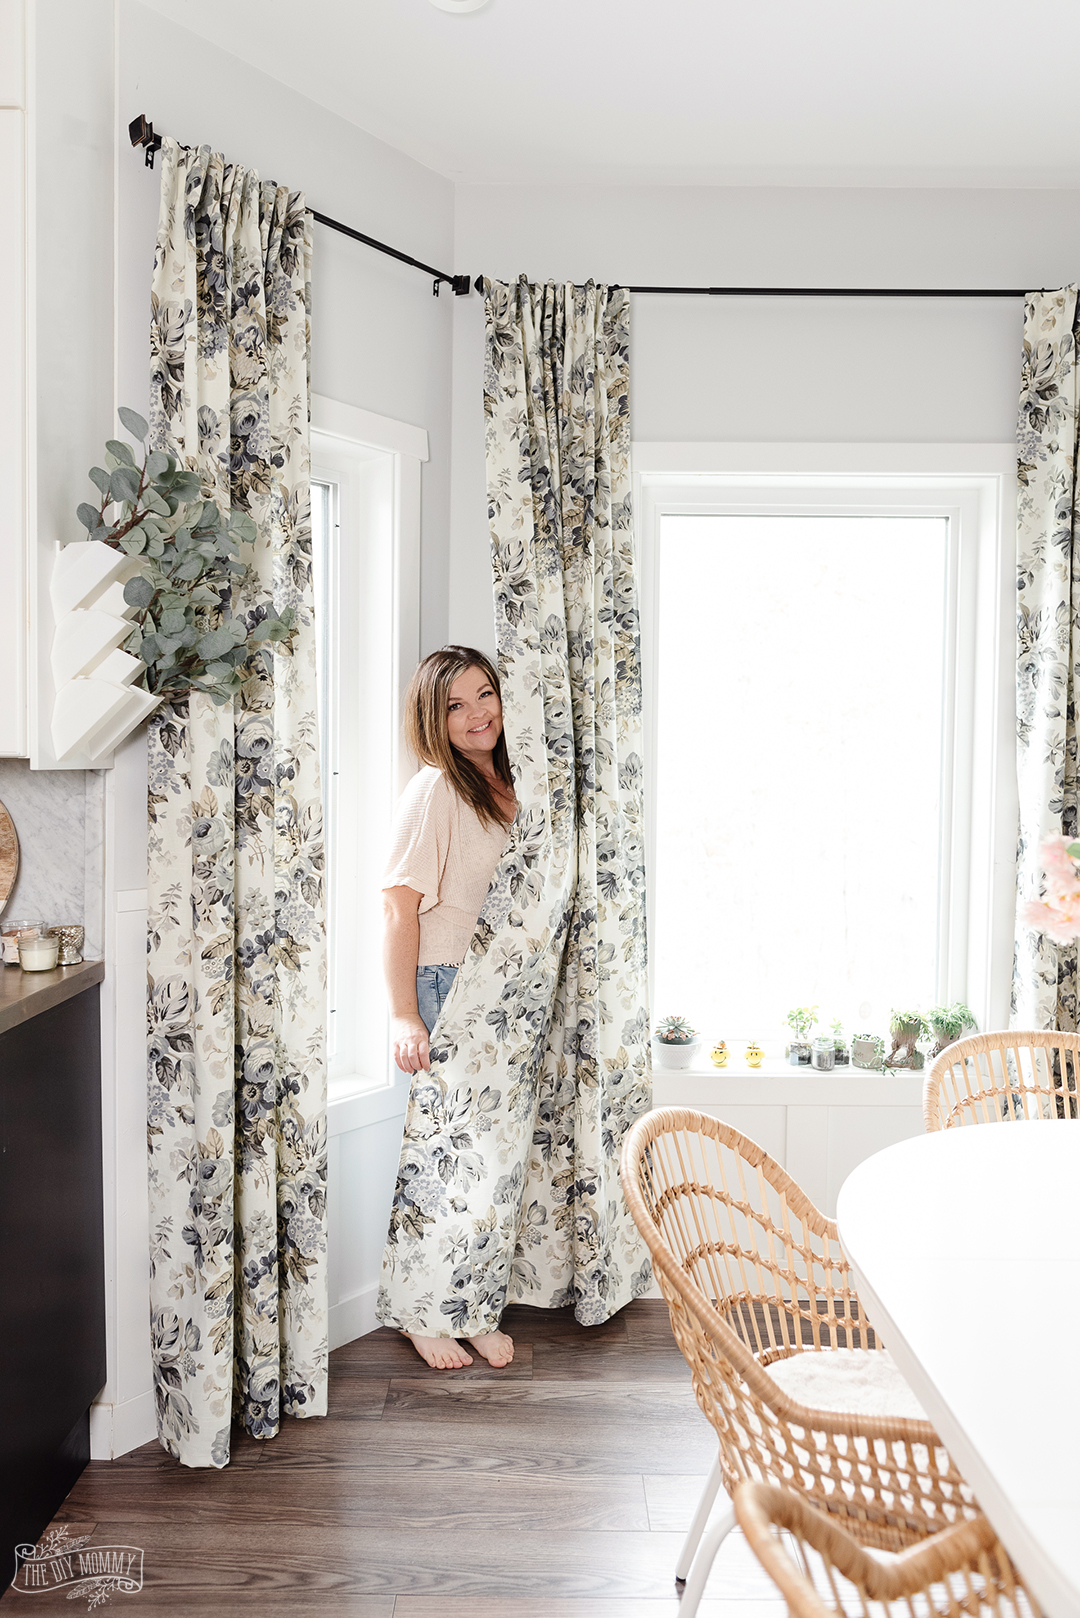
I wanted to add a little something to our breakfast nook, and I decided new curtains were just the thing! I had some white curtains in a lace fabric from IKEA on the bay window, and they were pretty but they weren’t quite doing it for me. When I found this over-the-top floral fabric in shades that match our black & white kitchen, I knew some DIY drapes would be the perfect way to bring this little nook to life. I was going for a Cottagecore/Granny Chic vibe, and I will let you judge whether or not I pulled it off.
Sewing curtains is a wonderful beginner’s sewing project, and it’s also a fantastic way to make your space feel custom. Not only do they add privacy to your home, but they add a ton of unique style. And you don’t have to put them in your kitchen! They would look beautiful in a different living space such as a bedroom or living room, too.
Is it cheaper to sew my own curtains?
Handmade window treatments are so much more affordable than retail! Especially if you already own or can borrow a sewing machine. DIY is almost always cheaper, and this project is no exception.
Are curtains difficult to sew?
Even if you’ve only tried your sewing machine a handful of times, you can make these drapes with pleater tape! This type of curtain requires all straight seams, so with a few sewing supplies, they are pretty achievable for just about anyone.
If you don’t own a sewing machine, borrow one from a family member or friend or get together for an afternoon of sewing and use the machine together!
Watch my YouTube video to learn how to make DIY drapes, or follow the easy steps below:
How to sew DIY curtains with pleater tape
What is needed to make curtains?
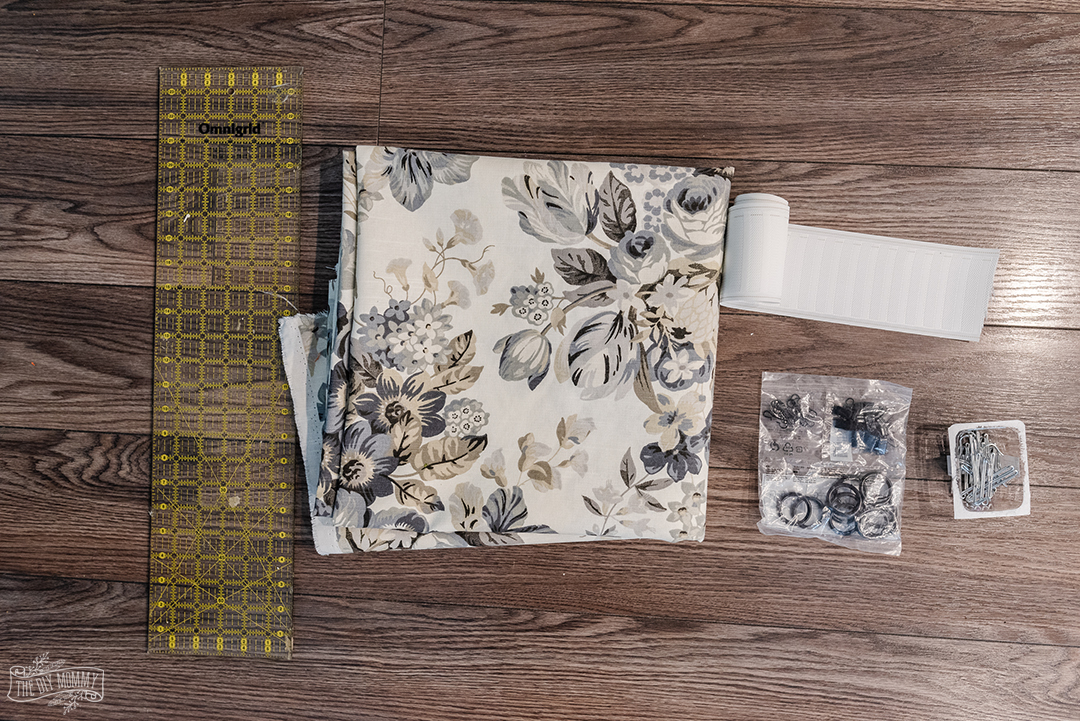
You just need a few simple items to make these fabulous curtains!
Materials:
- drapery fabric (see below for how much)
- pleater tape
- curtain rings with hooks
- curtain hooks for pleater tape
- hard ruler and/or square
- measuring tape
- fabric scissors
- iron
- ironing board
- stick pins
- sewing machine
- thread
How to figure out how many yards of fabric I need for curtains?
Nothing is worse than getting halfway through a sewing project and realizing you don’t have enough fabric! So let’s do this right. To determine how much drapery fabric you’ll need, first decide how long you’d like each curtain panel to be. I like to make my drapes nice and tall: relatively close to the ceiling and almost touching the floor. For these drapes, I decided to have them rest an inch above the floor so that I can easily clean my breakfast nook floor underneath them. Once you have figured out the height you want your drapes to be, add about 7″ to account for the hem at the top of your curtain, the lower hem, and the space between the hooks and the top of the drape.
Now, to find the width of your drapes, multiply the width of your window by two to account for the pleating. You may have to sew two pieces of fabric together to achieve the fabric widths you need. I would recommend doing this calculation before you purchase your fabric because depending on what you choose, doing a pattern match for two pieces of fabric could be a challenge. For my drapes, I used just one full width of fabric to make narrow drapery panels for my breakfast nook. These are more decorative than functional in my space, so I don’t actually need them to fully close over the window.
What is the best fabric for DIY curtains?
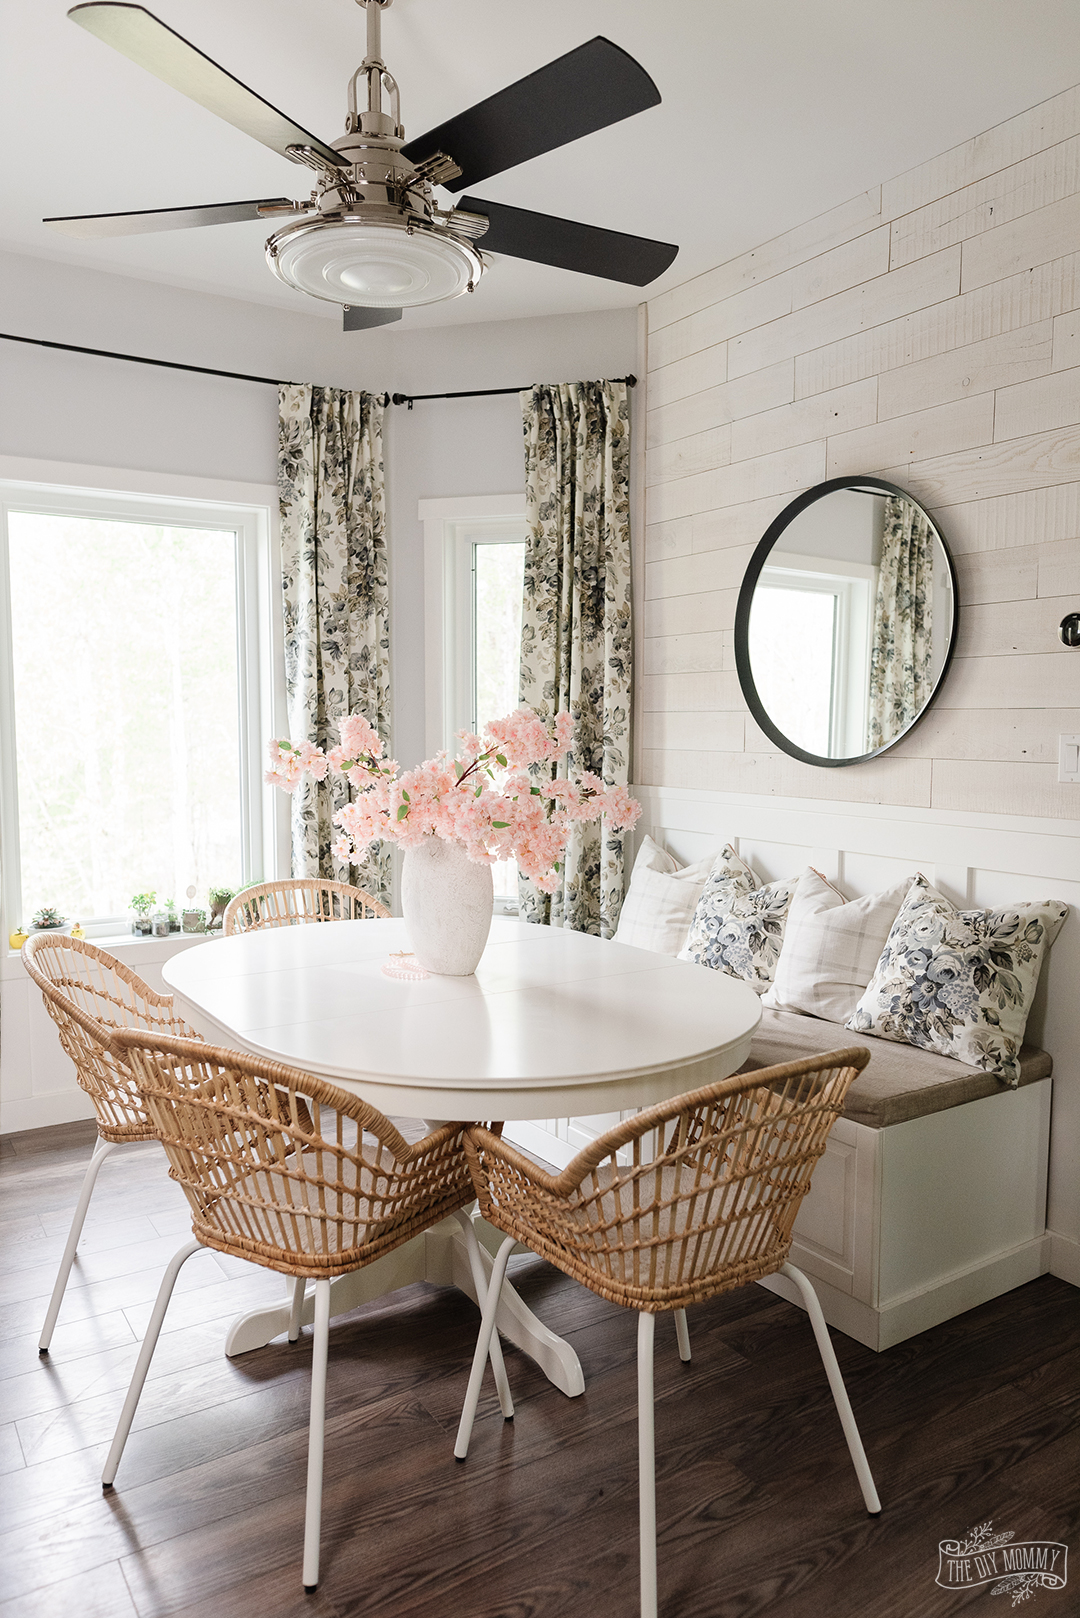
My favourite type of fabric for window treatments is heavy cotton or a cotton-linen blend. If you search “decor fabric” on a site like fabric.com or onlinefabricstore.net, you’ll find many options. You can also browse your local fabric store for inspiration too. I wanted to make some over-the-top floral drapes in shades that complement my kitchen, so I used this Robert Allen fabric. It was the perfect fabric for the look I was going for. I purchased 12 yards of fabric to make four 8′ long curtain panels with a little extra to sew some matching pillow covers for the throw pillows I like to keep on the seating bench.
Cutting your drapery fabric:
Begin your project by cutting your curtain panels lengthwise. Use a tape measure to mark where you need to cut the extra length off your fabric at three points, and then use a square or hard ruler to connect those points and make sure that you have a straight line that is square to the sides of the fabric. This measurement will be your finished curtain height plus 7″. (Remember, you may need to cut two pieces and sew them together if you want to create drapes that are wider than mine.)
Pressing the hems
Next, turn the two vertical edges of the fabric panels under ½” and press the raw edges of your side hem. Then, turn them under another ½” and press again. I like to use my iron on the cotton setting with the steam function to get sharply pressed hems that will stand up to the sewing process. If you want, you can use your stick pins to make sure your ironed hemlines hold.
Then, you’ll press the top hem. But first, you need to find the top of the curtain panel. You can do this either by looking for the “Top” graphic on your fabric or by ensuring that any patterns on your fabric are pointing the way you’d like them to hang. Once you decide where the top of your fabric is, take the extra fabric and fold the top under ½” and press, and then fold it under another 4″ and press again. (This will be where you will sew on the pleater tape later.)
Then you need to press the curtain panel bottom hem. Fold this under ½” and press, and then fold it under another 1″ and press again.
Again, you can pin down all of these hems with stick pins, if you desire. I found that my ironed hemlines held until I sewed them permanently.
Sewing your drapes
Now, thread your sewing machine with a cotton thread suitable for drapery, and then stitch along the side hems of your drapery panel. Make sure to back-stitch (also called back-wrapping) at the top and bottom of your hem to keep it secure. You can use the markings beneath your presser foot to help you keep your sewing line nice and straight. I recommend using a longer stitch for sewing drapery; on my machine, that’s a number 4 stitch. And, I usually use 1/2″ seam allowances when sewing drapes.
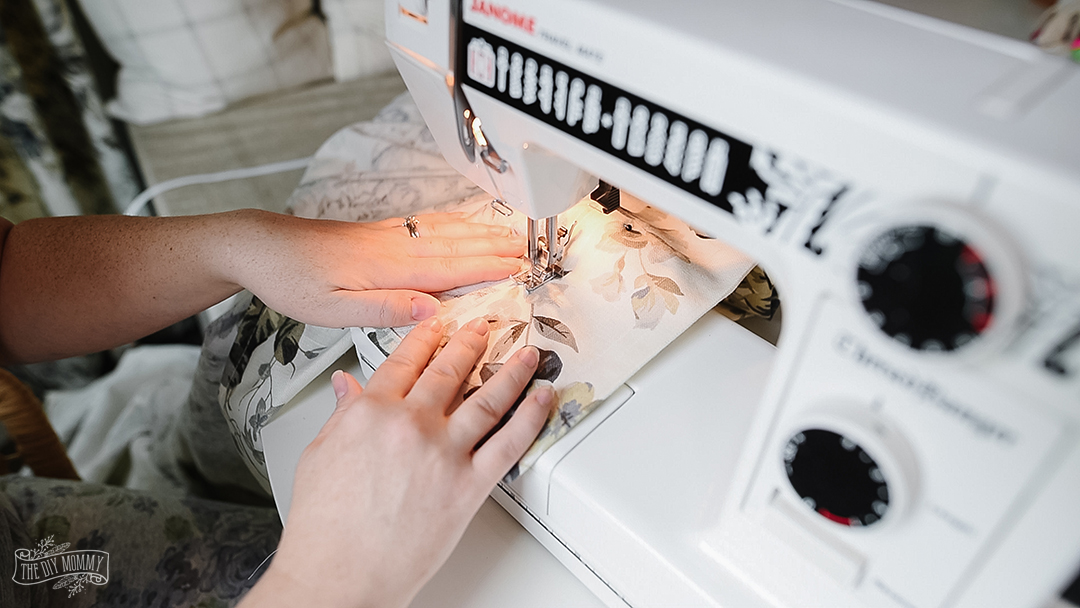
Once you’ve sewn the side seams of your panel, you can stitch down the top seam. Stitch about ¼” away from the fold of the hem, making sure to back-stitch at the beginning and end.
You can now sew the bottom hem. If you want, you can also leave it unstitched for now and stitch it after you test the height of your drapes. I chose to stitch my bottom hem at this point because I was pretty confident I had cut my fabric to the correct length.
Working with pleater tape
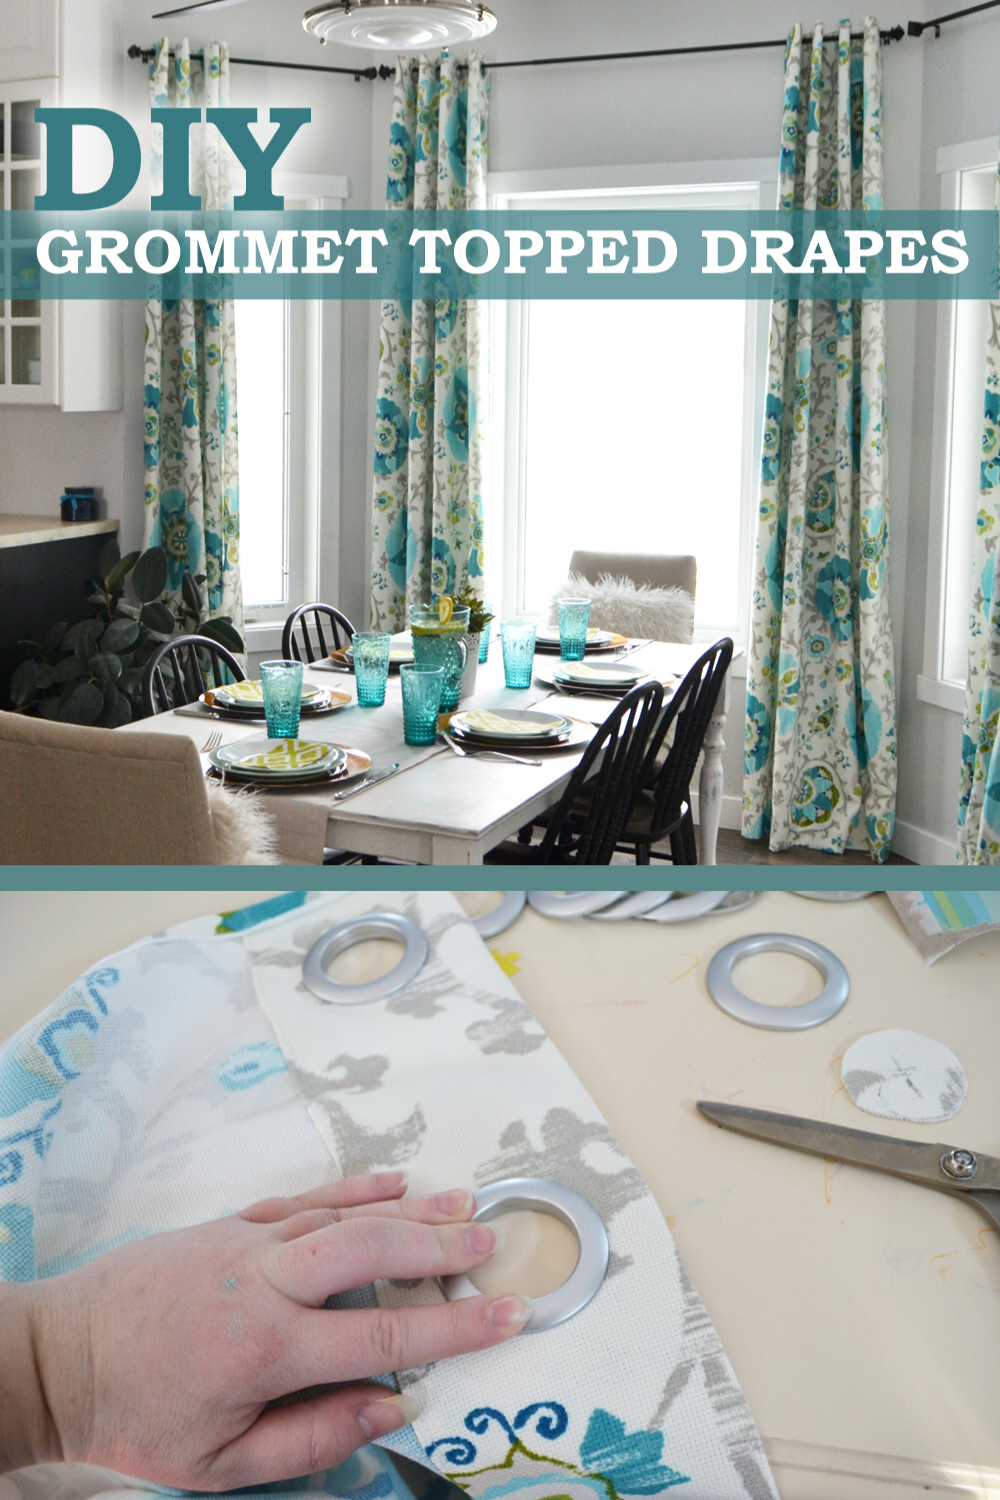
Now, take the pleater tape and fold the edge under about a ½”, or to where the first open loop is. Pin this to the back of your top hem, centering it within the hem. Important: Make sure that you can insert your hooks into the loops before you sew it in place, and DON’T sew it on upside down. Trim the tape about ½” from the end of your drapery panel, fold it under another ½”, and pin it in place.
Next, sew the pinned-down pleater tape to the top hem with your sewing machine, following the stitch guides on the tape. Again, make sure to back-stitch at the beginning and the end to keep the stitches secure.
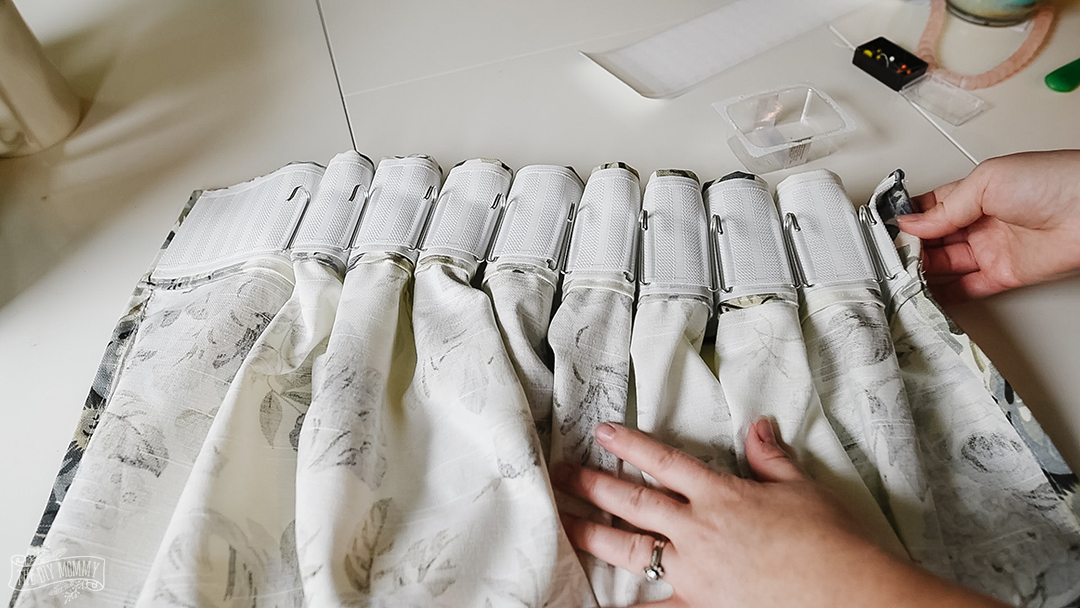
It’s now time to insert the curtain hooks! You can play with how pleated you want your drapes to look by having more or less loops in between each hook. For my drapes, I put one side of my hook in the first loop of the pleater tape, counted 5 loops, and then inserted the other side of the hook into the next loop. I left one loop free, and then repeated this pattern with the rest of the hooks. I love how this creates the look of custom pinch pleating in such an easy way!
After you’ve inserted the hooks, you can attach the clips to the rings and attach those to the hooks. You could also use two-in-one ring clips that are ready to attach to the hooks. I found my hooks and ring clips at IKEA, and they worked perfectly! They were affordable and I also like how they look.
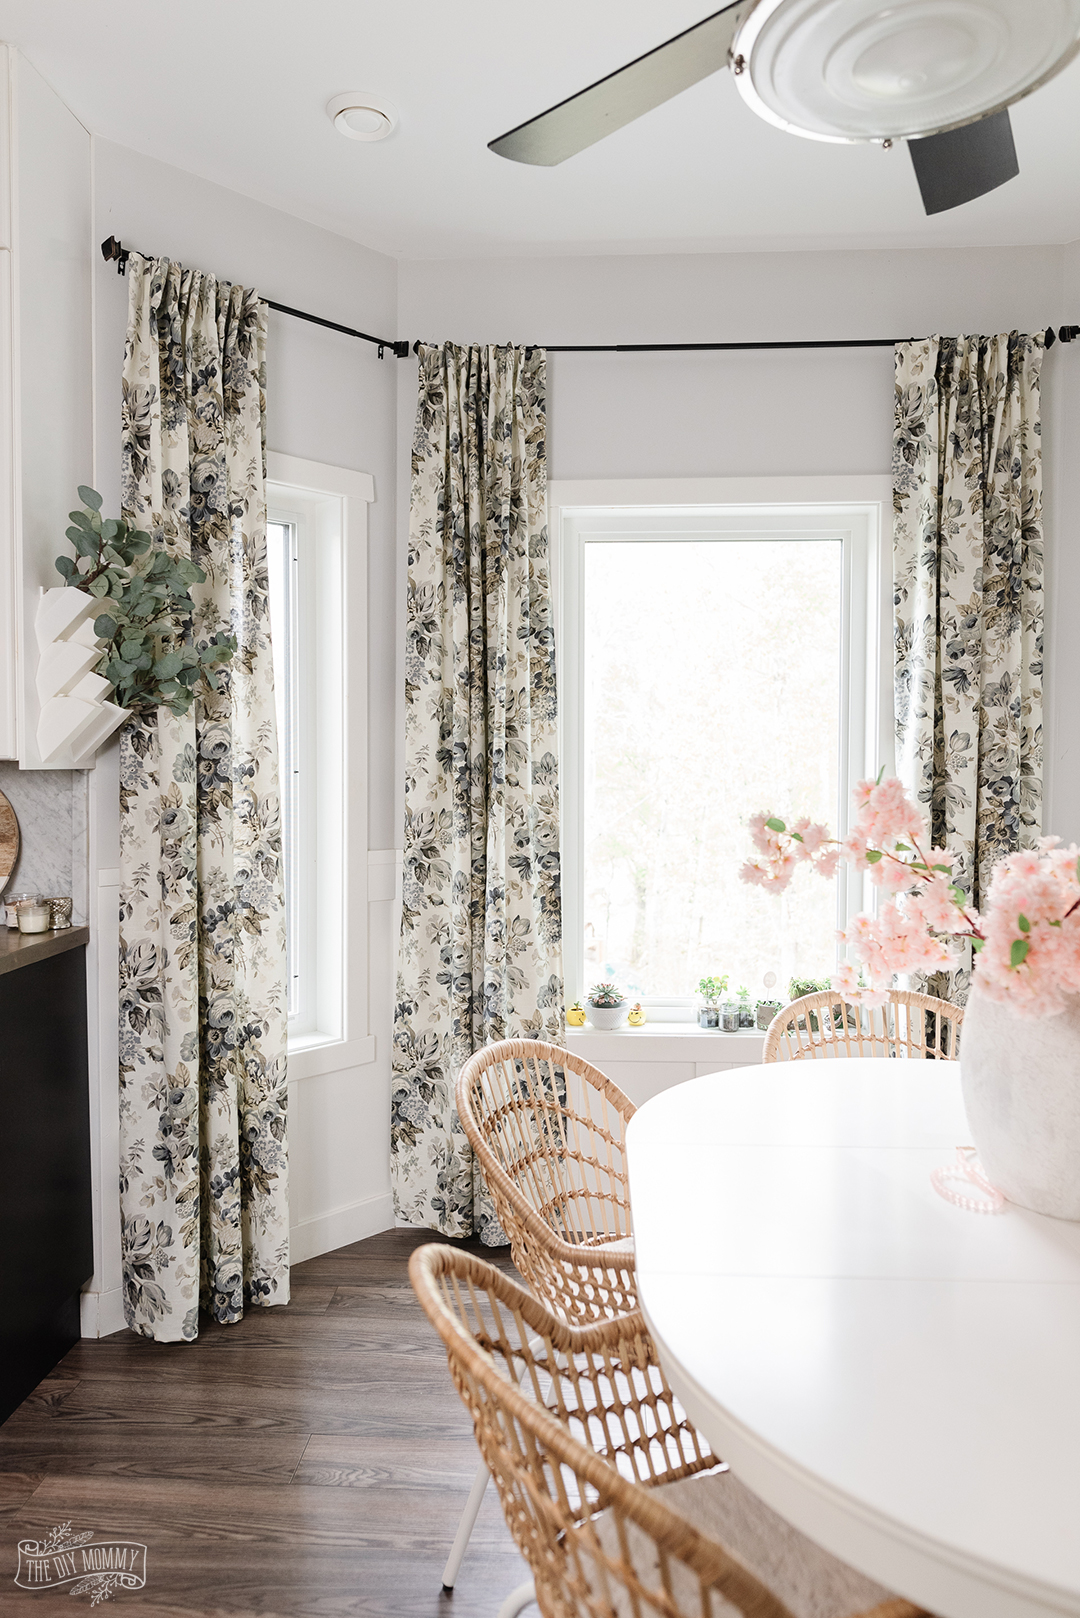
Hanging your drapes
Now it’s time to hang your drapes! I find that curtain rods from either IKEA or Home Depot are easy to install and work well with the rings and clips that I like. I find it easiest to take my curtain rod down from the wall and feed it through the rings of the drapes on the floor or a tabletop, rather than trying to put the rings onto it while it is in place. Then, I lift the whole thing up and put the rod back into the brackets on the wall. If you haven’t hemmed the bottom of your curtain panel yet, you can now check to see if it’s hitting the floor where you want it to. Move your ironing board over so you can leave your drapes hanging on the wall while you do this last step! Press the hem as per the instructions above and sew it to complete your DIY pleated curtains.
For one last step, you may have to “train” your drapes to hang in their pleated shape by pressing them gently into the pleats with your hands. You can also use a steamer to help shape them for a sharper look.
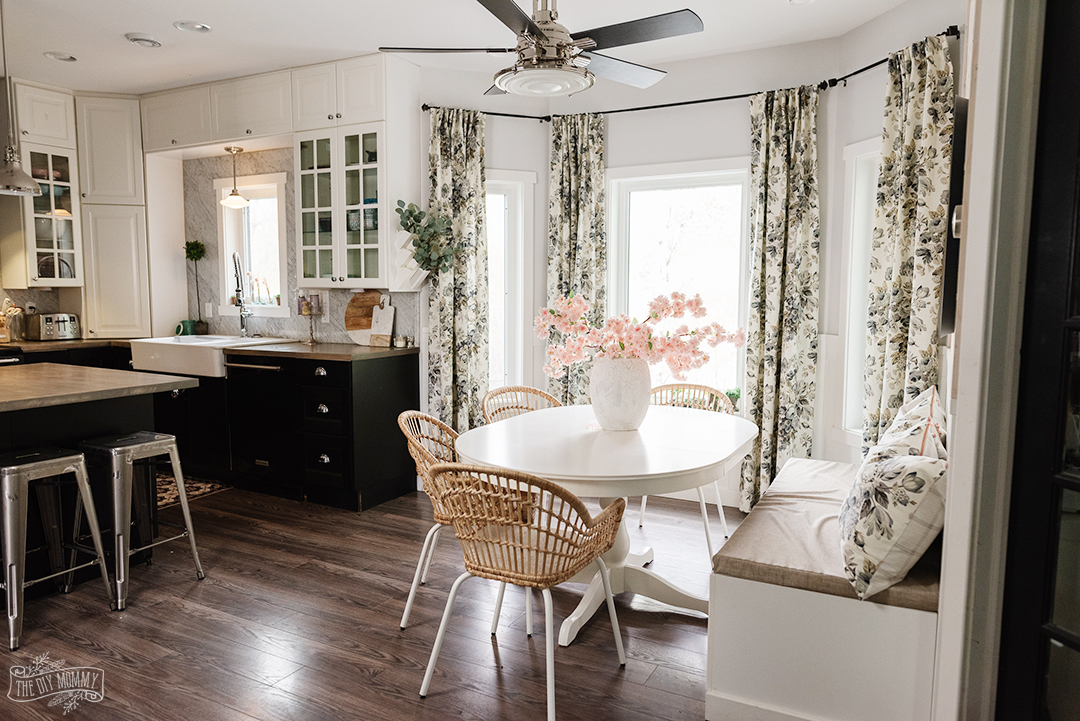
I adore how these turned out and love the new Granny Chic vibe of our breakfast nook! It’s so fun for spring and summer, and these curtains bring a lot of personality into this space.
I hope you enjoyed my curtain tutorial! When you sew curtains of your own, I would love to see your fabric choice and how your space turns out. Post a picture in the comments or tag me @thediymommy!
Pin Me!
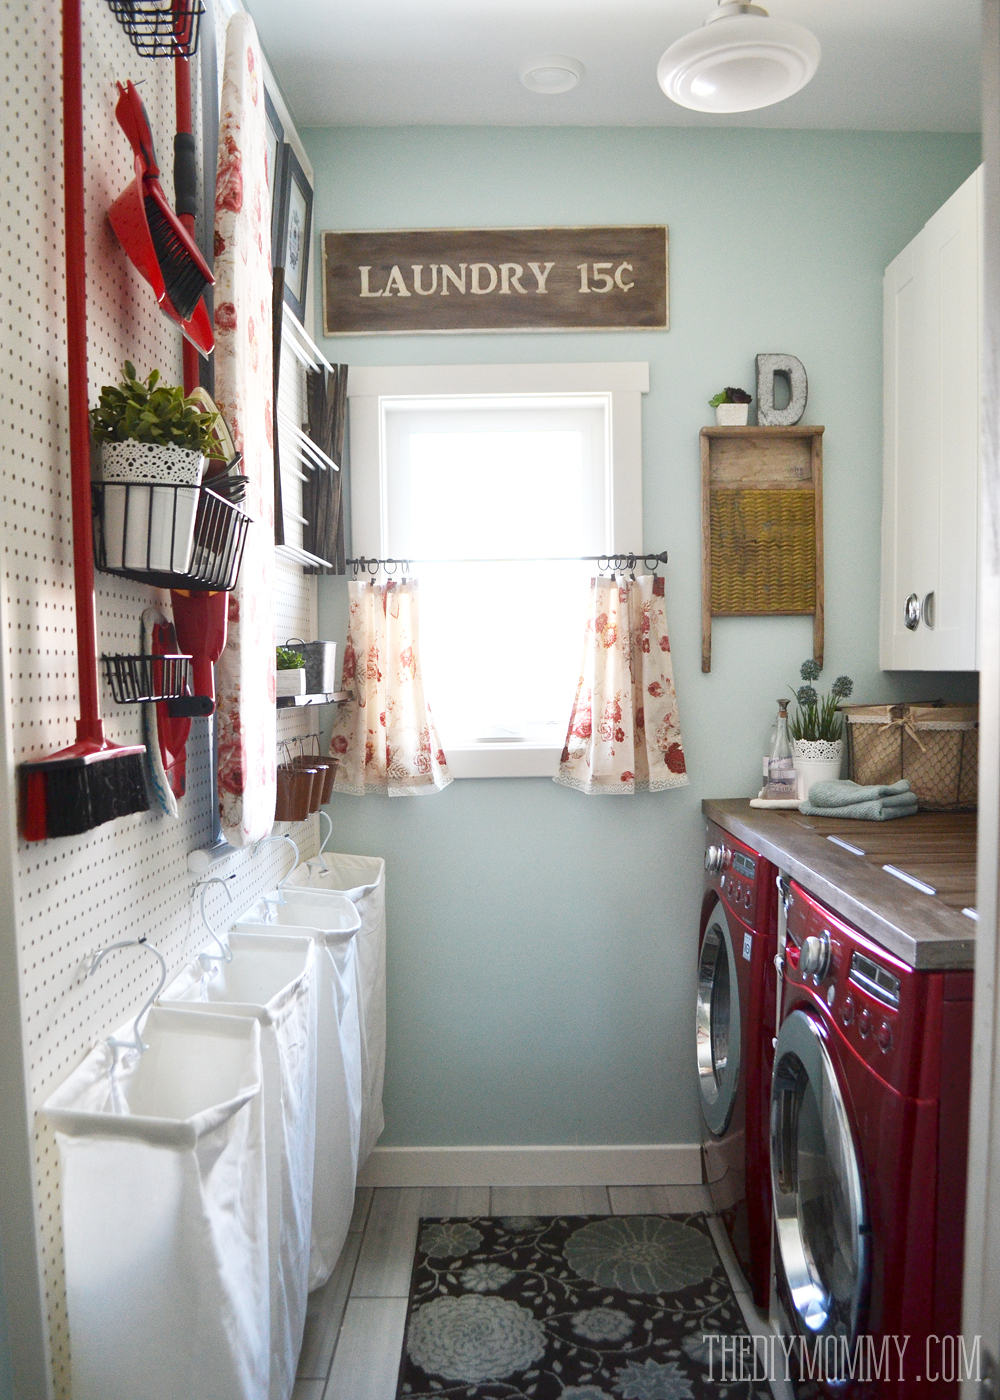
More DIY Curtain Tutorials to Sew
One of my favourite elements in my kitchen is the custom sewn drapes. I made them myself by hemming some gorgeous fabric and finishing them with simple click-together grommets. If you’d like to sew some similar curtains for your space, here’s how!
These guys are SO easy to make – they would make a great beginning sewing project if you’re just starting out. Let me show you how to sew these easy DIY cafe curtains with a bit of measuring, some pressing, and some machine hemming. Simple! I hope you enjoyed these DIY curtain ideas.
These are just gorgeous! Love that fabric and you did a fabulous jobI made drapes for many years for every house I ever lived in, owned or otherwise. At this point I’m too old to be bothered to make them anymore…lol. I haven’t sewn in about 8 years now. I think I’m going to grab some of the fabric though just because I love it!
Pretty Good, useful and clear instructions. Thank you very much for sharing with us your knowledge?
Lovely results! I have found it easy to use flat bedsheets to make drapes. I found a pattern that coordinated with our comforter and shams and then used solid white sheets for the lining. Depending on your measurement needs, many of the seams are already sewn! A Tip: To help the panels hang straight, you can insert a weight in the bottom corners (use curtain weights, any flat heavy disc or a coin).
For the width, I have fabric just under doubled. I understand from pleating it will shrink. Is there a way to adjust with pleating so I don’t end up with a curtain that doesn’t close? Perhaps making a bigger gap between the pleats? Thanks in advance!
You can adjust your pleats as needed.
Love them, thank you for the video I’m going to go buy some fabric and going to give it a try.
This was a really helpful video- I’m going to try this!
curtains are the unsung heroes of home decor! 😄 Yours add such a warm vibe. Any favorite curtain shopping spots? 🏠”