DIY Vinyl Flooring: How to Install Luxury Plank Floors
This post may contain affiliate links · This blog generates income via ads
Looking to install some DIY vinyl flooring in your home? Vinyl plank is one of my favourite floor coverings for its chic look and excellent durability. Today I’m sharing how we installed the luxury vinyl plank flooring in our Tiny Lake House cabin.
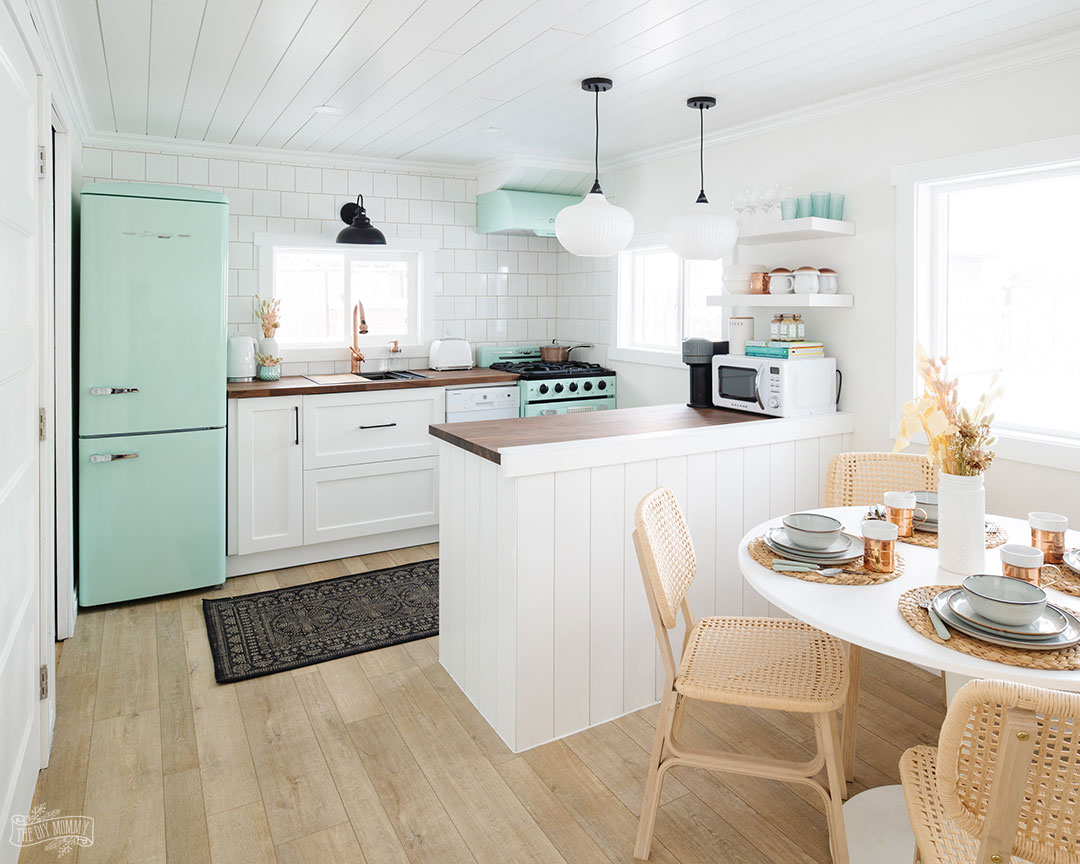
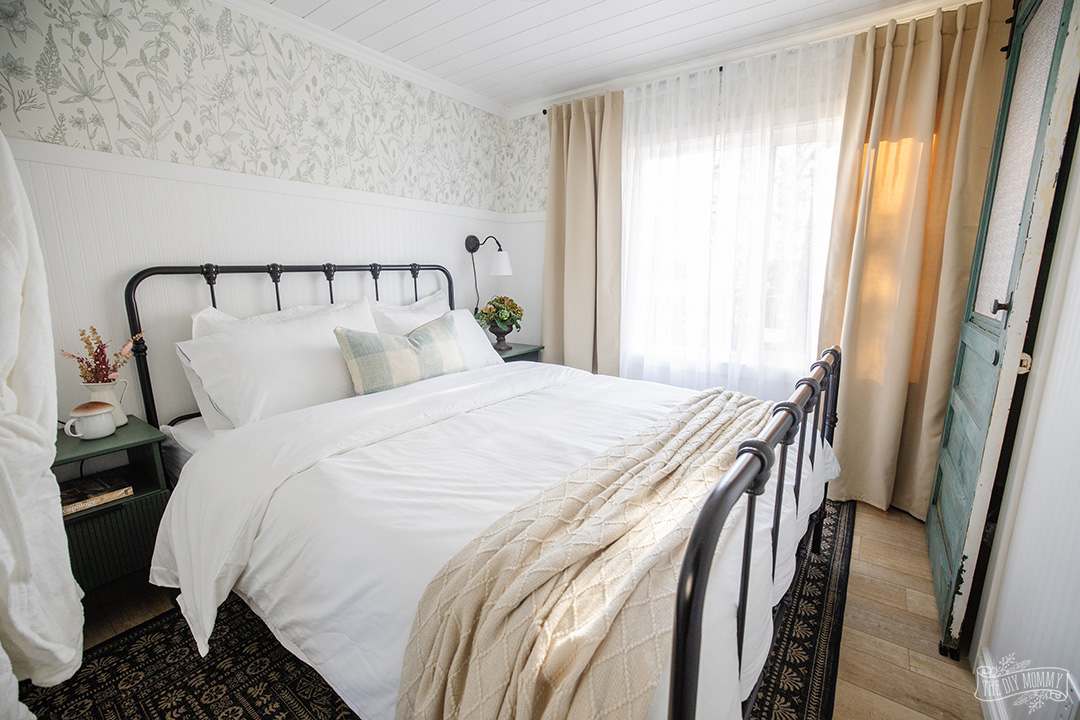
One of my favourite features in our Tiny Lake House is the DIY vinyl flooring we installed. Not only does this luxury vinyl plank flooring look beautiful and timeless, it’s a durable choice for our lake cabin that sees many people and pet visitors. Let me share all about vinyl plank flooring with instructions on how to install it!
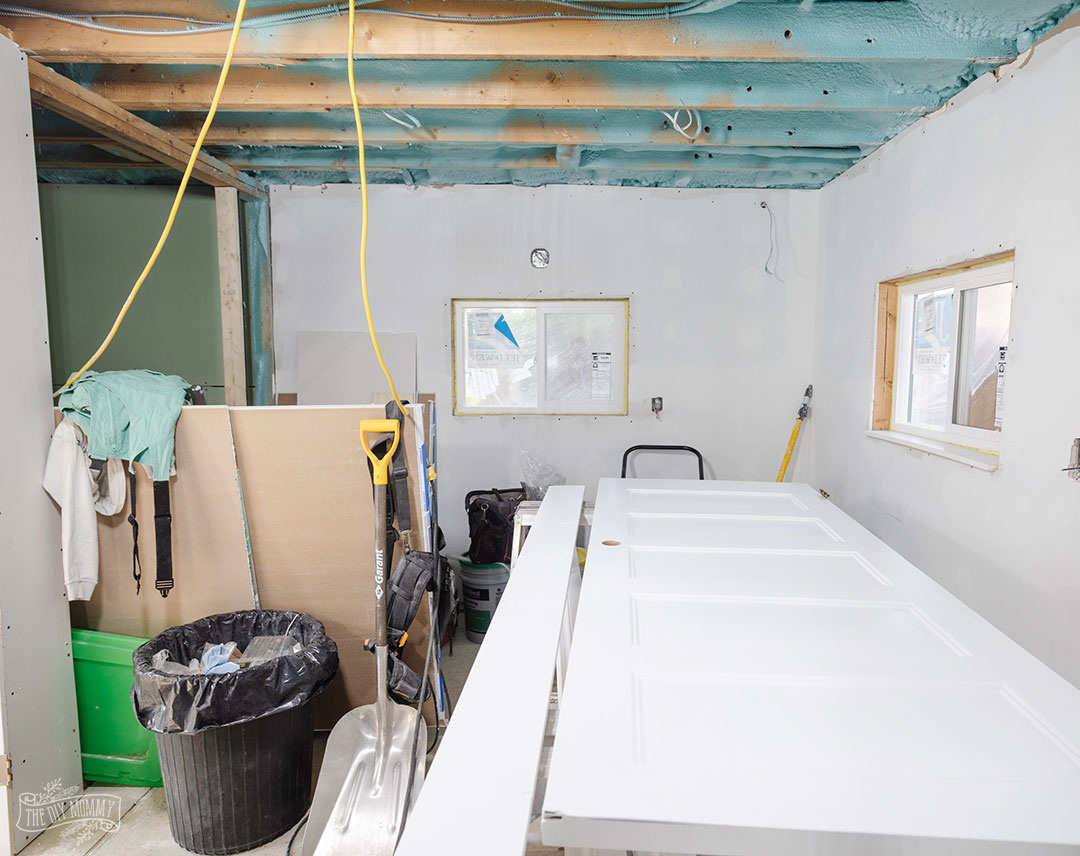
Here’s what the kitchen in our Tiny Lake House looked like BEFORE:
We decided to renovate a tiny lake house and turn it into a seasonal cabin for our family, and into our second vacation rental. You can read more about the transformation of our Tiny Lake House here. Sean and I did the entire renovation ourselves, including the installation of the vinyl plank floors.
Why DIY Vinyl Flooring?
Vinyl plank flooring is a fantastic and budget-friendly option for DIY enthusiasts like you! It’s a type of synthetic flooring that replicates the look of hardwood planks but without the hefty price tag. Vinyl flooring is water resistant and low maintenance.
Benefits of Luxury Vinyl Plank
- Affordability: Vinyl plank flooring won’t break the bank, making it a savvy choice for those looking to revamp their space on a budget.
- Durability: It’s a tough cookie! Vinyl plank flooring is resistant to scratches, stains, and moisture, making it ideal for high-traffic areas or spaces prone to spills.
- Easy Installation: The DIY dream! Many vinyl planks come with a click-and-lock system (like ours did), making installation a breeze. No need for a professional – even if you’re a beginner DIYer, you’ve got this!
- Versatility: Vinyl planks come in a variety of styles, colors, and patterns. Whether you’re into a rustic wood look or a sleek modern vibe, there’s something for every taste. You can even find tile-look vinyl for bathrooms and kitchens.
- Low Maintenance: Vinyl plank flooring is easy to clean – a quick sweep or mop, and you’re good to go. Say goodbye to hours of scrubbing! I prefer vinyl over carpeting because it’s easy to clean; it’s great for those with allergies.
- Comfortable Underfoot: Unlike some other flooring options, vinyl plank has a bit of give, making it more comfortable to walk or stand on for extended periods.
- DIY-Friendly: Did I mention it’s perfect for DIYers? With its straightforward installation process, you can give your space a fresh new look without the need for professional help.
Click-Lock vs Glue-Down Vinyl Plank
I’ve installed both varieties of vinyl plank flooring: click-and-lock floating floor and glue-down planks. I prefer the click-lock for most situations, though the glue-down variety worked wonderfully in my camper. You can see how I installed glue-down vinyl planks in our RV with a durable adhesive here.
What You’ll Need
To install your own click-lock style vinyl plank flooring, you’ll need:
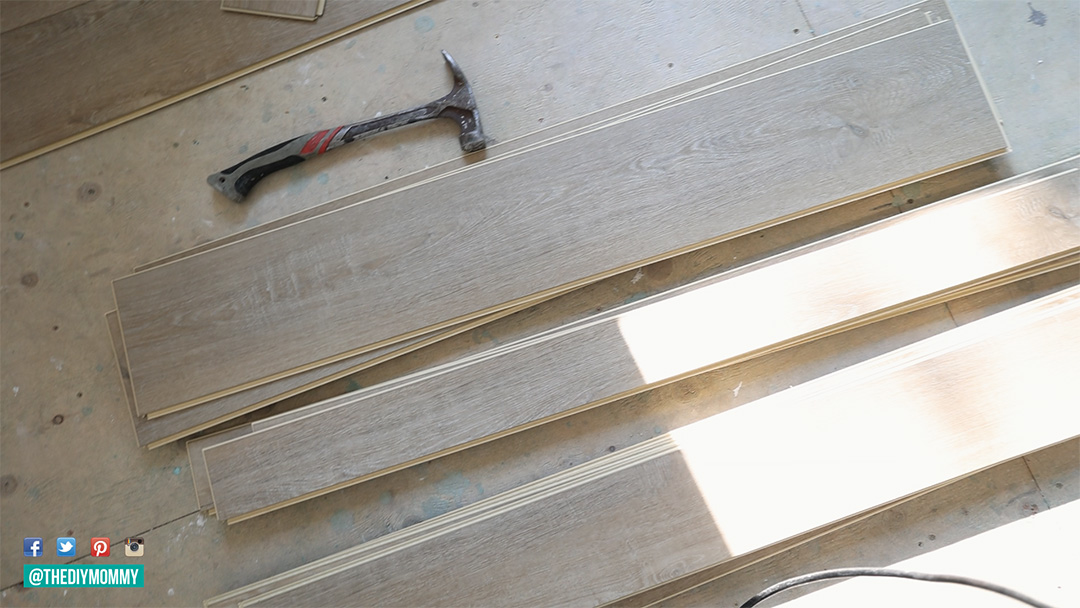
- Vinyl Plank Flooring (enough to cover your floor’s square footage, plus 10% extra for cuts and mistakes)
- Miter Saw
- Tape Measure
- Hammer or Rubber Mallet
- Utility Knife
- Tapping Block (or a scrap piece of the vinyl)
- Pry Bar (to use if you need to shift your row of planks away from a wall)
How we installed luxury vinyl plank flooring in our cabin
Sourcing the Flooring
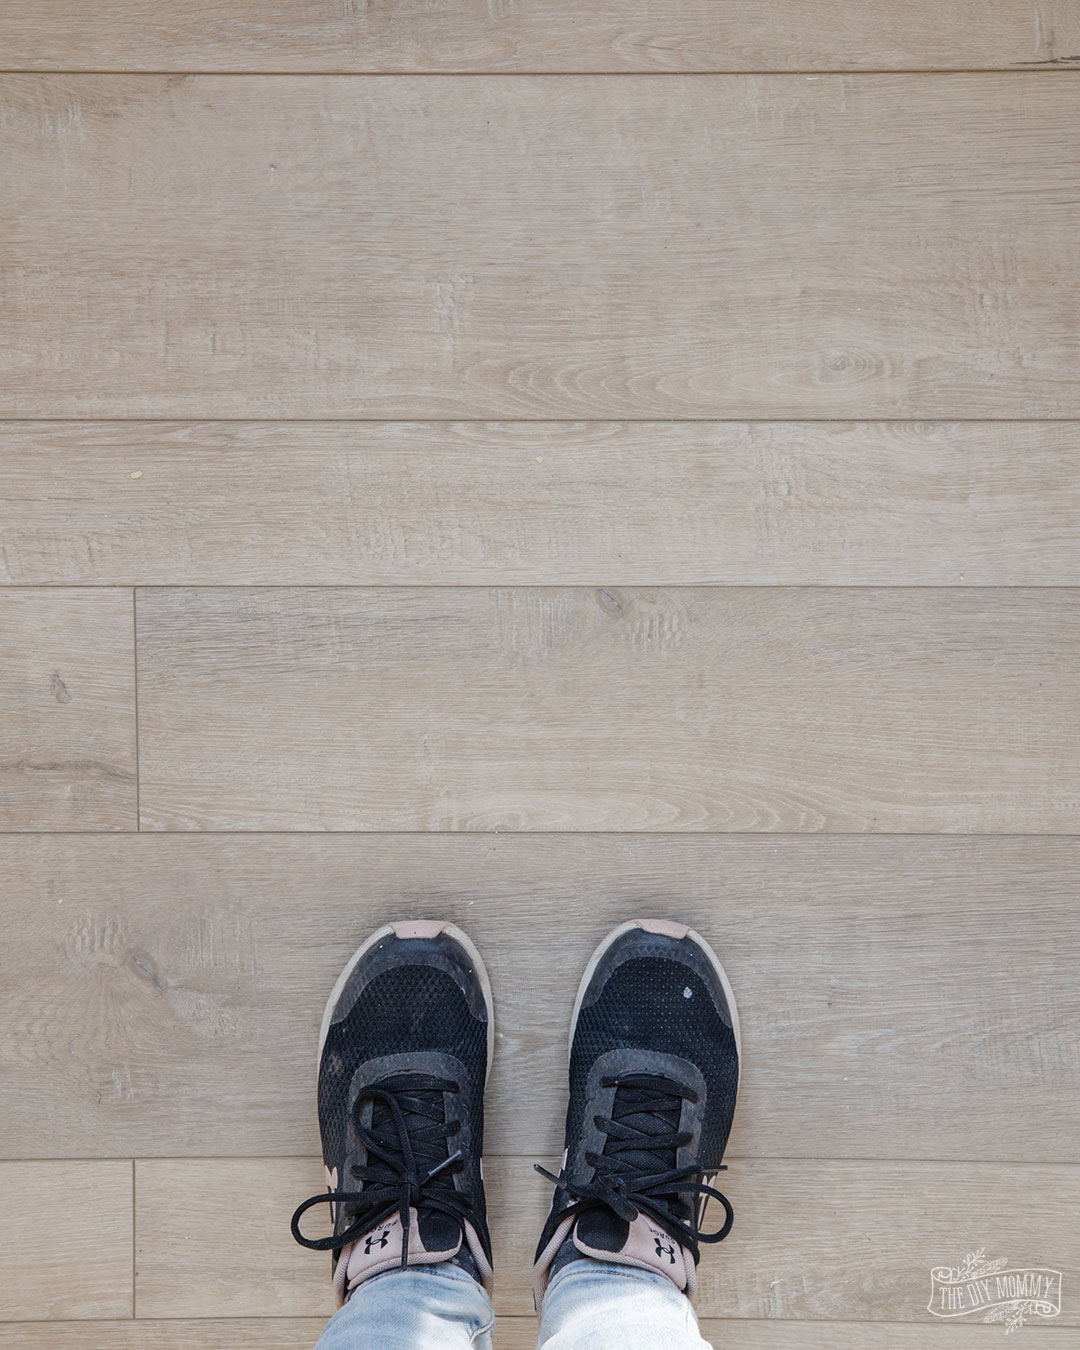
For the flooring in our tiny cabin, I chose this LVP from Divine Flooring. It’s a beautiful natural oak colour, and you install it in three different widths which I thought was a unique twist! We used Divine Flooring luxury vinyl plank in our first little lake house rental, and I love how it’s held up to all the wear & tear so far. It’s a solid core vinyl plank that clicks together and it has a built-in underlayment on its backside. The texture of this plank looks like real hardwood flooring.
Starting the Installation
Installing a floating luxury vinyl plank is quite easy, in my opinion. All you need is a miter saw, a hammer, and you’re good to go!
Make sure you begin with a clean subfloor that’s free from any dust, dirt or debris.
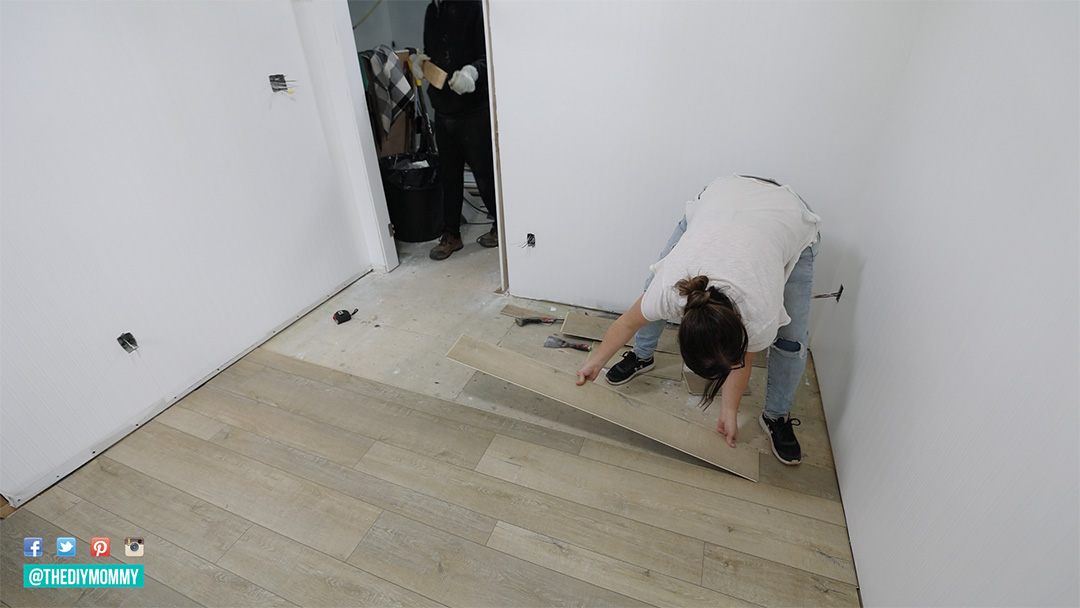
We began by laying the first row of vinyl plank. We put the widest plank down on the subfloor by the far wall and ensured it was at least 1/4″ from the wall by using spacers. This allows for any expansion and contraction due to temperature or humidity changes.
I attached the short ends of the planks together first. These planks easily click together with a tongue and groove inspired system, and you set the seams with a hammer or a rubber mallet and a scrap piece of LVP (or a tapping block that locks into the plank).
To ensure that your first row is straight, you can create a chalk line on the subflooring with a laser level. Line up the first row of plank to match the chalk line.
Continuing the Vinyl Plank Installation
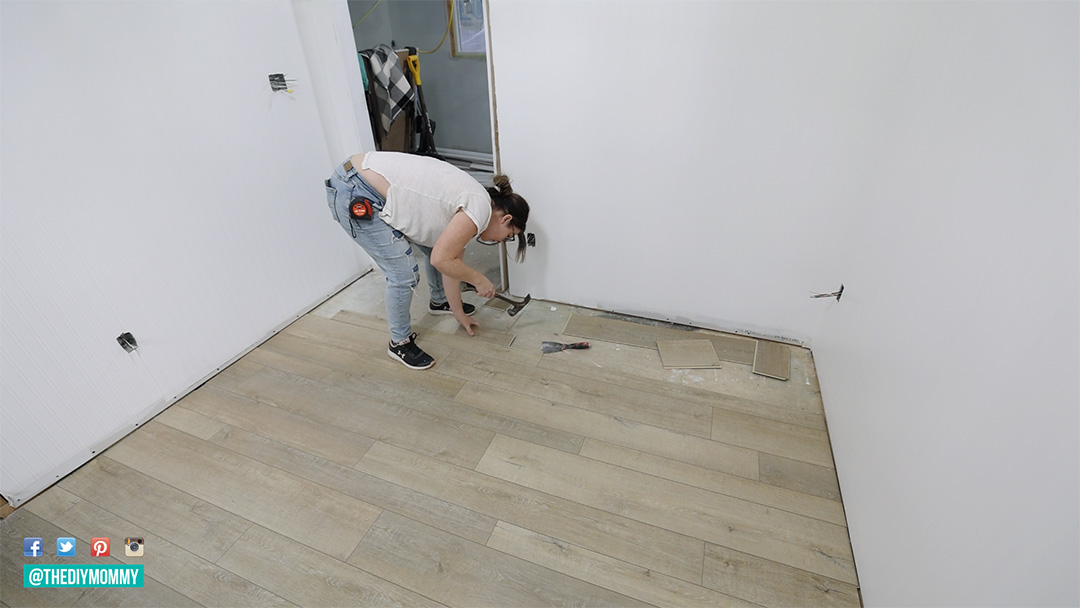
After attaching the short ends of the planks together, I took a hammer and scrap piece of the flooring and hammered the long ends in place. (Alternatively, you could use a tapping block). For this flooring, I alternated wide, narrow, and medium-width planks and made sure to stagger the joints.
When installing LVP, you want to ensure that all of your seams are locked into place. You may need to tap at them for a while with your hammer & block. Make sure there are no cracks – it’s hard to fix the seams when you’re further along on the installation!
Typically, you can use the piece you cut off the previous row to start the second row, or sometimes I cut a whole new piece if I don’t like where the seams line up. I like to ensure my seams are at least 6 inches apart from one row to the next.
The last row of planks can be tricky when you’re working up against the wall. You may have to use a combination of a hammer/mallet and a pry bar to get that last row of planks to lock into place.
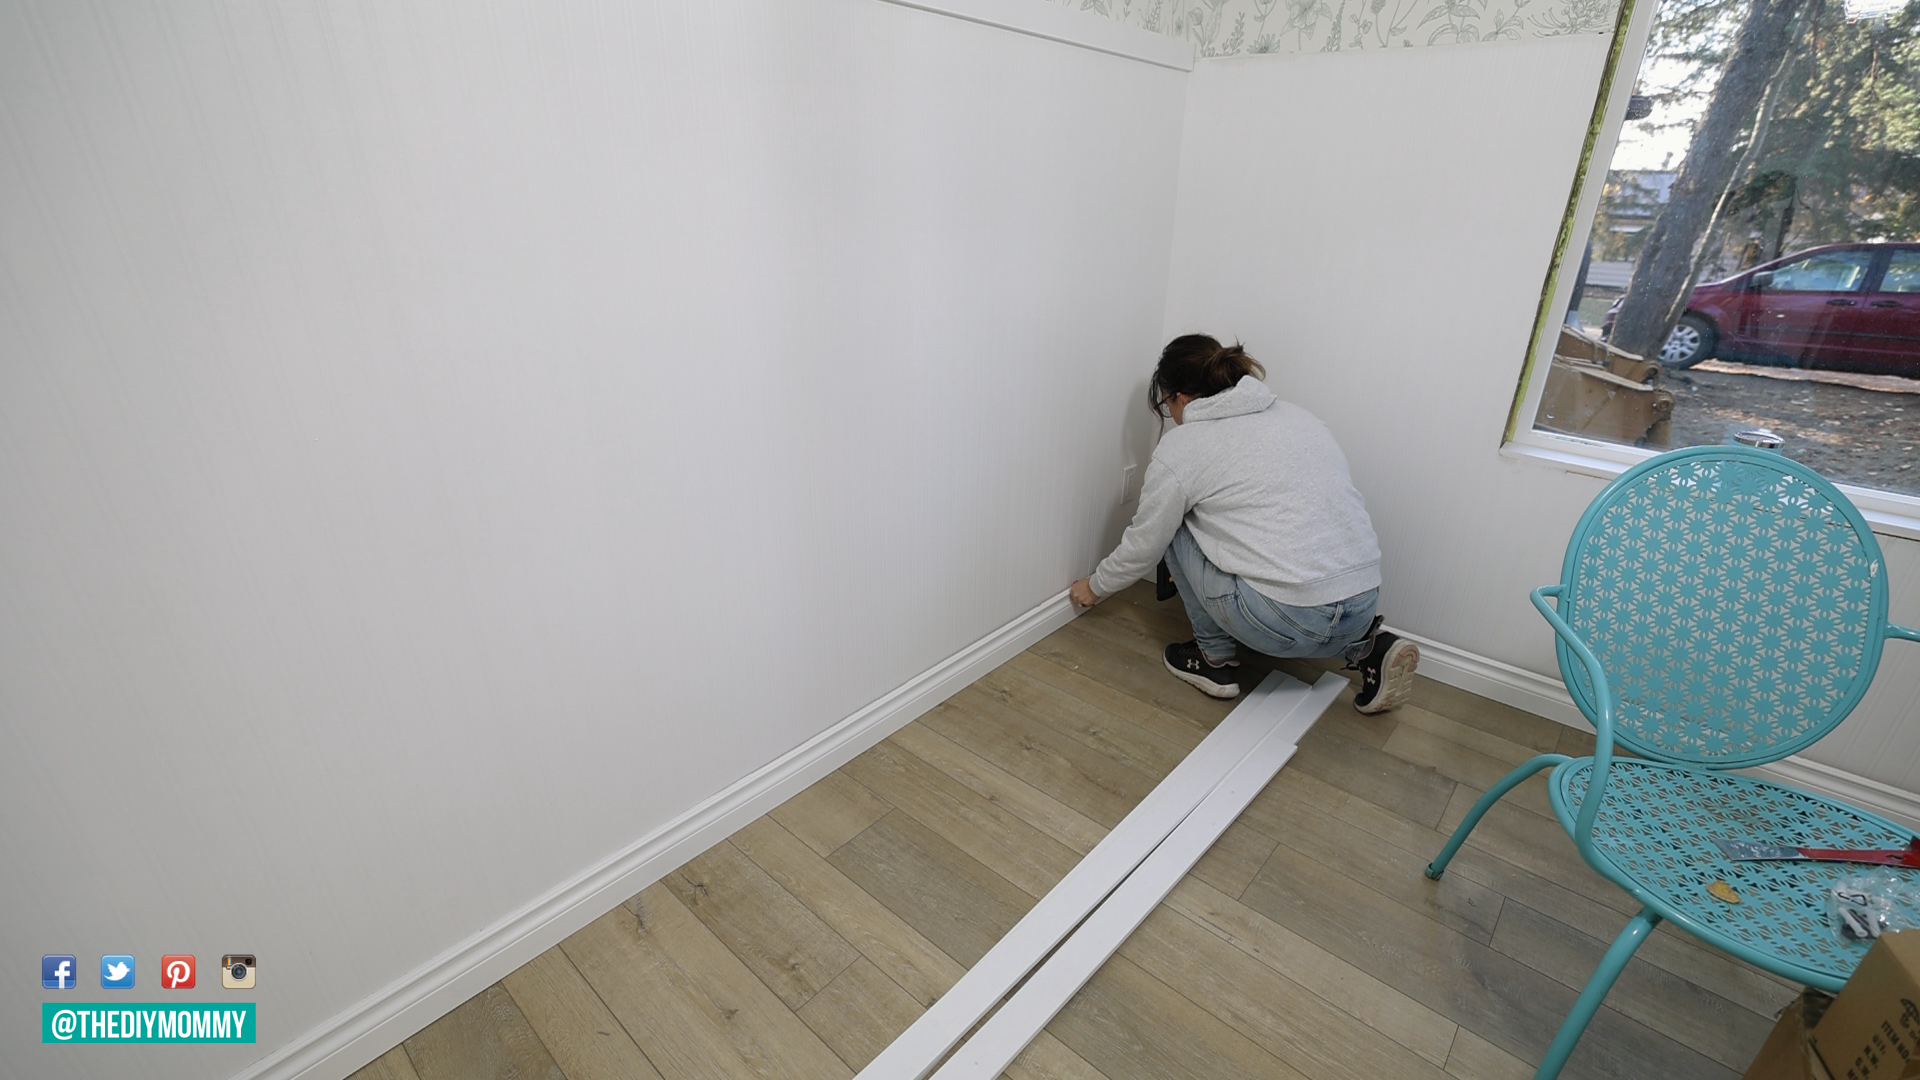
Finishing the Installation with Trim
After finishing the flooring installation, I installed all of the baseboards for a finished look and to cover the expansion gap. You can pre-paint your baseboards, then install them with a finishing nail gun, then caulk them and complete the look with touch-up paint.
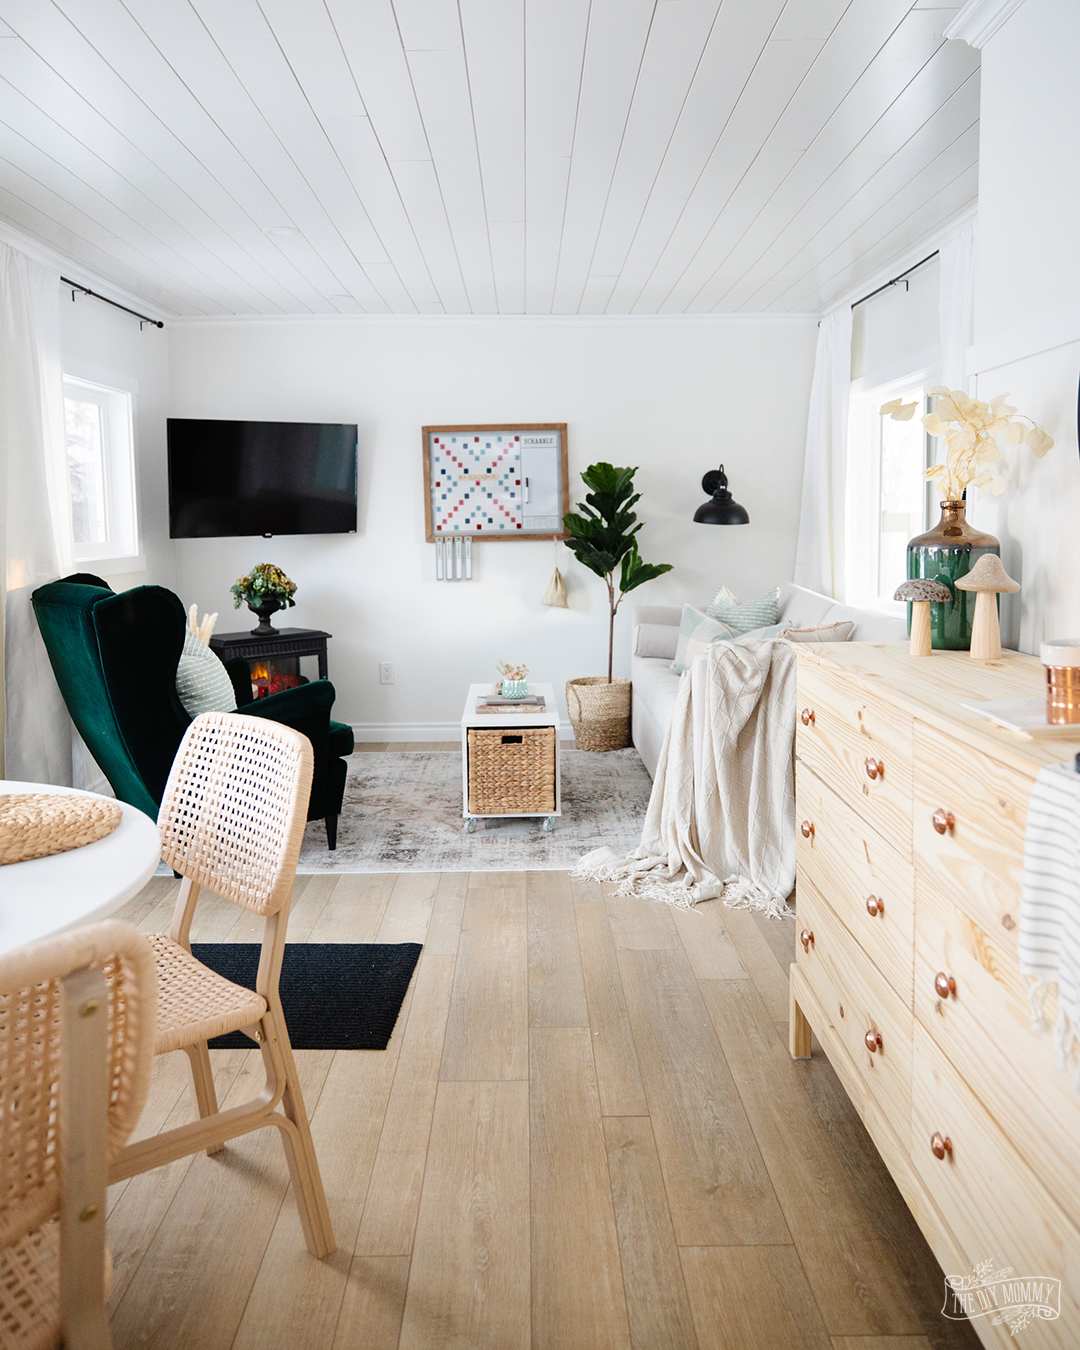
I LOVE the colour and texture of this new floor, and it looks beautiful in our entire cabin. We’ve had it in this cabin for over a year, and in our other vacation rental for almost 3 years and both floors have held up beautifully. Installing DIY vinyl floor is a fantastic DIY project that’s sure to give you amazing results too!
Vinyl Plank Flooring FAQs
You can, though you want to make sure that the existing flooring is clean and level. I installed some vinyl plank over some of the old vinyl sheet flooring in our RV. It was a thinner vinyl, so it didn’t impact the final look of the new flooring. You also want to think of any future renovators in your home: Will they want to deal with 2 layers of flooring if and when it comes time to replace it?
Yes, you can install vinyl plank over concrete (like what you might see in a basement). However, you need to add an additional underlayment to prevent moisture from the concrete from seeping into the flooring.
I think the advantages far outweigh the disadvantages of vinyl plank floor, however here are some of the downsides: it’s not eco-friendly, it’s hard to repair (taking out one plank is near impossible), and it can look cheap if you don’t buy the right product.
Tell me: What do you think of this luxury vinyl plank flooring? Would you ever try installing vinyl flooring yourself? Happy DIYing!