Kids’ Table and Fireplace Wall Makeover with BEHR Paint
This post may contain affiliate links · This blog generates income via ads
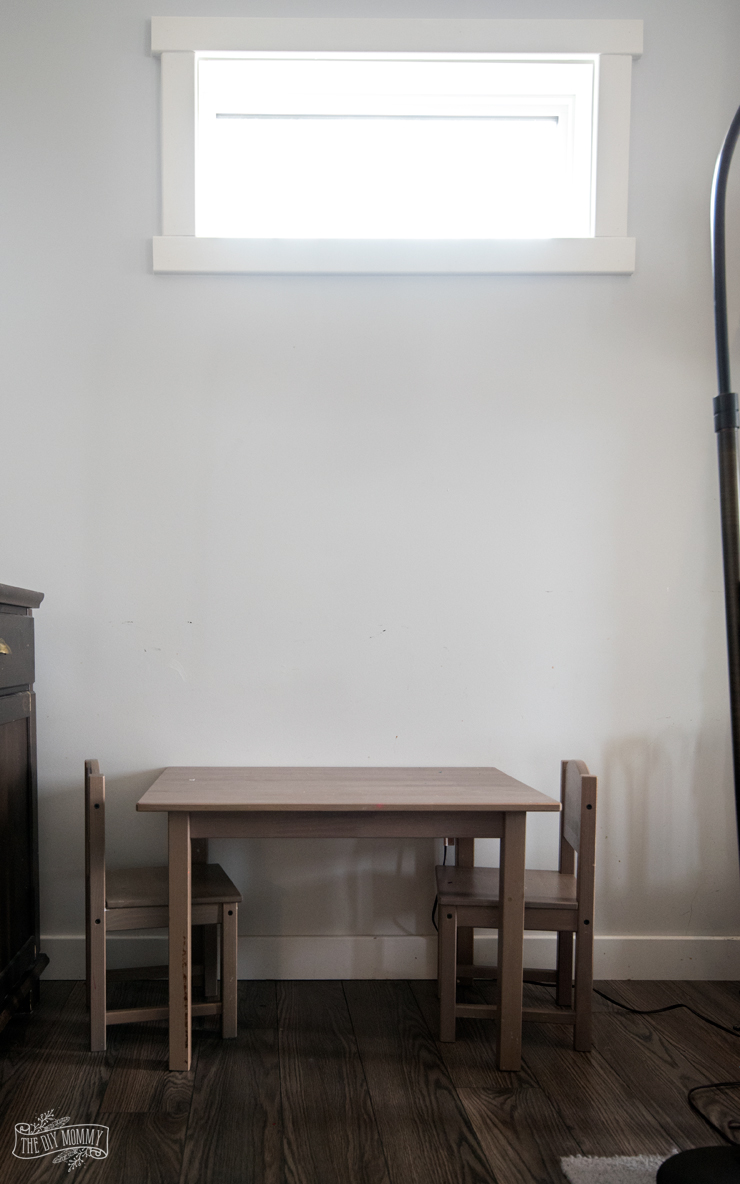
There’s a corner of our living room that I rarely share on my blog and social channels because it used to be so… BLAH. The spot? The kids’ craft corner that features their little play table and the fireplace wall:
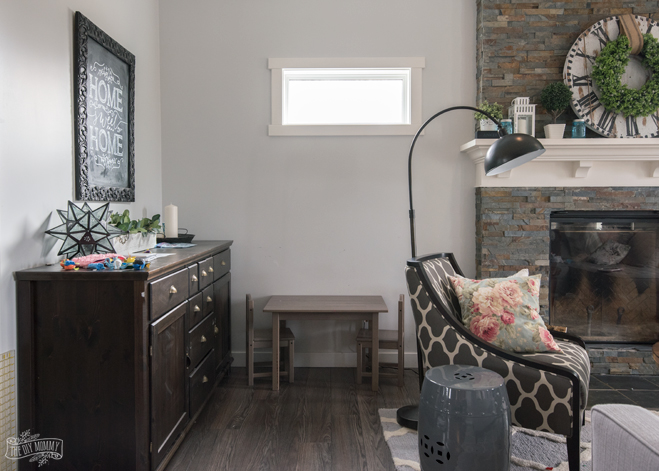
When I had the opportunity to work with BEHR® on a makeover, I instantly knew that THIS was the spot on our main floor that was desperately in need of a paint revival. Look how dull this sad little corner is! The cute little table was a gift from my mom to the girls, and they love it so much. However, the grey of the table with the grey wall the grey-ish floors and the brown craft cabinet wasn’t very inspirational. I needed to infuse some colour and texture into this little corner to inspire my girls to get crafty!

I’ve wanted to add some architectural detail to this wall – our fireplace wall in the living room – for a long time anyhow, so this makeover was a two-in-one. I chose some fun, fresh and dramatic colours for both the kids’ table makeover and the fireplace wall makeover so that this crafty corner could be brought to life.
Whenever someone asks me for my favourite way to make over a space on a budget, I’ll say “PAINT!” every time. You can change the look of a space or an item dramatically with a fresh, new colour of paint and it’s a relatively easy DIY!
Here’s how I made over our kids’ play table and fireplace wall with BEHR paint, and how you can do a table and board & batten wall makeover too.
To make over the kids’ play table set:
Start by giving the table and chairs a good clean with a grease removing cleaner.
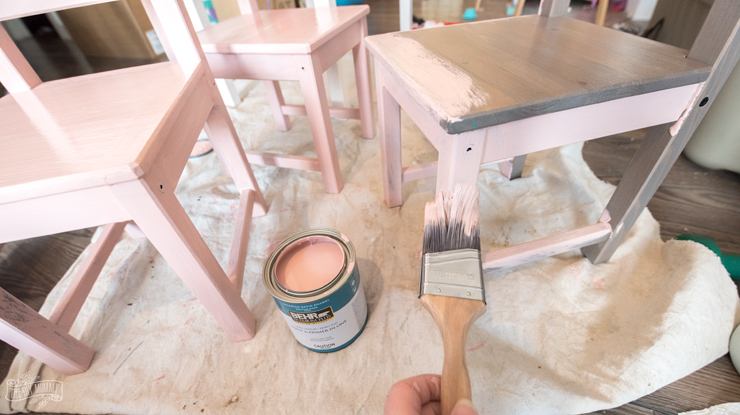
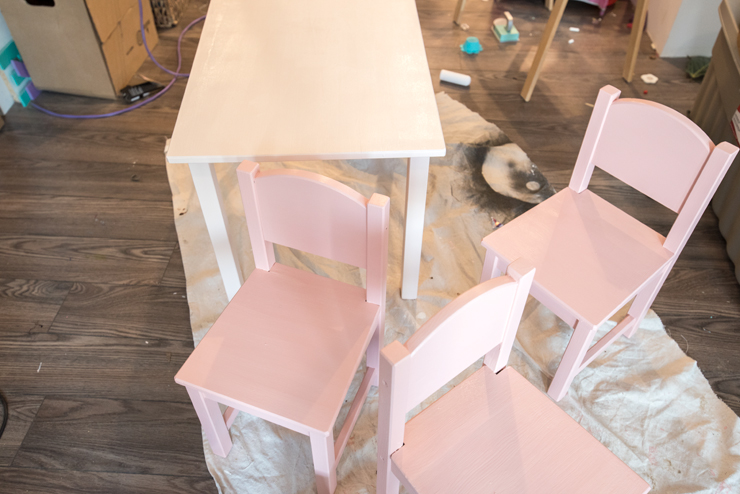
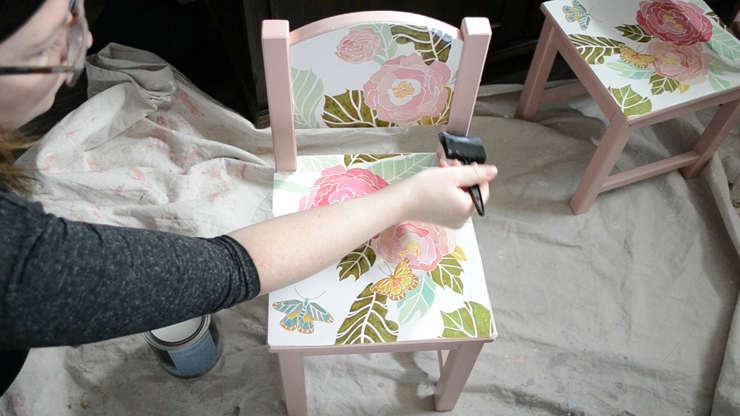
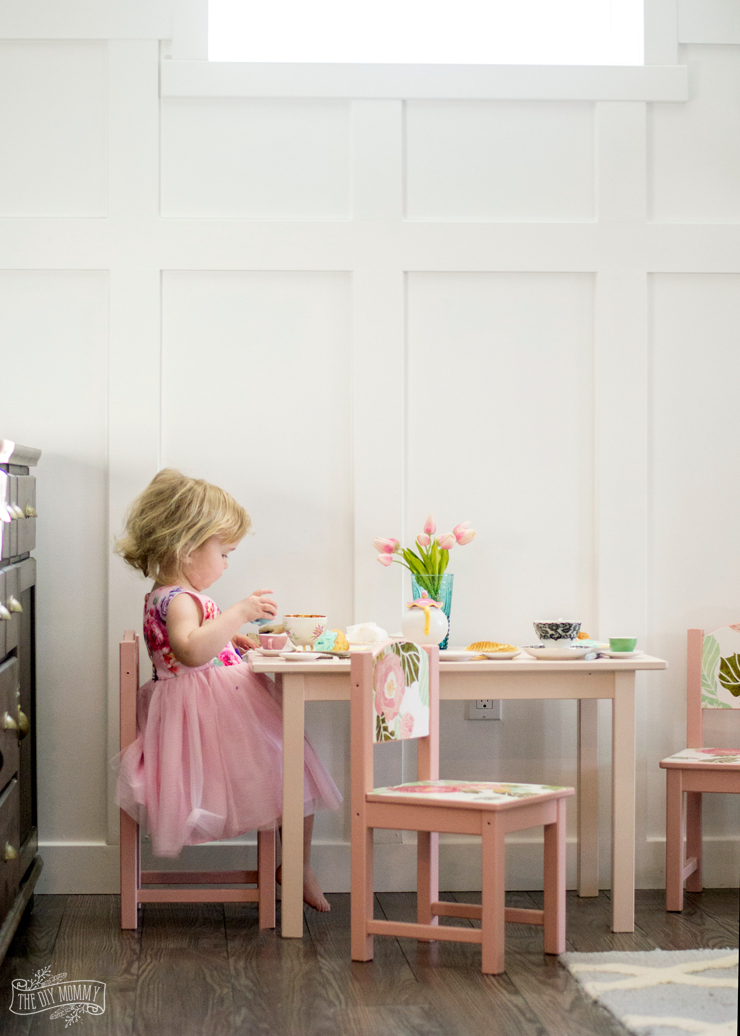
Next, use an angled paint brush to paint the more detailed parts of the table and chairs like the legs. For my project, I decided to use BEHR’s Everything’s Rosy for the chairs and Life is a Peach for the table. I love how warm this pretty pinks are!
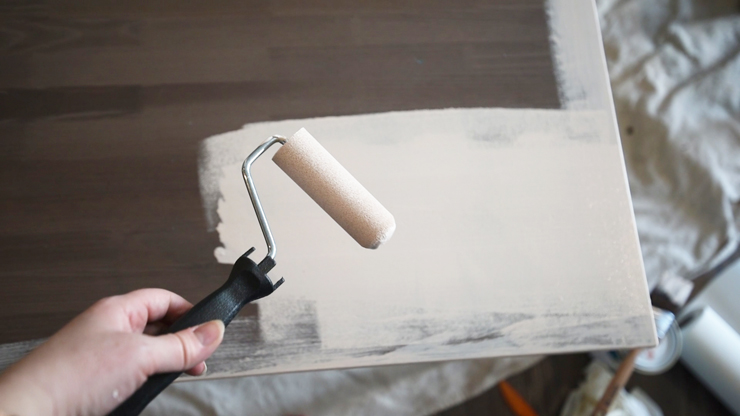
Then, use a foam roller for the large areas of the table and chair like the top and seats. I love using foam rollers on furniture because they give a nice, smooth finish.
I only needed a couple of coats of BEHR PREMIUM PLUS® Interior Paint & Primer in One to cover our dark table and chairs. The coverage of this paint is fabulous!
To make the chairs in our table set a little more interesting, I cut out some pieces of floral wall paper the same size as the chair seats and backs.
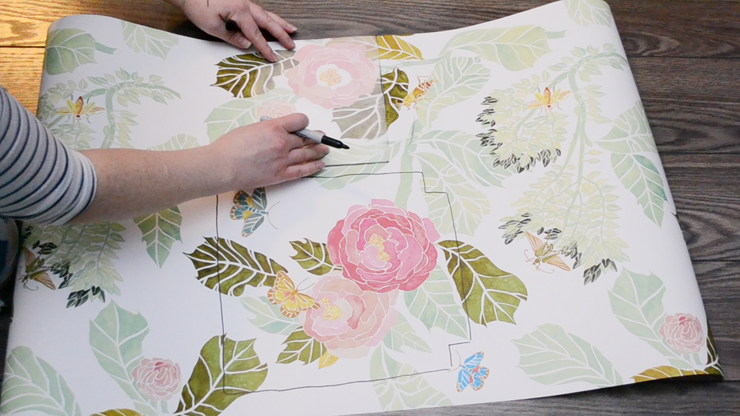
To make the templates, I used waxed paper and a felt pen. Then, I applied the wallpaper to the chair seats and backs as per the wallpaper installation instructions.
Once the paint (and wallaper, if you’re using it) is dry, seal everything with some polyurethane sealer. I used 2 coats. I like to use this type of sealant on anything that’s high use like a kids’ table set.
Before:
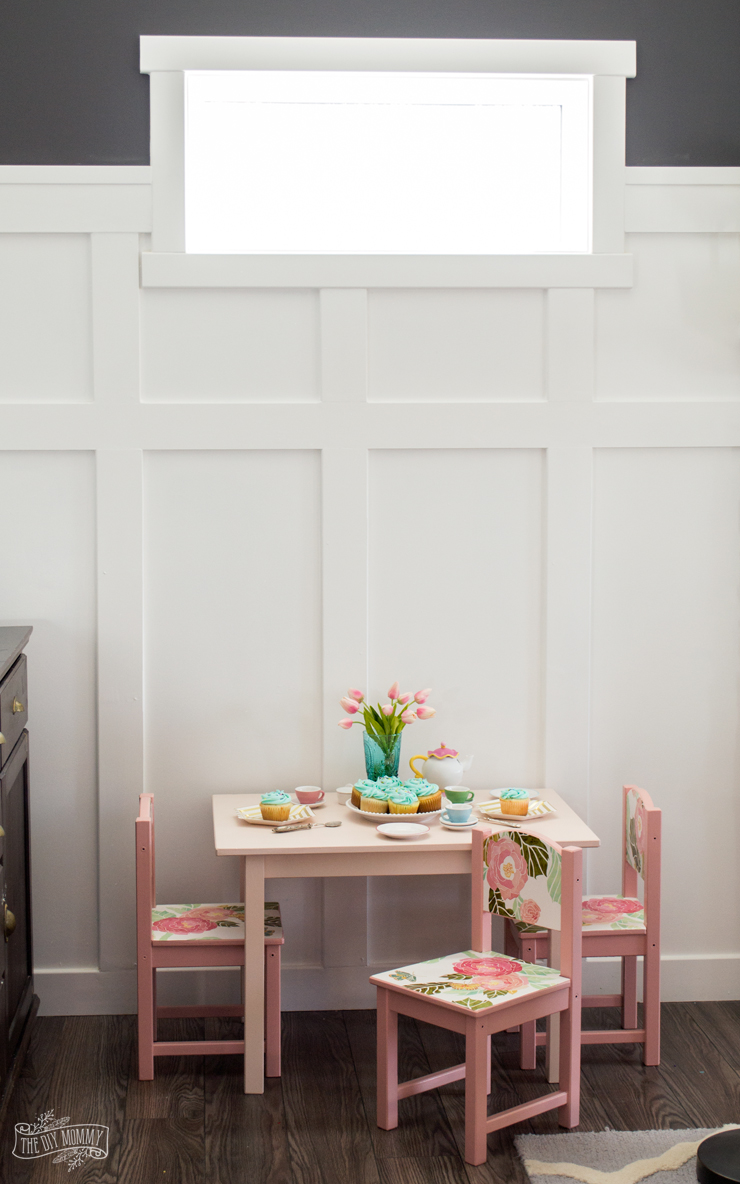
After:
To make the board and batten two-tone wall feature:
I’ve DIY’d a couple of board and batten walls in the past (like my hook wall and my bathroom walls), so I’ve been able to pick up on a few tricks to make these look really professional.
First of all, decide on how high you want your board & batten trim feature wall to be. For our fireplace wall, I decided it would look nice to have the white board & batten go 2/3rds up the wall (6 feet high).
Next, decide how far apart you want your “battens” to be. I like mine to be more than a foot apart, but no less than 18 inches apart.
Then, measure and mark where your trim placement on your wall, have a look at it, and move the marks as necessary. I think it’s important to plan your wall first and draw it out to see how it looks. In our case, I was working with the two transom windows on either side of the fireplace, plus one wall is longer than the other. It took me a little bit of planning to decide how I wanted our wall to look.
For our board and batten trim, I decided to use baseboard trim and use a router to curve the bottom edge of the baseboard. That way, I didn’t have to do anything fancy to join the vertical boards to my current baseboard – the thickness of the trim matches.
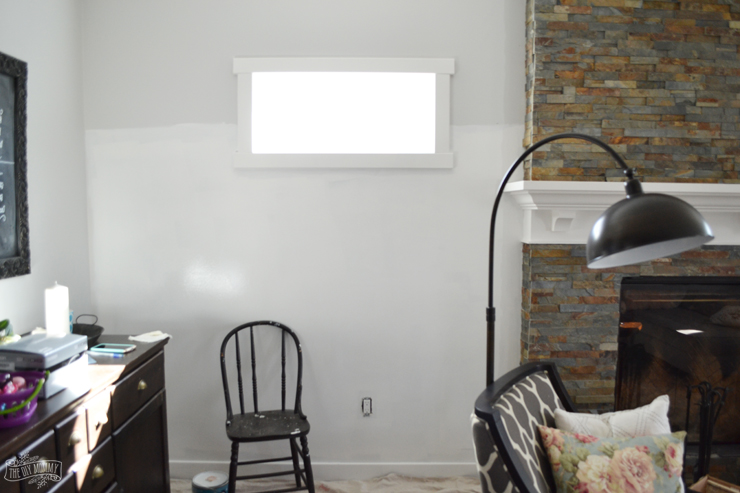
The next step is to put one coat of paint on your wall in the colour of your board & batten trim and roughly where you want it to be installed. I’ve learned this the hard way. It helps to have at least one coat of paint down before you start your trim work – it makes it easier to paint afterwards! BEHR PREMIUM PLUS ULTRA® Interior Paint & Primer in One covers really well and blocks stains, so it was a great choice for this project.
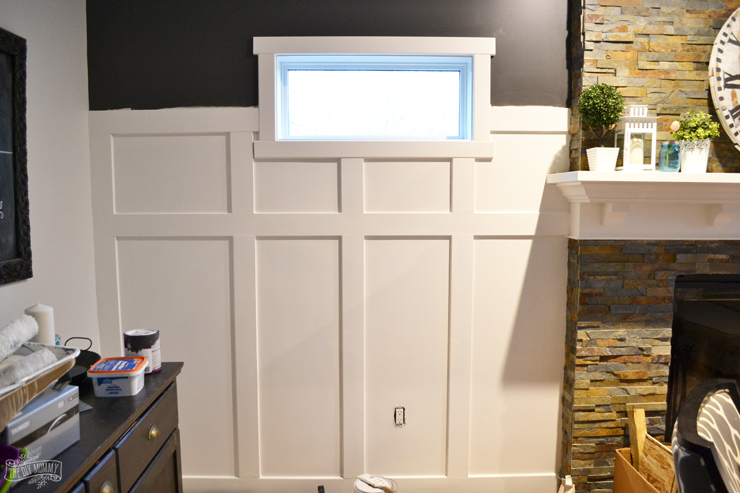
I used BEHR’s Whisper White for the board and batten area…
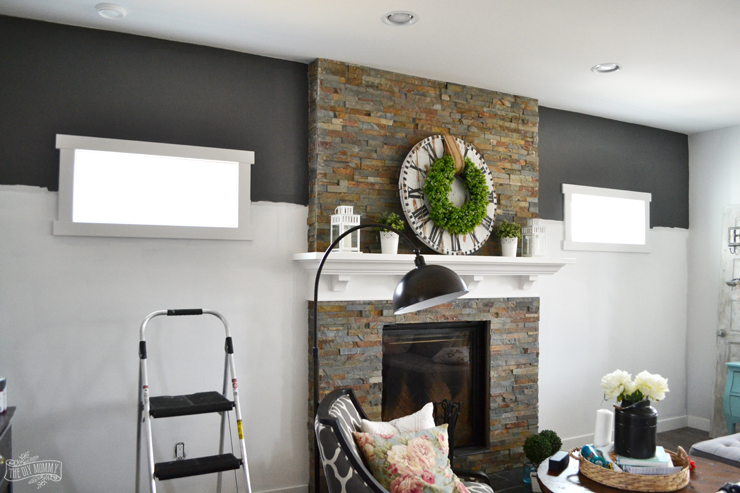
… and I decided to go a little dramatic for the top third of the fireplace wall and paint it with BEHR’s Shades On – a lovely, rich charcoal colour.
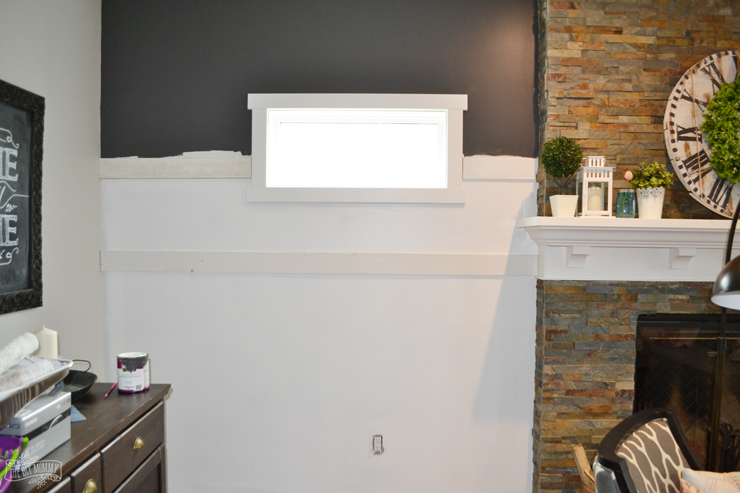
Next, measure and cut your horizontal trim boards with a cross cut saw and install them carefully on the wall with a finishing nail gun. Use a stud finder to nail the trim into the studs in your wall. I used a measuring tape and a level to ensure my trim was straight on the wall. I decided to have two horizontal pieces of trim for my board & batten, but I’ve also done walls with just one.
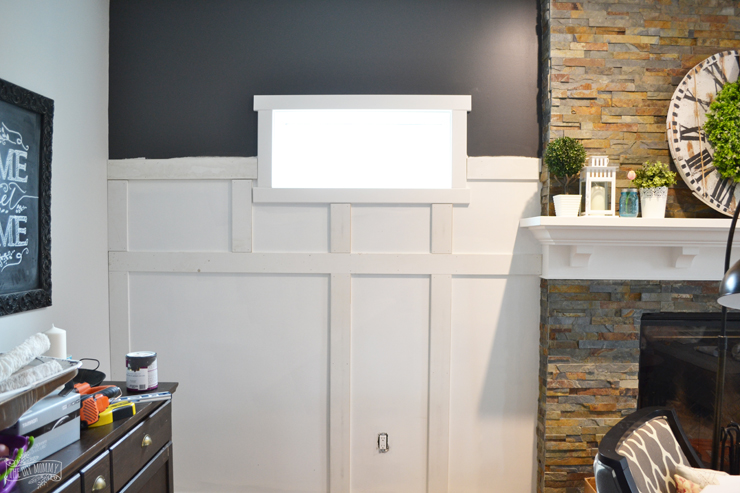
Next, measure and cut your vertical battens. Install them on the wall with a finishing nailer and a little construction glue because they probably won’t be nailed into studs.

Then, fill in all of the nail holes and the joins with wood filler. I’ve grown to like this better for nail holes and joins than caulking because it doesn’t tend to shrink. I do use caulking to fill and smooth where the trim meets the wall.
Once the wood filler and caullking is dry, sand out any rough spots and paint everything with one or two coats of paint.
I decided to add one final piece of 1 x 2″ trim to the top of my board & batten which you can see here in the final look.
Doesn’t it add so much character and depth to this wall? The trim work in BEHR’s Whisper White mixed with BEHR’s Shades On colour is so dramatic!
Before:
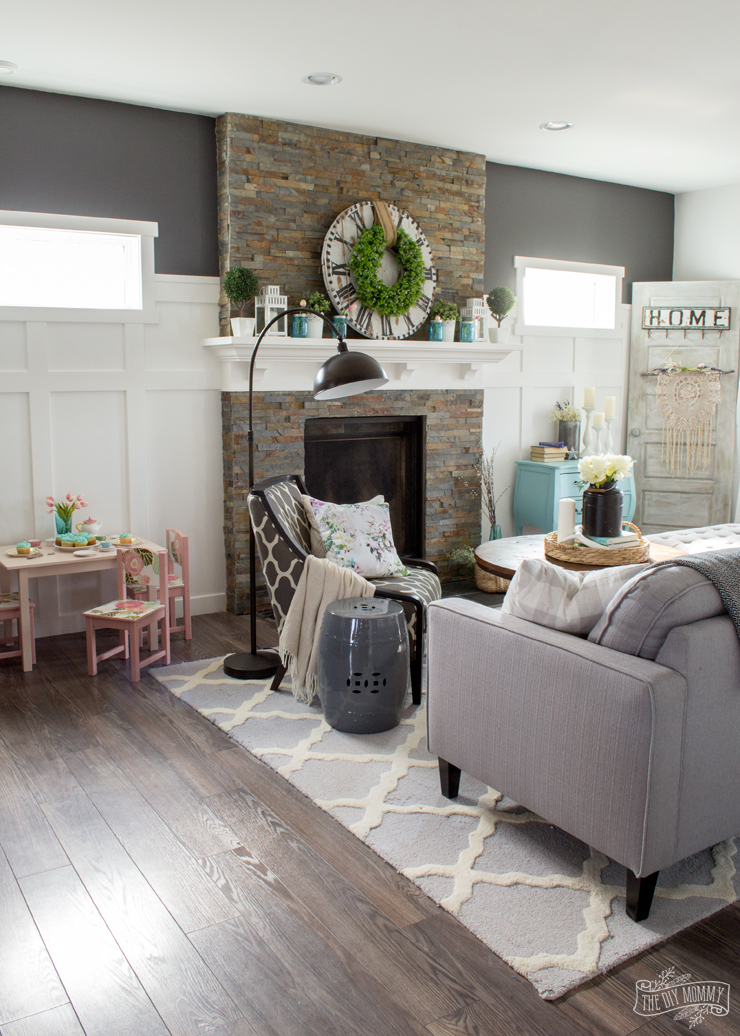
After:

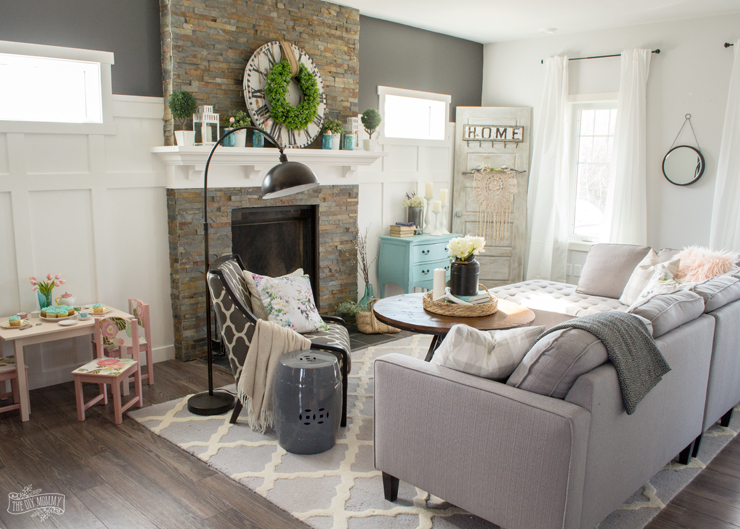
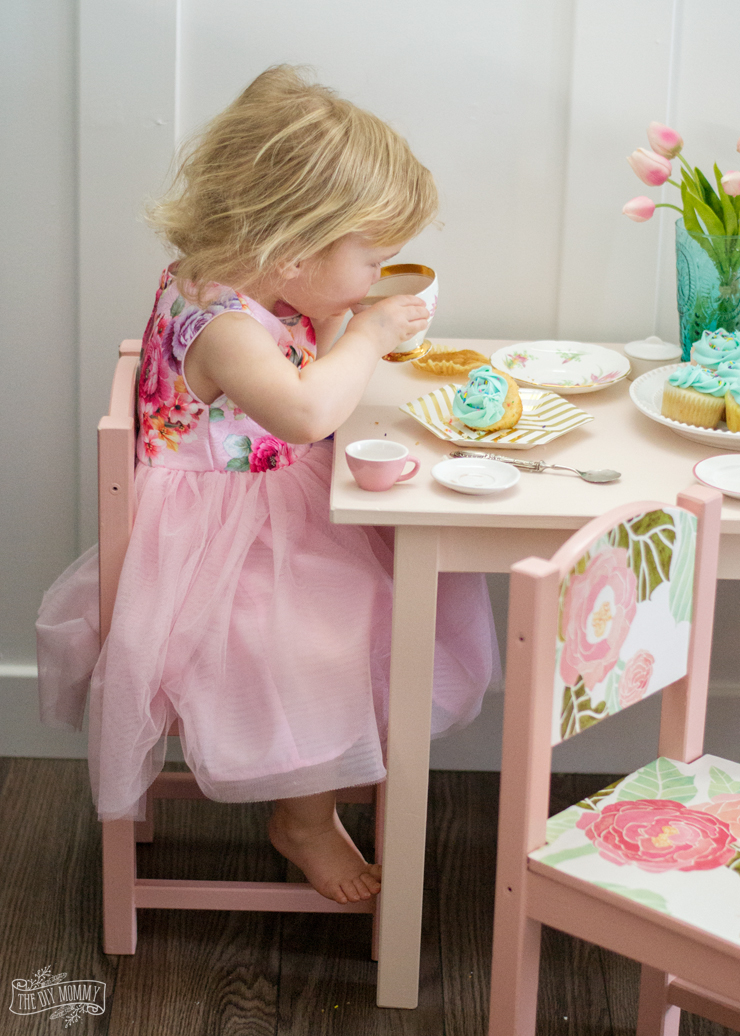
This little corner is now the perfect, most colourful spot for my girls to craft and play and our fireplace wall looks so good! I love how the fireplace now seems to be tied in to the rest of the wall.
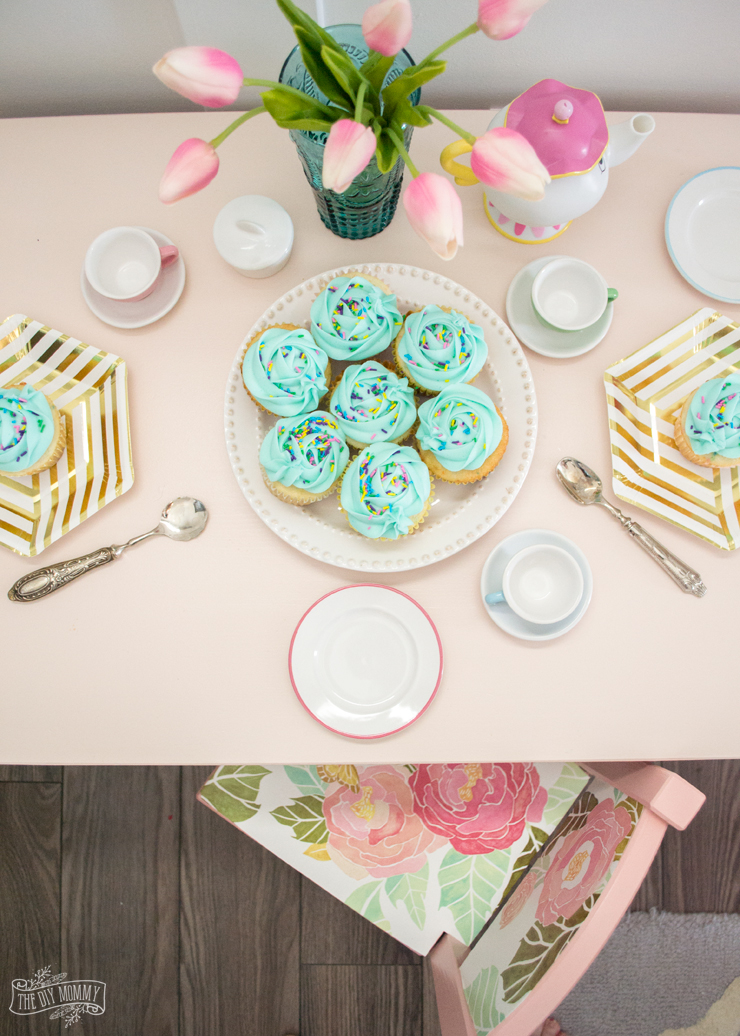
It’s the perfect place for crafting… or tea and cupcakes!
Disclaimer: This post is sponsored by BEHR. All project ideas, statements and opinions are my own.
Hi love this look! I’m looking to do this type of project with my daughters table in her room. Where did you get that wallpaper from ?
Thank you Kathryn!
Christina used some wallpaper that she had left over from another project. Its from Anthropologie https://www.anthropologie.com/shop/watercolor-flora-wallpaper
You can really use anything that you fall in love with 🙂
Thanks for stopping by.
Christina, your work is creative, artistic, and masterfully done! You brought out the “happy” in the table and chairs, and the “rich and gorgeous” in your fireplace wall!
Thank you so much, Sheree!
Wow, I absolutely want to do this in my front room.
We say…. DO IT!! 🙂
Love the not-so-mini makeover! What a nice way to update the room.
Thank you, Jane 🙂
The table looks so cute! My kids were just gifted a set yesterday and I already want to paint it. Probably green because it’s my favourite colour, but the soft pinks look very nice with the dark grey above the batten. Great post!
Thanks so much, Larissa.
Hope you have a blast transforming your table ?
I love how the kid table and chair set came out, and your wall is gorgeous! Great job!
Thank you, Lauren.
I love how the corner turned out! It is so cheerful and girly!
Thank you so much, Mary:)
Stylish table for study and i am sure kids will happy to see this. Its a wonderful job..
Thank you ?
All the furniture items are beautiful and stylish, specially i like the kids tables and chairs.
Thank you so much, Topaz.
Hi, for the Board and Batten paint did you use Semi-Gloss on both the trim and the wall?