Make a Bridal Bouquet of Fabric Flowers
This post may contain affiliate links · This blog generates income via ads
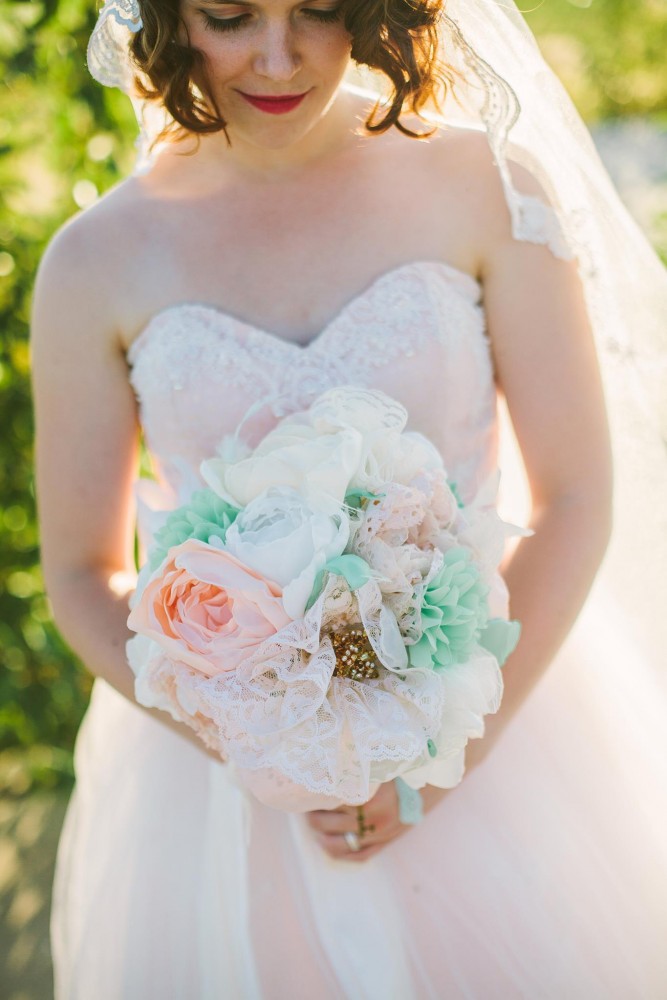
My sister got married last year, and her wedding was a whole lot of vintage-y gorgeousness. It was beautiful! You might remember this vintage wedding mood board I made based on her wedding, her vintage bridal shower tea, and her DIY Juliet cap veil. Today, with tips and help from my sister and my mom, I’m sharing with you how we made my sisters exquisite bridal bouquets out of fabric flowers.
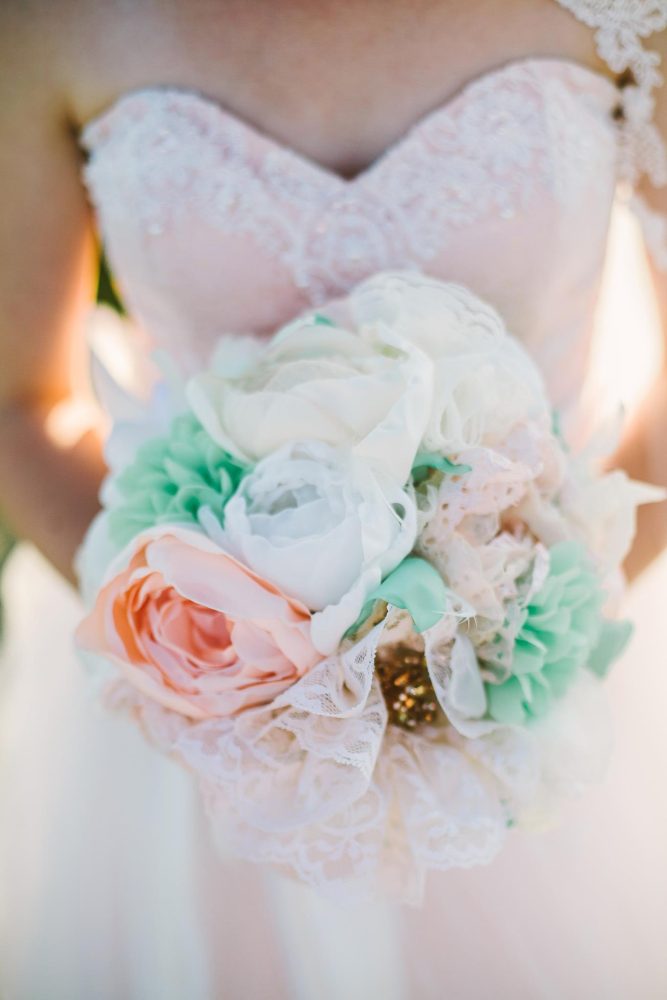
I think her bouquets turned out so, so pretty – it made me wish I had made fabric flower bouquets for my own wedding! Using this technique to make the flowers, the wedding bouquets looked almost real and completely unique.
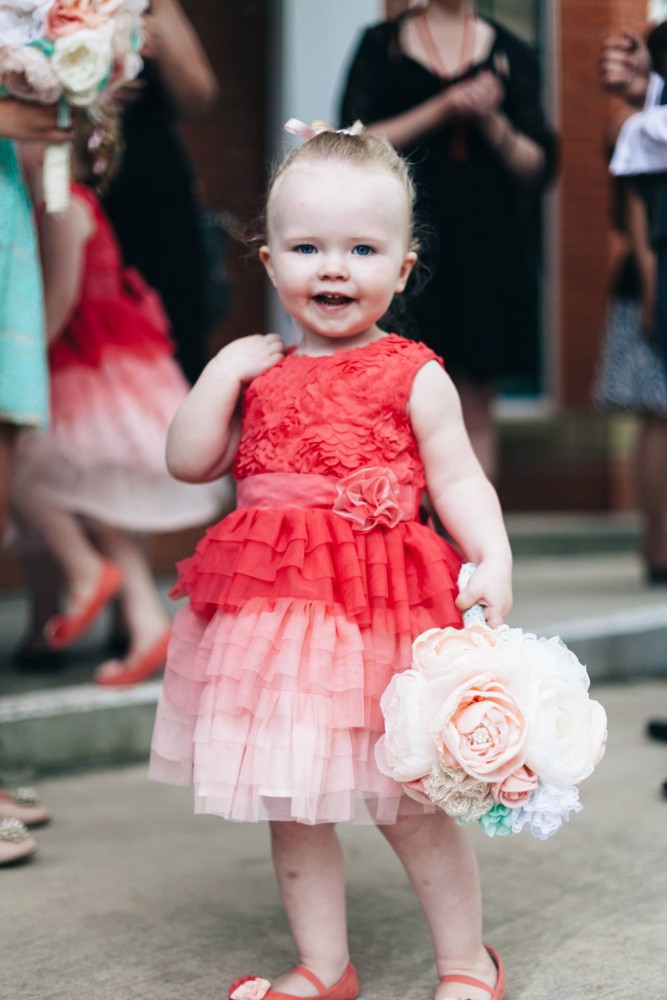
Photo credit: David Matthew Photography
We made my daughters some mini fabric flower bouquets in a smaller scale, and they were adorable! We still have these bouquets and I use them as decor in our sitting room.
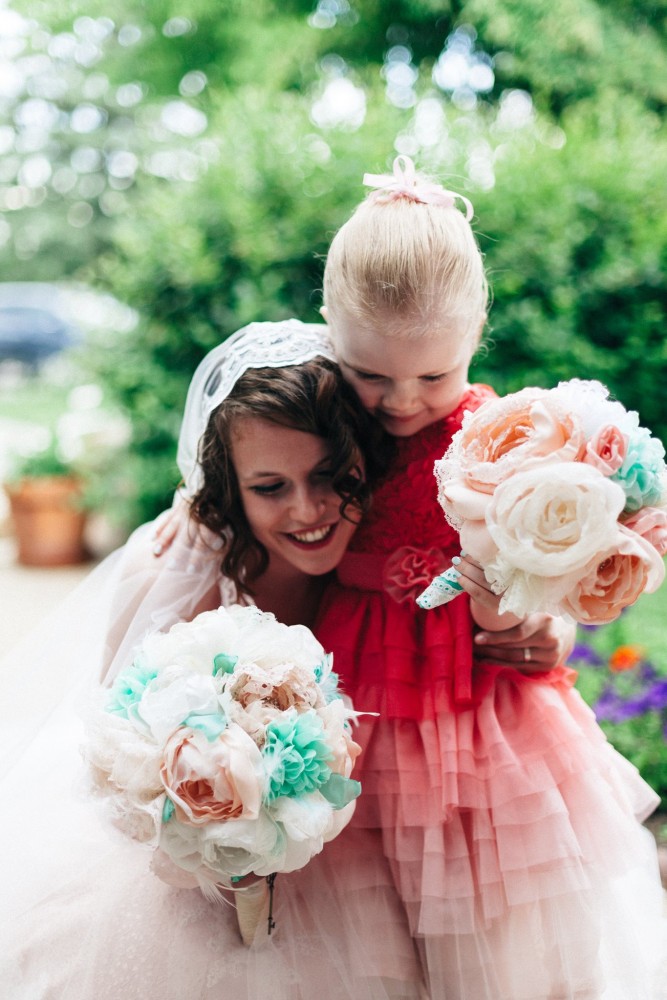
Photo credit: David Matthew Photography
Fabric Flower Bridal Bouquets DIY
What you’ll need:
- about 25 assorted handmade flowers per (large) bouquet
- of course, we used this method that I’ve written about previously to make our roses / peonies, and there are about 3 flowers per colour/type in the bouquet
- my mom made faux fabric succulents using mint green lining fabric and a method similar to this one
- the lace ruffled flowers were made by ruffling wide lace trim, rolling it into a spriral, and sewing to secure
- vintage (or vintage-look) keys for embellishing (these are the ones my sister used)
- floral pins (these and these are the ones my sister used)
- pre-made flowers for filling and sparkly brooches for centers of some flowers (she used this shop)
- feather boas to pluck feathers from (we used an off white and mint green one)
- an 8″ foam ball
- neutral fabric scrap to cover the foam ball
- a dowel (for the handle)
- lace trim and ribbon to wrap around the dowel and base of the dowel
- glue gun
Directions:
- Cut the dowel down to the desired size you’d like your “stem” to be. Ours were about 7″ long.
- Trace the circle of the dowel onto the foam ball, cut a hole with a knife the size of the circle, and then dig down a few inches with a knife or sharp spoons.
- Glue the dowel firmly into the hole you’ve made in the foam ball with a glue gun.
- Cut a rough square of the neutral fabric large enough to cover the foam ball, wrap it around the ball, glue gun it in place, and trim off any excess.
- Use ribbon and lace trim to conceal the join of the dowel and ball, and wrap it around the dowel stem as desired. My sister finished the ends of her lace trim on the dowel by putting in a few pearl pins like you would on a real bouquet stem.
- Arrange your fabric flowers onto the foam ball as desired. You can use the floral pins to place the flowers temporarily as you play with the arrangement.
- Once you’re satisfied with the arrangement of your flowers, pull them out one-by-one, put a little glob of hot glue on the foam ball where the flower was, and then place the flower and pin back down onto the ball and hold it in place until the glue adheres. Repeat this with all of the flowers so that they’re secure on the foam ball.
- Glue brooches into the centers of some (or all!) of the flowers.
- Pull feathers from the boas and insert them into the bouquet where desired and secure with hot glue.
- Tie a vintage key to the base of the stem with some lace trim if desired.
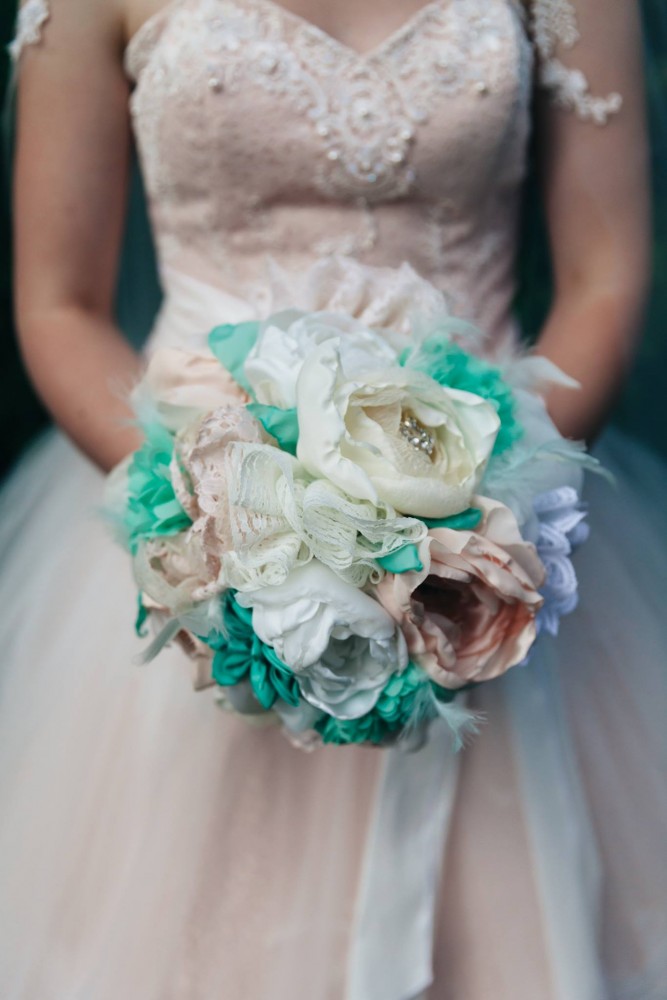
Photo credit: David Matthew Photography
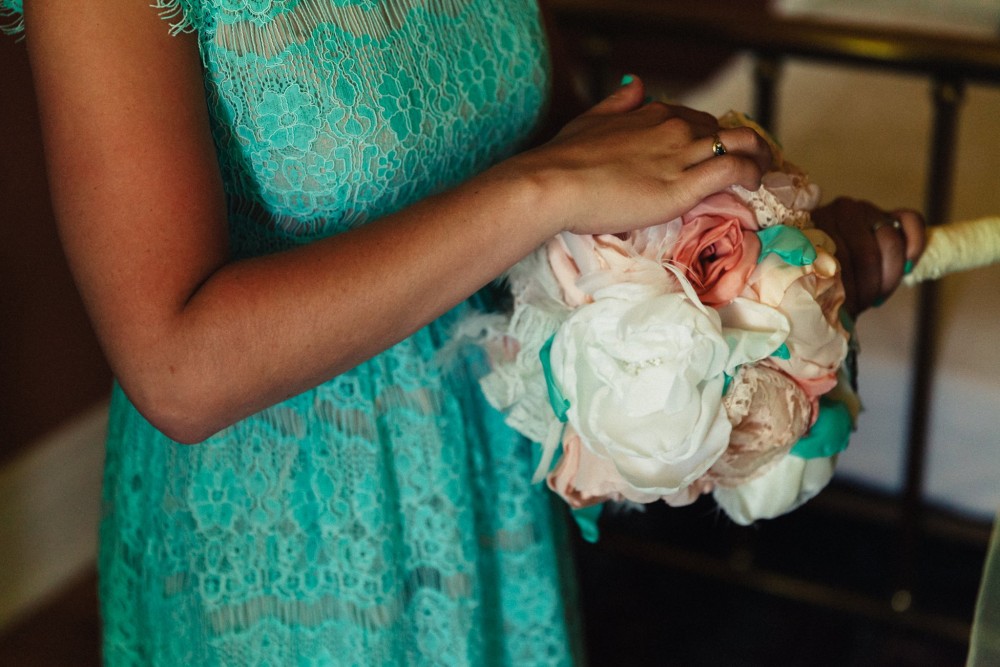
Photo credit: David Matthew Photography
Thank you, Edmonton photographers Nathan Walker & David Matthew Photography for allowing us to share your beautiful photos of my sister’s special day here.
oh that’s so cute ~
bellissimi fiori, brava ciao.
Hi there Christina, I am a big fan of fabric made bouquets and I usually advise people to use them because for one you can save a lot as compared to buying another bouquet. also I love the directions that you have given, so easy to follow. I am goign to try this one out. Thanks for sharing.
Cindy
It is beautiful. The colors are very refreshing 🙂 I got married March last year and did my own bouquet. But I like this more 🙂
Thanks, Rai!
Hi i’m stella from south korea.(so..my english isnt perfect:))
Your website is sooooo cool. And is really useful to me.
Actually i had to know how to make fabric flowers because of my graduate show.
While i was finding method, finally i found yours.
And yesterday i tried that with slik, hard organza.
But it didnt works…:( maybe my fabric was not correct thing..
So if you dont mind cound you tell me about fabric(for example, to buy fabric i went to market. There are very many kind of organza so i dont know what is appropriate)
Please..:( it is really important. Thanks for reading
Form stella
Thank you so much for sharing this! I am getting married in August and cannot afford a florist. I absolutely love the look of fabric bouquets and went on a DIY hunt for how to do them!
Seriously, So grateful for your page! <3
Congrats on your big day, Emily. Christina is SO SO happy that she was able to help you out 🙂
Remember to keep the bouquet after your wedding and use it in your home for some added decor and also great memory.
This is what ive been looking for. I made my daughters bouquet and one of her bridesmaids said she loved it and wants me to make hers. She is getting married on July 1st. I think the roses I’m making and thepoeny will do great. Her colors are purple and yellow and a turquoise. I can’t wait to make these flowers. Thank you for popping up when I needed you too. LOL
That is so wonderful, Michael. Christina, is so happy that you came across her page. Be sure to share with us your beautiful bouquet ?
My daughter was married last August, I made all 9 bouquets ,15 boutonnieres & 8 corsages, 4 flower girl balls & flowers to decorate the outdoor ”altar” using your method. They turned out absolutely gorgeous, although it took me HOURS, or rather 3 months of working on them as much as possible with assembly line style & several helpers. Its amazing how many different looks you can get though. My sister is getting married this Oct & has asked me to make her bouquet too but fortunately it will be only 2!! So glad we found your site when we were looking. Had tried several other methods but did not like them.
Wow Sharon, you get Mother of the year award for making all the flowers for your daughters wedding. Christina is so happy that you found her tutorial helpful.
Have a great wedding for your sister as well!
Hi Christina,
You really did a great job and made a such beautiful bridal bouquet. Bouquet grabs the people attention and you have a good knowledge of color combinations.
Thanks for sharing the technique and wonderful ideas with us.
Thank you, Anand
Making a fabric hand bouquet is not that easy. Thank you for sharing this post. It really inspires to the readers. A flower hand bouquets consisting of plush roses, lilies or hydrangeas make for gorgeous all-occasion gifts, that would impress even the fussiest person you know. Great post!
Thank you!
Hi Christina! Thank you SO much for posting this tutorial. I am making my bouquet for my wedding in October from my mom’s wedding dress! (cue scary, intense music). She told me I could have her dress because she didn’t want it to sit in my Grandmother’s basement for the rest of its life, so I started cutting and dying her dress yesterday after reading and re-reading your tutorial. I can’t wait to share pictures with you!
Congrats on your wedding! How very exciting and oh so special to be using your moms wedding dress. We’re so excited to see your bouquet when your done.
???????paylaşım için teşekkurler