Make a No-Sew Splat Mat
This post may contain affiliate links · This blog generates income via ads
By Christina Dennis
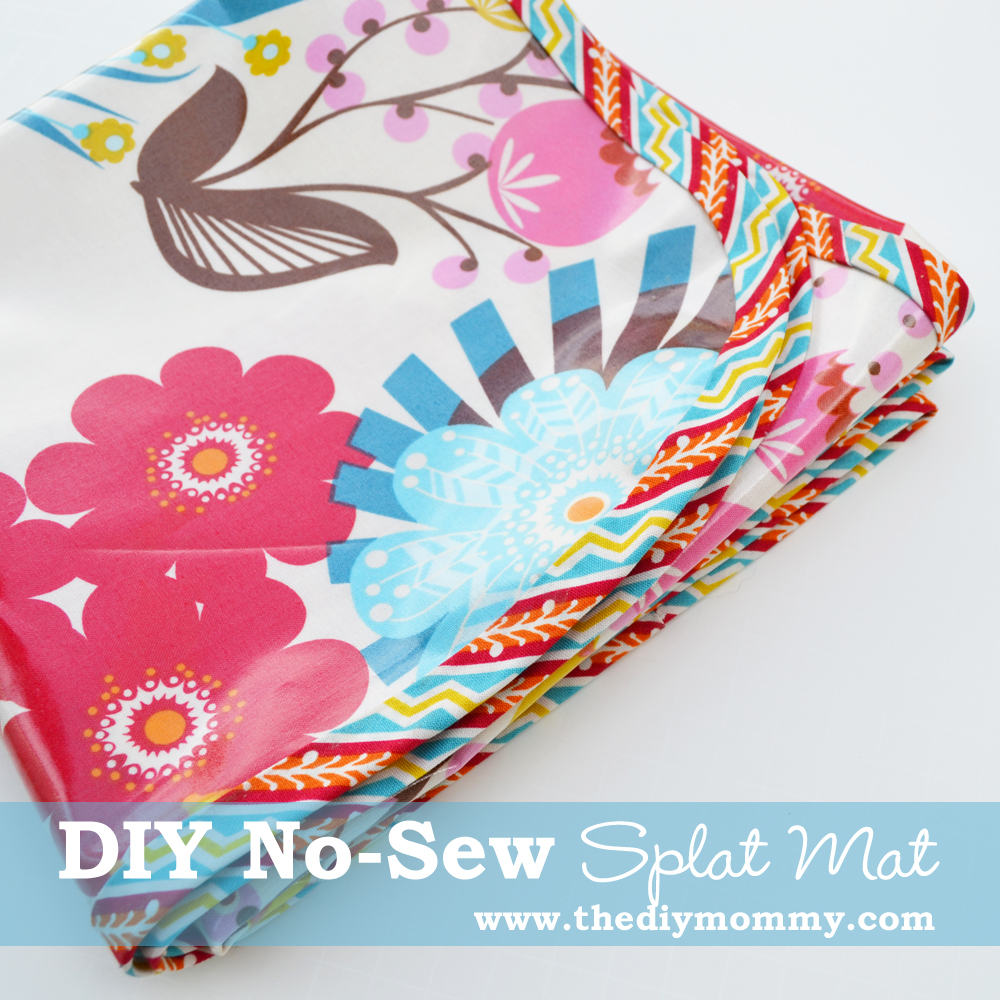
When babies begin eating solids, they’re SO messy! No matter how many bibs you put on them or how high their high chair, food will make it’s way to the ground. Also messy? A busy little toddler who loves to paint, to colour and to snack. I have one of each type of mess-maker and I’ve found the perfect, easy solution – a “splat mat” (or “messy mat”)!
I can place this wipeable, machine-washable mat underneath my baby’s high chair or on the floor for my toddler to snack or craft on. This is such a simple DIY project, and I’ve created a way to make an adorable, unique splat mat that requires NO SEWING!
Materials:
- 1 yard laminated cotton fabric (I used Anna Maria Horner LouLouthi Laminated Cotton Summer Totem Tart
)
- 4 yards double-folded bias tape (I accidentally bought single-fold, so I had to iron it again to make it folded on both sides – oops!)
- permanent fabric glue (I found mine at Walmart)
- a plastic lid and Q-tips
Directions:
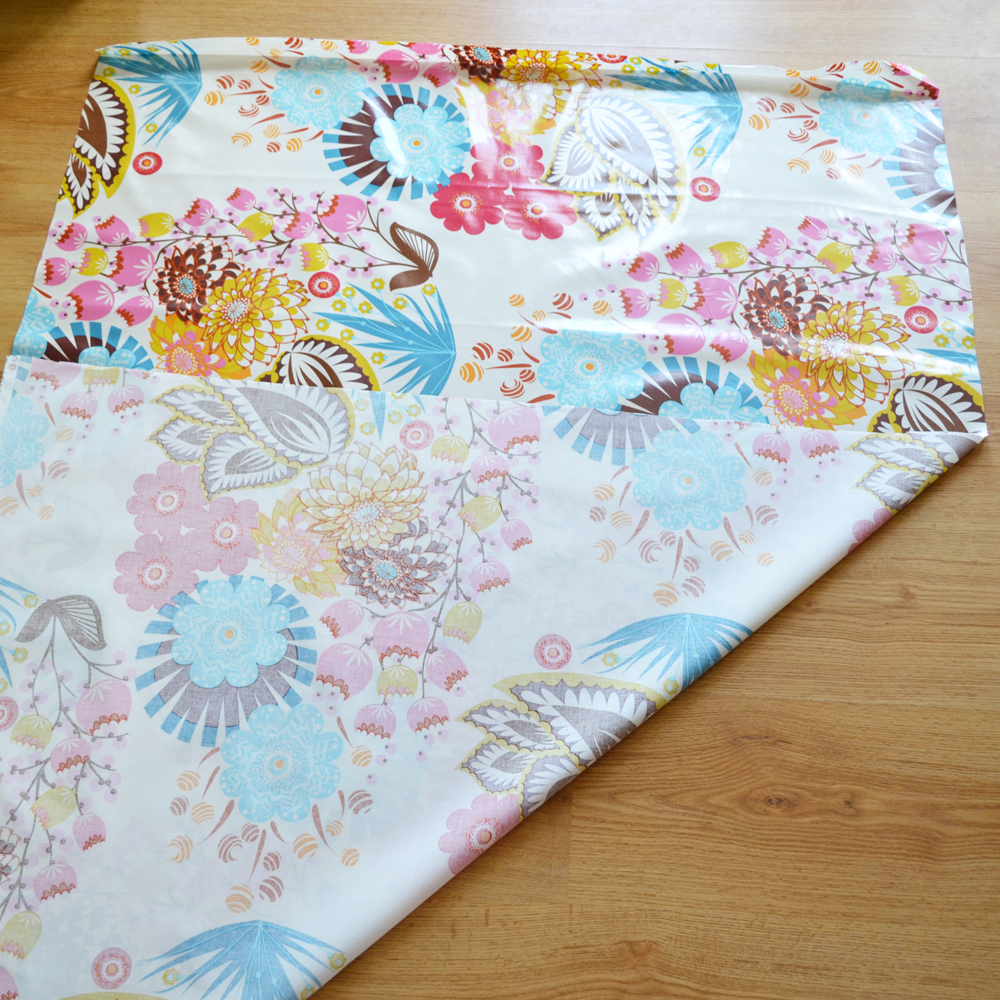
You’ll need to cut a piece of your laminated cotton that is exactly a yard square (36″ x 36″). If your ends are cut straight, you can fold them up to the sides as pictured and cut the excess off the top. Use a ruler/square if you need to to get the square absolutely straight.
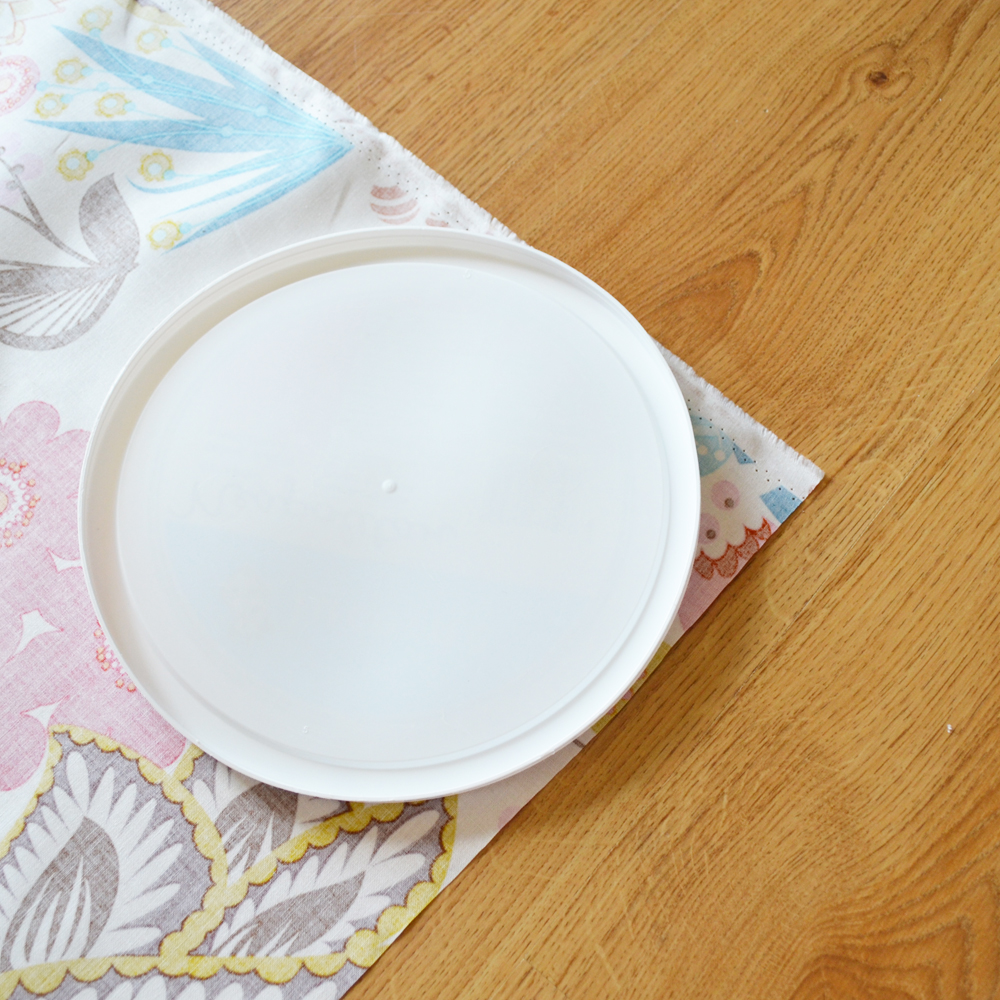
Align the sides of a round lid to the sides of your fabric’s corners. Trace the rounded edge and cut to create rounded corners on your mat.
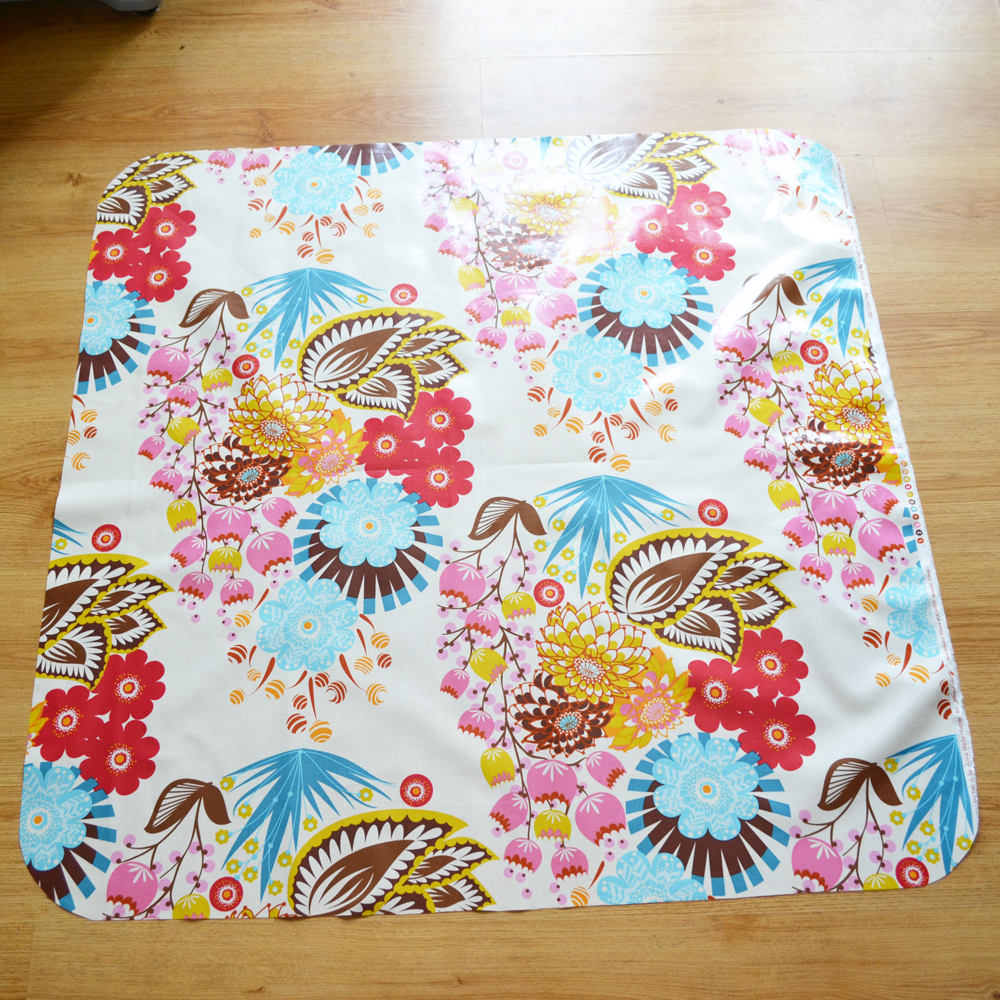
You now have a square piece of fabric with rounded corners.
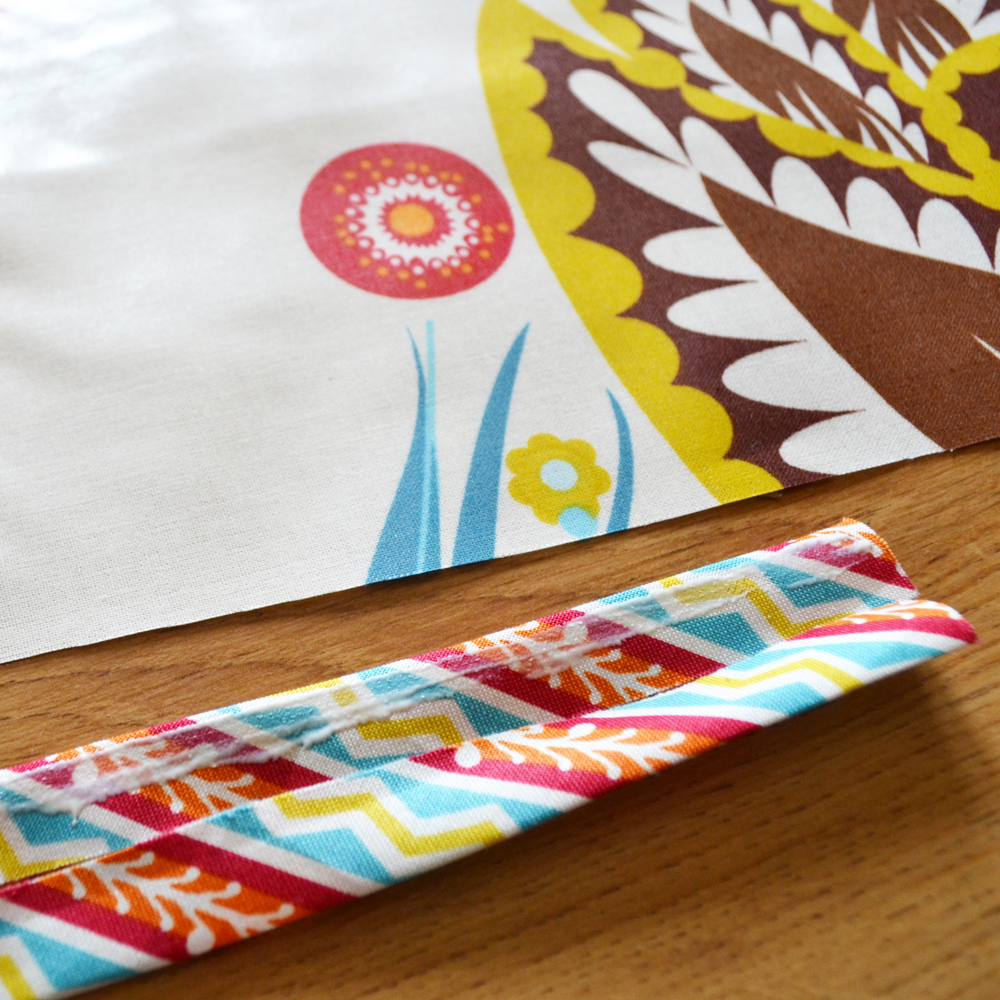
The fabric glue I purchased stated that I could not apply it directly (check yours for instructions), so I put some in a lid and used q-tips to apply it to my fabric which worked really well. However the instructions on your fabric glue tell you, apply fabric glue to the underside edge of your bias tape – as close to the fold as you can (as pictured above). I applied the glue in about 6″ increments.
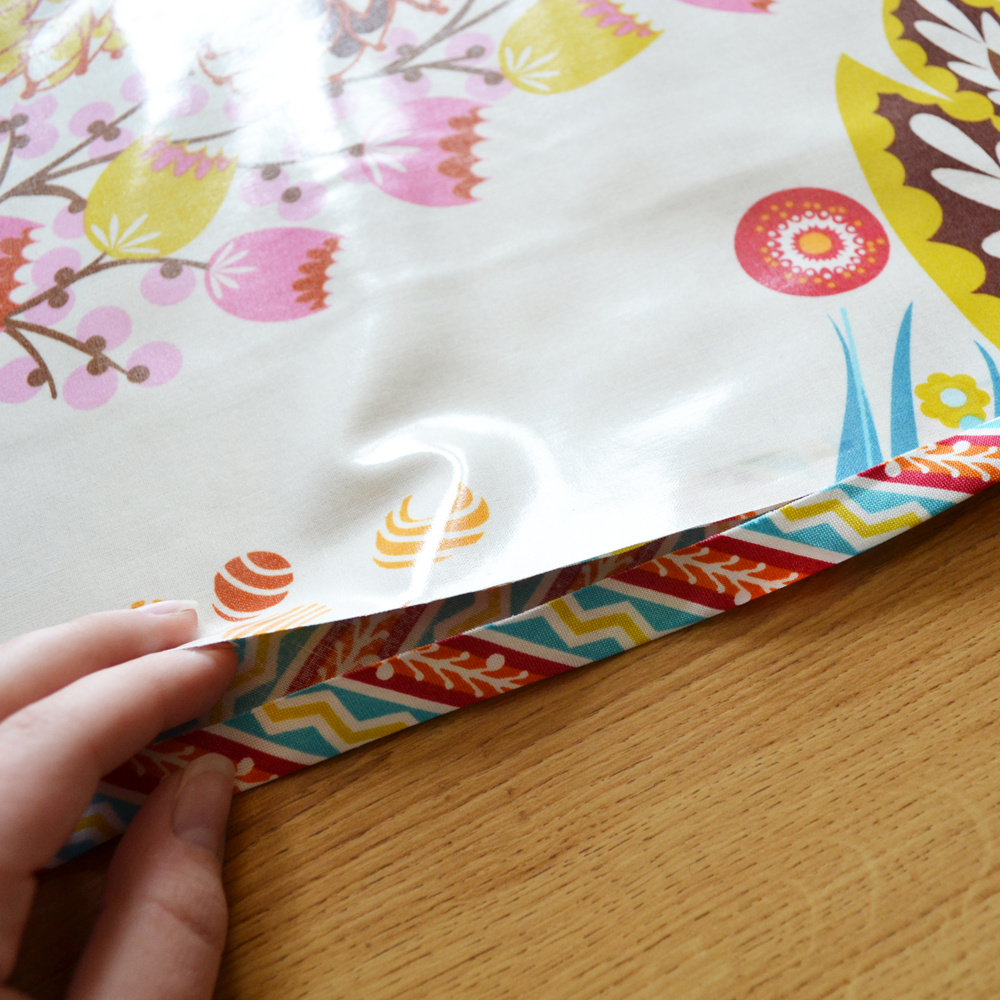
Beginning in the center of one of the sides of your fabric square, gently slide the bias tape under the laminated cotton, lining up the center of the bias tape with the edge of the laminated cotton. Gently press the laminated cotton onto the bias tape and smooth it with your finger to eliminate any air bubbles.
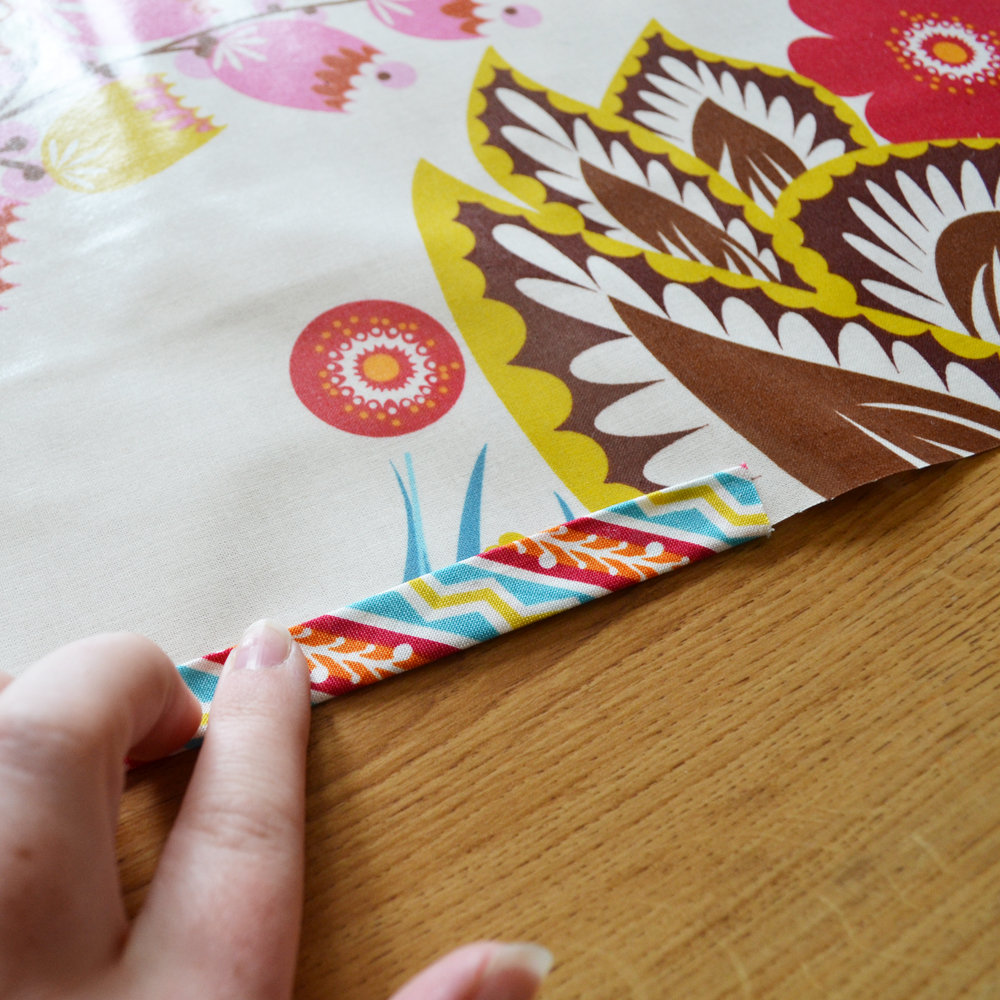
Now, apply glue to the other side of your folded bias tape, close to the edge of the opposite fold (another 6 inches or so). Fold the tape over the edge of the laminated cotton and press & smooth with your finger.
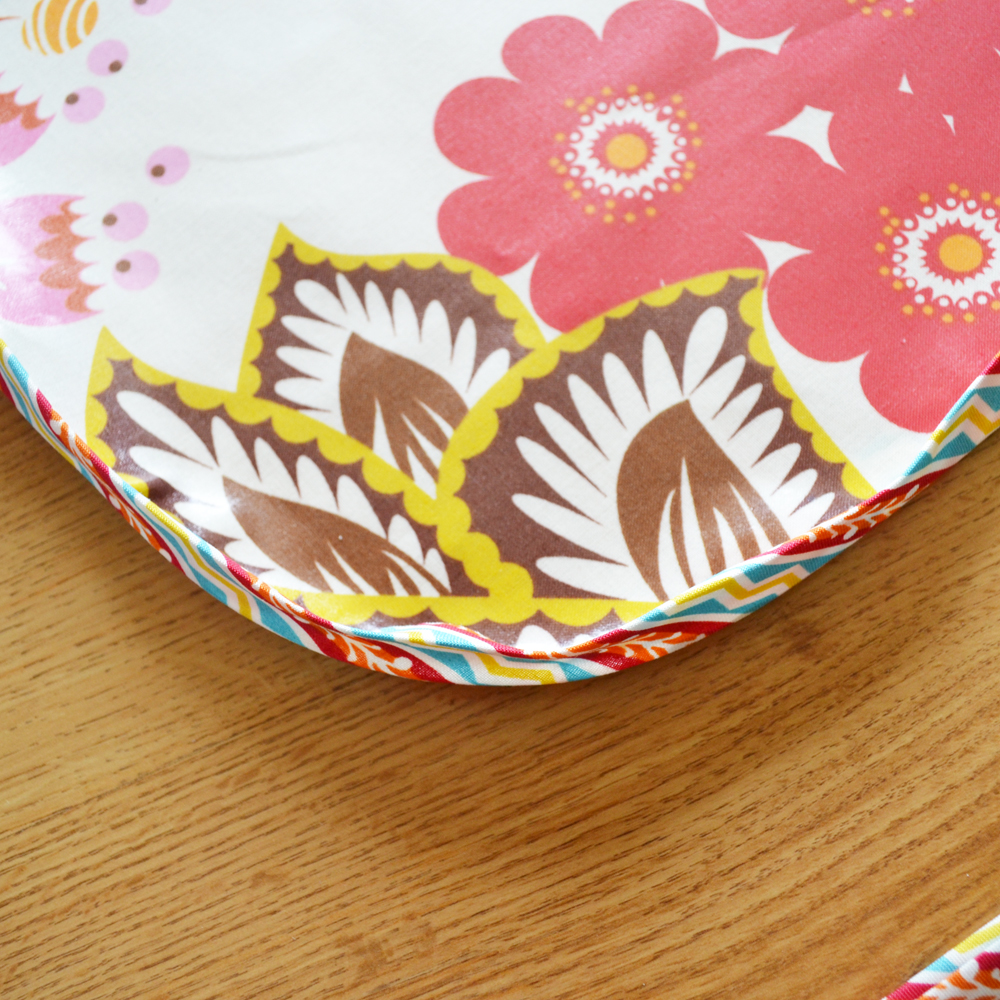
Repeat this procedure in 6″ increments until you reach a corner. I found it easiest to apply glue to the bias tape that would reach around the entire corner. The trick to getting the corner bias tape nice and smooth is to pull the bias tape gently as you smooth it around the laminated cotton corner. This keeps the tape from puckering.
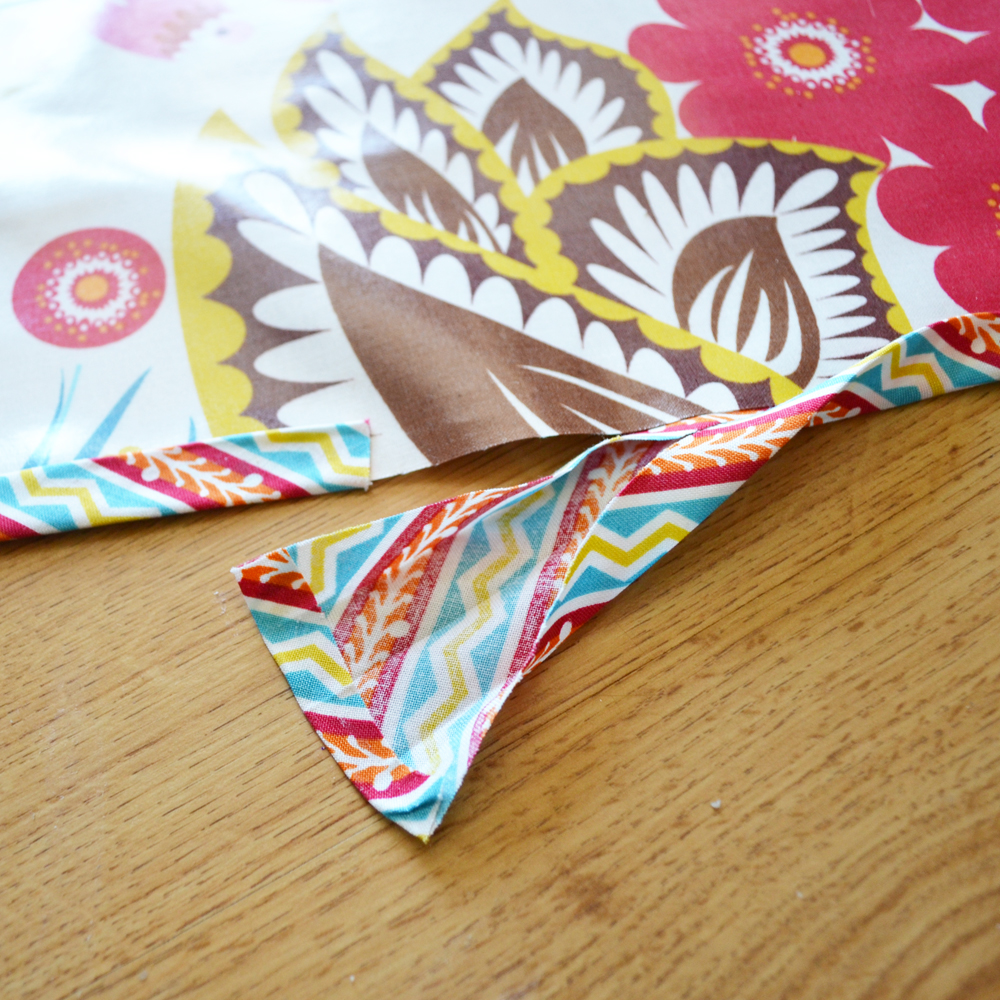
When you are about 6″ away from the start of your bias taping, cut the remaining end of the tape to be about 2″ longer than where the tape ends should meet. Open the tape up completely, and then fold down about 1/2″ of the end of the tape to the wrong side and glue into place. Re-fold the tape as before.
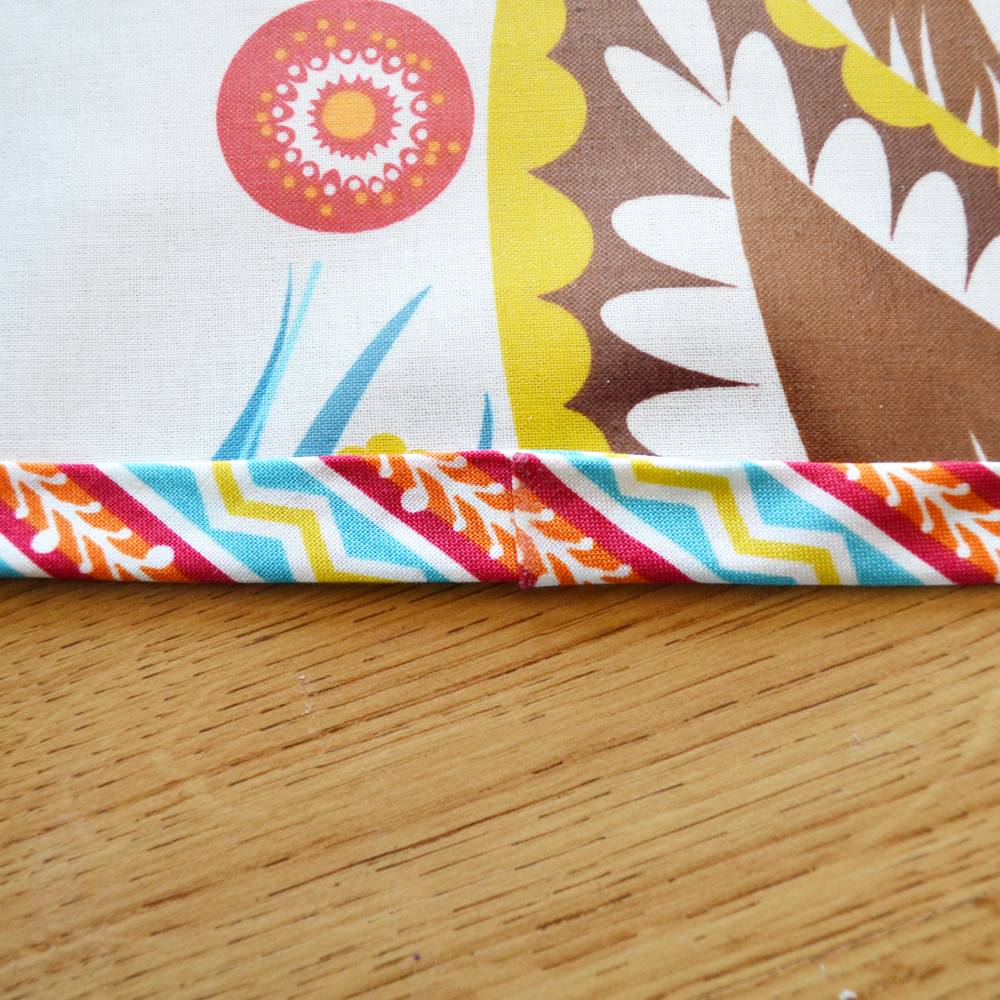
Glue the remaining bias tape down as before. You’ll have a nice, neat finish with no raw edges showing.
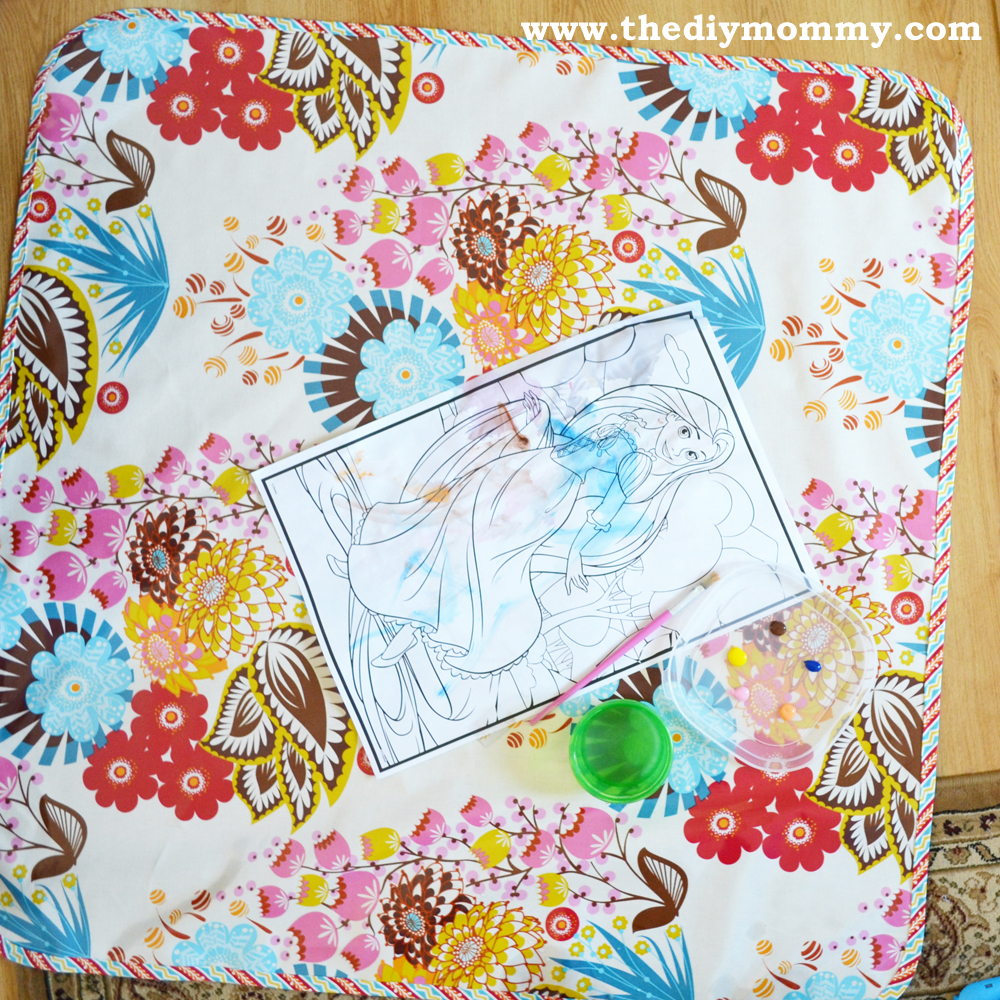
That’s it – you’ll all done this simple project! Use your messy mat around the house for easy clean-up! You can wipe it or machine wash it when it gets extra messy.
Christina Dennis is the creator and designer behind Golly Gee Baby, a collection of unique and colourful baby clothing and accessories that are ethically manufactured.

Hi! Great idea and it looks gorgeous. Thanks for the post! Where did you get that beautiful bias tape?
Thanks, Heidi! I bought the bias tape from Fabric.com also. Isn’t it fun? 🙂
Where did you get the pretty laminated fabric? Any chance you will be making more to sell? 😉
How has the fabric glue held up?
I had to put more on the corners after I washed & dried the mat. The rest seems to have held up, though!
Love this idea. I’m going to add it to my to-do list:) In the meantime, I’m opting for disposable splat mat options like these:
http://hintmama.com/2013/12/23/todays-hint-diy-disposable-high-chair-splat-mats/
Hoteluri Deva
Thank you a lot for sharing this with all people you actually recognize what you’re talking approximately!
Bookmarked. Please also discuss with my website =).
We can have a hyperlink exchange agreement between us
Thanks for the post!