• Skip to primary navigation
  • Skip to main content
  • Skip to primary sidebar
The DIY Mommy
  • Decor
  • DIY
  • Clean + Organize
  • Printables
  • Recipes
  • Life
  • The Academy
  • Shop My Home
  • About
  • Contact
    • Facebook
    • Instagram
    • Pinterest
    • Twitter
    • YouTube
menu icon
go to homepage
search icon
Homepage link
  • Decor
  • DIY
  • Clean + Organize
  • Printables
  • Recipes
  • Life
  • The Academy
  • Shop My Home
  • About
  • Contact
    • Facebook
    • Instagram
    • Pinterest
    • Twitter
    • YouTube
  • ×

    Home » DIY Family Food

    Make Handmade Strawberry Fruit Leather

    Published: Jul 30, 2012 by Christina Dennis · This post may contain affiliate links · This blog generates income via ads · 1 Comment

    by Christina Dennis

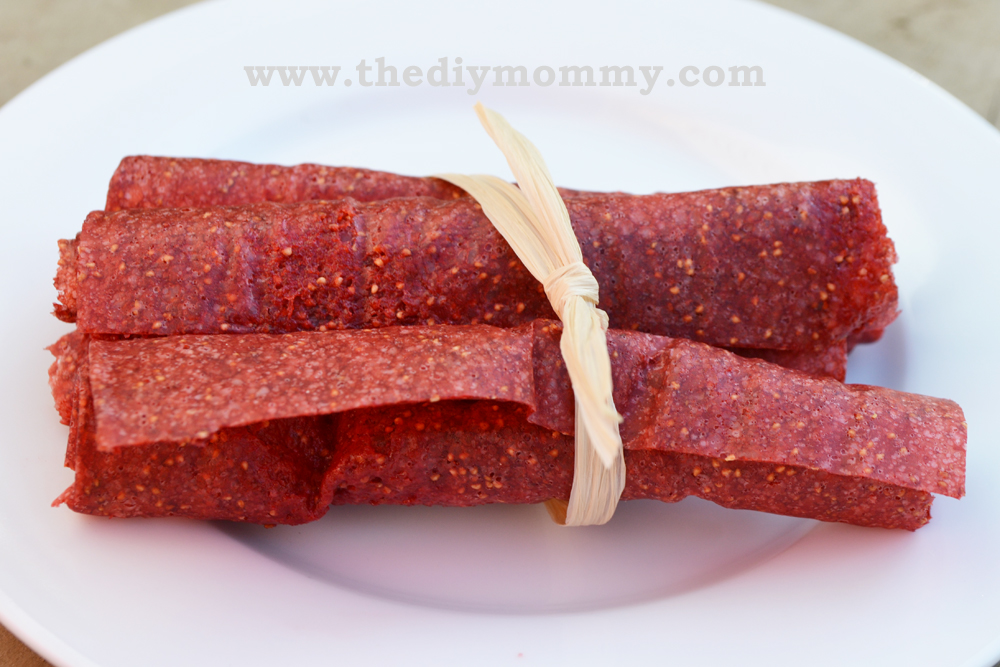
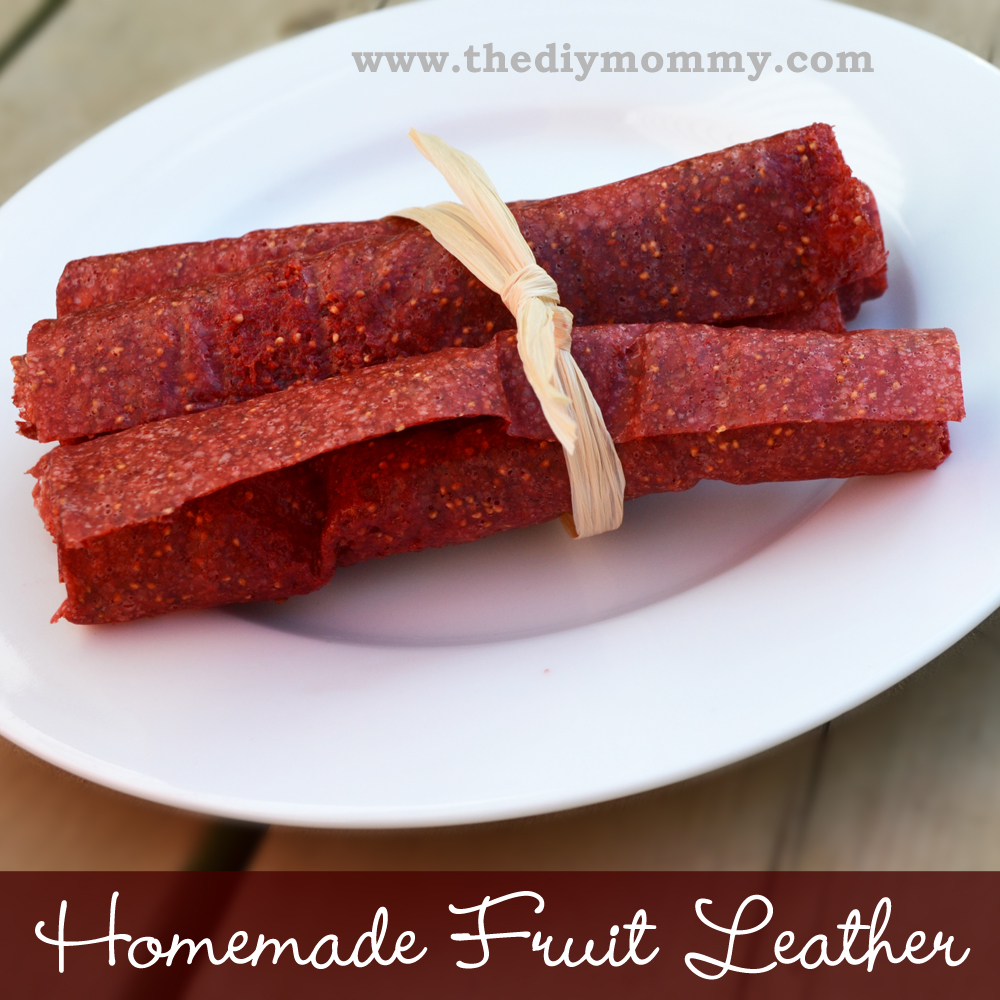
    Homemade Strawberry Fruit Leather by The DIY Mommy

    It's the end of Strawberry season, and strawberries are in abundance at a great price right now! I love fruit so much and so does my family - it's fun to experiment with new ways to eat it. I totally admit that I've purchased the sugary, sticky packaged fruit "roll-up" candy, but here's a better and healthier alternative that you (and your kiddos) will love! This homemade fruit leather is simple to make and requires no fancy kitchen appliance!

    Homemade Fruit Leather

    Ingredients:

    • 2 cups fruit (I used strawberries)
    • 1 tablespoon honey (optional)
    • 1 teaspoon cinnamon (optional)
    • parchment paper

    Directions:

    Homemade Strawberry Fruit Leather by The DIY Mommy

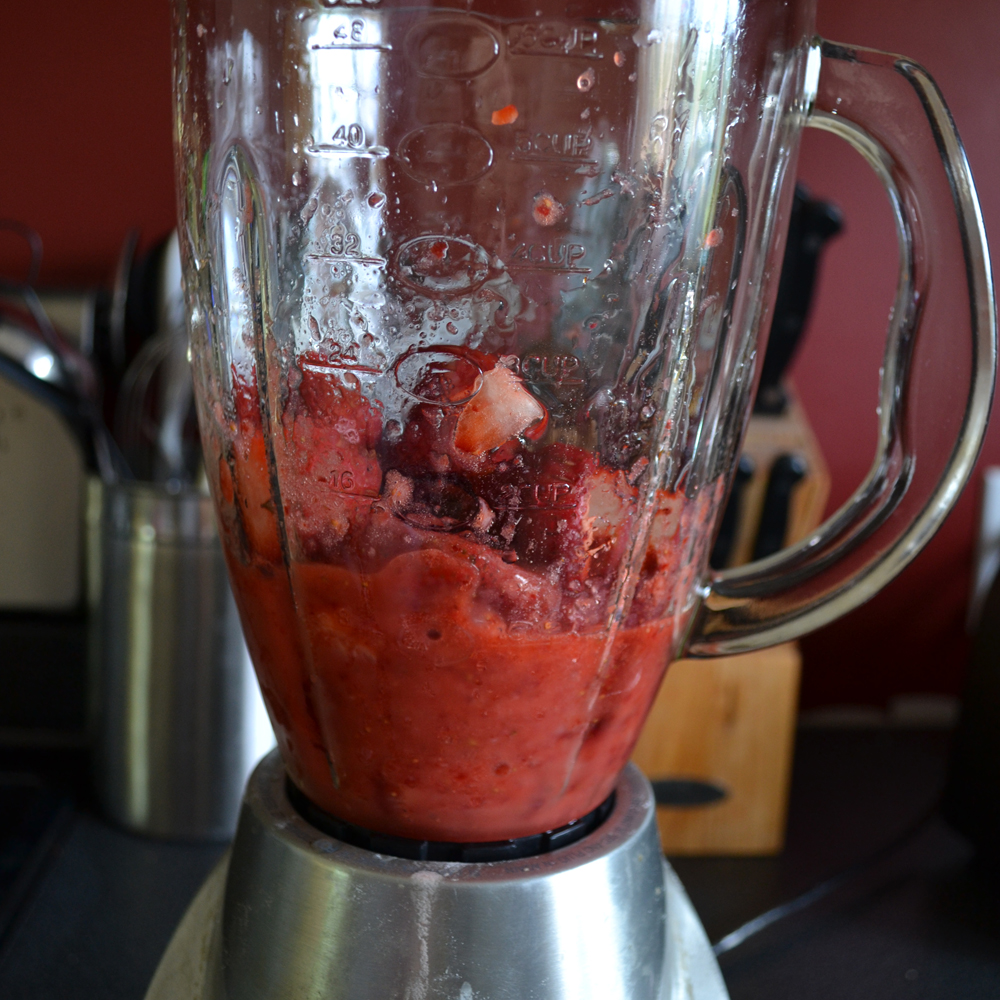
    Blend the fruit, honey and cinnamon in a blender until completely smooth. I liked the addition of honey with strawberries - you could add a little more than a tablespoon for extra sweetness! Cinnamon is nice with strawberries, but have fun playing with different spice and fruit combinations.

    Homemade Strawberry Fruit Leather by The DIY Mommy

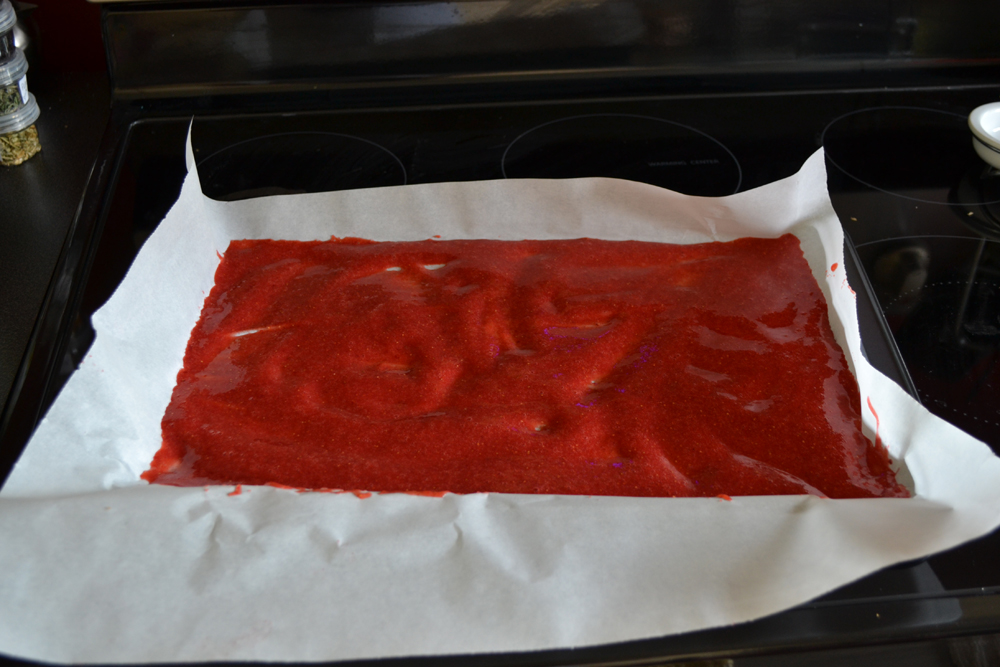
    Line a cookie sheet with the parchment paper. Pour the blended fruit onto the paper, spreading it out evenly with a spatula. The fruit should be about ¼" thick. It does thin a lot as it dries, so don't pour too little into the pan. Set your oven at the lowest temperature (mine was 150 degrees F) and let the fruit sit in the oven until it is dry and leathery-feeling. My fruit leather took approximately 3 hours, and this time will vary from oven-to-oven. Let the fruit leather cool, peel off the paper, and cut it into strips. You can roll the strips up if you want - my daughter though the little rolls were fun to eat!

    Homemade Strawberry Fruit Leather by The DIY Mommy

    Christina Dennis is the creator and designer behind Golly Gee Baby, a collection of unique and colourful baby clothing and accessories that are ethically manufactured.

    More Inspiration

    • Peppermint Pretzel Chocolate Bark
    • How to make an epic Christmas charcuterie cheese board in red & green
      Make a Christmas Charcuterie Board in Red & Green
    • My Favourite German Christmas Recipes
    • How to make a Jarcuterie (a single-serve charcuterie)

    Reader Interactions

    Trackbacks

    1. Homemade Fruit Roll-ups | Pintester says:
      June 3, 2013 at 9:39 am

      [...] when I saw this pin for how to make your own Fruit Roll-Ups, I knew I had to try [...]

      Reply

    What do you think? Cancel reply

    Your email address will not be published. Required fields are marked *

    This site uses Akismet to reduce spam. Learn how your comment data is processed.

    Primary Sidebar

    Welcome!

    Christina Dennis, The DIY Mommy

    I'm Christina and I'm sharing budget-friendly DIY & decor ideas to create a cozy home and life you love!

    Read more about me

    Latest Posts

    • Learn how to find FREE vintage botanical art to print at home. This is a fantastic, budget-friendly wall art solution!
      How to find FREE vintage botanical art to print at home
    • Build a Simple DIY Boho Picnic Table (Low Profile)
    • Modern coastal inspired bathroom renovation with marble tile, shiplap, gold and black accessories, clear shower door, blue and white colors & rattan accents
      Easy IKEA Makeover: DIY Painted Bathroom Vanity

    What's my home decor style?

    Discover the home decor style that best fits your personality and lifestyle. This two-minute quiz is going to give you the direction you need to start the big, bold room makeovers that you've always wanted to try!

    Find out now!

    Footer

    ↑ back to top

    About

    • About The DIY Mommy
    • Privacy Policy
    • Disclosure Policy
    • Terms of Service

    Newsletter

    • Sign Up! for emails and updates

    Contact

    • Contact

    As an Amazon Associate I earn from qualifying purchases.

    Copyright © 2009 - 2023 The DIY Mommy. "The DIY Mommy" is a registered trademark.