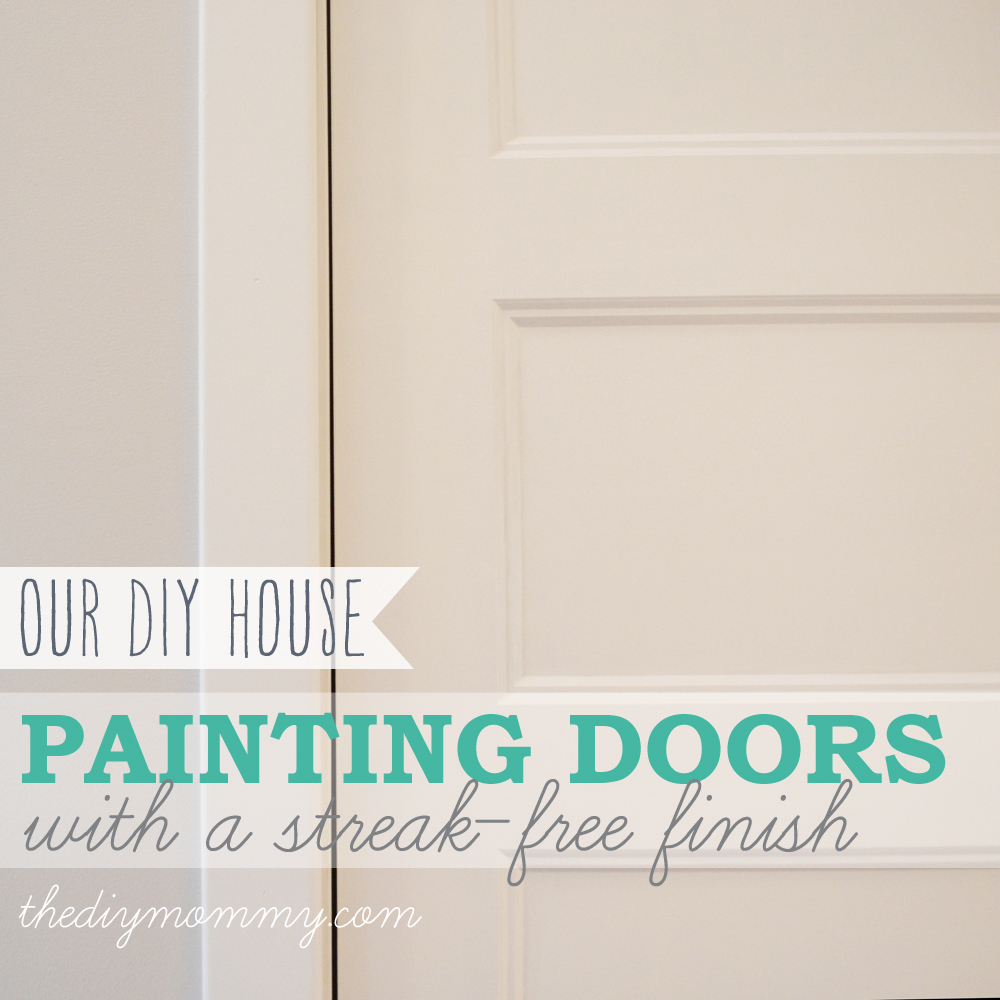
Painting Doors with a Streak-Free Finish (+ Where We Found Our Gorgeous Shaker Style Doors) – Our DIY House
This post may contain affiliate links · This blog generates income via ads
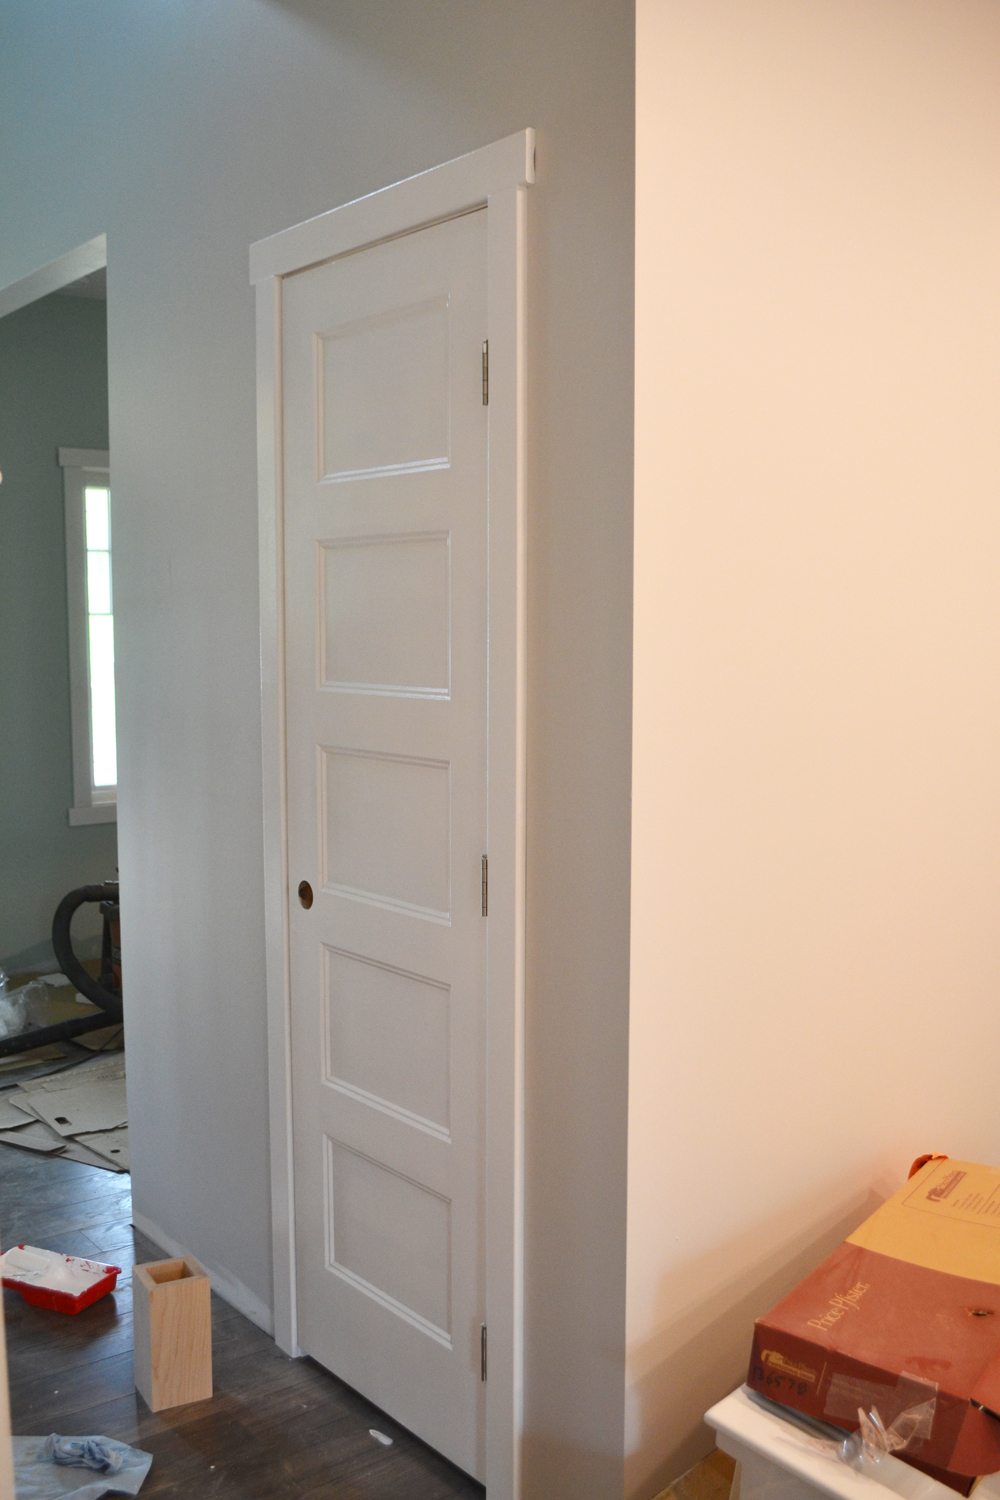
Our DIY House is in the home stretch and I’m so excited I can barely contain myself! This has been by far the biggest DIY project of my entire life and I’m sure it will be worth it in the end, but right now my hubby and I are so very tired. We’re working on really fun things now, though, including installing these gorgeous shaker style doors:
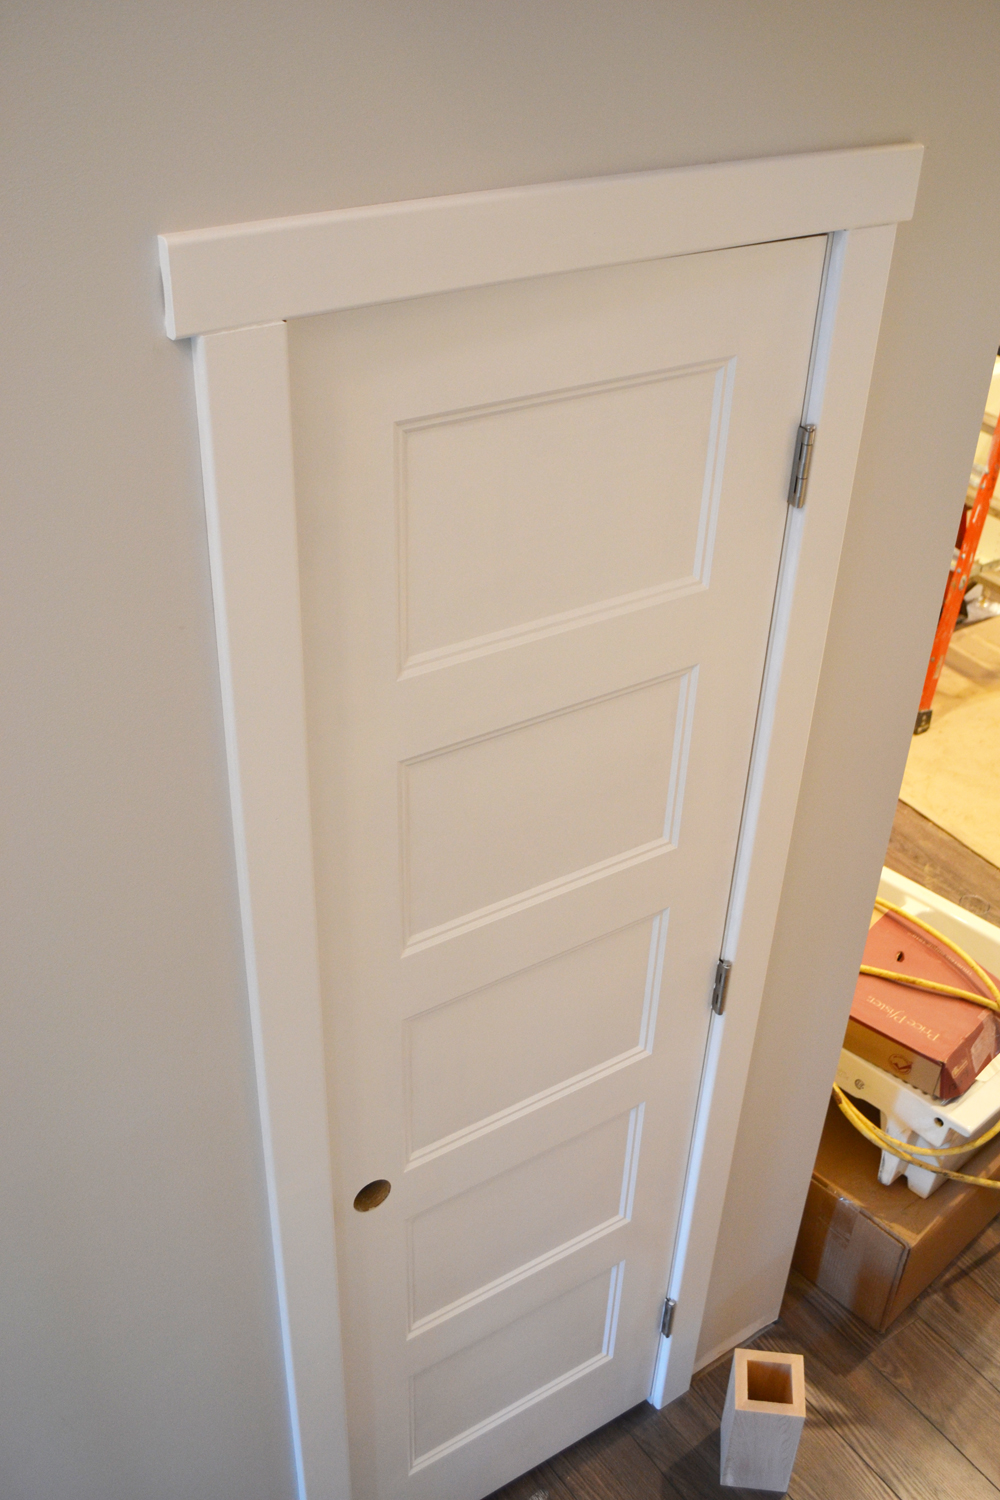
They work so well with my foursquare style home, and DIY craftsman casing, don’t you think?
We found these gorgeous doors at Windsor Plywood. I’ve always wanted 5 panel doors like this, and as soon as I saw them (in our price range!!) I knew we had to have them in Our DIY House. They’re affordable (they’re MDF) and beautiful. What more could a girl ask for? Windsor Plywood was a pleasure to work with once again, and they were able to custom order these doors for me in all of the sizes that we needed!
![]()
My dear hubby installed these beauties (there’s a long story there – a comedy of framing and measuring errors that took a week to fix). They came in knock down kits, which means that we had to nail the jambs in place and then hang the door on the hinges. This process was very straight forward (once we had our framing errors fixed).
What I’m working on right now? Painting these babies! It’s taken a few doors to come up with, but here is how I’m managing to paint these lovely shaker style doors with a streak-free and brush stroke free finish using white semi-gloss paint.
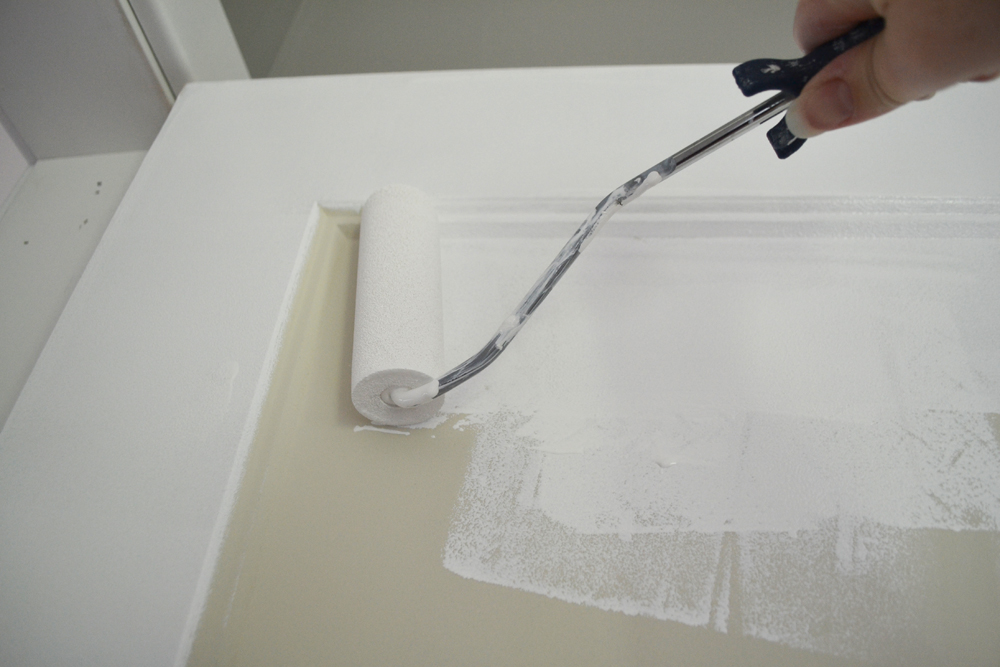
My secret weapon (as has been for many projects in the house) is my trusty mini foam roller. I chose to use this to paint the doors so that I’d avoid brush strokes and get the nice, smooth finish I wanted (which is a little tricky with semi-gloss paint)!
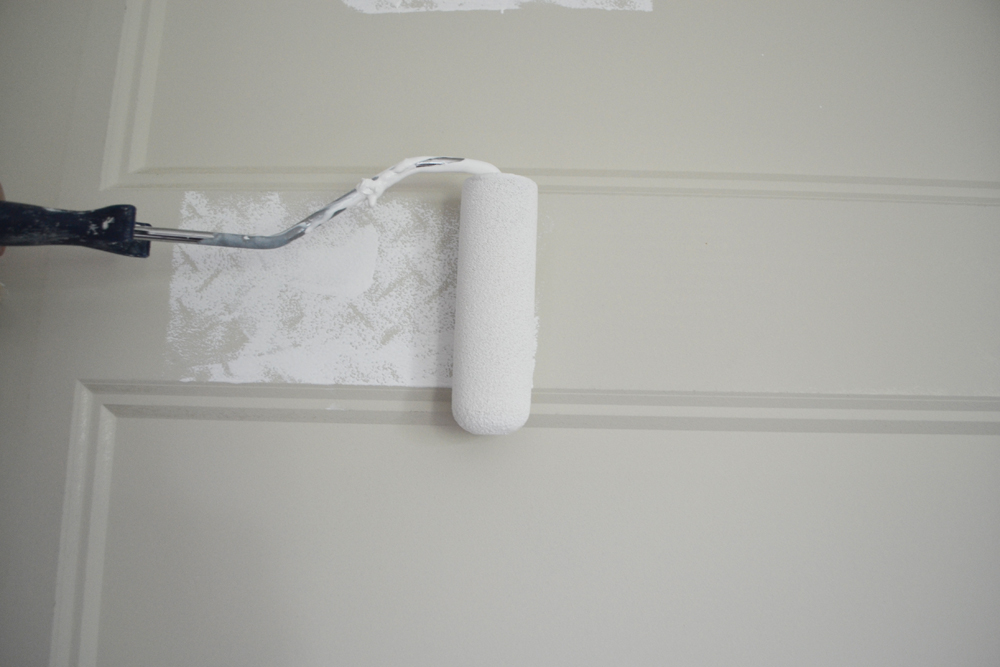
I loaded the roller quite generously with paint, and began on the raised sections. I rolled from left to right on the cross sections, and then up and down on the sides. I used long strokes, and tried to apply even pressure throughout.
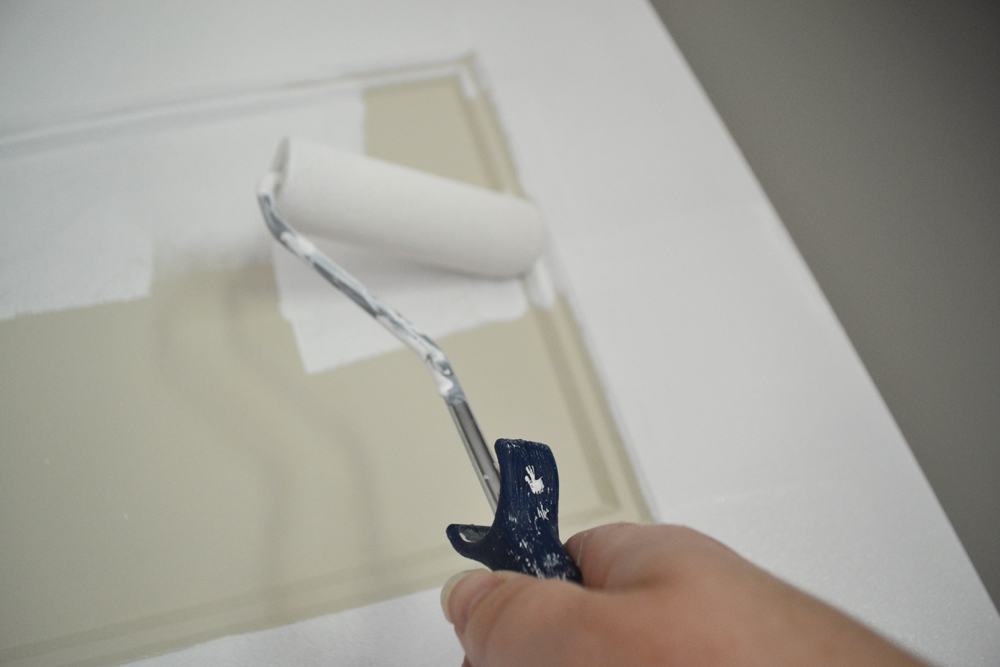
Then, for the inside panels, I began with the beveled edges. I smushed (yes, it’s a technical term from the Dictionary of Christina) the roller into the bevels to coat them, and then rolled over them (with no paint on the roller) to smooth out any uneven marks.
Next, I rolled the interior panels from left to right.
I went one panel at a time (starting with the raised parts and ending with the inside panels) so that everything was as evenly rolled as possible.
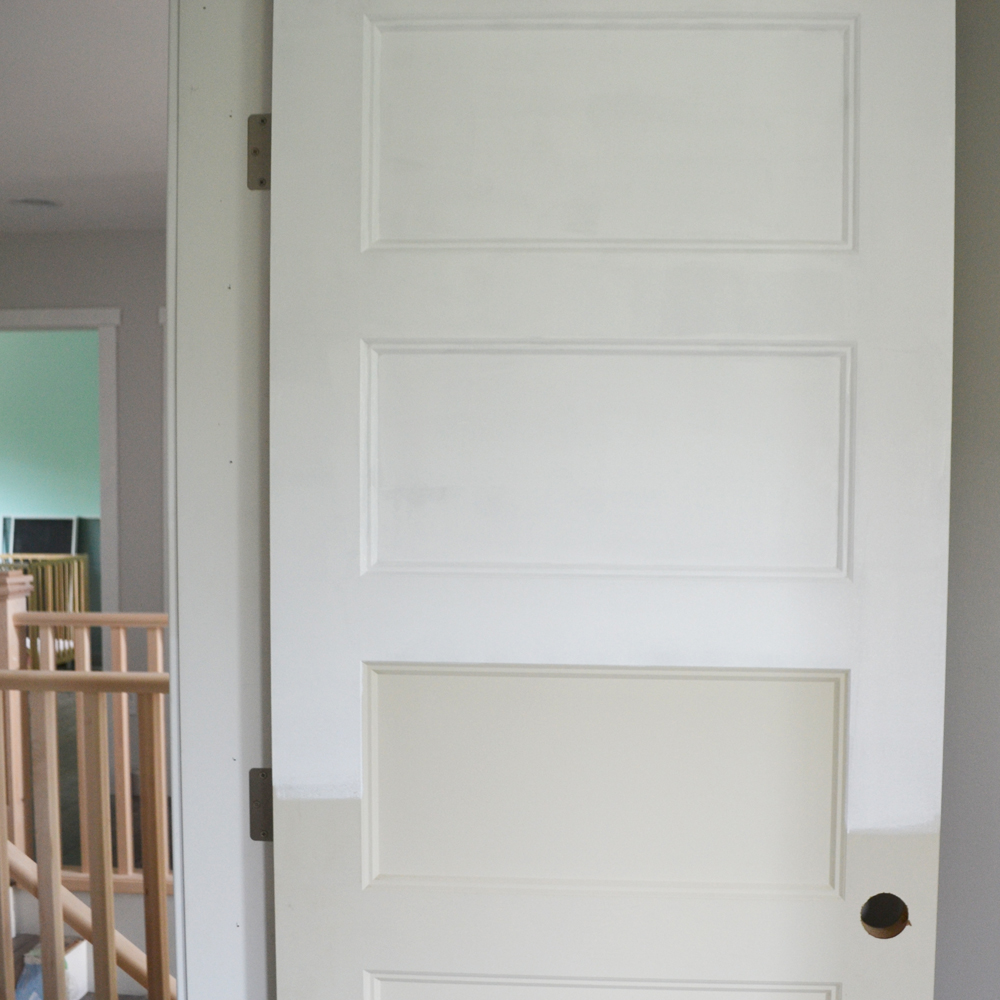
Here’s the door after one coat. You can see some unevenness here, but the finish is very smooth already. After a second coat…
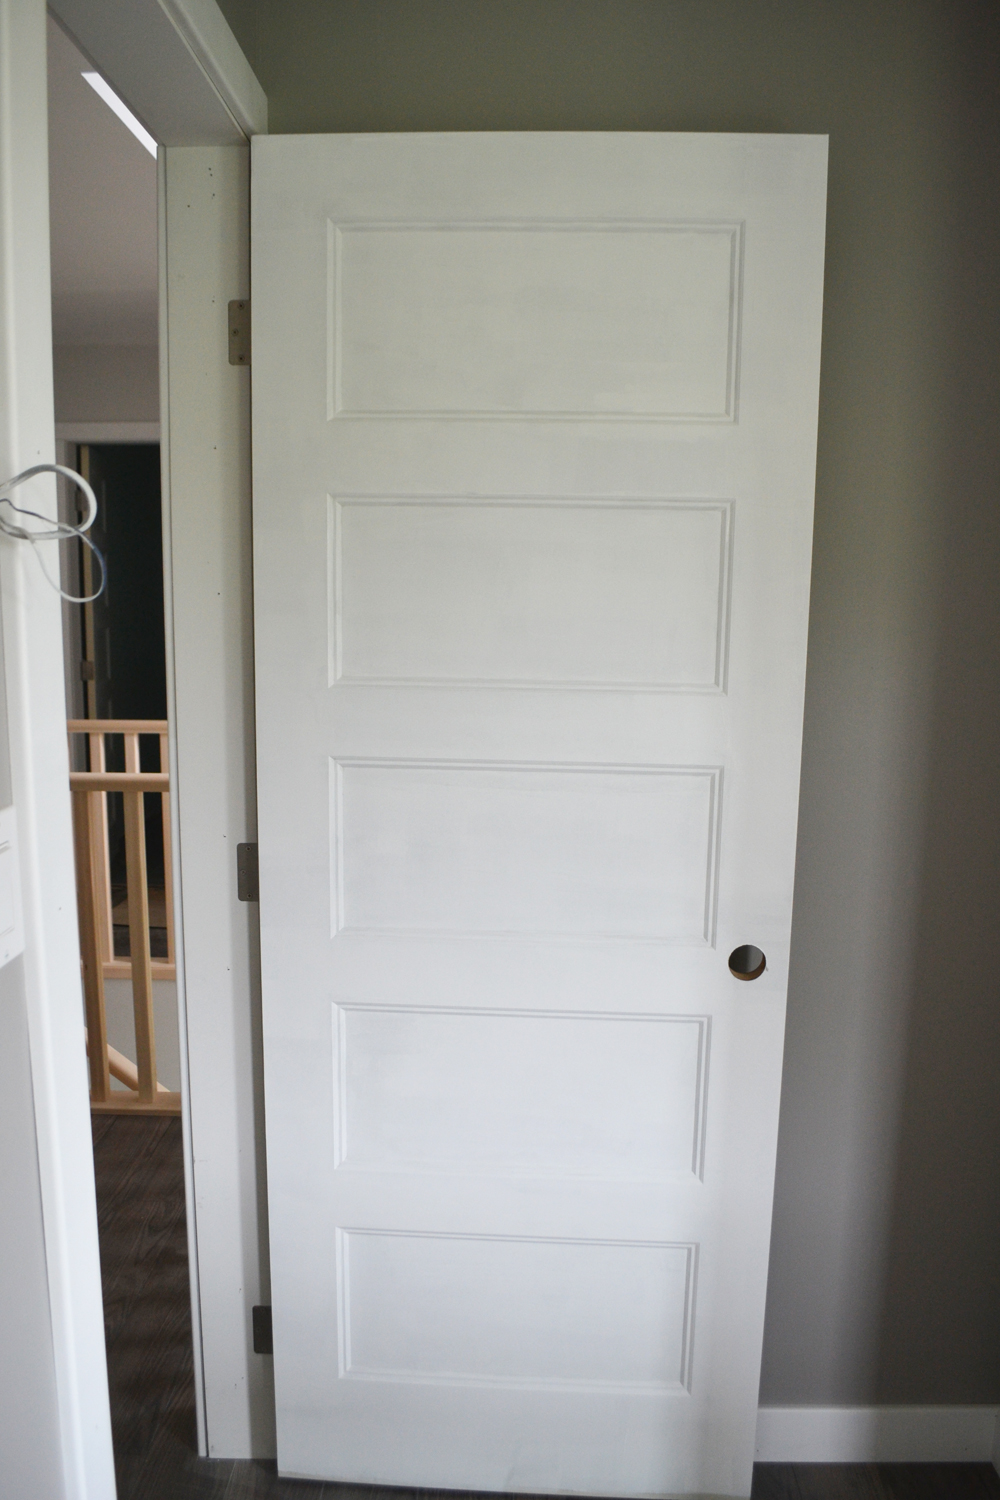
The doors are beautiful! There are no brush markings or streaks in the finish, and the gloss looks even from all sides.

I think two coats looks just about right on these doors. Aren’t they pretty?
(Disclosure: This post is sponsored in part by Windsor Plywood West Edmonton. The views and opinions expressed here are purely my own.)
 This post is part of my “Our DIY House” series where I’ll share with you my most exciting DIY ever – building a country house from the foundation up with my talented hubby! We’re crazy, we’re creative, we’re on a limited budget and we’re planning on having it finished in the
 Spring Summer of 2013.
I love, love, love these doors! I wish I were as handy as you! My husband is a wanna-be but he really is horrible – you know…jack of all trades, master at none with this regard anyways! Thank you for showing me this…I love shaker style doors and I love how you finished the top of the doorframe! Perfect! Enjoy it!
Thank you so much! I love these doors a lot too. They’ll make me smile every day. 🙂 Thanks so much for your lovely comment!
The doors look fantastic! …We were in such a rush to move into our house that we installed them without painting them first.. Ugh. Just another thing to add to our to do list! No wonder we’re not taking a vacation this summer! It’s so worth it in the end though and you guys are doing an amazing job!
Thanks, Jess! We installed ours before painting too, and it hasn’t been too tricky to paint after (with some masking!). I think we’re too excited to live in to paint all if the doors, so I’m sure I’ll be painting some backs & second costs afterwards too. 🙂
Nice post. I learn something new and challenging on blogs I stumbleupon on a daily basis.
It will always be useful to read through articles from other writers
and use a little something from other web sites.
my page – grey dresses for bridesmaids (Lizette)
As soon as I saw that you got Shaker-Style doors, I knew where you’d bought them. I’ve seen those beauties at Windsor before! Made me want to get all new doors in our house. =)
i want to ask a question that i also do painting doors many times but with painting roller not get a good finish and from paint brush i get right color and finish why?
Was it a foam roller you used or a regular roller? Regardless, if you find a brush gives you a more desirable finish, then go with that! The roller seems to work really well for me. Thanks for your comment!
What kind of foam roller did you use? I can’t seem to find one that doesn’t leave some type of texture…then again maybe it’s my technique. Could you give me some thoughts?
Nice painting tips!
That makes a brand new door!
Great articles!
Thanks.
Thank you Kevin!
Awesome! I like the style and color. Keeping it simple is always the best way to go.