Removing cornices, wallpaper borders and more! | Our DIY Camper 2.0
This post may contain affiliate links · This blog generates income via ads
Last week, I introduced you to Our DIY Camper 2.0 – a new-to-us fifth wheel that I’m renovating for our family. This week, I removed window cornices, wallpaper borders and MORE than I originally planned from the camper. I think my plans might have already changed and I’m facing a bit of a dilemma. Let me show you the progress!
Watch this week’s Our DIY Camper 2.0 YouTube video to see everything I did in the camper this week:
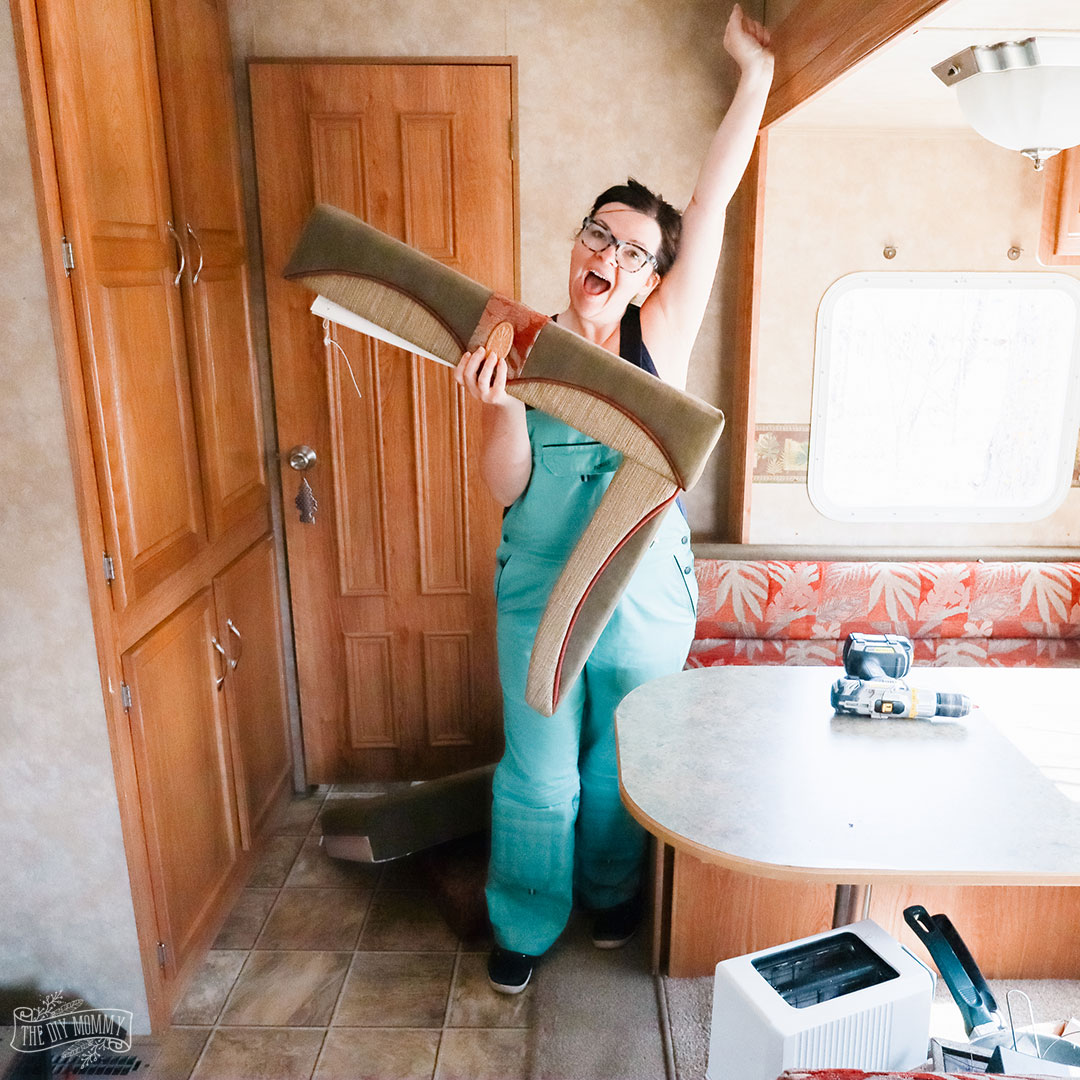
If you want to read more about this project and my initial plans, read the first blog post in this series by clicking right here. The first order of business as I began the reno? Removing these window cornices!
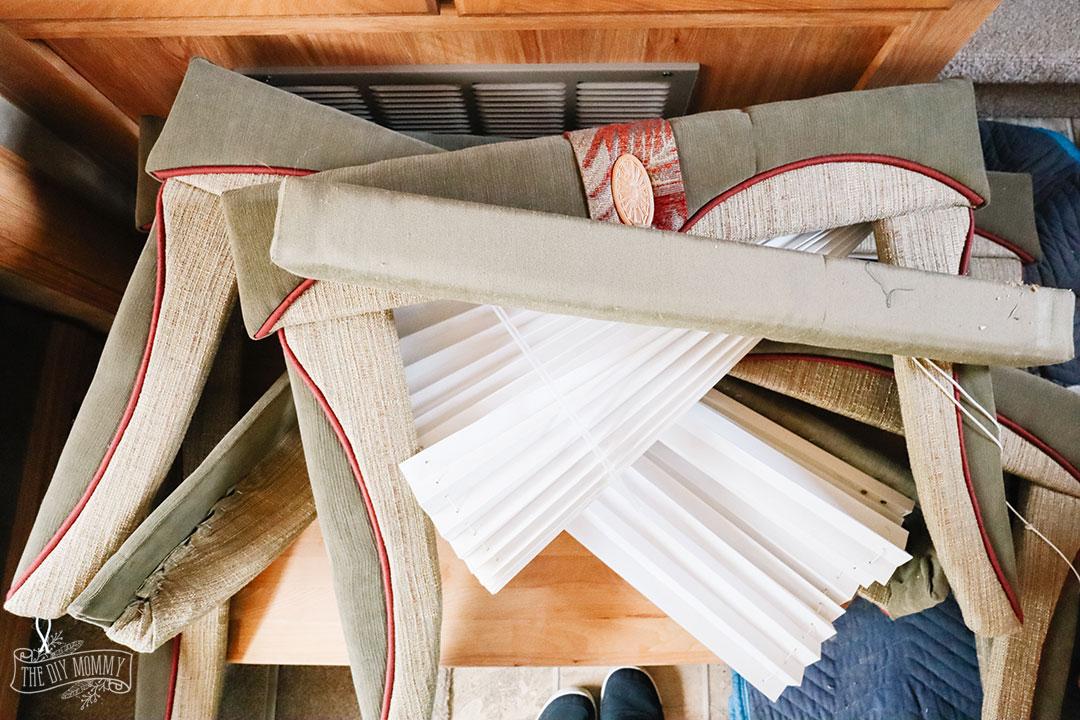
They gave the camper a dated look and blocked a ton of natural light. I think I can come up with more modern window treatments that are practical, too. Ripping these off the walls felt so good!

Next up was removing these dated wallpaper borders that spanned the entire living space. They felt like vinyl stickers, and I was able to pull them off the walls by loosening a corner with a knife and pulling firmly on the border.
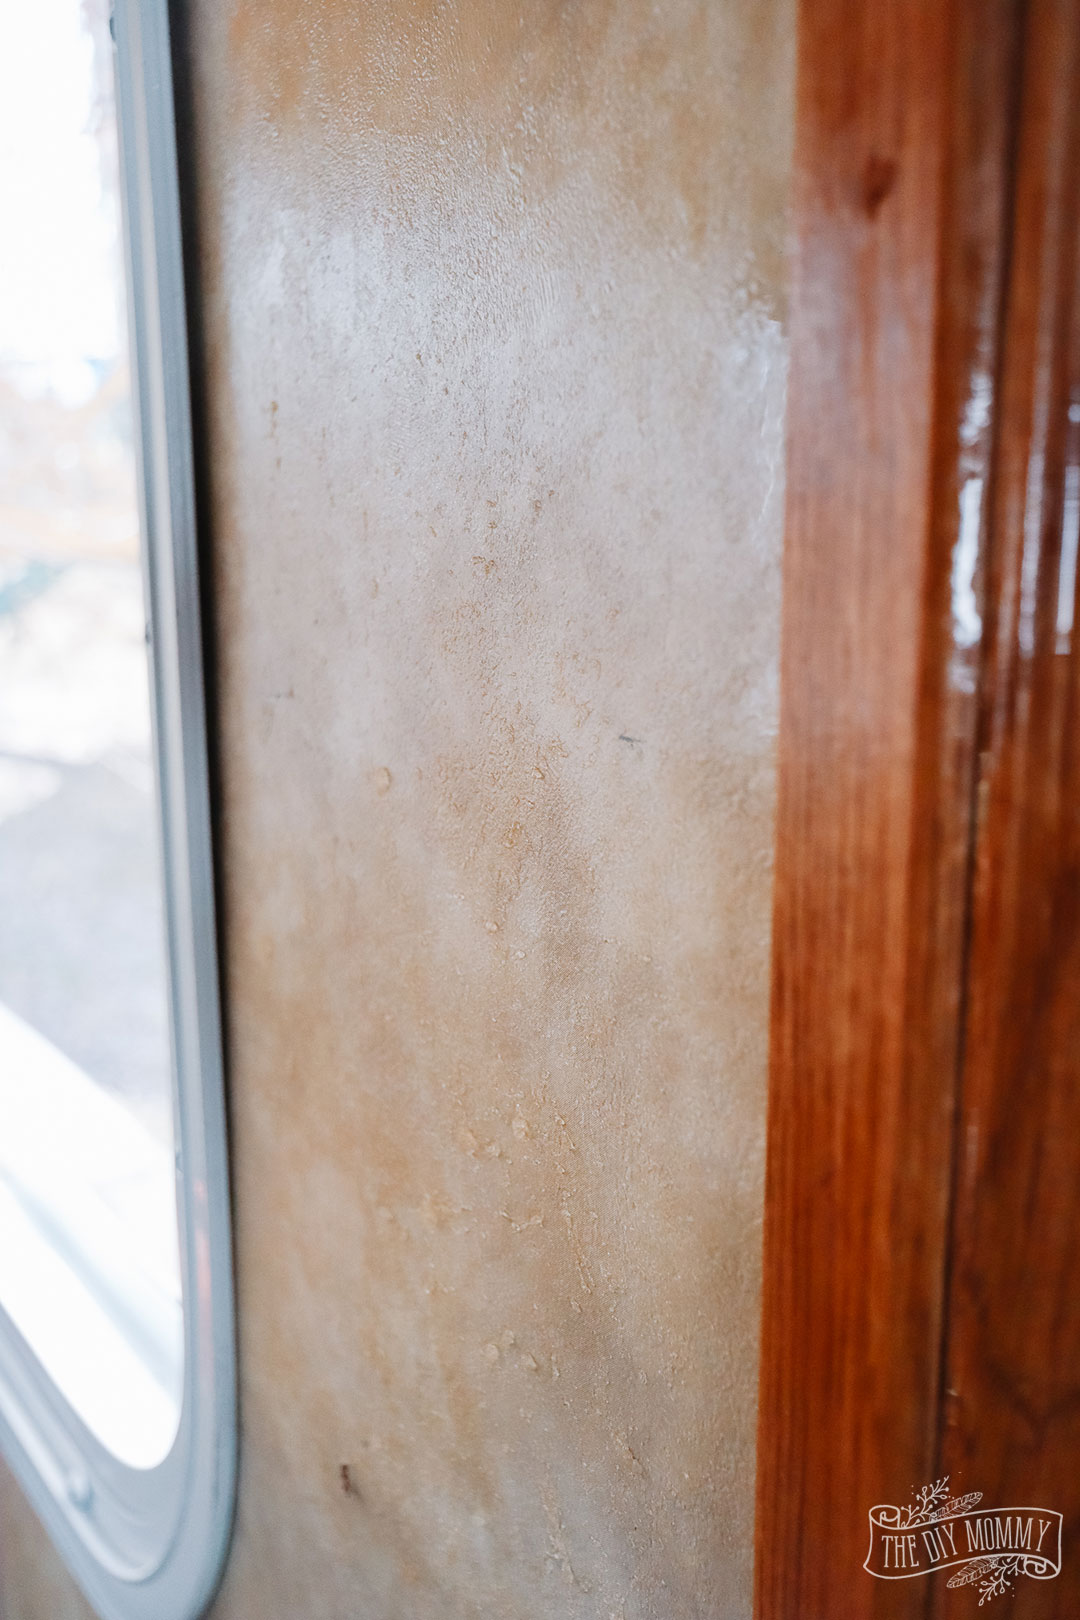
The extra-sticky adhesive left behind on the walls was a whole other story, so I ended up using Goo Gone to help remove all of the stickiness.
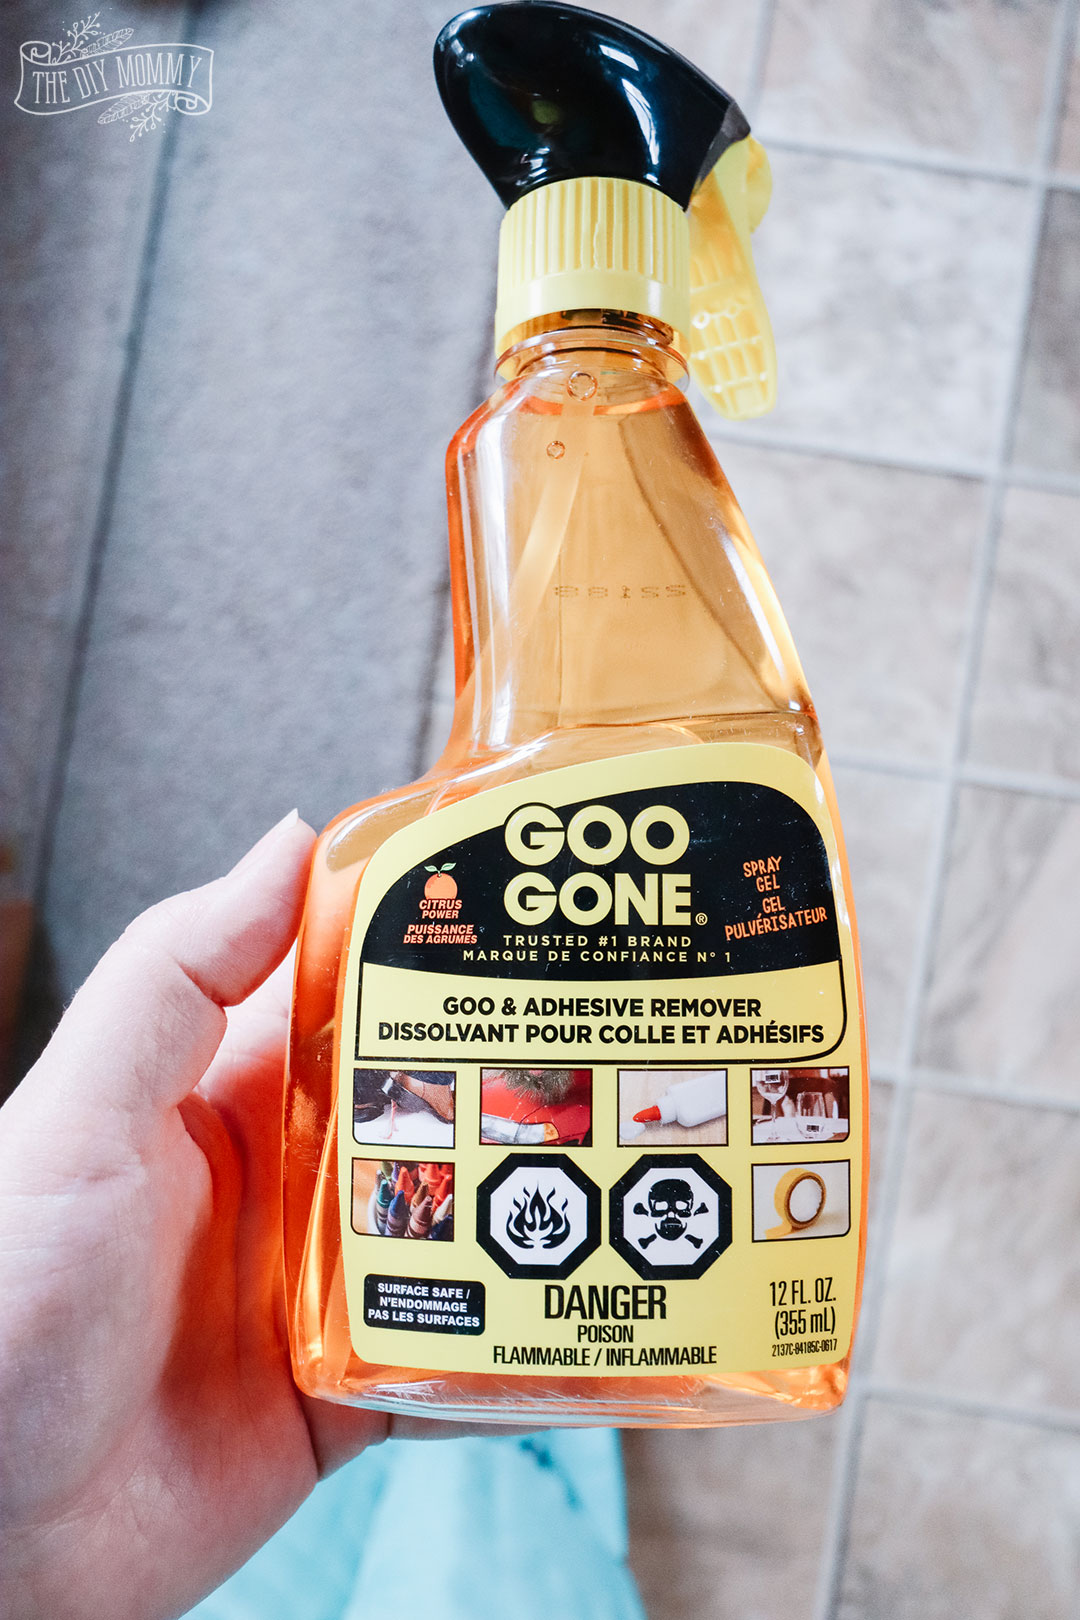
I sprayed it on the sticky areas, let it sit for about 10 minutes, and then wiped the goo off with paper towels. After all the residue was gone, I finished by wiping down the walls with a rag and dish soap.
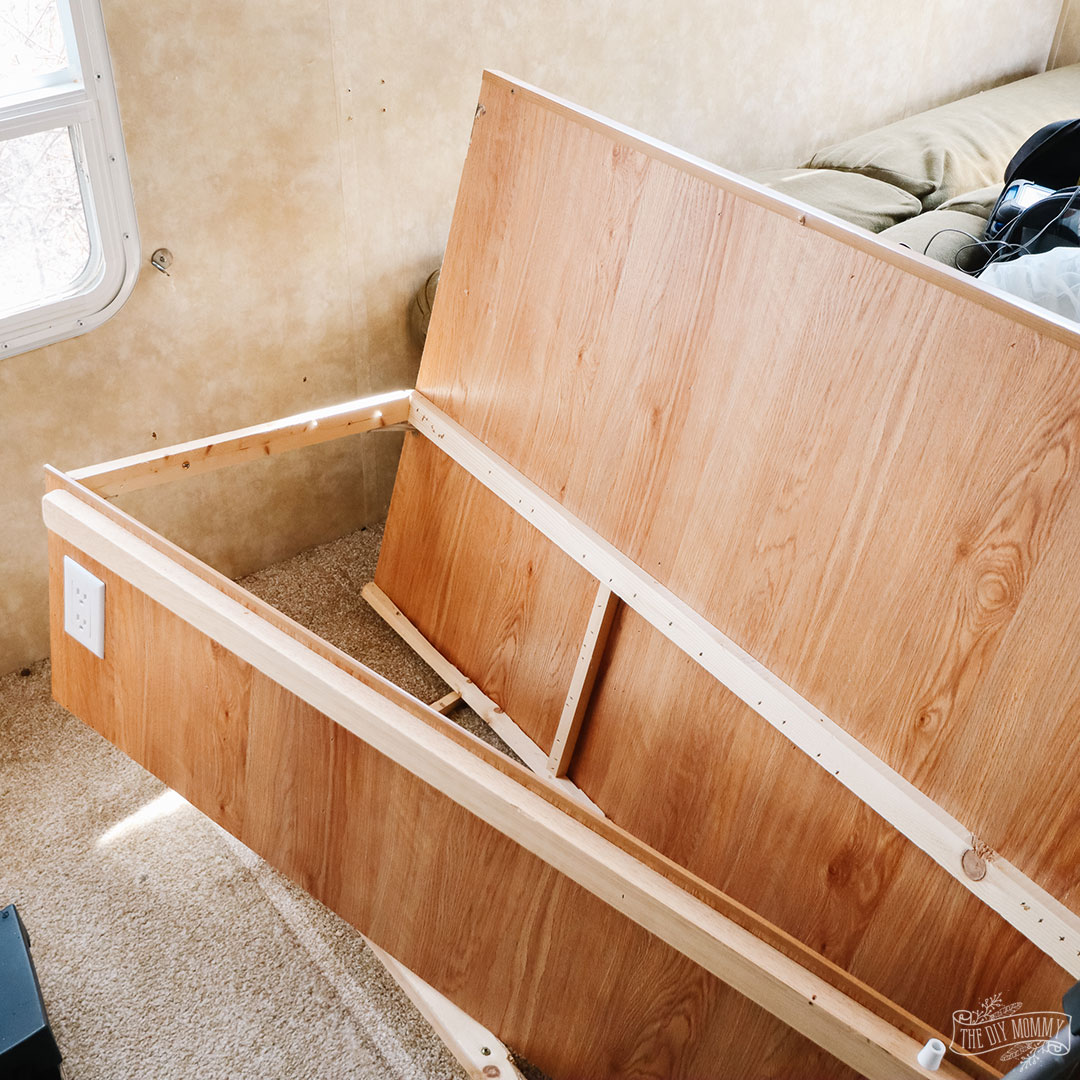
My original vision for the dining area in the camper was to remove one of the dinette benches and replace it with a couple of chairs. As I was removing one bench, I realized it was attached to the jacknife sofa, so I removed the sofa too!
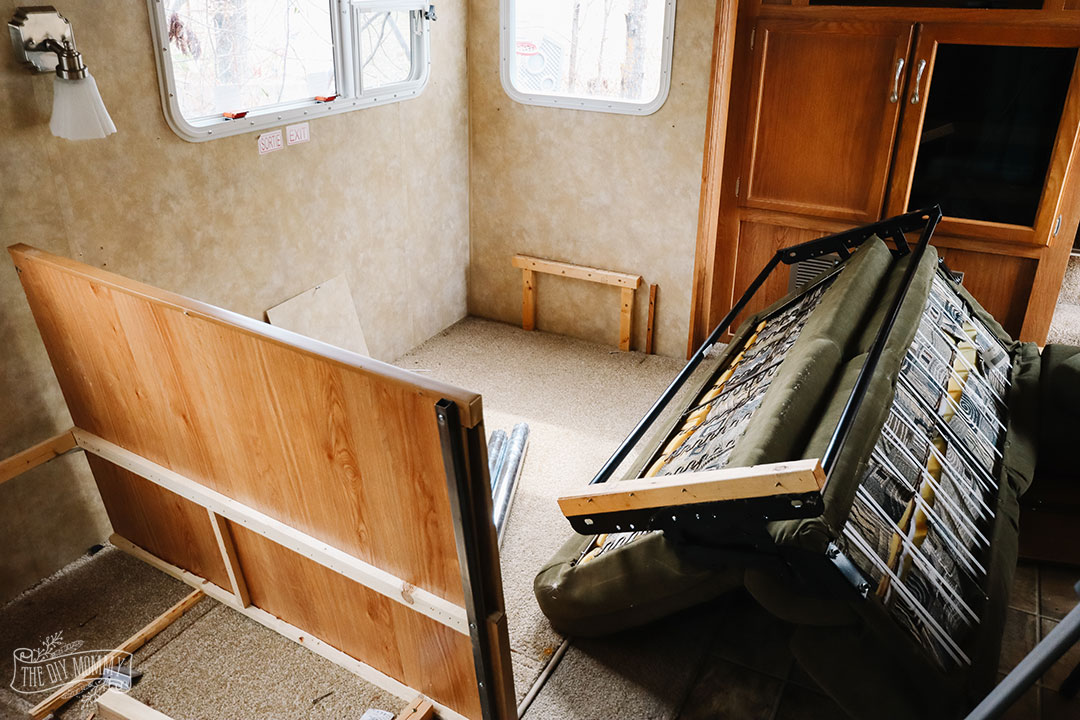
I knew I wanted to move the sofa anyhow to paint, but now that I’m taking out almost everything on this pull-out I’m reconsidering doing the camper flooring later. Perhaps I should just do it now while everything’s out and install my dream vinyl plank?!
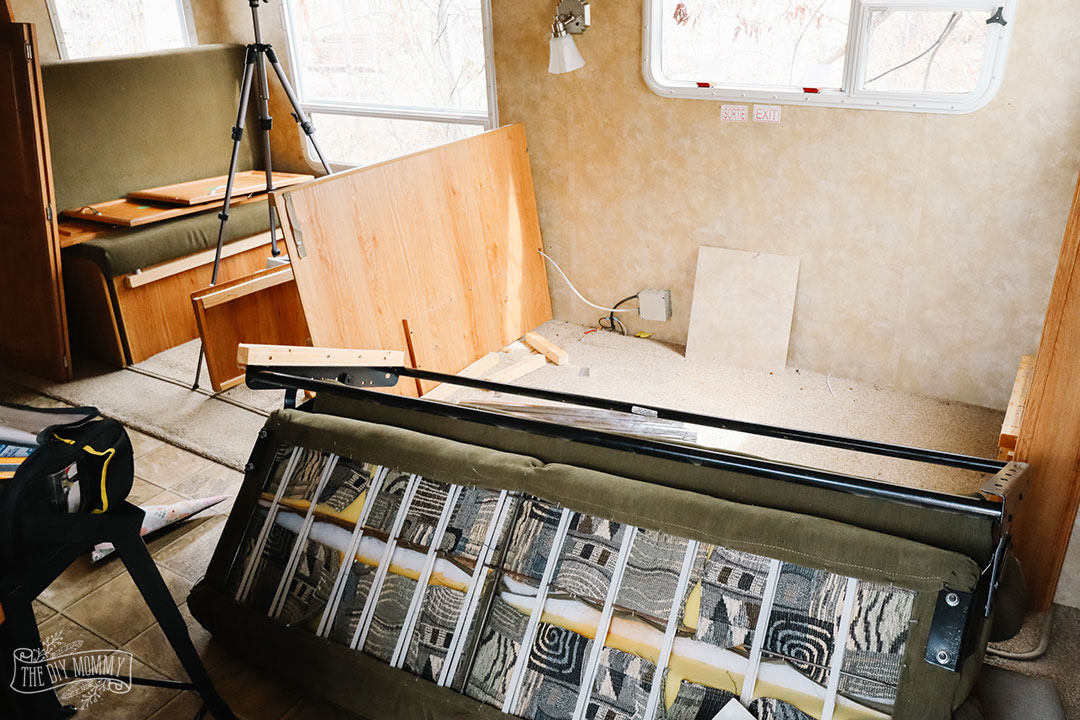
The sofa was a beast to move (just watch the video!), and why would I want to move it twice?
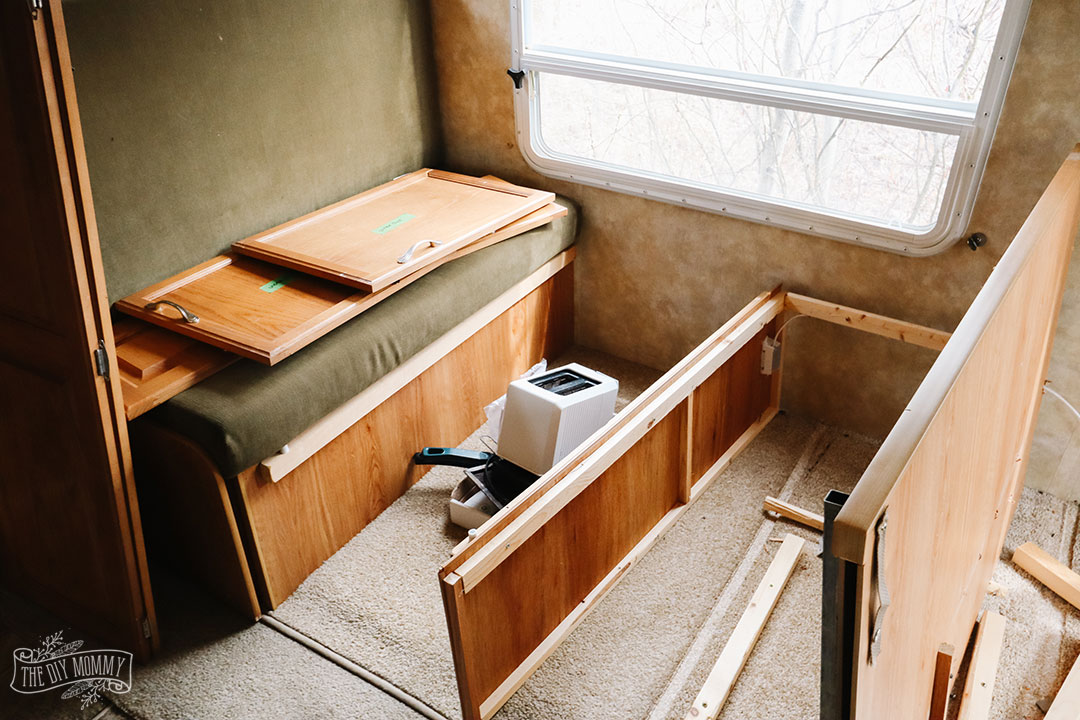
My hubby is an electrician, so he’s going to move the wiring in this dinette bench. I’m considering ripping out the other one too so that I’d be able to install flooring at this stage after all. I’ll let you know my final decision next week!
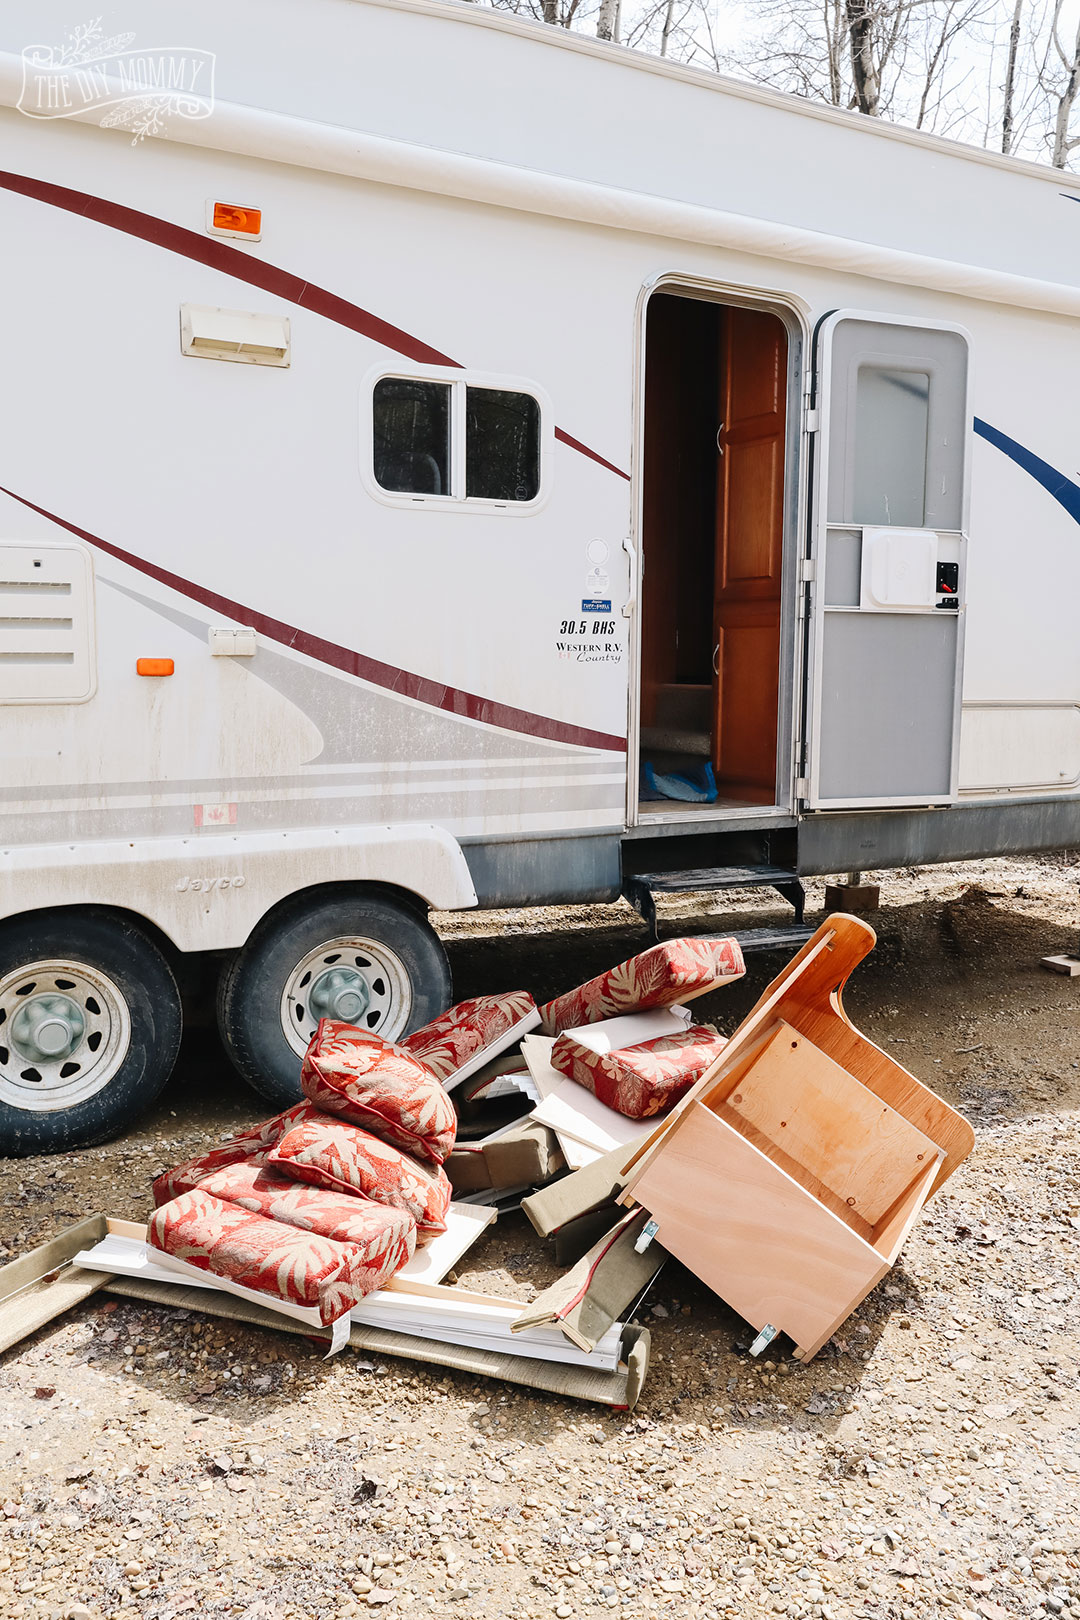
As the pile of things I’ve removed grows outside our camper, I’m feeling more and more over my head. (Which is normal for a project this size!)
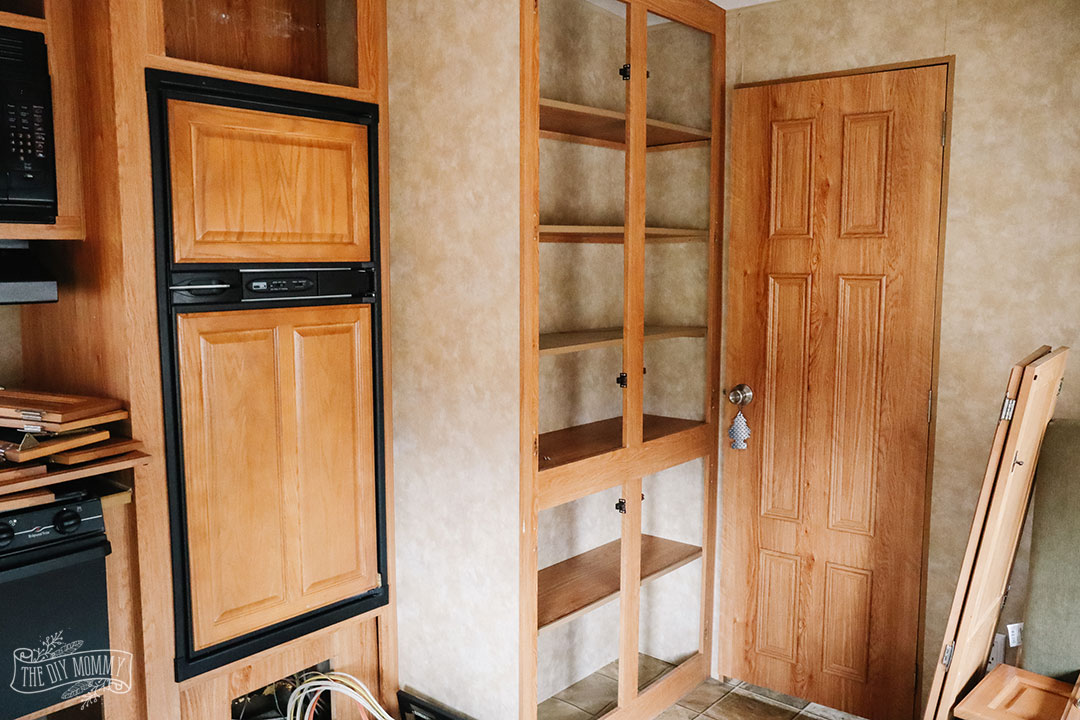
The last thing I did this week? I removed all the doors from the kitchen cabinets in preparation to sand, prime and paint them. Getting some paint up on these walls and cabinets is something that I’m REALLY looking forward to.
Check in next week to see more progress!
Good job, I helped a friend redo their camper and once you have things pulled apart in the long run I would do the floor now while you have things apart. The floor is not that large and cost would not break the budget, you could always cut back on something else.
Enjoy
Love your videos, thanks
I would do the flooring now, since you have the sofa out, etc…
great job!
Hi what kind of paint did you use to paint your cupboards. We have an older motorhome and the cupboards are an orange oak.
Hi Susan, Christina has everything linked on this page here: https://thediymommy.com/shop-our-home/