RV Renovation: How To Remodel A Camper (before & after!)
This post may contain affiliate links · This blog generates income via ads
I’m sharing all my tips & tricks to help you make your camper more cozy and comfortable. If you need DIY RV renovation ideas, read on! After you read this post, I hope you’ll feel more confident and ready for your camper remodel.
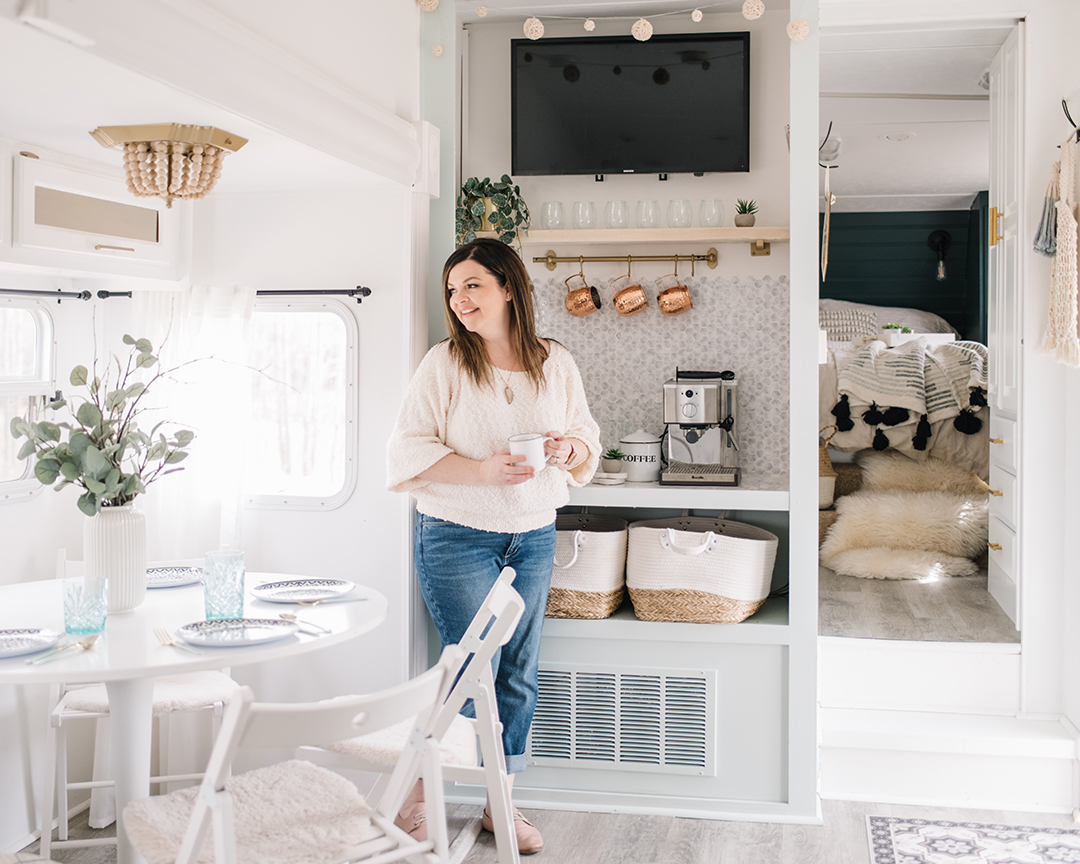
In 2020, we purchased our second RV. After outgrowing and selling our first one, we were ready for a bigger one that fit our growing family. We love to camp and to go on long road trips with our daughters! Since I love to renovate and do interior design, I gave our RV a makeover over the course of the last couple of years and LOVE how it turned out. Here’s how I did it, and I’m sharing all my RV renovation ideas so you can remodel your camper, too!
Watch this video to see how I renovated our RV from start to finish:

Find an old RV that you can renovate
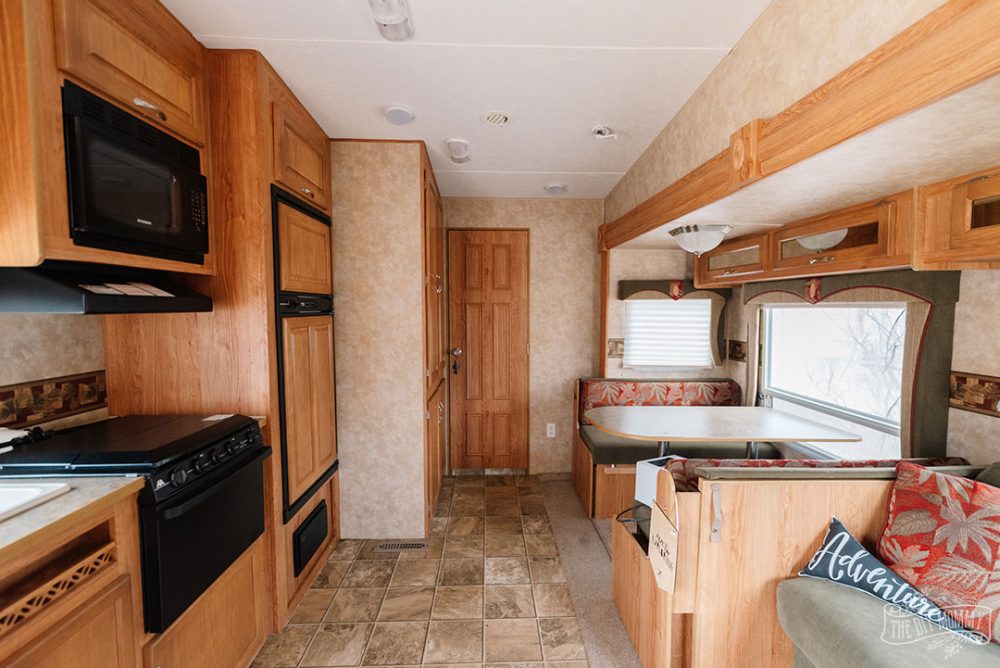
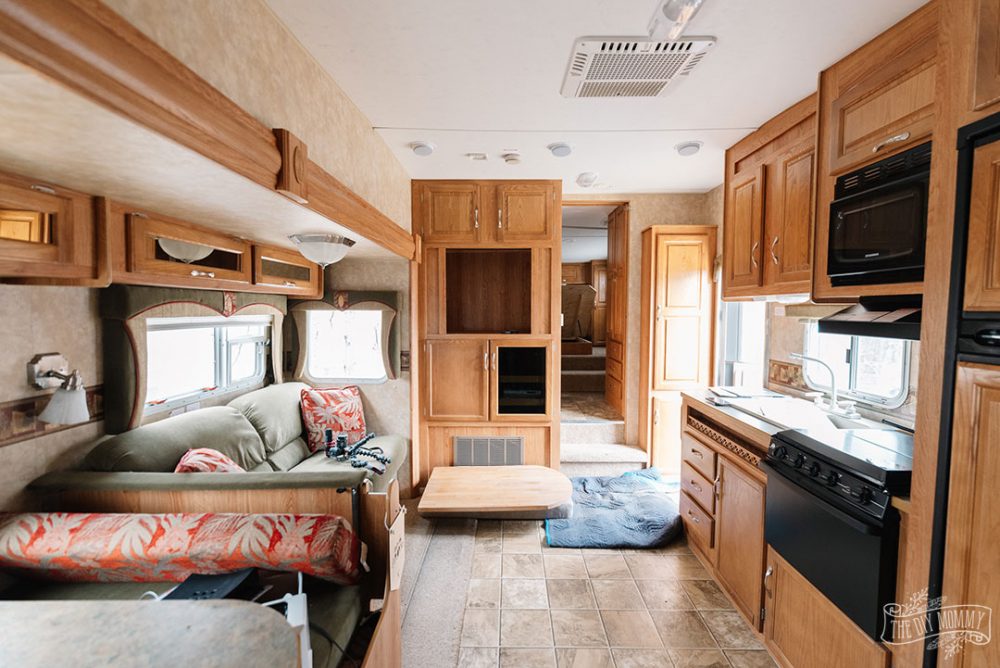
We purchased both of our used RVs from Facebook Marketplace, so that’s my favourite place to look for old campers. This on is a 2007 Jayflight by Jayco 30.5 foot fifth wheel that we found for $10,000. It’s the perfect layout for our family of 5 with a separate bunk room for our three daughters. You can also look for used RVs to remodel on Kijiji, at RV dealerships and via Google search in your area.
Check for any mechanical or structural issues
It’s important to check your RV before purchasing it for any mechanical or structural issues. RVs are well known for having water damage in the walls and ceiling, so push on all the surfaces to see if they’re soft from damage. It’s also wise to have someone who’s mechanically inclined to check the axles, appliances, tires, and any pullouts for issues. I’m lucky because my husband Sean is an experienced mechanic and builder, so he was able to check our RV for any issues. This one had a problem with the axle, so we had that repaired at a mechanic shop.
Repair any damages
Most mechanical issues can be repaired by an RV mechanic or a tire shop. Structural issues like water damage are a little trickier to repair. In our first RV, there was extensive water damage on the back wall so Sean had to remove and replace the entire thing. Be prepared to hire a handyman to do such repairs, or you should be able to do any smaller wall or ceiling replacements yourself.
Plan the DIY RV renovation
Your camper remodel can be as simple or as extensive as you want it to be! Something as simple as changing out window coverings and painting the walls can make a huge difference. With both of my renovations, I pretty much replaced everything from the flooring to the furniture to give them a completely brand-new feeling.
Where to find RV renovation ideas
To find inspiration, head over to Instagram or Pinterest and search for “RV renovation” or “RV ideas”. There are so many beautiful camper remodel ideas there that are sure to get your creative juices flowing!
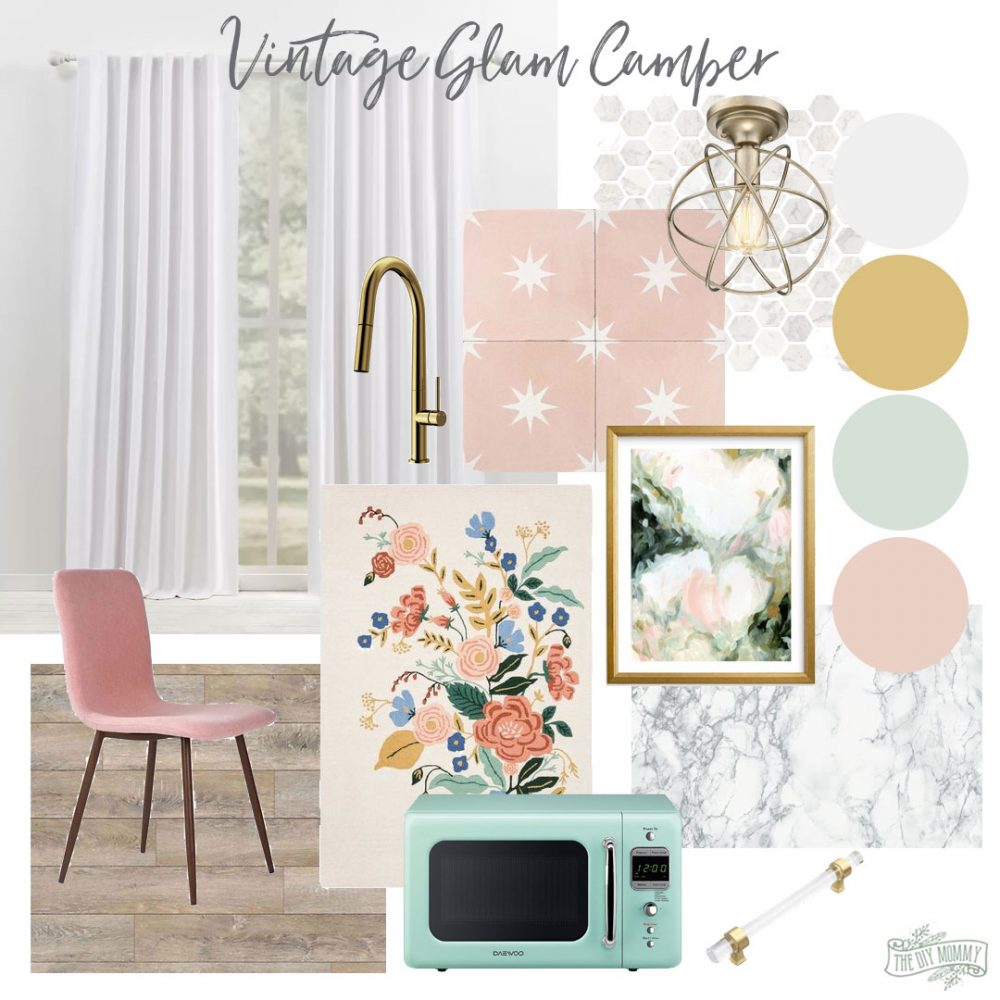
Once you’ve decided how far you want to go with your RV renovation, you can create a mood board and wish list of things you want to do and materials you’ll need to buy. I like to create mood boards like the one above to nail down my colour scheme and keep me on track when I’m purchasing supplies.
How long does it take to renovate an RV?
This RV took me a couple of summers to renovate off-and-on. If you were doing this full time, I think you could renovated a camper in less than a month. I wanted to putter away at it, and I did it in three stages. The first was the main room, then I worked on the bunk room, and finally I renovated the main bedroom and bathroom area.
Demo the RV
This can include removing old window treatments and blinds, removing any cabinets you won’t be using, removing old flooring like carpet and dated linoleum, and removing wallpaper borders.
Most of this should be easily done with a drill and removing screws.
RV carpeting can be a little tricky to remove if it was installed with a lot of staples. I used pliers and a utility knife to remove any stubborn carpet pieces.
Tip: Save the screws and any other hardware you remove from your RV. You may want to reuse the screws, or at least keep them as a size reference to buy new screws for mounting new items.
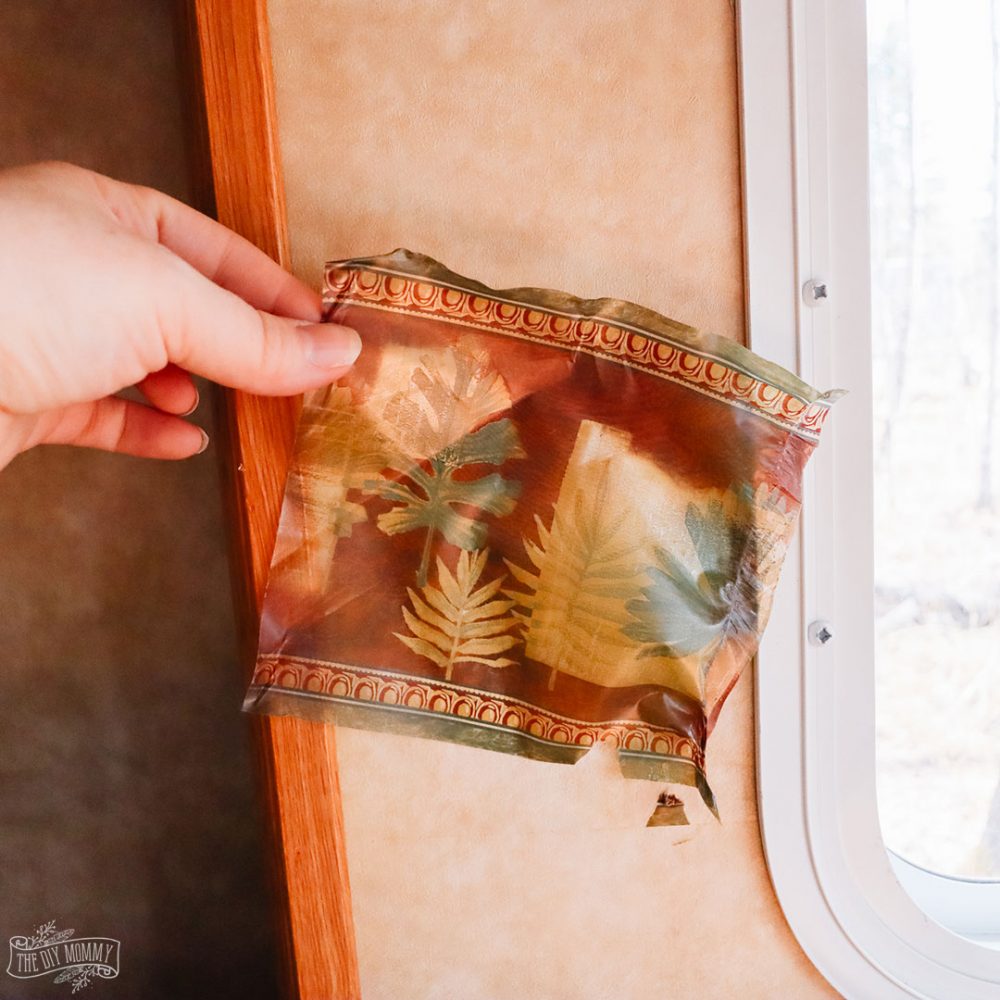
Removing wallpaper borders
I usually paint right over vinyl RV wallpaper, but I do remove the additional wallpaper borders. To do this, I pull them off with my hands or some pliers. If there is any sticky residue, I use Goo Gone to remove it from the walls.
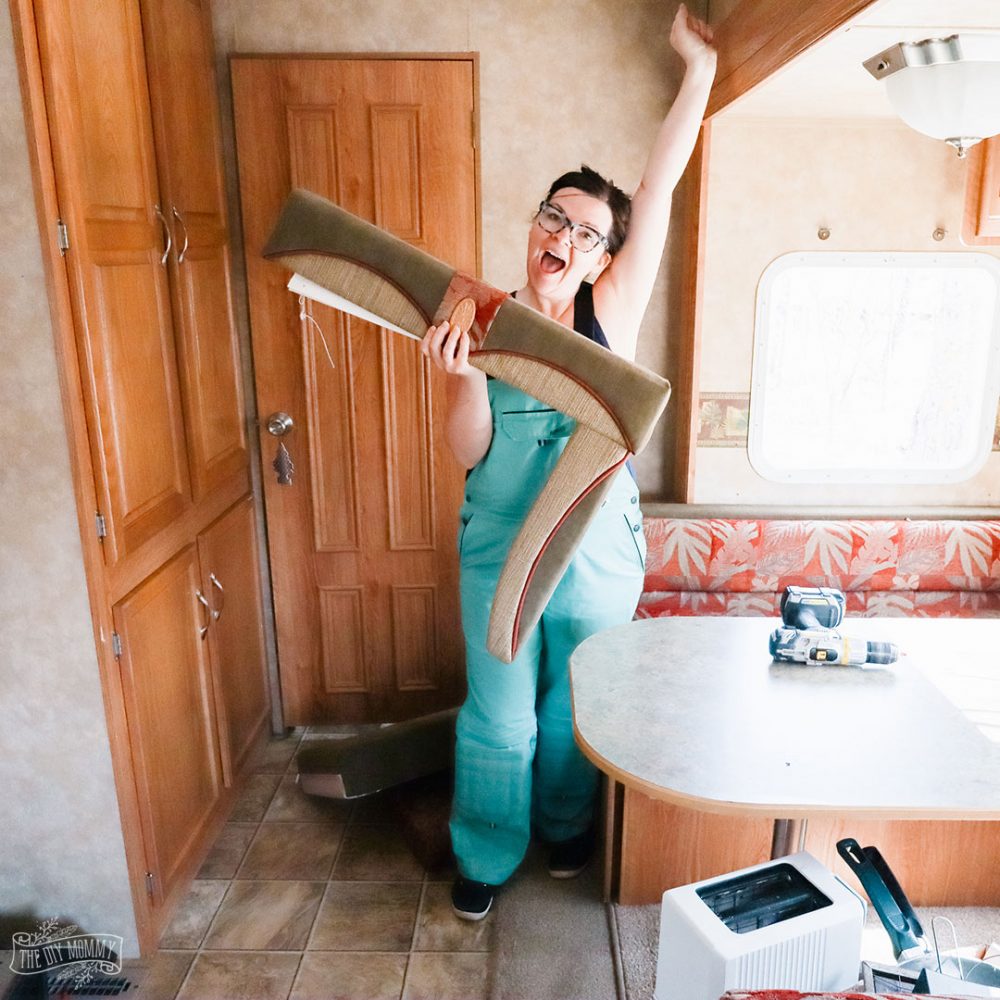
Removing built-in furniture
It’s up to you whether or not you want to remove your RV furniture or simply update it with new fabric upholstery, new cushions, or DIY slipcovers (like I did in our first camper). You should be able to use a drill to remove any screws and brackets that hold down the original furniture.
If you choose to leave the furniture and mattresses, you can give them a good cleaning with a steam cleaner.
Clean & prep all the surfaces
It’s important to make sure all of your camper’s surfaces are clean and free of any dirt or oils before painting. I used a degreasing cleaner like this Krud Kutter to clean all of the surfaces in my RV before continuing with the renovation.
If your walls have a bit of texture (most camper walls do), you shouldn’t need to prime before painting. I’ve painted right over the textured vinyl walls in my RV with no issues.
RV cabinets and doors, on the other hand, usually require a light sanding before priming and painting because they’re usually glossy. I’ve used both a power sander with 100 grit sandpaper and a liquid sanding product like Gloss Off to scuff sand my RV cabinetry and doors.
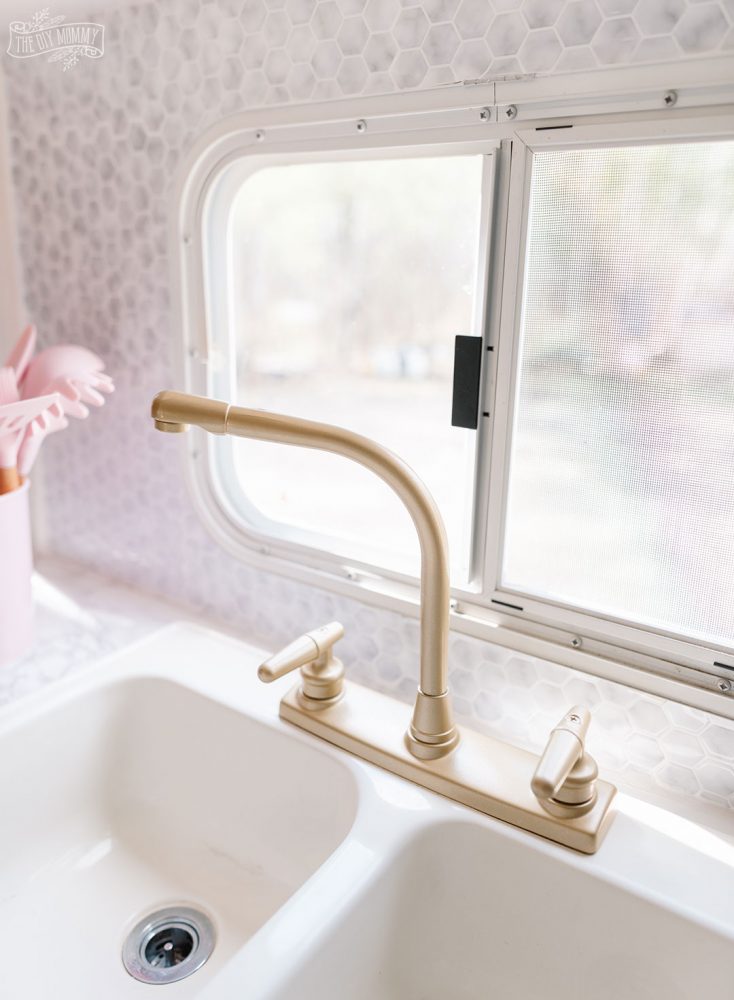
Consider spray painting fixtures
Before doing any other painting, you might want to consider spray painting any faucets, door handles, hinges… or even tubs and toilets! It’s easier to spray paint now rather than trying to mask your finished camper and spray paint these items later. I’ve successfully spray painted the kitchen faucet in this RV, and spray painted the tub, sink and toilet in my previous DIY RV renovation.
Ensure that anything you spray paint is cleaned and degreased before painting, and make sure to remove any hinges or handles off doors before painting for the best finish.
Paint the walls
Painting the walls in your camper will instantly update it! I find this to be fairly easy – a good latex paint, a paint roller and a brush for detail work should do the trick. You can also choose to use a paint sprayer to make the job go more quickly, but that can involve some prep if you need to mask anything off.
For this renovation, I used Behr Scruff Defense Paint & Primer in Whisper White on the walls and I’m very happy with how it’s held up 2 1/2 years later.
Can you paint over RV vinyl wallpaper?
RVs typically come with a thick vinyl wallpaper and vinyl transition strips on the walls. Yes, you can usually paint right over these with latex paint as long as they have been cleaned. I’ve done this to two campers so far with no issues like peeling or flaking after years of use.
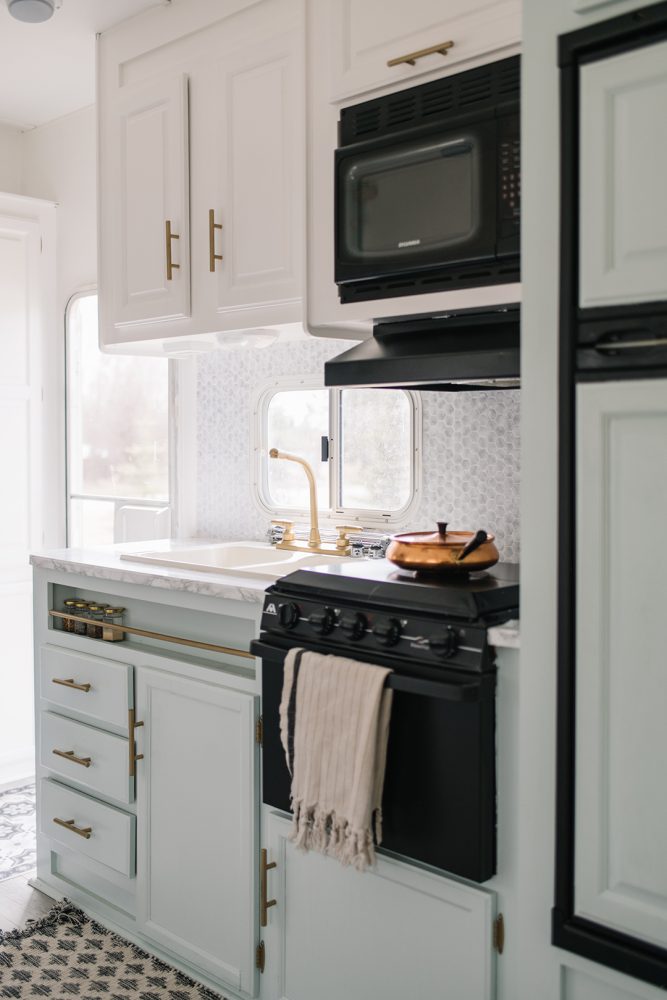
Prime & paint the cabinetry & doors
Painting cabinetry can be quite time consuming and a little more involved, but it can also make a huge impact in your RV. After the cabinetry has been cleaned and scuff sanded, remove all the doors and hardware. Then, use a good bonding primer like this one and apply it to the cabinet doors, cabinet boxes, and RV doors with a foam roller.
I find it’s essential to prime anything with a slight gloss – even after sanding – to prevent the top coat of paint from chipping or peeling.
After you’ve waited for the primer to dry (check out the directions for the proper drying time), you can paint the top coat. For this DIY RV renovation, I used Behr Cabinet & Trim enamel on my camper cabinetry, trim, and doors and I’ve been very happy with how it’s held up. It dries to a very hard finish, and it looks great.
I used a foam roller and brush to paint the top coat on my cabinets, but you could also opt for a paint sprayer for an even smoother finish. Make sure you wait the recommended drying time in between coats.
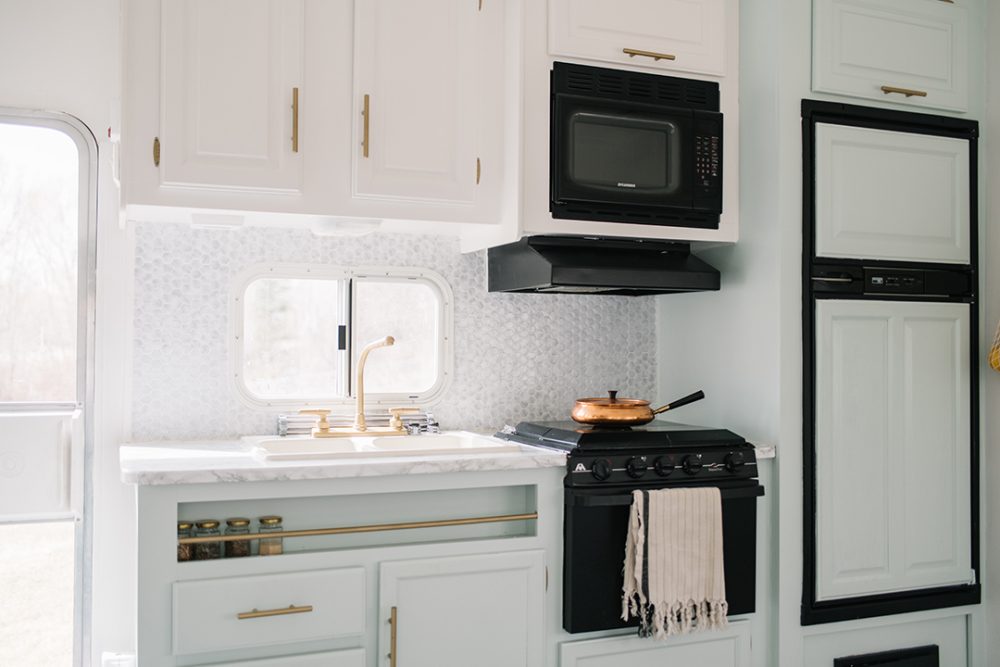
You can paint an RV paneled fridge, RV trim work, and RV interior doors using this same method.
To read more about how I painted the kitchen in my RV, click here.

Install new luxury vinyl plank flooring
Once everything’s painted, it’s a great time to install new flooring. I love LVP (luxury vinyl plank) flooring for RVs because it’s durable and easy to install. I’ve installed mine in a non-conventional way – using PL Construction Glue. You can read all about my RV flooring installation right here. It’s held up perfectly in all sort of weather in my two campers for years!
How do you put flooring on an RV slide?
For my slide, I installed the LVP flooring on both the slide and main floor area. Then, I used a piece of reducer trim I found at Home Depot to cover the lip of the slide edge. I used PL Construction Glue to adhere that to the edge and it’s worked wonderfully.
Add peel & stick tile backsplash
Peel & stick products are a fantastic way to update an RV. Not only are they lightweight, but they’re usually budget friendly. You can use a product like this peel & stick tile backsplash to make the area over your RV kitchen sink (and even the bathroom sink) look fresh. These thick vinyl stickers look like tiles, but they are much easier to install and more suitable for the movement in a camper.
Read my post on how to install peel & stick tile backsplash for more info on how to do it. Not only is this type of backsplash perfect for a camper remodel, but it’s also a great alternative for a rental home.
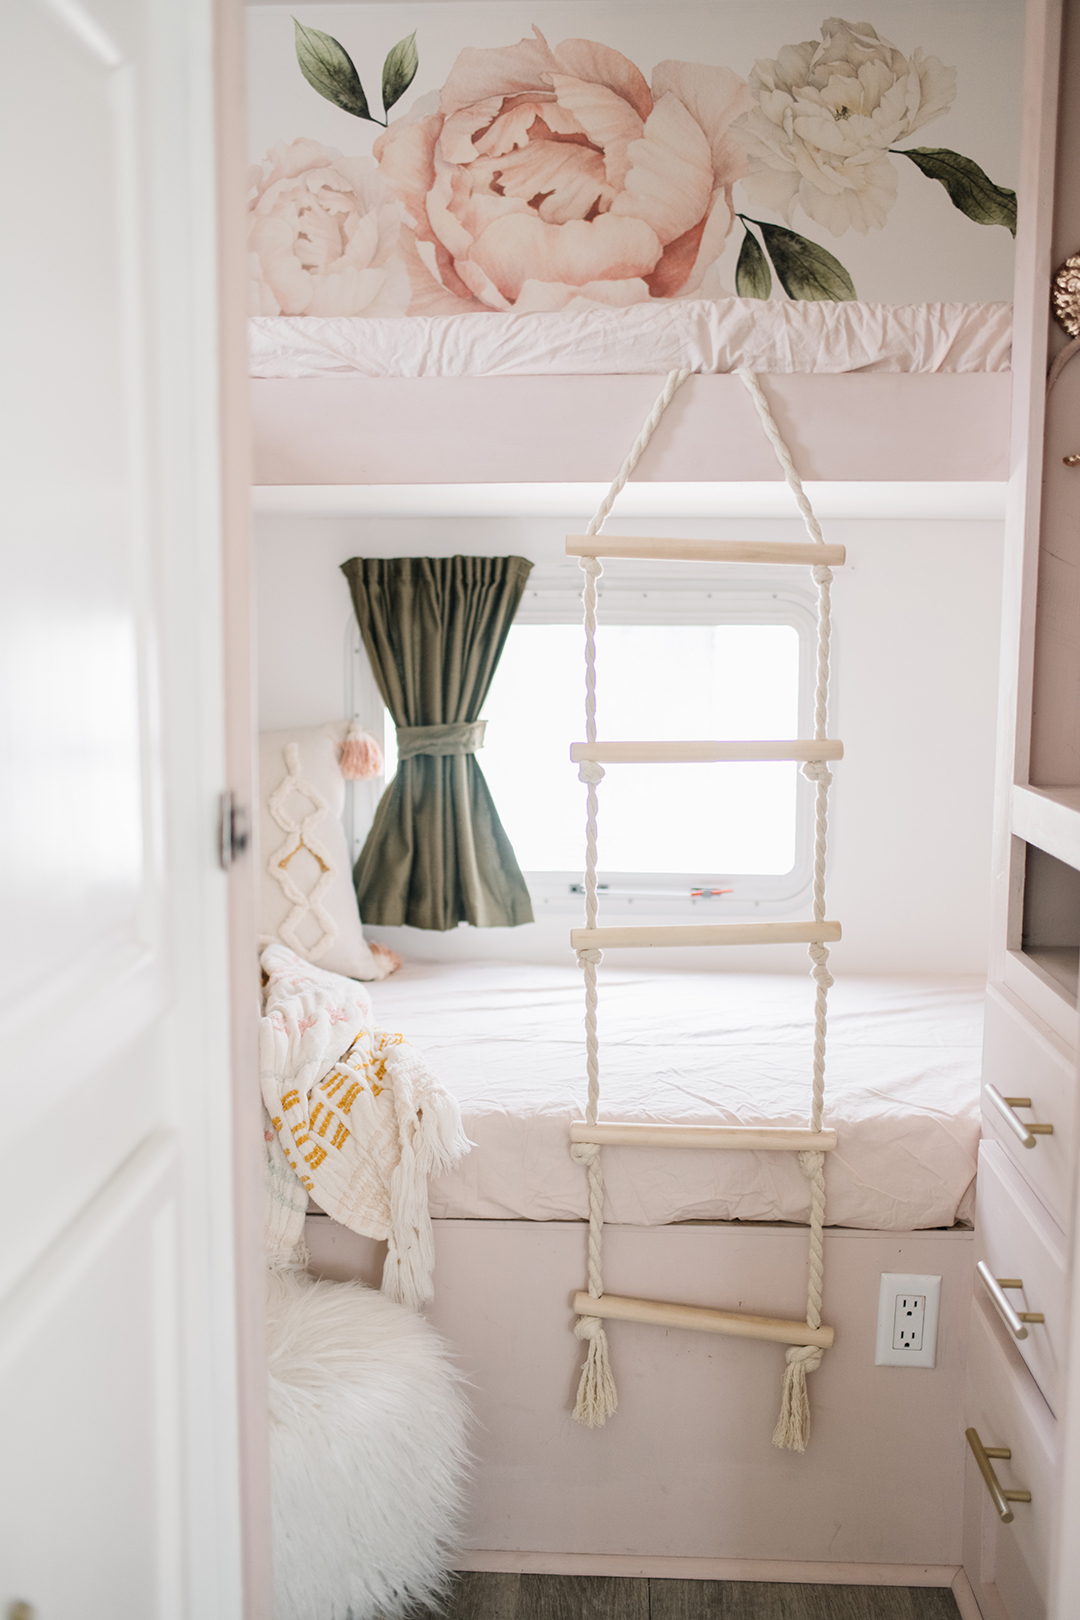
Note: You can also install peel & stick wallpaper to walls to create a feature. I did this on the back bathroom wall of our RV, and I used peel & stick decals in the bunk room. I recommend priming the wall first, letting it dry completely, and then installing the wallpaper for maximum adhesion.
Install contact paper countertop
Like peel & stick backsplash, using a peel & stick product to cover old countertops is a fun and effective DIY project in a camper remodel. I like to use this marble look contact paper to cover counters, and that’s exactly what I installed on the counter in our RV kitchen and coffee bar area. It’s lightweight, it’s easy to install, and it really lightens up the look of your camper.
Check out this post to see how to install marble contact paper on a countertop so that it looks great.
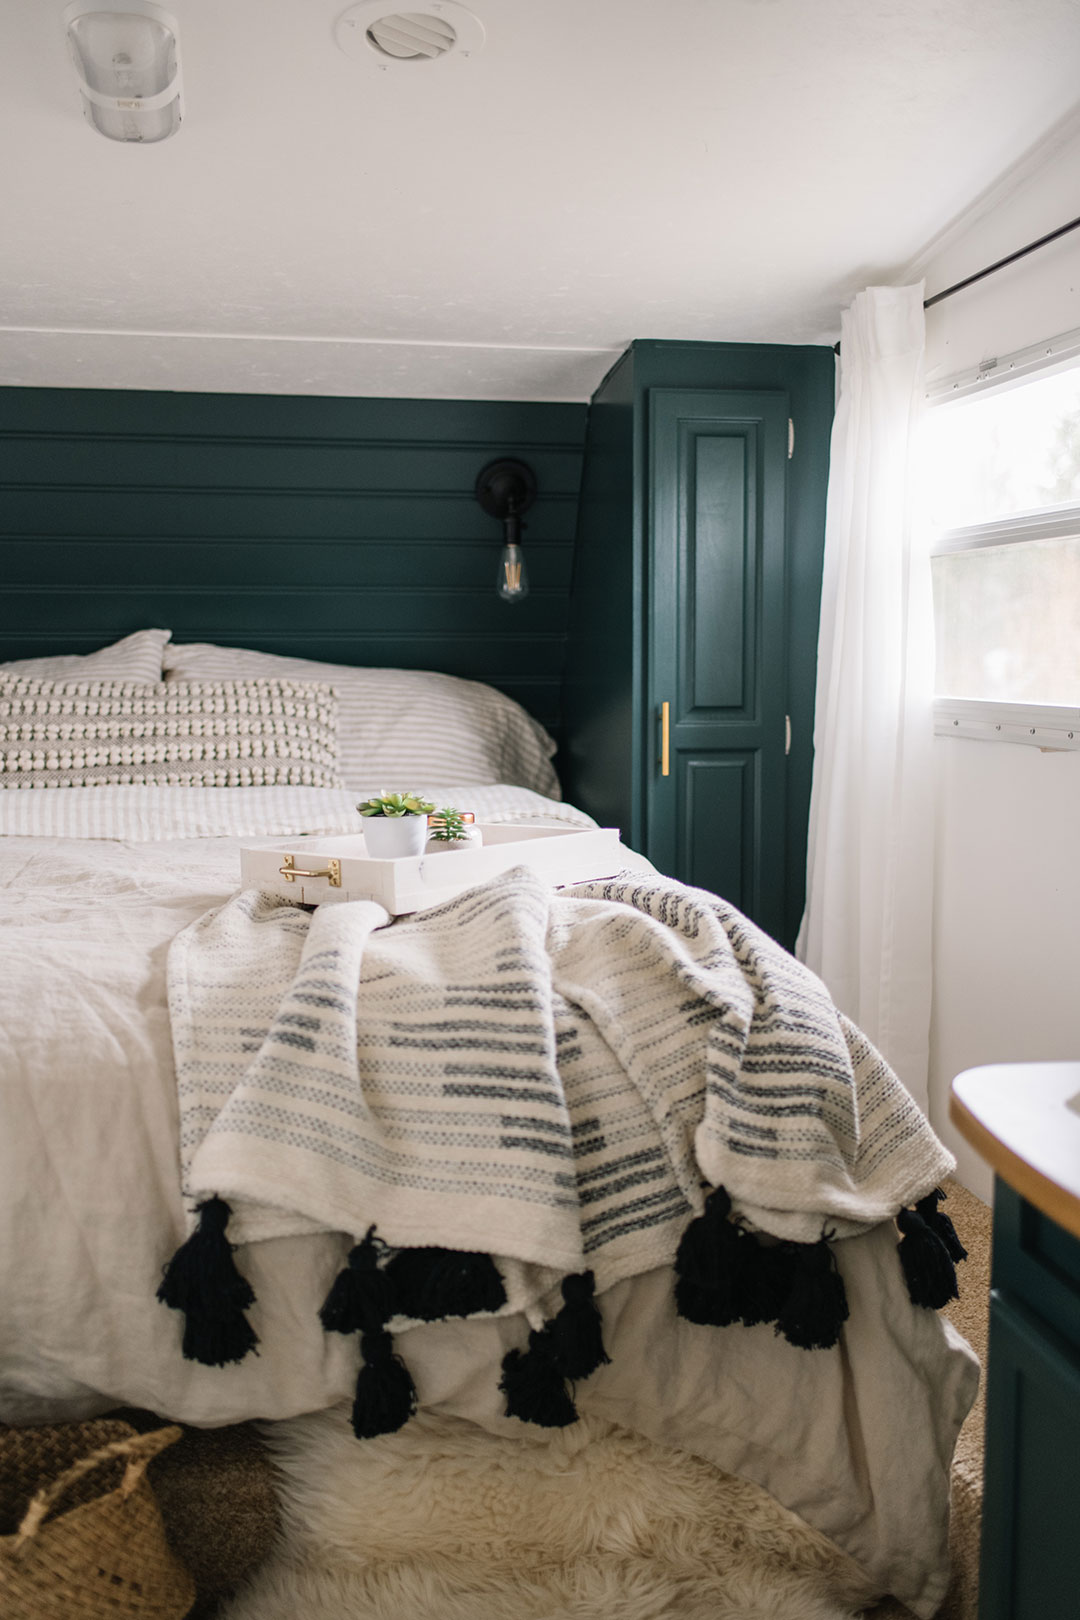
Install new light fixtures
Swapping out light fixtures in your RV renovation can be a beautiful touch. You can use any regular light fixture in a camper, just be sure to use a 12V bulb. My husband Sean is an electrician so he swapped out all our fixtures. However, I did do a fun DIY on the light fixtures in the slide-out, and you can see that one right here.
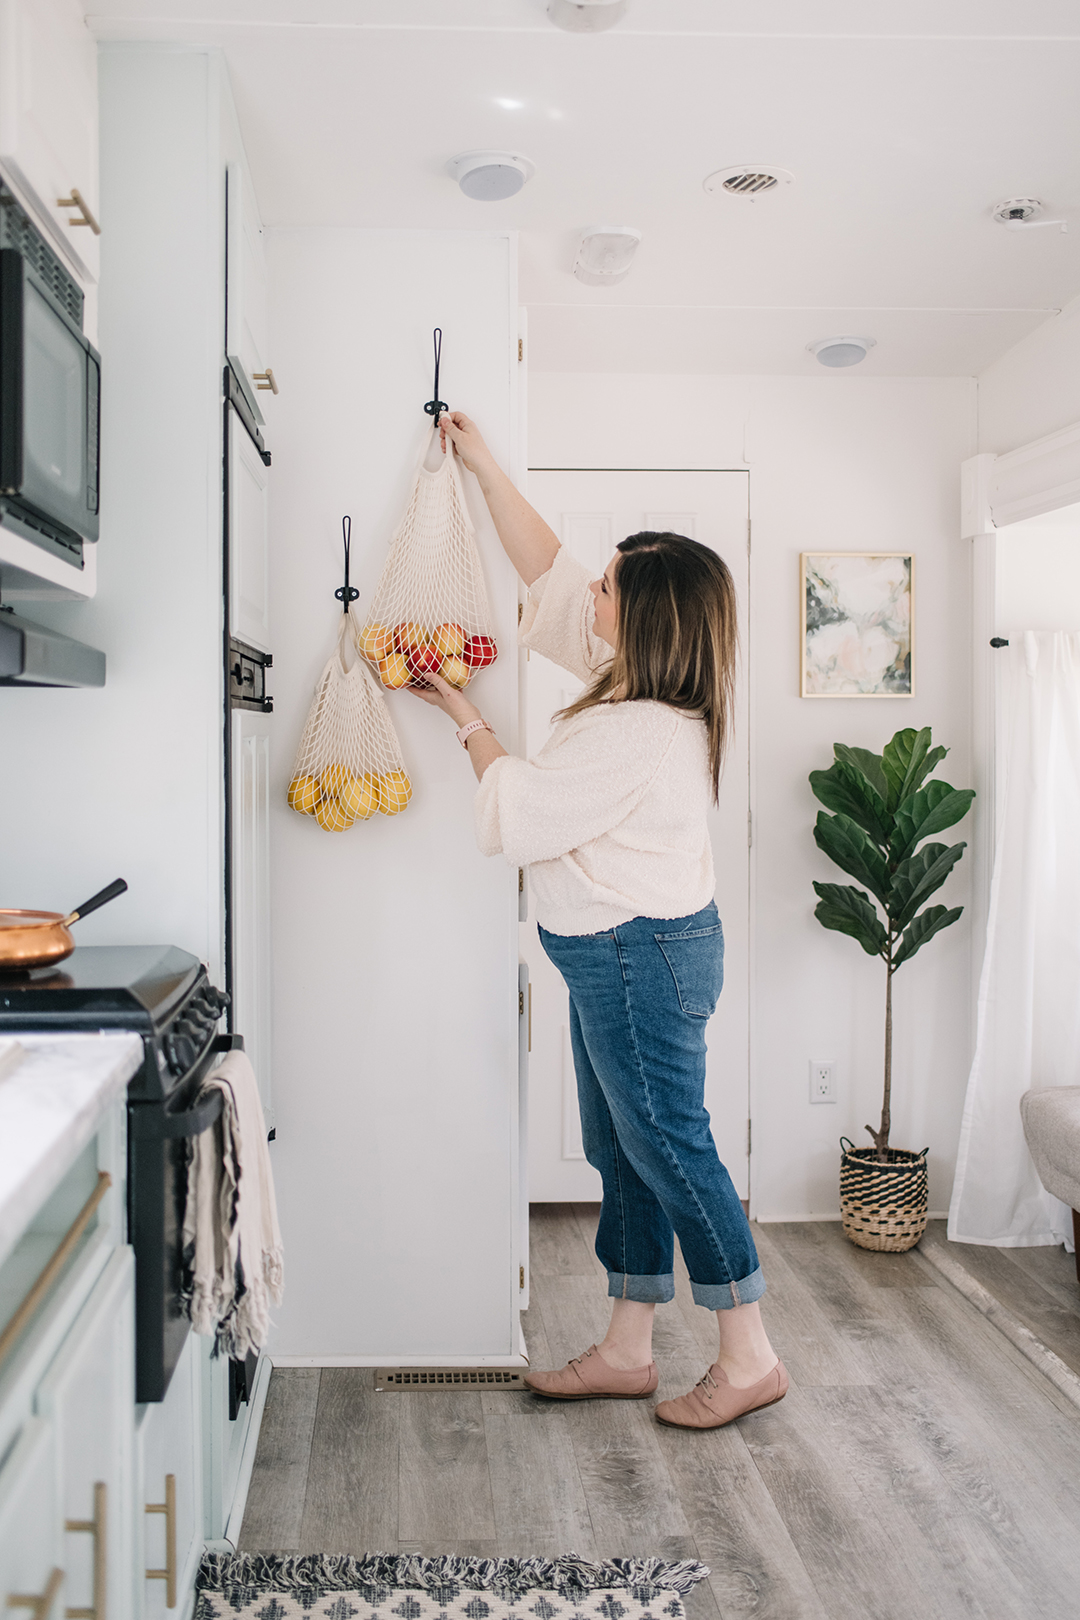
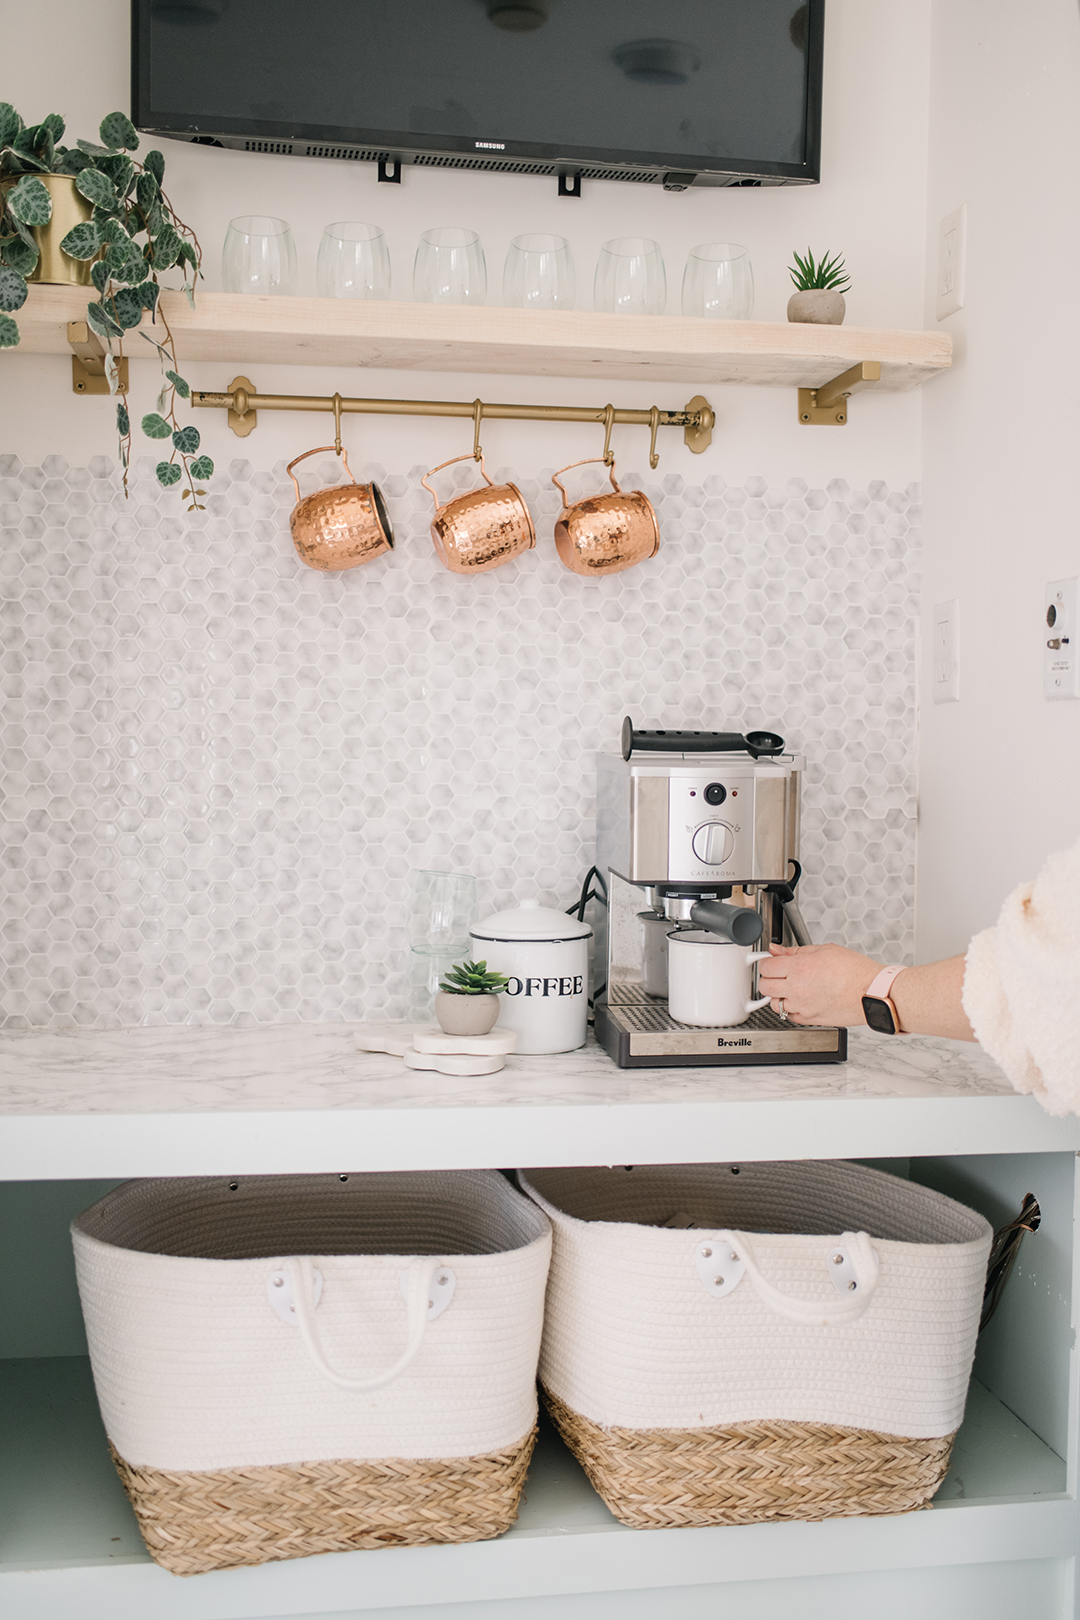
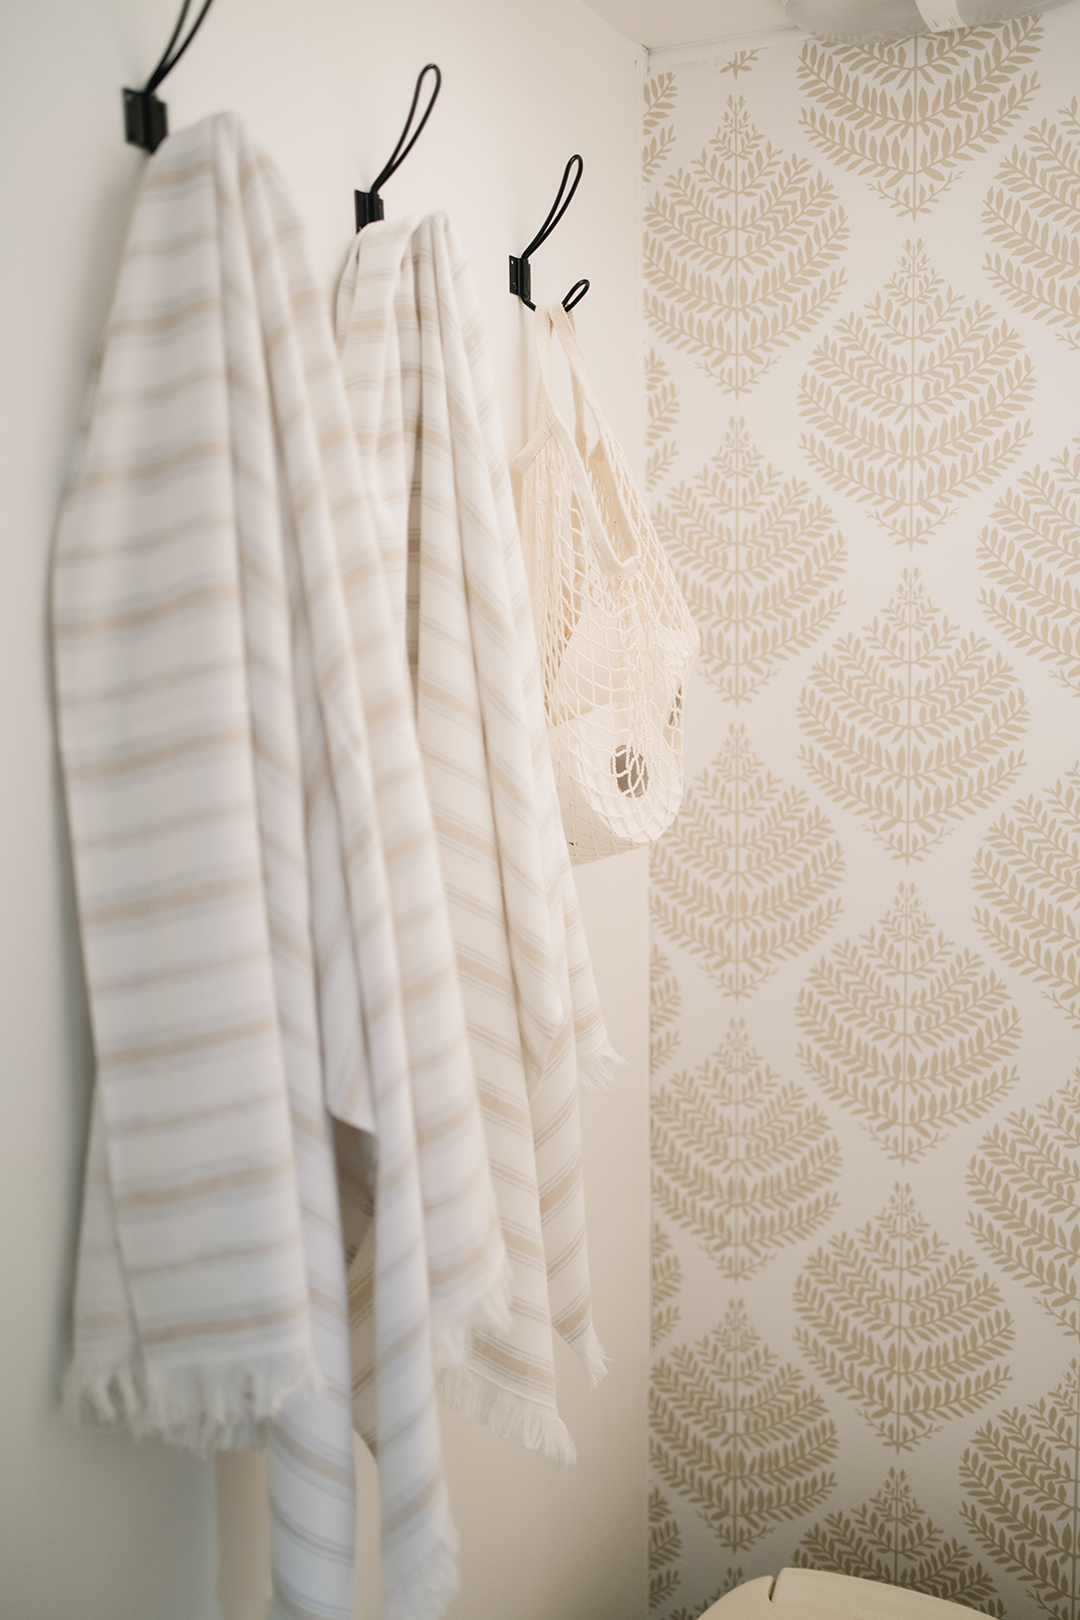
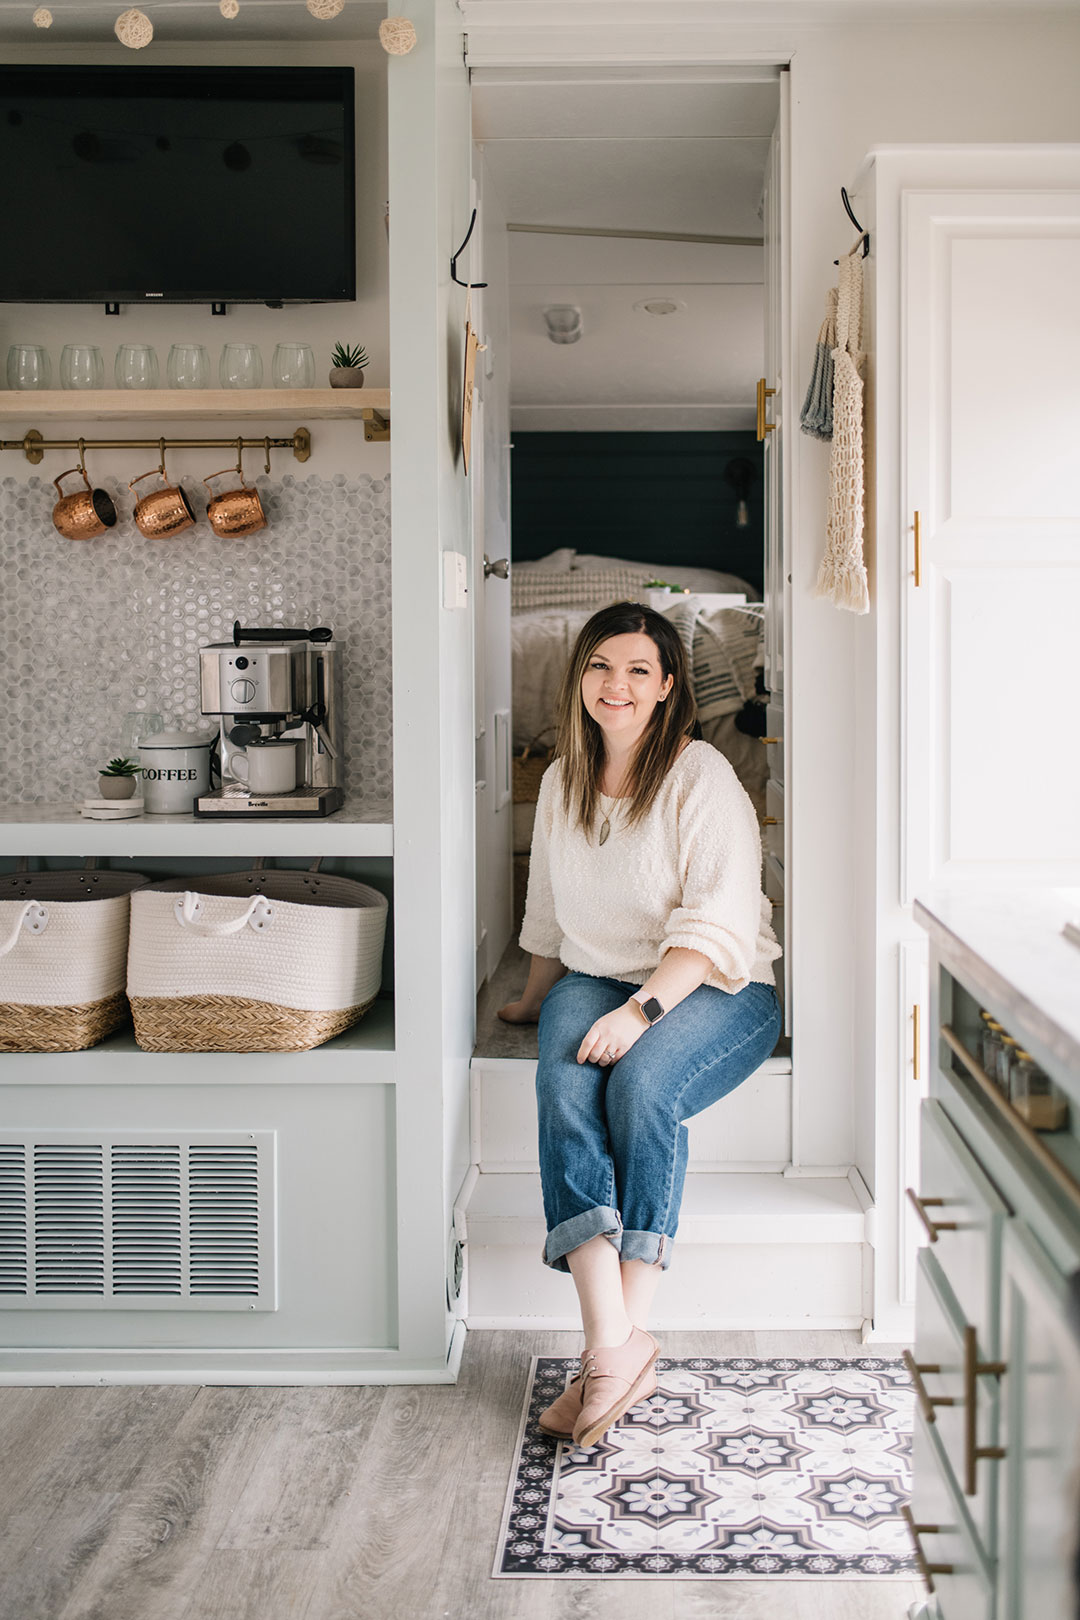
Add new hardware & hooks
New pulls and knobs can make your RV cabinetry look brand new. Adding hooks throughout the camper is a great way to add more function, too. In this camper remodel, I added brushed gold pulls to all of the cabinetry, and modern black hooks to the walls for extra storage. I also added a shelf and storage bar to the coffee area I created from the old entertainment unit area.
Can you use screws in an RV to mount things?
I’ve successfully used wood screws to mount everything from shelf brackets to hooks to TV mounts in my camper remodels. The key is to ensure the screws are the same size as the screws used in the original RV design.
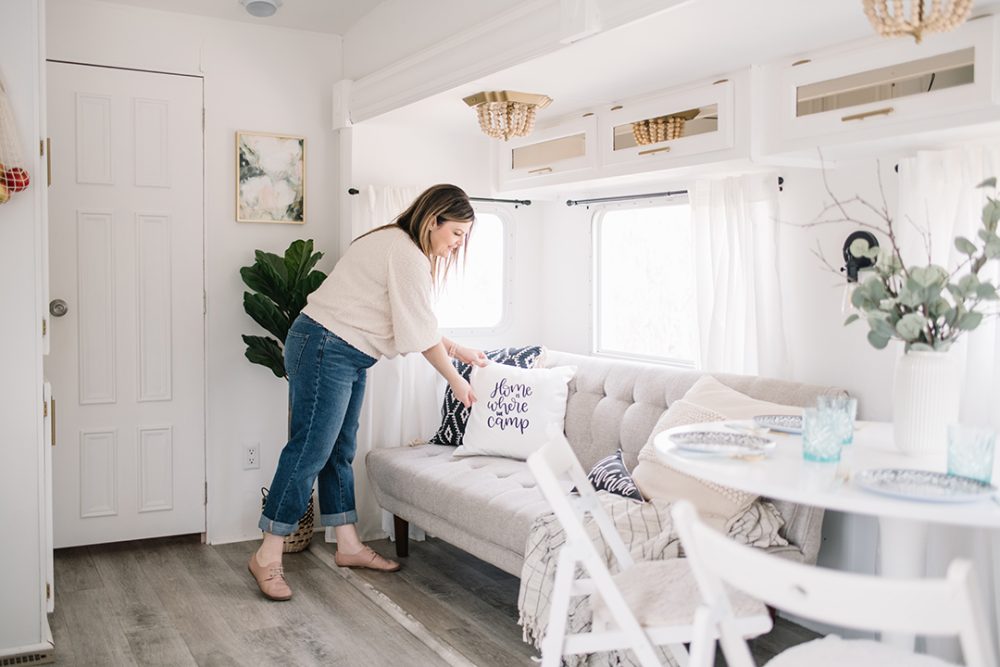
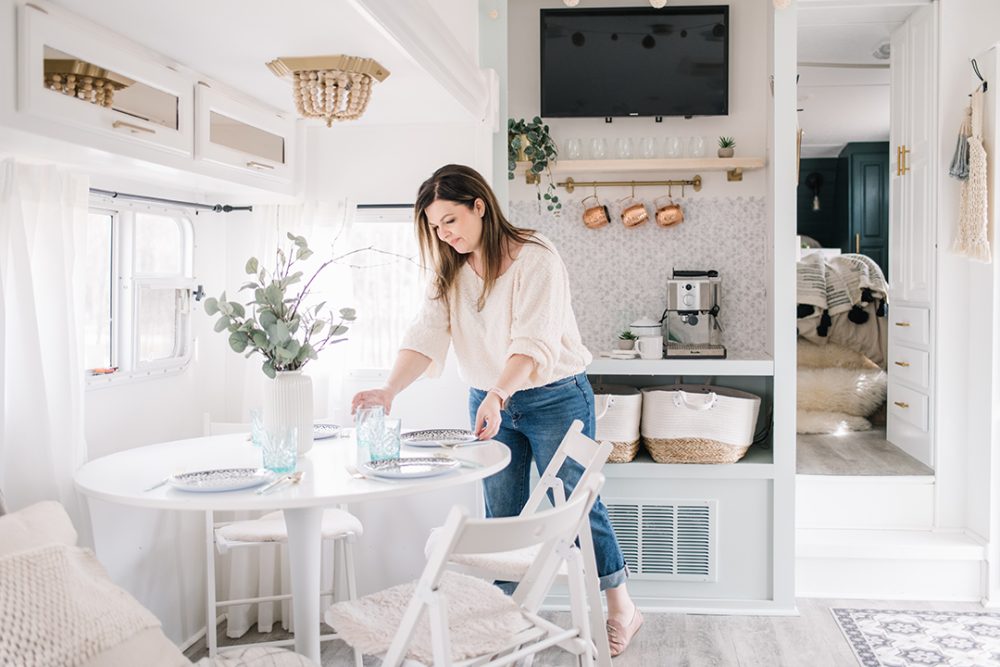
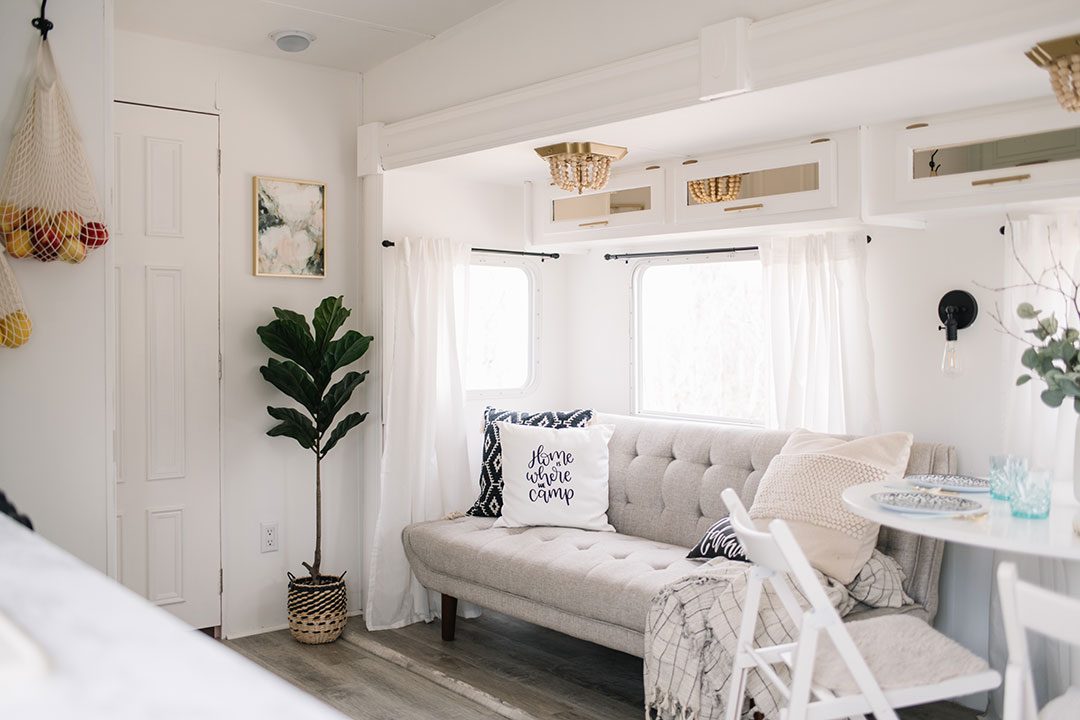
Install new furniture
In this DIY RV renovation, I used a sofa bed from Structube and an dining table from IKEA because they are both lightweight and inexpensive. When traveling, they are quite secure when the RV slide comes in, but you could also bolt them to the floor.
When looking for appropriate furniture, think of comfort and scale. RVs are obviously much smaller than most homes, so smaller scale furniture is required. Don’t forget that you’ll need to get it through the RV door, too!
Install new window treatments
I like to use cafe rods for camper window treatments, and you can usually find these smaller scale rods at Home Depot. Then, for this camper I used IKEA curtains and hemmed them to the height I needed.
You could also install black out shades behind the curtains for added privacy and darkness.
Decorate the RV
Decorations can be kept minimal in a camper remodel, especially if you plan to travel a lot. Don’t forget that all loose items need to be stowed away before you take off! I do like decor, so I added a few key things in our camper like a faux plant, some art, and then lots of cozy throw pillows and blankets for cool camping evenings.
Other RV decor that can make your camper feel more like home:
- a new shower curtain
- baskets for extra storage
- coffee station accessories like tins & mugs (that can be hung or stowed away)
How much did my RV renovation cost?
You can spend as much or as little on a camper remodel as you want. For this particular renovation, I spent about $1800 CAD on paint, flooring, furniture & accessories. The used RV was $10,000, so for less than $12K we have an RV that looks and feels brand new. I think that’s pretty good considering you can spend up to $60K on a similarly sized new RV!
So, there you have it! That’s how I renovated my RV, and all of my tips and tricks for your own camper remodel. My favorite part of this whole renovation? Being able to enjoy it with my family! (Check out our road trip down to California right here.) If you have any questions about my RV renovation ideas, let me know in the comments below. Happy DIYing!
DIY RV Renovation Sources List
- Faucet: Spray painted with Rustoleum’s Metallic spray paint in Pure Gold
- Backsplash: in Home Hexagon Marble Peel & Stick
- Countertop: Marble Contact Paper
- Cabinets: BEHR PREMIUM Interior Cabinet & Trim Enamel: Simply White and River Mist (kitchen) & Black Evergreen (main bedroom)
- Walls: Painted with BEHR ULTRA ™ SCUFF DEFENSE ™ Interior Extra Durable Flat Paint & Primer in Simply White
- Market Bags: KUNGSFORS Mesh Bag
- Spice Rack: Spray painted a wooden dowel with Rustoleum’s Metallic spray paint in Pure Gold
- Area Rug: Floral Vines Ivory Wool-Hooked Rug
- Pink Utensil Set: Lansontech Silicone Kitchen Utensil Set
- Flooring: Vinyl Plan Flooring (Sea Salt) and reducer trim that matched perfectly!
- Boho Light Fixture: Ceiling Light DIY
- Coffee Station: brackets from Amazon, baskets from Walmart, rail (painted gold) from IKEA
- Black wall sconce: Amazon with 12V edison light bulb
- Couch: grey tufted futon from Structube with faux fur stool from Structube
- Table: round dining table from IKEA
- Dining chairs: pink velvet chairs from Structube
- Curtains: cafe curtain rods from The Home Depot with curtains from IKEA (no longer in stock) & hemmed to length
- Peony Decals: Peony Flower Wall Stickers
- LED Lights: Giant Tiger
- Mirror (Bunk Room): LASSBYN
- Hooks (Bunk Room): SVARTSJON
- Rope Ladder: COMINGFIT® Sturdy Indoor/Outdoor Rope Ladder and this Cotton Rope
- Pink Sheets: Ultra-Soft Cotton Fitted Sheet
- Blush Pink Paint: Rust-oleum Chalked Ultra Matte Paint
I LOVE this design thank you for sharing. Nice to know this grand look can be achieved on a budget! What is the paint color used in the master bedroom?
Thanks, the paint color is Black Evergreen by Behr.
Very nicework.Obviously, you love the project. Glad you took some time to address the rv roof renovation. We hate when customer call in telling us stories about their roof leaks when many of they could have been prevented with some maintenance.
Beautiful job! We have a 1994 RV we bought new and is in good shape but the wallpaper needs help. it is not vinyl coated like yours, but actually just paper. It has wrinkled in places from previous water damage. I’ve been afraid to try painting it. Have you tried anything like this.
You may have mentioned this in the blog. If so, my apologies, I missed it. What did you use for the “mirrors” on the cabinetry inserts above the sofa? It looks so pretty!
The cabinets already had mirrors in them.
I loved what you did. I have a 2017 17 ,foot trailer. Very dark inside. Going to paint it. Thanks for sharing how to do it and the names of the products to use.
Very informative. I’m about to start our camper reno. My walls are shiny panel board, so I will use a primer after scuff sanding. I’m a bit concerned about paint not sticking to all our plastic trim and moulding. It’s brown so has to be painted. Any advice about that?
You can do a test with the paint + primer product, but if that doesn’t seem to stick try a coat of bonding primer first.
Hi Christina
Absolutely love your design ideas and Your RV reno is amazing! My question is have you had issues with your LVP flooring shrinking/expanding with change of temperatures ?
We are in New Brunswick so also have extremely cold winters! We are tackling a 2014 Jayco in the spring. Not sure we have patience to try vinyl sheet as the replacement.
Thanks
Lisa
There have not been any issues with expanding and shrinking.