• Skip to primary navigation
  • Skip to main content
  • Skip to primary sidebar
The DIY Mommy
  • Decor
    • All Home Decor
    • Room Makeovers
    • DIY Camper Renovations
    • Simple Decorating Tips
    • IKEA Hacks & Decor
  • Crafts
    • All Crafts
    • DIY Gifts
    • Cricut Crafts
    • Dollar Store Crafts
    • Upcycling Ideas
    • Knitting & Crochet
    • Sewing
    • Macrame
    • Woodworking
  • Recipes
    • All Recipes
    • Baking
    • Breakfast
    • Lunch
    • Dinner
    • Snacks
    • Drinks
    • Dessert
  • Clean & Organize
  • Life
    • All Life
    • DIY Business & Blogging
    • Travel on a Budget
    • DIY Kids Activities
    • Fashion
    • Health & Beauty
    • Shopping
    • Randoms
  • Printables
  • Shop My Home
    • Our Home
    • Our Camper
    • Our Little Lake house
  • Lake House
  • Podcast
  • About
    • About The DIY Mommy
    • Terms of Service
    • Privacy & Cookie Policy
    • Disclosure Policy
    • Sign up for my Newsletter & Get Free Stuff!
    • Link Parties
  • Contact
    • Facebook
    • Instagram
    • Pinterest
    • Twitter
    • YouTube
menu icon
go to homepage
search icon
Homepage link
  • Home Decor
    • Room Makeovers
    • DIY Camper Renovations
  • Crafts
    • DIY Gifts
    • Cricut Crafts
    • Upcycling Ideas
    • Dollar Store Crafts
    • DIY Sewing
  • Clean & Organize
  • Recipes
  • Free Printables
  • Life
  • Our Little Lake House
  • Shop Our Home
  • Podcast
  • About
  • Contact
    • Facebook
    • Instagram
    • Pinterest
    • Twitter
    • YouTube
  • ×

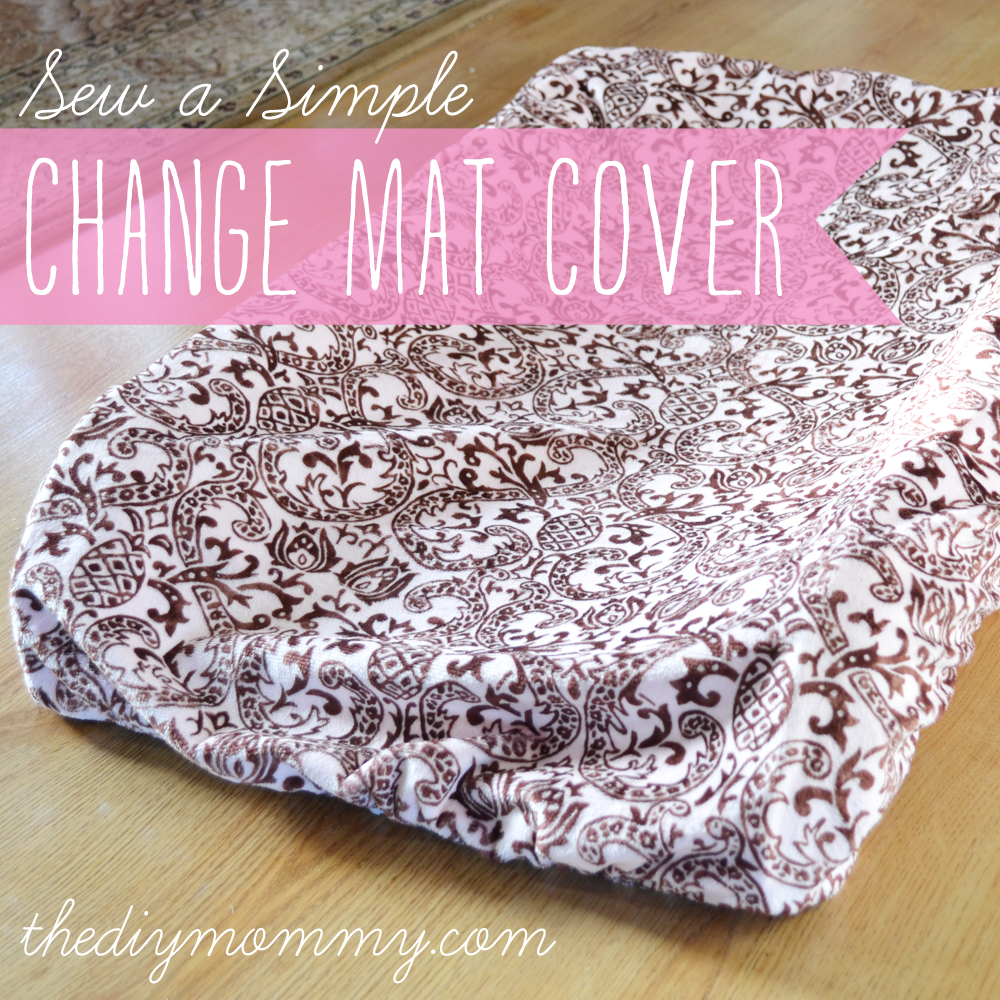
    Sew A Simple Change Mat Cover

    Published: Feb 25, 2013 · Modified: Mar 1, 2013 by Christina Dennis · This post may contain affiliate links · This blog generates income via ads · Leave a Comment

    Sew a Simple Change Mat Cover by The DIY Mommy

    Sometimes I like to spend a lot of time on DIY projects, and sometimes I just want to make them as simple as possible and get them done.

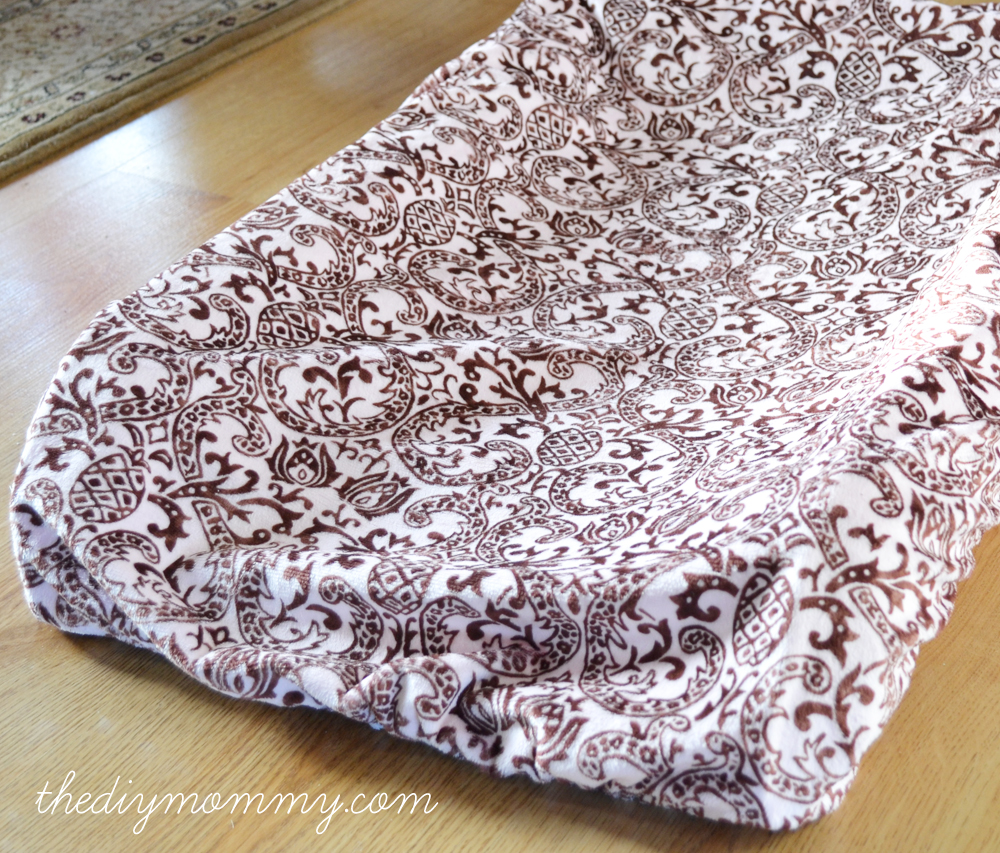
    This easy minky change mat cover was one of the latter kinds of projects. I made it before Baby A was born, and I completely forgot to share it until now (almost a year and a half later)! I still use this DIY change pad cover daily. It's washable, it's comfortable, and it didn't take me long at all to sew. It's basically a small fitted sheet - without mitered corners. Here's how I did it:

    Materials:

    • ½ yard minkee fabric (or any soft fabric, but I love minkee for baby items because it's just so soft and cuddly) I get my minkee (minky) fabrics from Fabric.com - love them!
    • ¼" elastic
    • a plastic or foam change pad that needs a cover (I have one like the one pictured on this IKEA changing table)

    Directions:

    1. Measure your change pad from side to side, making sure to add the height of the outside and inside edges. Add 2". This will be the width of the piece of fabric you'll need to cut.
    2. Repeat with the length of the changepad, using this measurement as the length of fabric that needs to be cut.
    3. Cut a piece of minkee to this measurement, and then round the corners (I use an ice cream pail lid).
    4. Fold the edges from right side to wrong side about ½" and pin. You can pleat the corners a little to make this work. Sew the edges down, ensuring that there's at least a ¼" casing for the elastic. Leave a 1" hole.
    5. Cut a piece of elastic that's appoximately ⅔ the circumference of your changemat. Thread it through the casing, sew its ends together, and then sew the casing hole shut.
    6. Your done! It's a simple cover, but it's quick and it's easy to remove when it needs to be washed. You can make a couple so that you'll always have one on hand.

    Sew a Simple Change Mat Cover by The DIY Mommy

    Sidenote: Here's darling Baby A at only two days old. How small is she?! Is is just me, or does the second baby seem to grow up at lightening speed?

    Sew a Simple Change Mat Cover by The DIY Mommy

    (Disclosure: This post contains affiliate links. If you decide to purchase products via these links, a small percentage of the sale will be given to me at no extra cost to you. It's a win-win - thanks for helping support thediymommy.com!)

    « Make Easy Slow Cooker Beef Stew
    Sew a Scalloped Bunting Banner »

    Reader Interactions

    What do you think? Cancel reply

    Your email address will not be published. Required fields are marked *

    This site uses Akismet to reduce spam. Learn how your comment data is processed.

    Primary Sidebar

    Welcome!

    Christina Dennis, The DIY Mommy

    I'm Christina and I'm sharing budget-friendly DIY & decor ideas to create a cozy home and life you love!

    Read more about me

    Latest Posts

    • Gutting the tiny cabin (and what we found!)
    • Growing, picking and storing peonies.
      Peonies 101: How to Grow Them, Store Them & Get Ants Off Them!
    • Modern Rustic Basement Makeover with Hidden Storage Ideas

    What's my home decor style?

    Discover the home decor style that best fits your personality and lifestyle. This two-minute quiz is going to give you the direction you need to start the big, bold room makeovers that you've always wanted to try!

    Find out now!

    Archives

    Latest YouTube Video

    [youtube]https://youtu.be/MjDoqQFoj9g[/youtube]

    Footer

    ↑ back to top

    About

    • Privacy Policy
    • Disclosure Policy
    • Terms of Service

    Newsletter

    • Sign Up! for emails and updates

    Contact

    • Contact

    As an Amazon Associate I earn from qualifying purchases.

    Copyright © 2009 - 2022 The DIY Mommy. "The DIY Mommy" is a registered trademark.