Sew Boutique Soother Clips
This post may contain affiliate links · This blog generates income via ads
by Christina Dennis
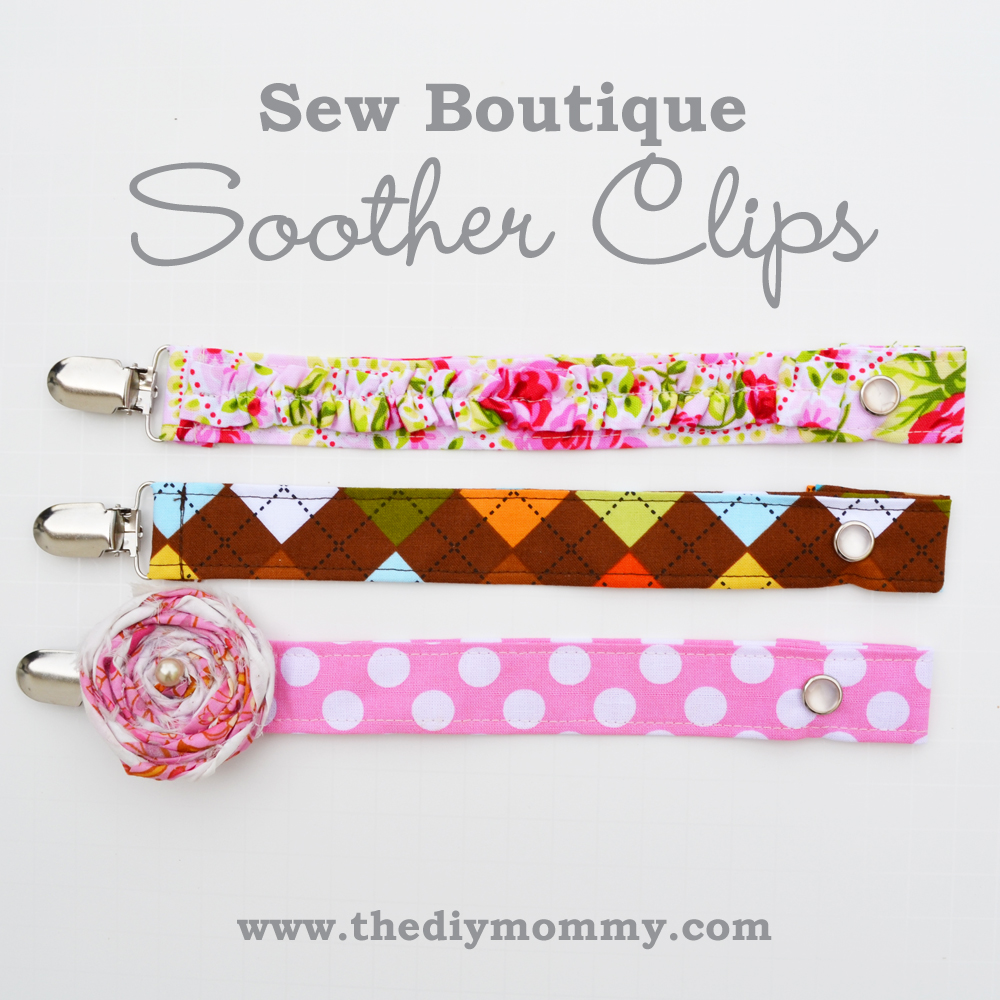
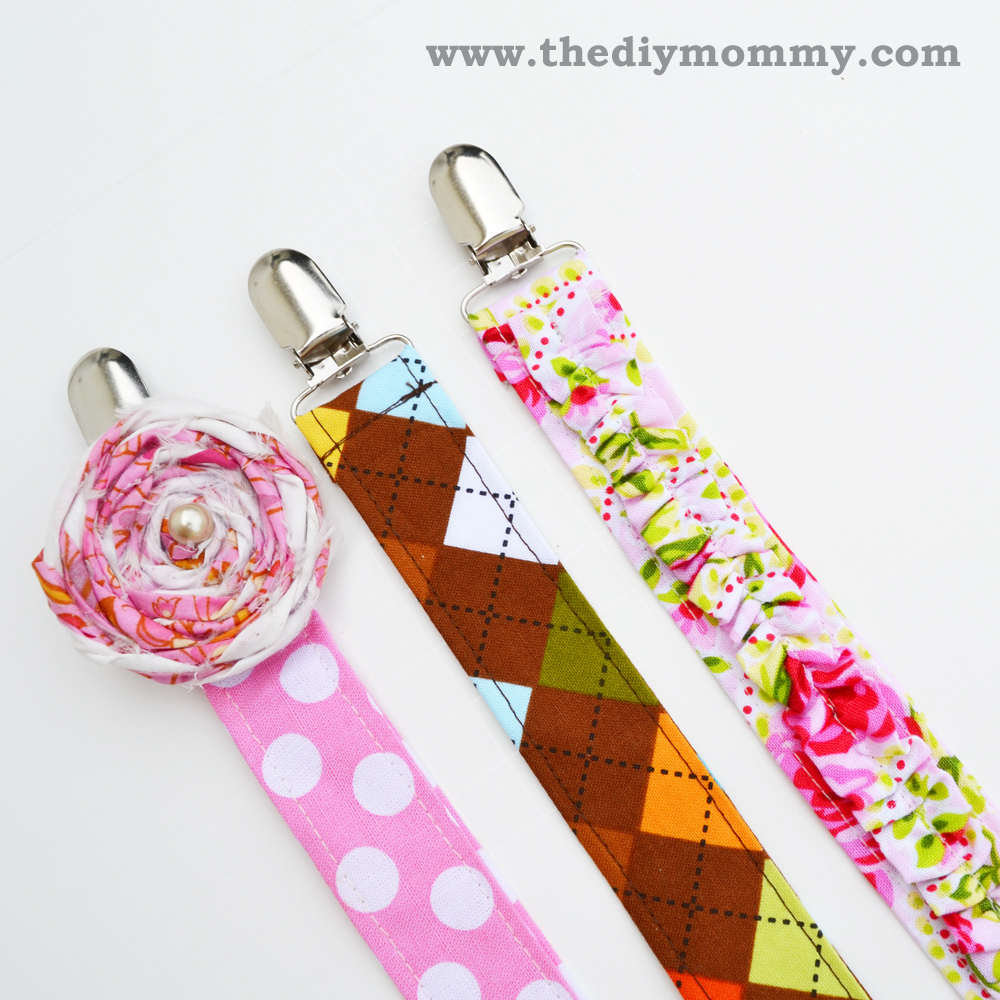
If your baby’s anything like mine, soothers pop out of her mouth constantly and they are always hitting the floor. When I had my first baby, it was hard to find cute-looking soother clips to keep soothers from dropping, so I decided to make my own! Here’s my original fabric soother clip design and I’ve updated it with some adorable ruffles and/or a flower brooch embellishment. Here’s how to make one for your baby (they also make great baby shower gifts)!
Materials:
- a scrap of cotton quilting fabric (at least 4″ wide by 12″ long, with an extra 2″ wide by 24″ long strip if you want to make the ruffle or flower embellishment)
- one 1″ wide metal suspender/pacifier clip (search Etsy for some in their “supplies” category!)
- one pearl snap (search Etsy for some in their “supplies” category!)
- a pair of snap pliers (to fasten the snap pieces to the soother clip strap)
Directions:
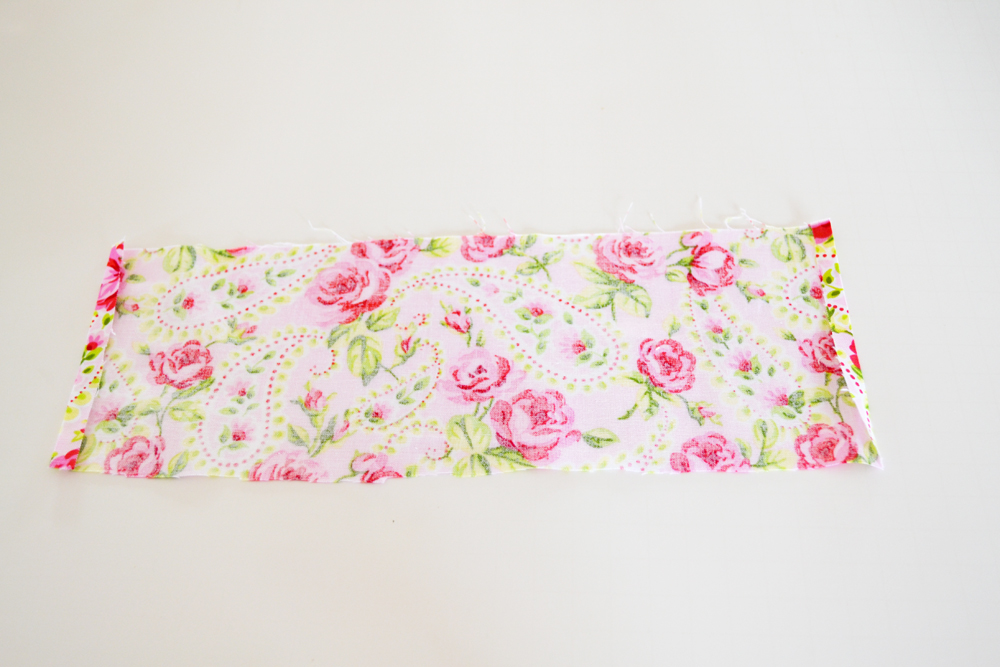
Cut a piece of fabric that measures 4″ wide by 12″ long. I find a hard ruler and a rotary cutter works really well to get straight, square measurements. Turn the short ends over to the wrong side about 1/4″ and press.
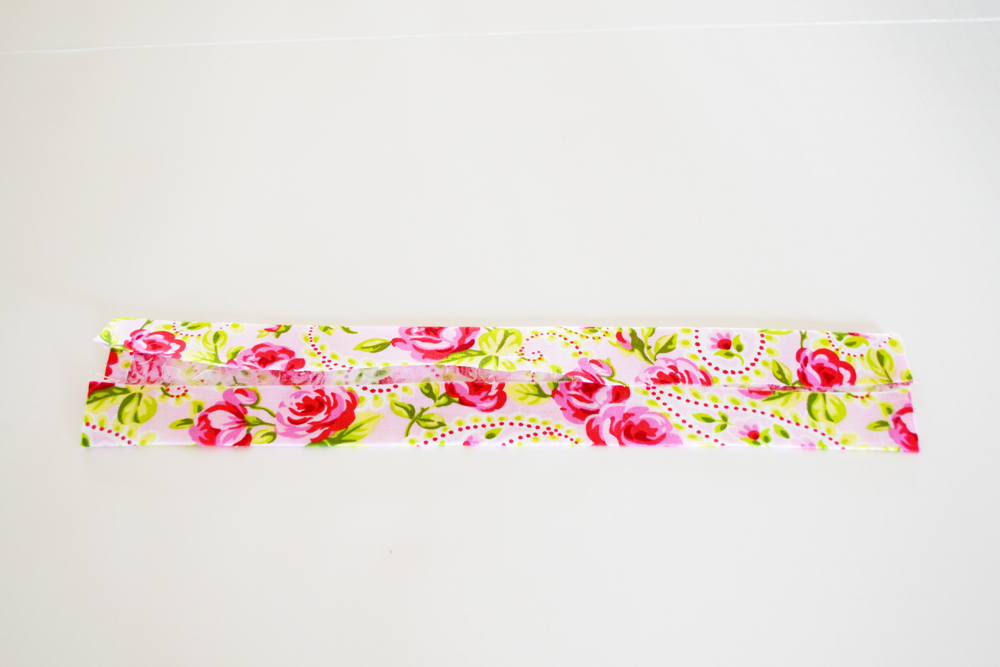
Fold the piece in half with the long sides meeting and press. Open the piece back up (this center crease will act as a mark), and then fold each long side to the center with the edge meeting the center crease. Press each side.
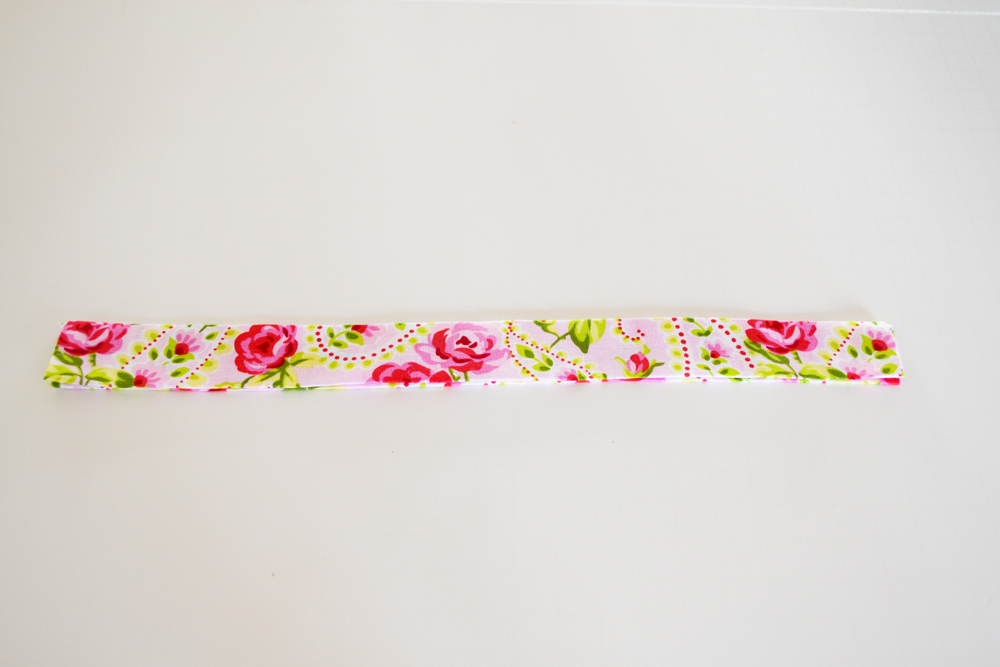
Fold the piece in half the long way again. Press. You will have a 1″ wide by about 11 1/2″ long piece of folded fabric.
Sew around the entire perimeter of the fabric strap approximately 1/4″ from the edge. Attach the suspender/pacifier clip to one end by folding about 1/2″ of the fabric through the suspender clip base and sewing. (I like to sew back and forth a few times here for durability!) ![DSC_0816[1]](https://thediymommy.com/wp-content/uploads/2012/05/DSC_08161.jpg)
Attach the pearl snap to the other end using snap pliers. I fold the snapped end about 2″ so that there’s lots of room for a pacifier to fit through. Here’s a helpful tutorial on how to attach pearl snaps.
If you want a plain soother clip, you’re done! Enjoy!
If you want to add a ruffle embellishment, here’s how:
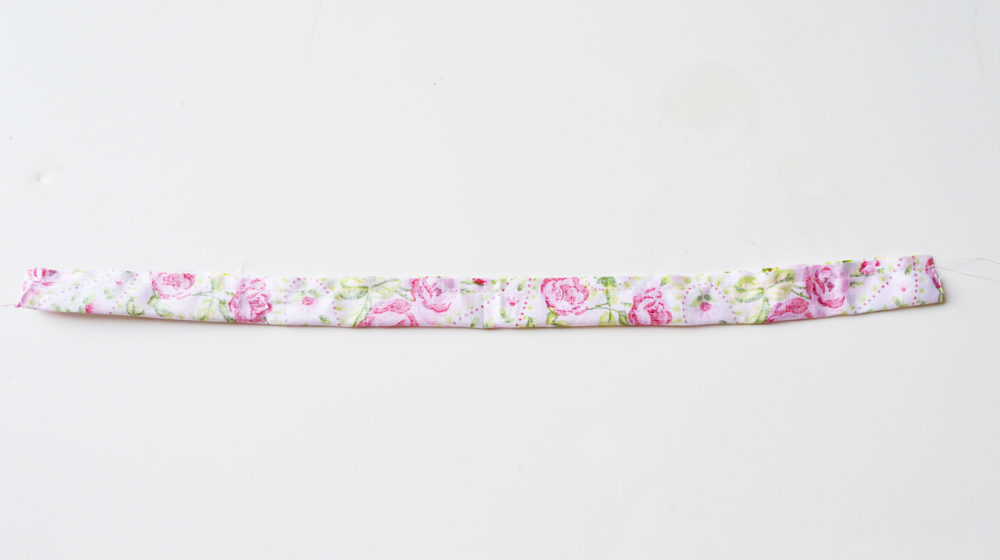
Cut a piece of fabric that’s approximately 2″ wide by 24″ long. Turn it in half lengthwise, right sides together and sew together 1/4″ from the raw edge to form a tube.
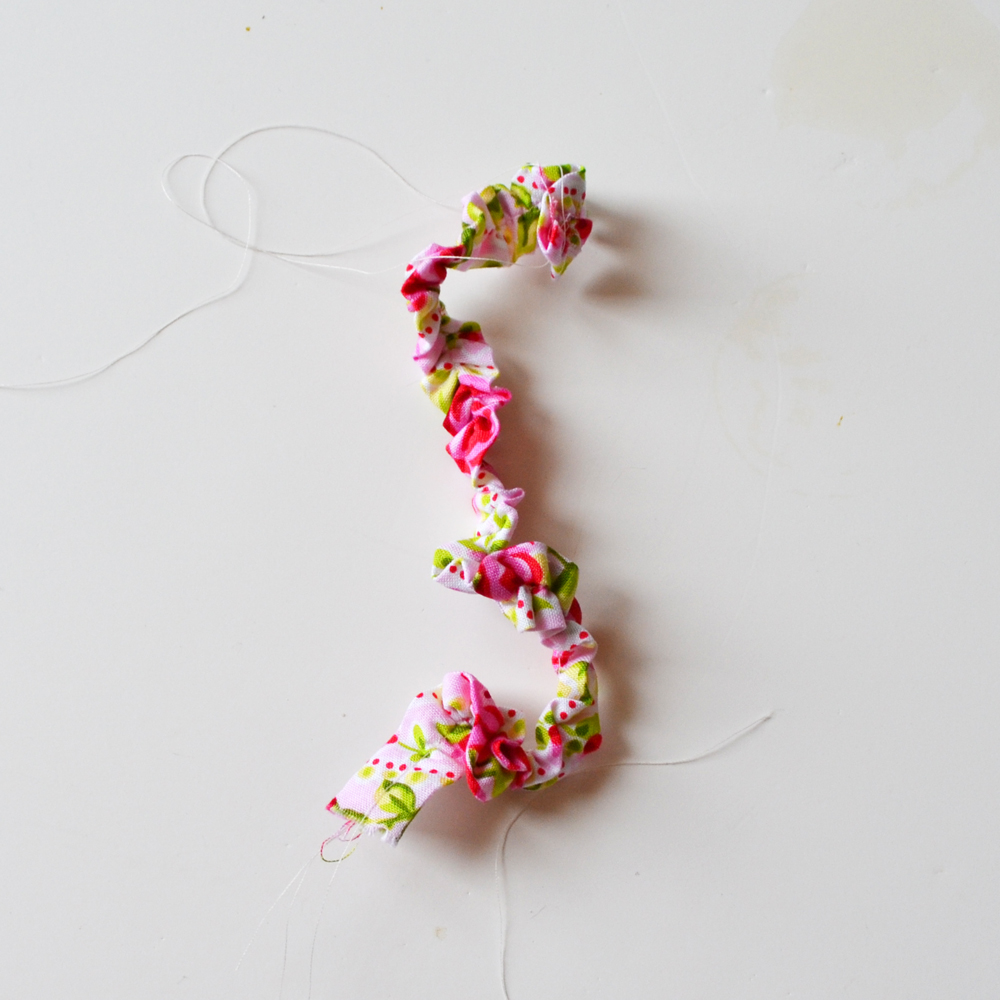
Turn the tube right-side-out (I use a knitting needle!) and press with the seam placed on the center back. Sew a long, running stitch down the middle of the tube and pull the ends to gather the tube into a long ruffle that’s the 1″ more than the length of the soother clip (from the base of the suspender clip to the top of the pearl snap).
Turn the top and bottom ends of the tube about 1/2″ to the back and sew the ruffle to the soother clip, sewing down the center directly over the long running stitch.
If you want to add a flower embellishment, here’s how:
Use this tutorial to make a rolled flower out of a strip of fabric and then hand stitch it securely to the top of the fabric strap, covering the base of the metal suspender clip.
I find making these clips assembly line style works really well if you want to make several at a time (cut them all out at once, press them all at once, sew them all at once). Make a few of these adorable, boutique soother clips for your baby and then a bunch more for baby gifts!
Christina Dennis is the creator and designer behind Golly Gee Baby, a collection of unique and colourful baby clothing and accessories that are ethically manufactured.

I love that you shared this…for those of you more money savvy, when I made a few of these, I purchased a set of the elastic clips for an ironing board and just cut off the elastc. it works exactly tje same, but cost much less!
Thanks for the great idea, Styna!