Sew Designer Drapes the Easy Way
This post may contain affiliate links · This blog generates income via ads
by Christina Dennis
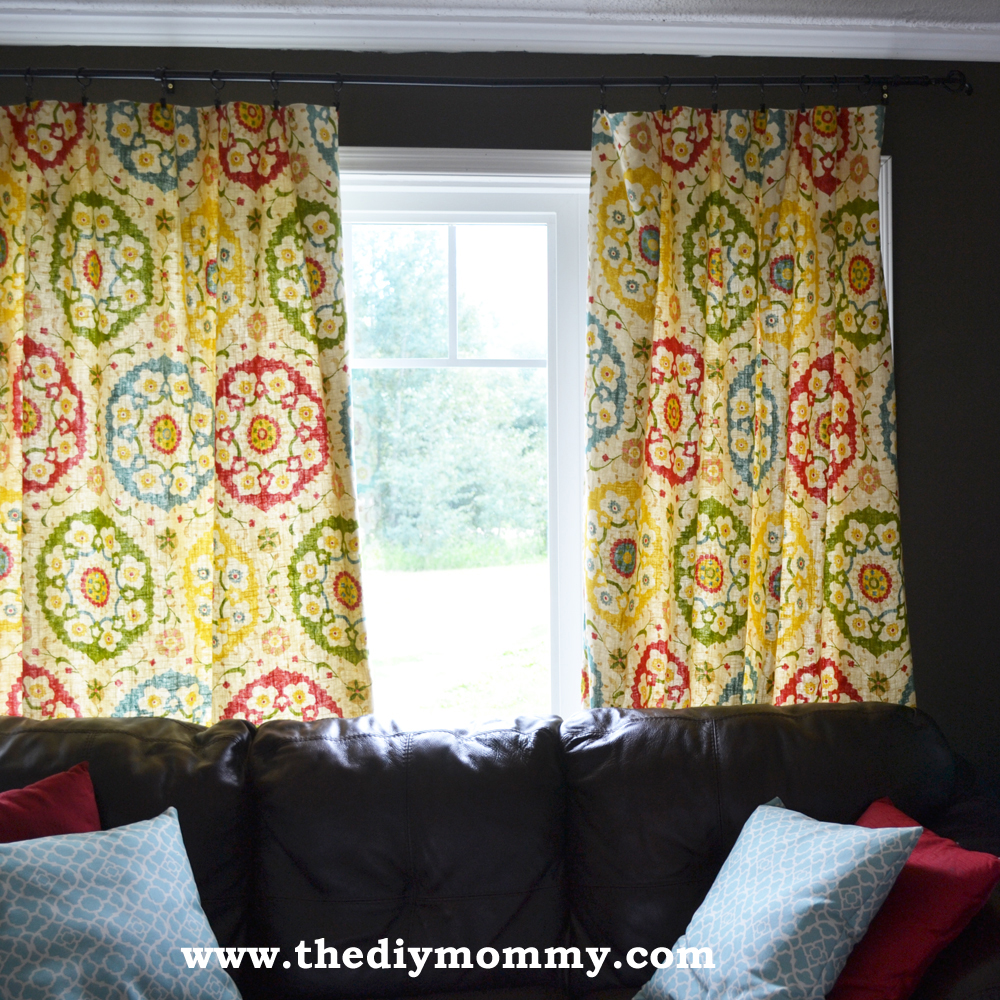
I admit it: I have a fabric obsession. I love pattern and texture, and fabric is simply the ultimate combo of both! I love custom sewn drapes as window coverings because they’re such a large and beautiful showcase of fabric. I think they can change a room’s look completely! I’ve been crushing on Richloom Cornwall Garden for the longest time, and I’ve finally bit the bullet and bought several yards to make some summer drapes for my living room. I use a relatively simple and quick method to make lined drapes, and I’ll share with you my process. I find the hardest part about drapes DIY is handling the large amounts of fabric, but the actual sewing is straight and minimal and the results are gratifying!
Materials:
- main fabric, see below for amount (medium to heavy weight decor fabric works well; I used Richloom Cornwall Garden
)
- lining fabric, see below for amount (I used Roc-Lon® Rain-No-Stain® Drapery Lining Ivory
)
- drapery hooks
To calculate the amount of fabric you need for the “main fabric”, measure from where you want the top of your drape to be on your window (closer to the ceiling is better) to where you want the hem to fall (skimming the floor or pooling a little). Add 7″ to that length to account for the top seam and bottom hem. Decide how full you want your drapes to be – they should be 1.5 to 2 times the width of your window (the more width, the fuller). For my drapes, I decide to skimp a little on fabric and made them cover the width of my (huge) living room window only when they’re pulled completely taught (so, they’re the same width as the window). Most decor fabric is at least 50″ wide, so keep this in mind. For my almost 9′ window, I made three panels with 56″ wide fabric.
Use almost the same calculation above for the “lining fabric”, but only add 2″” to the length so that the lining will fall above the main fabric. I find it easiest to buy a lining that is the same width as my fabric; you’ll see why below!
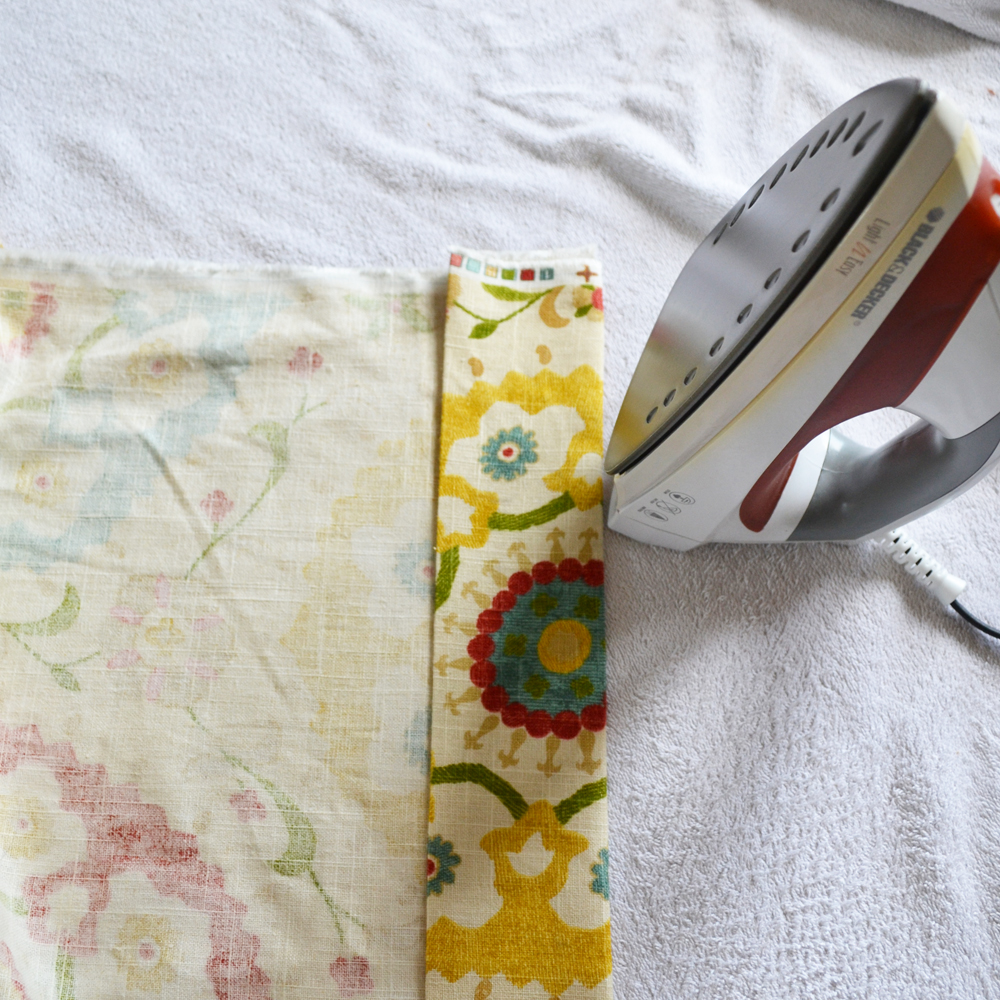
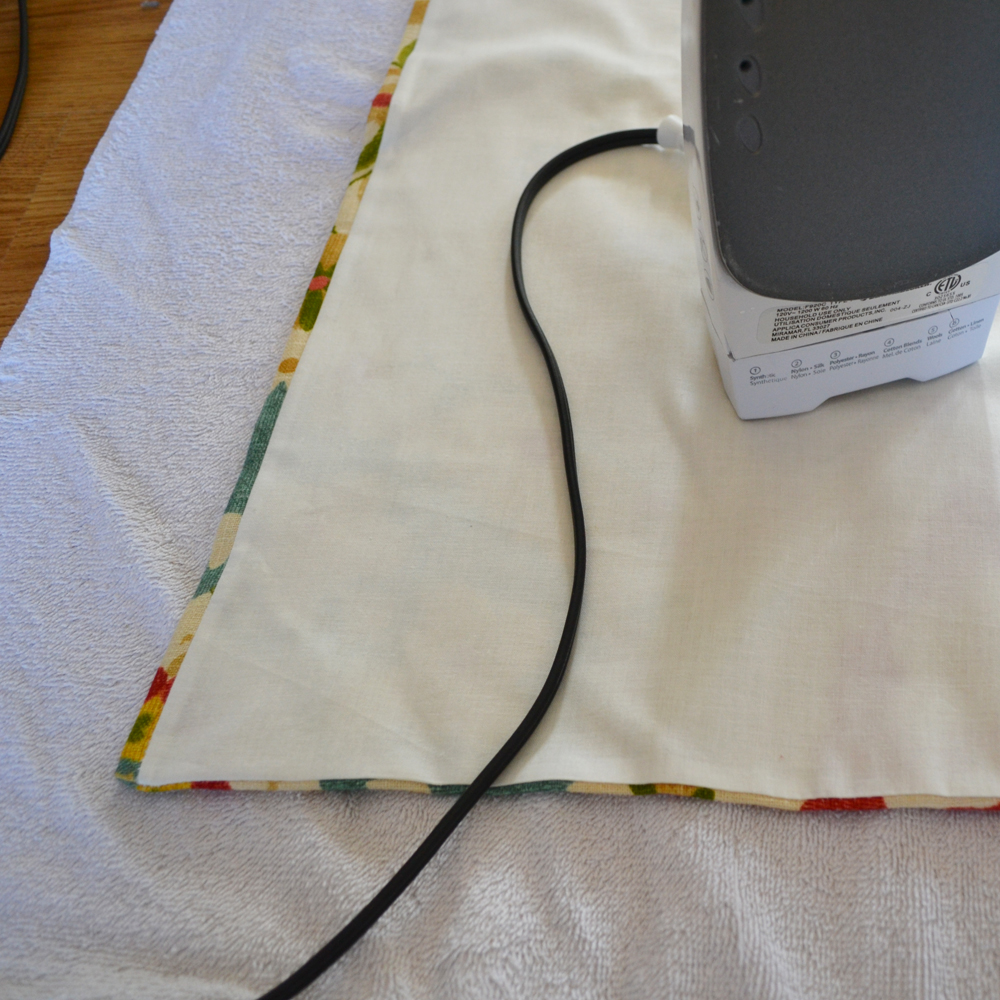
First, you’ll need to cut your length of fabric to the correct height for each panel (assuming your making at least two), and then you need to trim your drapery lining fabric so that it is 2″ narrower than your main fabric. This is so that your main fabric will turn around the edge of the drape slightly for a nice finish. I use a rotary cutter and a straight edge for this. Next, press the bottom of the main fabric up 3″ from right side to wrong side, then another 3″ to form a substantial lower hem (the heavy hem helps the drapes hang nicely). Sew about 1/4″ from the edge. For pressing and working with my drapery panels, I used a big open spot on my clean floor and a towel – pretty high-tech, right? I’ve also used my king sized bed in the past to work on, and that works well too!
Hem the lining fabric by folding over only 1/2″, then another 1/2″. Sew 1/4″ from the edge. Lay the main fabric piece on a large surface, right side up. Lay the lining fabric on top of it, right side down and matching the top raw edges of both pieces.
Now, you’ll need to pin the side of the lining to the sides of the main fabric (like crazy!). Remember that the lining is slightly narrower, so don’t worry if there’s a bit of a “bubble” in between the fabrics when you pin. Sew up each side of the drape panel using a 1/2″ seam.
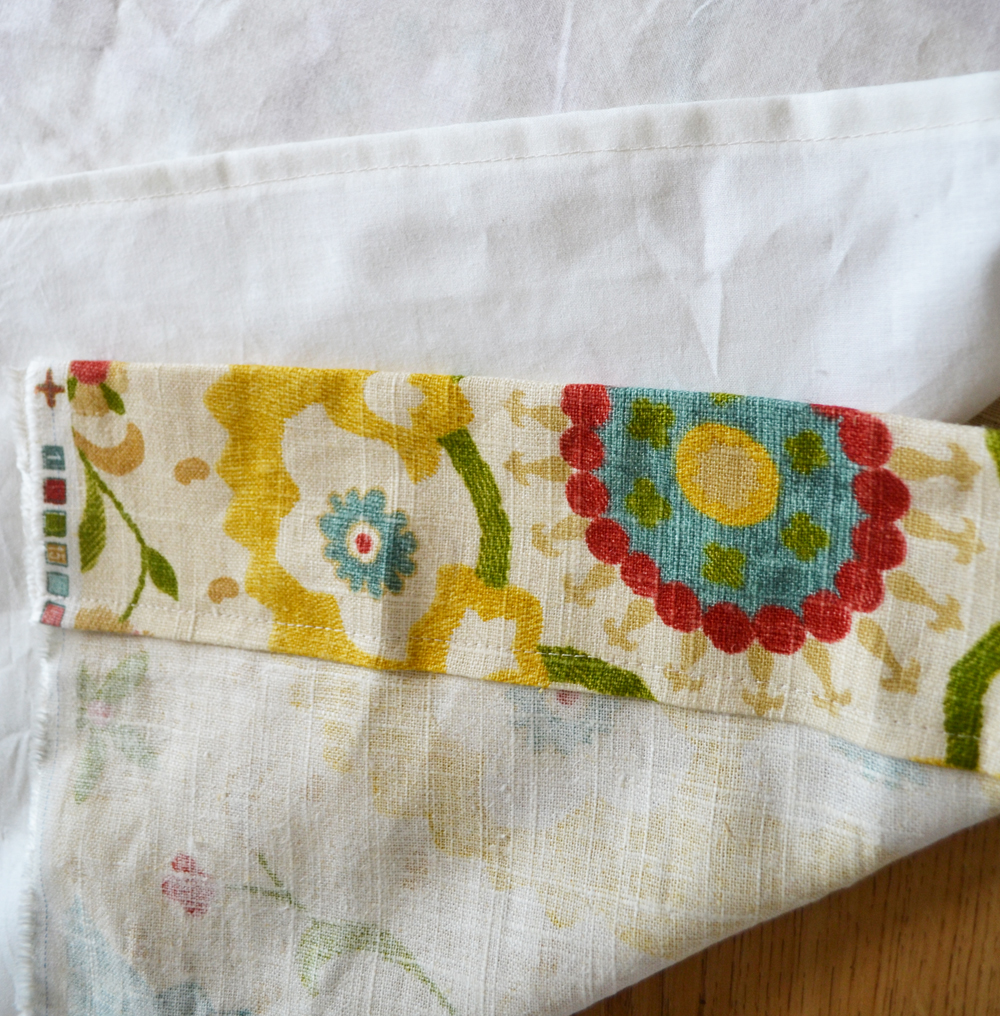
Now, you’ll be sewing the tops together. Pull the main fabric out from each side so that it wraps around about 1/2″ to the back, pin in place, and sew a 1/2″ seam.
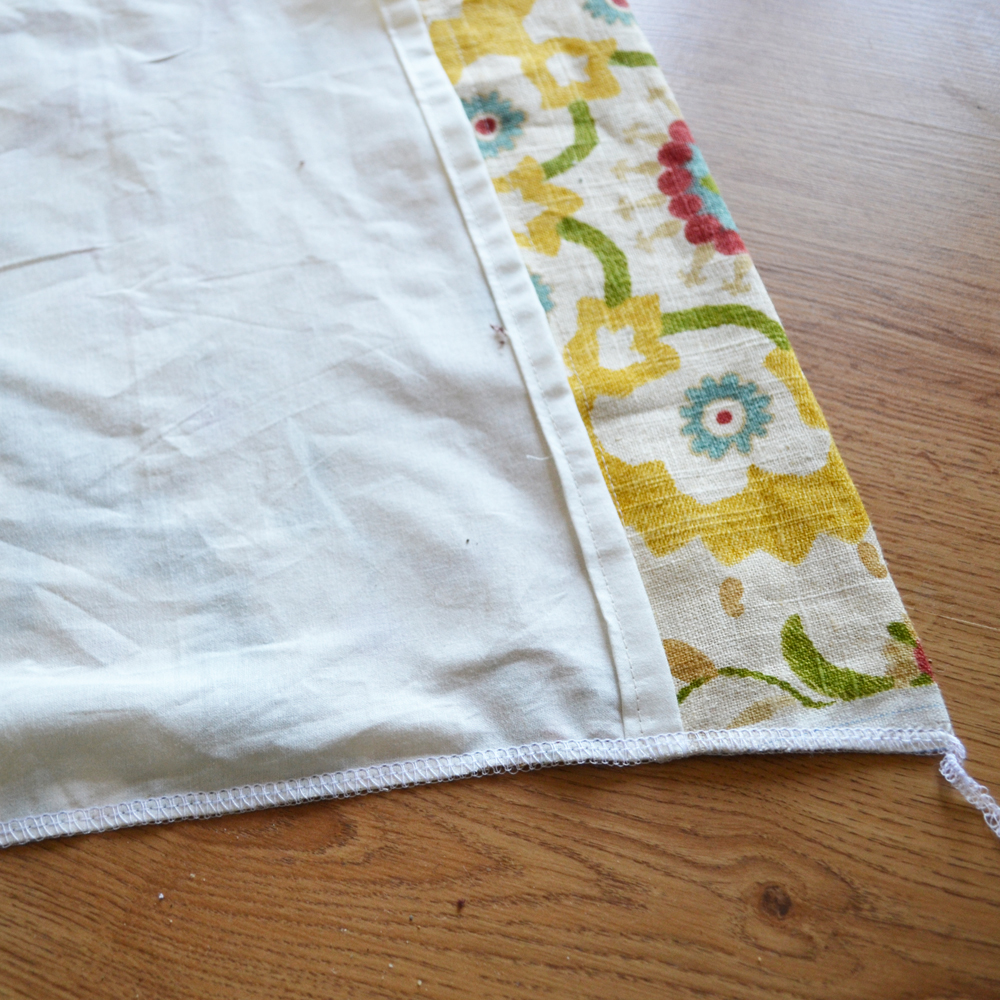
Turn the drape right-side out and press it (remembering that the drape fabric needs to fold over to the back at an even width). I pressed my entire drapery panel at this point to give it a professional finish.
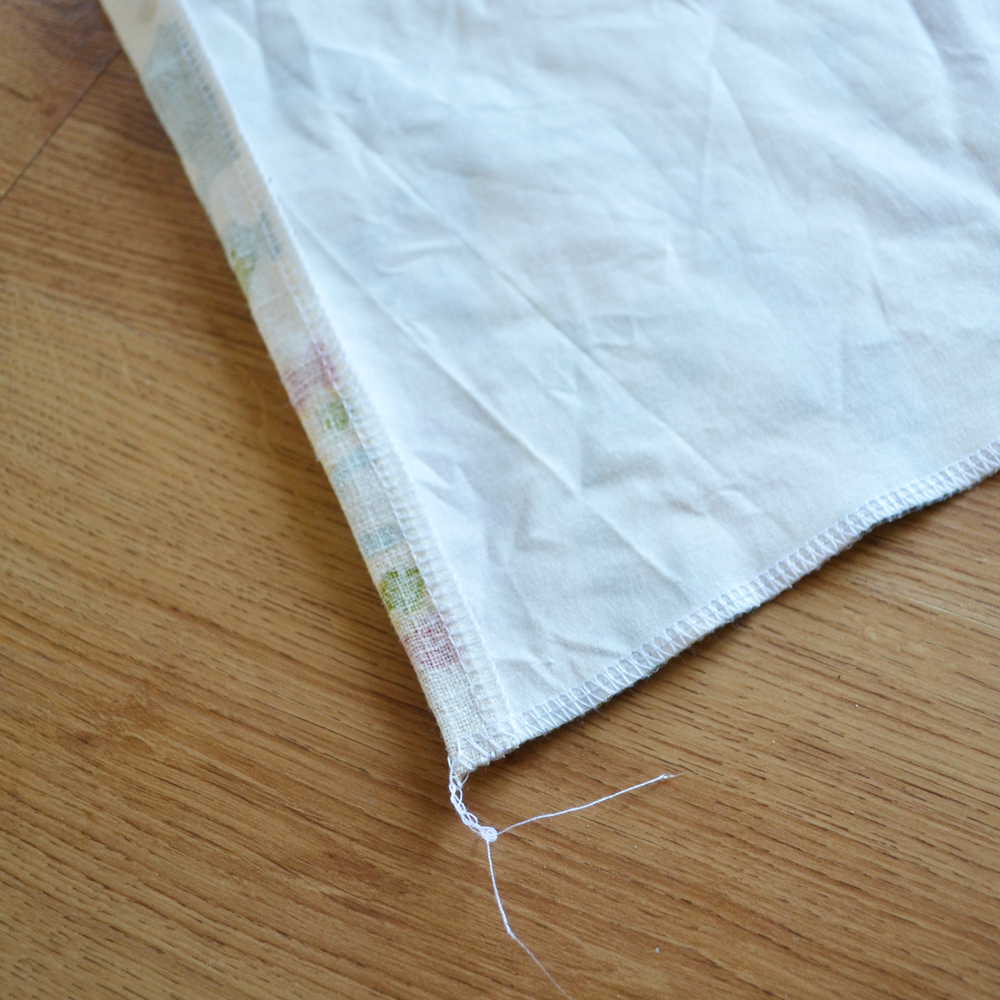
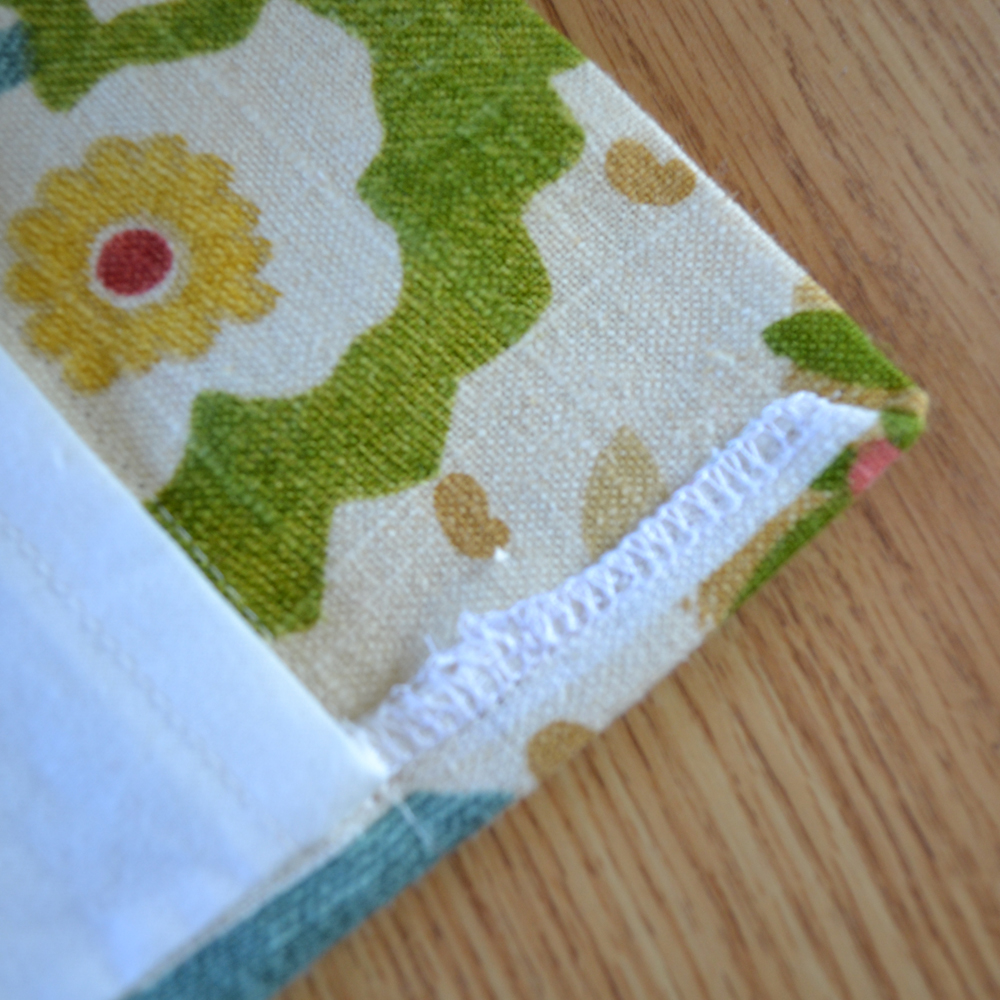
The little unfinished bit of fabric at the bottom hem of the main drape fabric can be finished a few different ways. Since I have a serger and that finishes the seam, I simply mitered the bottom corner a bit and folded it over and sewed (as shown above). You could also just fold it over twice like this (they even added a weight to their hem!).
Attach drapery rings to the top of the curtain, spaced evenly, and hang! That’s it! Enjoy your lovely designer drapes.
Christina Dennis is the creator and designer behind Golly Gee Baby, a collection of unique and colourful baby clothing and accessories that are ethically manufactured.


Magnificent items from you, man. I’ve have in mind your stuff prior to and you’re simply extremely great. I actually like what you have bought right here, really like what you’re saying and the best way through which you are saying it. You are making it entertaining and you still take care of to stay it wise. I can not wait to learn far more from you. That is actually a great web site.
Interesting article! I like all the info and stuff. I have a larger home to decorate and I want decorate it beautifully. I found this article very helpful for me. Thanks for sharing.