Sew Grommet Topped Drapes
This post may contain affiliate links · This blog generates income via ads
Last week was filled with a roller coaster of emotions. Baby Three’s due date is tomorrow, and my other two babies were born at 36 weeks and 39 weeks. This is the longest I’ve ever been pregnant, and at the risk of sounding whiny – it’s torture. I feel sorry for my poor Hubby who has to deal with me. I’m so uncomfortable. Every twinge I feel makes me think that I’m in labour, and then the contractions will stop altogether and I’ll feel so upset. If you’ve ever been pregnant, I’m sure you know exactly how frustrating the last little while can be. I know that Baby has to come out eventually, but I sure hope it’s soon.
On the bright side, I entered a local interior design contest using my recently styled kitchen as my entry and I made it into the finals! I get to design a spring-themed vignette at Southgate Centre on March 8th (with a new baby or incredibly overdue – God only knows!) and then the design will be transported to the Edmonton Home + Garden Show for final judging. I’m so thrilled! If you voted for me, thank you SO much for your support!

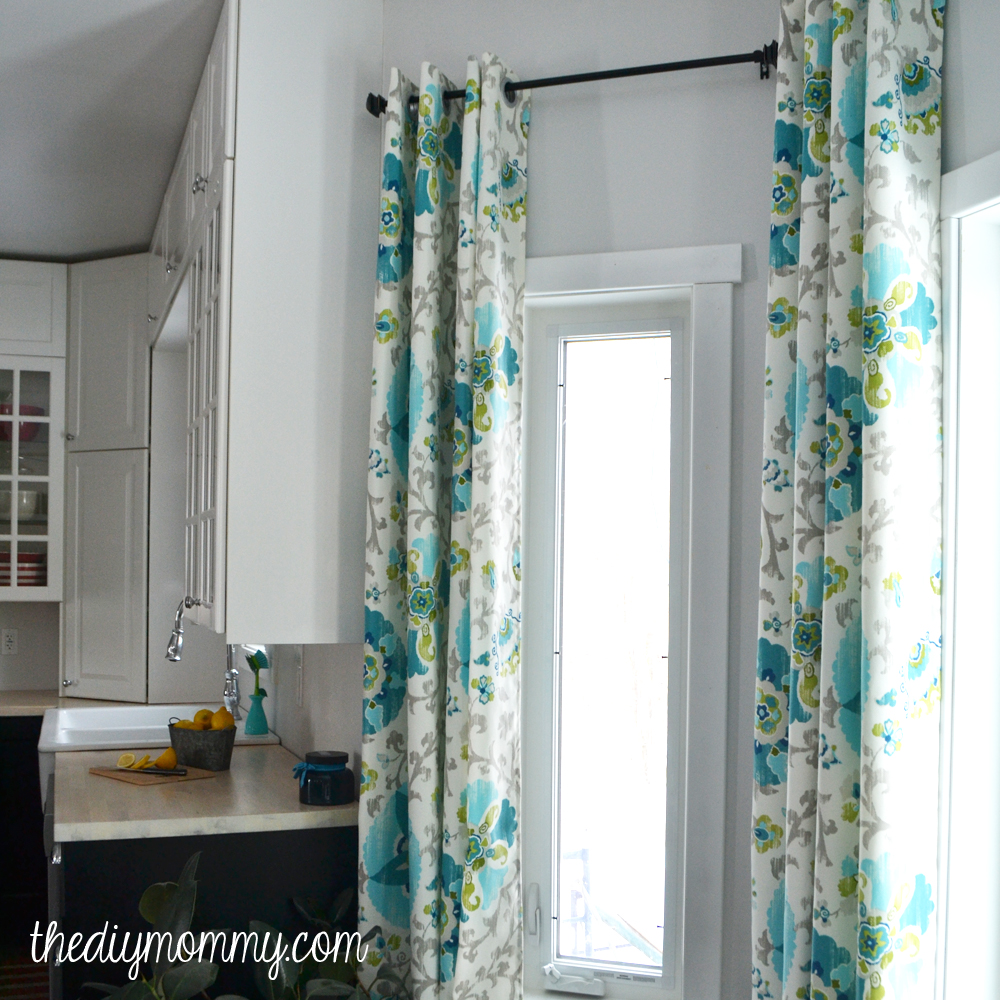
One of my favourite elements in my kitchen are the custom sewn drapes. I made them myself by hemming some gorgeous fabric and finishing them with simple click-together grommets. If you’d like to make some similar drapes for your space, here’s how!
(I made unlined drapes because I wanted some light to filter through them and there was no need for privacy. For a tutorial on lined drapes, please look at this former post.)
Edited to add: The fabric I used is an outdoor fabric called Silsila Poolside by R. Kaufmann. I originally purchased it from Fabric.com, but they haven’t had it in stock for a while now. As of today, you can still find it at find it on Amazon via OnlineFabricStore.net.
Materials:
- fabric that’s at least 55″ wide (read below for yardage calculations) – I used 12 yards of this fabric from Fabric.com
- click-together curtain grommets – 1 package per curtain panel – I found mine here at at Fabric.com
- a sewing machine & good quality thread
- an iron, hard ruler, and a large cutting surface (you could use a large table, the floor or even a bed)
To calculate how much fabric you need:
Decide on the height of drape panel that you want. My ceilings are 9 feet tall, and I wanted my drapes to hang about a foot from the ceiling, so their finished height would be 8 feet.
Add 9″ to the finished measurement to account for the top and bottom hems.
This will be the length of fabric that you’ll need for one panel. In general, you want your drapes to be at least 2x as wide as your window, so use that to determine how many panels you will need.
Directions:
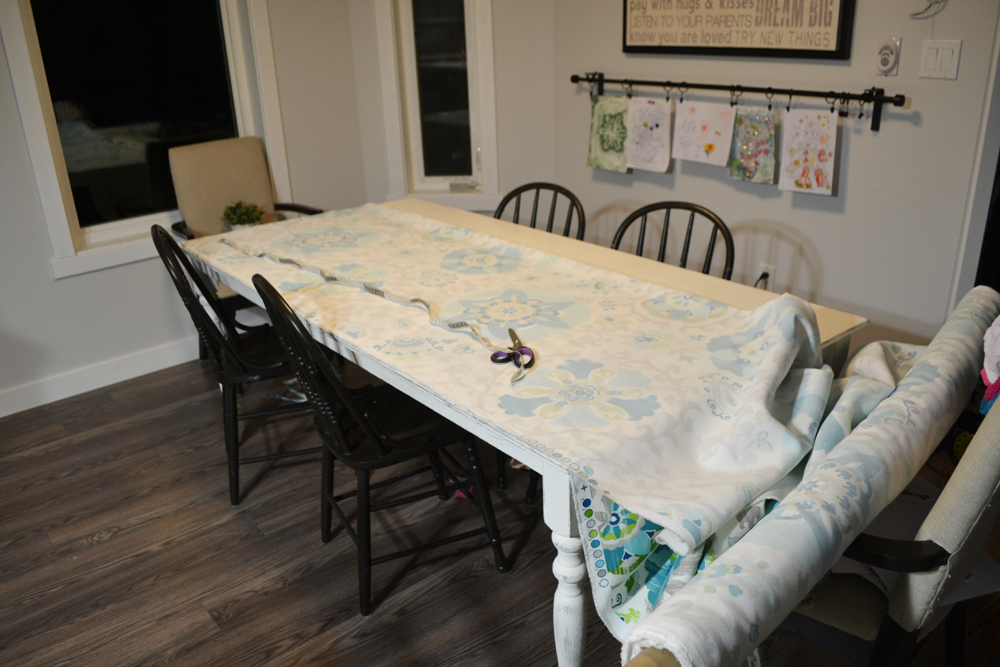
First, cut your fabric into the lengths you need for your panels. I’m lucky to have a big farmhouse table, so I lay my fabric over that and use it’s square edges to make sure my cuts are square. You could also make sure your cuts are square with a hard-edged ruler.
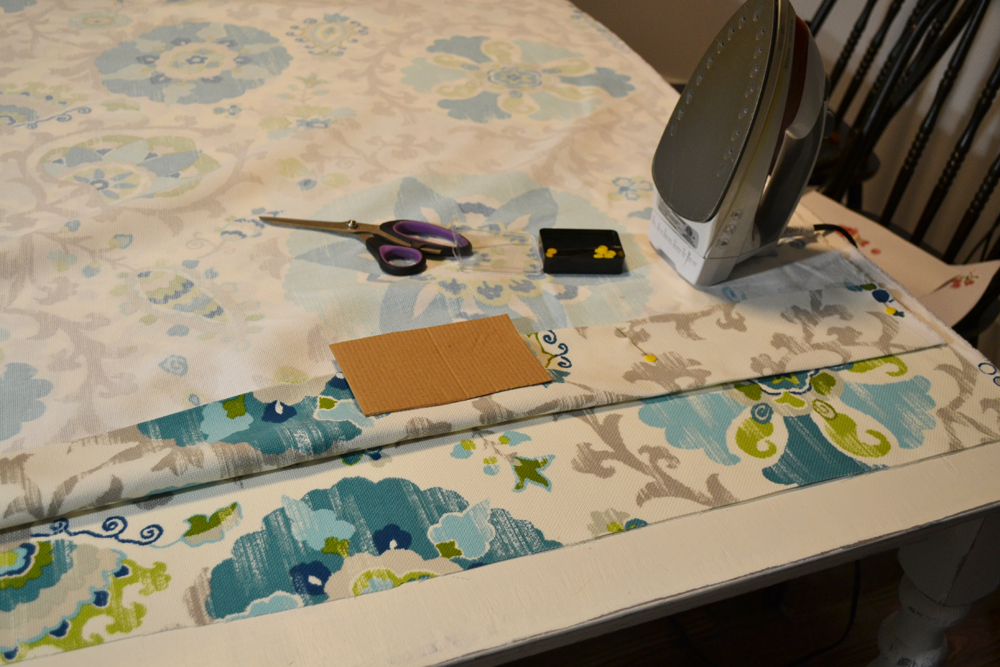
Next, working on one panel at a time, press one short (raw) end of the fabric over 1/2″ (I like to use my steam iron). Then fold over again 4″ to create a nice, thick hem. Do the same with the other short, raw edge of the panel. Pin the hems in place.
(If your fabric has a “right side up”, make sure you know which side is up before you hem the top and bottom!)
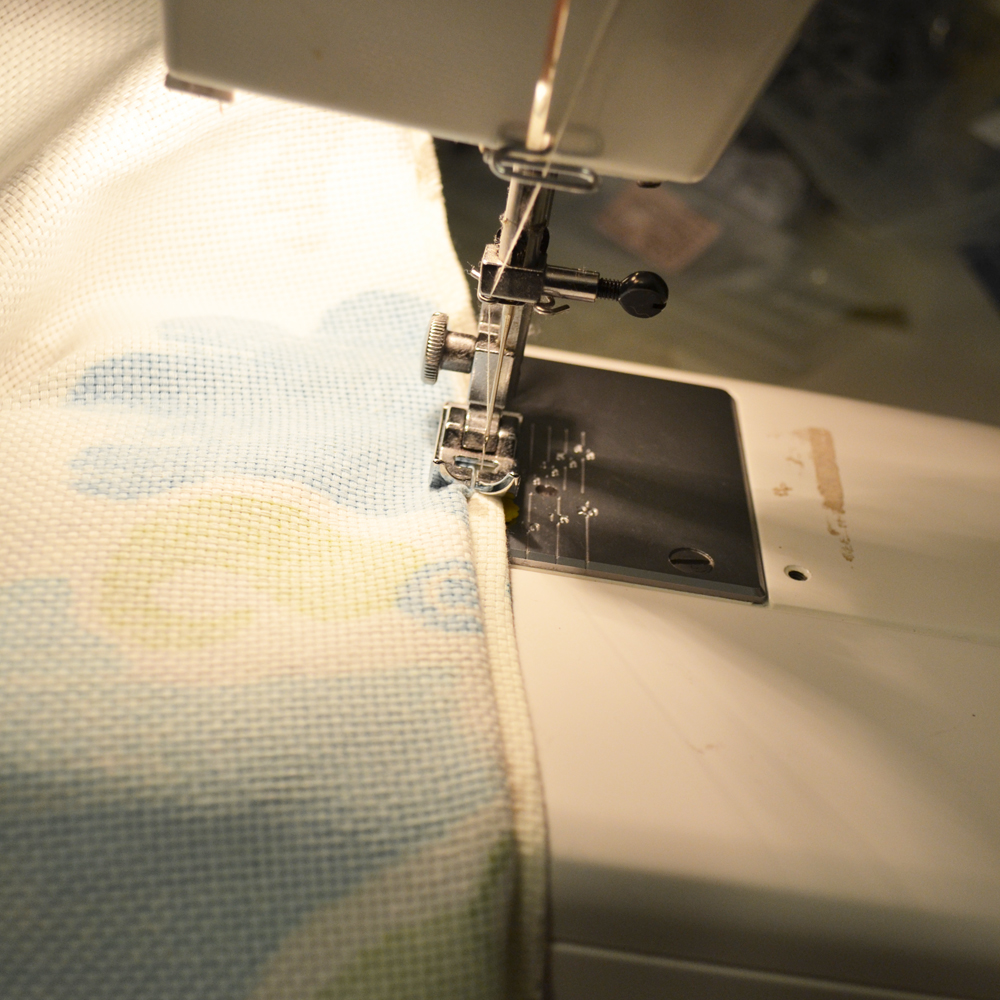
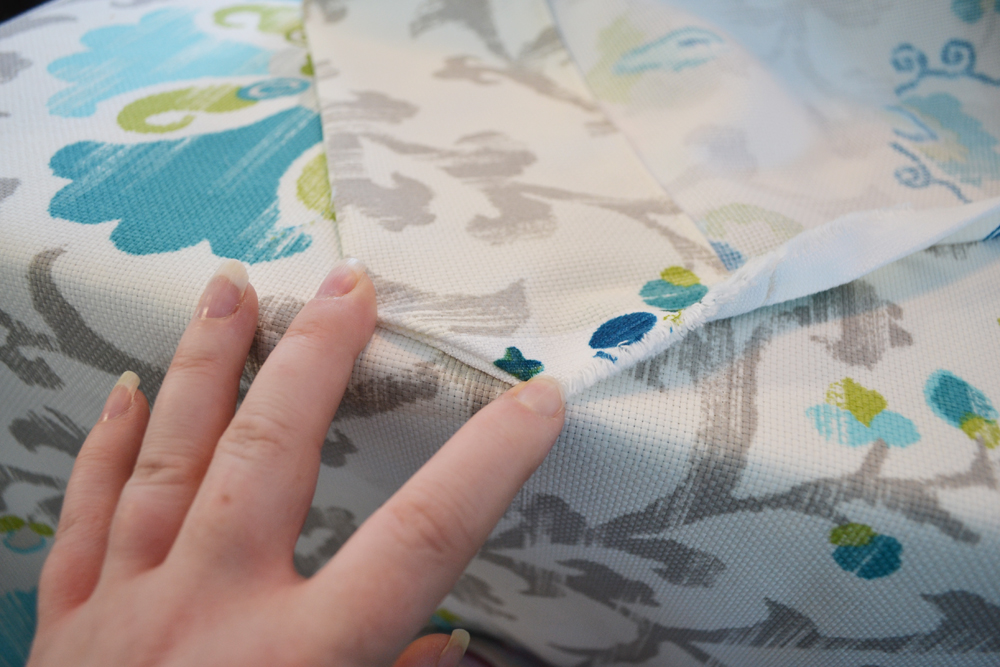
For the top of the panel, you’ll sew a simple seam about 1/4″ from the fold to secure the hem using your longest stitch. For the bottom, use a blind hem method to secure the hem (as shown above) if your machine allows it so that the curtain falls nicely. (A regular stitch will also work, but a blind hem allows the drape to flow better!)
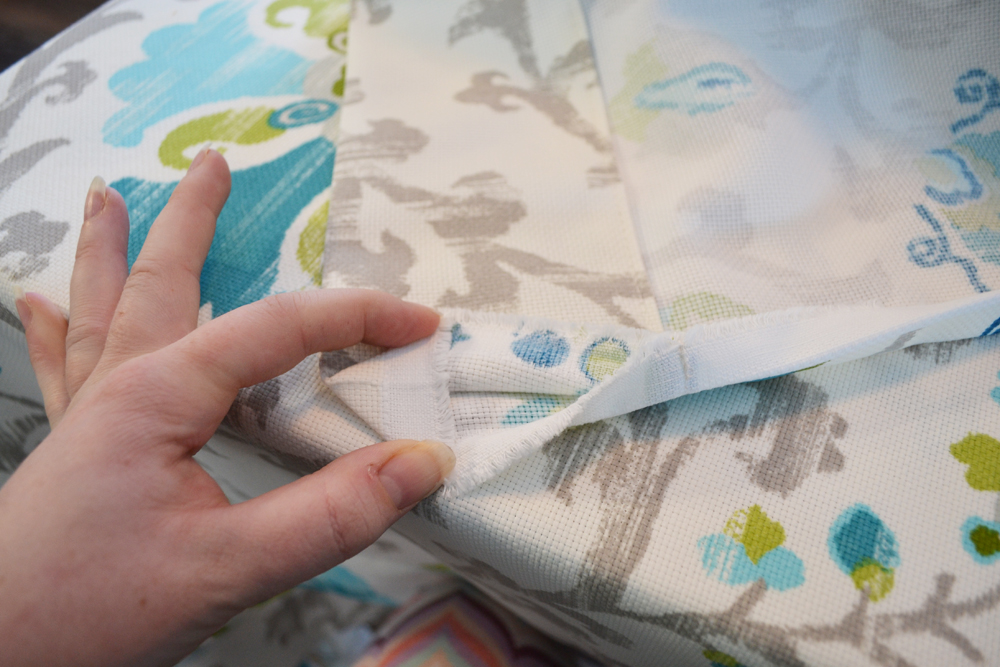
Once the tops and bottoms of the drapes are hemmed, fold over both sides 1/2″, then 1/2″ again and steam press. To give the bottom corner a nice finished mitered look, open up the bottom corner as pictured above and fold it into a triangle shape. (The point of the triangle will be the second pressed line.)
Fold the ends of the triangle together as pictured above so that the triangle is inside the fold.
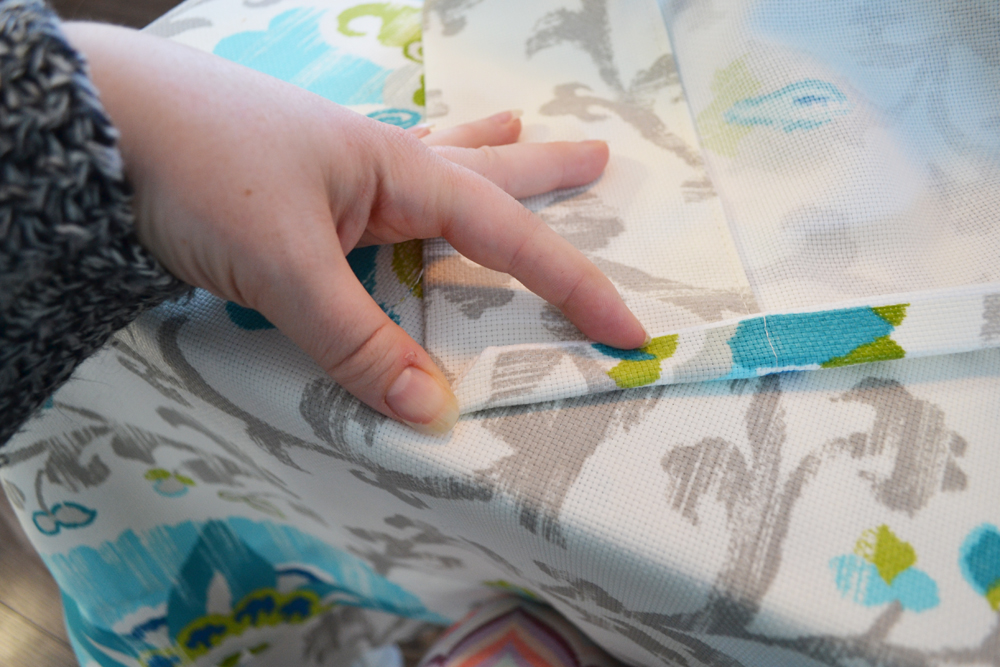
Then, re-fold the side edge as pictured to create a pretty, finished corner. Repeat this for all of the corners and then sew a regular seam about 1/4″ from the edge of the fold to hem the sides of the drape panels.
I find all of this pressing, pinning and hemming a bit annoying, but once you’re done this part attaching the grommets is a breeze!
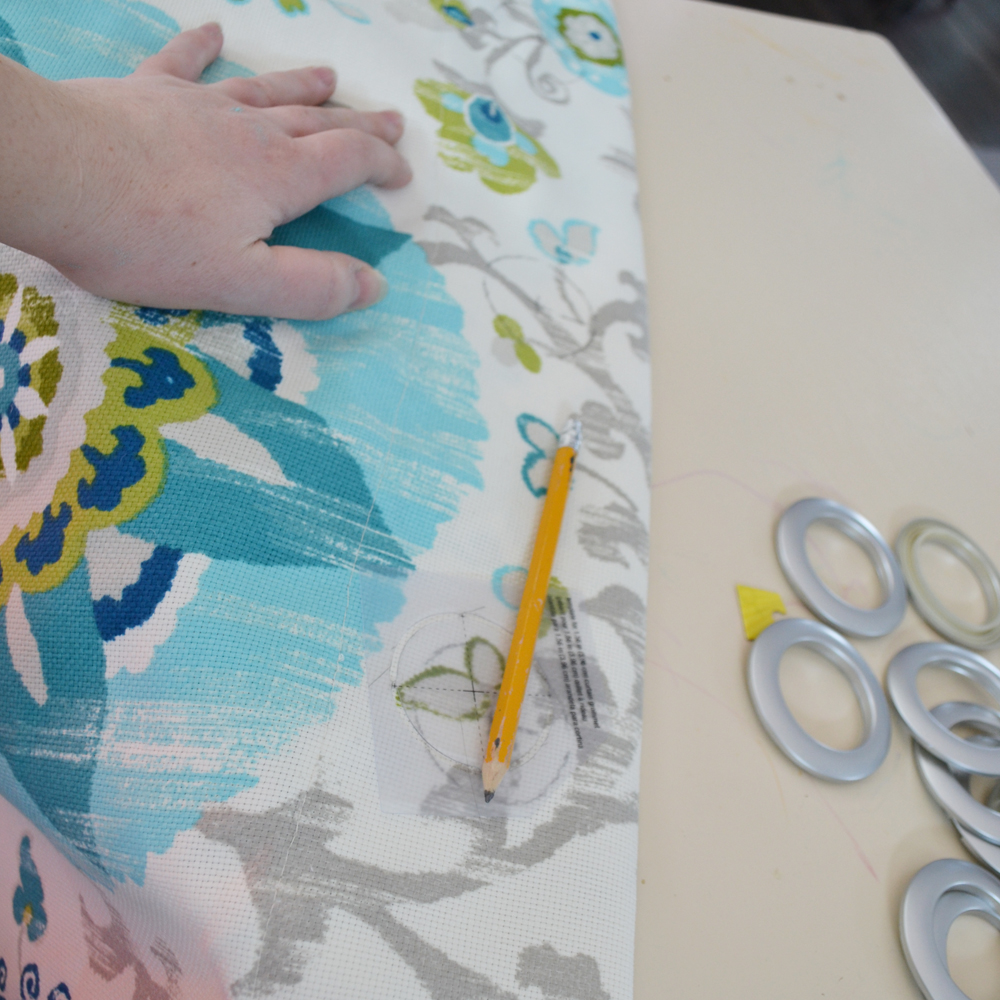
Using the stencil included in the grommet packaging, you’ll measure and mark where you want your grommets to be. There are 8 grommets in a package and you’ll need all 8 for one panel. To calculate the space between your grommets, take your finished curtain width, subtract 5″ from it (to account from the 2 1/2″ inches you’ll be placing your first + last grommets from the edges), and then divide by 7.
You’ll be placing the center of the first grommet 2 1/2″ from the edge of your curtain panel and center it vertically on the top hem. Use your calculated measurement to measure where the center of the next grommet will be. Use the stencil in the grommet packaging to mark placements (and a washable pencil just in case you make a mistake).

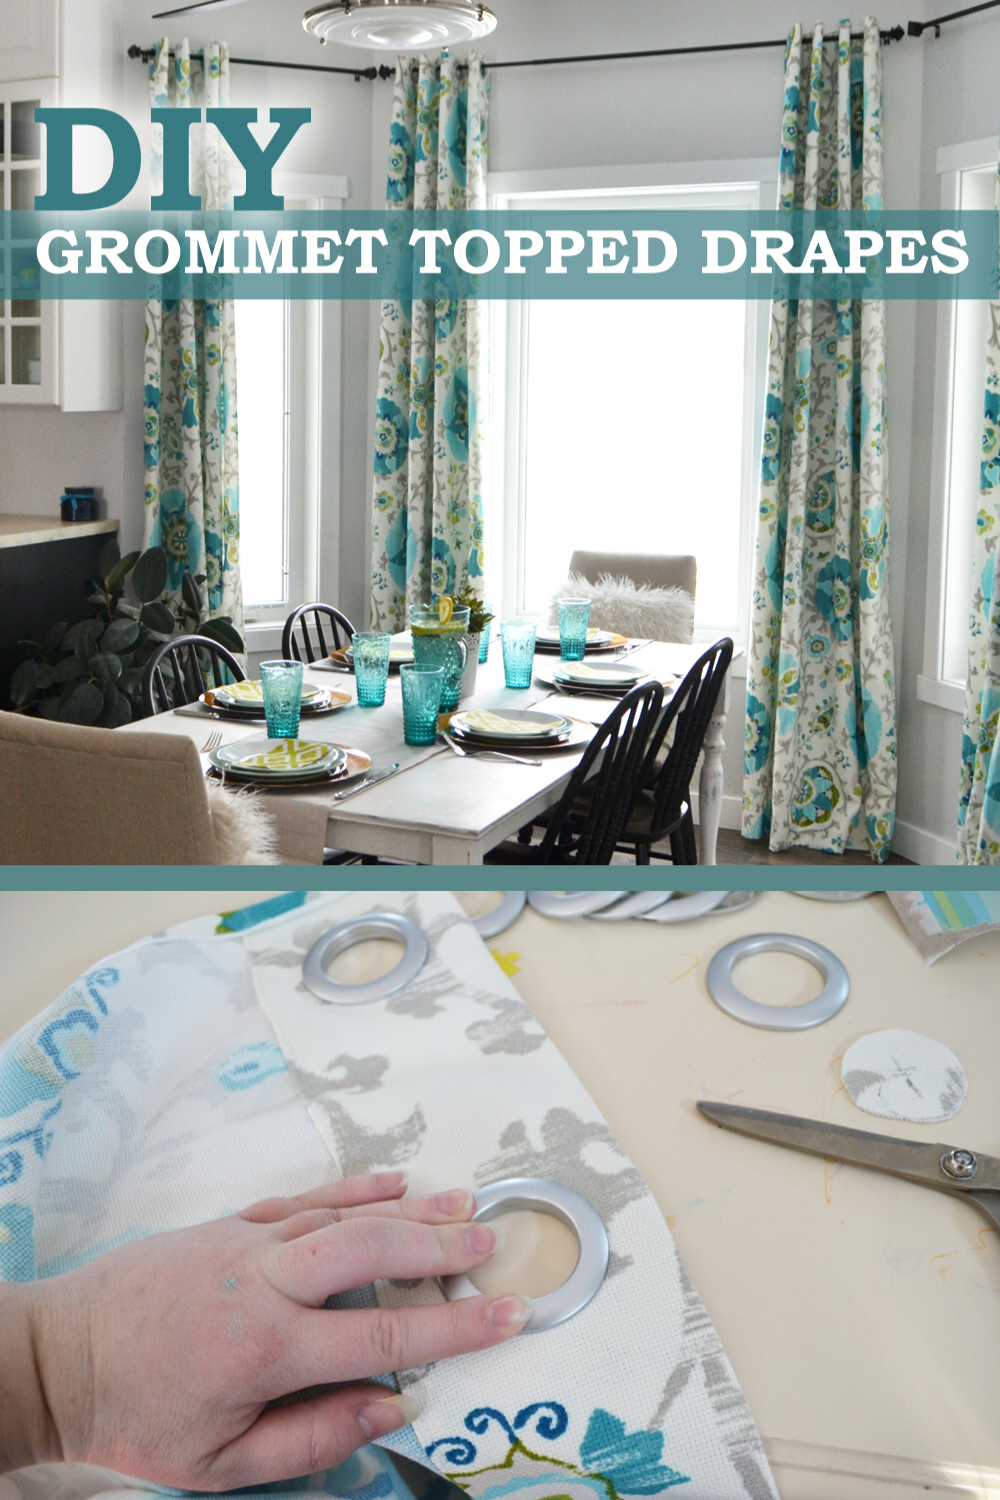
After the grommet placement is marked and you’ve made sure it’s correct, cut the circles out of your drapes. With the wrong side of your drape panel facing up, place the smooth side of one grommet half into a circle (make sure all of the fabric is even around the grommet and there is no pulling or gaping).
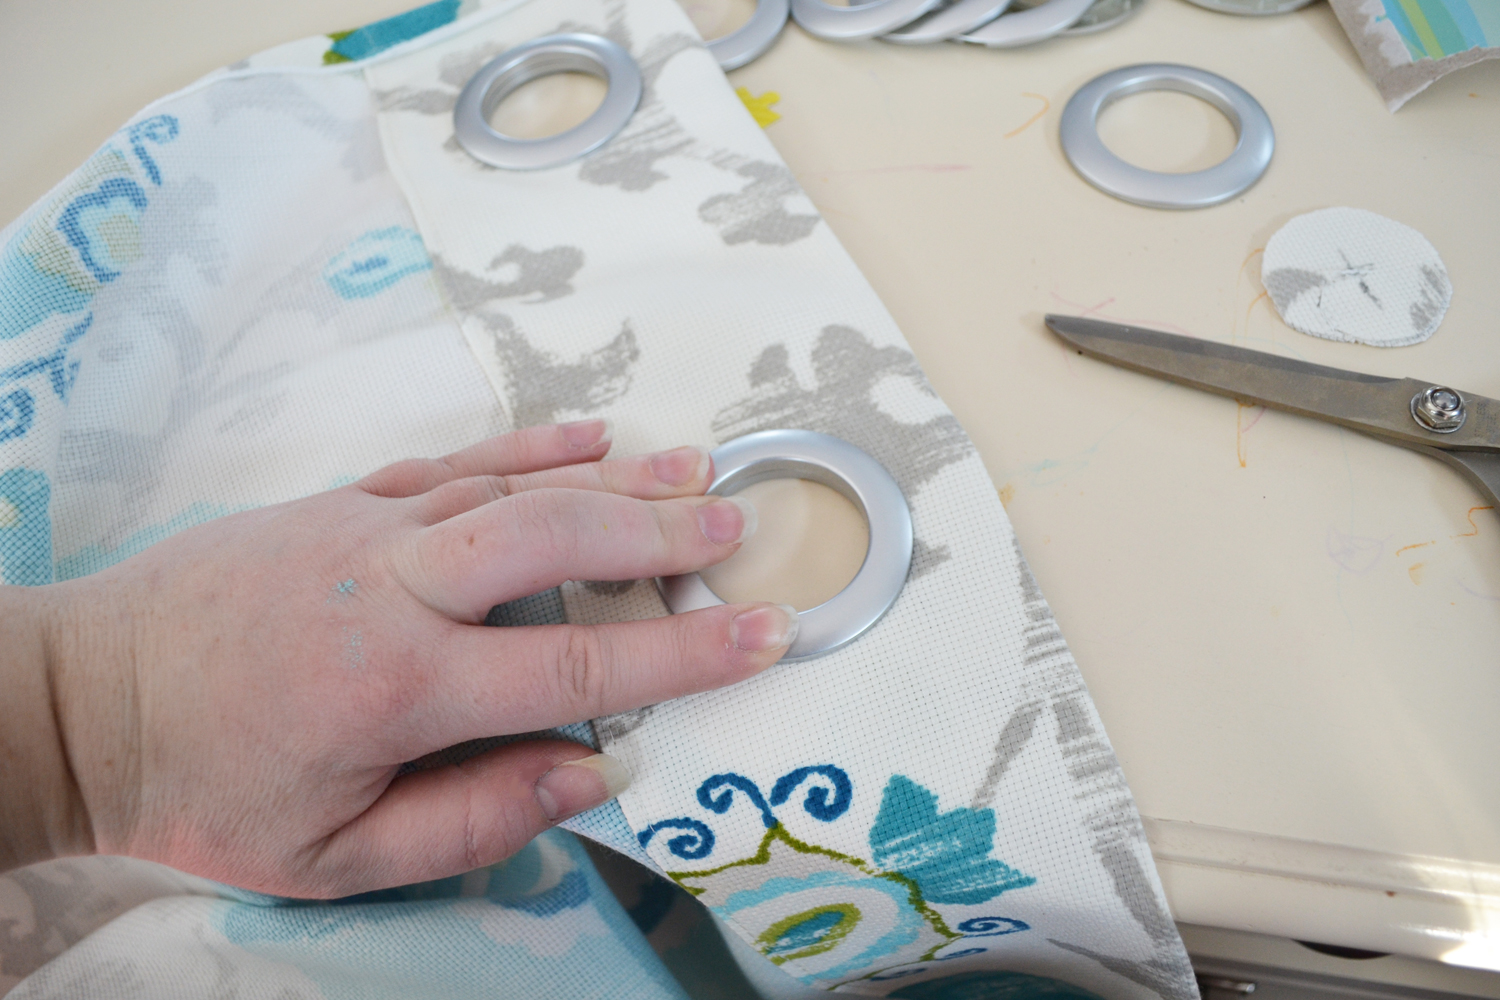
Click the pronged side of the grommet on top using a bit of force. That’s it! Repeat these steps until you have all of your grommets installed.
You’re done your drapes! I love grommet topped drapes because they hang so nicely and evenly and the grommet itself adds an interesting detail to the curtains.
What do you think – are you going to give some DIY drapes a try? 🙂
(Disclosure: This post contains affiliate links. If you decide to purchase products via these links, a small percentage of the sale will be given to me at no extra cost to you. It’s a win-win – thanks for helping support thediymommy.wpsc.dev!)
Pin Me:
Thanks for posting this, we are moving and I’m excited to make some drapes for our new space!!!
Awesome, Jess! Happy sewing!
very very amazing drapes i want it for my home 😀
I was just wondering if you had to pay duty on the fabric you ordered through fabric.com?
I haven’t yet, Andrea, and I’ve ordered from for a few years now. UPS shipping to Canada can be pricey, but it seems to include the customs and it’s fast. I just order a big bunch at once to justify shipping costs!
Hi! I followed the link to the fabric because I LOVE it, and it just took me to fabric.com’s home page. Any chance you remember what it is called or the designer name? Thanks!
I would also love to know the designer or the name of the fabric! Thanks so much!!
It’s Silsila Poolside by P. Kaufmann. You can also find it here: http://www.onlinefabricstore.net/p-kaufmann-outdoor-silsila-poolside-fabric-.htm
Thank you!
Hi, Natalie! It’s Silsila Poolside by P. Kaufmann. You can also find it here: http://www.onlinefabricstore.net/p-kaufmann-outdoor-silsila-poolside-fabric-.htm
A friend of mine wants me to sew some of these babies for her, and I’ll be sure to use your tutorial! =D
I never knew such huge grommets were available to purchase for the “common man.” It’s great! I’ve always loved grommet-topped curtains.
Me too, Sara! I love the look of grommets, and also how nicely they make a curtain hang. These ones were really easy to use too!
Thank you for posting this! I was wondering – why do you sew the sides after the top and bottom hem? I can see why for the way you do the triangular bottom, but I was wondering if there might be any additional reasoning for it.
An impressive share! A very creative and valuable article.