Sew Fringed Leather Baby Booties
This post may contain affiliate links · This blog generates income via ads
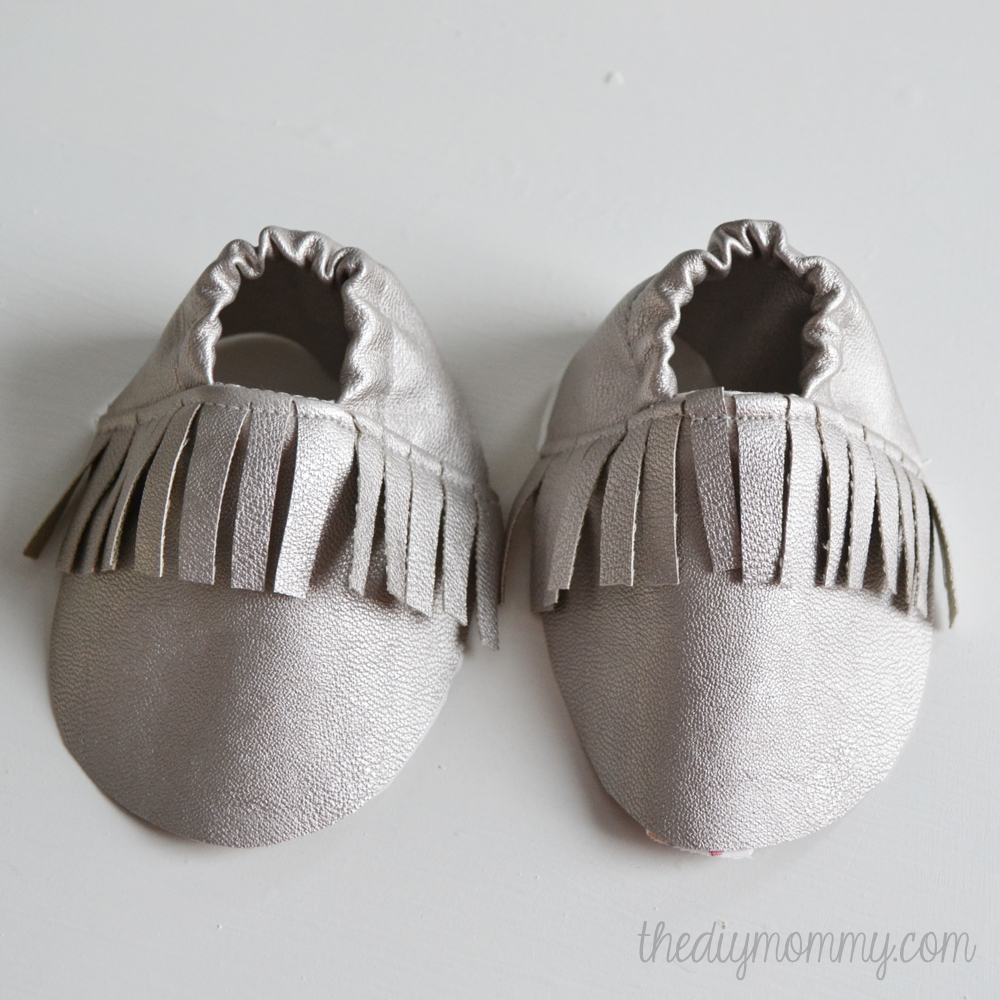
With just over a month until d-day, I’ve finally found some time to sew for Baby Three! In line with her boho themed nursery that I’m planning, I made these uber-adorable fringed baby booties in a soft, champagne coloured metallic leather:
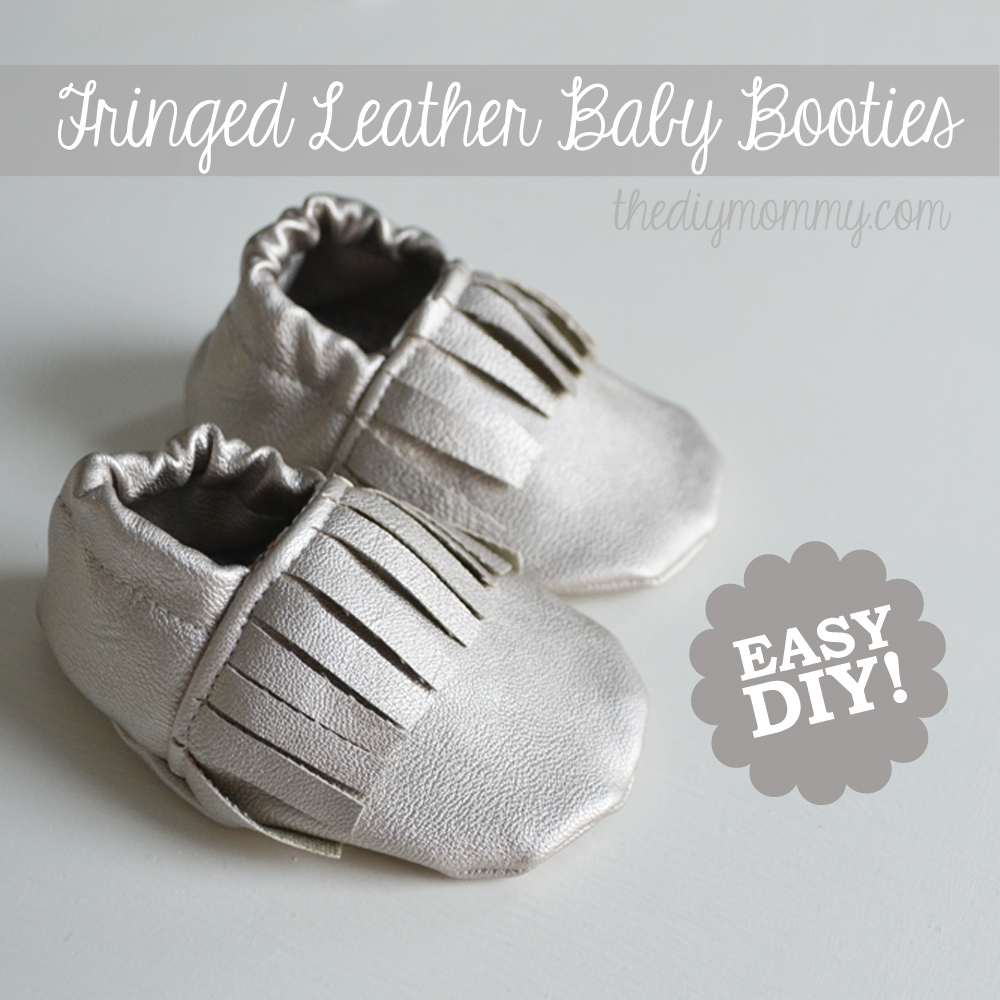
Aren’t they the sweetest?! Just looking at them gets me so excited for her arrival. Oh, to hold such a tiny being again with such tiny little feet!
To make these, I used my own pattern and tutorial for baby slippers that I posted here in 2009 (wow, ancient) and I made some modifications.
Would you like to make some for your little angel? These would also make a sweet baby shower gift!
Materials:
- 1/4 yard bonded metallic leather (I got mine from Fabric.com)
- 1/4 yard printed cotton fabric or flannel
- a package of 1/4″ elastic
Print out the baby slippers pattern found here. (I have it in size 0-6 months and 6-12 months right now, but I may be adding more sizes in the near future!)
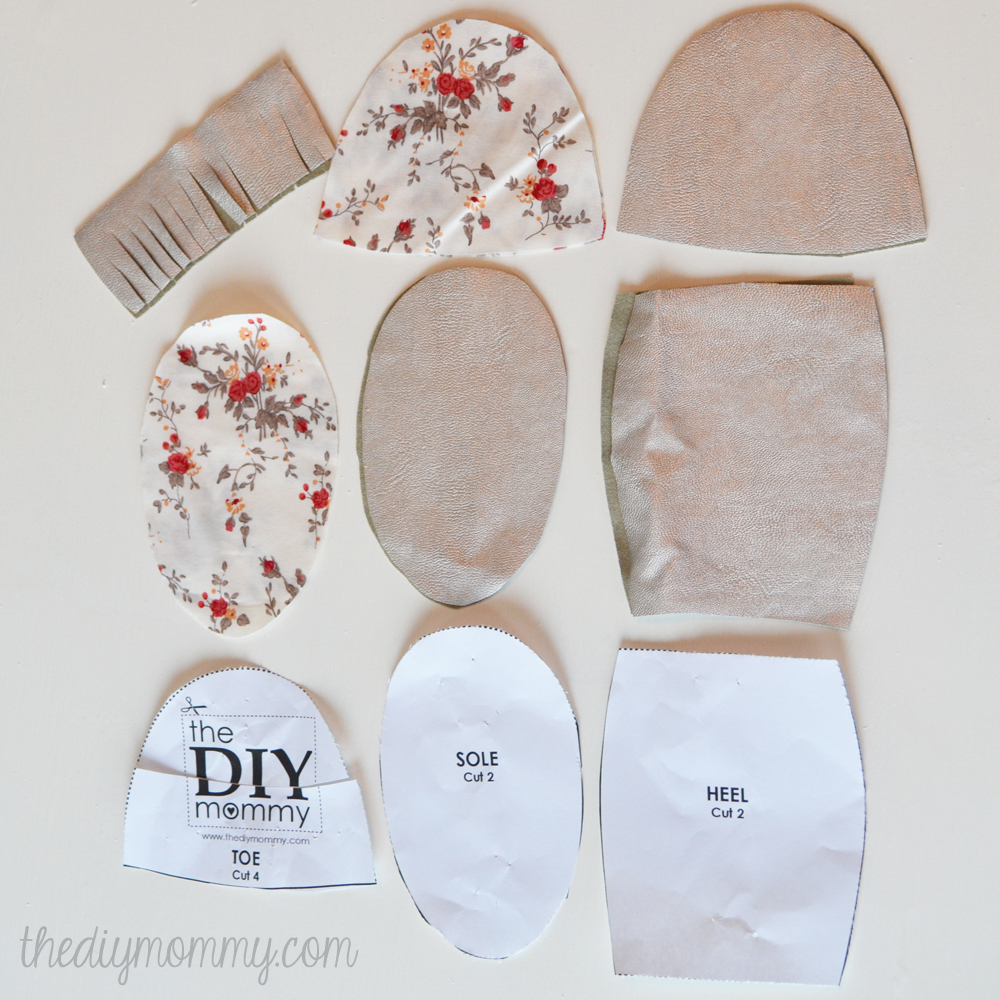
Cut two toes, two heels and two sole pieces from the bonded leather. Cut two toes and two soles from the cotton. Then, cut the to pattern piece in half (approximately) lengthwise as shown, matching the curve of the cut to the curve at the bottom of the piece. Use the bottom half as a pattern to cut two fringe pieces out of the bonded leather. Hold the two pieces together and cut slits from one long end to the other (as shown above), stopping about 1/2″ from the top of the piece.
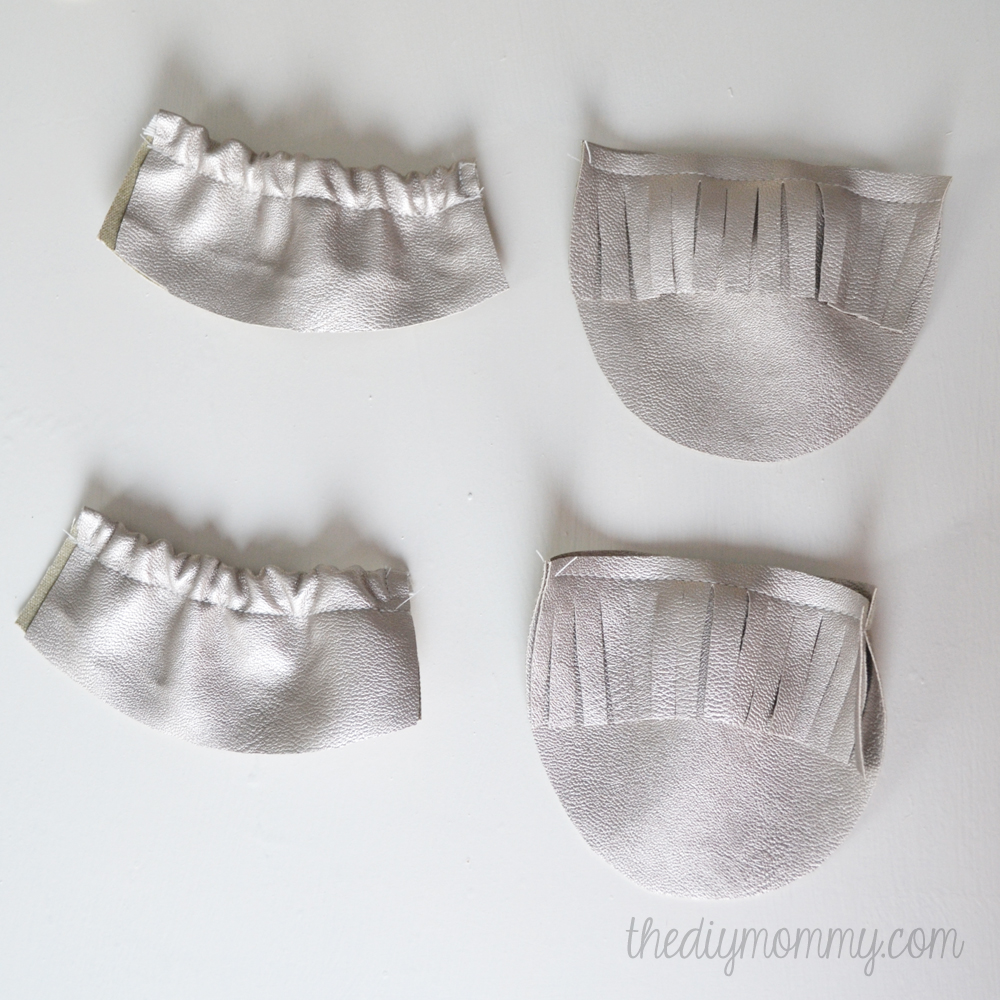
Stay-stitch the fringe pieces to the tops of the toe pieces as shown above, using a 1/4″ seam allowance. Fold over the heel pieces lengthwise and sew an elastic casing about 1/2″ from the folded edge. Thread a piece of elastic through the casing and stitch it at each end to hold it in. The elastic pieces should measure 4″ (size 0-6 mo) or 4 1/2″ (size 6-12 mo) each.
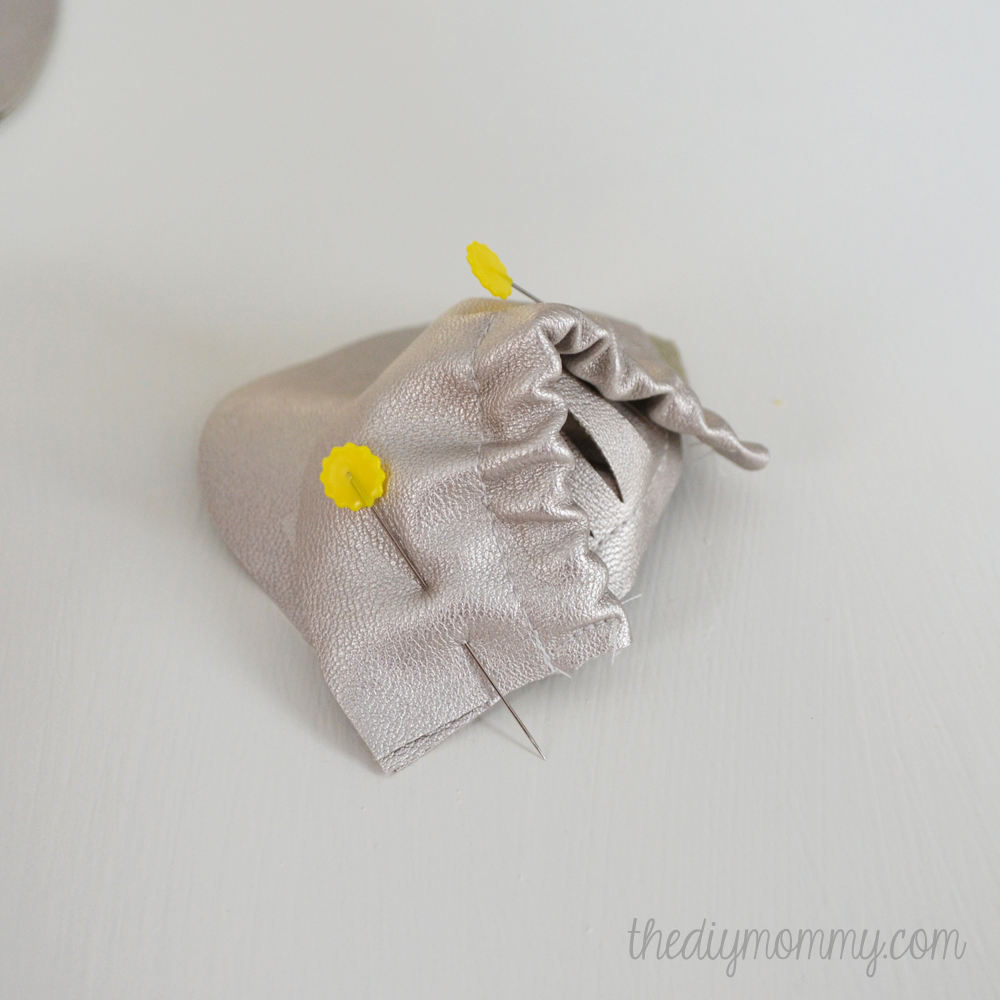
Fold the heel piece into a “U” shape with the elastic casing edge on the inside. Pin the short ends of the heel piece so that they are flush with the right side top of the toe piece (where the fringe is). The bottom of the heel piece should be flush with each side of the toe piece. Use the picture above as a guide – this part can sometimes be tricky to do!
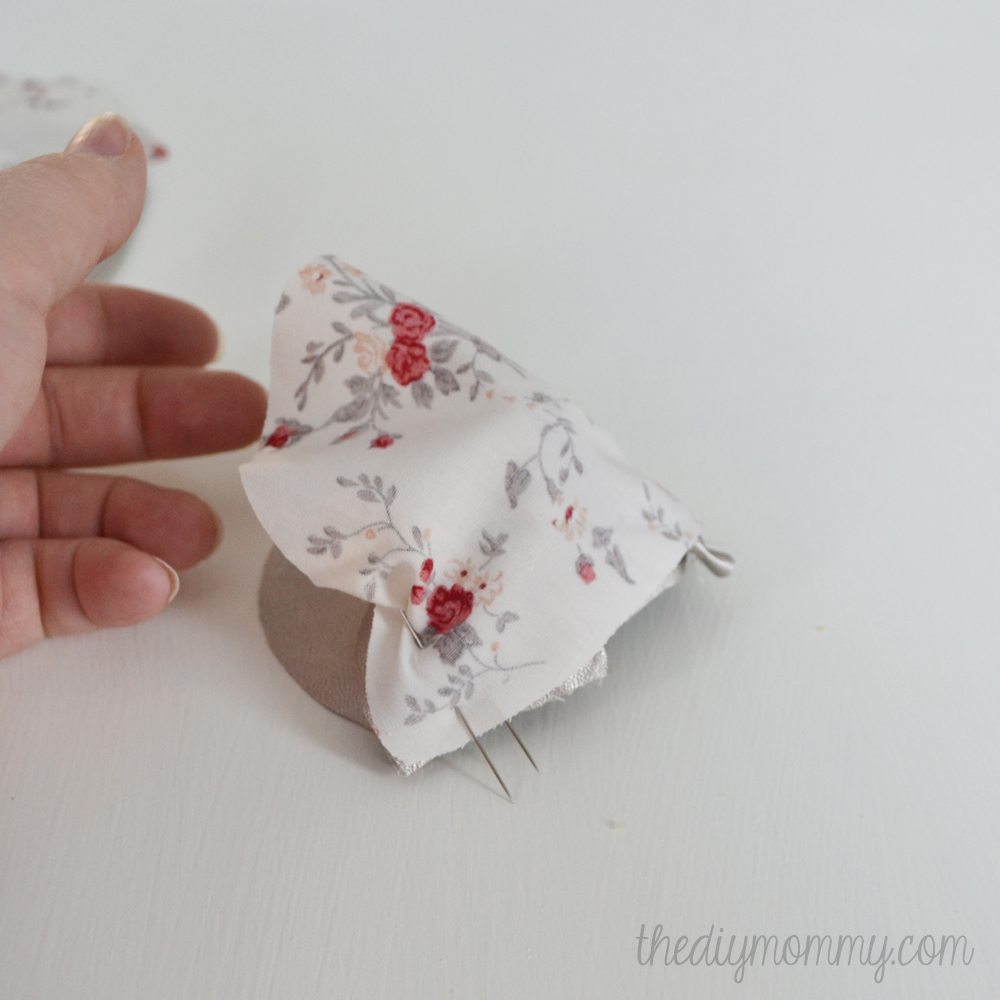
Place the cotton fabric toe piece on top of the other two leather pieces (right side down) and its top flush with the top of the leather piece. Pin.
Sew them all together along the top of the toe using a 1/2″ seam allowance. Turn slipper to the right side, pulling heel piece away from toe pieces. Topstitch the fringe to the toe (about 1/4″ away from the seam) to keep the fringe in place.
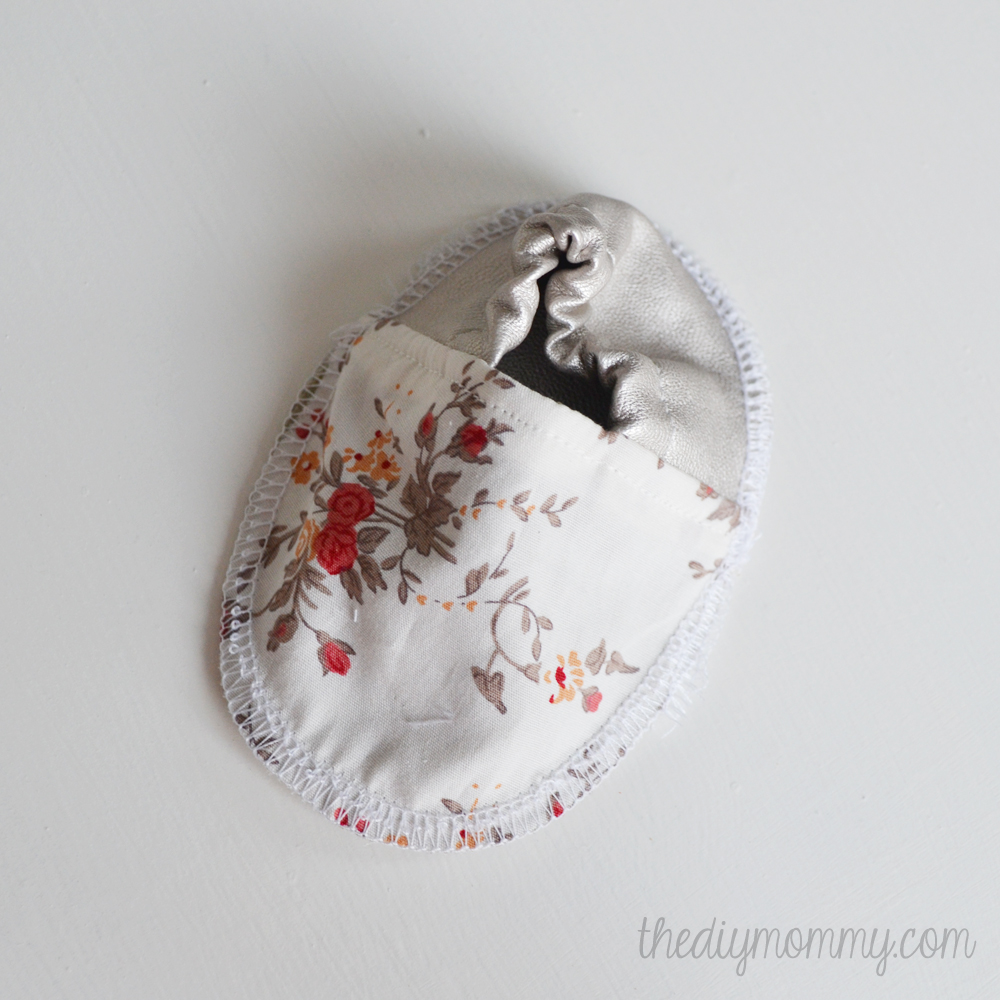
Sandwhich the leather and the cotton heel pieces together (wrong sides together) and pin them to the bottom of the slipper. Sew heel to slipper with a short, wide zigzag stitch, making sure you catch all three layers of fabric (it’s a good idea to sew once with the heel facing you, then flip the slipper over and zigzag over the seam again from the other side). You can also use a serger.
Flip slipper right-side-out, pushing out the seams, and you’re done! Make the 2nd one the same way.
To review:

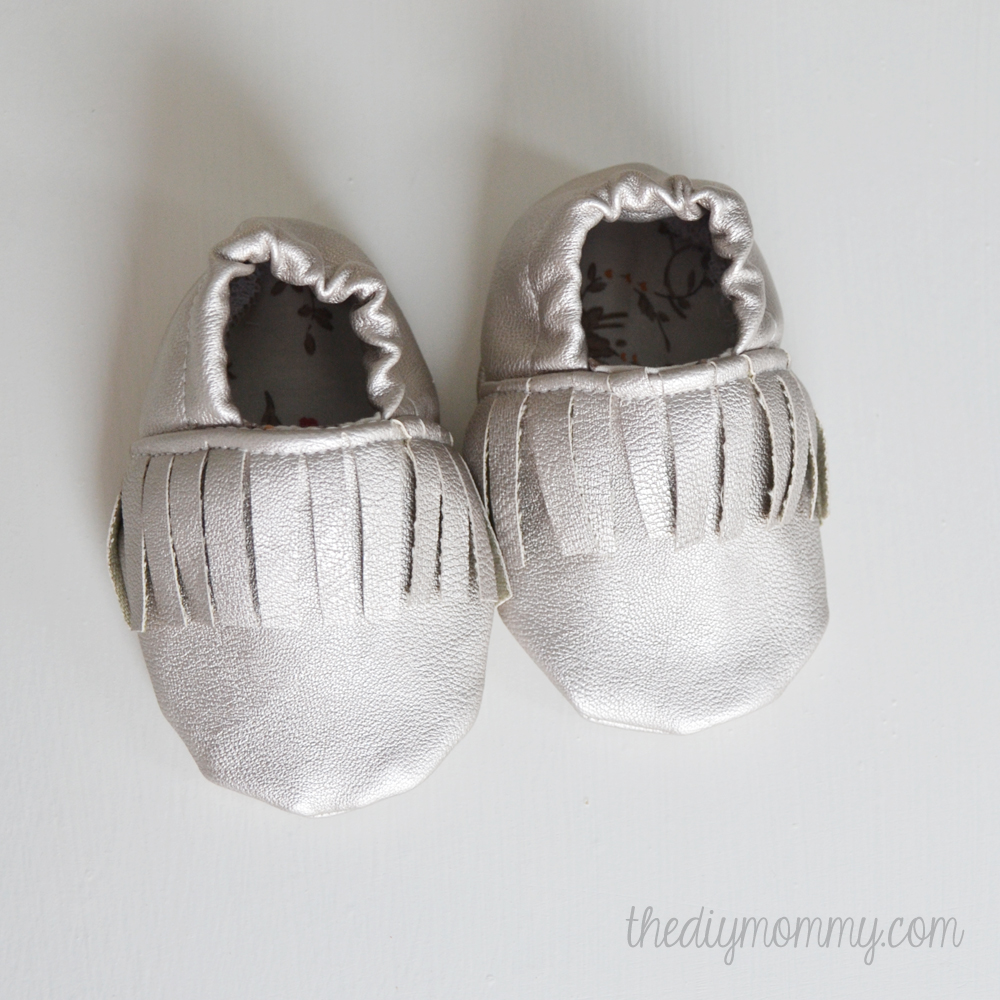
Your little boho baby is ready to tromp through the tall grass in these precious and shiny fringed DIY booties.
I absolutely LOVED working with this soft & supple bonded leather from Fabric.com. Not only did I love the way these slippers turned out, the fabric was so easy to work with on my regular machine and serger! You can buy some here.
Did you sew things for your baby before they were born? Or are you planning to?
(Disclosure: This post contains affiliate links. If you decide to purchase products via these links, a small percentage of the sale will be given to me at no extra cost to you. It’s a win-win – thanks for helping support thediymommy.wpsc.dev!)
Linked to: Frugal Crafty Home Blog Hop @ Carrie This Home, Our Sunday Best Showcase @ A Pretty Life in the Suburbs, Weekend Re-Treat Link Party @ AKA Design
THESE. ARE. SO. ADORABLE! I can’t believe you actually made these, gorgeous. I would love for you to share at our link party!
http://www.delineateyourdwelling.com/2014/01/link-it-or-lump-it-party-no-23.html
Oh my goodness….these are so cute! My BF is having a baby this year so I’m seeing all stuff baby this year! Thanks so much for linking up to Frugal Crafty Home Blog Hop–I’ll be featuring this post at our next hop on Sunday night at 8PM Central time. I hope to see you back!
Thank you SO much, Carrie! I really appreciated the feature. 🙂
If you wish for to grow your experience simply keep visiting this web page
and be updated with the hottest news update posted here.
Where do you get the elastic from?
I buy mine at Walmart or my local fabric store.
Do you have this for bigger sizes?
Sorry, I don’t. If I draft some bigger sizes, I’ll post here. Thanks!
Just curious if you have a print out of the pattern or a video of this? soooo cute! thank you!
These are soooo cute!! First time making something, so thank you for the motivation and pardon the lack of knowledge 😉 Did you use a regular needle or an upholstery needle on your sewing machine??
Thanks, Kristy! I used a regular needle, but just made sure it was extra sharp.
Aloha,
These are adorable! I was able to follow your instructions until “Sandwhich the leather and the cotton heel pieces together (wrong sides together) and pin them to the bottom of the slipper.”
I am also unsure of what to do with the ‘sole’ portion that I cut from the pattern.
Thanks for your help,
kili
Hi! Sorry – by “heel pieces” I meant “sole pieces”. Sorry for the confusion!
The bottom seems large am I doing something wrong? ease or clipping im lost
I love this pattern it seems so simple but did you use a walking foot or something? The fabric keeps bunching :/
This is great! I had scrap material from another project and then found this 🙂
I’m stuck though on sewing the heel with the top and inner lining. When I pin mine, it doesn’t seem right. You can explain that portion in a different way? Apologies, I’m a novice sewer and just can’t wrap my brain around it! Thanks in advance 🙂
This is an awesome tutorial !! my booties turned out great!! however I did struggle with some of the written directions not being specific enough and in the last step you are using the word “heel” when I think you should use the word “sole” because that was confusing a little… also, i think a picture of the top and bottom or front and back of each step would be very helpful!!! thanks so much for sharing just thought i would help out !!!
So to hear you struggle with some of the written instructions but so glad your booties turned out great!!