• Skip to primary navigation
  • Skip to main content
  • Skip to primary sidebar
The DIY Mommy
  • Decor
  • DIY
  • Clean + Organize
  • Printables
  • Recipes
  • Life
  • The Academy
  • Shop My Home
  • About
  • Contact
    • Facebook
    • Instagram
    • Pinterest
    • Twitter
    • YouTube
menu icon
go to homepage
search icon
Homepage link
  • Decor
  • DIY
  • Clean + Organize
  • Printables
  • Recipes
  • Life
  • The Academy
  • Shop My Home
  • About
  • Contact
    • Facebook
    • Instagram
    • Pinterest
    • Twitter
    • YouTube
  • ×

    Home » DIY Recipes » Dessert

    Strawberry Cheesecake No Churn Ice Cream

    Published: Jul 18, 2017 · Modified: Sep 26, 2019 by Christina Dennis · This post may contain affiliate links · This blog generates income via ads · 1 Comment

    Last summer we discovered how to make no-churn ice cream, and it was incredible! You don't need any special kitchen tools to make this kind of ice cream, and it tastes so rich and delicious. Here's my strawberry cheesecake no churn ice cream recipe. It's decadent and easy to make!

    Strawberry Cheesecake No Churn Ice Cream Recipe

    To make no-churn ice cream, all you have to do is mix together 2 cups of whipping cream with a can of sweetened condensed milk and then add the flavourings of your choice.

    Strawberry Cheesecake No Churn Ice Cream Recipe

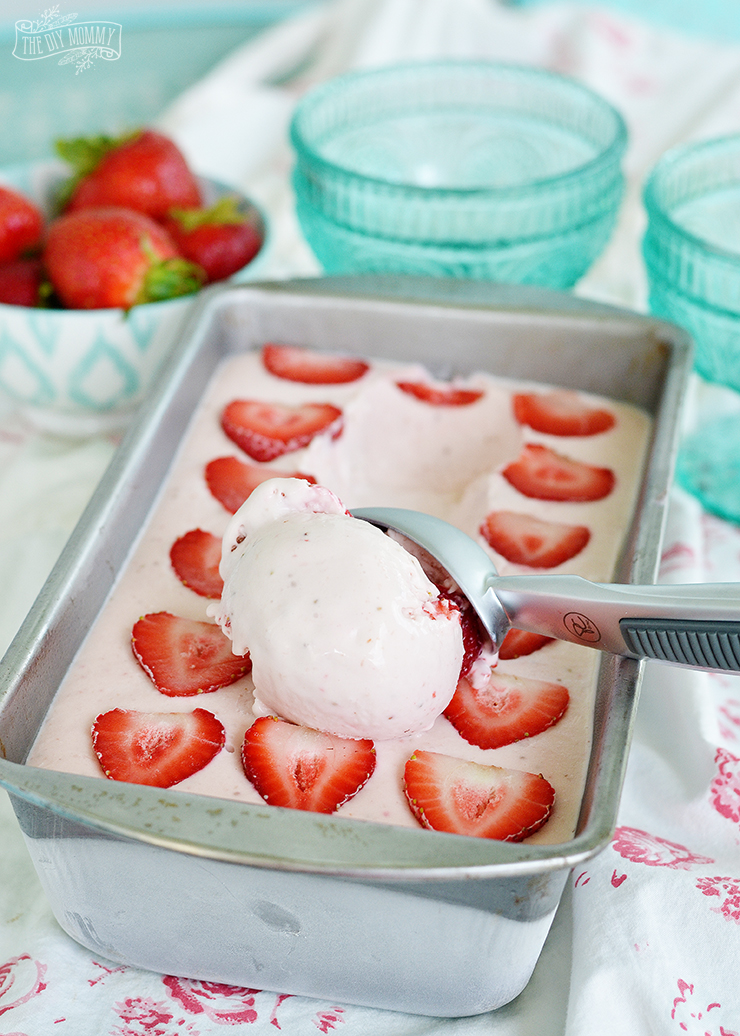
    You put the mixture in a bread pan, freeze it for at least 6 hours, and... voila! You have some fresh and yummy ice cream to enjoy.

    Strawberry Cheesecake No Churn Ice Cream Recipe

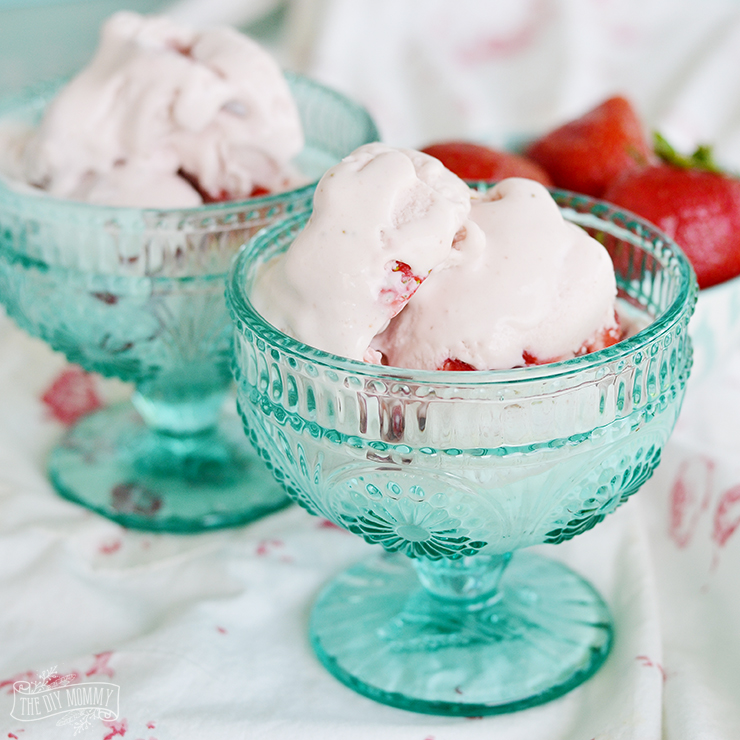
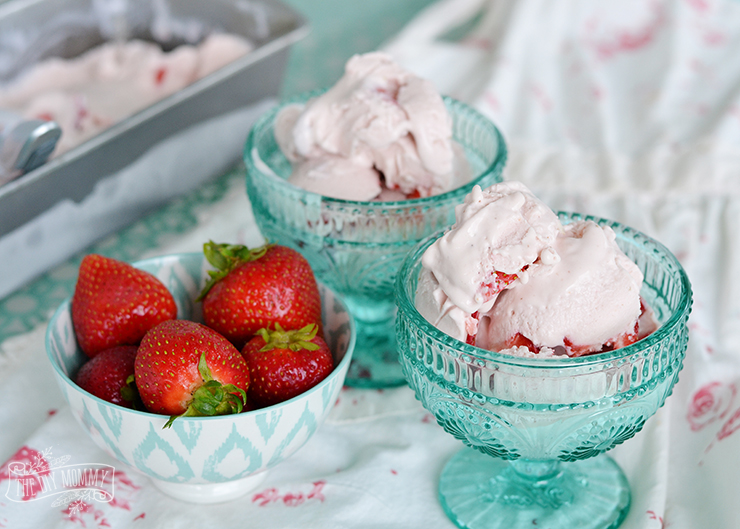
    For this version of no-churn ice cream, I added some cream cheese and fresh chopped strawberries. It's one of my favourite flavour combos and I hope you'll like it too!

    Strawberry Cheesecake No Churn Ice Cream Recipe

    Strawberry Cheesecake No Churn Ice Cream
    Recipe Type: Dessert
    Author: Christina Dennis
    Prep time: 10 mins
    Cook time: 6 hours
    Total time: 6 hours 10 mins
    This easy ice cream is decadent and delicious!
    Ingredients
    • 2 cups whipping cream
    • 1 can sweetened condensed milk
    • ¼ cup softened cream cheese
    • 1 cup chopped strawberries + extra sliced strawberries for garnishing
    Instructions
    1. Blend the 1 cup of strawberries in a blender.
    2. Add in the whipping cream, sweetened condensed milk and cream cheese and blend.
    3. Pour the mixture into a bread pan and garnish with strawberry slices if desired.
    4. Place the pan in a freezer for at least 6 hours or until the mixture freezes through.
    3.5.3217


    More Inspiration

    • Peppermint Pretzel Chocolate Bark
    • How to make Easy Very Berry Pie
    • The Best Poppyseed Cake
    • How to make Pumpkin Pie from Scratch (with Step by Step Instructions)

    Reader Interactions

    Comments

    1. Alia

      May 09, 2020 at 9:49 am

      Where do you get softened cream cheese. Please share the link and the picture. Also please share which brand whipping cream you used.

      Reply

    What do you think? Cancel reply

    Your email address will not be published. Required fields are marked *

    This site uses Akismet to reduce spam. Learn how your comment data is processed.

    Primary Sidebar

    Welcome!

    Christina Dennis, The DIY Mommy

    I'm Christina and I'm sharing budget-friendly DIY & decor ideas to create a cozy home and life you love!

    Read more about me

    Latest Posts

    • Gorgeous Powder Room Makeover on a Budget
    • Easter Basket for Teens: A Self-Care Themed Idea
    • DIY Thrift Store Candle using a kitchen canister

    What's my home decor style?

    Discover the home decor style that best fits your personality and lifestyle. This two-minute quiz is going to give you the direction you need to start the big, bold room makeovers that you've always wanted to try!

    Find out now!

    Archives

    Footer

    ↑ back to top

    About

    • About The DIY Mommy
    • Privacy Policy
    • Disclosure Policy
    • Terms of Service

    Newsletter

    • Sign Up! for emails and updates

    Contact

    • Contact

    As an Amazon Associate I earn from qualifying purchases.

    Copyright © 2009 - 2023 The DIY Mommy. "The DIY Mommy" is a registered trademark.