Yield: 1 snack bag
Sew a 15 Minute Reusable Snack Bag
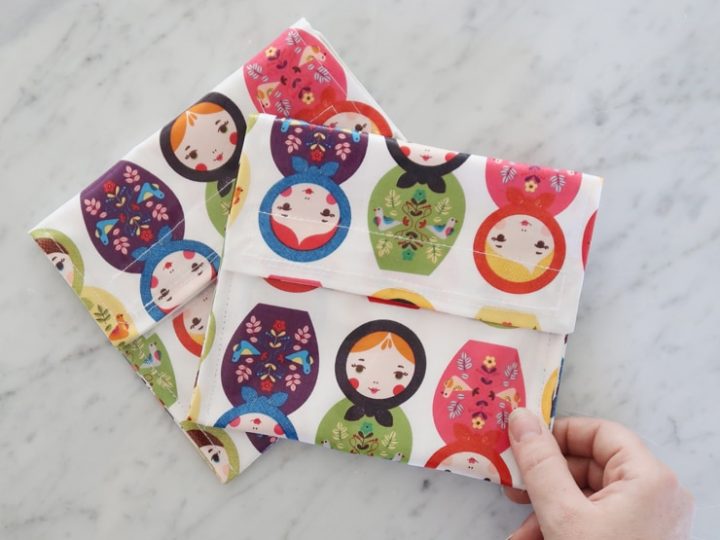
These little DIY reusable snack bags are cute and they’re so functional for litterless back-to-school snacks and lunches.
Prep Time
5 minutes
Active Time
15 minutes
Total Time
20 minutes
Difficulty
Intermediate
Estimated Cost
$10
Materials
- 2 pieces of laminated cotton (or another material you choose**) that measure at least 7 1/2 x 16 1/2″
- a roll of 1″ wide velcro
- thread
Tools
- sewing machine
- scissors
- paper clips to hold slippery fabric in place (optional)
Instructions
- Cut out two rectangles of laminated cotton that measure 7 1/2 ” wide by 16 1/2″ long. I chose to cut my lining and outer fabric out of the same kind of fabric (laminated cotton), but you could make them each a different type of fabric if you choose.
- Place them right sides together and sew around three sides (using a 1/2″ seam allowance), leaving one short end open. You can choose to keep the fabrics in place with paper clips as you sew (I just wing it!).
- Turn the rectangle right-side-out, and then fold the short edges in about 1/2″ and topstitch to close the remaining short end.
- Finger press around the perimeter of the rectangle (you can’t use an iron on laminated cotton). Cut a piece of velcro that’s about 6″ long, and sew the “hook” side to the top edge of your rectangle (use the side without the topstitching) and the “loop” side to the opposite end of the rectangle (but place it on the back of the rectangle and about 2″ from the edge).
- Fold the bottom edge up as shown, so that the bottom velcro is facing outward and its edge is about 2 1/2″ inches from the top edge as shown. Secure with paper clips if you wish, and then topstich around three sides of the snack bag, securing the sides and finishing the flap.