• Skip to primary navigation
  • Skip to main content
  • Skip to primary sidebar
The DIY Mommy
  • Decor
  • DIY
  • Clean + Organize
  • Printables
  • Recipes
  • Life
  • The Academy
  • Shop My Home
  • About
  • Contact
    • Facebook
    • Instagram
    • Pinterest
    • Twitter
    • YouTube
menu icon
go to homepage
search icon
Homepage link
  • Decor
  • DIY
  • Clean + Organize
  • Printables
  • Recipes
  • Life
  • The Academy
  • Shop My Home
  • About
  • Contact
    • Facebook
    • Instagram
    • Pinterest
    • Twitter
    • YouTube
  • ×

    Home » DIY Crafts » Sewing

    How to Copy and Sew Your Favourite T-Shirt

    Published: Oct 28, 2015 by Christina Dennis · This post may contain affiliate links · This blog generates income via ads · Leave a Comment

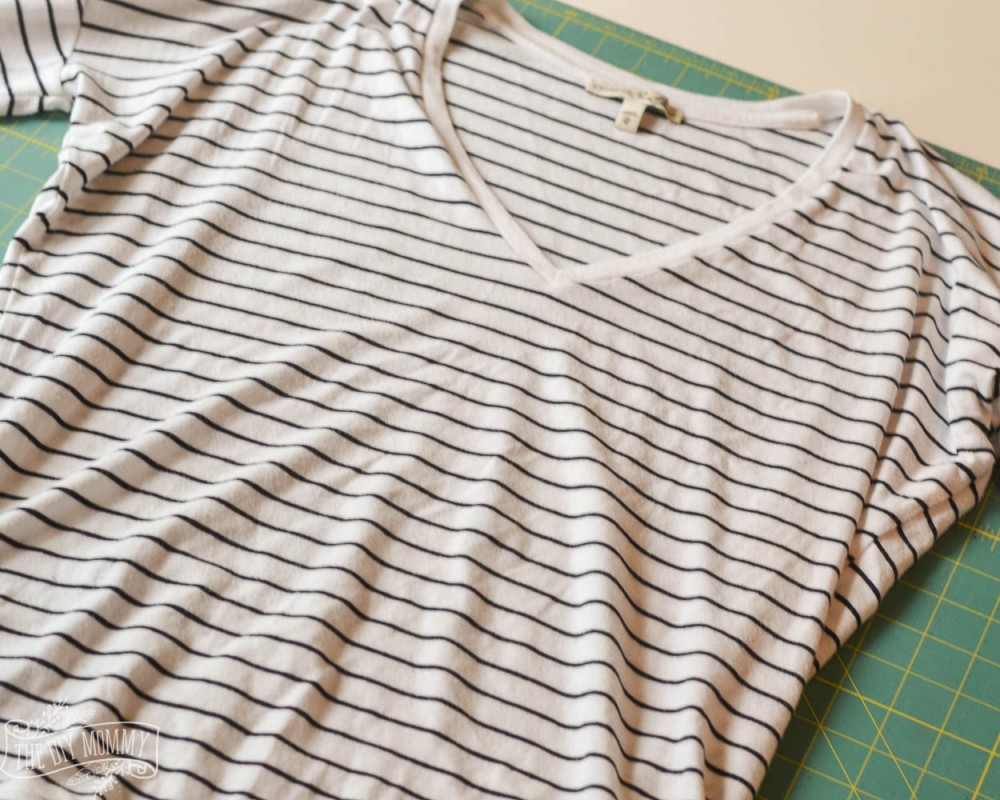
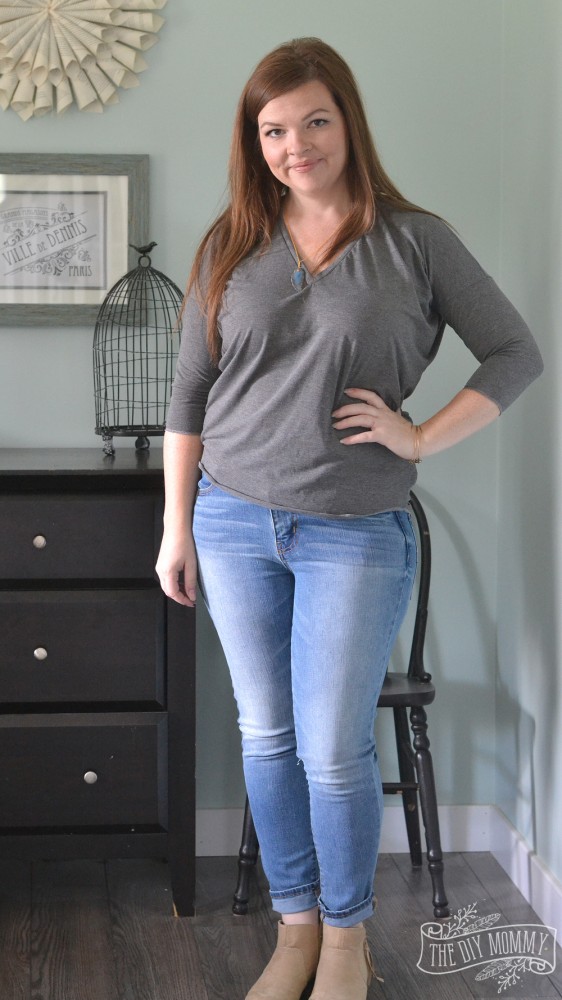
    Do you ever buy a t-shirt that you just LOVE and wish you would have bought more of? That happened to me early this Fall. I bought a striped tunic-length v-neck tee that I loved the look and feel of. It didn't come in the other colour I wanted (heathered grey), so I decided to copy and sew my own version! Here's how I copied and sewed my favourite t-shirt, and how you can too.

    Gray-Top-Light-Jeggings-Fringed-Booties

    I chose a shirt with simple lines and elements that looked easy to replicate (like dolman sleeves and a simple neckline).

    How to copy and sew your favourite t-shirt

    Materials:

    • a simple t-shirt you want to replicate
    • a large roll / sheet of paper for pattern making
    • pen or pencil
    • hard ruler
    • scissors
    • rotary cutter
    • sewing machine
    • thread
    • stretch knit fabric (I used a yard)

    Directions:

    Flatten the shirt and lay out the sleeves first on a large piece of paper. I like to use a large roll of drawing paper or parchment paper for pattern making.

    How to copy and sew your favourite t-shirtHow to copy and sew your favourite t-shirt

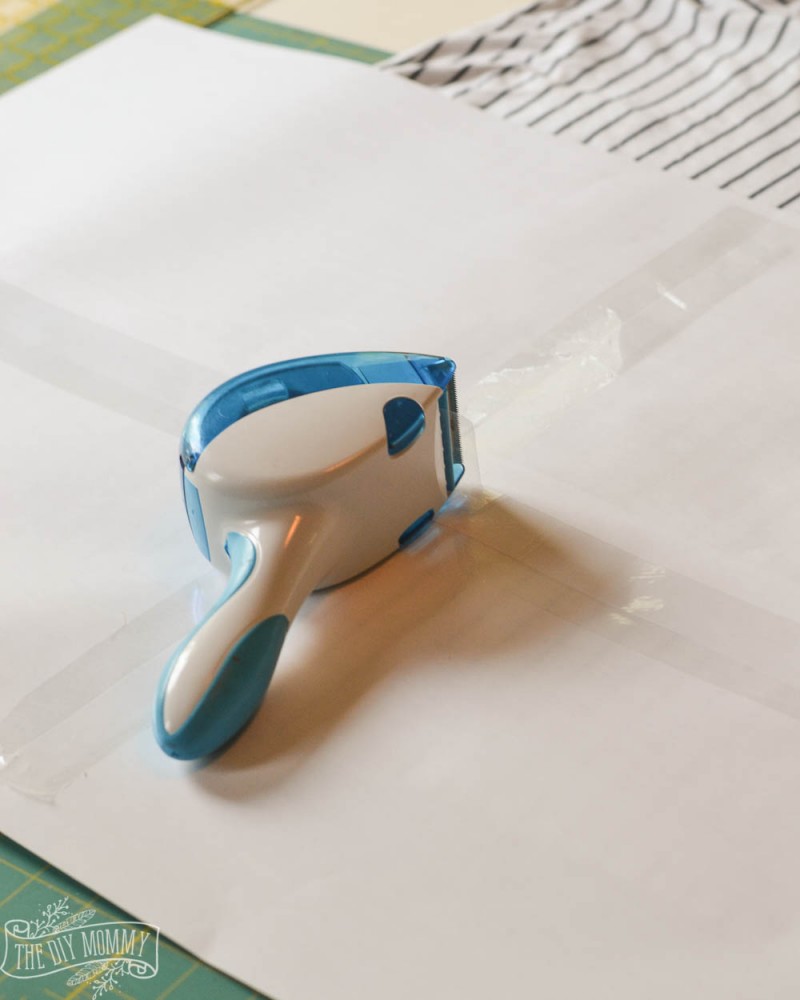
    You can also tape smaller pieces of paper together as needed before you begin.
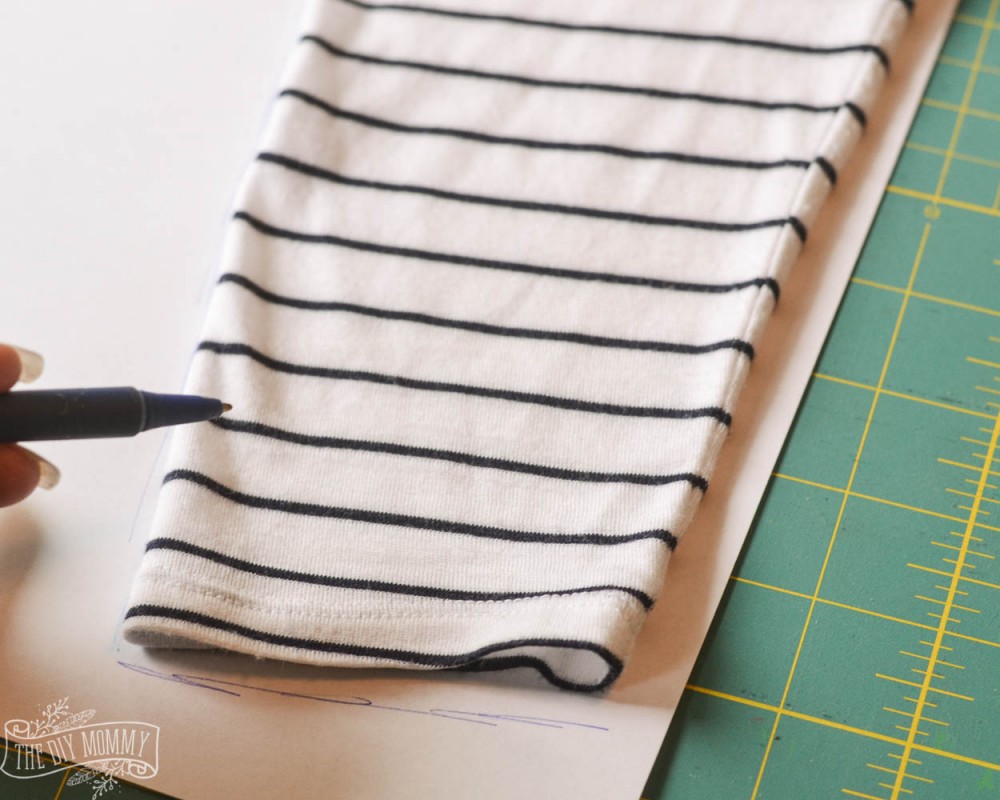
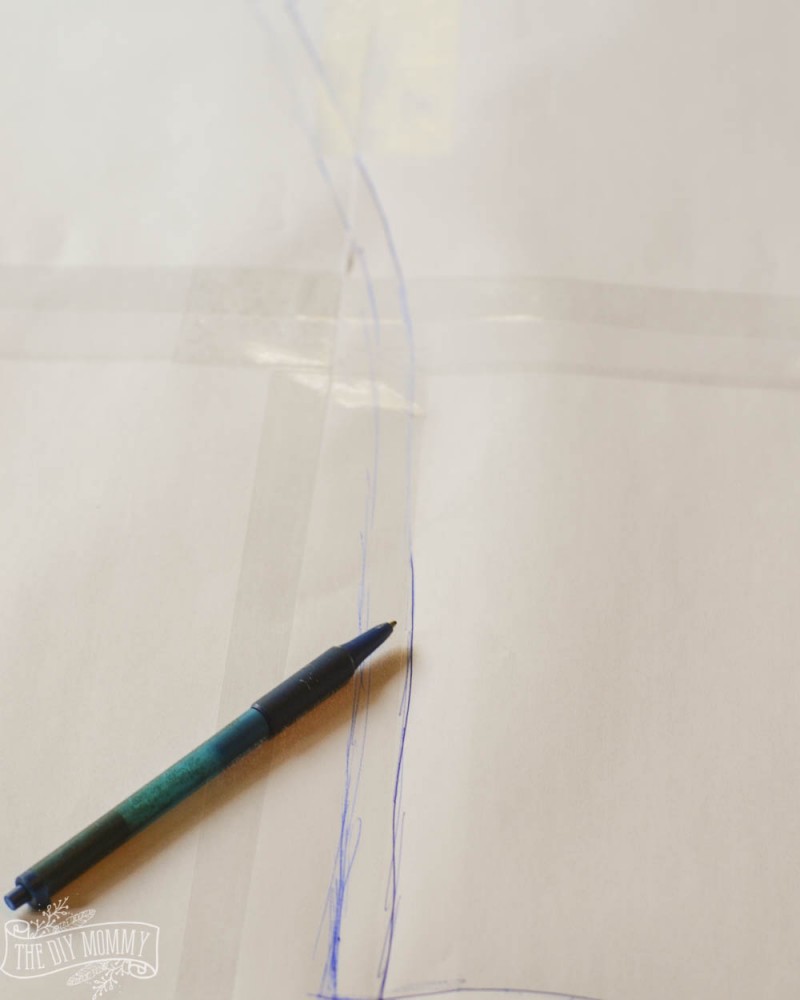
    How to copy and sew your favourite t-shirt

    Place the seam of the sleeves a ½" from the edge of the paper, and then trace around the sleeves with a pen or pencil.

    How to copy and sew your favourite t-shirt

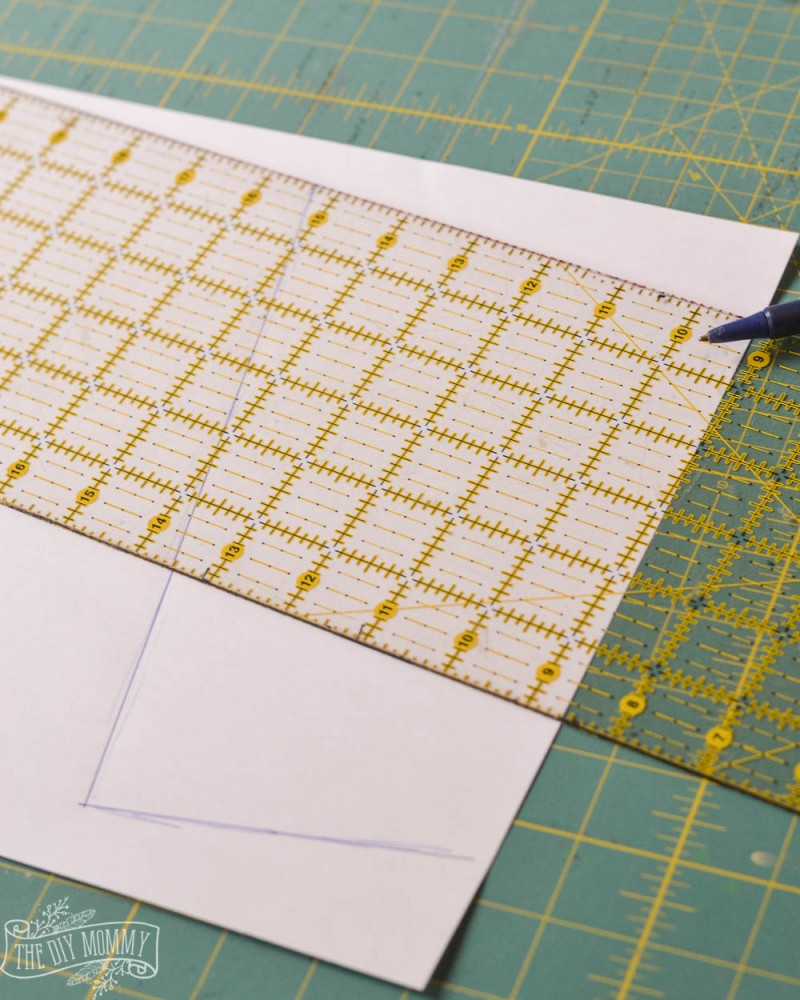
    Use a hard ruler to straighten the lines you've made.

    How to copy and sew your favourite t-shirt

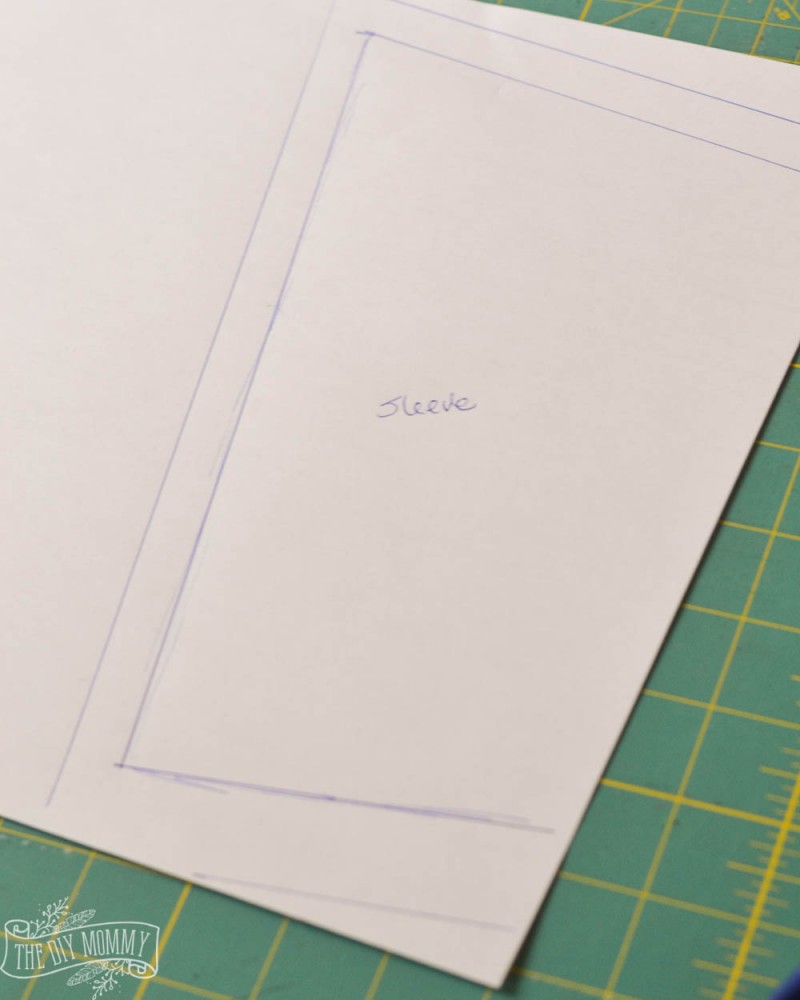
    Add a half inch around the sides of the sleeve pattern to account for the seam allowance. I added an inch to the bottom of my sleeve just in case I wanted to fold it over.

    How to copy and sew your favourite t-shirt

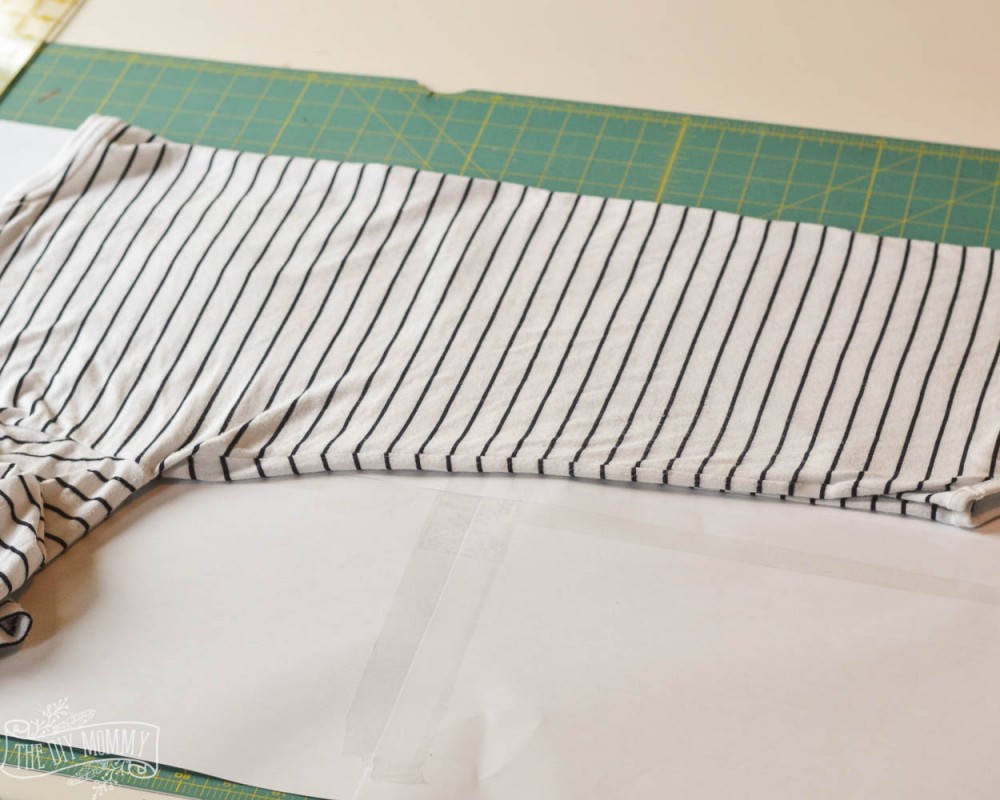
    Fold the shirt in half, flatten it out, and lay it with the fold along the edge of your paper.

    How to copy and sew your favourite t-shirt

    Fold the sleeves in and trace along the edge of the shirt.

    How to copy and sew your favourite t-shirt

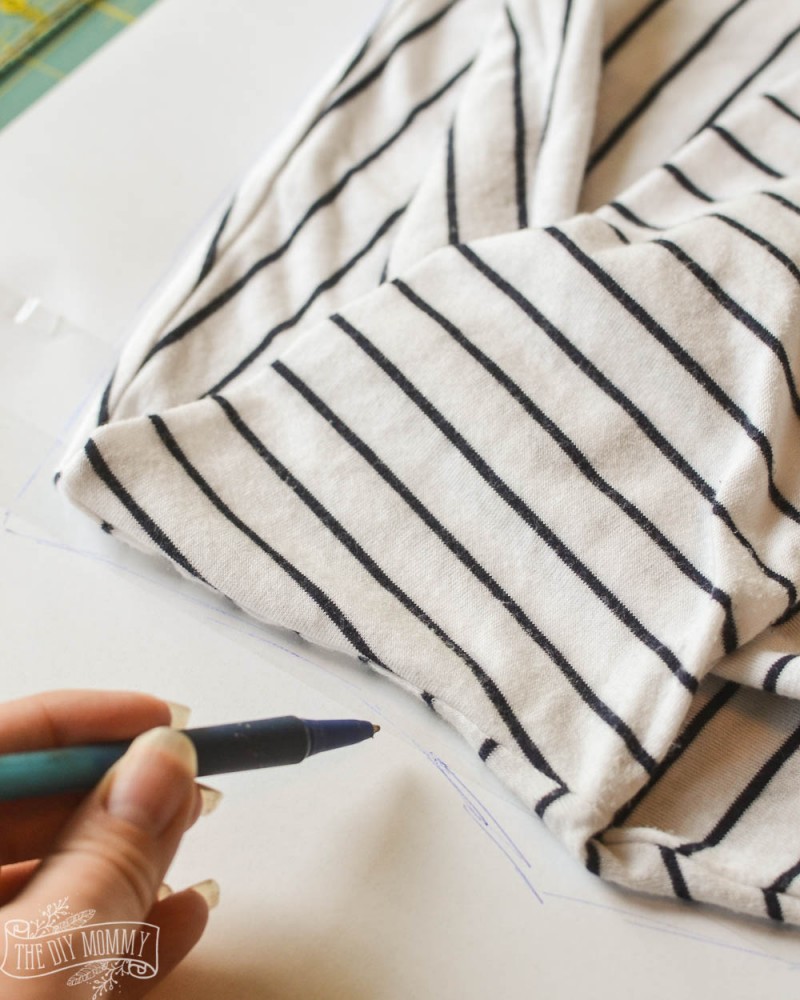
    For my shirt, I first traced the back and then the front which had a deep V neck.

    How to copy and sew your favourite t-shirt

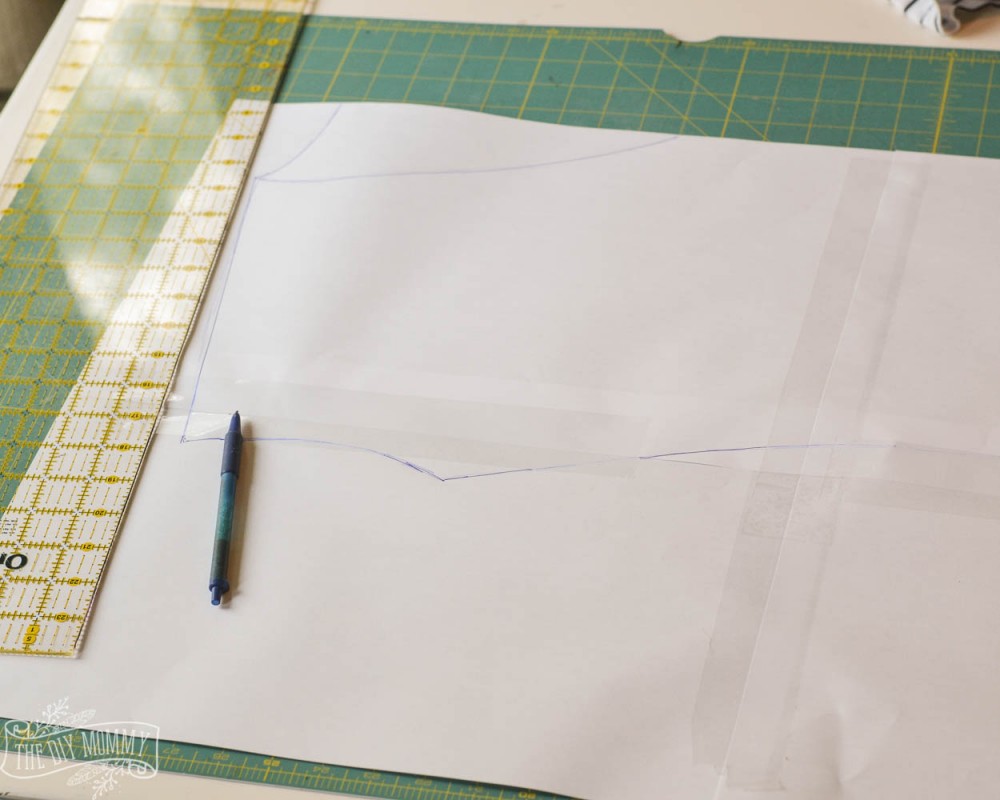
    I used the same paper for both pieces and I simply cut the back piece first with the higher neckline, and then the front piece with the lower neckline.

    How to copy and sew your favourite t-shirt

    Straighten the lines if needed with a ruler, then add a ½" seam allowance along the edges.

    How to copy and sew your favourite t-shirt

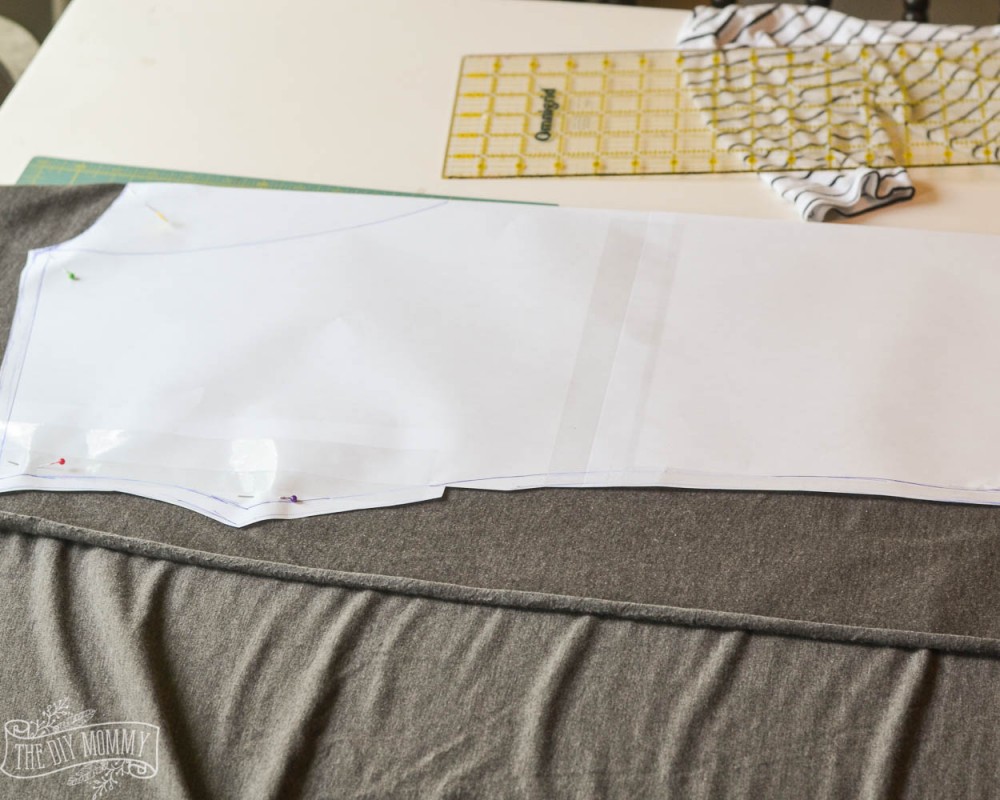
    Cut out the pattern, and lay it on the knit jersey fabric. Here, I folded my fabric and then laid the pattern along the fold. Cut one front and one back for your t-shirt. Repeat with the sleeve pattern & fabric.

    How to copy and sew your favourite t-shirt

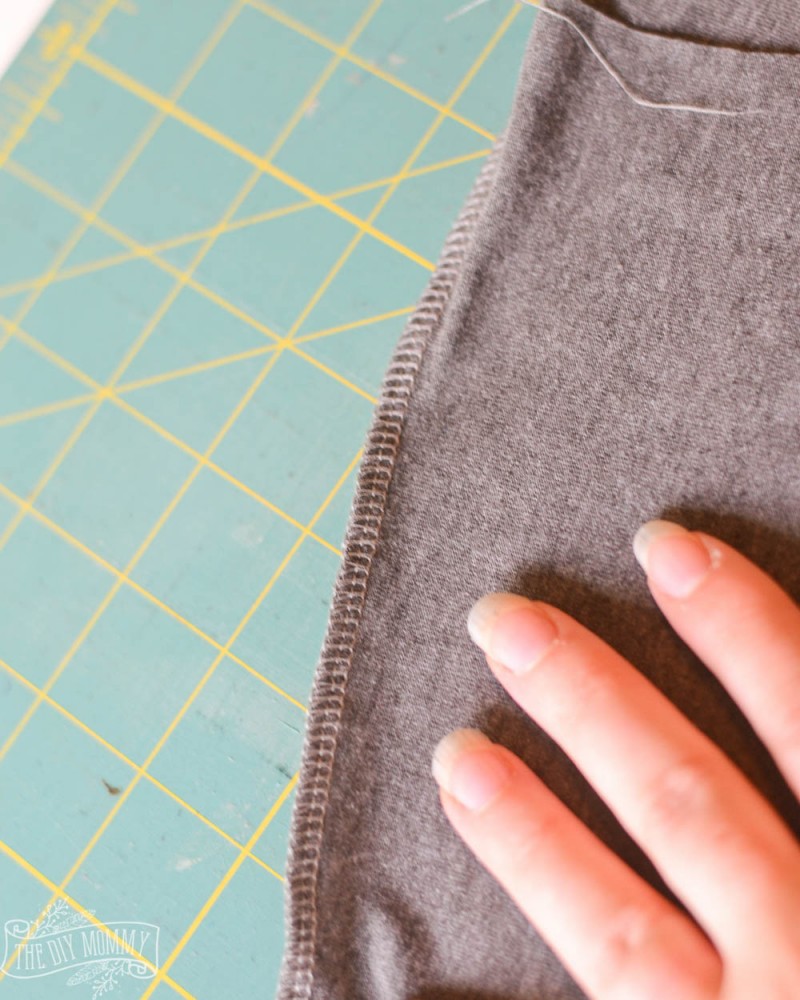
    Sew the front and the back of your t-shirt together at the shoulder and the side seams using a ½" seam allowance. I used a serger, but you could also use a sewing machine.

    How to copy and sew your favourite t-shirt

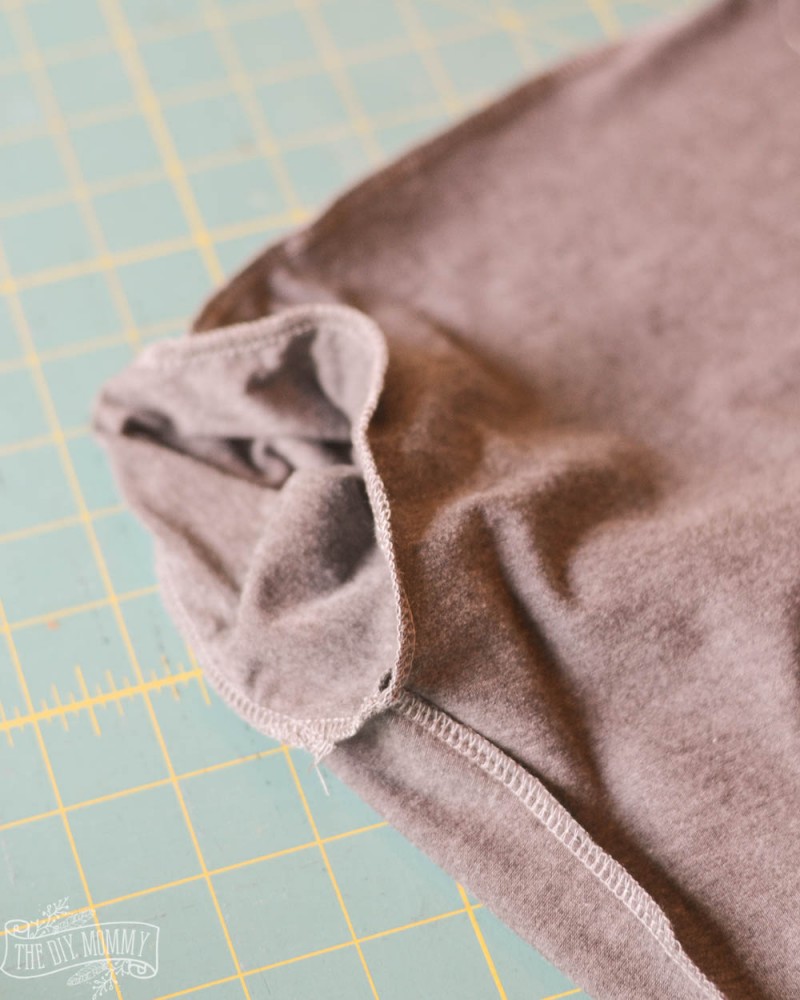
    Sew the underarm seam of each sleeve together, and then set each sleeve into the sleeve holes of the main t-shirt piece. Align the seams, pin, and sew. Make sure that the right sides of the fabrics are together!

    How to copy and sew your favourite t-shirt

    To finish the neck of my tee, I cut a strip of stretch knit that was about 2" wide and 75% of the length of the entire neck opening of my tee.

    How to copy and sew your favourite t-shirt

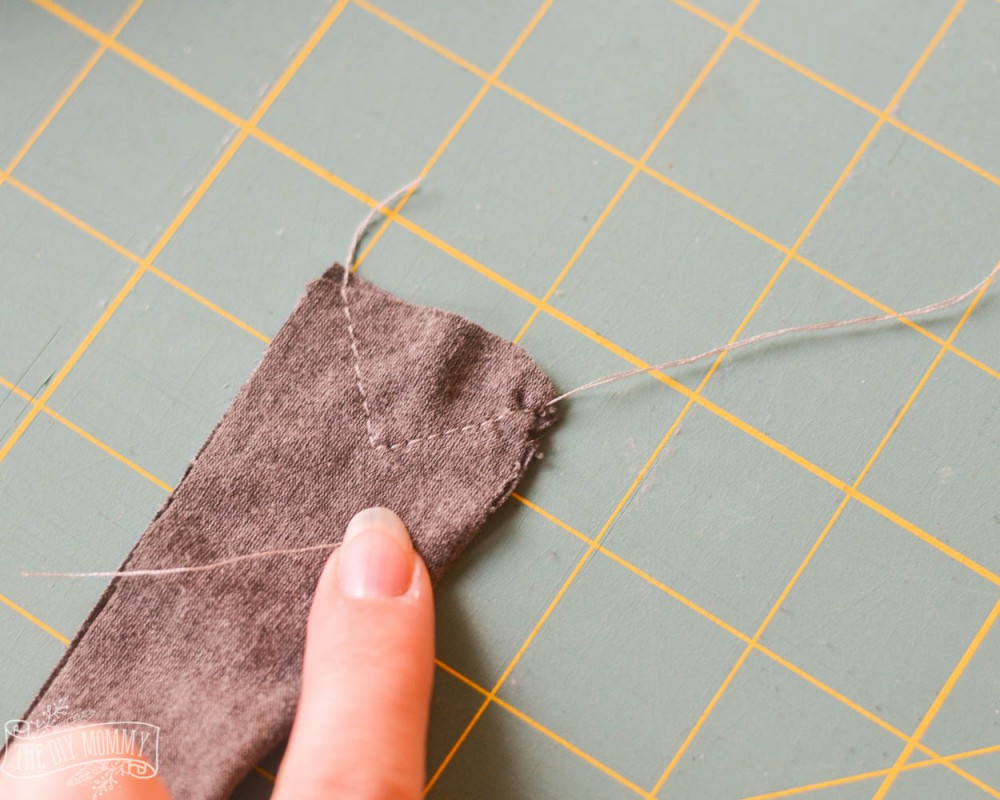
    Then, I created the angle for the trim at the front of the V-neck by sewing the two ends of the strip together like this.

    How to copy and sew your favourite t-shirt

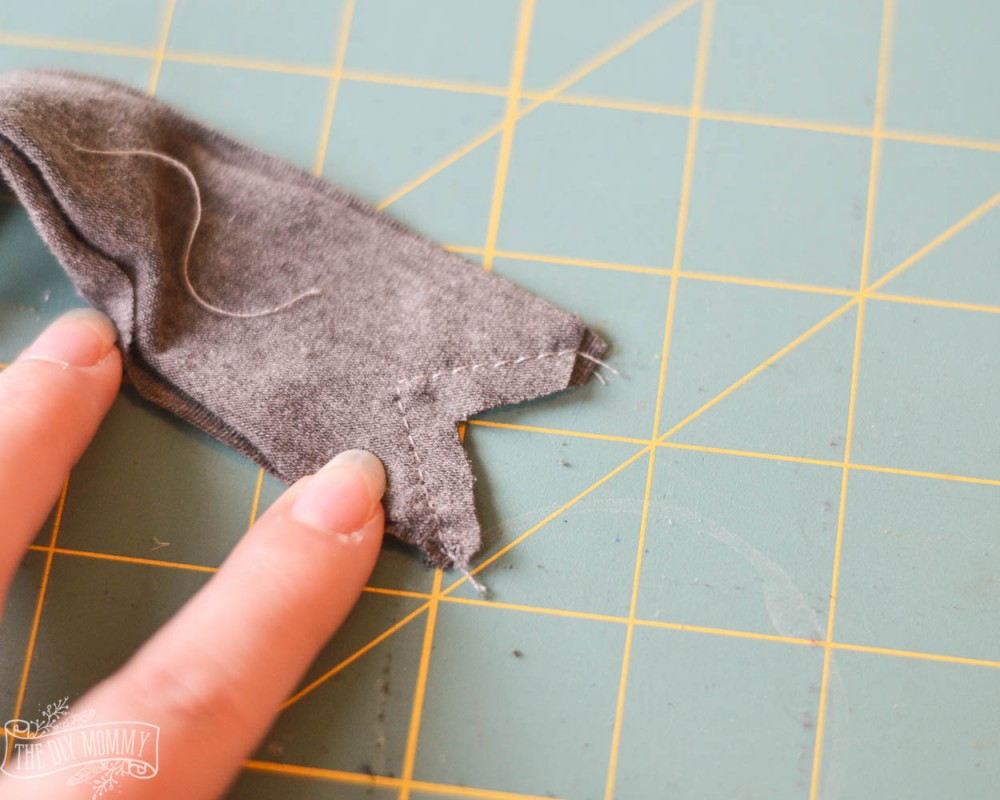
    Then I trimmed the notch like this.

    How to copy and sew your favourite t-shirt

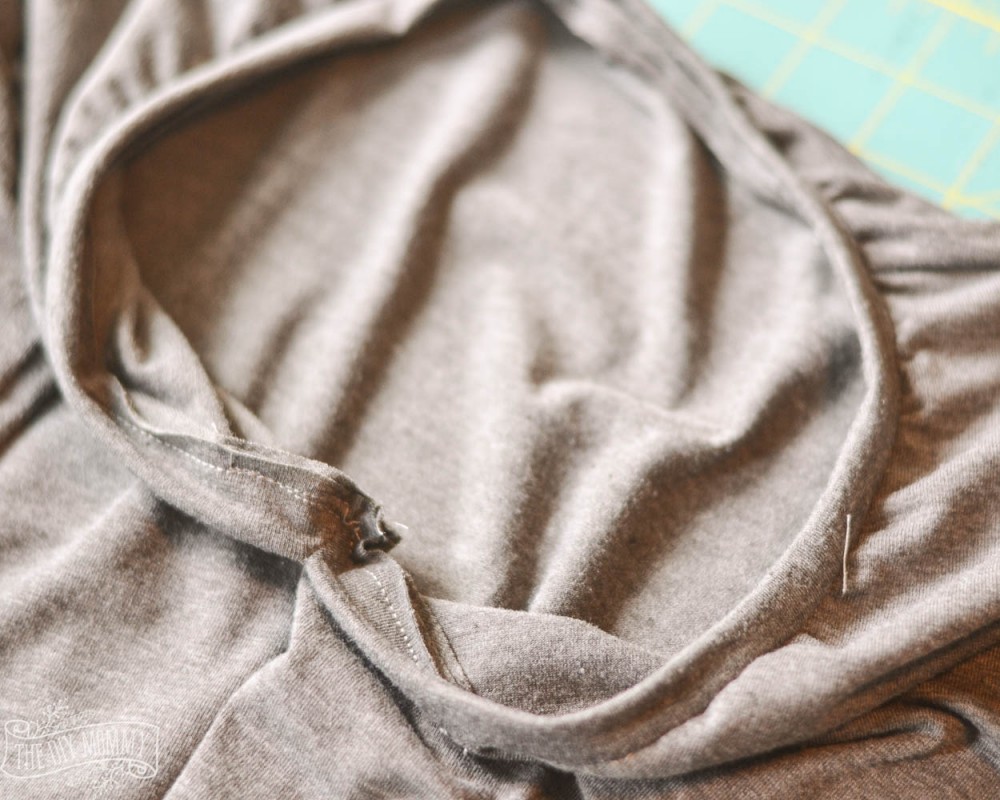
    Next, I pinned the neck trim to the tee, stretching it as needed and matching the center backs and center fronts.

    How to copy and sew your favourite t-shirt

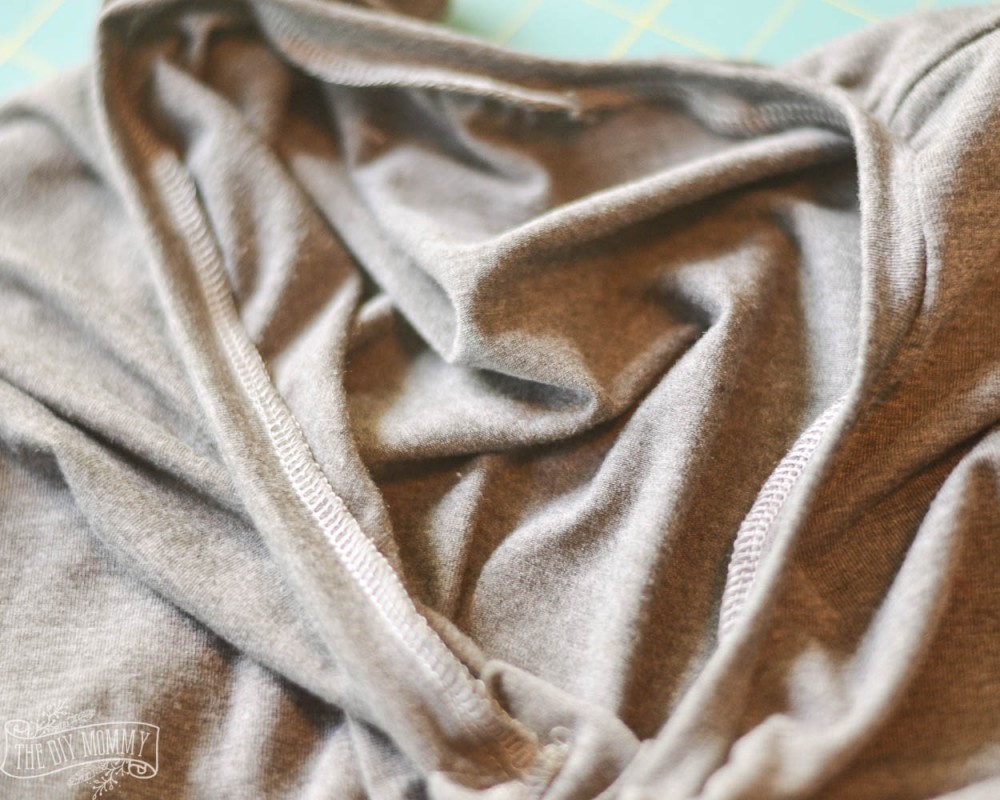
    I serged the neck trim to the tee.

    For a quick finish, I simply serged around the raw edges of the arm holes and bottom of the t-shirt. You could also fold these over and sew a hem.

    Gray-Top-Light-Jeggings-Fringed-Booties-2

    All done!

    Now I have TWO favourite tees that I wear all the time. Have you ever tried to copy & sew a fave wardrobe item?

    More Inspiration

    • RV Tips 101 - RVing Guide for Beginners
    • Easter Basket for Teens: A Self-Care Themed Idea
    • 10 Places to Find Cheap Home Decor and Accessories
    • Stunning Amazon Must Haves for Your Kitchen in 2023

    Reader Interactions

    What do you think? Cancel reply

    Your email address will not be published. Required fields are marked *

    This site uses Akismet to reduce spam. Learn how your comment data is processed.

    Primary Sidebar

    Welcome!

    Christina Dennis, The DIY Mommy

    I'm Christina and I'm sharing budget-friendly DIY & decor ideas to create a cozy home and life you love!

    Read more about me

    Latest Posts

    • Can you paint tile and does it last?
    • Cricut Must Haves for Beginners: Materials & Tools Guide
    • RV Tips 101 - RVing Guide for Beginners

    What's my home decor style?

    Discover the home decor style that best fits your personality and lifestyle. This two-minute quiz is going to give you the direction you need to start the big, bold room makeovers that you've always wanted to try!

    Find out now!

    Footer

    ↑ back to top

    About

    • About The DIY Mommy
    • Privacy Policy
    • Disclosure Policy
    • Terms of Service

    Newsletter

    • Sign Up! for emails and updates

    Contact

    • Contact

    As an Amazon Associate I earn from qualifying purchases.

    Copyright © 2009 - 2023 The DIY Mommy. "The DIY Mommy" is a registered trademark.