Painting by Numbers: A DIY Guide to Estimating Paint Needs
This post may contain affiliate links · This blog generates income via ads
Welcome to Interior Painting 101! If you’ve ever found yourself standing in the paint aisle scratching your head over how much paint to buy or which finish to choose, fear not – you’re in the right place. Today, we’re headed into the world of interior painting. We will be covering everything from crunching those paint calculation numbers to prepping and priming like a pro. Come learn how to select the best paint for the job!
First up, let’s tackle the age-old question: how much paint do I need? Whether you’re revamping a small room or giving your entire home a makeover, using the right amount of paint is key. I’ll walk you through the calculations and estimates to ensure you never end up with too many (or too few) gallons of paint for your bedroom on your hands. Let’s get going!
Is one gallon of paint enough for a bedroom?
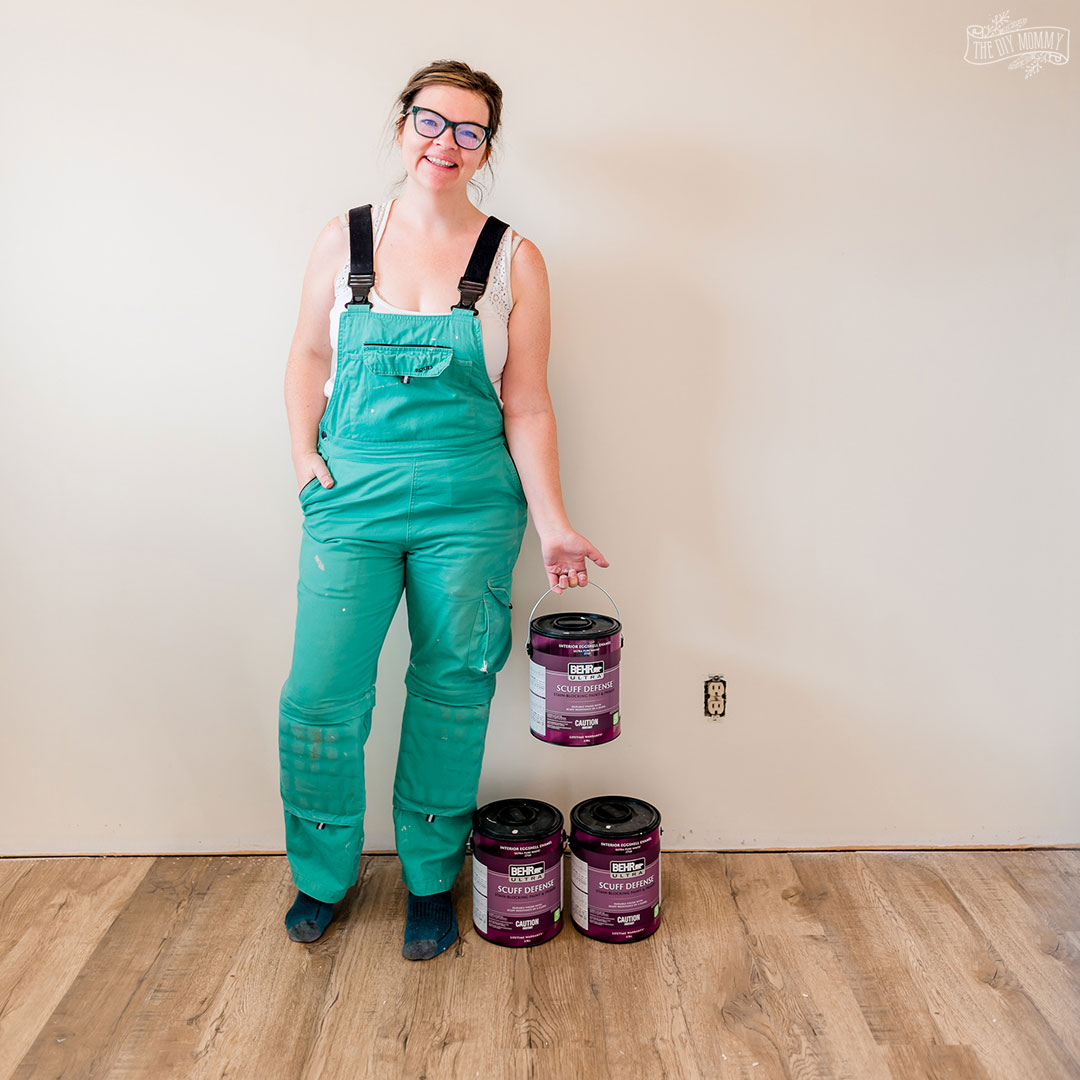
The big question on every DIY painter’s mind: is one gallon of paint enough to cover a bedroom? Well, it all depends on the total wall area and how many coats you’re planning to do. As a general rule of thumb, one gallon should be plenty to cover the walls with two coats for your average-sized bedroom. But here’s the deal: if you’ve got a particularly large room or you’re painting over a darker color with a lighter one, you might need a little extra. And let’s not forget those textured walls – they tend to soak up more paint. My advice? Err on the side of caution and grab an extra gallon just in case. Trust me, it’s better to have too much paint than not enough. Plus, you can always use the leftovers for future touch-ups or other projects. It’s a win-win situation!
How many square feet will one gallon of paint cover?
When it comes to estimating how many square feet one gallon of paint covers, it’s a bit like asking how long a piece of string is – it depends! Most standard gallons of paint typically cover around 350 to 400 square feet per coat. However, this can vary depending on factors like the type and quality of the paint, the surface you’re painting (smooth vs. textured), and the application method (brush vs. roller vs. sprayer). It’s always a good idea to check the label on your paint can for specific coverage information. And remember, if you’re painting over a darker hue with a lighter color, or if your walls are particularly porous, you might need an extra coat or two to get smooth walls and a perfect finish.
How do I calculate how much paint I need for my project?
As you’re gearing up for a DIY painting project, one of the first questions that comes to mind is, ‘How much paint do I actually need’? Well, lucky for us, it’s not rocket science – but it does require a bit of basic math. The key is to figure out the total square footage of the surface you’re painting. That means measuring the length and height of each wall. Bust out that tape measure and then multiply those numbers together. Don’t forget to subtract any areas you won’t be painting, like windows, doors, and maybe closets.
Once you’ve got your grand total, most paint cans will tell you how many square feet they cover per gallon. Just divide your total square footage by that number, and voila – you’ve got your answer! Of course, it’s always better to have a little extra paint on hand just in case. You don’t want to be halfway through painting and realize you’re running low on that perfect shade of blue. Been there, done that – not fun!
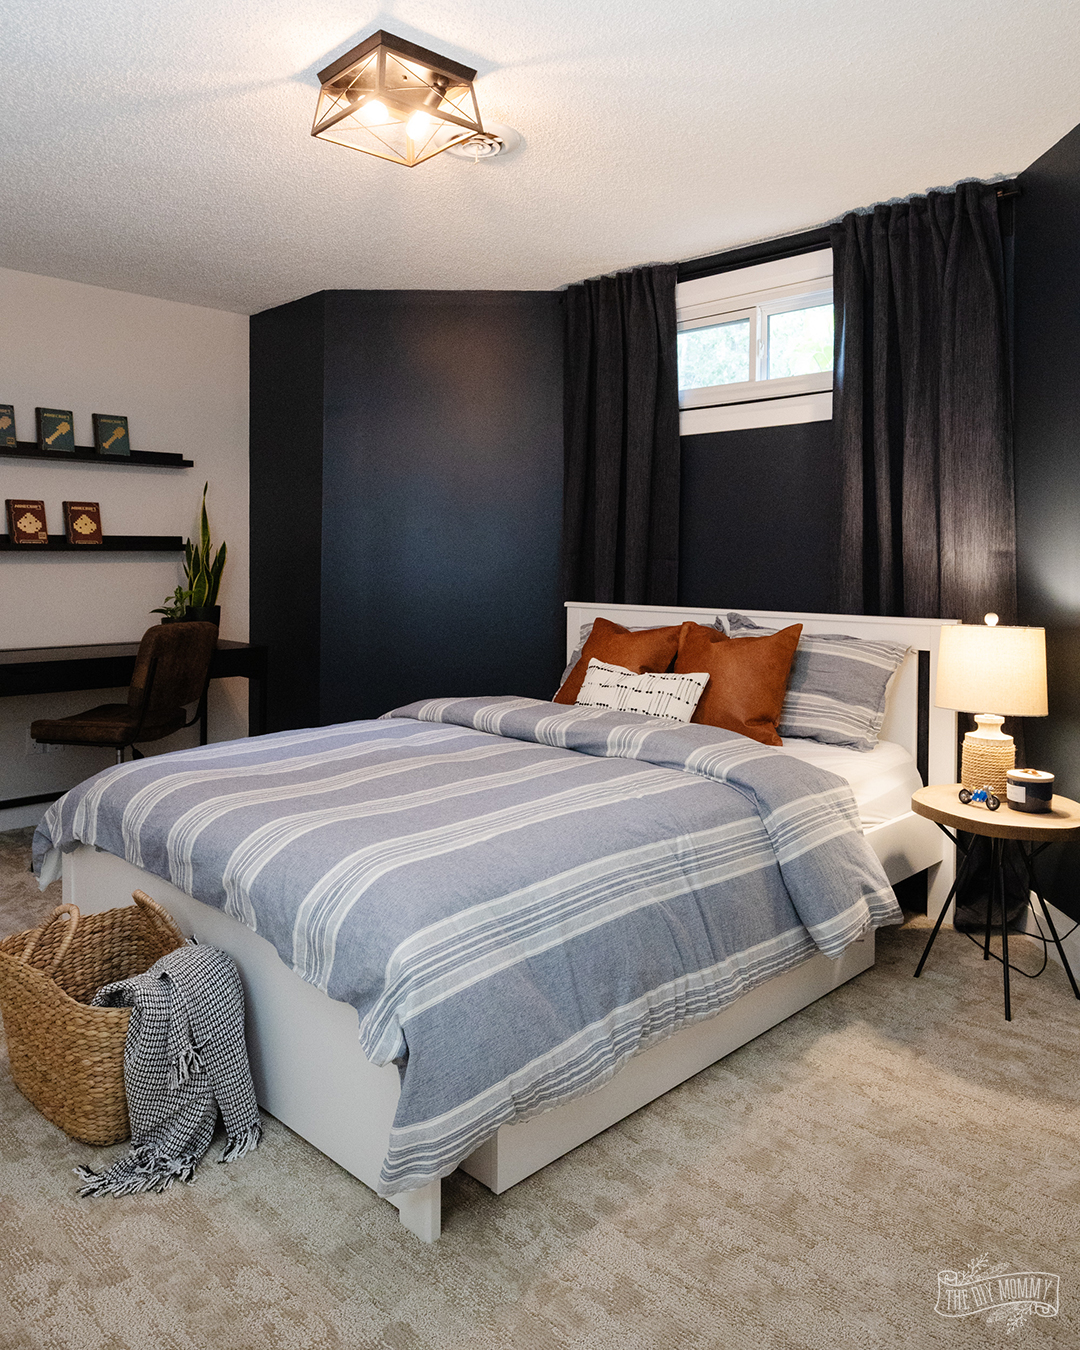
How many gallons of paint do I need for a 12×12 bedroom?
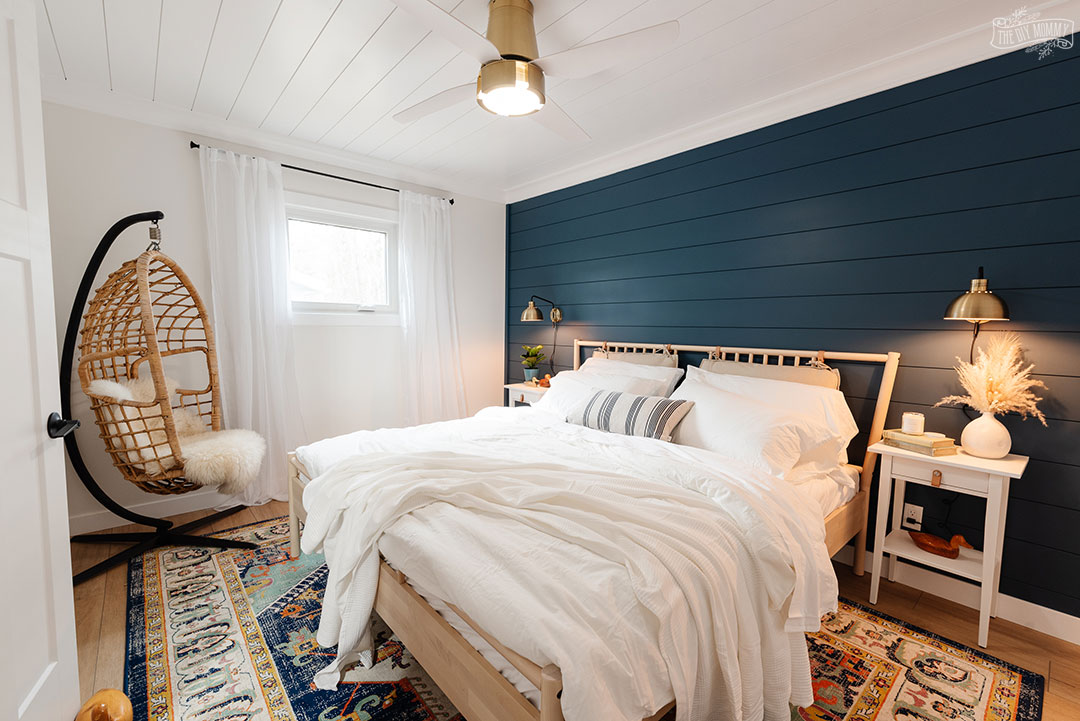
Let’s break it down even further with a real-life example: a 12×12 bedroom, your average size room. For a room of this size with 8-foot ceilings, you’re looking at a total wall surface area of around 384 square feet (math alert: 12 feet wide x 8 feet high x 4 walls). Most standard cans of paint cover about 350-400 square feet per gallon, so you’re right in the sweet spot. One gallon should do the trick for two coats in a bedroom, with a little leftover for touch-ups or those inevitable paint spills. Of course, if you’re planning on a dramatic color change or doing an accent wall, you might want to grab an extra can just to be safe. Better to have too much paint than not enough, am I right?
How much paint do I need for a 1500-square foot house interior?
Let’s crunch some more numbers! With walls totaling around 4800 square feet (assuming standard 8-foot ceilings), you’re looking at covering quite a bit of surface area to paint your entire home. If we stick to the typical coverage of 350 to 400 square feet per gallon, it breaks down like this: 4800 sq ft / 400 = 12 gallons. So, you’ll likely need around 12 gallons of paint to cover the interior walls of your 1500 square foot home. Again, depending on factors like multiple coats or textured walls, you might want to grab extra just in case.
Prep like a pro
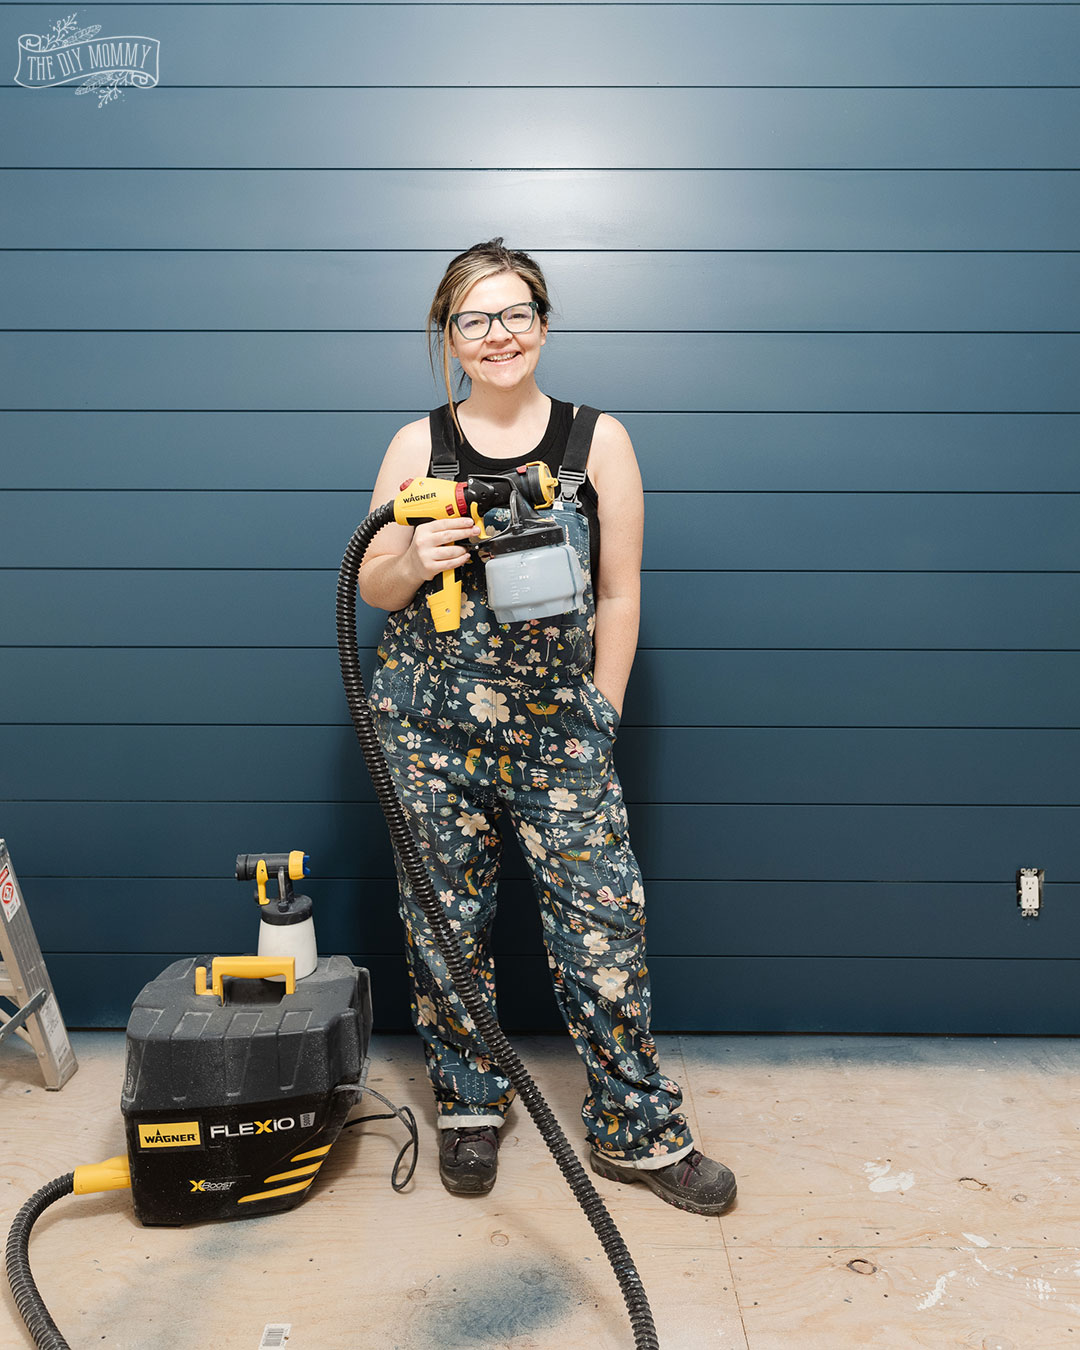
Alright, let’s talk prep – the unsung hero of the painting world! Properly prepping your walls before you break out that roller is like laying the groundwork for a masterpiece. We need to fill in those nail holes, sand down those rough patches, and give your walls a good wipe-down to banish any dust or grime. Why does it matter? It ensures that your paint goes on smoothly and evenly, without any bumps or blemishes to ruin your flawless finish. Plus, it helps your paint adhere better, which means it’ll last longer and look better for years to come. And let’s not forget about the satisfaction of knowing you’ve done everything in your power to make your walls look their absolute best!
Here are some steps you can take to prep your walls for painting properly:
- Clean the surface: Start by giving your walls a good wipe-down to remove any dust, dirt, or grease. A simple solution of warm water and mild detergent should do the trick. Pay extra attention to areas near light switches, baseboards, and door frames where grime tends to accumulate.
- Repair imperfections: Next,take a close look at your walls and patch up any holes, cracks, or dents with spackle or filler. Once the filler is dry, sand it down until it’s smooth and flush with the surrounding surface. This will ensure a seamless finish once you start painting.
- Sand smooth: If your walls have any rough patches or texture, lightly sand them down with fine-grit sandpaper to create a smooth surface for painting. This will help your paint go on more evenly and give you a professional-looking finish.
- Protect surrounding surfaces: Before you start painting, make sure to protect any surfaces you don’t want to get paint on. Use painter’s tape and drop cloths to cover and mark off baseboards, trim, and floors. This will help ensure clean lines and easy cleanup later on.
- Prime, if necessary: Depending on the condition of your walls and the type of paint you’re using, you may need to apply a coat of primer before painting. Primer helps seal the surface, improves paint adhesion, and can even help cover up stains or dark colors. If you’re painting over a glossy or oil-based surface, or if you’re making a drastic color change, primer is definitely a good idea.
By following these steps and taking the time to properly prep your walls, you’ll set yourself up for painting success and ensure a beautiful, long-lasting finish.
Primer Perfection
So, what exactly is priming? Well, think of it like prepping your canvas before you start painting. Primer is a base coat that you apply to your walls before slapping on that gorgeous hue. It helps smooth out imperfections, seals porous surfaces, and creates a nice, even base for your paint to adhere to. Plus, it can help your paint go on smoother and last longer. Is it important? Heck yeah! If you want a professional-looking finish and your paint job to stand the test of time, priming is key. Trust me, it’s worth the extra step – your walls will thank you later!
Finding your Finish
Now, on to paint finishes – because not all paint is created equal! When you stroll down the paint aisle at your local hardware store, you’ll notice a whole array of finishes, from flat to gloss to everything in between. Here’s an overview of each:
- Flat: Ah, the humble flat finish. This one’s great for hiding imperfections on your walls, making it a popular choice for ceilings and low-traffic areas like bedrooms and living rooms. Just keep in mind it’s not the most washable, so steer clear of using it in high-traffic zones like kitchens and bathrooms.
- Eggshell: Next up, we’ve got eggshell – the Goldilocks of paint finishes. It’s got a slight sheen that adds a touch of elegance to your walls, while still being easy to clean. Perfect for hallways, dining rooms, and family rooms where a little extra durability is needed.
- Satin: If you want a finish that’s a step up from eggshell in terms of durability and washability, satin’s your go-to. It’s got a soft sheen that’s easy to clean, making it ideal for kitchens, bathrooms, and kids’ rooms.
- Semi-gloss: Looking for something a bit more shiny? Enter semi-gloss. This finish has a higher sheen that’s super durable and easy to clean, making it perfect for trim, doors, and cabinets. Just be warned – it’ll show every imperfection, so prep those surfaces well!
- Gloss: Last but not least, we’ve got gloss – the shiniest of them all. This ultra-high sheen finish is like glass on your walls, making it ideal for accents and statement pieces. But be prepared for it to highlight every flaw, so save it for surfaces that are already smooth and flawless.
And that’s that – the scoop on paint finishes! Whether you’re going for a matte look or something with a little extra shine, there’s a finish out there to suit every style and space.
There you have it, folks – a nice little crash course in all things interior painting! I hope you’re feeling pumped and ready pick up your gallons of paint to tackle your next bedroom project. With the right amount of paint, prepping and priming and by picking the right finish and perfect color for your vibe, you’re well on your way to turning your space into your new favorite room.
Let’s paint the town (or at least your walls) together! Tag me @thediymommy. I would love to see your finished projects.
Pin Me!
2 Comments