DIY Wood Stand from Scrap Lumber (Primitive Wooden Riser)
This post may contain affiliate links · This blog generates income via ads
Are you a fan of repurposing old materials into new, functional pieces? If so, you’re going to love this DIY idea! Today I’m sharing a charming yet easy DIY project: a wood stand made from scrap lumber. In this post, I’ll share the steps to transform ordinary pieces of wood into a rustic and versatile wooden riser that’s perfect for displaying everything from candles to potted plants. So grab your tools and let’s get started!
If you’re anything like me, you probably have a collection of scrap wood lying around just waiting to be repurposed. For this project, I decided to put some old fence boards to good use. These weathered boards were salvaged from a fence we recently tore down at our Tiny Lake House, and they’re brimming with character and charm:

Isn’t this old fence the coolest? I think the wood is pine, but I’m not entirely sure. We had to remove this fence to make way for this new, gorgeous privacy fence. However we saved all these old fence boards so we could use them for other projects! These fence boards are roughly 8 inches wide by 1 inch thick, but you could use lumber that has different dimensions for this project. The beauty of this DIY is that the finished stand doesn’t have to be a particular size – you can make it any size you’d like! Plus, you don’t need to be ultra skilled at woodworking to make this; it only requires basic tools to make.
You will Need:
- approximately 16 inches of 8×1″ lumber (salvaged or new wood; the lumber size doesn’t have to be exact)
- wood glue
- miter saw
- measuring tape
- finishing nail gun
- brad nails
- bleach solution
- nylon scrub brush
- wood stain
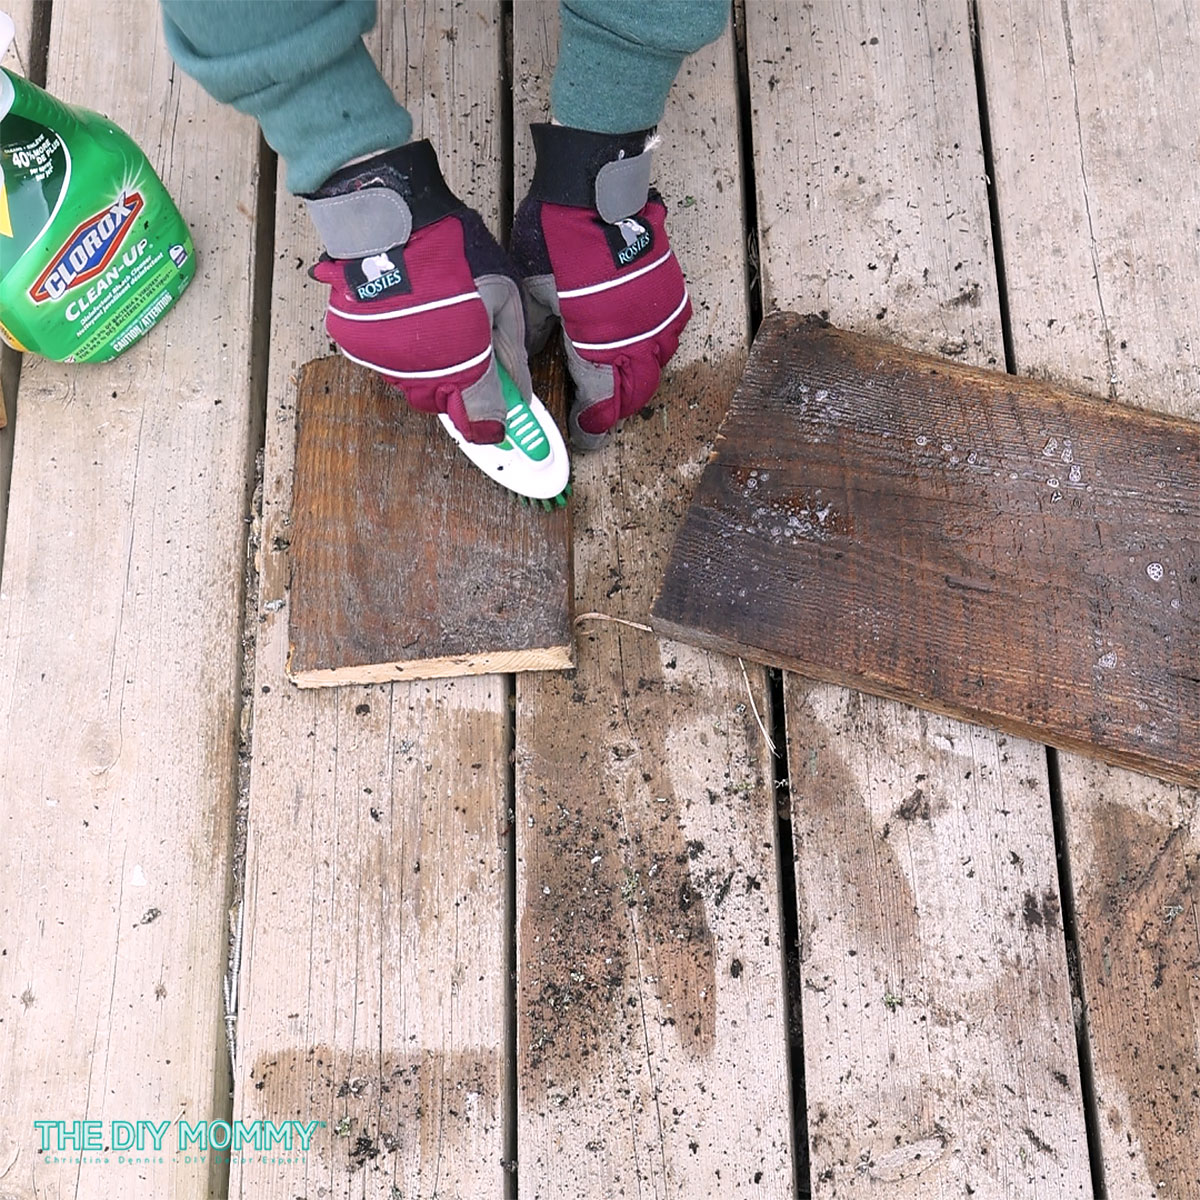
Cleaning the Old Wood Pieces
Before diving into the construction process, it’s important to prepare your materials. Start by giving your scrap lumber a thorough cleaning. I opted for a simple solution of bleach and water, along with a sturdy nylon brush to scrub away any dirt and grime. Once cleaned, rinse the wood pieces with water and allow them to dry completely.
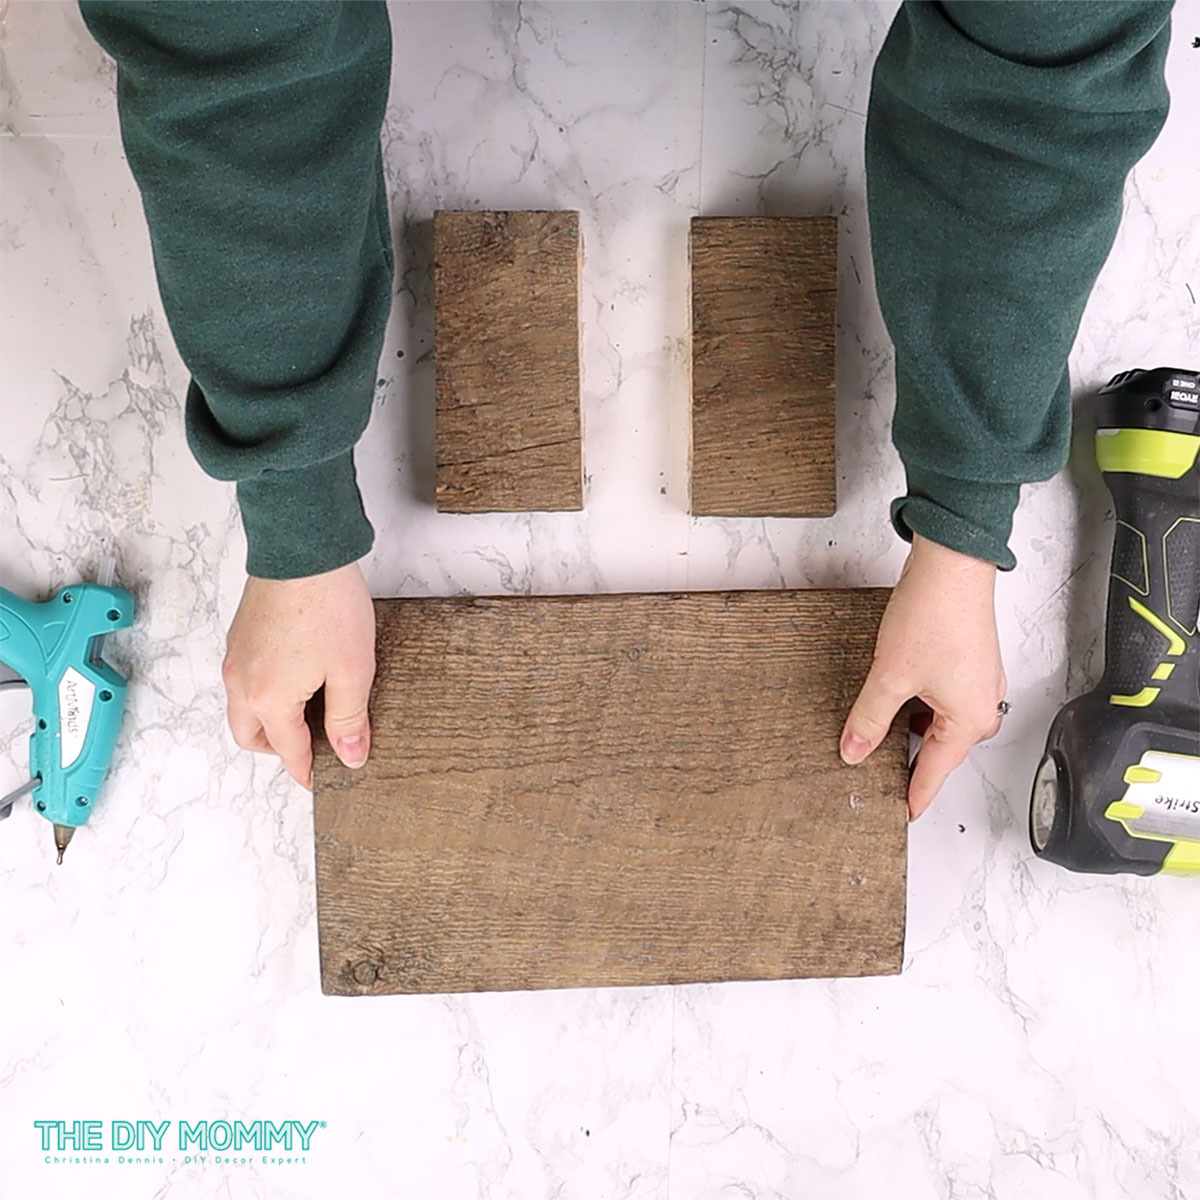
Cutting the Lumber
Now comes the fun part – crafting our wooden riser! Begin by selecting a long piece of wood from your collection, roughly 12 inches in length. Leave this piece untouched to showcase the natural beauty of the aged wood. Next, cut two smaller pieces, each measuring approximately 2 inches in length. These will serve as the base supports for our stand. I used a miter saw to cut my pieces.
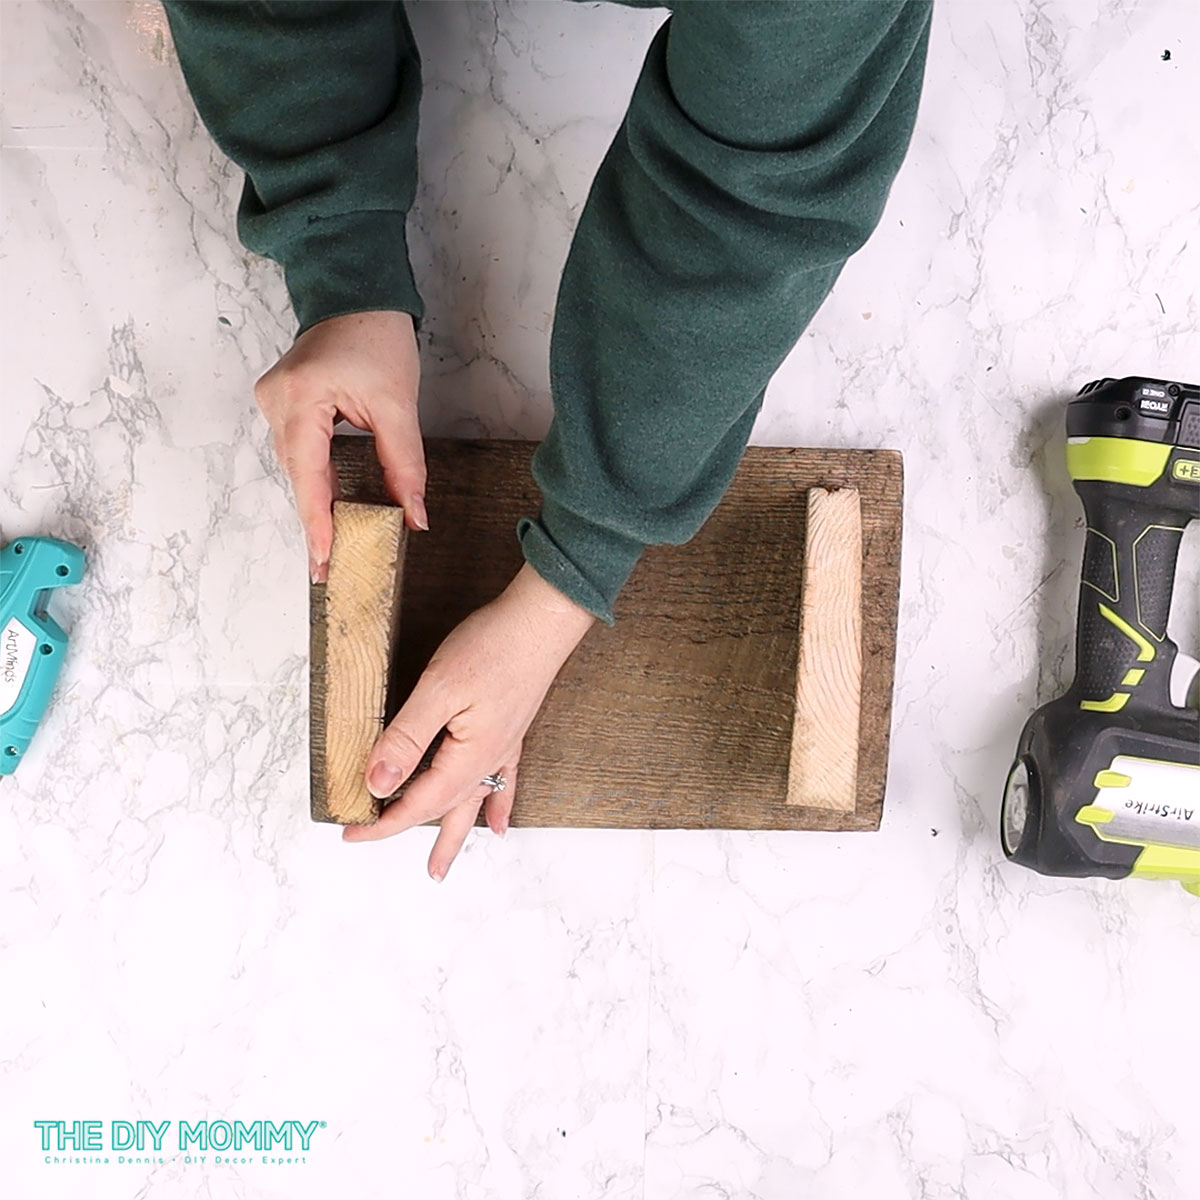
Assembling the DIY Wooden Stand
Using wood glue, carefully attach the shorter pieces to either side of the bottom of the long piece, positioning them about 1 inch from the edges. This will create a stable base for our riser.
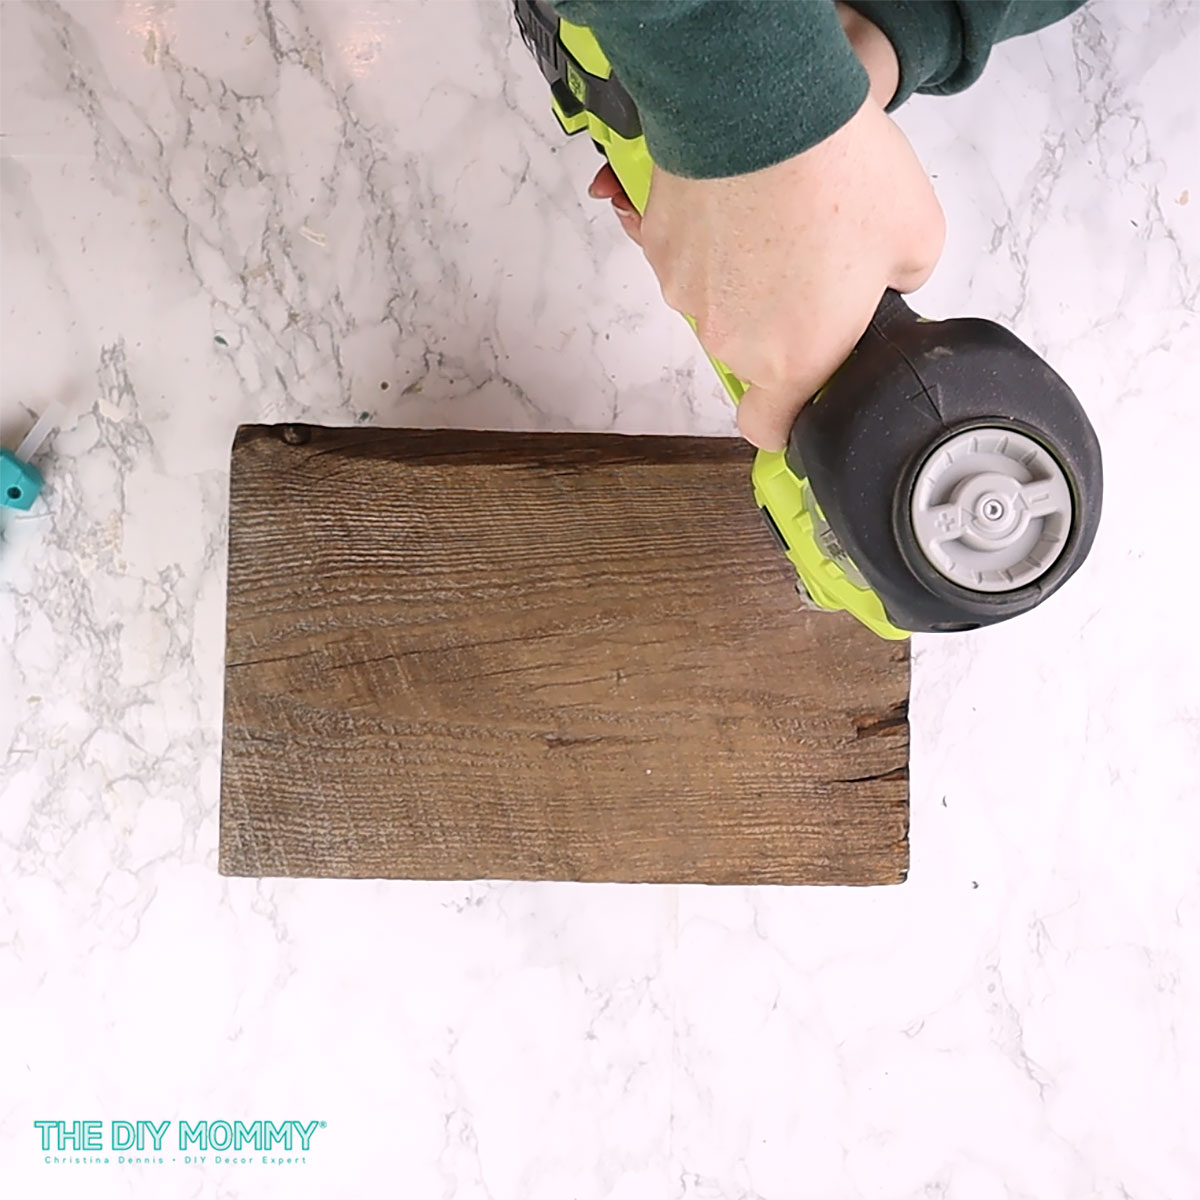
To ensure maximum durability, reinforce the joints by driving finishing nails through the smaller pieces and into the longer one. This extra step will provide added strength and stability to your stand, ensuring it can support whatever you choose to display on top.
You could alternatively use a drill and small wood screws to reinforce your stand, however I like the fact that the finishing nails blend in with the wood. You can hardly see them!
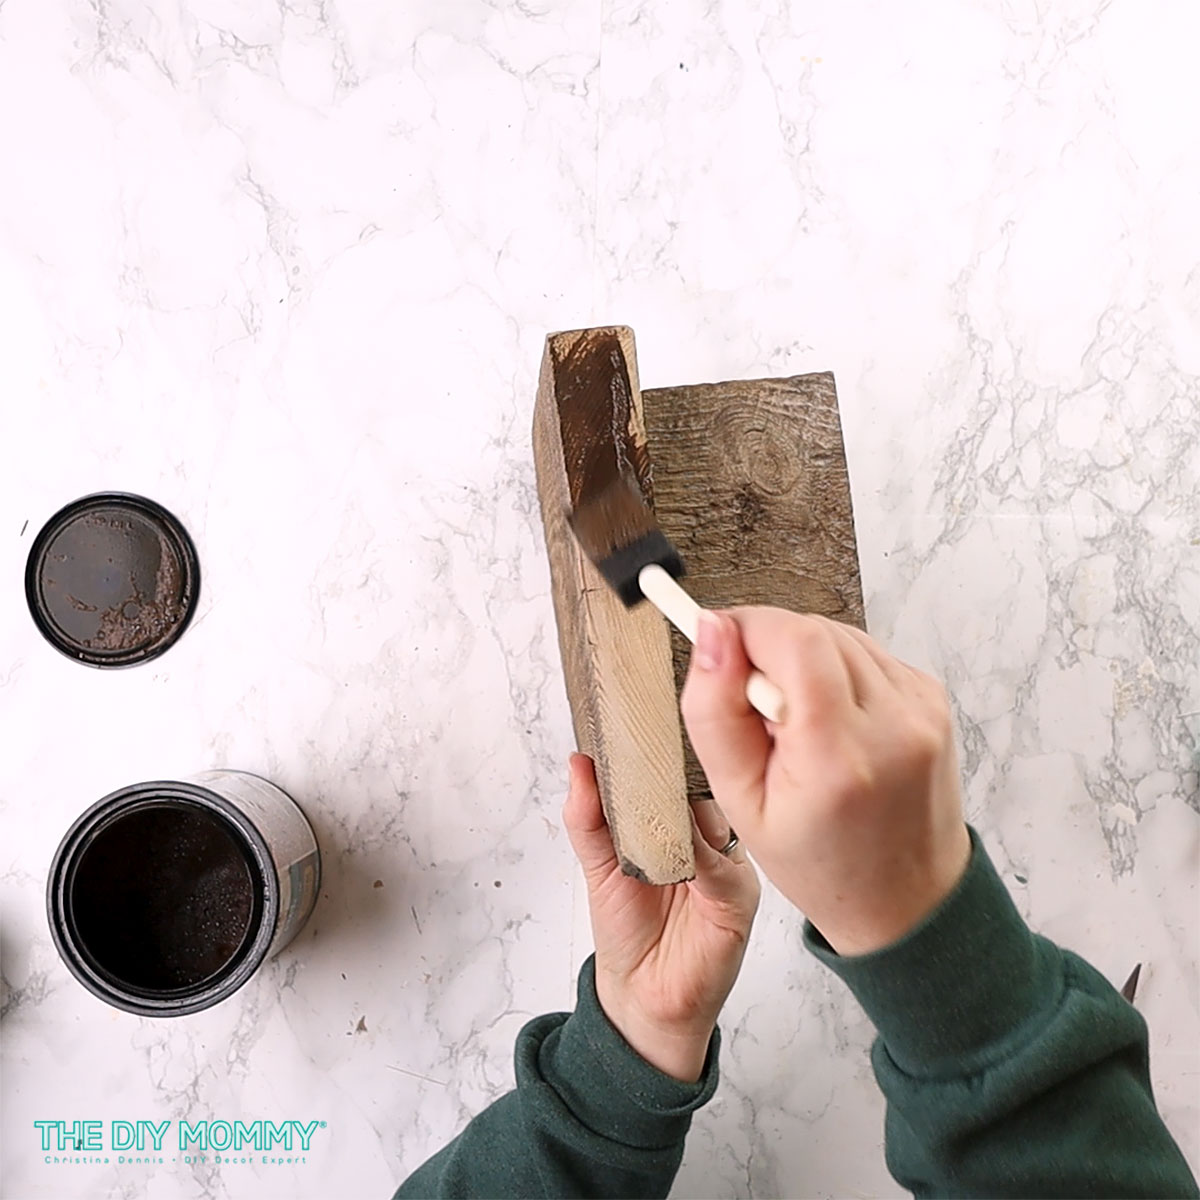
Stain the Ends
Once the wood pieces are dry, it’s time to enhance their rustic charm with a touch of color. I opted for a grey-brown wood stain to stain the cut edges, adding depth and character to our creation. This simple step not only protects the wood but also highlights its natural beauty, giving this riser a timeless appeal.

How to Style Your DIY Wood Stand Riser
Now that your wood stand is assembled, it’s time to put it to use! There are a variety of ways to incorporate this rustic piece into your home decor. Here are just a few ideas to spark your creativity:
- Plant Shelf: Elevate your favorite little house plants by placing them on top of your wooden riser. I love the idea of a textured rattan plant pot on top of the rustic wood of this stand. You could make a few of these scrap wood plant stands in various sizes to display even more plants around your home!
- Candle Holder: Create a cozy ambiance by using your stand as a candle holder. Cluster pillar candles of varying heights for a visually striking centerpiece, or opt for tealights for a subtle glow.
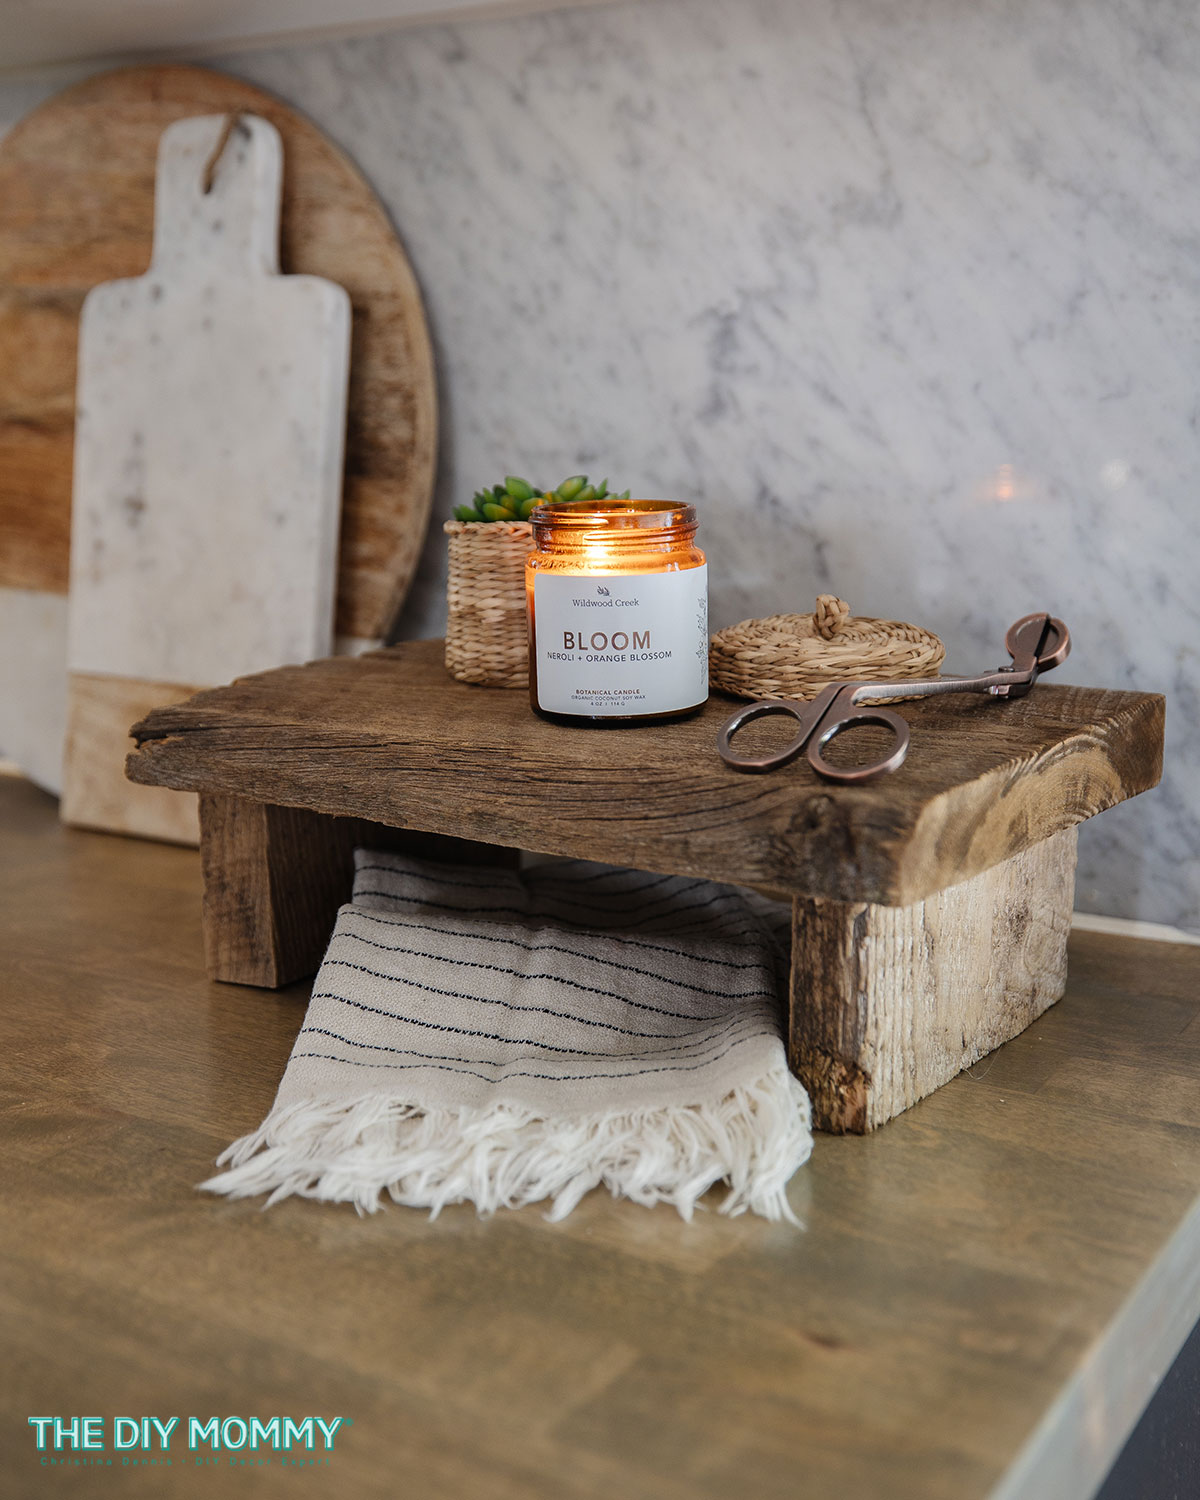
- Kitchen Organizer: Keep your countertops clutter-free by using the stand to corral kitchen essentials. Display jars of spices, cooking oils, or utensils for easy access while cooking. The nook underneath is a great spot for a rolled tea towel!
- Artistic Display: Showcase your favorite artwork or decorative objects by arranging them on top of the stand. Mix and match items of different sizes and textures to create an eye-catching vignette.
- Seasonal Decor: Switch up your decor with the changing seasons by incorporating seasonal elements onto your stand. From miniature pumpkins in the fall to fresh flowers in the spring, the possibilities are endless!
Customization Ideas
The beauty of DIY projects lies in their versatility and ability to reflect your personal style. Feel free to customize your wooden riser to suit your taste – whether that means leaving it bare for a minimalist look or embellishing it with paint or stain for a pop of color. The choice is yours!
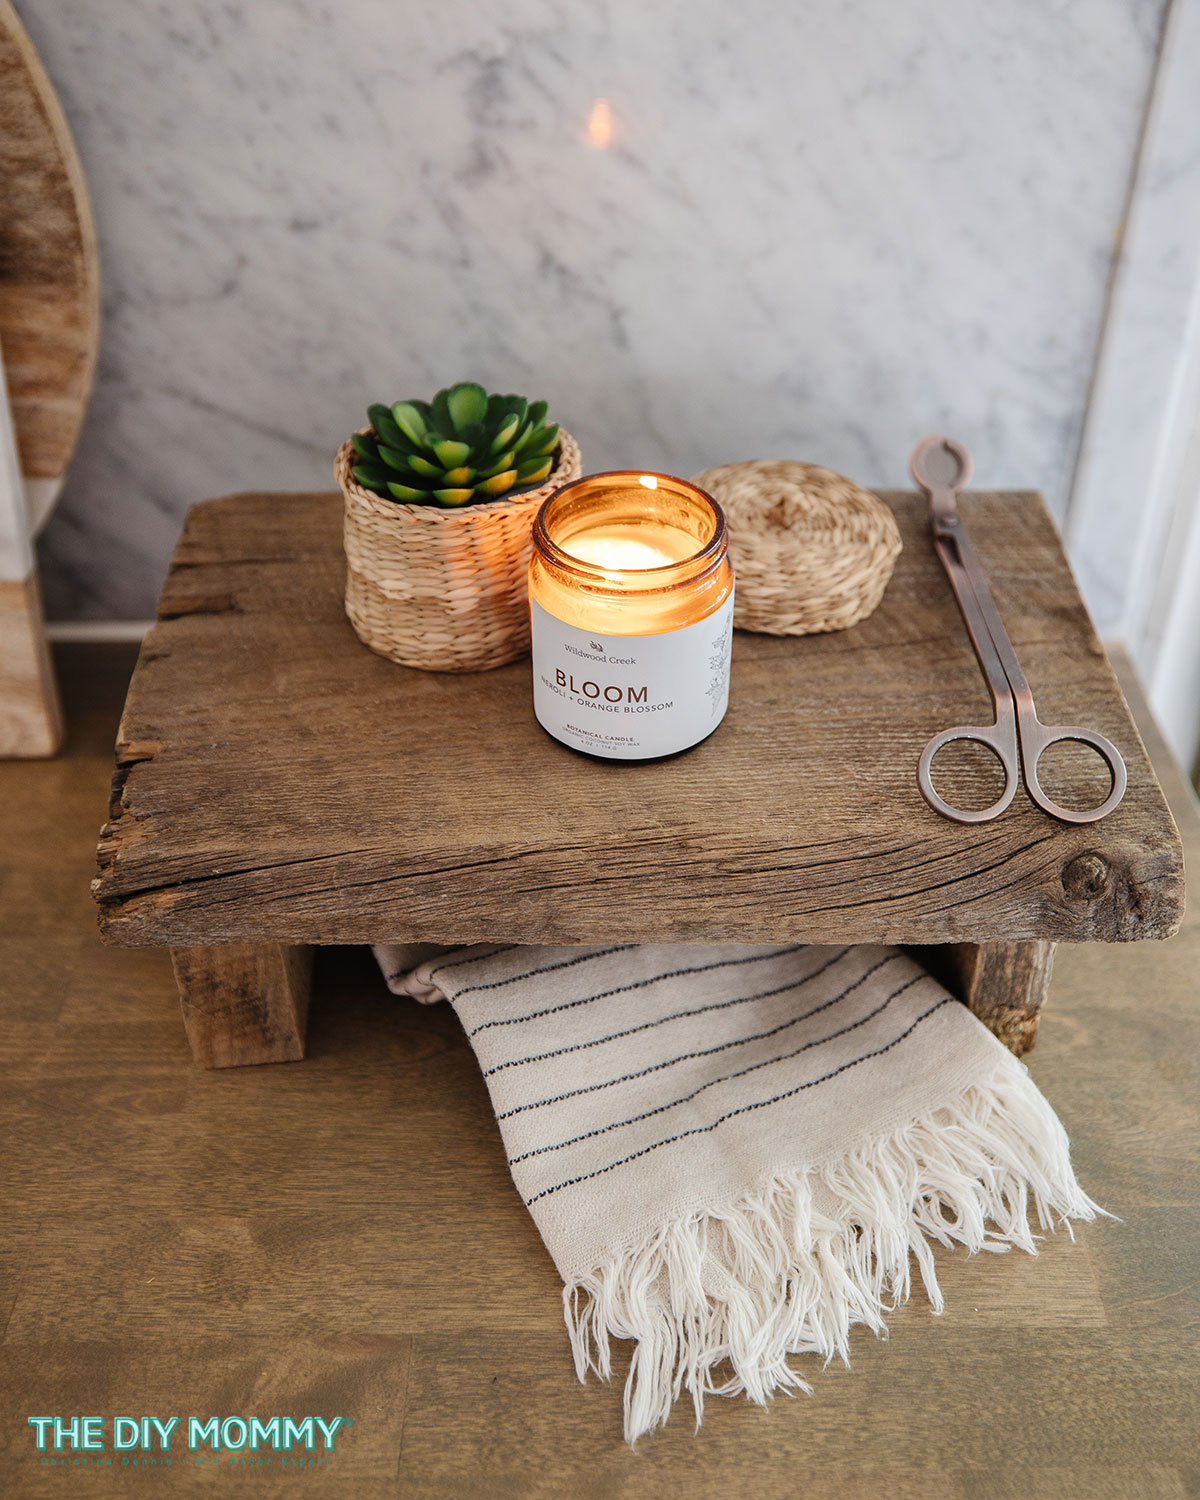
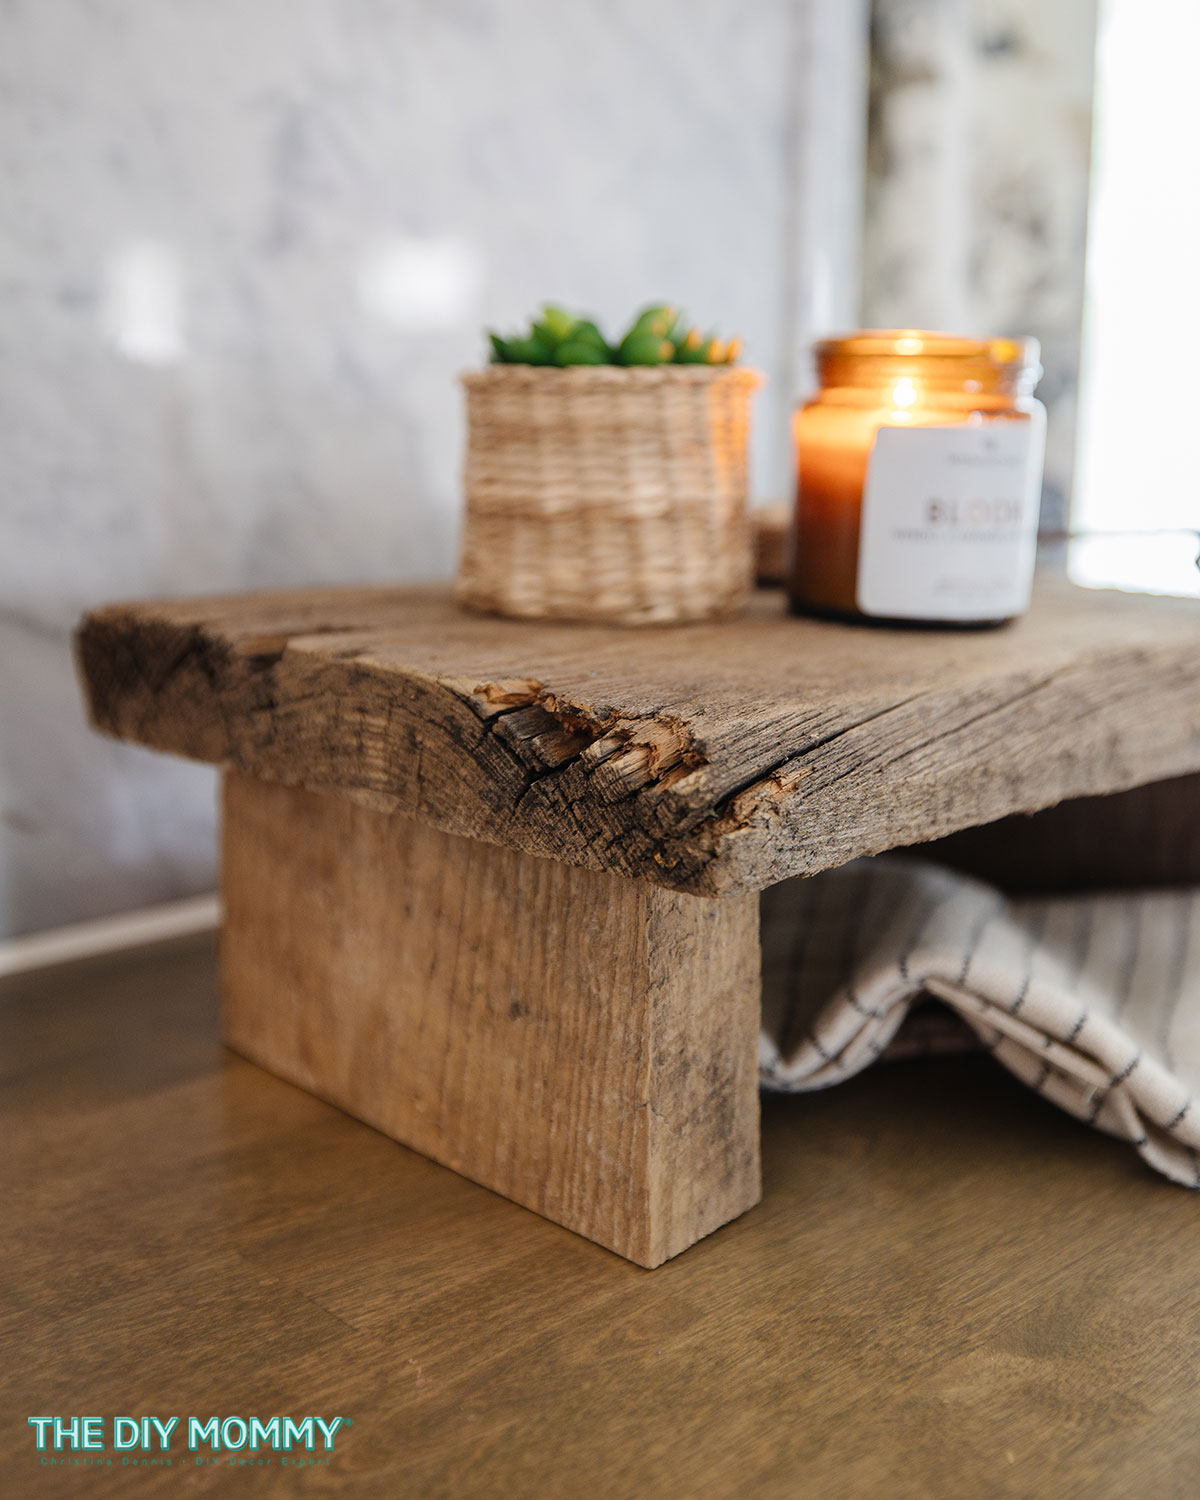
I love how my rustic wooden riser turned out, and it makes me smile to think it’s a little piece of history from our beloved Tiny Cabin. I’ve displayed mine on my kitchen counter with a candle, wick trimmers, and a faux plant. I love the texture it adds to my space!
I hope you enjoyed this tutorial on creating a DIY wood stand from scrap lumber. If you decide to tackle this project, I’d love to see your creations! Feel free to share photos on social media and tag me, @thediymommy. And if you’re wanting more DIY inspiration, be sure to check out my other upcycling projects for budget-friendly decor ideas. Until next time, happy crafting!