How We Built a Modern DIY Horizontal Slat Fence
This post may contain affiliate links · This blog generates income via ads
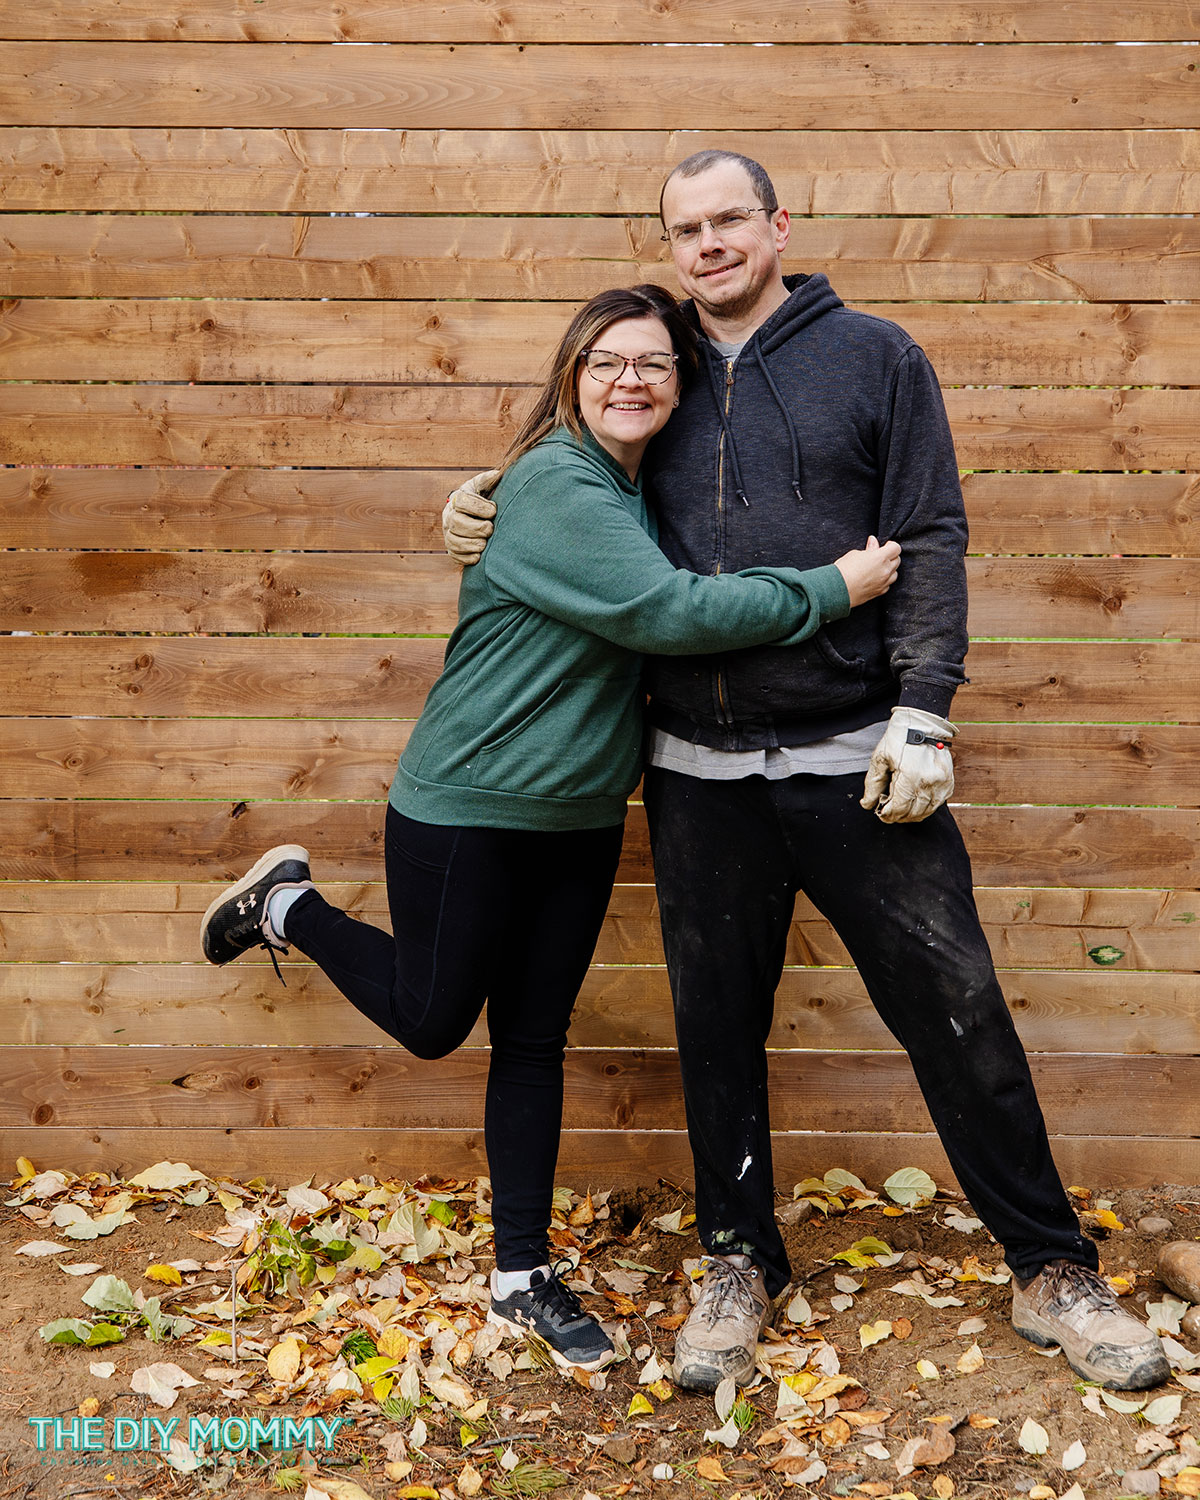
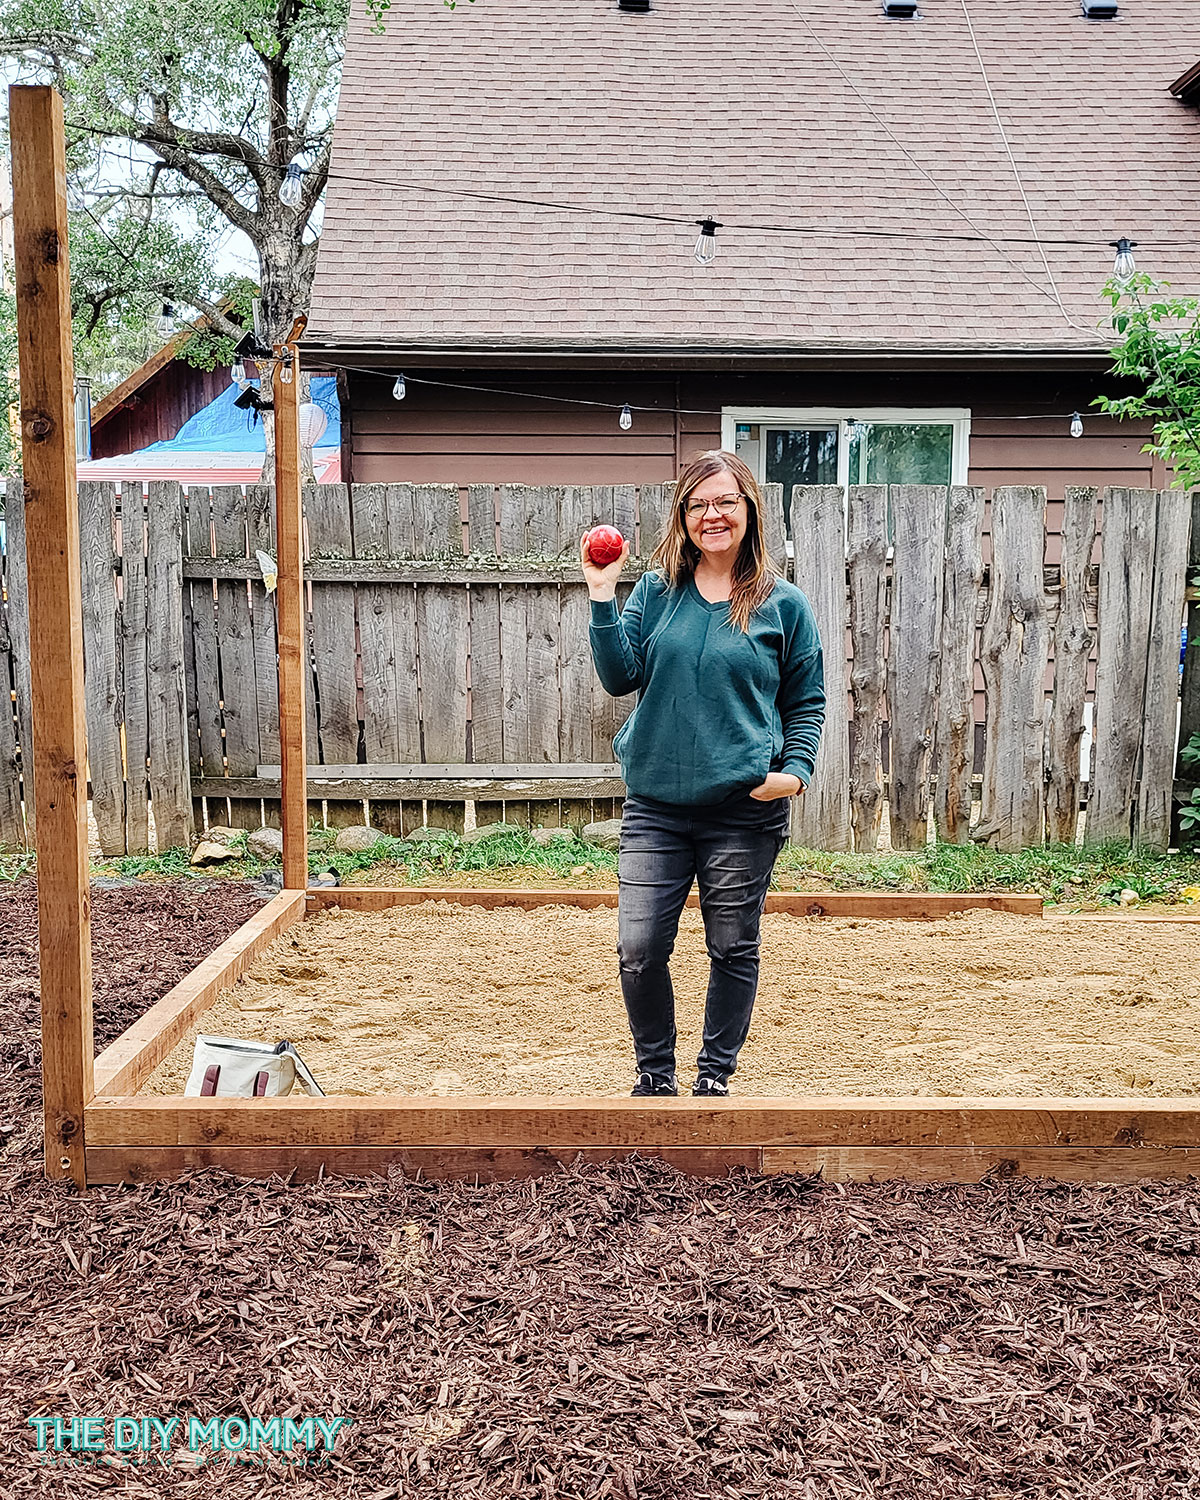
Today, I’m thrilled to share one our latest projects: transforming the look and feel of the outdoor space at our little cabin with a modern DIY horizontal slat fence. We completely renovated our Tiny Lake House last year, but we knew it was time to give the backyard a facelift. So, Sean and I rolled up our sleeves and got to work, and the results are beyond satisfying!
Watch my video to see the transformation from start to finish
Click here to watch my YouTube video that shares the whole fence build process!

Before the Transformation
When we bought our Tiny Lake House, it featured a tired, 50+ year old fence that did little to enhance the outdoor ambiance and curb appeal. Especially after we renovated the cabin inside and out, the fence stuck out like a sore thumb lacked the modern flair we craved.
But fear not – with a bit of creativity and elbow grease, we were determined to turn things around!
The Plan: A Horizontal Fence Design
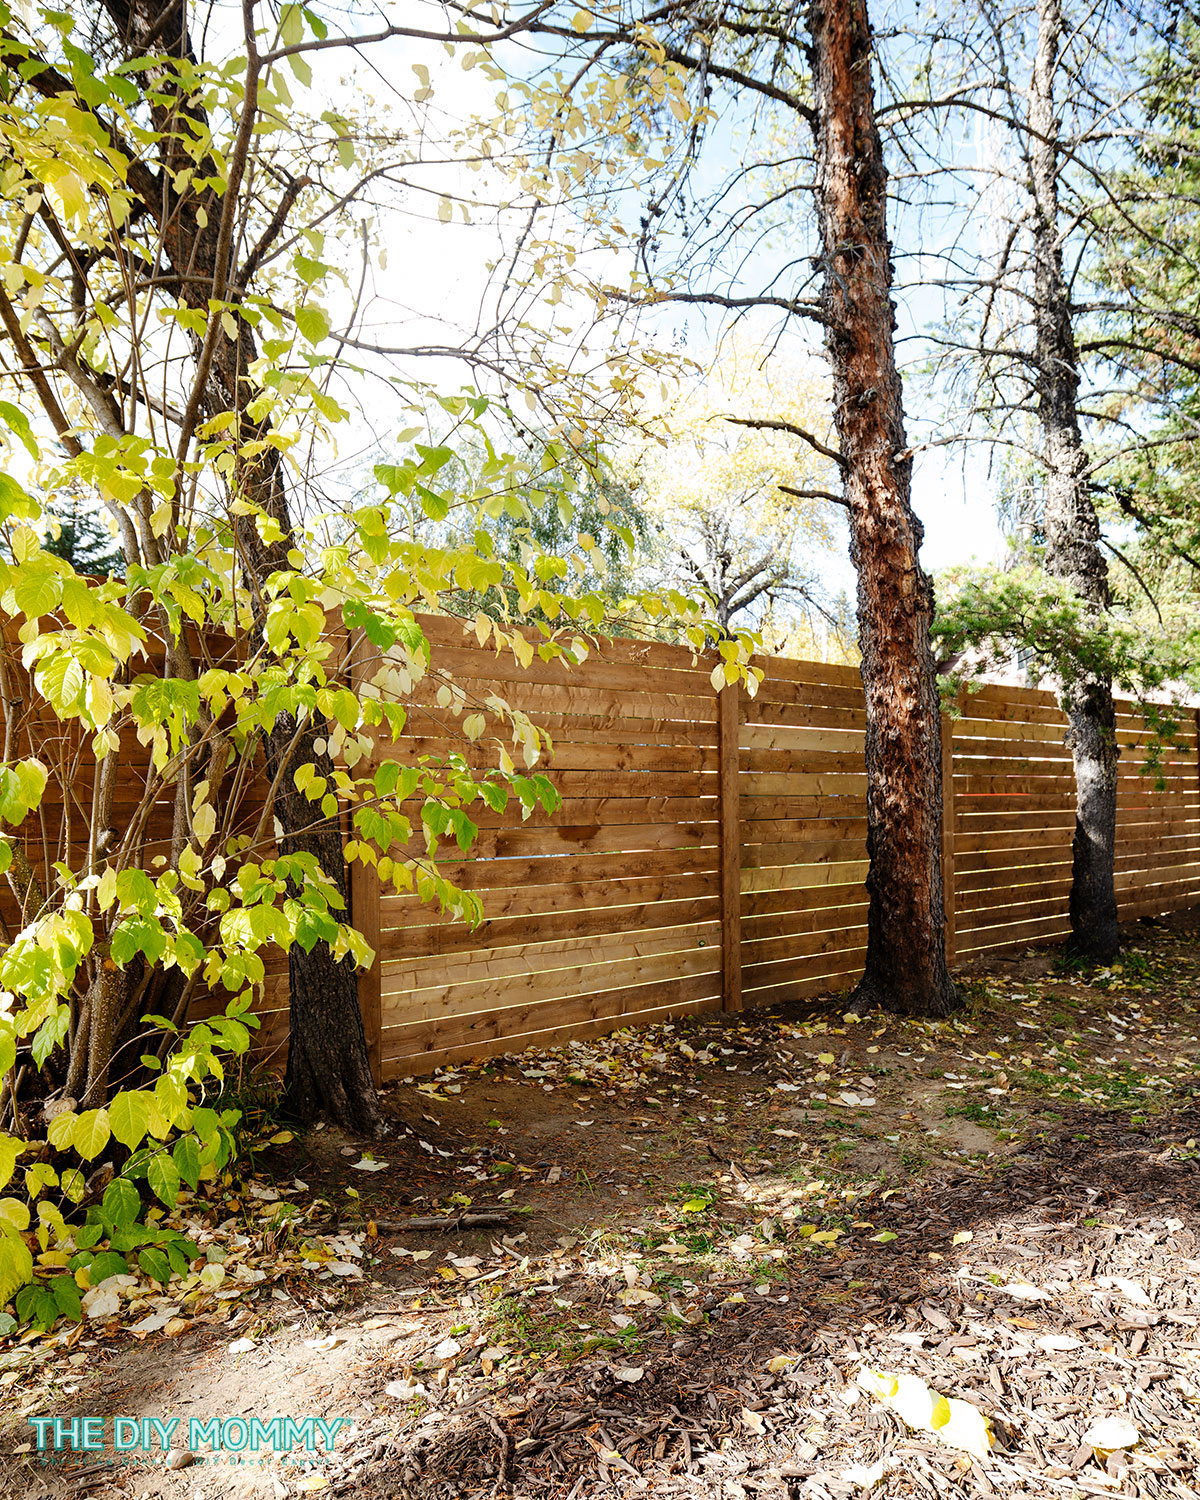
After looking at multiple inspiration images, we decided we wanted to build a horizontal slat privacy fence. Not only would the design function well so that our guests and our family could enjoy a more private backyard, but it would look fresh and modern. We calculated how much lumber we’d need to make a fence all the way along our property line that was about 7 feet tall. Make sure to check with your local building code and municipality regulations to see what height of fence is permitted in your area.
Choosing the Right Materials
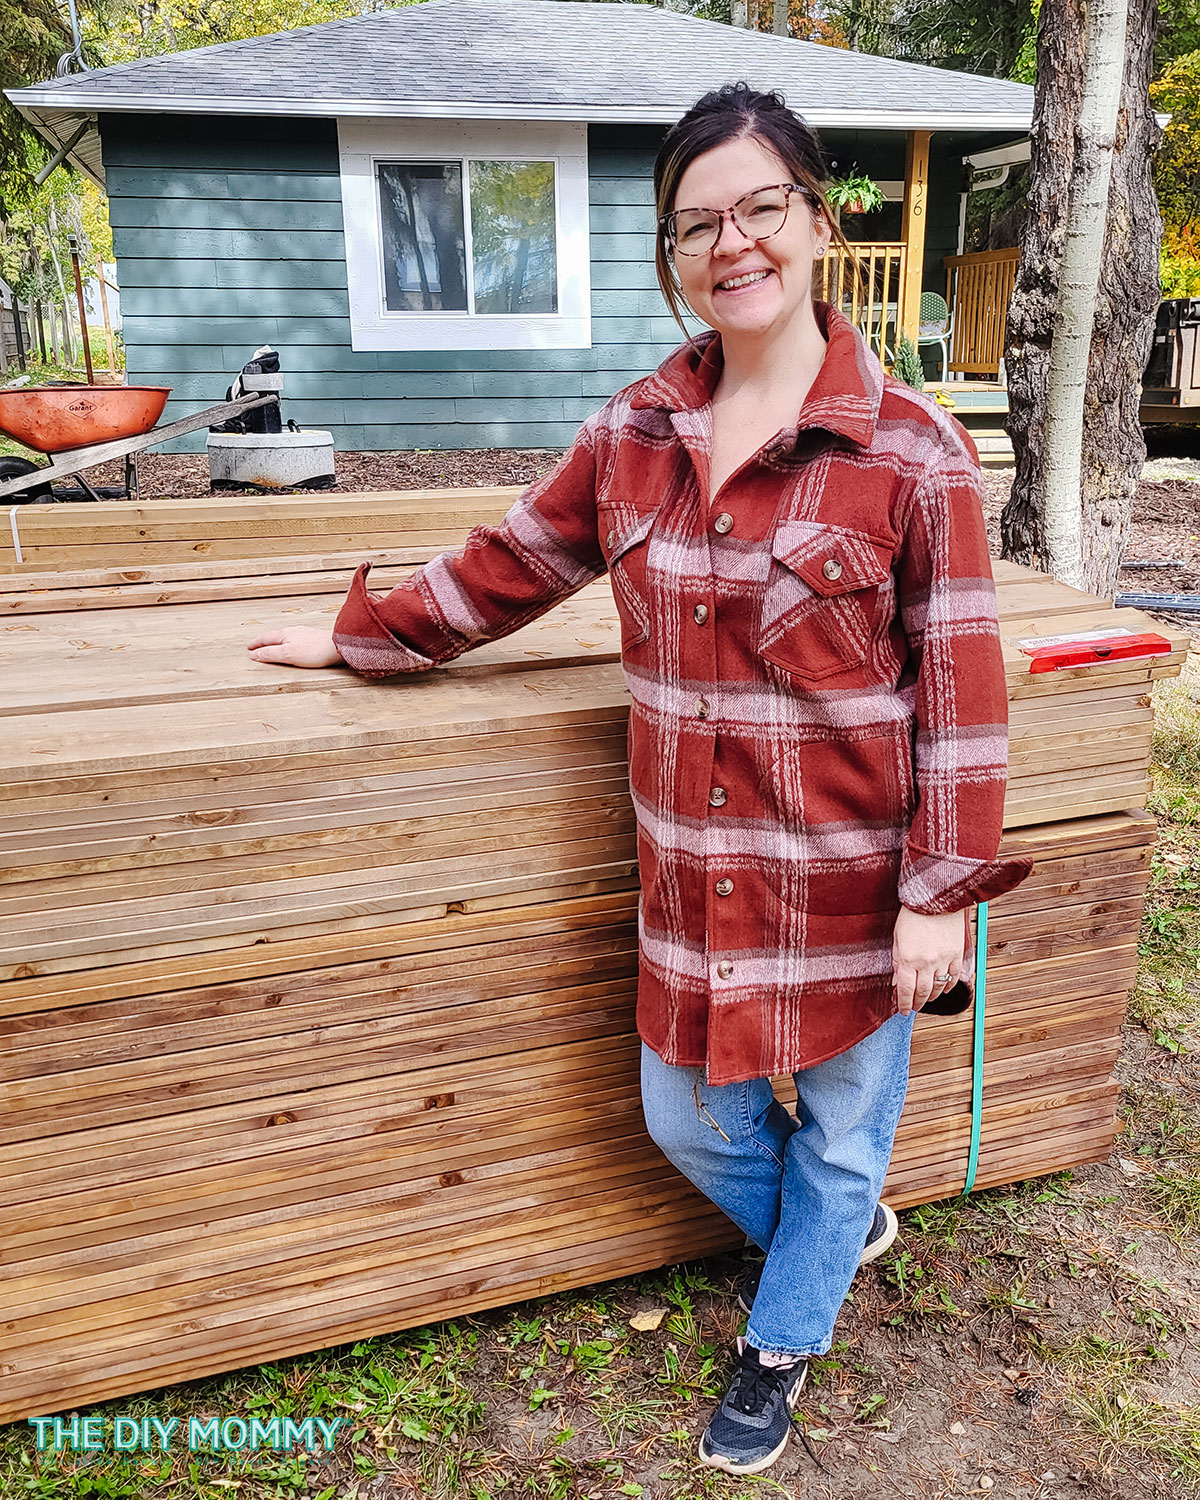
First things first, we needed quality materials to bring our vision to life. We opted for MicroPro Sienna treated lumber. Not only does it boast a beautiful color that complements our cabin’s porch that we built with MPS last year, but its durability ensures longevity – perfect for withstanding the elements by the lake. We worked with MicroPro Sienna on some Instagram content last year, so they sent us the lumber for free. We were so grateful!
For this 100 foot fence build, we used the following materials & tools:
Materials:
- 13 – 6 x 6 x 10′ Pressure Treated Wood Posts (for 12 8-foot fence sections)
- 156 – 1 x 6 x 8′ Pressure Treated Wood Fence Boards (for the horizontal slats, 13 per section)
- 13 – 1 x 6 x 8′ Pressure Treated Wood Boards (to cover the front seams)
- 26 – 2 x 2 x 8′ Pressure Treated Wood Boards (for the vertical supports, 2 per section)
- decking screws
- gravel
Tools:
- post hole digger
- shovel
- miter saw
- drill
- level
Getting Started: Building the Foundation
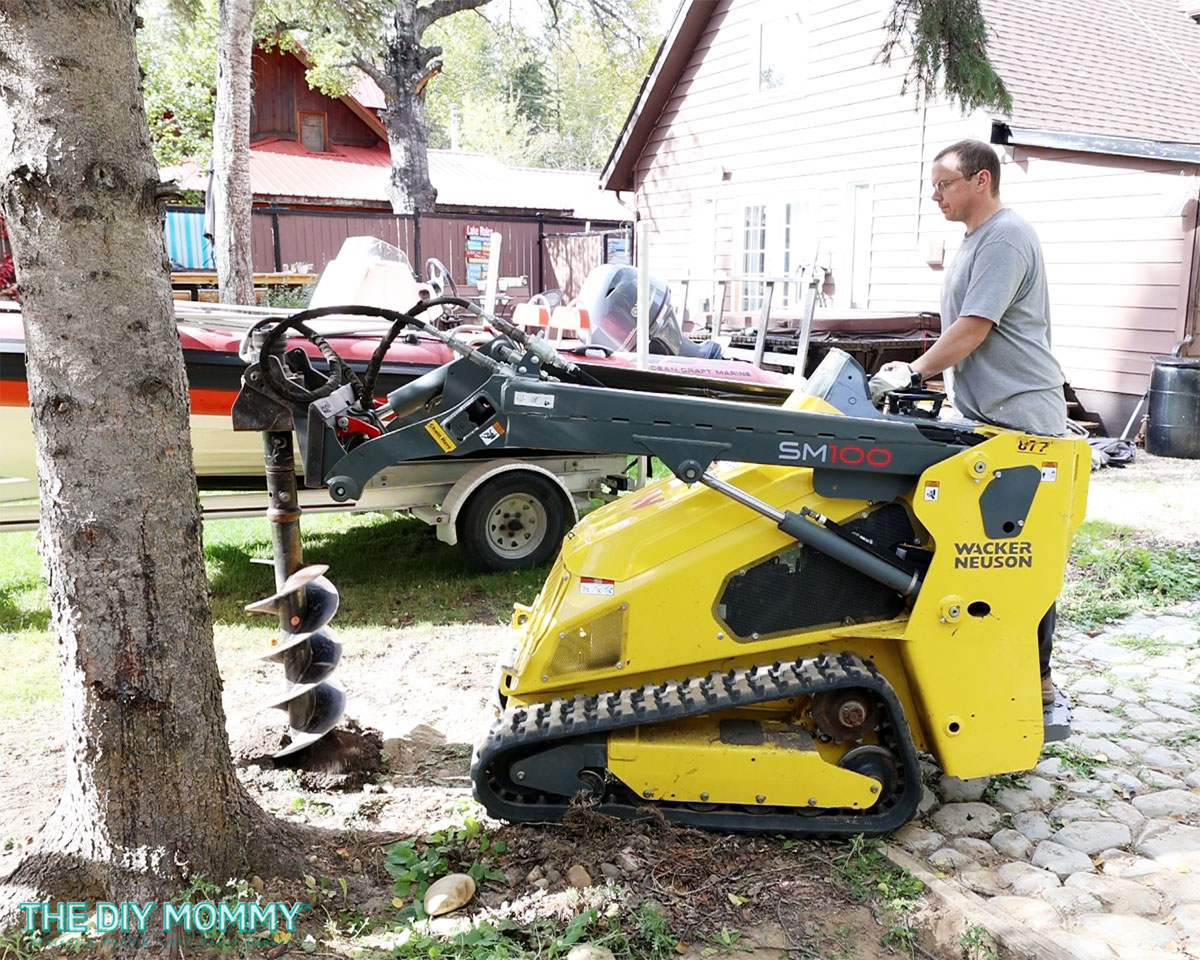
With materials in hand, Sean began by dismantling the old fence, clearing the canvas for our modern privacy fence. We’ll re-use the old fence boards filled with character for future DIY projects. Next up? Digging holes and placing sturdy fence posts at strategic intervals. We marked the post holes to be 8 feet apart from their centers. Sean started digging the holes with a small post-hole digger, but he soon realized he needed a larger machine to get the job done in the sandy lake soil.

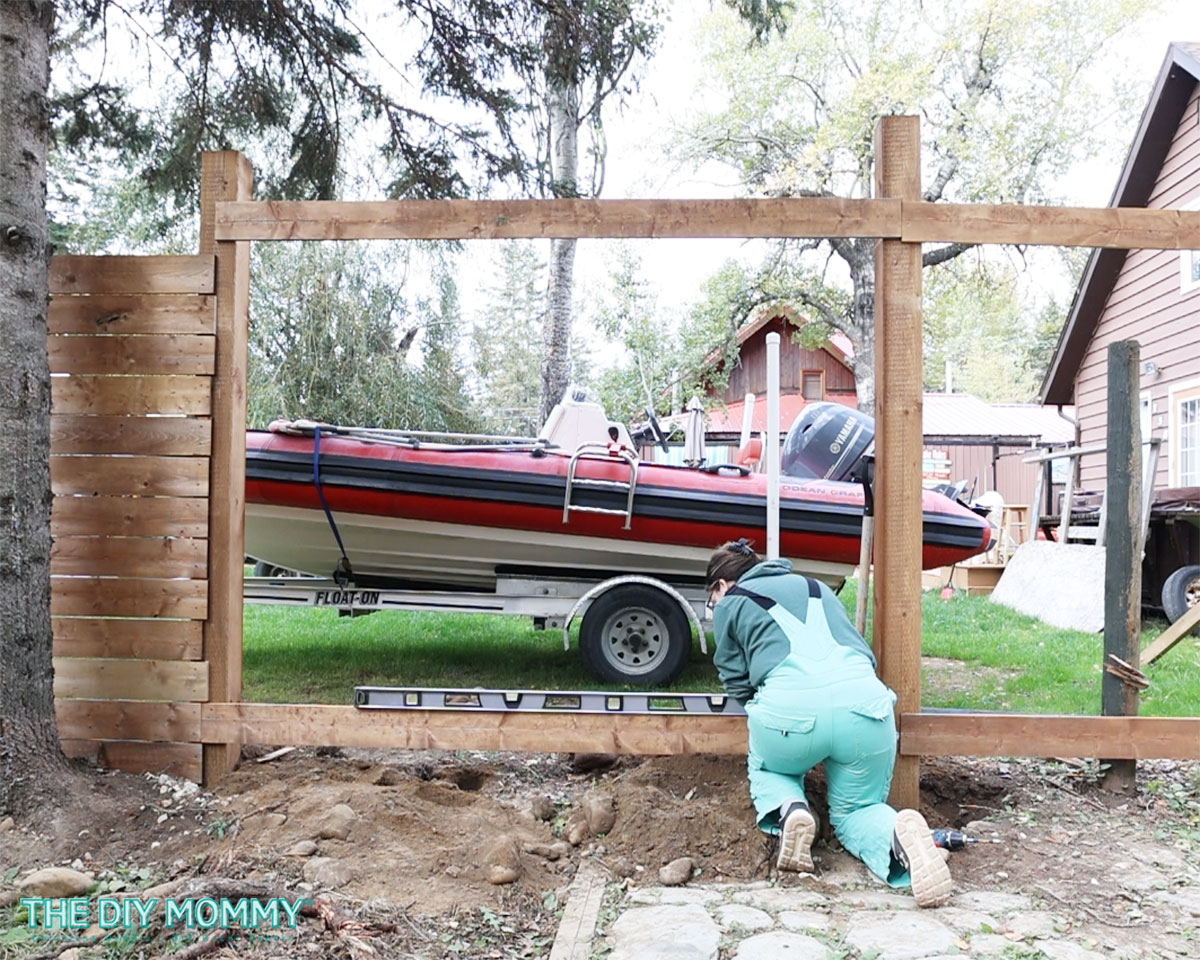
Once the post holes were dug, we put the fence posts in place. Sean used a level to ensure the posts were straight, and used scrap wood to brace the posts before we added the horizontal slats. We used a shovel to pack gravel around the base of each post before filling the rest of the hole in with soil. This step is crucial for ensuring stability and longevity – after all, a fence is only as strong as its foundation!
Putting It All Together: Attaching the Slats
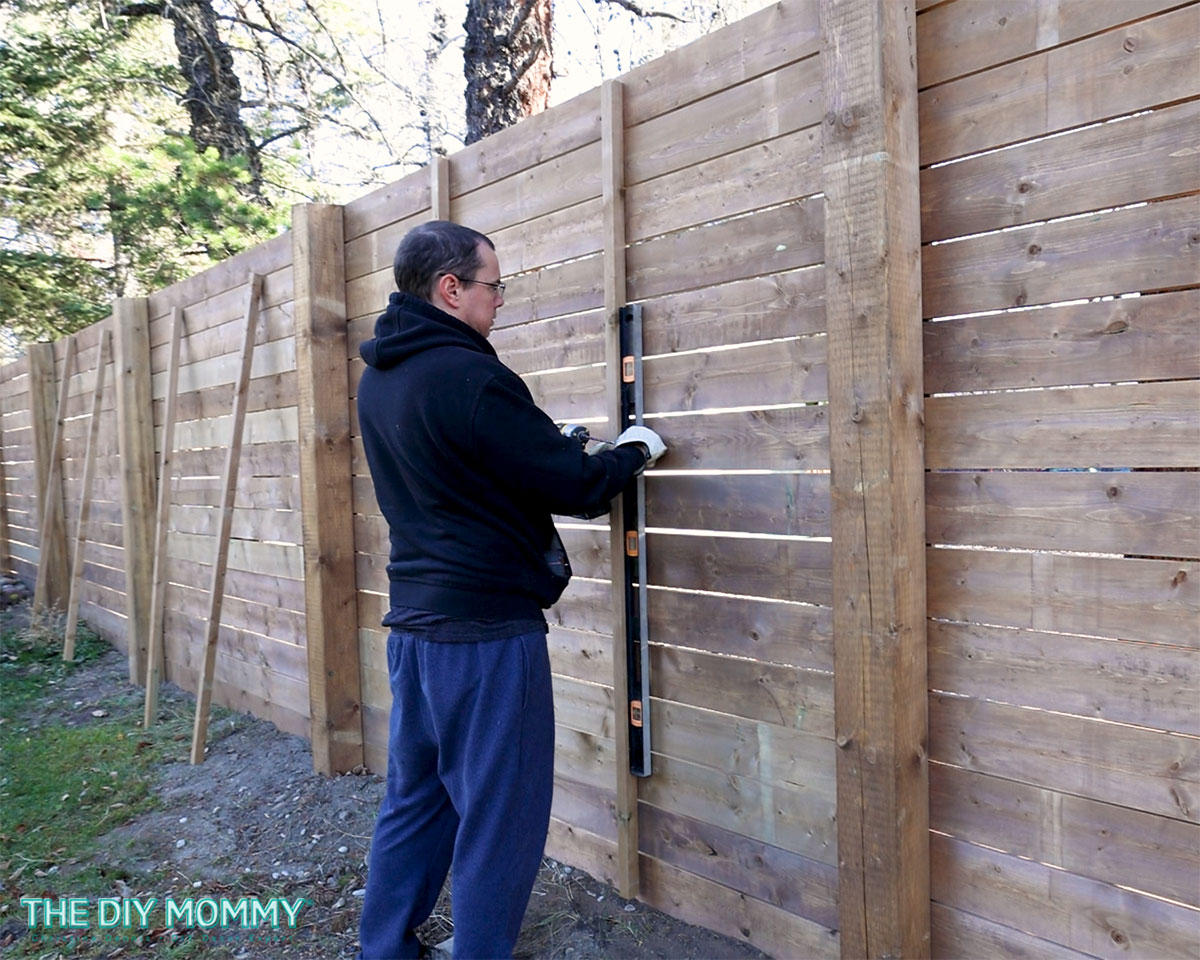
Now for the fun part – attaching the horizontal slats! We wanted to create a privacy fence with slats relatively close together and around 7 feet high. To begin, we used a miter saw to cut the fence boards if needed so that they wouldn’t extend beyond the center of each vertical post. Armed with a level, drill, and wood screws, we secured the bottom-most horizontal board to the posts. We ensured this horizontal slat was level.
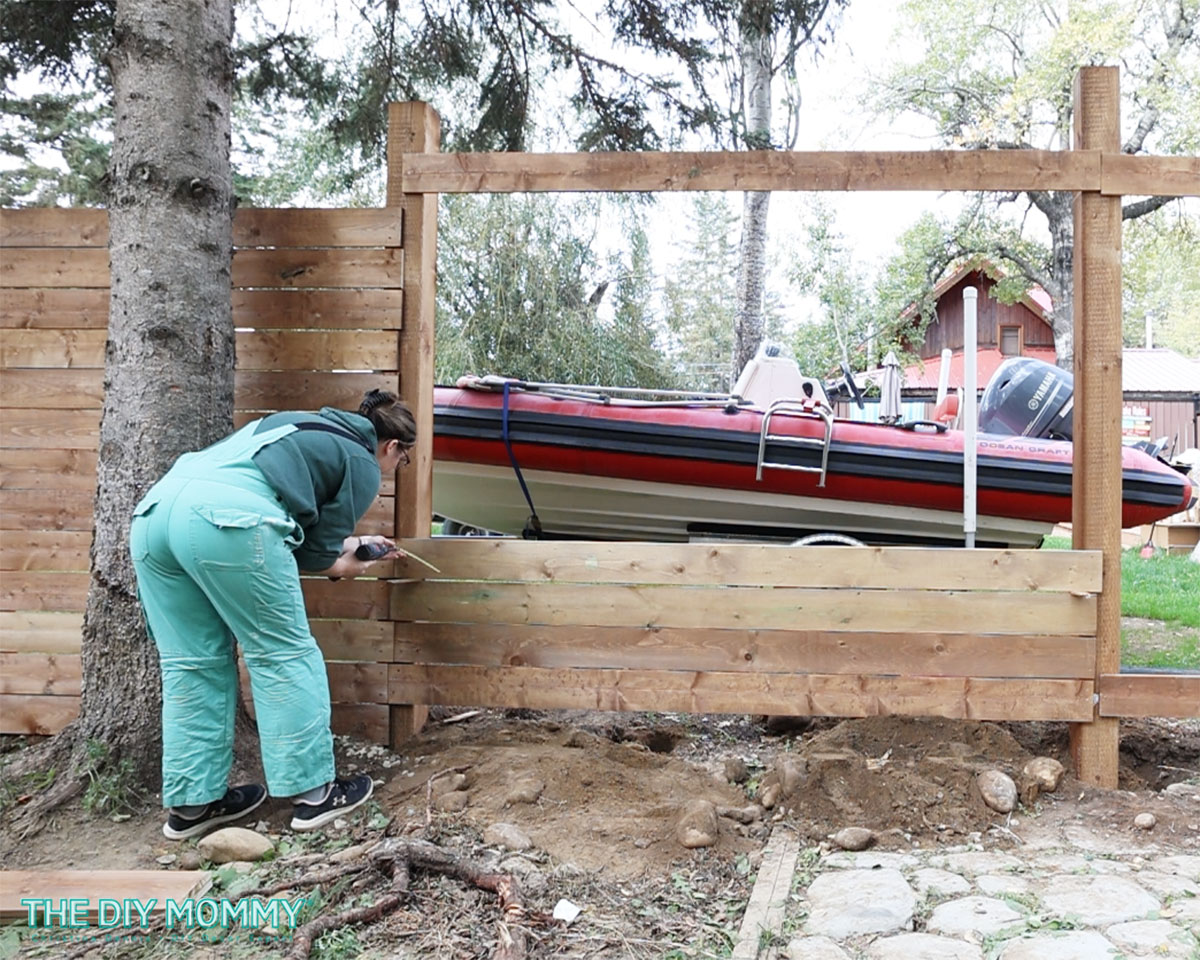
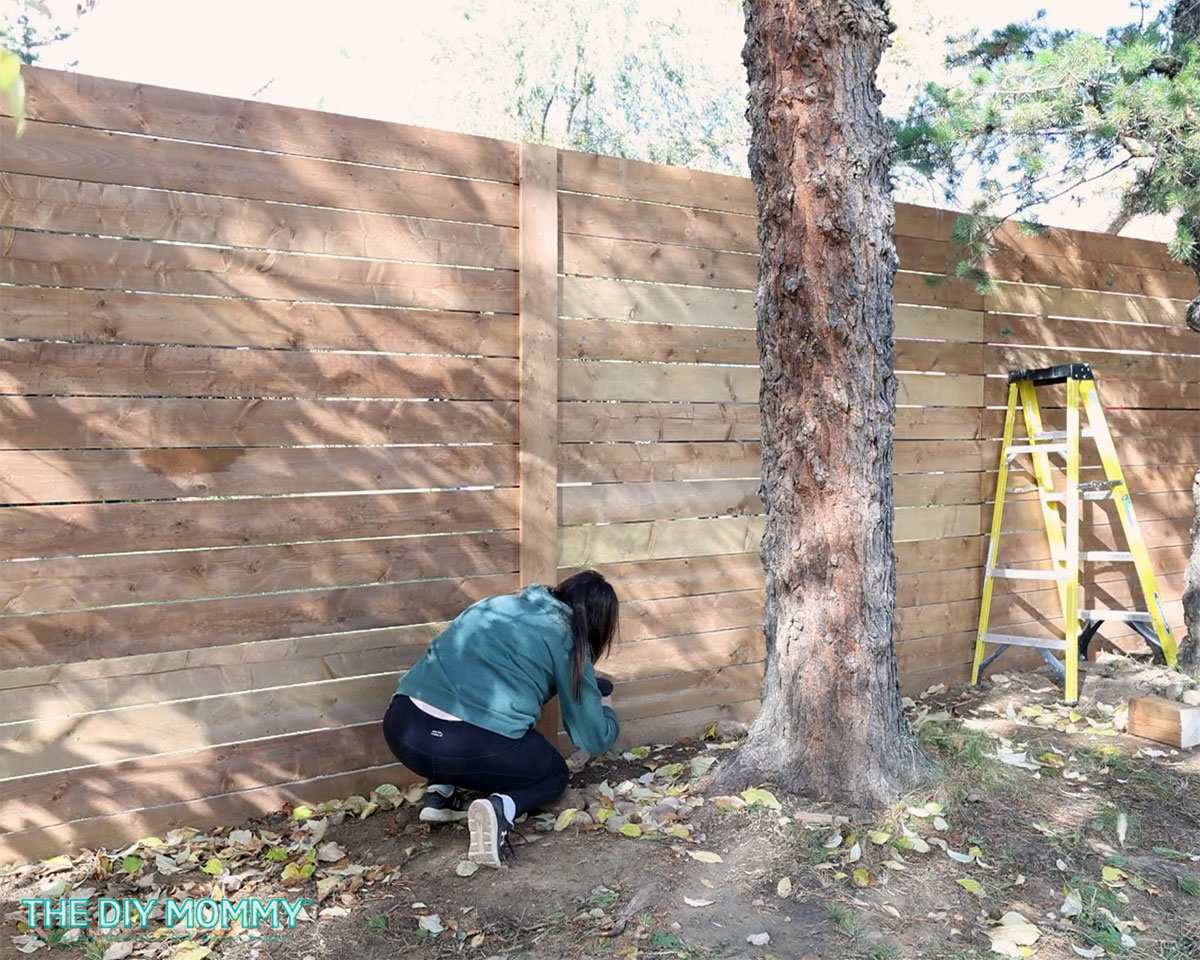
Then, working from the bottom up, we attached the rest of the horizontal fence boards to the posts. We used 13 fence boards per panel. Two screws at each end will help the fence last a lot longer than using nails. To maintain uniformity and achieve that sleek, modern look, we used a spacer between each slat. The result? A stunning, contemporary horizontal fence that’s stylish and private.
Finishing Touches: Adding the Details
No project is complete without those finishing touches that elevate it from ordinary to extraordinary. To add visual interest and reinforce stability, we trimmed the tops of the posts and added a vertical 1 x 6 fence board at each seam. These subtle details make all the difference, transforming our fence from functional to fabulous!
To further strengthen the fence, we also installed some 2×2″ pieces to the center back of each of the fence panels for extra vertical support. We used two 2x2s per fence panel and installed them evenly on the back of each fence section with decking screws.
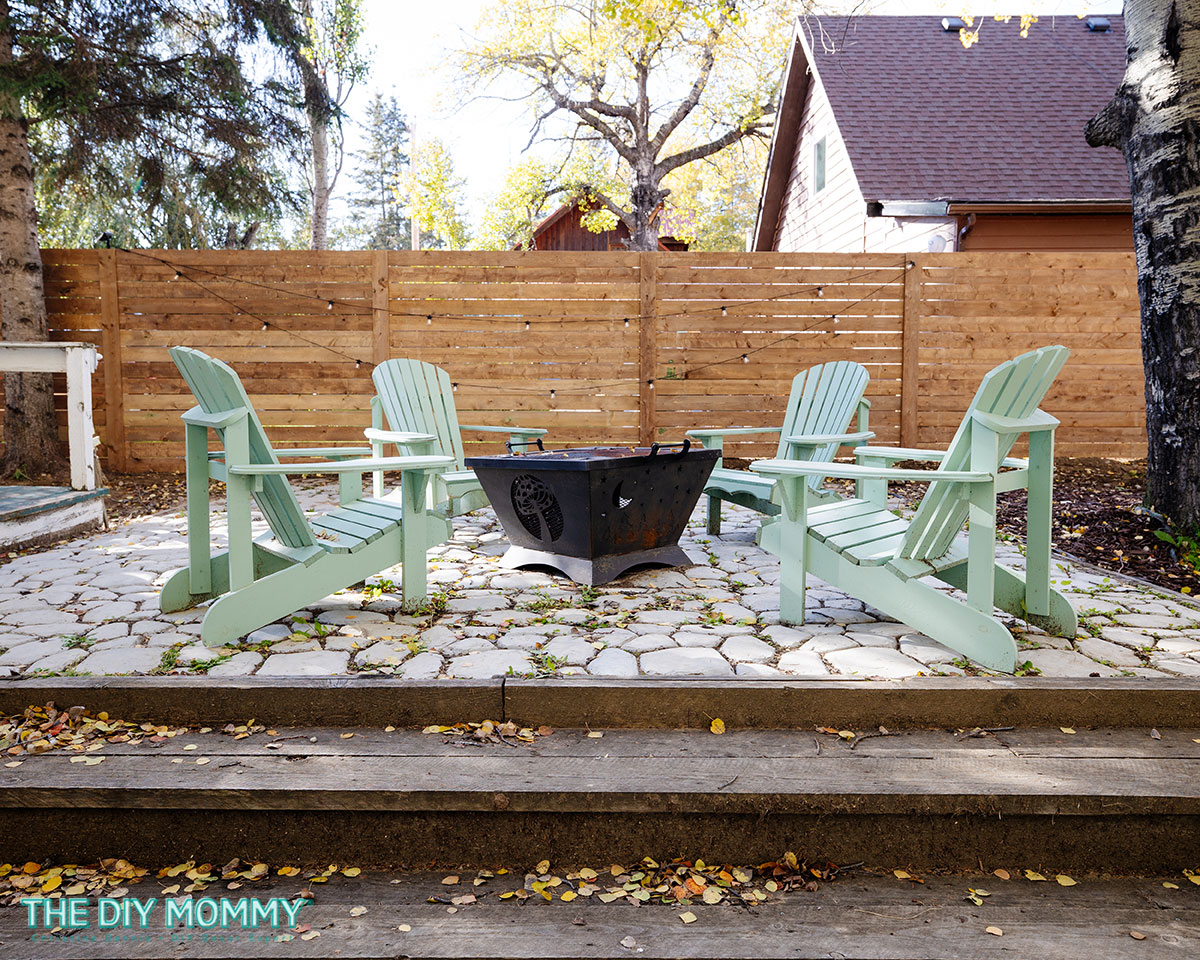
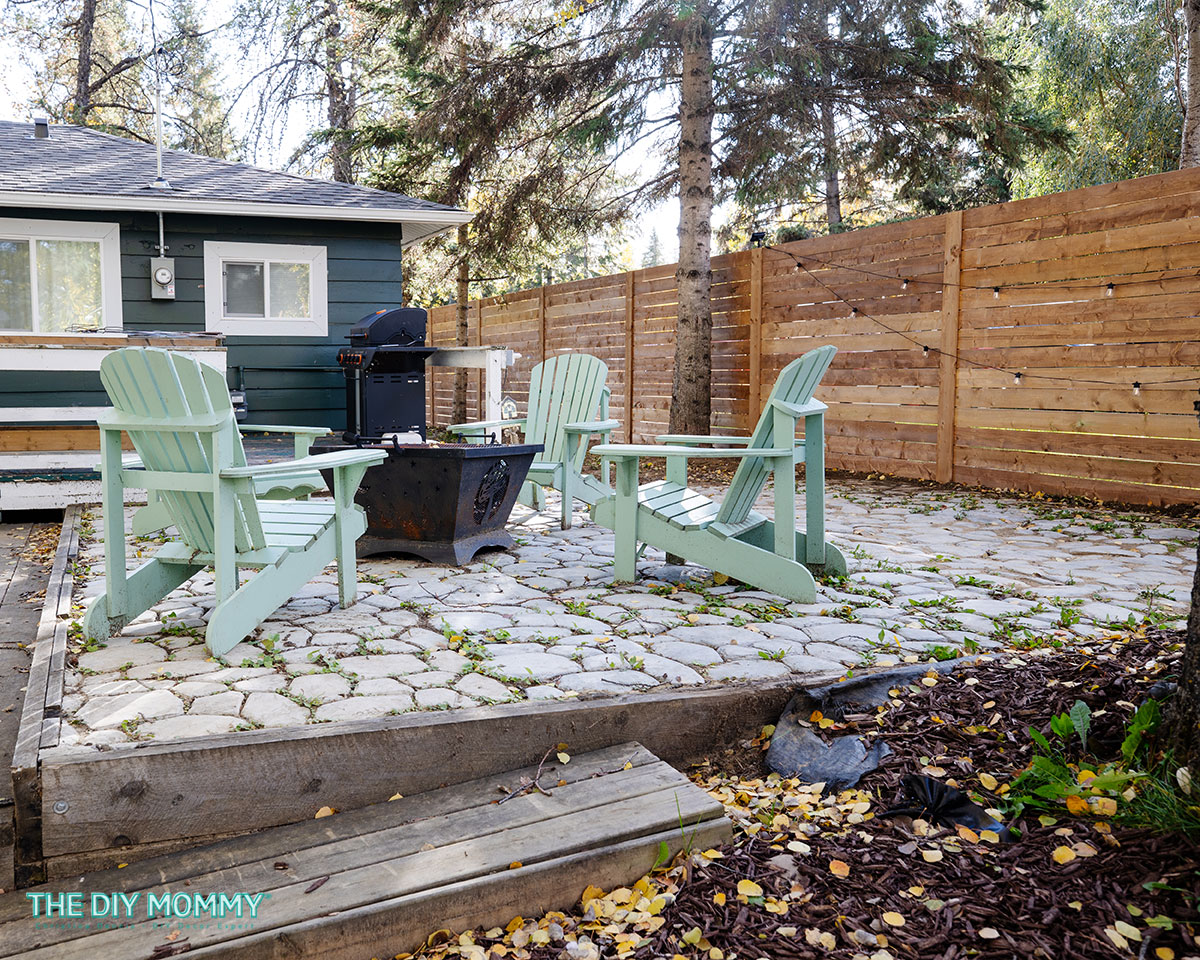
The Big Reveal: Our Stunning Transformation
And just like that, our outdoor space has undergone a remarkable transformation! The once-dated fence has been replaced with a sleek, modern privacy that not only enhances the aesthetic appeal of our Tiny Lake House but also provides much-needed privacy for our guests.
Now, whether we’re enjoying a cozy evening by the fire or sipping morning coffee on the porch, we can do so in style and seclusion.
Your Turn: What Do You Think?
So, there you have it – our journey from drab to fab with a modern DIY horizontal slat fence. We couldn’t be happier with the results, but we want to hear from you! What do you think of this DIY transformation? Are you inspired to tackle a similar project at your own home? Share your thoughts and ideas in the comments below – I can’t wait to hear from you! Until next time, happy DIYing!
Any idea on what the materials would have cost?
Looks fabulous! You and your husband did a great job!