How to make Throw Pillows with Cricut Infusible Ink
This post may contain affiliate links · This blog generates income via ads
Want to learn how to make beautiful & professional looking throw pillows with Cricut Infusible Ink? Let me show you how! (Spoiler alert: it’s so easy!)
This is a sponsored post written by me on behalf of Cricut. All opinions are 100% mine.
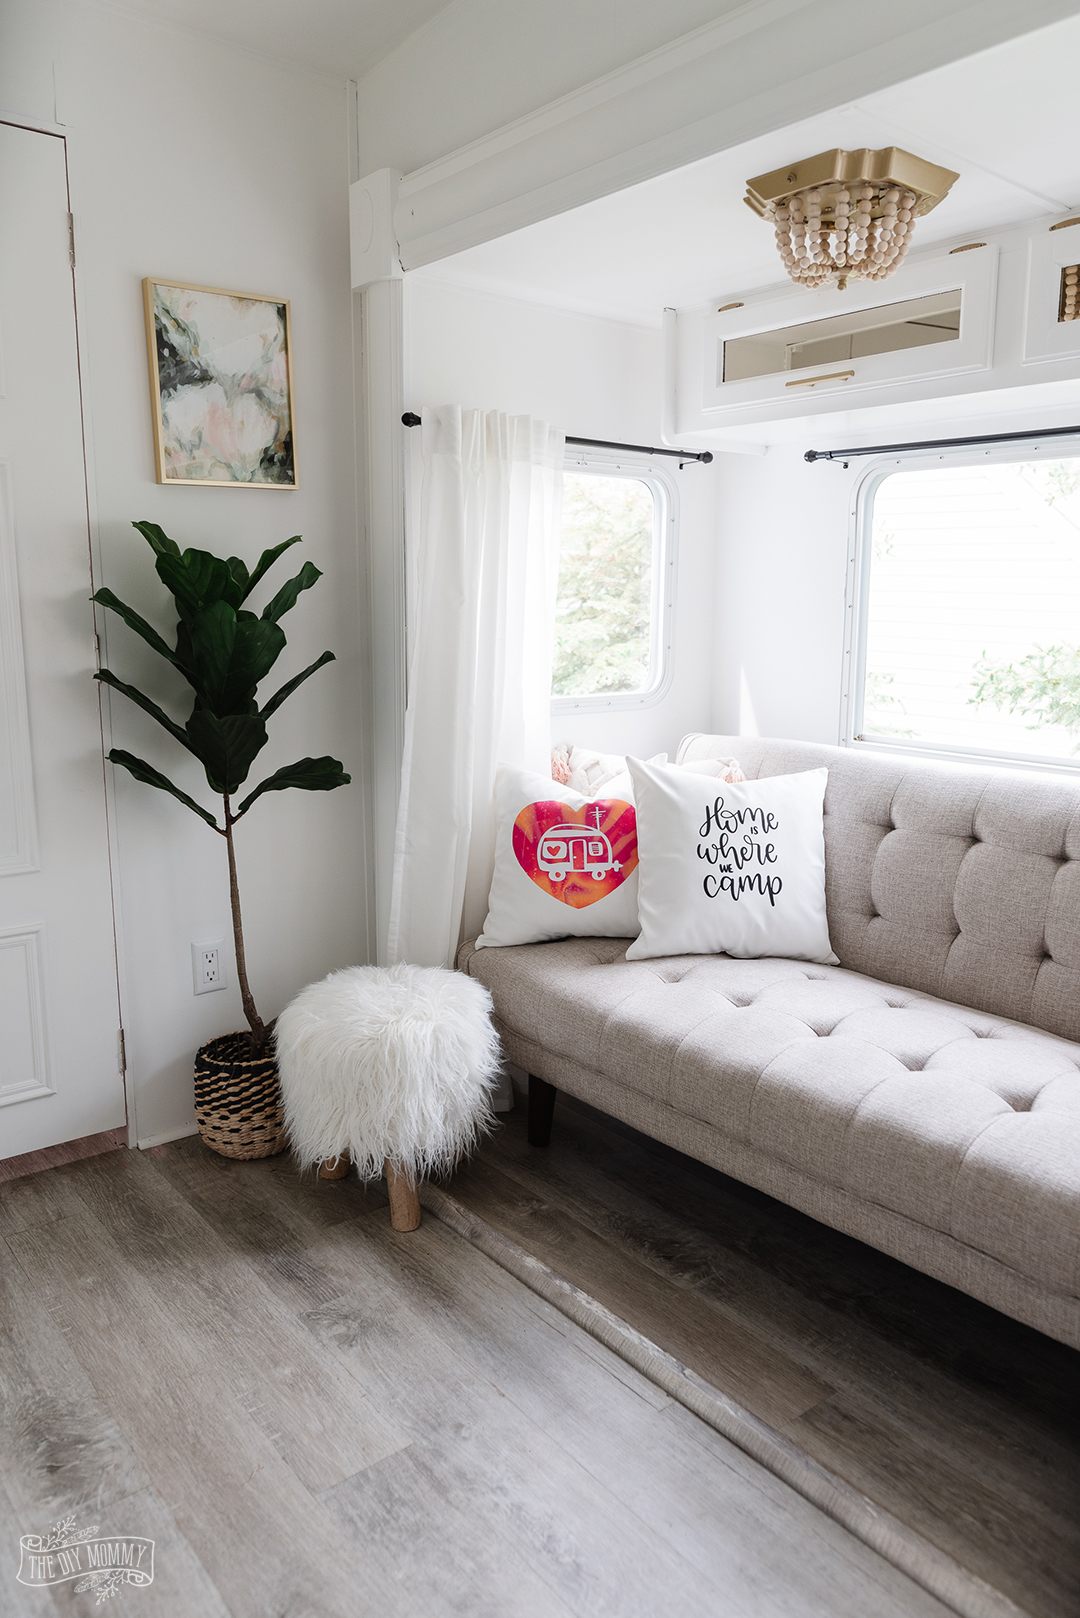
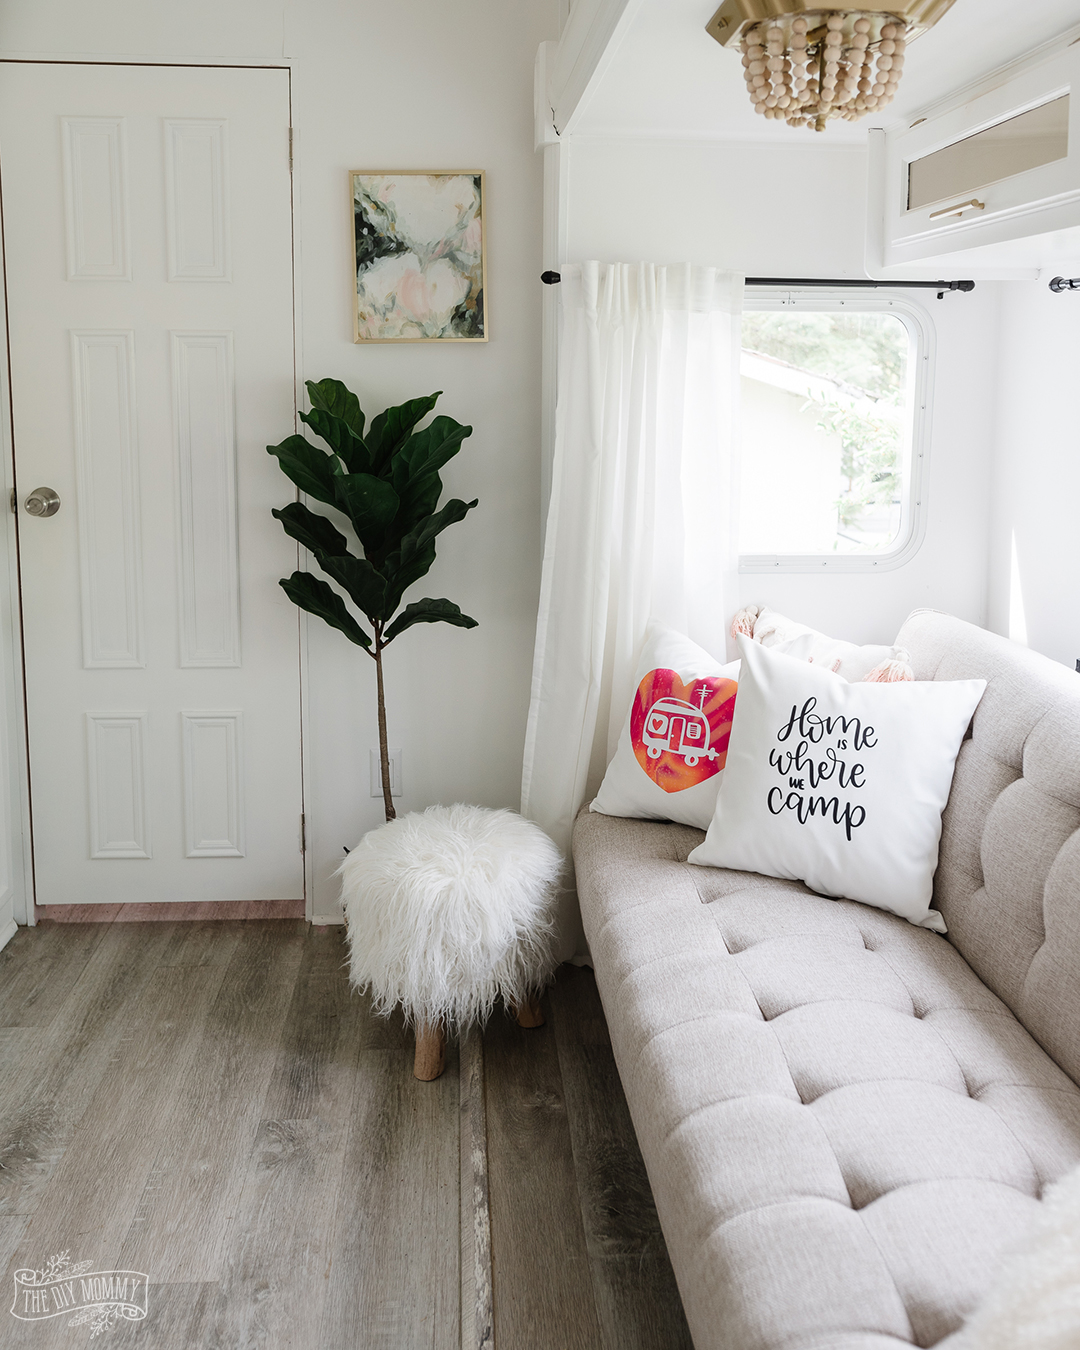
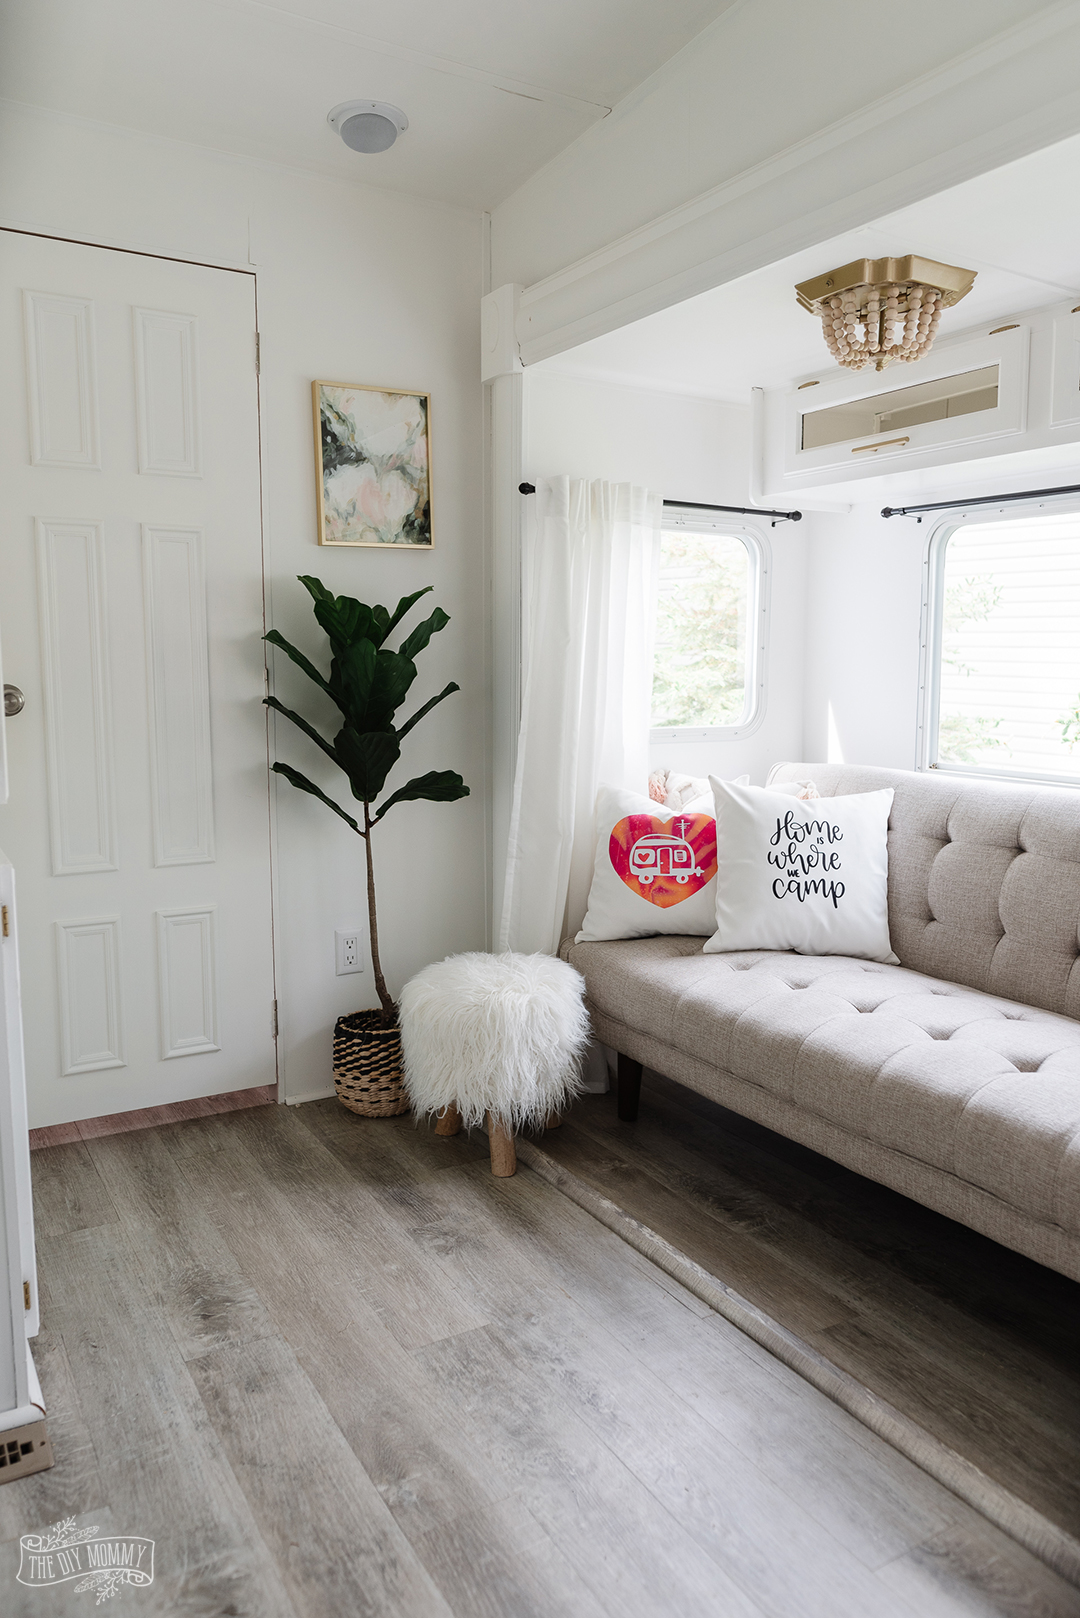
It’s camping season! Last year, I gave our 2007 Jayco fifth wheel RV a makeover and we had so much fun camping with it. Later this summer I’m going to attack the main bedroom and bathroom, but for now I wanted to create some adorable throw pillows for the main room.
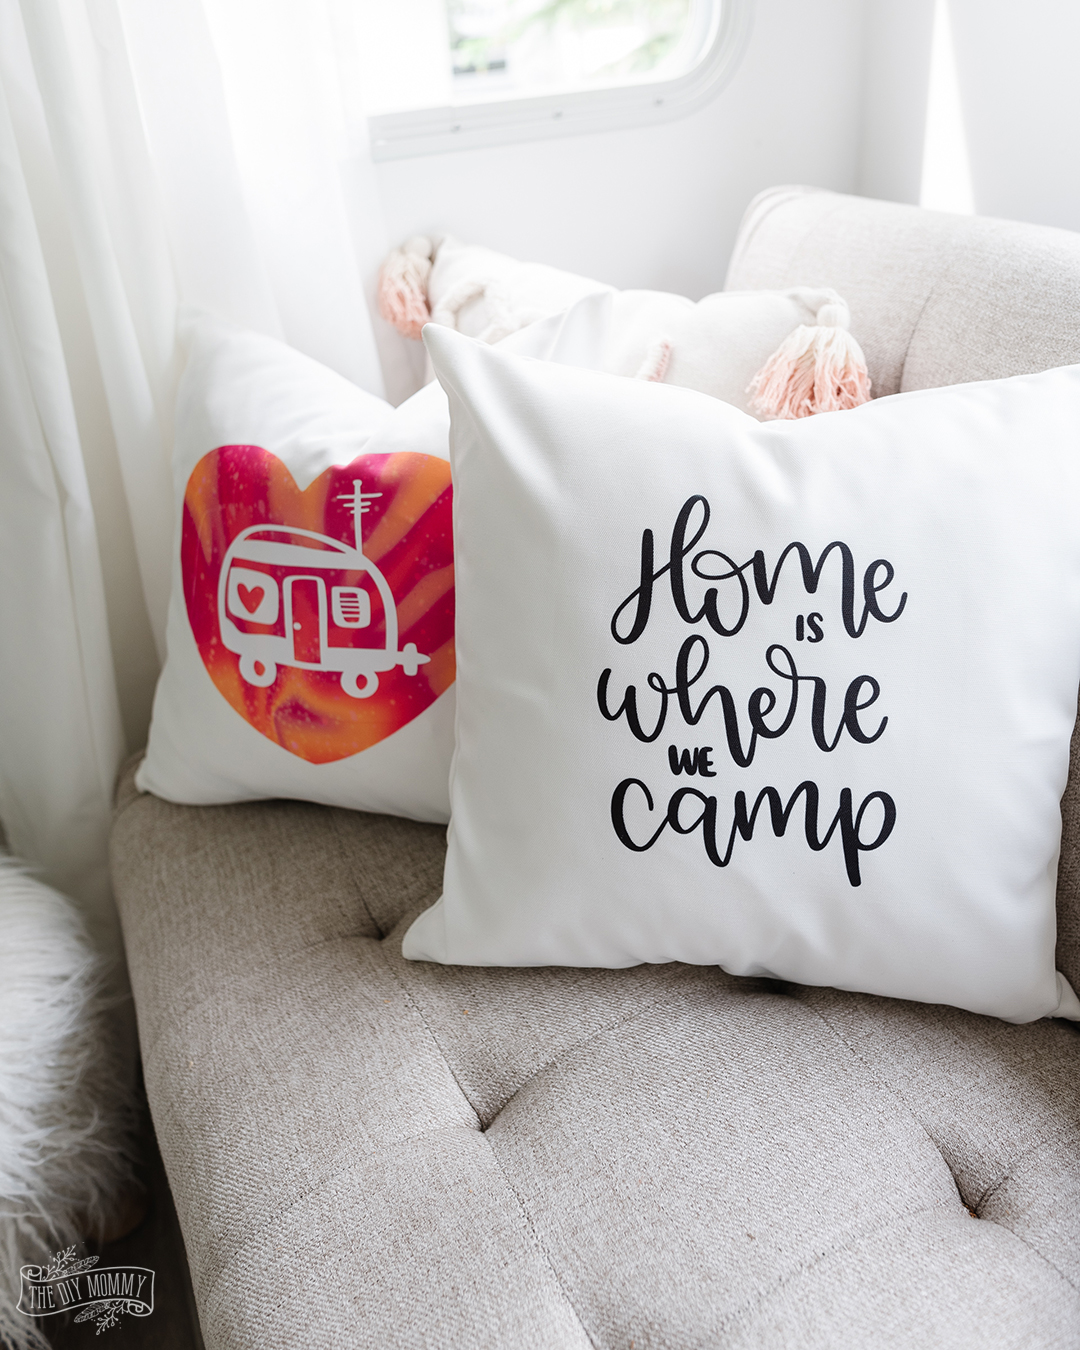
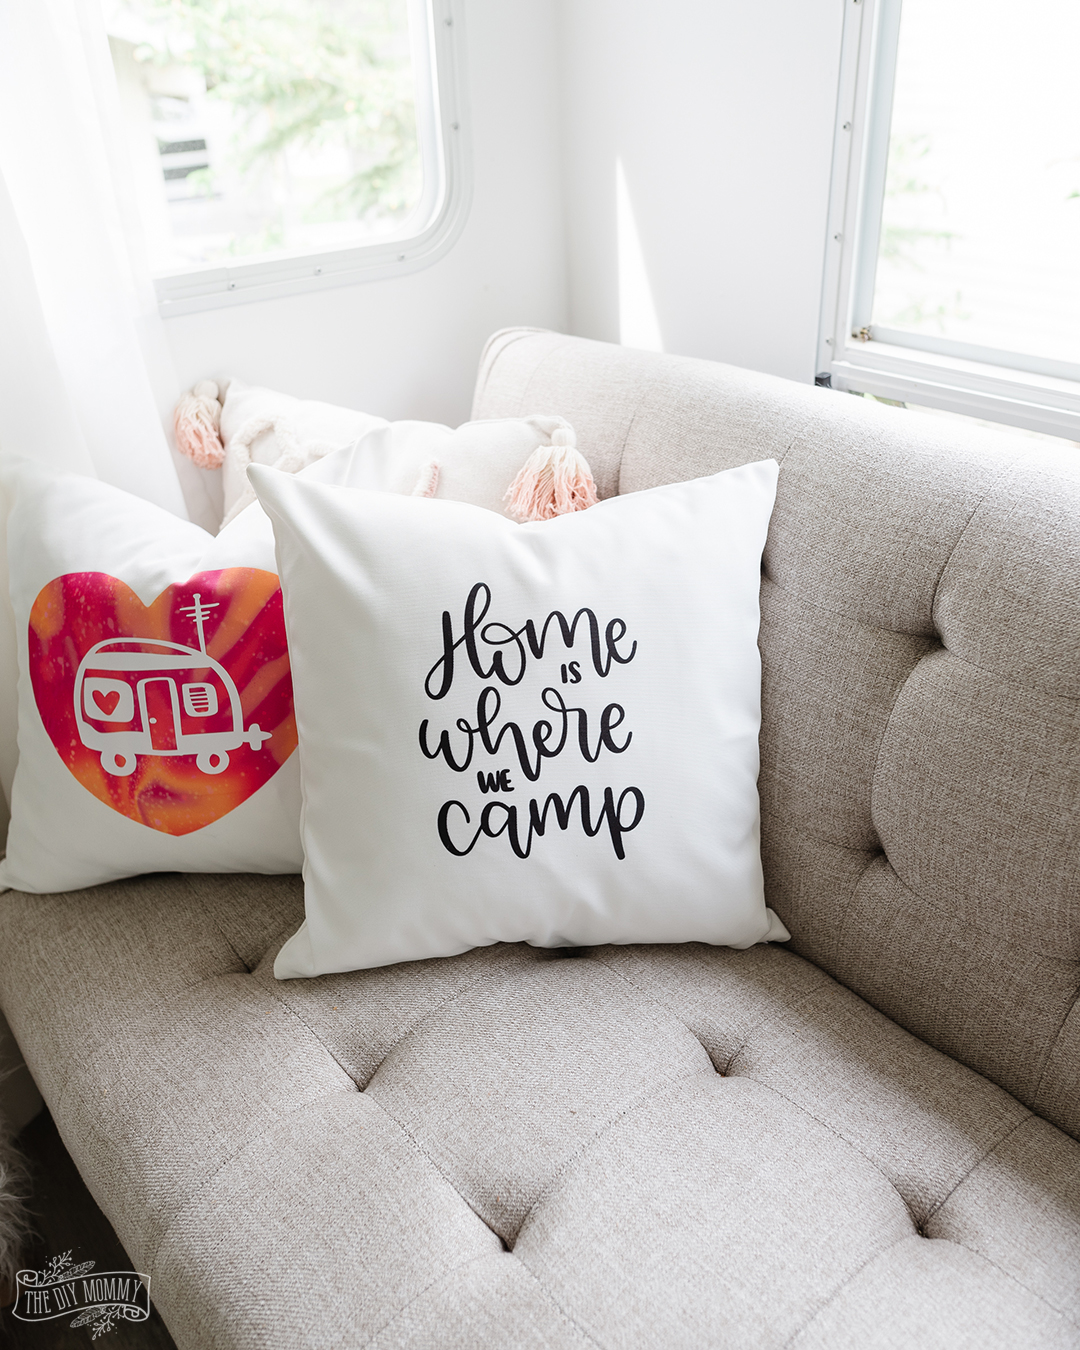
These camping themed pillows are not only cute, but they look so professional with the use of Cricut’s Infusible Ink! The design blends right into the fabric of the pillows making them looks extra high-end. Want to make some pillows of your own? Here’s how!
How to make throw pillows with Cricut Infusible Ink
Supplies:
- Cricut (I’m using my Cricut Explore Air 2)
- Infusible Ink Transfer Sheets (I’m using black and one of the Rainbow Watercolor Splash sheets)
- Iron-On (HTV) for layering
- Cricut EasyPress 2
- StandardGrip Machine Mat
- Pillow Cover Blank
Open your pillow design in Cricut Design Space
To begin, click on either of these links to open up my projects in Design Space for each of the two pillow designs:
TIP: You can also create a pillow for any room in your home by creating your own pillow design in Design Space!
To do this, click on “New Project” and then “Images”. Then, search Cricut’s extensive library of images and sayings to create decor that’s perfect for your space. (I searched “pillow” and found some cute sayings.)
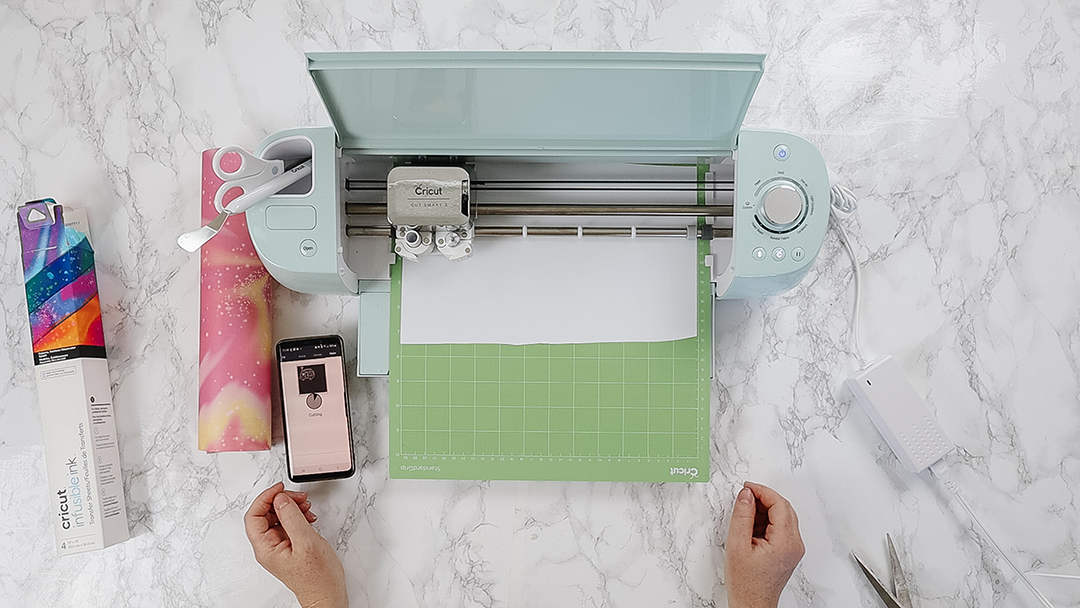
Click “Make It” and then place a sheet of your desired Infusible Ink colour on your Cricut mat.
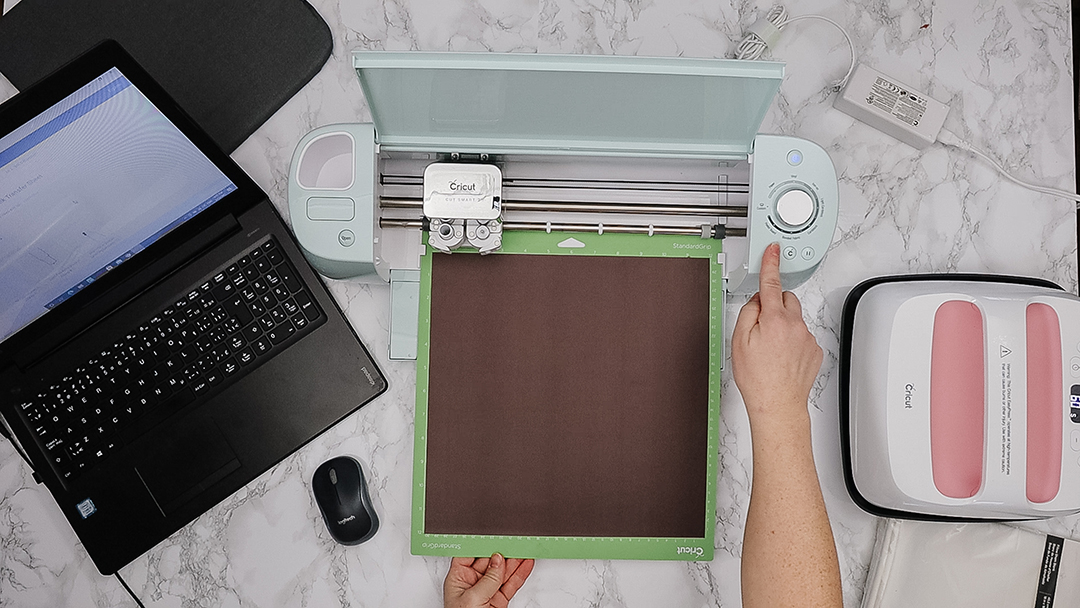
Cut your design
Hit “Continue” and then follow the prompts on Design Space to connect your Cricut machine. Make sure the dial on your machine is set to “Custom”, and then search for “Infusible Ink” on the materials menu on Design Space to have the perfect cutting pressure.
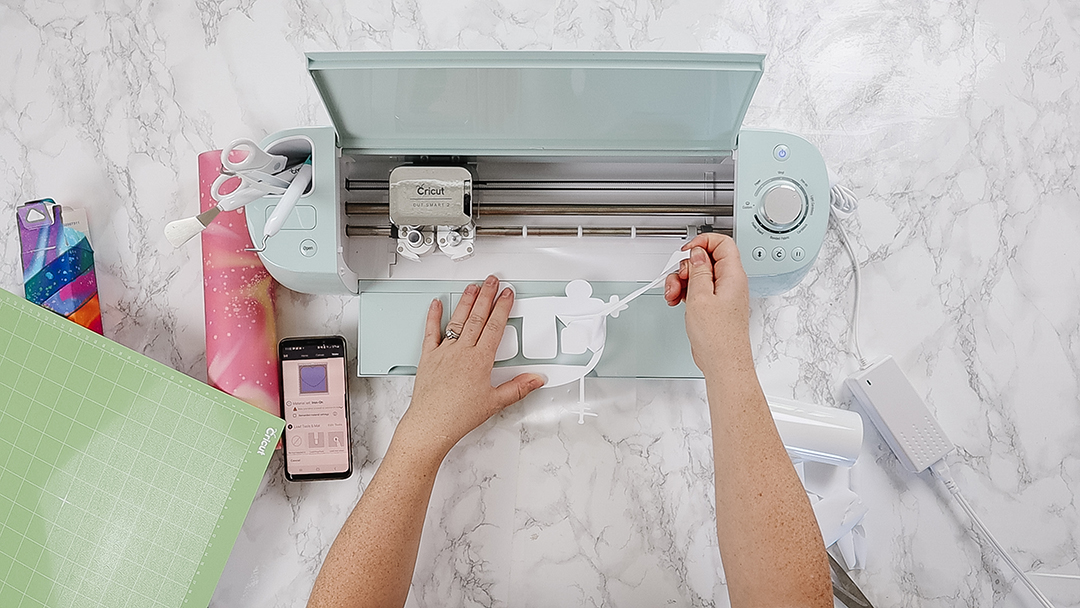
If you are creating the Layered Sweet Camper pillow, you will be prompted to cut the camper design first. Use Iron-On material for this part, and make sure you toggle the “Mirror” option before cutting this image.
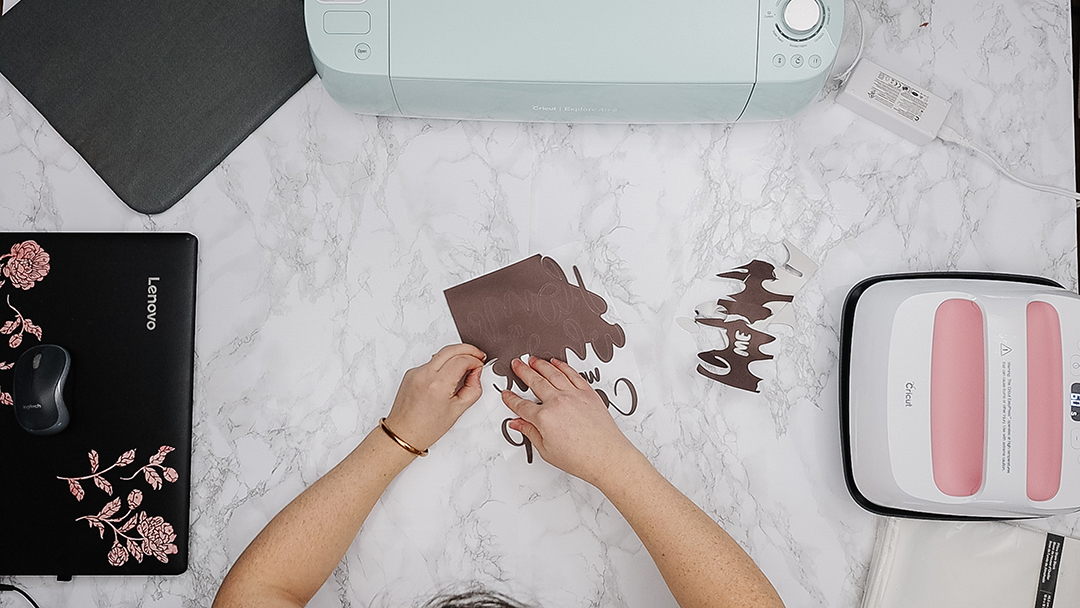
Weed your design
Once your design has been cut, weed away any excess material from the design with your fingers (or with Cricut’s tool if you’re weeding the Iron-On material). With Infusible Ink, I find it easiest to gently fold the material first to help separate the material from the backing.
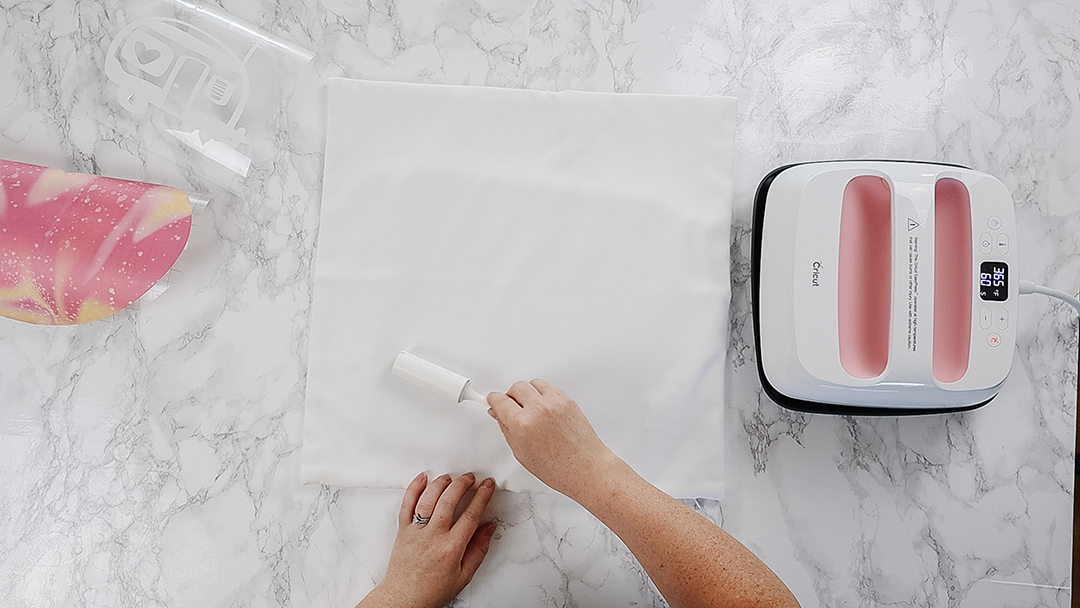
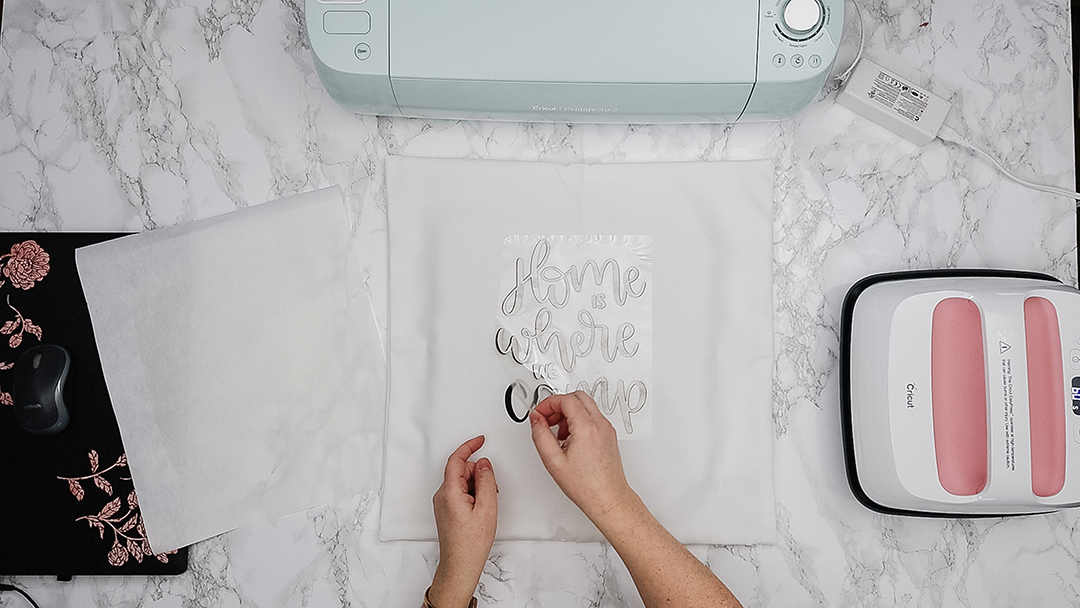
Transfer your design onto your pillow blank
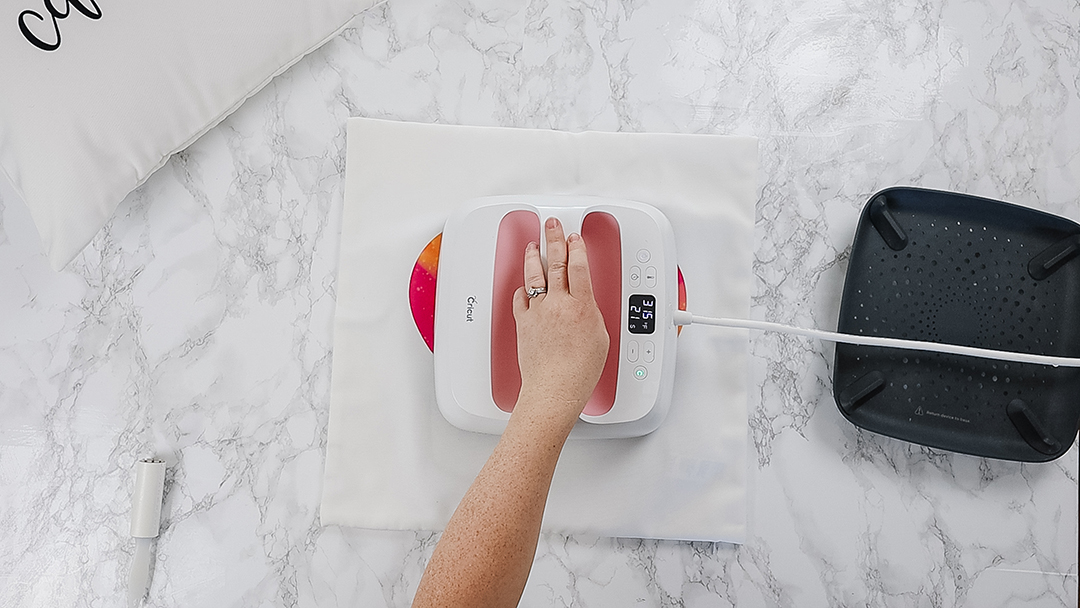
Next, warm up your pillow cover for a few seconds with the EasyPress. Use a lint roller to remove any lint or dust from the cover before transferring your design.
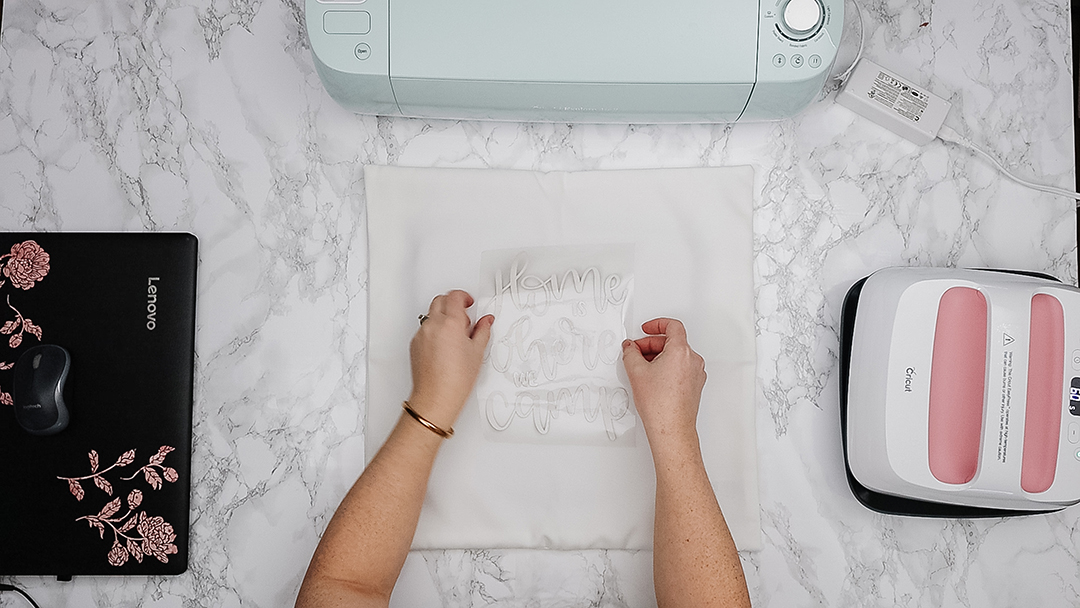
Now, lay your design on with the ink side down onto the center of your pillow cover.
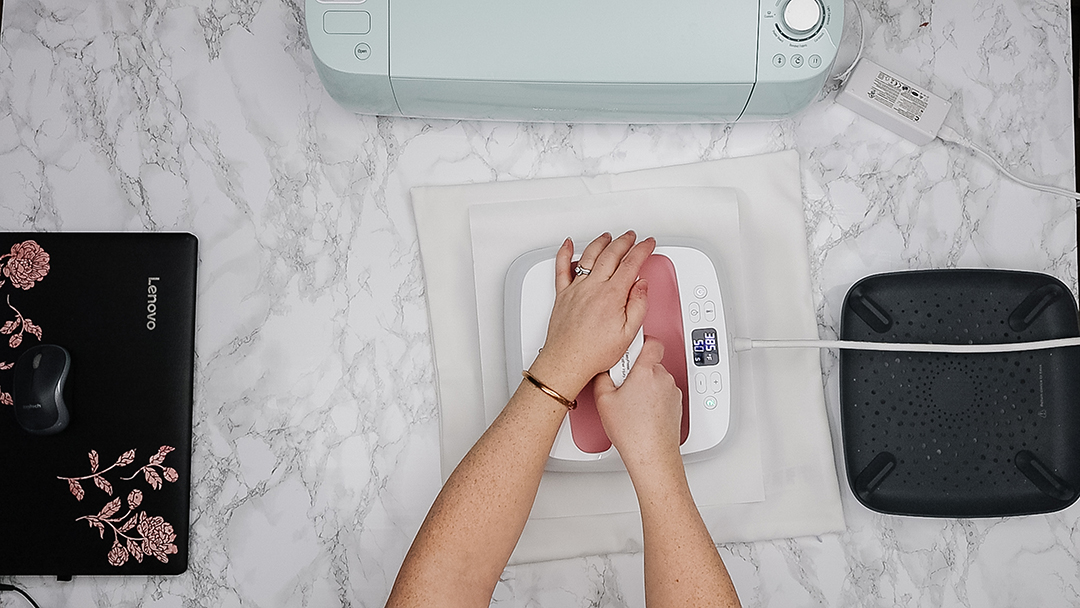
Refer to Cricut’s Heat Guide to configure your HeatPress to the perfect temperature and time for the transfer. Use the Heat Press to transfer the Infusible Ink design to the pillow cover.
Finally, gently remove the backing from the design and have a look at your gorgeous transfer! I stuffed my pillows with 20″ pillow inserts for a generously fluffy look.
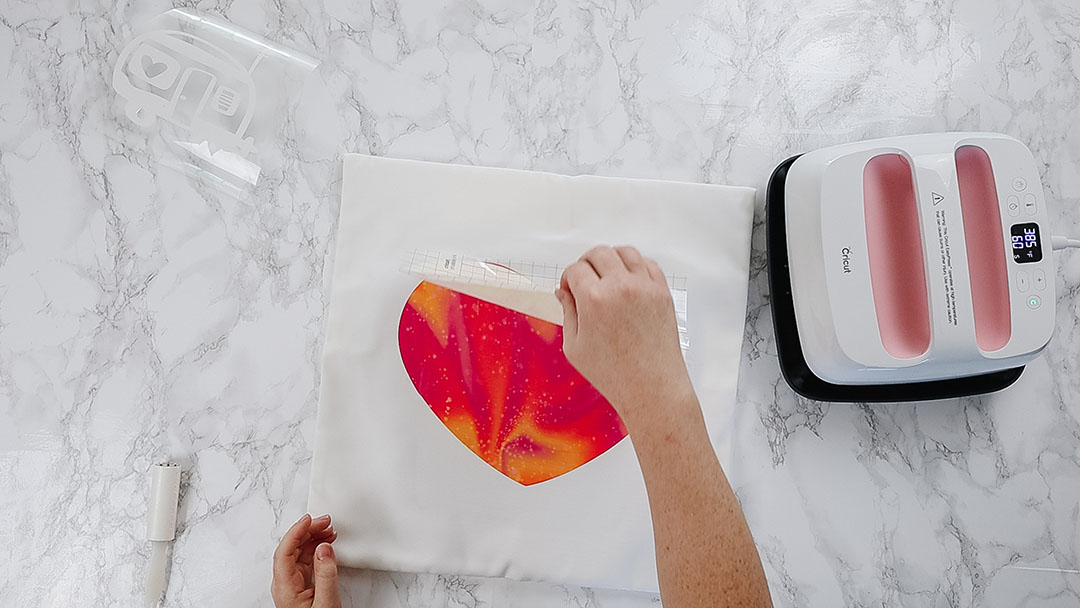
Layer your design
If you’re making the layered Sweet Camper Pillow, wait for the Infusible Ink heart layer to dry and prepare for the Iron-On layer.

When your Iron-On (HTV) camper image has been weeded, you can center it on the Infusible Ink heart layer. Refer to Cricut’s Heat Guide to configure your HeatPress to the perfect temperature and time for the transfer.
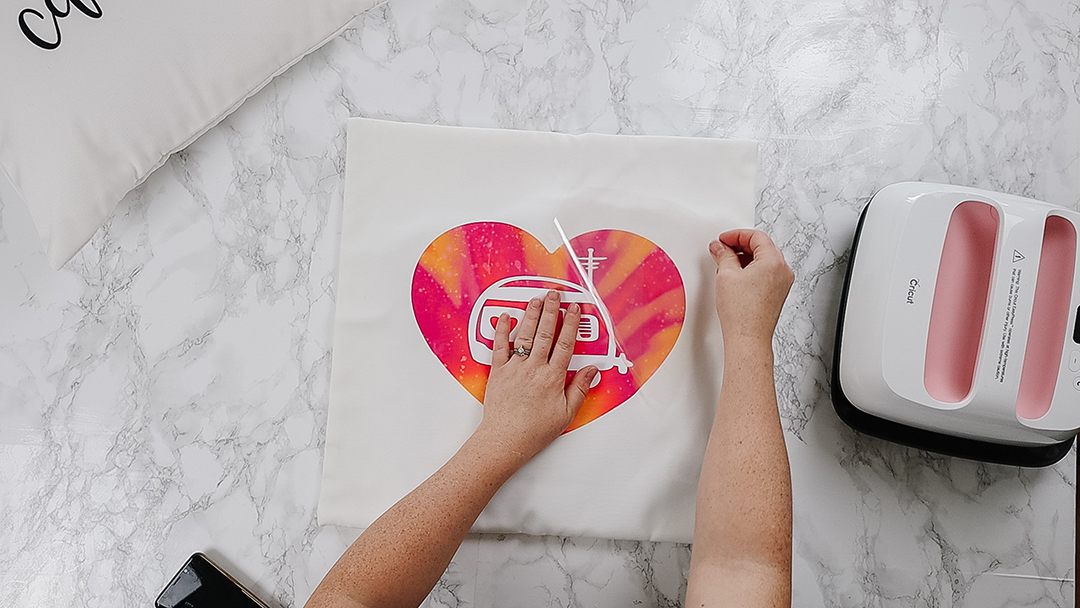
After the HTV has completely cooled, carefully remove the backing and enjoy your adorable, layered pillow!

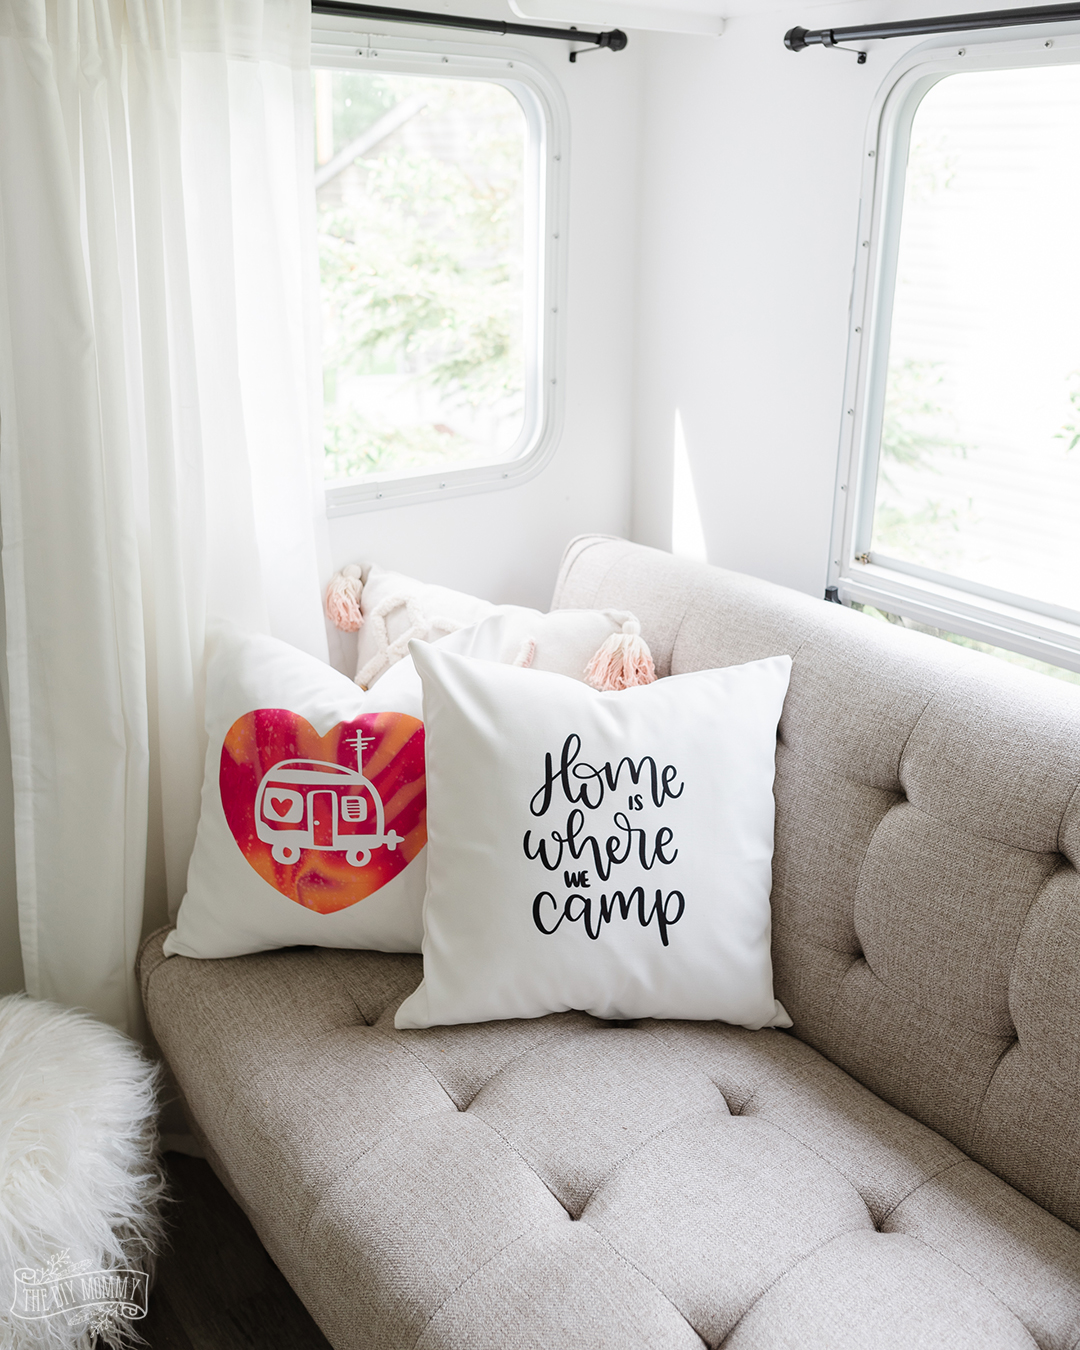
I love how these pillows turned out, and I’m excited to use them in our camper this summer.
Using these simple steps, you can create any throw pillow for your home or your camper with Infusible Ink! It’s so easy, and I think the results look incredible.
Happy Crafting!
PIN ME: