How to Remove Wallpaper (No Special Tools Required)
This post may contain affiliate links · This blog generates income via ads
Wallpaper removal can be a daunting task, especially if you think you need special tools to do it. The truth is, you don’t actually need any expensive tools to remove wallpaper. All you need is a bit of patience, effort, and the right techniques. In this post, I’ll walk you through the step-by-step process of how I remove wallpaper easily with a magical DIY wallpaper remover solution. So, if you are a DIYer who wants to spruce up your home, keep reading!
I’ve removed A LOT of wallpaper over the years. It can definitely be a messy, frustrating job but I’ve learned a few tricks to make the job go a lot smoother. Here are my instructions on how I remove old wallpaper without any special tools:
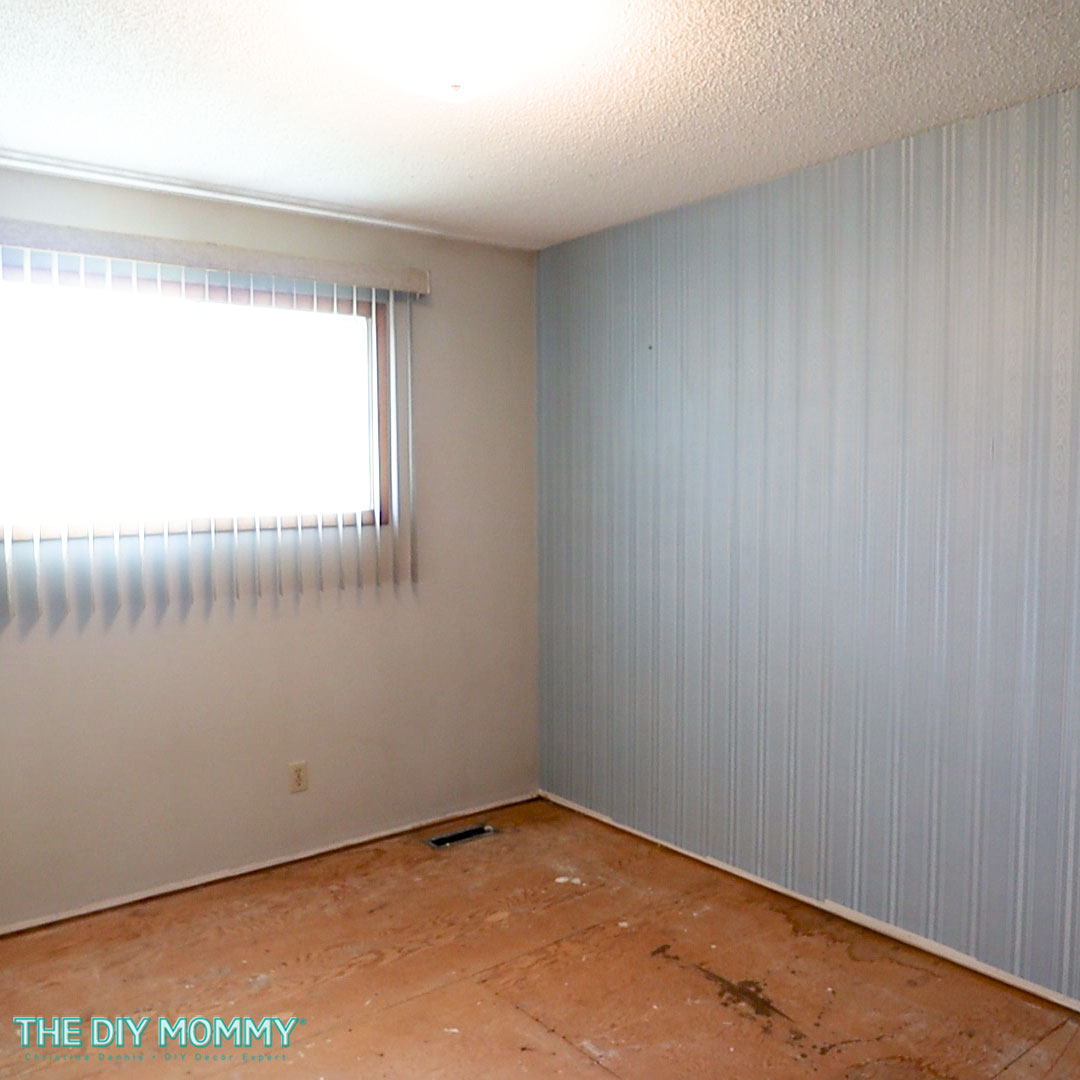
Step 1: Prepare the Room
The first step to remove wallpaper is preparing the room. Start by clearing the room of all furniture, artwork, and decor. This will allow you to move around more freely and access all areas. Cover the flooring with drop cloths or plastic sheets to protect it from any damage or debris. Then, remove any electrical outlet covers, light switch covers, or vents to avoid damaging them during the wallpaper removal process. Finally, remove any window/door casing and baseboards to allow for easier wallpaper removal.
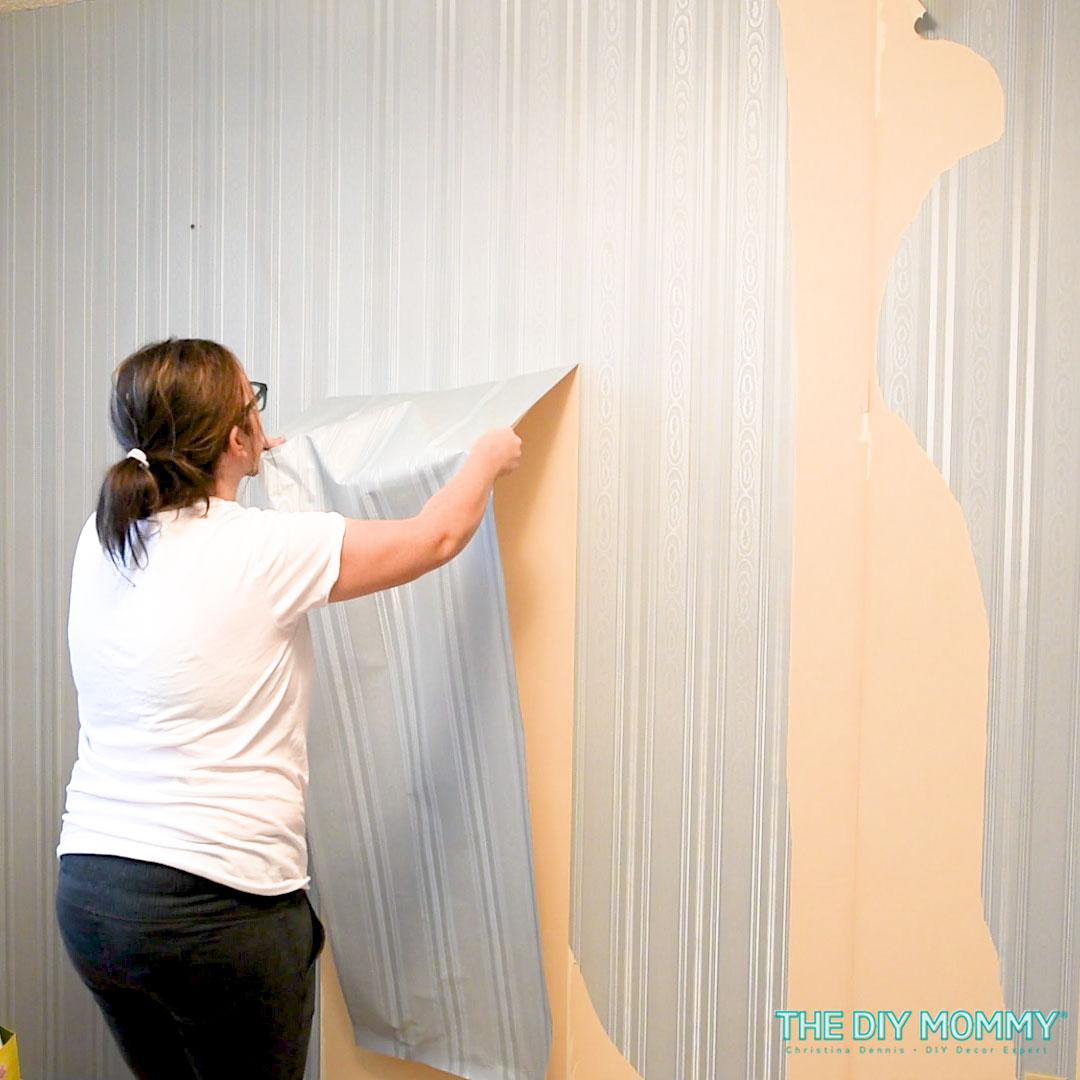
Step 2: Remove the First Layer of Wallpaper
Once the room is prepared, it’s time to remove the top layer of the wallpaper. Most types of wallpaper will have a heavier paper/vinyl layer that can be torn off first. You can score the wallpaper if needed with a utility knife or a scoring tool. This will allow the wallpaper to be easier to remove. With your fingers, grasp a raw end of the wallpaper at a corner or seam and start pull it upwards. You should be able to tear off the upper vinyl or paper layer by hand in sections.
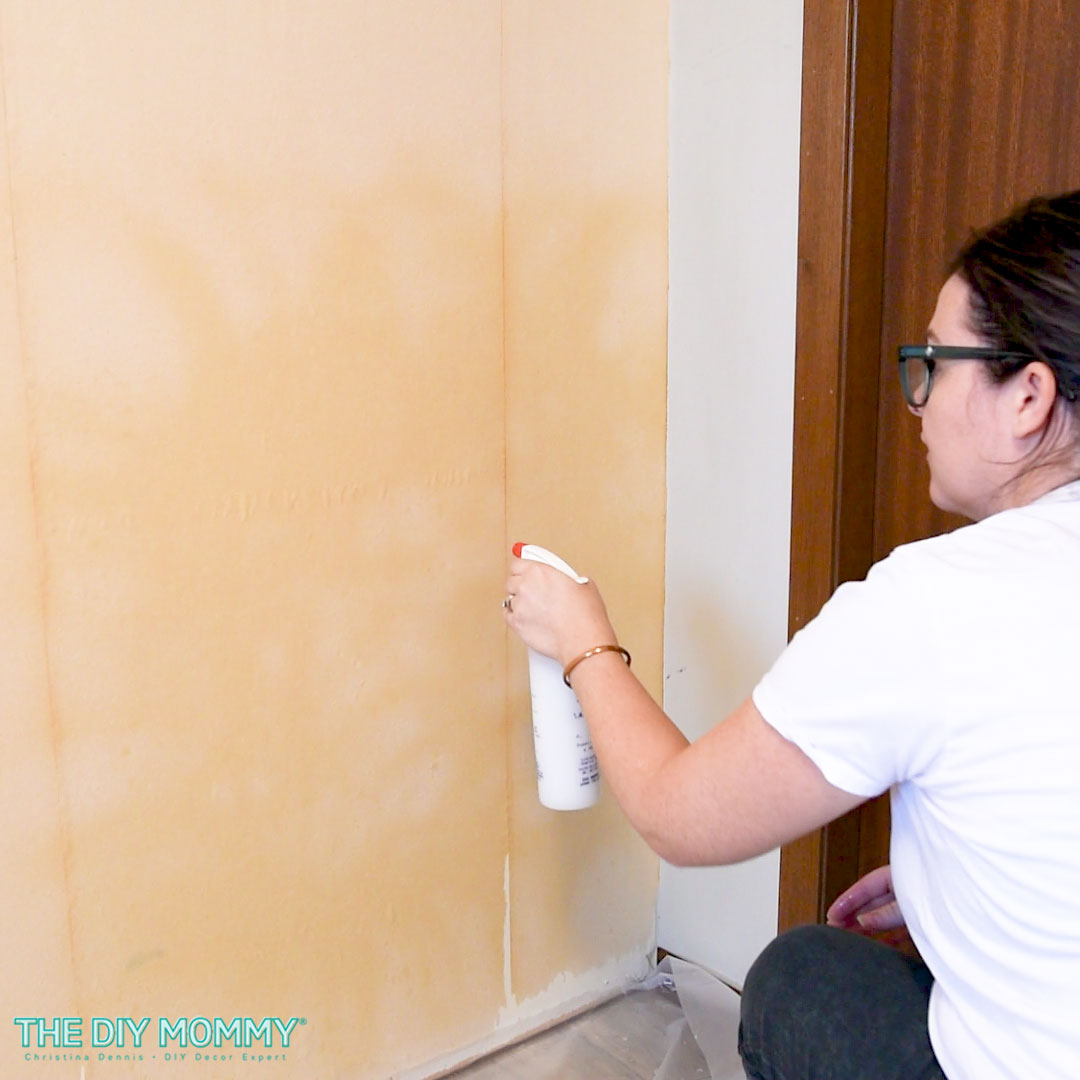
Step 3: Apply the Wallpaper Removal Solution
After removing the upper layer of wallpaper, it’s time to apply the wallpaper removal solution. You can easily make your own solution by mixing hot water and liquid fabric softener. For my wallpaper removal solution, I use about 2 cups of hot water to 2 Tbsp fabric softener. I mix them in a spray bottle for easy application. Apply the solution generously to the remaining wallpaper layer on the wall. Allow the solution to soak for at least 15-20 minutes to let it penetrate beneath the surface and dissolve the adhesive glue or paste underneath.
Note: I’ve also heard of people using a steamer to help lift the wallpaper backing off. However, I’ve had great success with my DIY wallpaper remover solution as long as I apply it while the water’s still hot or warm. Warm water is key in helping loosen the wallpaper backing from the wall!
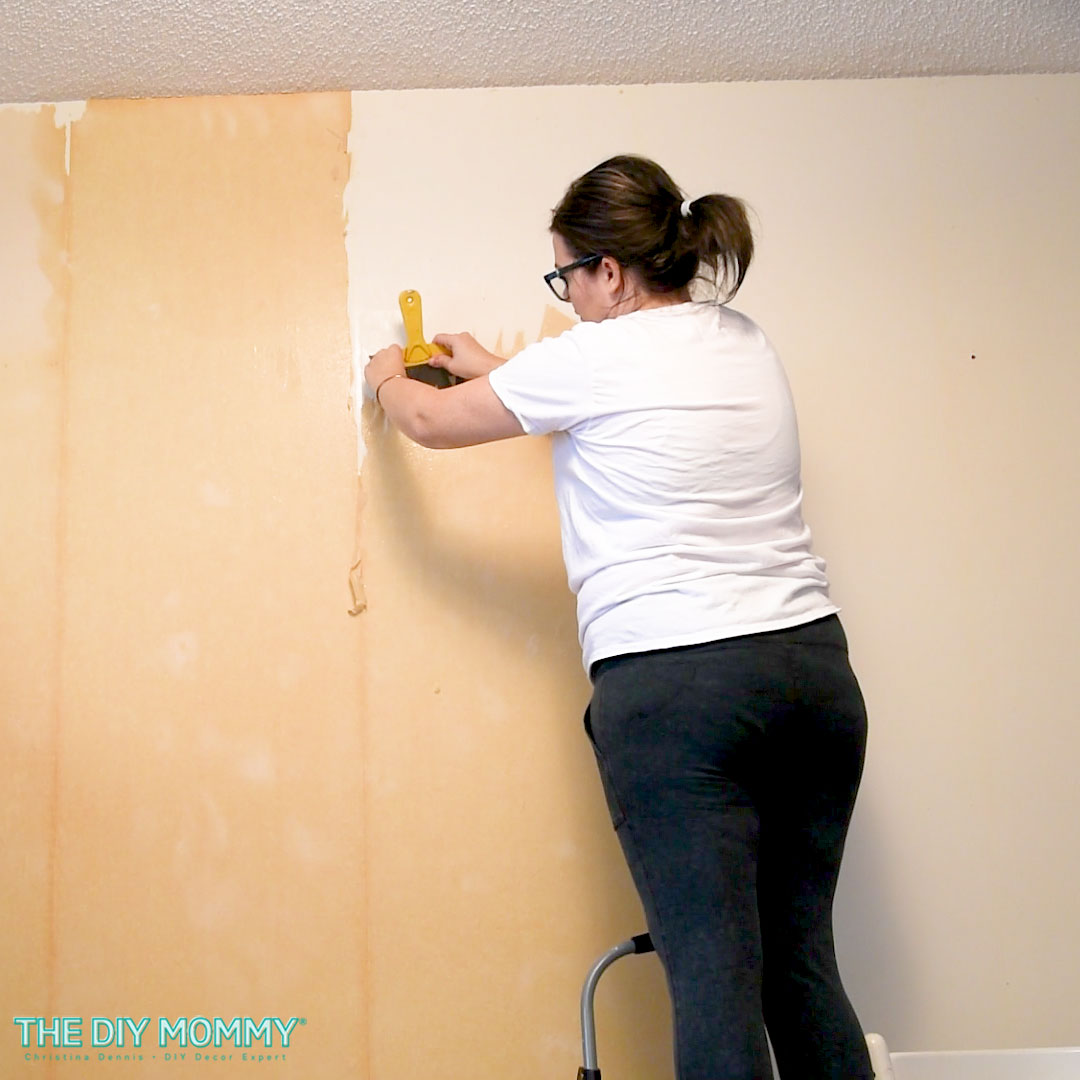
Step 4: Remove the Wallpaper Backing
Now, it’s time to remove the wallpaper backing from the wall. Start by peeling away a corner or a seam of the wallpaper from the wall with your hands. If the wallpaper comes off in large strips, then you’re in luck. However, if the wallpaper is stubborn, use a scraper or a putty knife to gently lift the edges and peel the wallpaper away slowly. Avoid using excessive force or scraping too hard, as this can damage the walls or the drywall underneath.
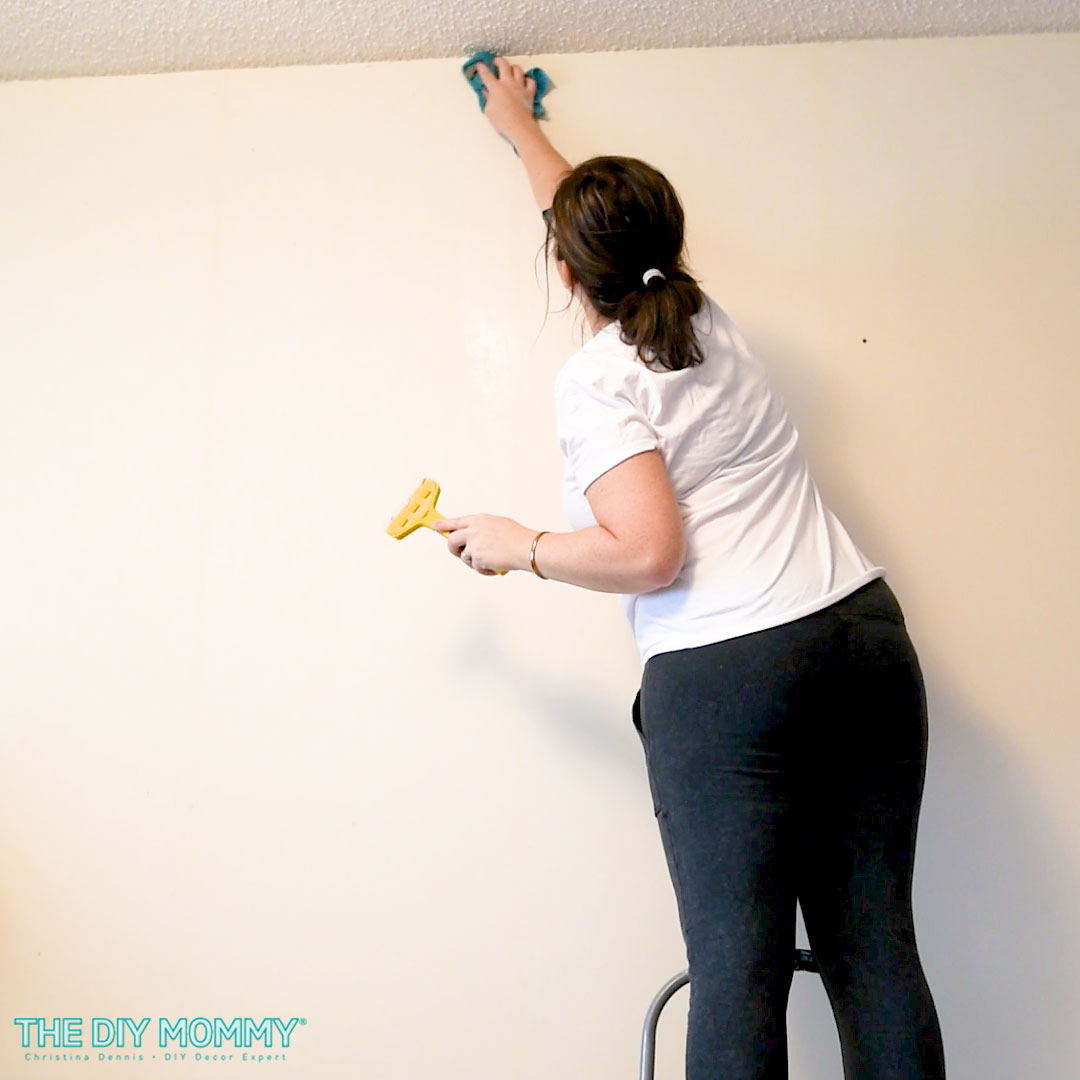
Step 5: Clean-Up
Once you’ve removed the wallpaper, it’s time to clean up the room. Take all of the bits of old wallpaper and dispose of them properly in the trash. Use a stiff brush, microfiber rag, or a sponge to remove any residual wallpaper paste/glue from the walls. Wipe the walls with a clean damp cloth to remove any debris or adhesive residue. Finally, let the walls dry completely before considering any further action like painting or wallpapering.
Note: If there is any damage to the wall, you may need to fill holes with drywall spackle, sand the wall with 220 grit sandpaper, and apply a primer before moving on to the rest of your room makeover.
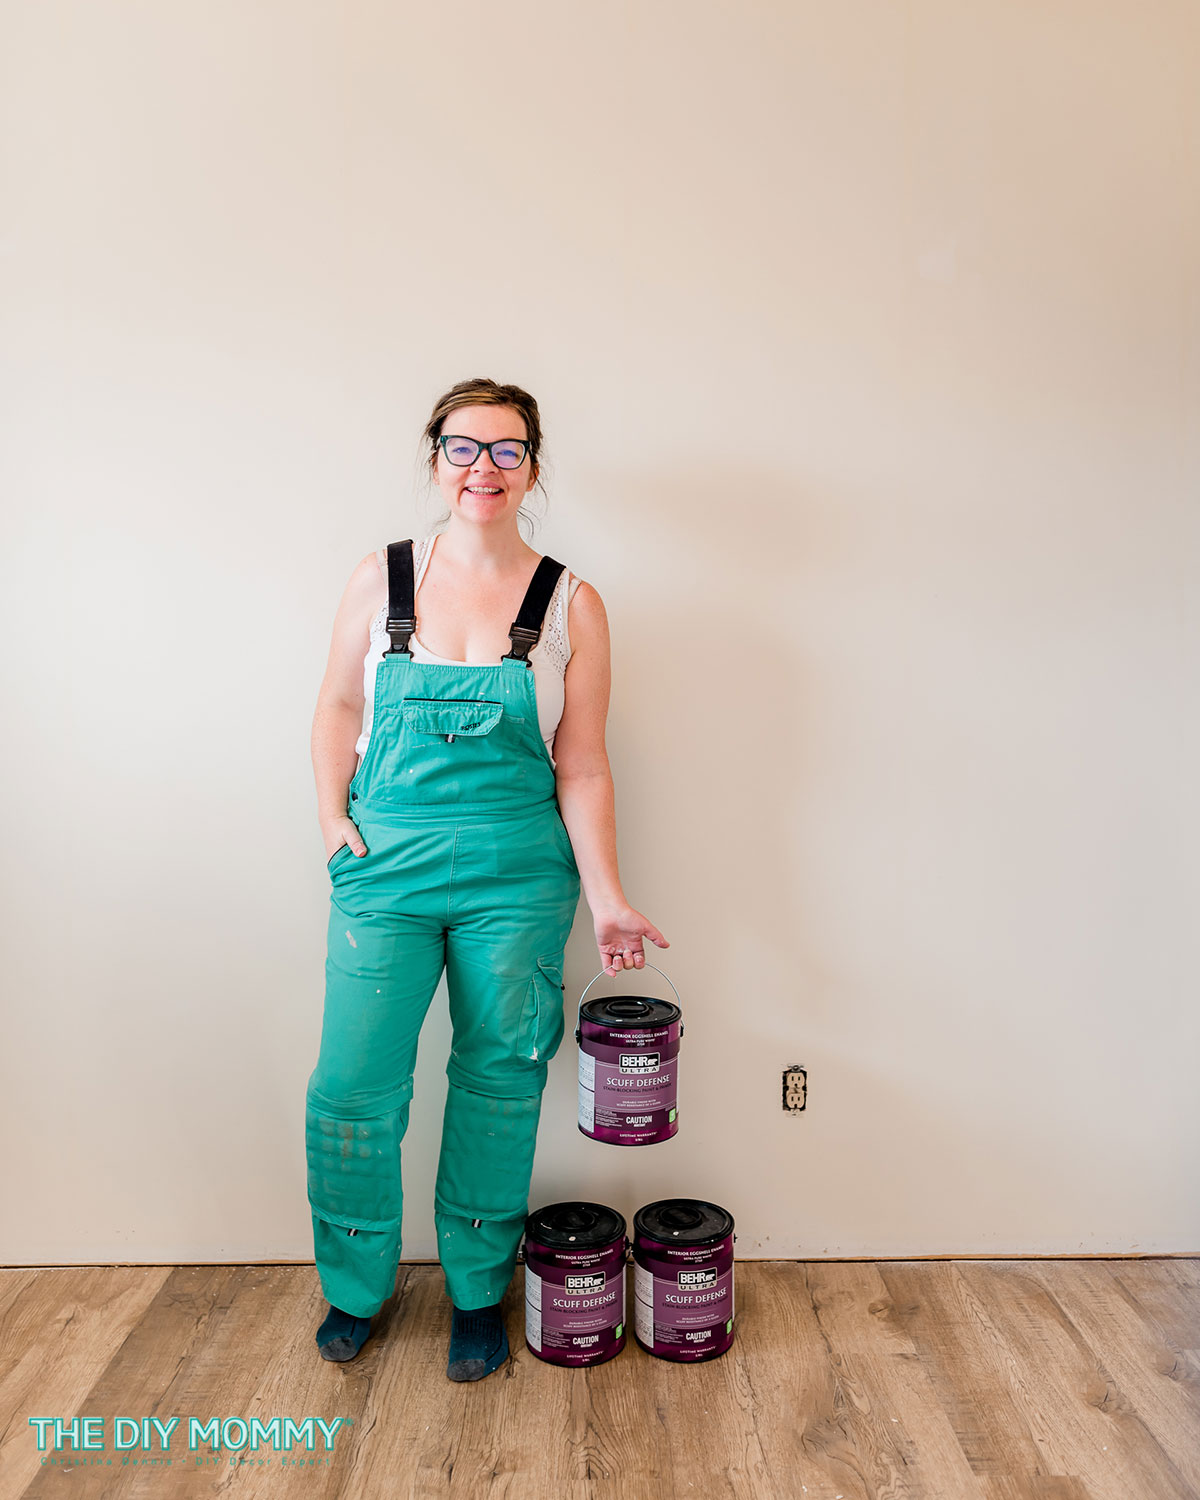
Now your room is ready to makeover with a fresh coat of paint (or even some new wallpaper)! Check out what I did with this particular room – my niece’s nursery – by clicking right here.
How to Remove Wallpaper Video Tutorial
FAQ
I’ve tried a few different options, and I’ve found the best DIY wallpaper solution to be about 2 cups of hot water mixed with 2 Tbsp liquid fabric softener.
Ooooo this is a tough one! I’d suggest scoring the top layer of paint and wallpaper with a scoring tool or utility knife, then applying the DIY wallpaper solution. After soaking, try using a scraping tool or putty knife to remove all of the layers together.
Most professionals will use a wallpaper steaming tool like this one. However, this can be expensive and I find that spraying the backing with the hot water solution works well too.
With a bit of patience, effort, and the right techniques, you can remove wallpaper easily and save money on hiring a professional! The key is to prepare the room, remove the top layer of wallpaper, apply a DIY wallpaper removal solution, remove the rest of the wallpaper, and clean up the room. So, put on your DIY overalls, roll up your sleeves, and get ready to take on the challenge of removing wallpaper without any special tools!