Make Beeswax Wraps to help reduce single use plastic!
This post may contain affiliate links · This blog generates income via ads
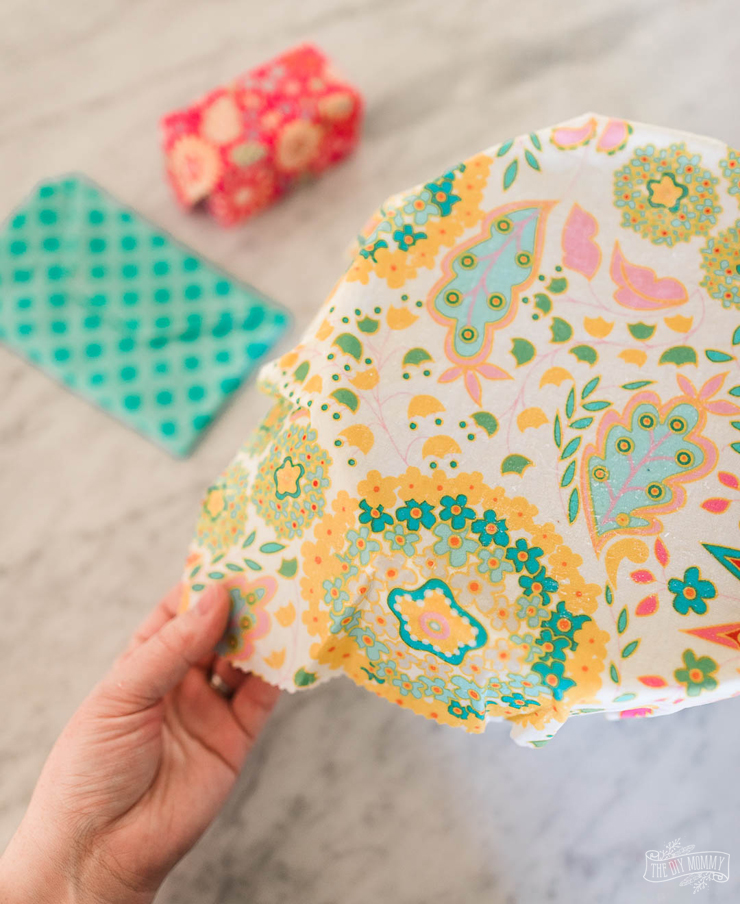
Learn how to make beeswax wraps from cotton fabric, beeswax and jojoba oil with this simple step-by-step and video tutorial. These can be used to cover and wrap food as a reusable alternative to plastic cling wrap.
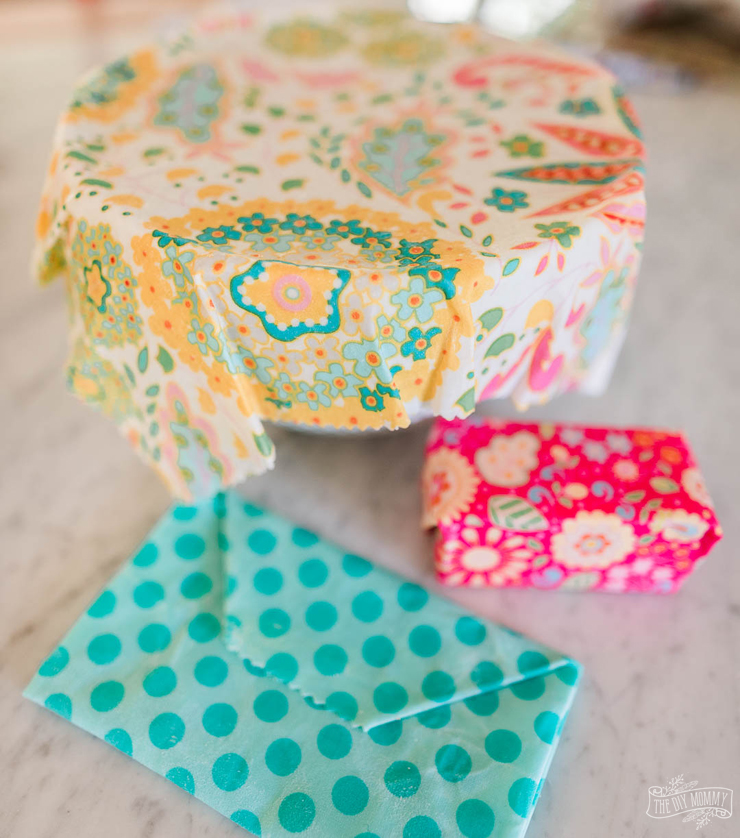
I started making beeswax wraps for food storage a few months ago, and I’ve definitely become addicted to this DIY! They’re so easy to make, they work well, and they’re such an adorable alternative to plastic cling wrap.
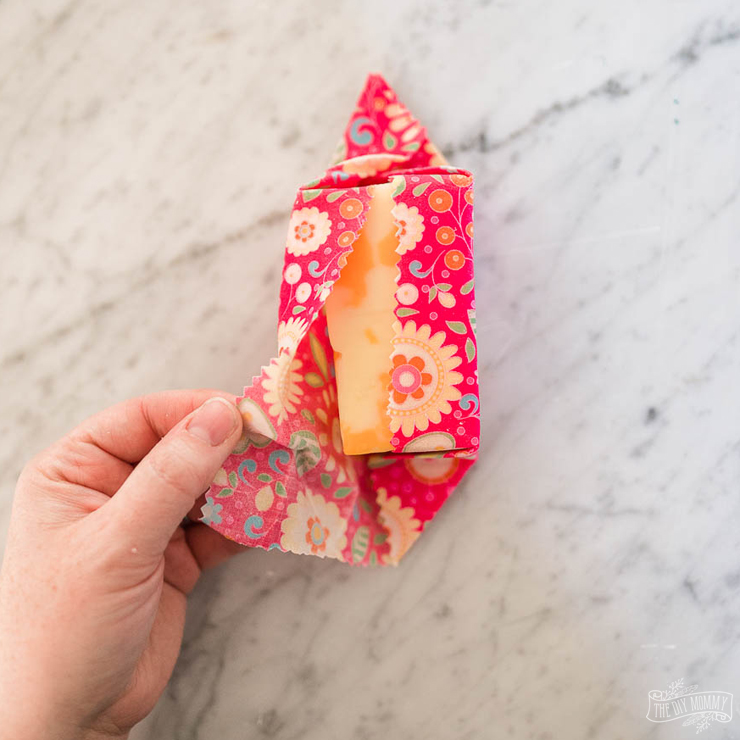
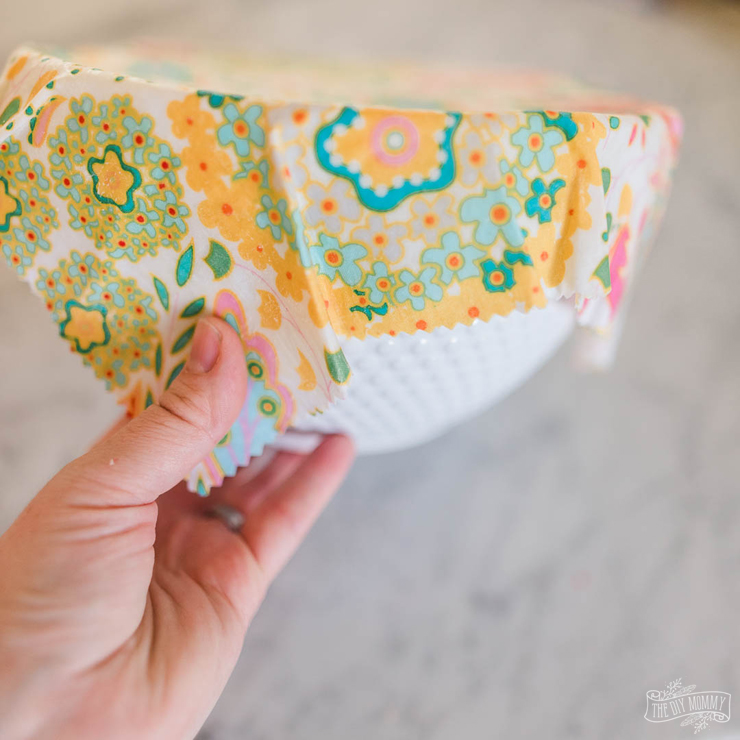
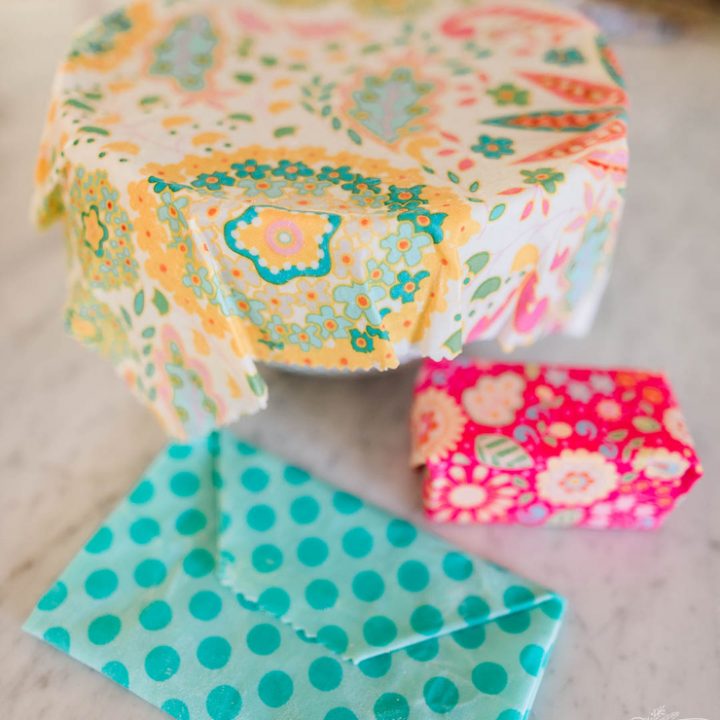
You can make beeswax wraps any size you want, and they stick together or stick to bowls and plates simply with the warmth of your fingers. Beeswax has a low melting point, so warming up the wax on these wraps ever so slightly makes them a little sticky and ready to cling to things.
With our prime minister announcing the ban of some single-use plastic items as early as 2021, I thought it was a great time to share how to make these for your own home!
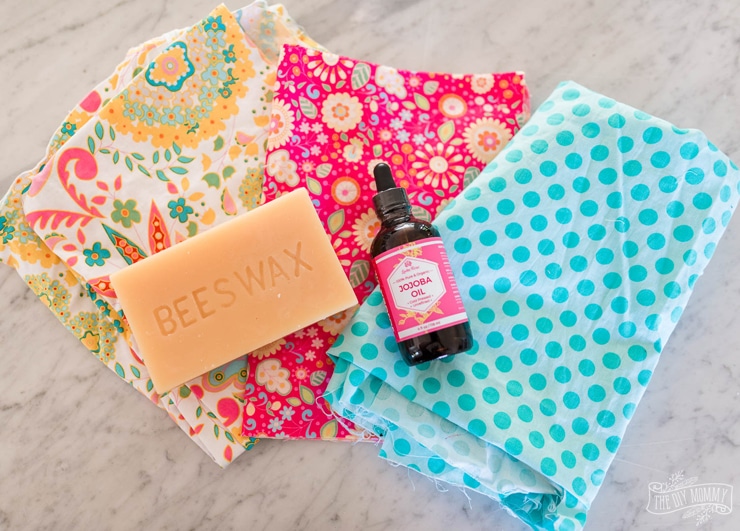
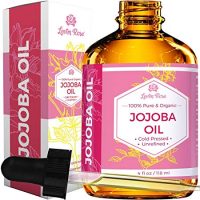
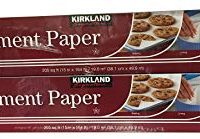
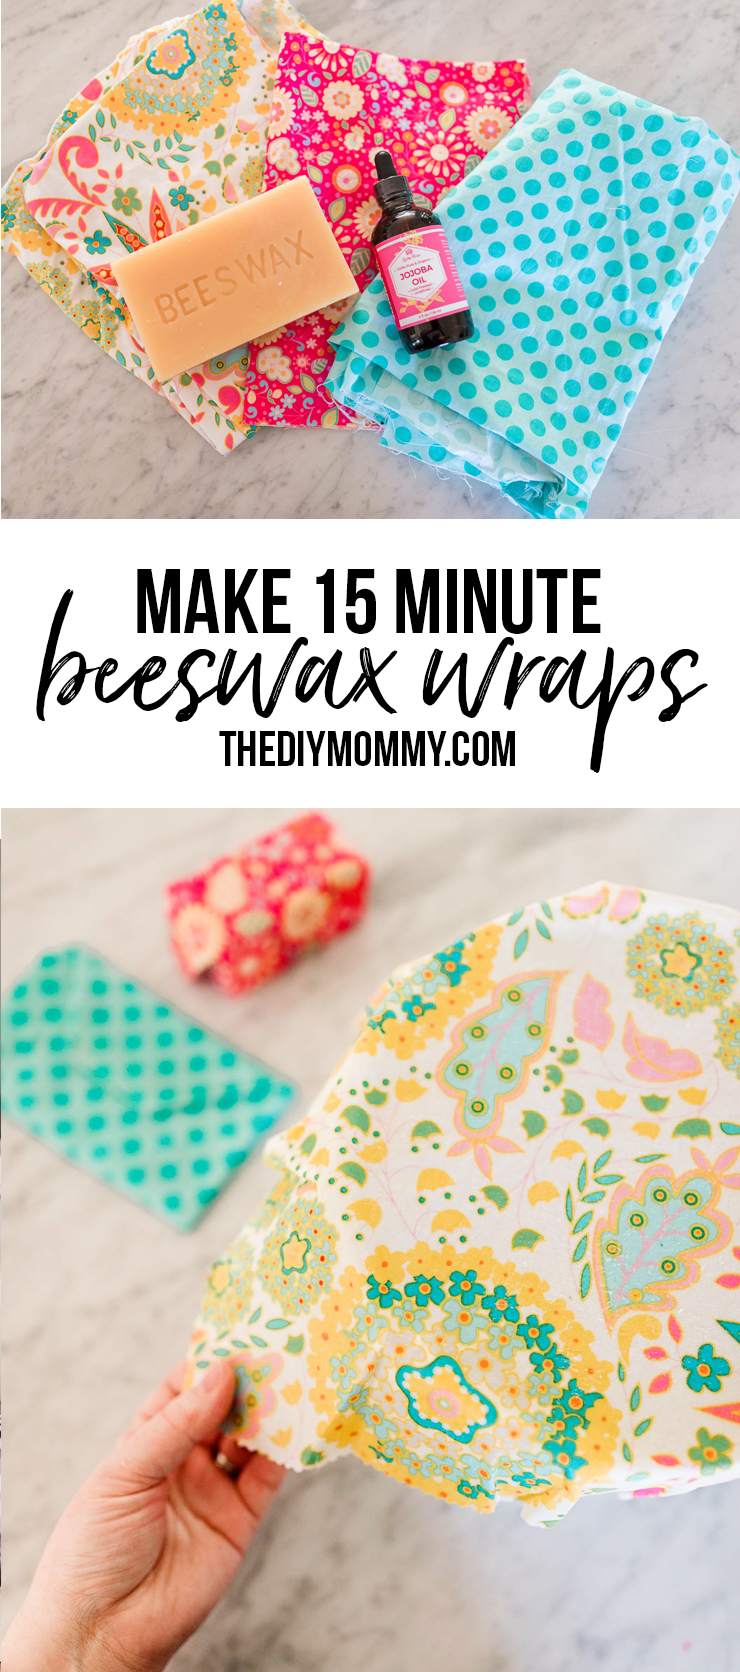
To make beeswax wraps, you’ll need beeswax (my beautiful beeswax block was given to me by Good Morning Honey), 100% cotton fabric (I used scraps from my stash), jojoba oil (to help soften the wraps), parchment paper, an old towel, and iron, and pinking shears.
Amber from Good Morning Honey suggested I use this iron technique to make my beeswax wraps, and I’ve loved the results! You can make these in 15 minutes or less, and you can make several from only a few supplies.
Watch the video tutorial below to learn how to make these adorable beeswax wraps (plus 2 more DIYs!), or follow the written instructions below:
Let’s make them!
DIY Beeswax Wraps - Iron Method
Learn how to make eco-friendly beeswax food wraps from beeswax, cotton fabric and jojoba oil. These are a great, reusable alternative to single-use plastic cling wrap.
Materials
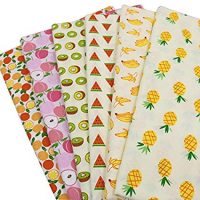
- scraps of 100% cotton fabric (some good sizes for the wraps are 7 x 7", 10 x 10" and 13 x 13")
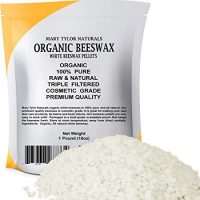
- beeswax (or beeswax pellets)
- jojoba oil
- old towel
- parchment paper
Tools
- iron
- pinking shears
- ruler
- pencil
Instructions
- Cut cotton fabric into squares of desired size. You can cut them a half inch larger than their finished size if you want to trim them down to size neatly at the end like I do. (I like finished sizes of 7 x 7", 10 x 10" and 13 x 13" for my beeswax wraps.)
- If using a block of beeswax, grate it with a cheese grater. You'll need approximately 2 Tbsp of grated beeswax or beeswax pellets per wrap.
- Put an old towel and then a square of parchment paper larger than your cotton fabric square onto an ironing board.
- Place one square of fabric on the parchment paper.
- Sprinkle a couple of Tbsp of beeswax onto the fabric, or enough to cover it.
- Squeeze several drops of jojoba oil over the beeswax to help soften the final wrap.
- Place another square of parchment paper over the fabric + beeswax.
- Iron over the parchment paper with an iron on the "cotton setting". Ensure all the beeswax melts into the fabric and spreads over the whole surface. You can add more beeswax if needed by carefully lifting the top piece of parchment paper and sprinkling more wax over the fabric.
- Let the wrap cool, and peel the parchment paper away.
- Trim the finished wrap with pinking shears around all edges.
- To use the wrap, warm it up slightly with the heat of your fingers and it will adhere to bowls, plates, or to itself to wrap cheeses and other food items.
- To wash the wrap, rinse it under cold water and hang it to dry.
Recommended Products
As an Amazon Associate and member of other affiliate programs, I earn from qualifying purchases.
Hi Christina! This looks fun, but I am not seeing what to use the jojoba oil for?
Hi! You sprinkle some on top of the wax before you iron 🙂
So… what does the jojoba oil do? It is necessary for?
Hi Anne! It makes them softer 🙂 We haven’t tried it without the oil so, I’m not sure.
well those are some great ideas thanks
Thank you!
Can another oil like avocado, sesame oil be used instead?
You could try, Christina has only used jojoba for this project 🙂
Hi,
I am trying to figure out the best way to shave the beeswax. Any suggestions . It’really hard blocks.
Hi Michele,
We’ve bought graters from Dollarama and IKEA to grate the wax… it is a bit hard but I do find that the problem for me is that the grater gets clogged with wax over time, making it difficult to grate the wax easily. Try using a hairdryer to melt any wax on the grater and wipe it off and try again 🙂
I have’t tried a box grater, but I feel like if you found one that was fairly inexpensive, it might be easier than a hand one.
Do these leave behind sticky residue from the bees wax?
I don’t think so, I think the jojoba oil makes them feel softer 🙂
Hello,
How much bees wax did you buy and how many does it make? I am putting this together for a group craft and I am not sure how much to buy.
Christina lives near a honey farm so she bough a brick of beeswax from them and it made many, many wraps… I am honestly not even sure how many as we did a workshop with them but I’d say, over 30? We grated ours so I am not sure how much pre-grated wax you would need. I think we used about 1/4 cup of grated wax for each of our wraps. Hope that helps!
Hello!
Does the beeswax leave behind residue? I’m looking into ways to freeze individual chicken thighs without the use of plastic
It does not but, we wouldn’t recommend these for raw meat because you can’t really clean them without stripping the wax off. Here is a video that Christina did with some single use plastic alternatives from amazon that she liked: https://youtu.be/4rG2ytEZYQo and she uses these for her freezer items: https://www.amazon.ca/gp/product/B074C5SLBZ/ref=as_li_ss_tl?ie=UTF8&psc=1&linkCode=sl1&tag=thediymommy-20&linkId=a61d11166f7f2a91042566e850d70194&language=en_CA
Hope that helps!
Could you use soy wax instead?
We’ve never tried with soy wax 🙂
Have you tried making wraps with the fabric you recommend through Amazon? I am just wondering if the fabric is thin enough.
Hello. Lovely idea. Thank you for sharing. Do you apple wax and oil to the front side or back side of the fabric. Thank you
To the “front” side and it will absorb through the fabric.
Thank you. I have a heap of coconut oil so will try this instead of jojoba…see how I go . I’ve wanted to make them for ages and now, with so much time on my hands, I will… following your idea. I’m following you now, so will check out other ideas you’ve had.
Thanks again.
Amanda
How do you clean them?
We just rinse them with cold water and lay flat to dry 🙂