Sew a Fitted Skirt for a Keyboard Stand Cover
This post may contain affiliate links · This blog generates income via ads
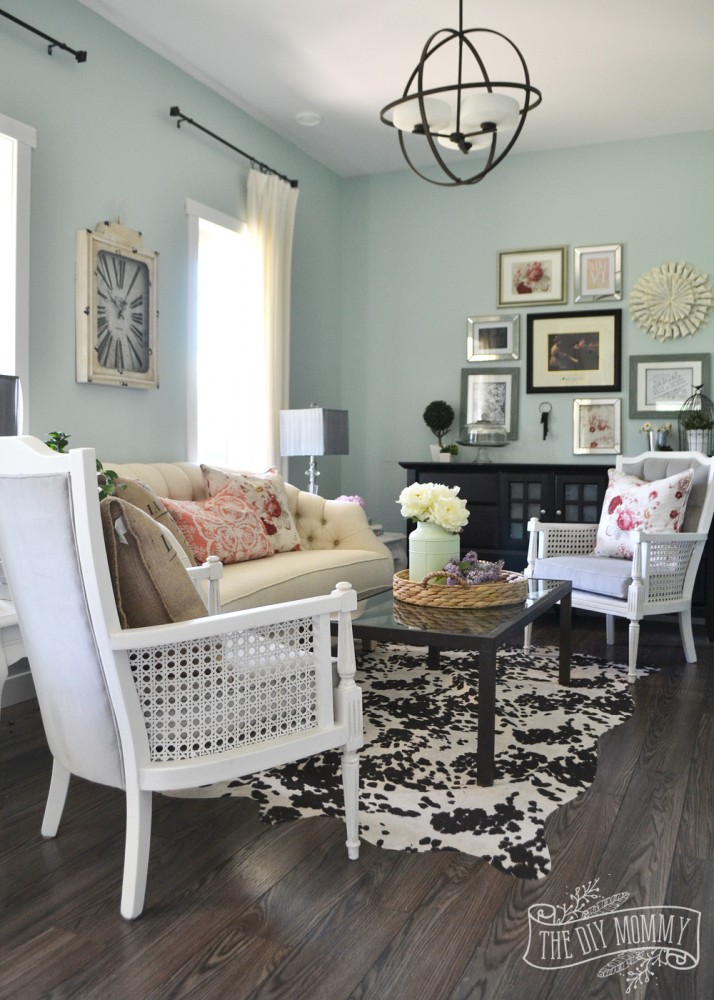
When you enter our home, the first thing that you see is a short wall in our sitting room where my keyboard resides. It’s really the only spot on our main floor that suits the size of my keyboard, and I need it somewhere easily accessible so that I can practice music for church (and for fun). The icky looking metal stand and cords underneath the keyboard started bugging me to BITS. I had to think of a solution to make my keyboard look prettier, and I finally came up with an idea. When I saw this skirted media console by Sarah Richardson one day, it hit me – I could design and sew a fitted skirt for my keyboard stand! Not only would it hide the mess of cords and the ugly utilitarian stand, but I could still slide a chair underneath it when I wanted to use my keyboard. Here’s how I made my DIY fitted skirt to cover my keyboard stand.
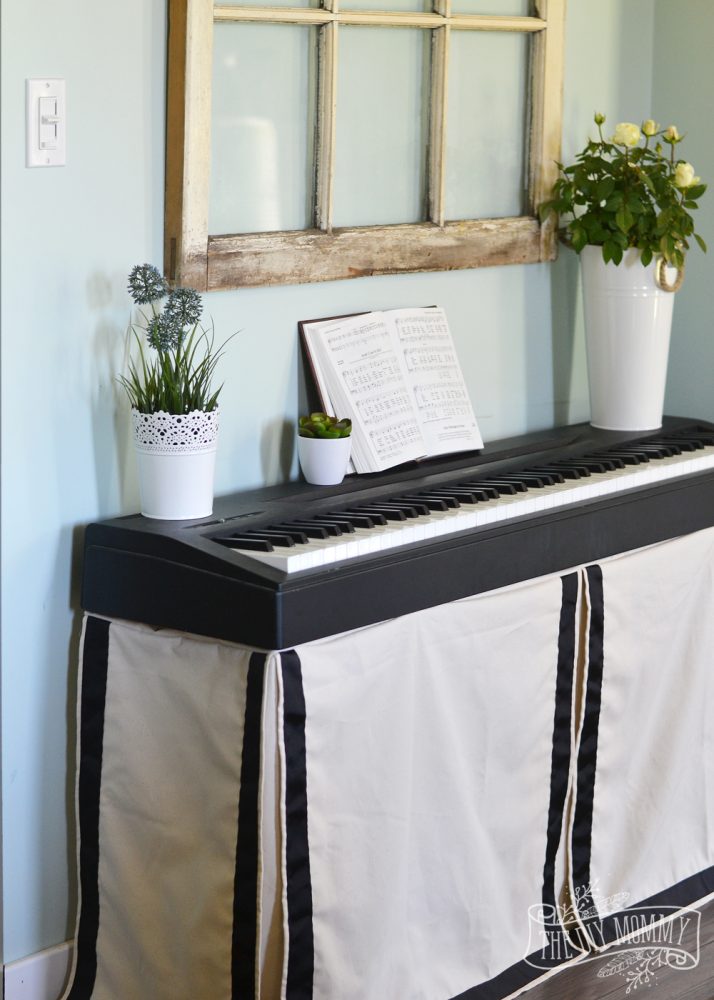
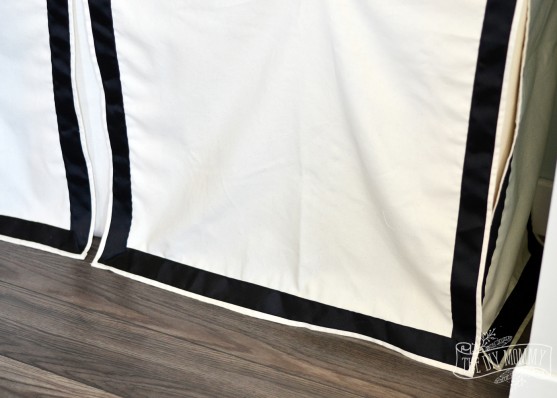
I decided to use a natural coloured cotton canvas for the skirt, and then I dressed it up with some black grosgrain ribbon. I love this combo because it’s neutral, but still a little classy and glamourous to match the rest of our sitting room decor:
I did use my sewing machine to make this skirt, but you could also make something similar by using a plywood base that sits atop your keyboard stand, and staple your fabric to it. Have a look at this tutorial if you’d like to try a no-sew version.
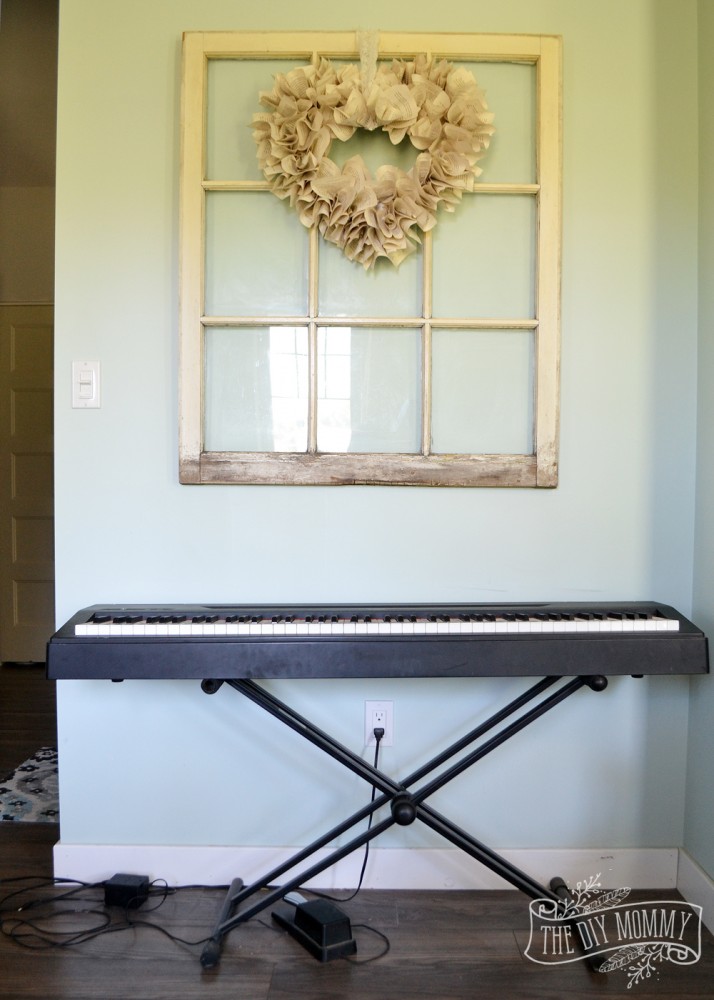
Here’s how my keyboard stand looked before:
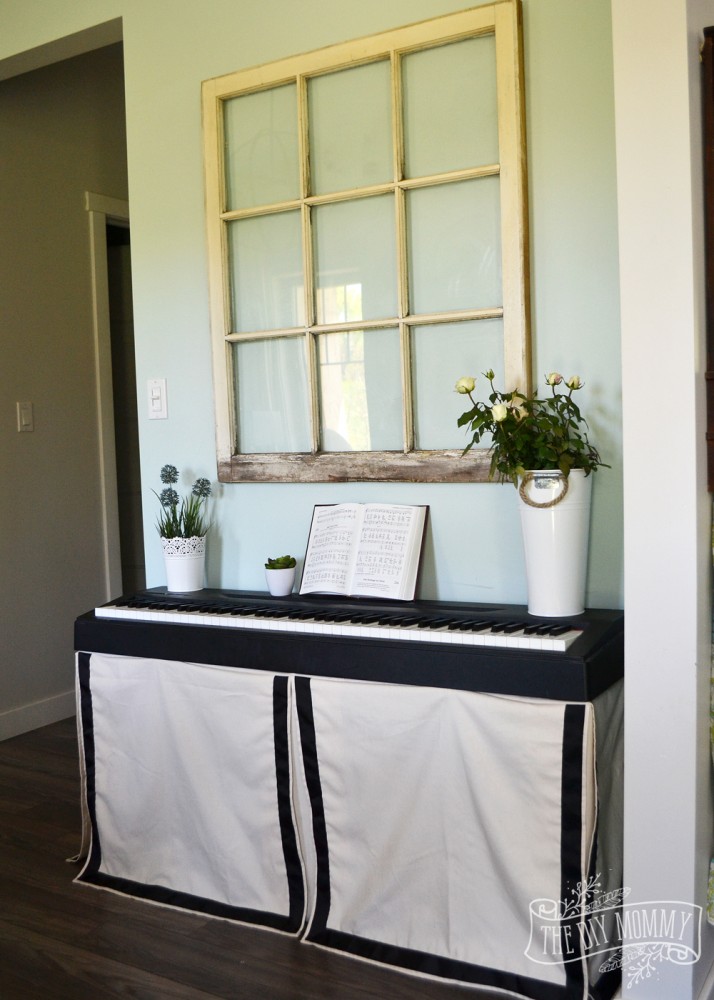
And here’s the after:
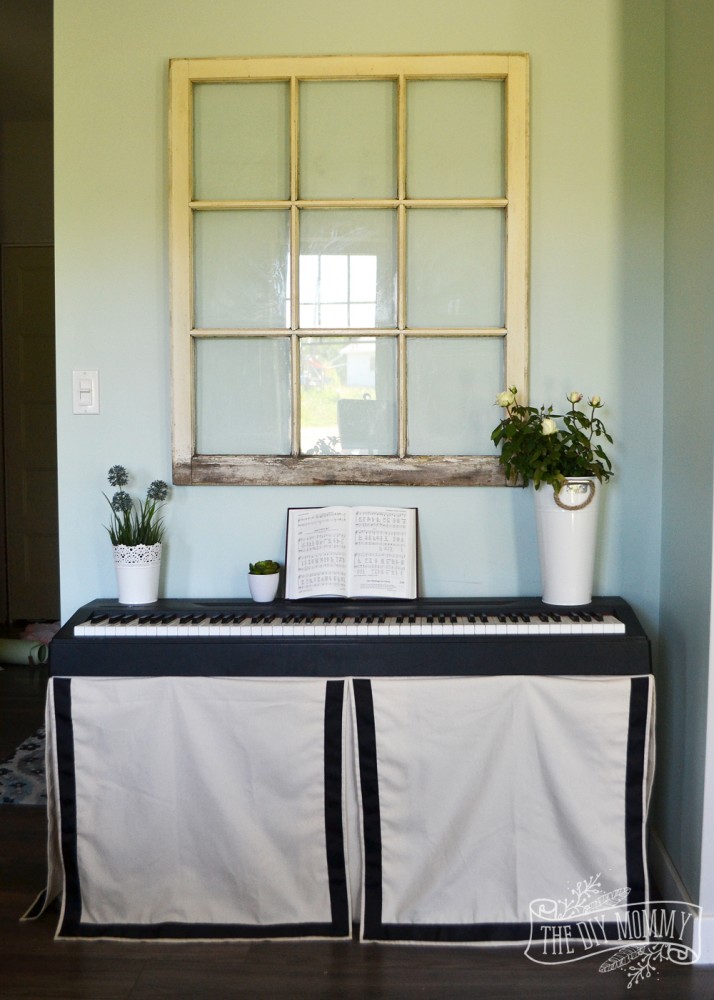
It’s so much more welcoming, right? It looks like a cute little console table now, but it’s still my beloved keyboard!
To make a fitted skirt keyboard stand, you need:
- 2 yards heavy decor fabric (I used cotton canvas)
- grosgrain ribbon (optional)
- sewing machine & thread
Directions:
- Measure the length and width of your keyboard, and the height of your keyboard stand.
- Cut out the following rectangular pieces from your fabric:
- Base – the length and width of your keyboard + 1″ (to account for seam allowances)
- TWO Side Panels – the width of your keyboard x the height of your stand + 2″ (to account for hems and additional length for a little drape)
- TWO Front Panels – half the length of your keyboard each x the height of your stand + 2″ (to account for hems and additional length for a little drape)
- THREE Pleat Pieces – 8″ x the height of your keyboard stand + 2″ (these will go behind the panels on the corners and front “pleat”)
- Serge or zigzag one long side of the Base piece.
- Press all of the vertical sides of the Side Panels and Front Panels 1/2″ and then 1/2″ again. Stitch to create hems.
- Zigzag or serge the vertical sides of the pleat pieces. These sides don’t need to be hemmed nicely because they will be hidden behind the other pieces.
- Press all of the bottoms of the Side Panels, Front Panels and Pleat Pieces under 1/2″ and then 1/2″ again. Stitch to create hems.
- Sew grosgrain ribbon around the edges of the panels (or other trim) if desired. I sewed mine about 1/2″ from the edges.
- Stitch the Side Panels to the sides of the Base piece, right sides together using a 1/2″ seam allowance.
- Sew the Front Panels to the front of the Base piece, right sides together using a 1/2″ seam allowance. Ensure that the split is in the center.
- Pin the Pleat Pieces behind the other panels – center them at each opening. Stitch them into the seam allowance, ensuring that their hem falls to the same place as the hems of the rest of the pieces.
- You can create a plywood piece that’s the same size as your keyboard for this skirt to drape over, or you can do what I did if your keyboard is a permanent fixture – pin the skirt directly to the bottom of the keyboard.

I’m so happy with the stylish new look of my keyboard stand and I think that it’s finally a pretty piece to great my guests with!
I love this! I teach piano lessons on the side and would love to make my keyboard more visually pleasing! Problem is I can’t sew! Can you make me one and send it to Minnesota?! Haha
That looks good, it really makes the keyboard fit in with the rest of the room. Who knew a skirt could give such gravitas?
What a great idea! Thank you for some inspiration for my keyboard. I was wonderful what I could do with it! Fabric makes everything look better. 🙂
This is brilliant and exactly what I was looking for. Thank you so much for sharing this!
This is amazing! I am looking to buy a good keyboard do you have any recommendations? Thank you!
Could you explain what you mean by “pin the skirt to the bottom of the keyboard?” How would that work, exactly? Thank you!