Make Black Cat Velvet Pumpkins (+ 8 More DIY Halloween Ideas!)
This post may contain affiliate links · This blog generates income via ads
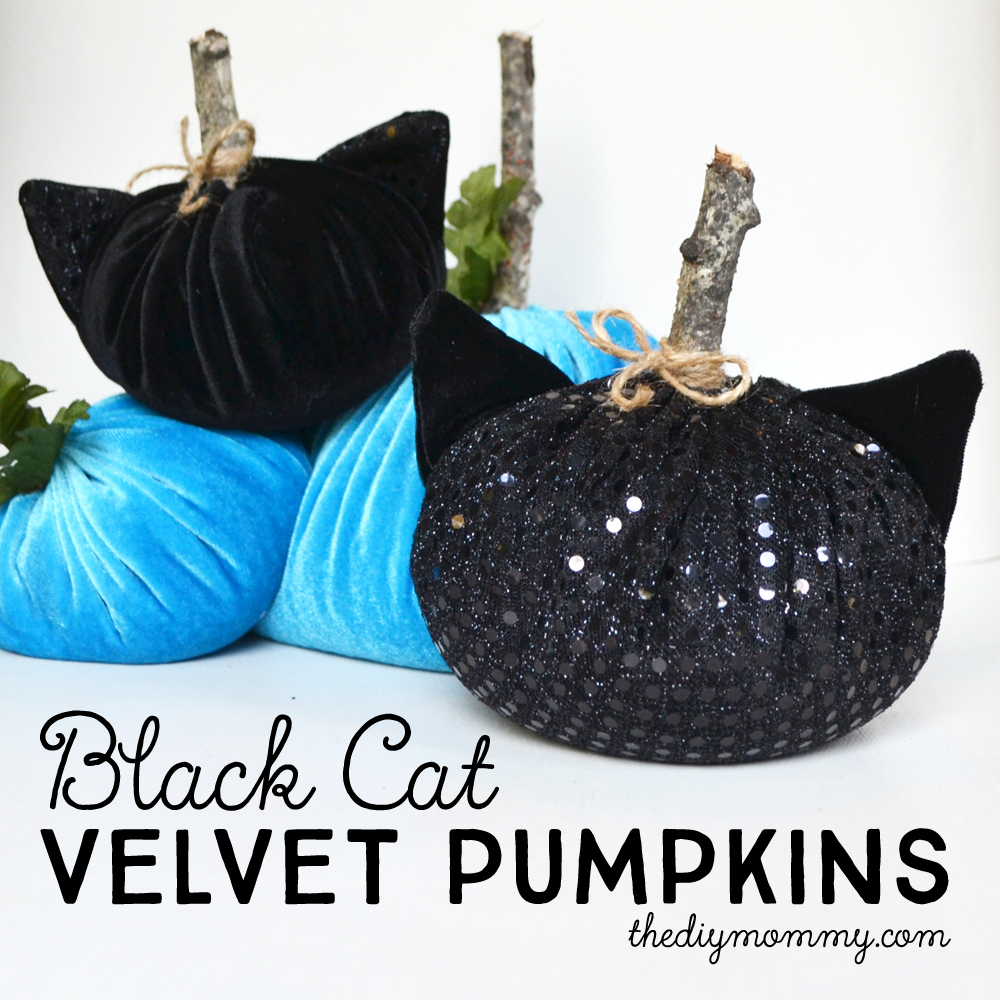
These silly little pumpkins make fun decorations for Fall and Halloween… and for some reason my girls just LOVE to play with them! I’ve seen velvet pumpkins, but I’ve never seen velvet pumpkins with cat ears. I thought it would be fun to make these DIY black cat velvet pumpkins for a cute and simple decoration this season. (Pssst! At the bottom of this post there are 8 more fun Halloween DIY ideas just for you from more Canadian bloggers!)
These little guys are easy to make, and they’re a fun thing to make with kids. My girls helped me and they enjoyed it!

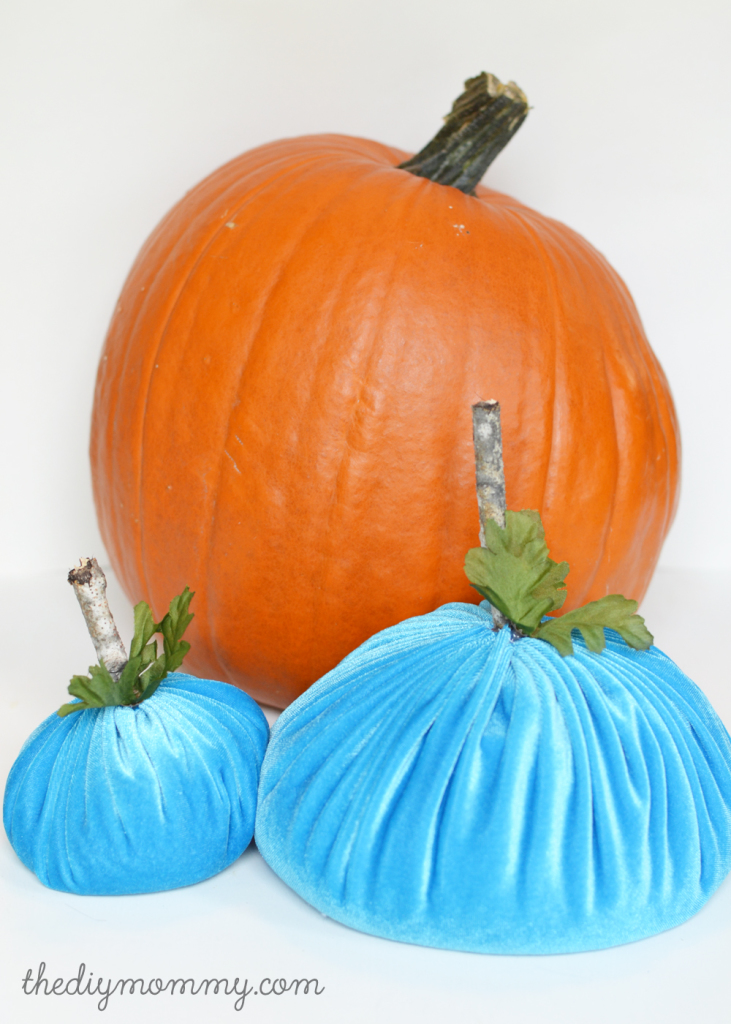
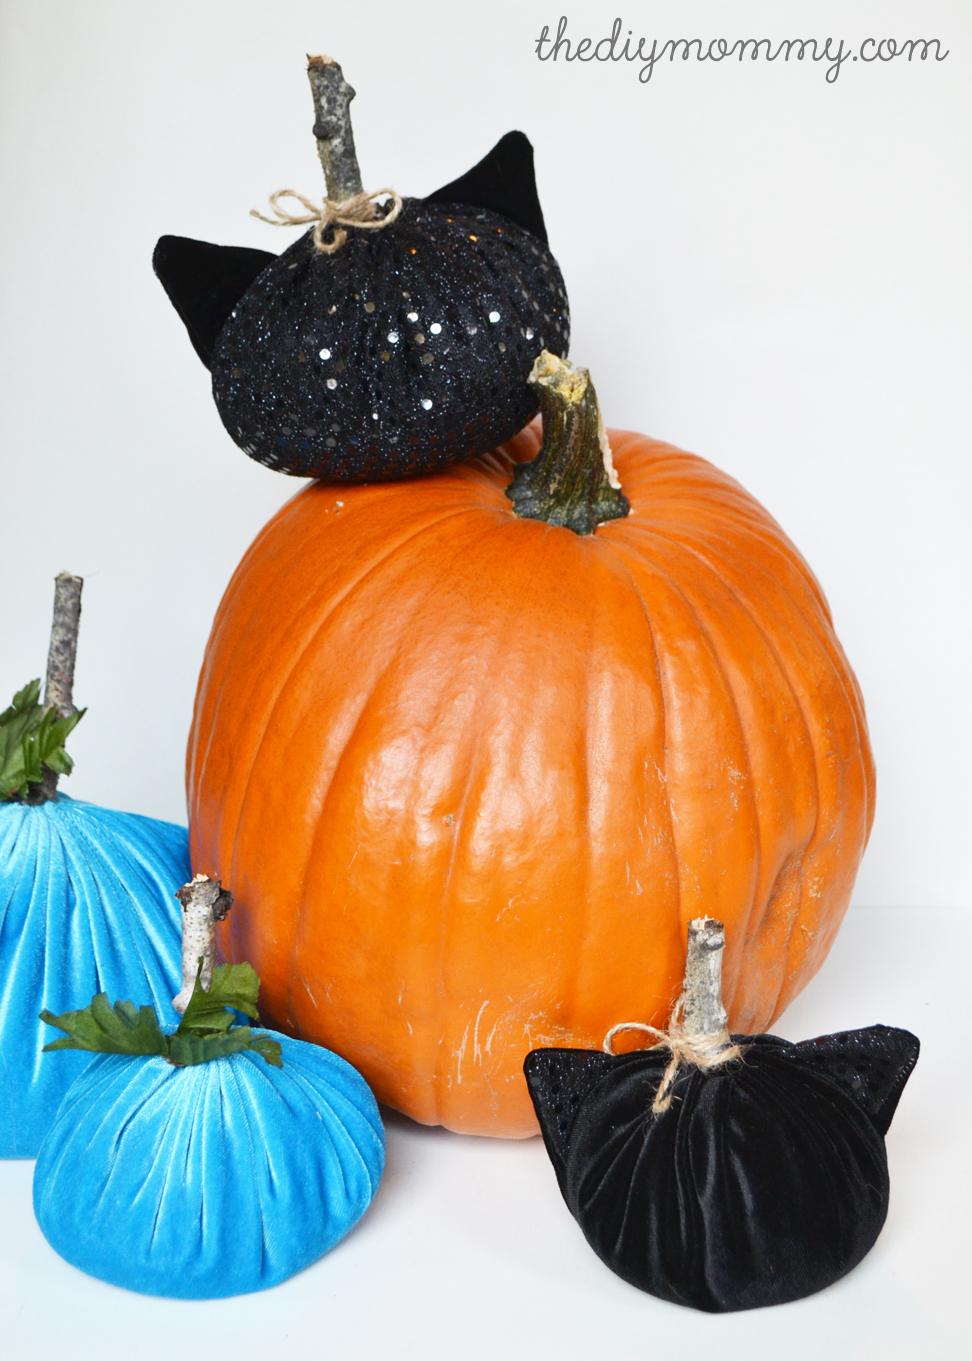
We also made plain pumpkins with silk leaves instead of ears in a pretty turquoise velvet. You could easily make them too:
Supplies:
- velvet fabric (I used leftover stretch velvet from this project)
- sequin fabric (if you want to make a sparkly cat or sparkly cat ears)
- a large round thing to use as a stencil (I used a giant pot and a big round tray)
- sticks for pumpkin stems
- silk leaves (for a more realistic pumpkin)
- twine (optional, for bows)
- glue gun
- needle & thread
- scissors
- rice or beans for filling
- fiber fill or scrap fabric for filling
Directions:
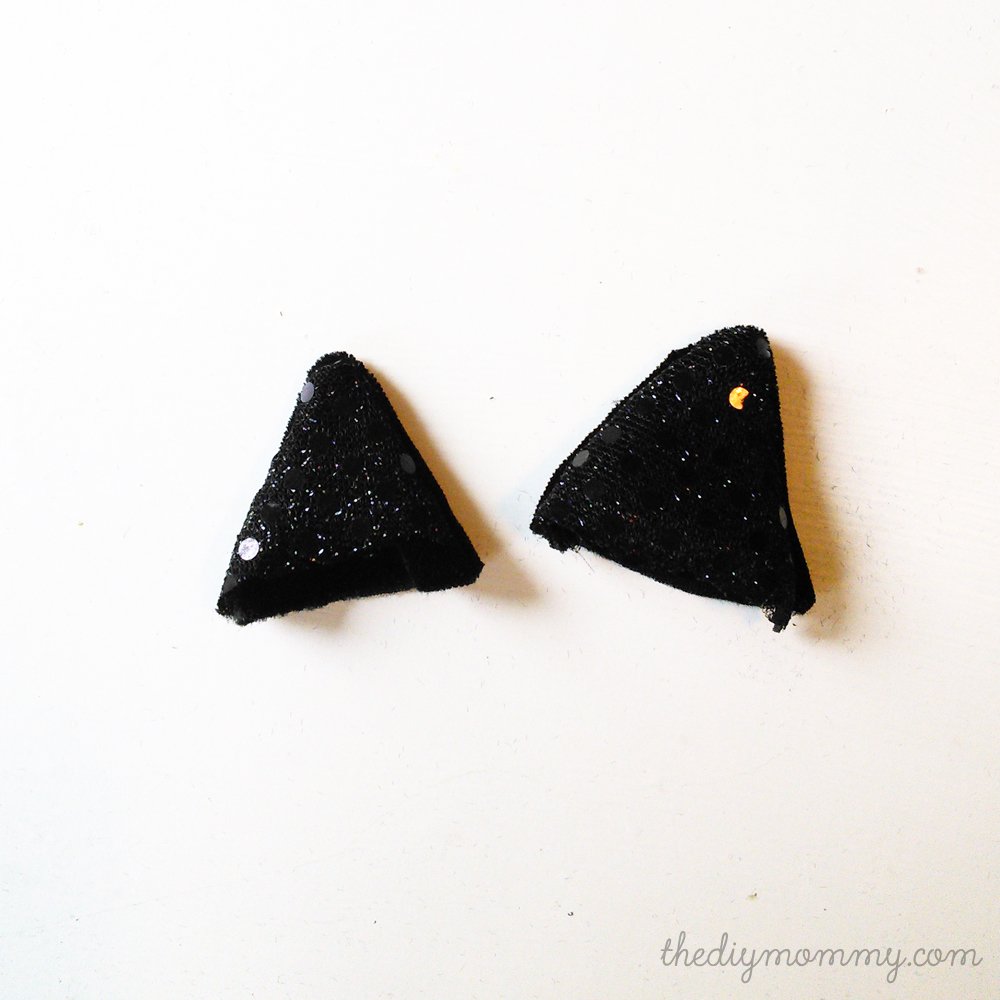
If you’re making a black cat pumpkin, make the ears first. Cut out two triangles from black velvet that are about 2 1/2″ long on each side, and two from black sequin fabric. Put them right sides together, and then sew them together on two sides with a 1/8″ seam allowance. Turn them right side out and press with your finger.
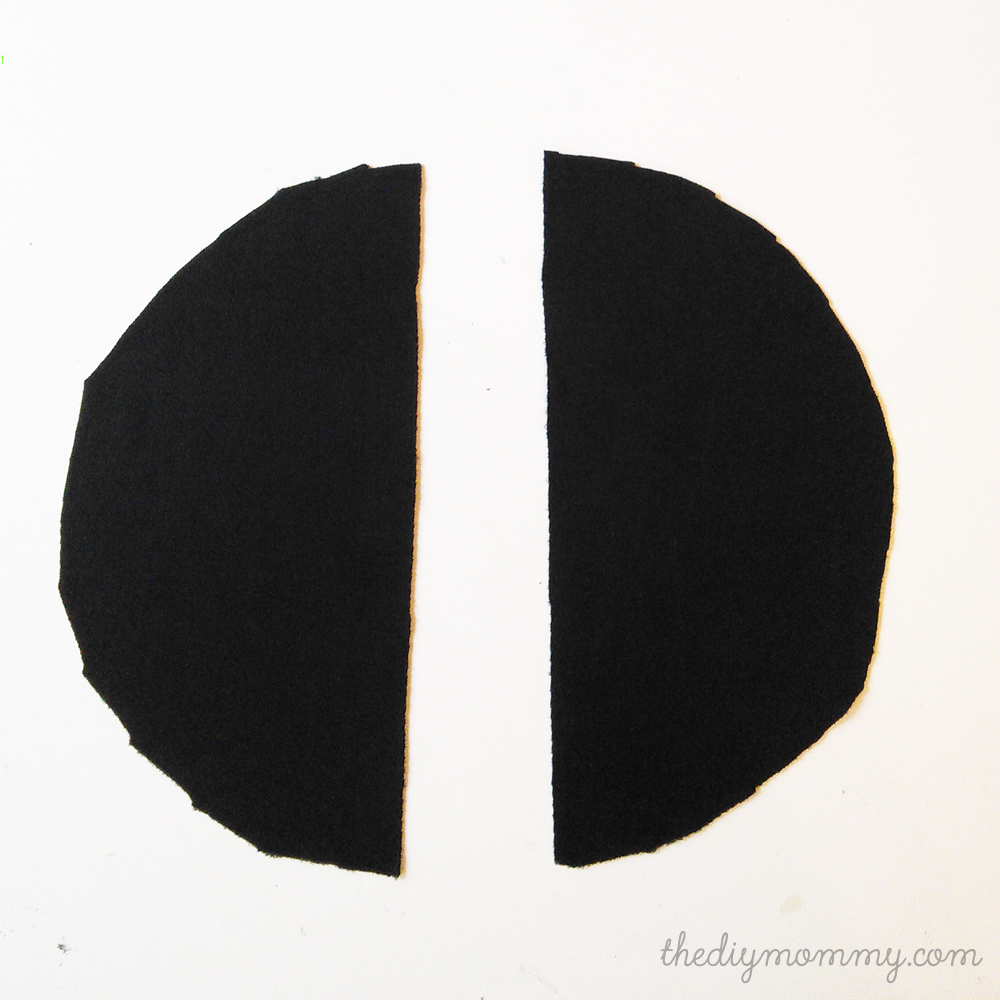
For all pumpkin styles, trace a large circle onto your velvet fabric. I used a large pot. Cut.
If you’re making a black cat pumpkin, cut the circle in half. Don’t if you’re making a regular pumpkin.
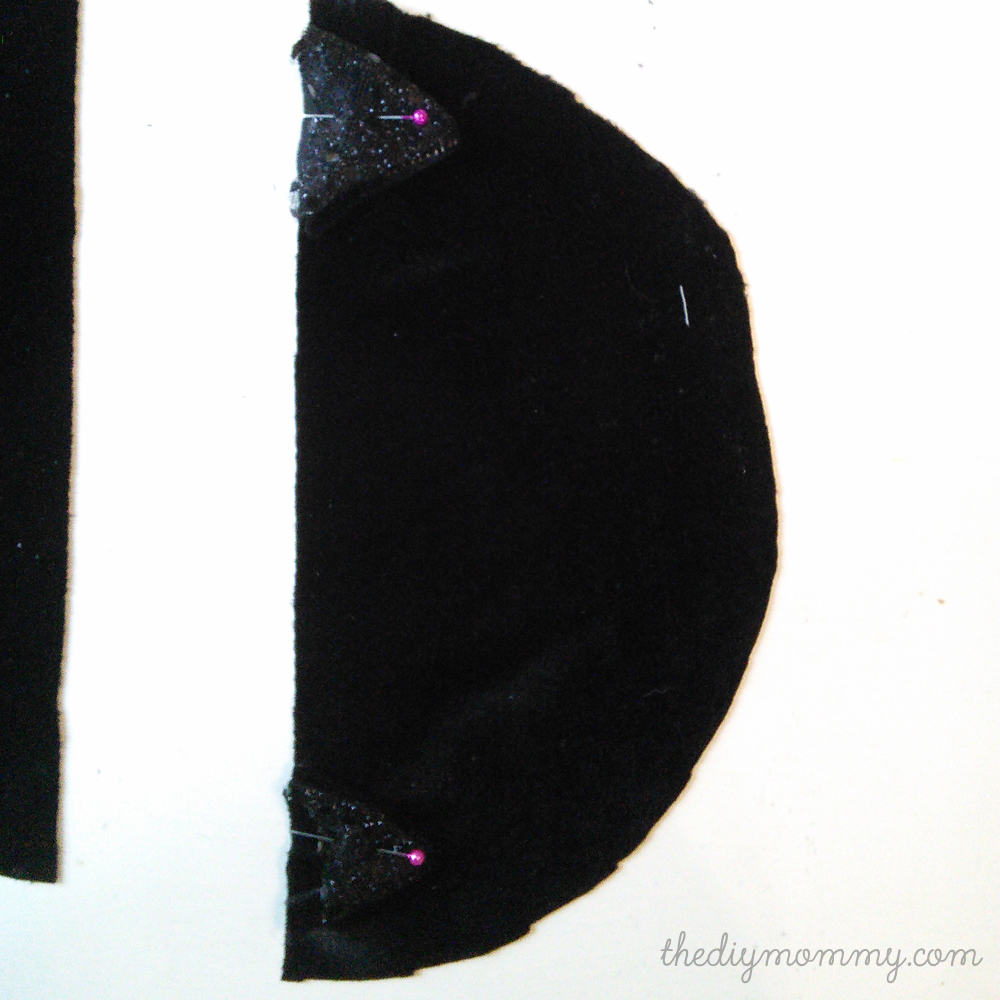
For the black cat pumpkin: pin the ears to the right side of one of the half circles, so that the raw edges are against one another and the ears are about a 1/2″ from the edge of the circle.
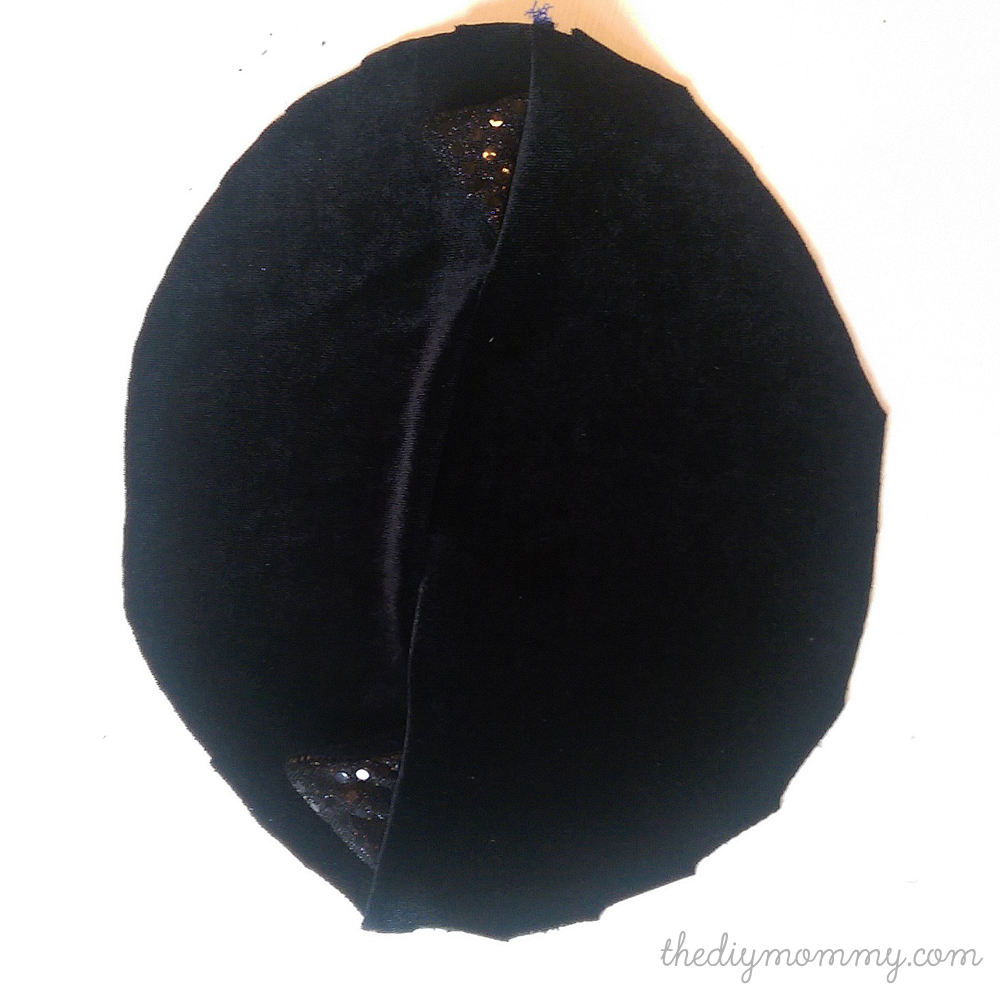
Place the other half of the circle over the first half + the ears, pin, and stitch all of them together along the raw edge using a 1/4 seam allowance. Open up the circle and your ears should look like the above photo.
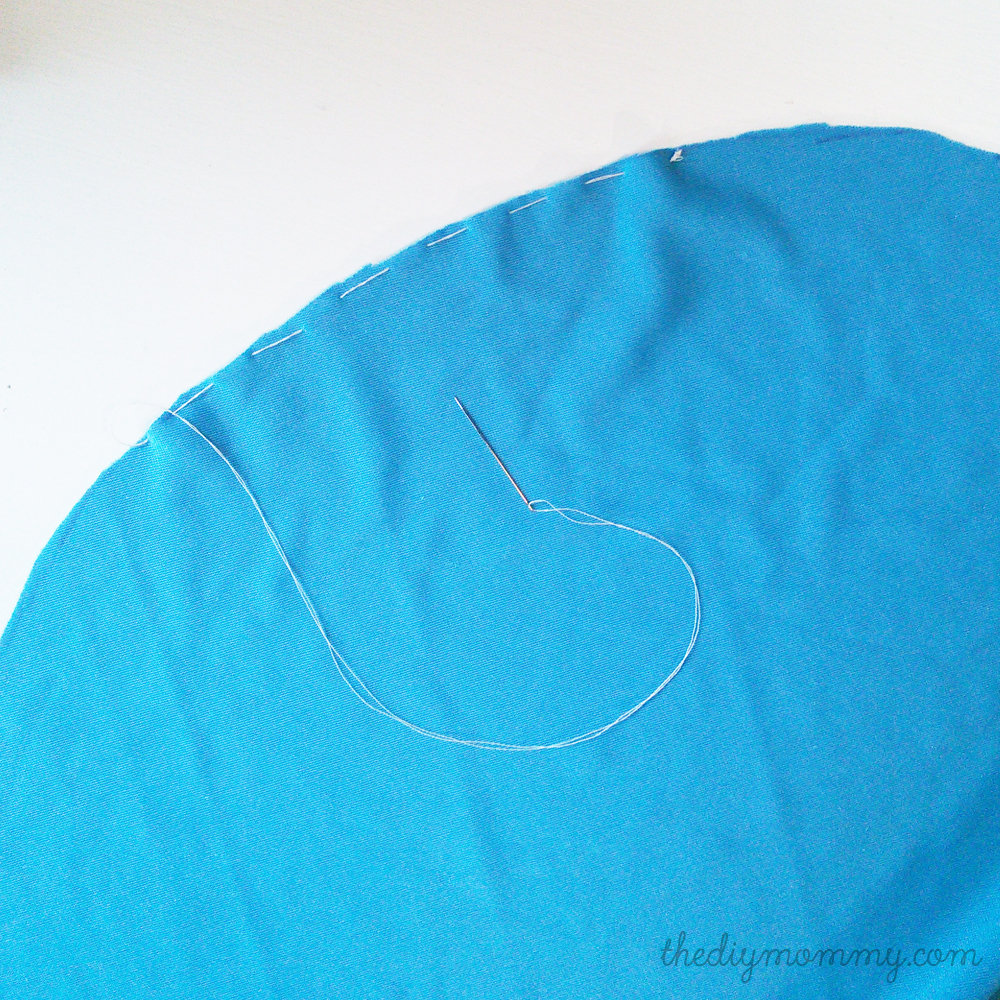
For all pumpkin styles: hand stitch a long running stitch (simply, go in and out of the fabric like shown above) along the edge of the circle. This is a great project for a wee beginning seamstress! Little C had a lot of fun:

To help her, I marked little dots along the edge of the circle to show her where to put the sewing needle in and out.

Once you’ve sewn all the way around the edge of the circle, keep the needle on the thread for now, and pull the thread to start closing the pumpkin. Don’t close it all of the way – leave an opening for stuffing.
Stuff the pumpkin with rice or beans, and then with fiber fill or scrap fabric to shape it. I found that about 1/2 rice and 1/2 fabric gives the pumpkins weight, but some shape too.
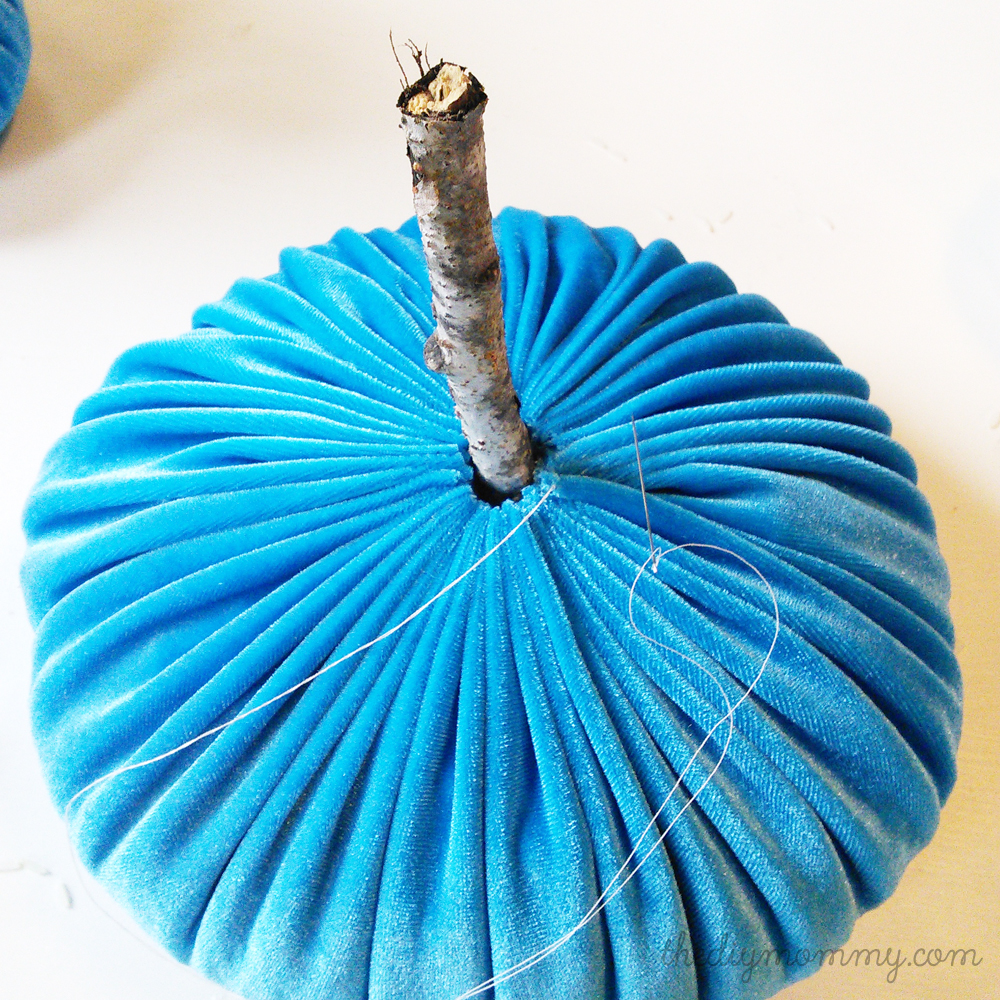
Pull the thread tighter, and then chop off a piece of branch or dowel and insert it into the center hole. Pull the thread tightly around the stick, and tie it shut. You can hot glue the fabric around the stick to secure it.

You can embellish the plain pumpkins with silk leaves (attached with a hot glue gun).
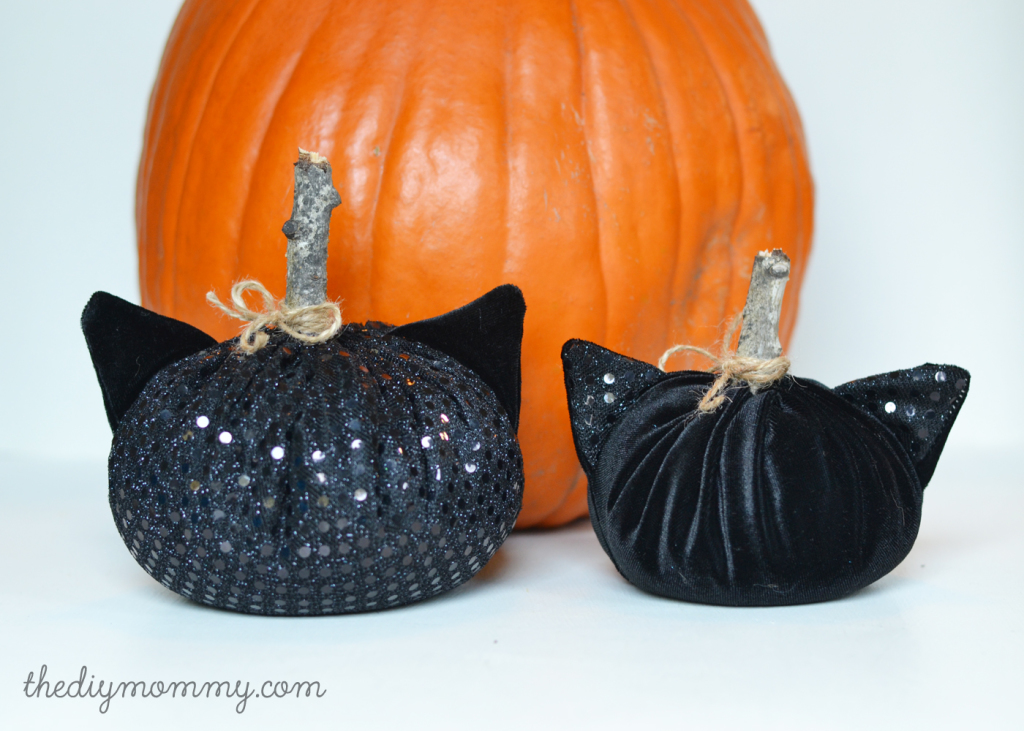
We embellished the black cats with little bows around their stems.
Our pumpkins are perched on our mantel for Fall… until someone wants to play “Mommy and Baby Kitty”, and then we take them down to play!
Ready for more Halloween related DIY fun? Here are 8 more creative Halloween craft ideas just for you from some amazing Canadian bloggers:

A Witches’ Brew Martini from Suburble
Halloween Dropcloth Sharpie Pillow from The Happy Housie
Halloween Caramel Apples from Satori Design for Living
Frankenstein Rice Krispie Treats and Free Printable from Clean and Sensible
Halloween Planter Decorations: Chalkboard Wood Bats from The DIY Dreamer
Jello Jar Monsters from Echoes of Laughter
Black Cat Velvet Pumpkins from The DIY Mommy
Halloween Rat Wreath from Fynes Designs
Creepy Crawly Resin Tray from Craftberry Bush

Oh so adorable!!! I love Halloween crafts that my kids can help make! This will be perfect!! Thanks for the tutorial!! Pinned 🙂
Adorable Christina!! What a creative take on pumpkins and Halloween- and I love the velvet!!
The cat ear pumpkin is such a great idea – I never would have thought of that! Thanks for sharing XO
So smart to add little ears to make cat pumpkins! These are adorable!
I love these pumpkins; the cats are too cute. I know that my girls would LOVE these!
These are AWESOME!! And so unique. The fabrics you chose are perfect, Love it!
These are AWESOME, and so unique. The fabrics you chose are perfect, Love it!
Good tips! I have been dying to make some velvet pumpkins. . . gotta go to Fabricland soon!
Oh my! These are SO adorable! Love the blue pumpkins too! Pinned!
I love the cat pumpkin and have to make one now. So very cute! Pinning.