Sew a One Yard Chevron Dress
This post may contain affiliate links · This blog generates income via ads
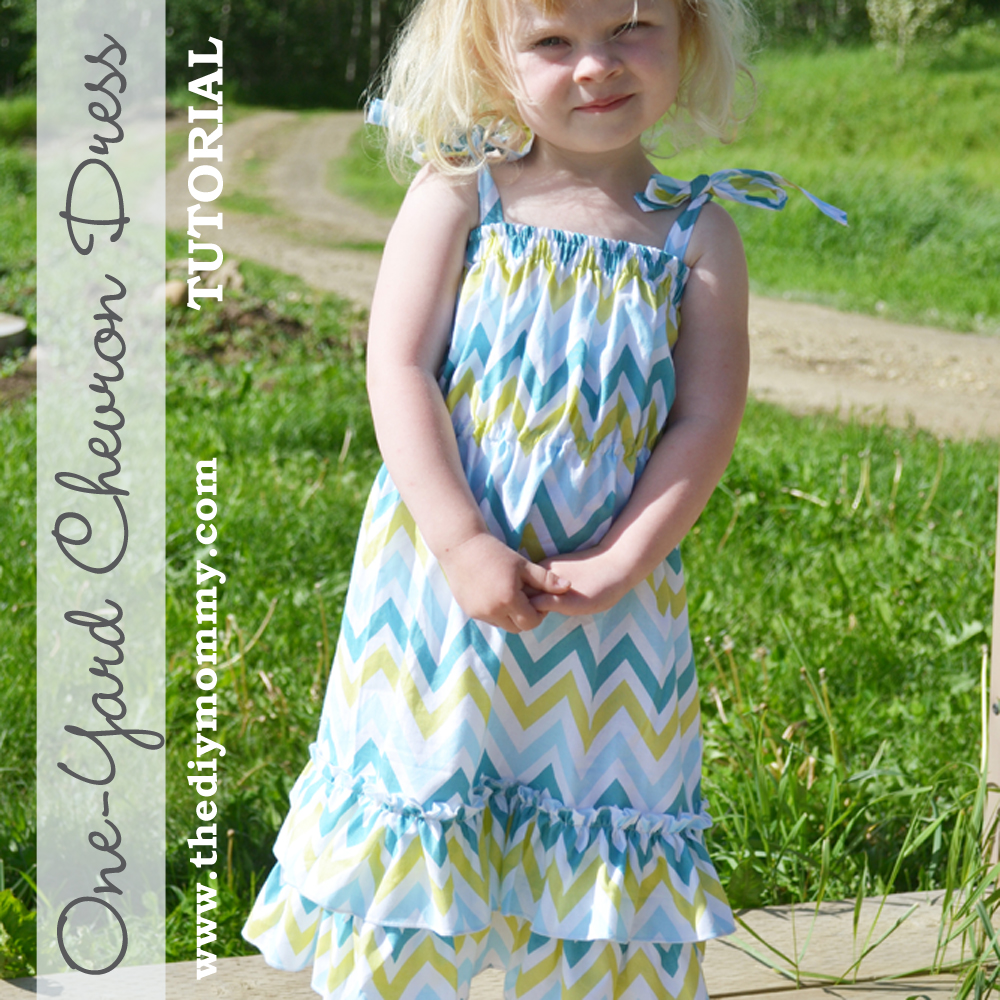
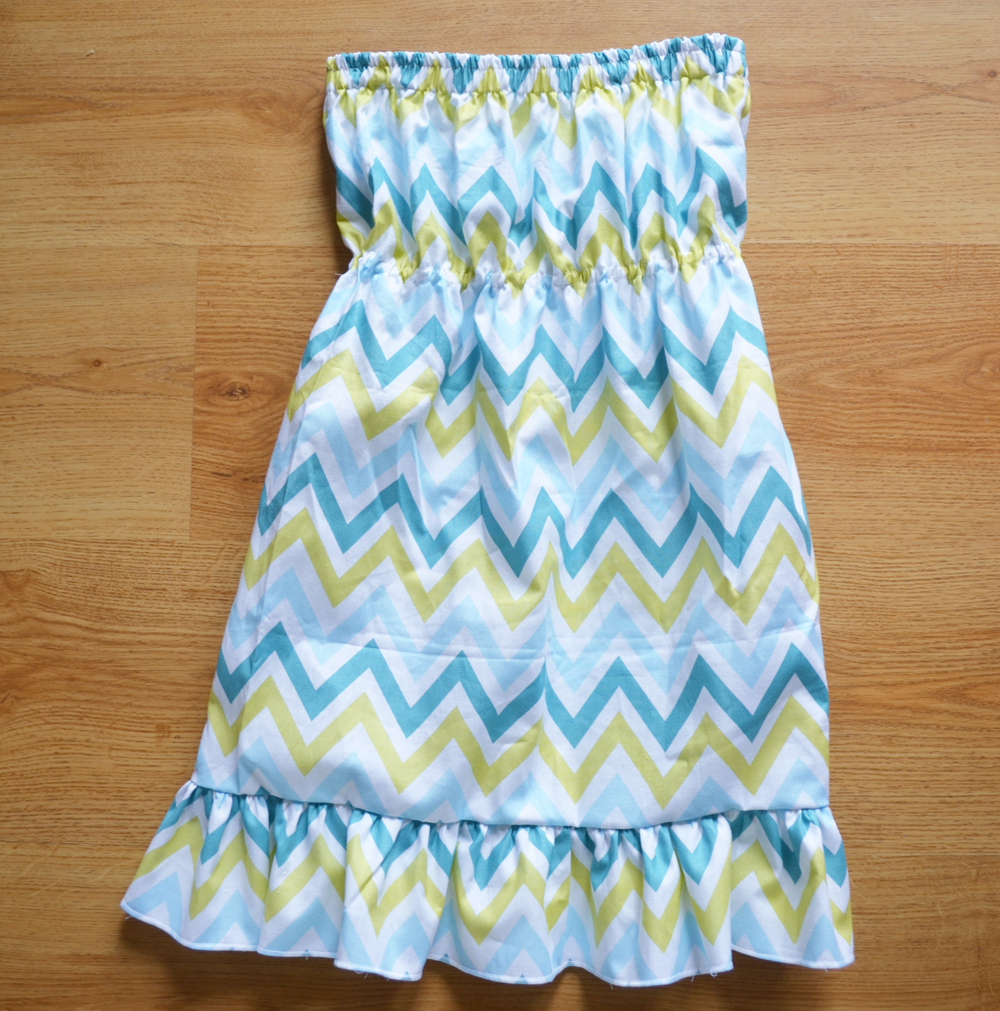
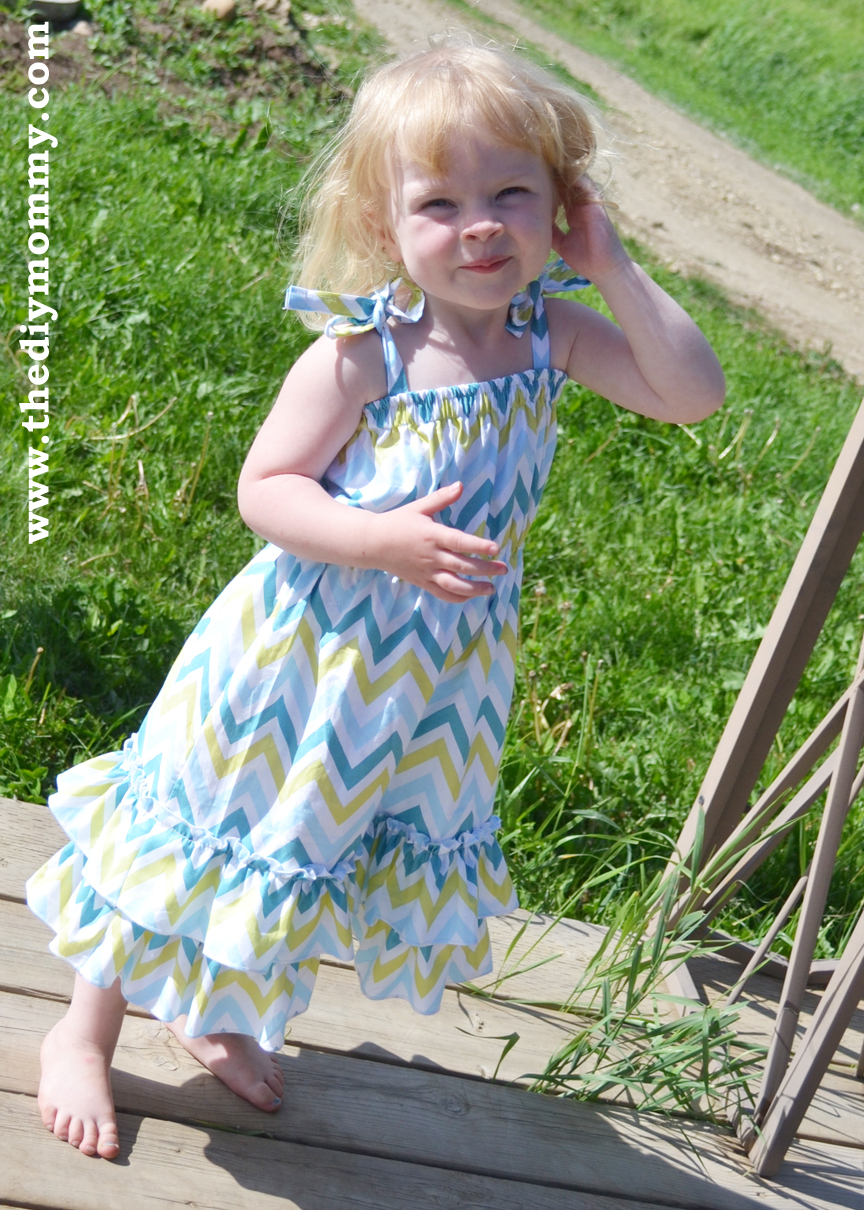
I’m loving all things chevron lately (the retro-inspired zig-zag pattern) and my 3 year old daughter has a big thing for dresses. I thought I’d combine our two current loves and make a simple little girl’s dress for the summer! I purchased one yard of fabric and used almost every bit with hardly any waste (only the few inches I chopped off the straps). One yard of fabric could make a dress for a young baby (there would be extra fabric, then) all the way up to a size 5T (the dress would be shorter, then). This is a very easy project with tied shoulder straps, an elastic waist and sweet ruffle detailing on the hem – perfect for a summer picnic!
Materials:
- 1 yard cotton quilting fabric (I used Annette Tatum Bohemian Chevron Teal
)
- 1/4″ elastic
- 1″ elastic
- 1/2″ ribbon or bias tape (for elastic waist casing)
Directions:
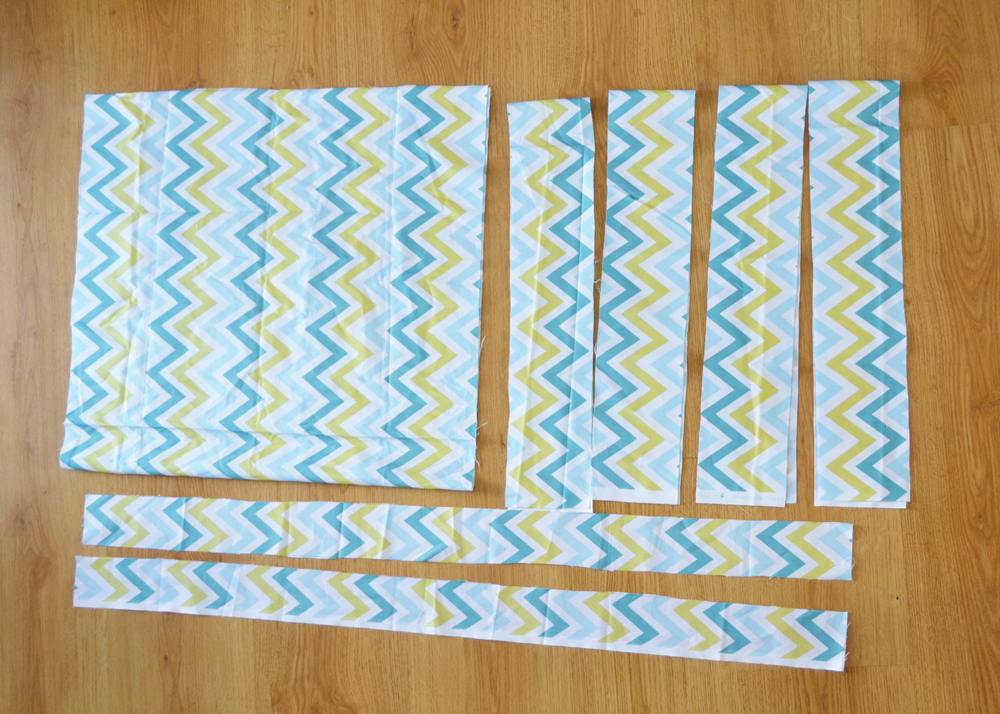
Fold your fabric in half lengthwise and then cut (I used a rotary cutter, ruler and mat since they’re all squares):
- two 2 1/2 strips all the way down the lengthwise edge of your fabric for dress straps
- using remaining width, cut four 5″ rectangles widthwise for ruffles (on folded edge)
- the remaining rectangle will be for the main dress piece (I used it exactly as-is for my 3 year old, but you could cut it shorter if required for a younger child – just measure your child from her underarm to where you want the hem of the dress to fall and subtract 2.5 inches to account for the ruffle minus the seam allowances & elastic casing)
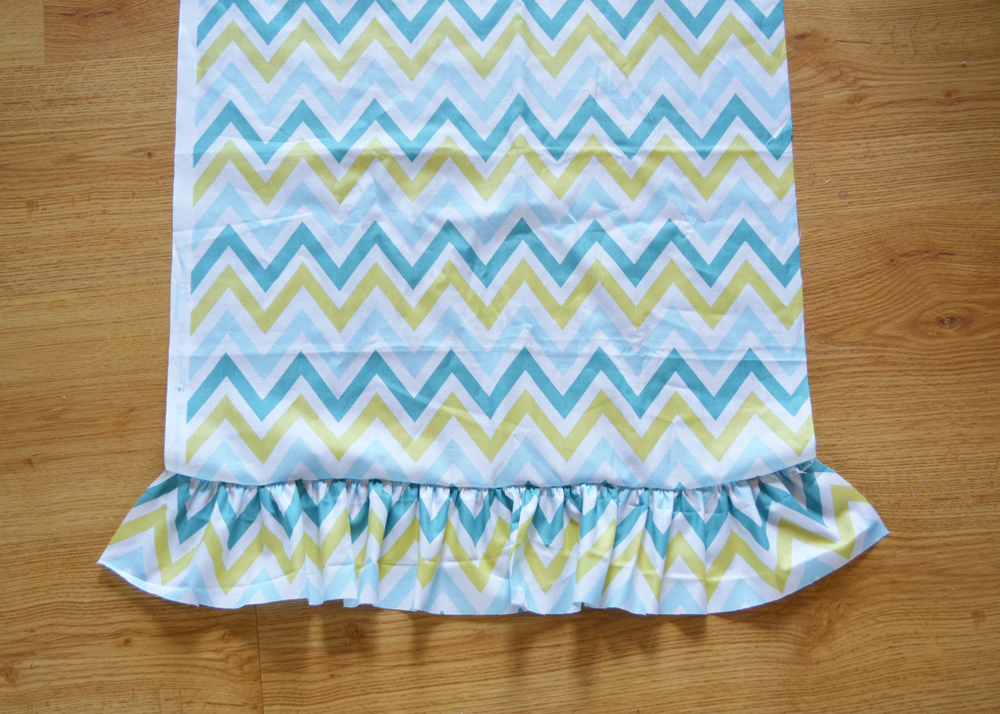
Cut the main dress ruffle in half lengthwise, along the fold, so that you have a front and a back. Gather the tops of two of your ruffle pieces (I adjust the tension on my serger and gather that way, but you can also use a long running stitch on a regular machine and then pull a thread to gather). Adjust the gather so that the ruffles are the same length as the bottom of each dress piece. Sew one ruffle to the bottom of one dress piece, right sides together. Repeat with second dress piece.
With right sides together, sew the dress pieces together at the side seams from top of the dress to the bottom of the ruffle.
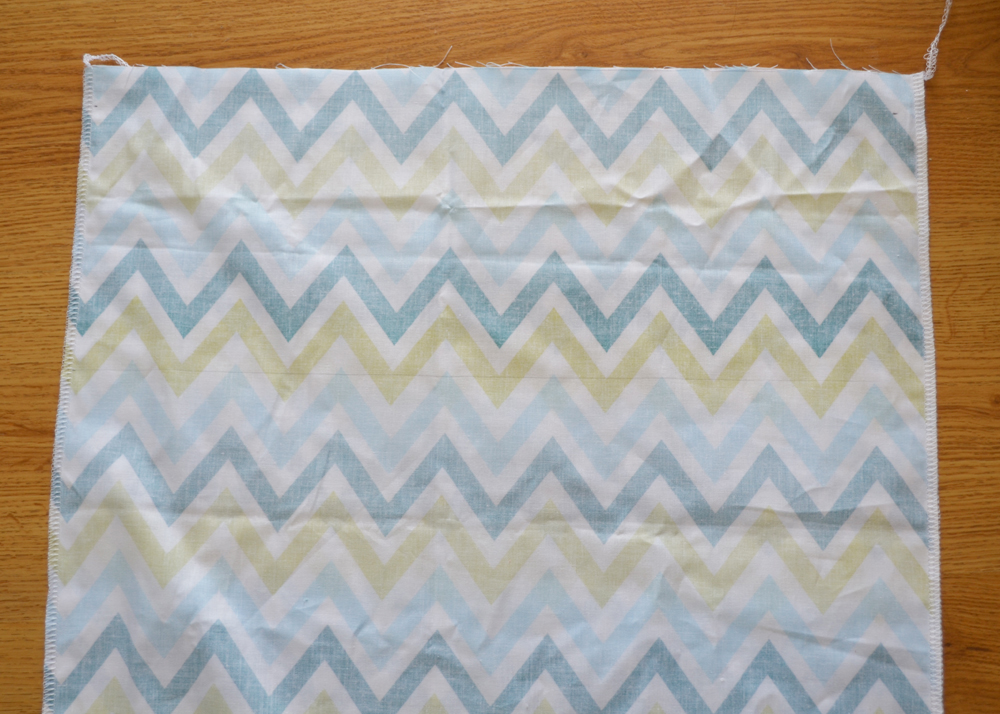
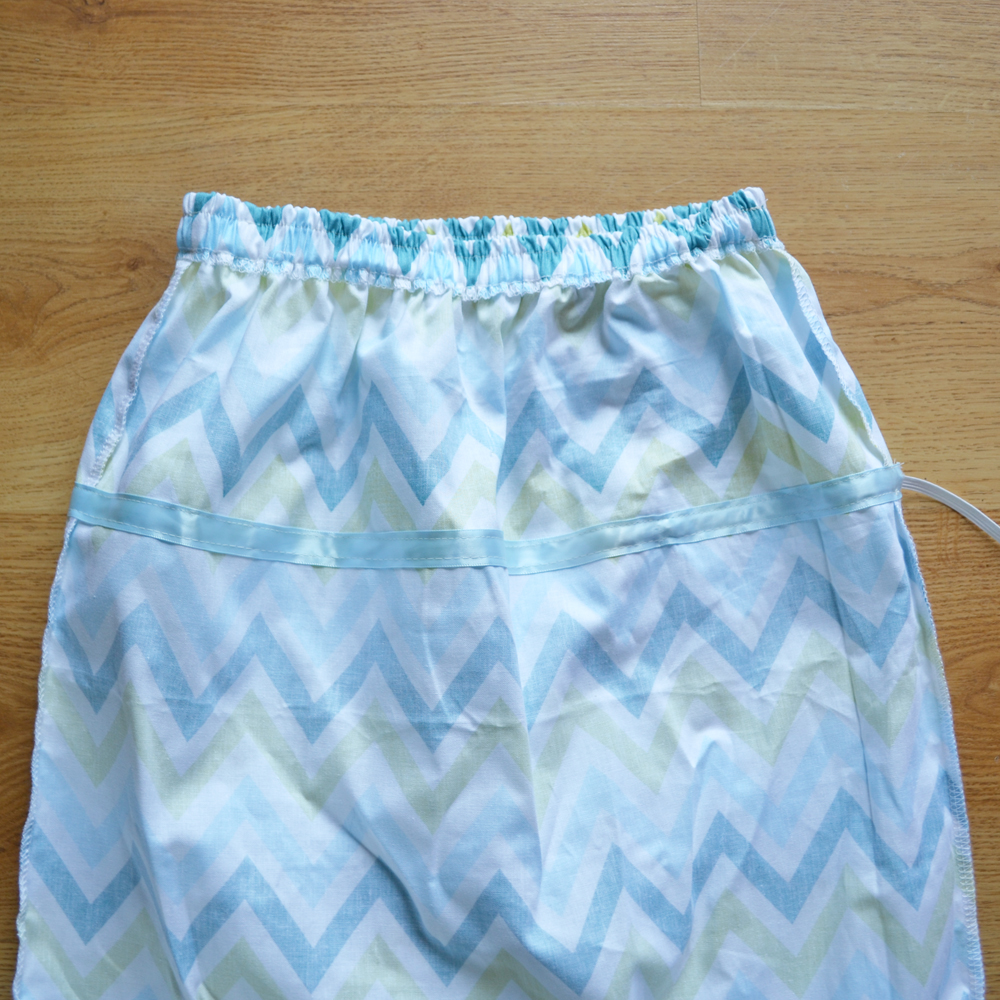
To make a casing for your upper elastic, seam finish the upper edge of the dress with a serger or fold it over 1/4″ from right side to wrong side. Fold it over 1 1/4″, press and pin in place, and then stitch to form a casing. Leave a 1″ opening to thread your elastic through. To make a casing for the waist elastic, measure your child from their underarm to their waistline (my 3 year old was about 5″) and then mark the wrong side of your fabric with this measurement using a straight edge. Sew a piece of ribbon or bias tape along this marking, stitching it at the top and bottom and leaving enough space to thread the 1/4″ elastic through. Leave a 1″ opening.
Measure your child’s chest circumference and cut the 1″ elastic 1/2″ longer than this measurement. Thread the 1″ elastic through the upper casing. Stitch the ends together, and then stitch the opening closed. To keep the elastic from rolling, stitch another line about 1/4″ from the top of the casing, though the casing and elastic. Measure your child’s waist circumference and cut the 1/4″ elastic 1/2″ longer than this measurement.Thread the 1/4″ elastic through the waist casing. Stitch the ends together; stitch the opening closed.
Finish the bottom edge of the ruffled hem by using a rolled hem on your serger as I did, or folding the hem over twice at 1/4″ and sewing with a regular sewing machine.
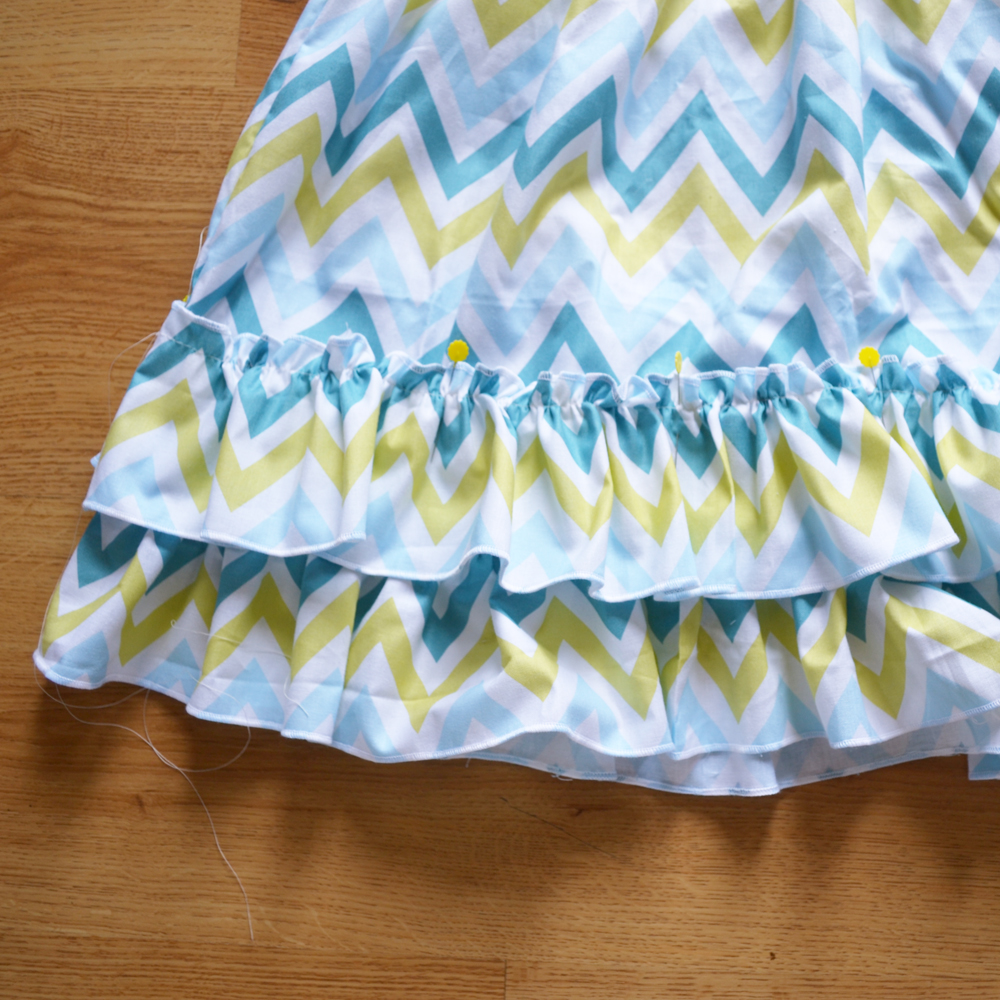
Sew the remaining two ruffle pieces together, right sides together at the short ends to form a bit loop. Seam finish the long edges using a rolled hem on your serger, or folding over twice at 1/4″ and stitching. Using a long running stitch, sew a basting stitch about 1/2″ from one edge of the ruffle all around the loop. Slide the loop over the bottom of the dress and position it as pictured above (so that it overlaps the lower ruffle by about an inch). Gather the ruffle by pulling on a thread, ensuring that it is gathered to the same width as the dress. Pin in place and then sew over your gathered stitch line to attach to the dress.
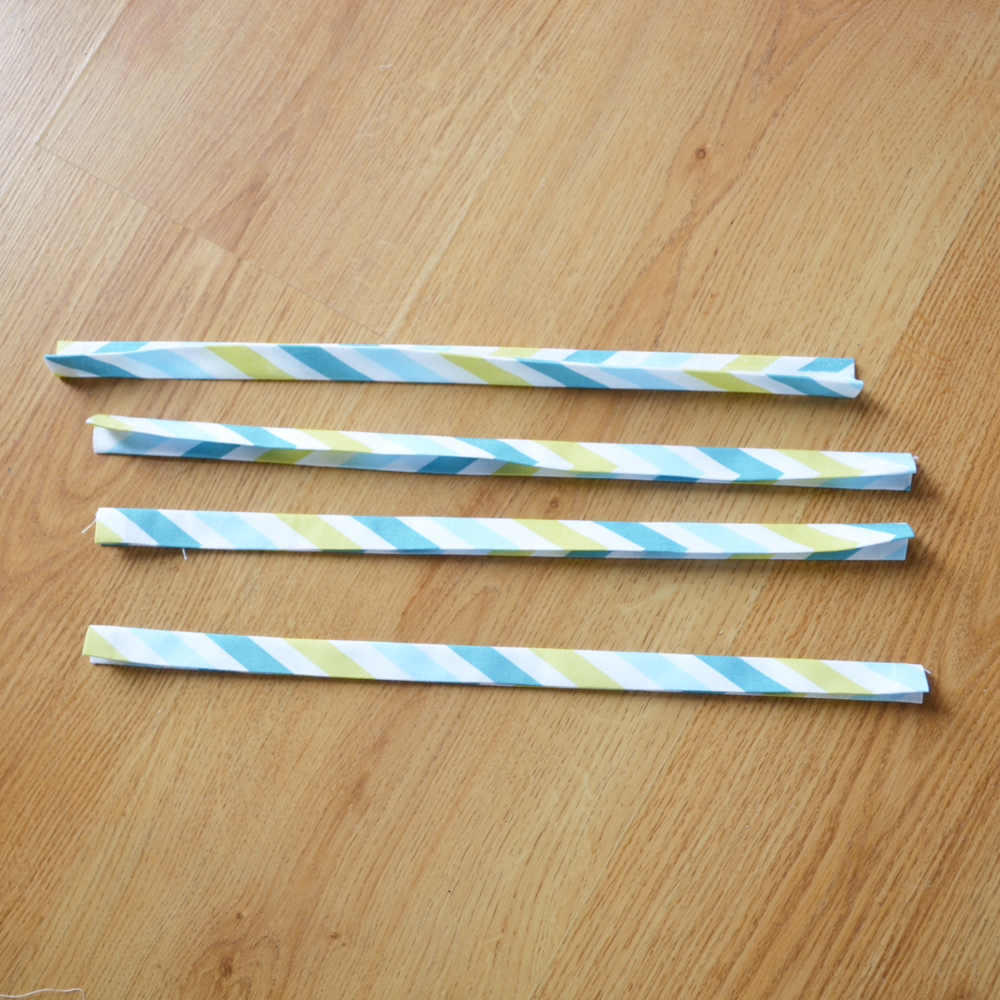
To make the tied straps, cut both strap pieces in half widthwise. You may want to trim the straps a few inches if you don’t want a long tie/big bow (I trimmed mine about 4″ each). Fold both short ends of each piece under about 1/4″ from right to wrong side and press. Fold each piece in half lengthwise and press. Open them up again, and fold each side in to meet the crease you made in the middle. Fold in half again and press, as pictured above. Sew around each strap about 1/4″ from the edge.
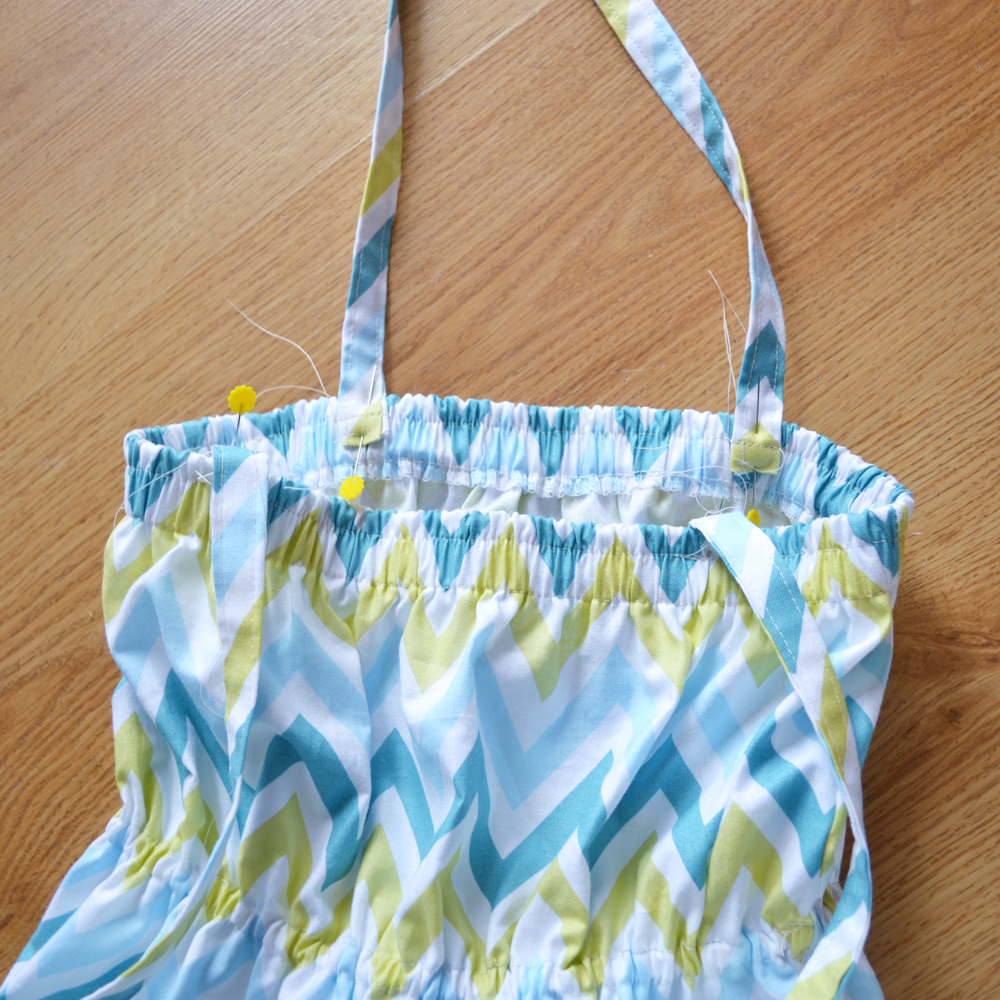
Pin the straps to the upper elastic casing of the dress, about 1/2″ from the top (straps on the inside). I pinned mine about 4″ from the sideseam, as pictured above. Sew in place, sewing over the stitch line you made previously on the elastic casing (this hides the stitches). Tie the straps together at the shoulders.
You’re already finished! Have your little girl try it on and have a tea party on the lawn!


Very cute!
Love this dress, Christina! So adorable!
Hi, its pleasant paragraph regarding media print, we
all understand media is a great source of facts.