Make a Mail Holder Bulletin Board
This post may contain affiliate links · This blog generates income via ads
By Christina Dennis
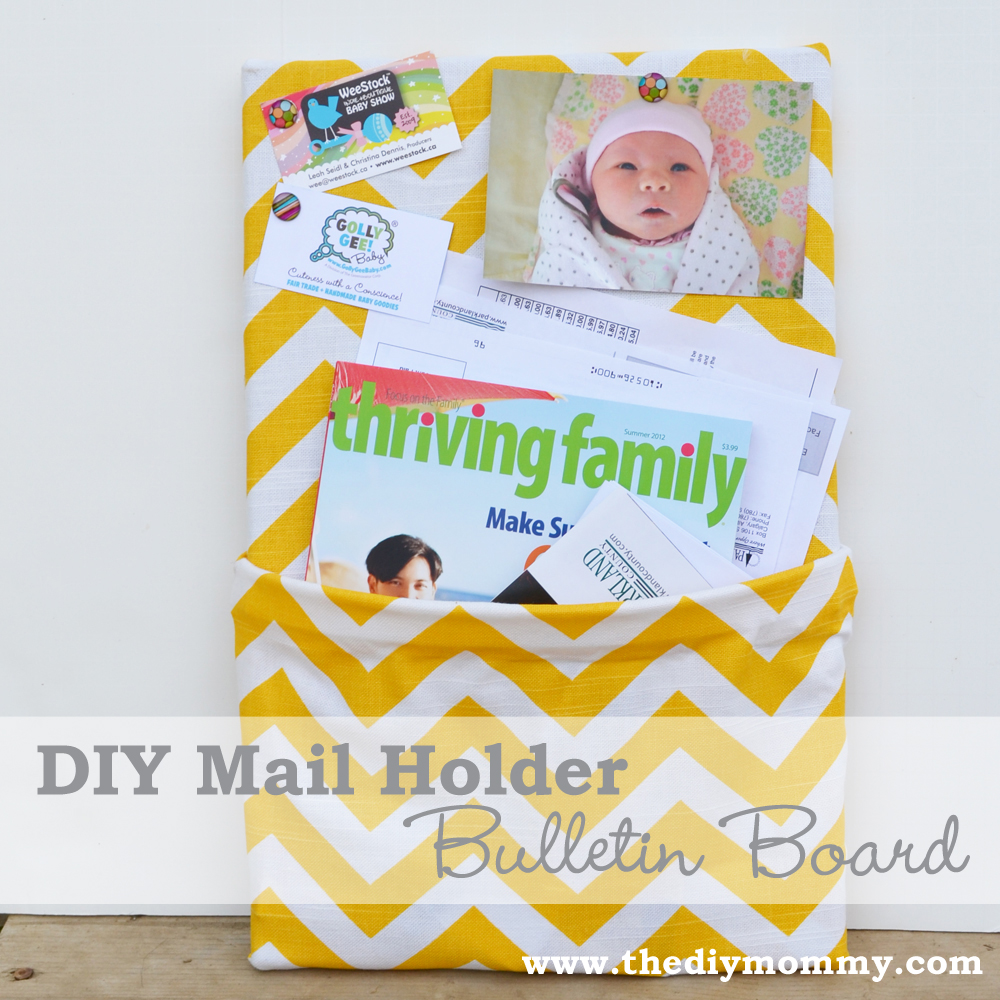
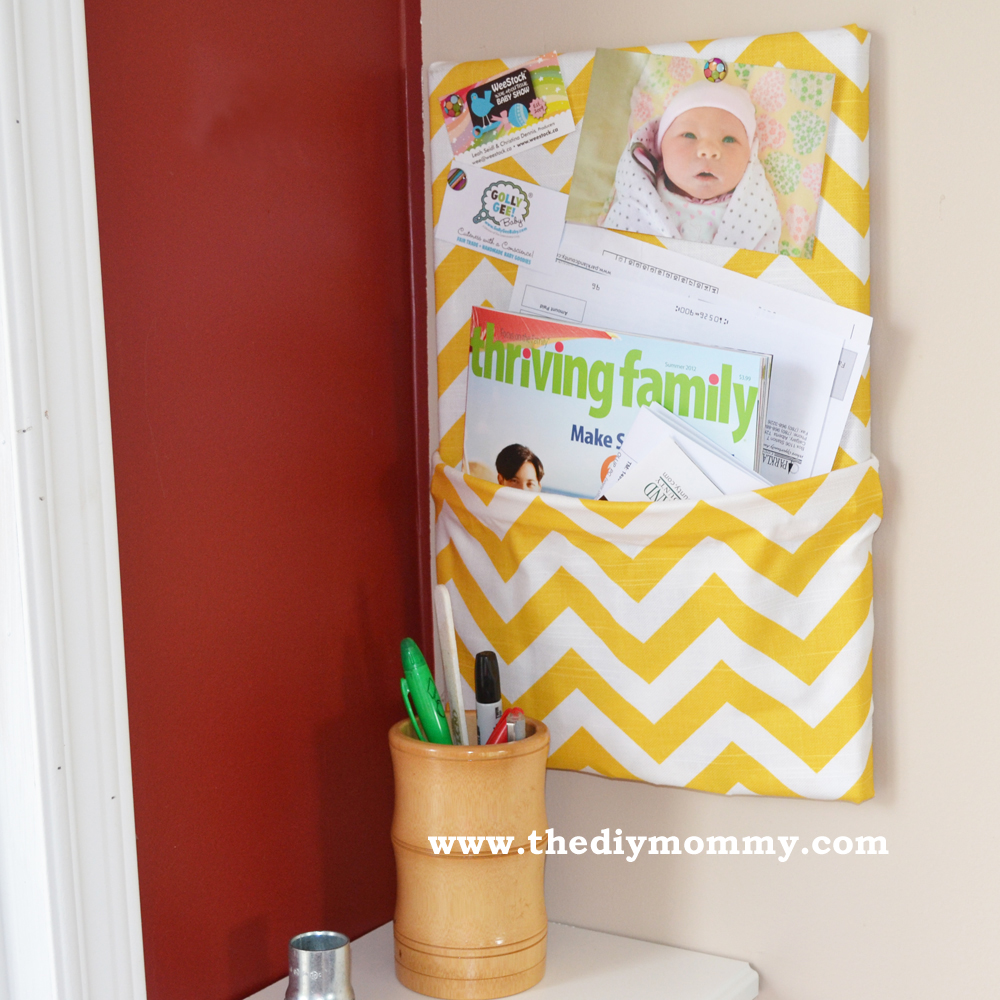
I’m not a very good housekeeper and when it comes to organizing bits of paper and mail around the home, I’m terrible at it! I’m slowly trying to put together a little corner in my house to collect random things like mail, pens, phones etc. I installed a small corner shelf in a spot by my back door and then made this easy bulletin board that doubles as a mail holder to hang above it. It’s a simple project that requires no sewing and very few supplies!
Supplies:
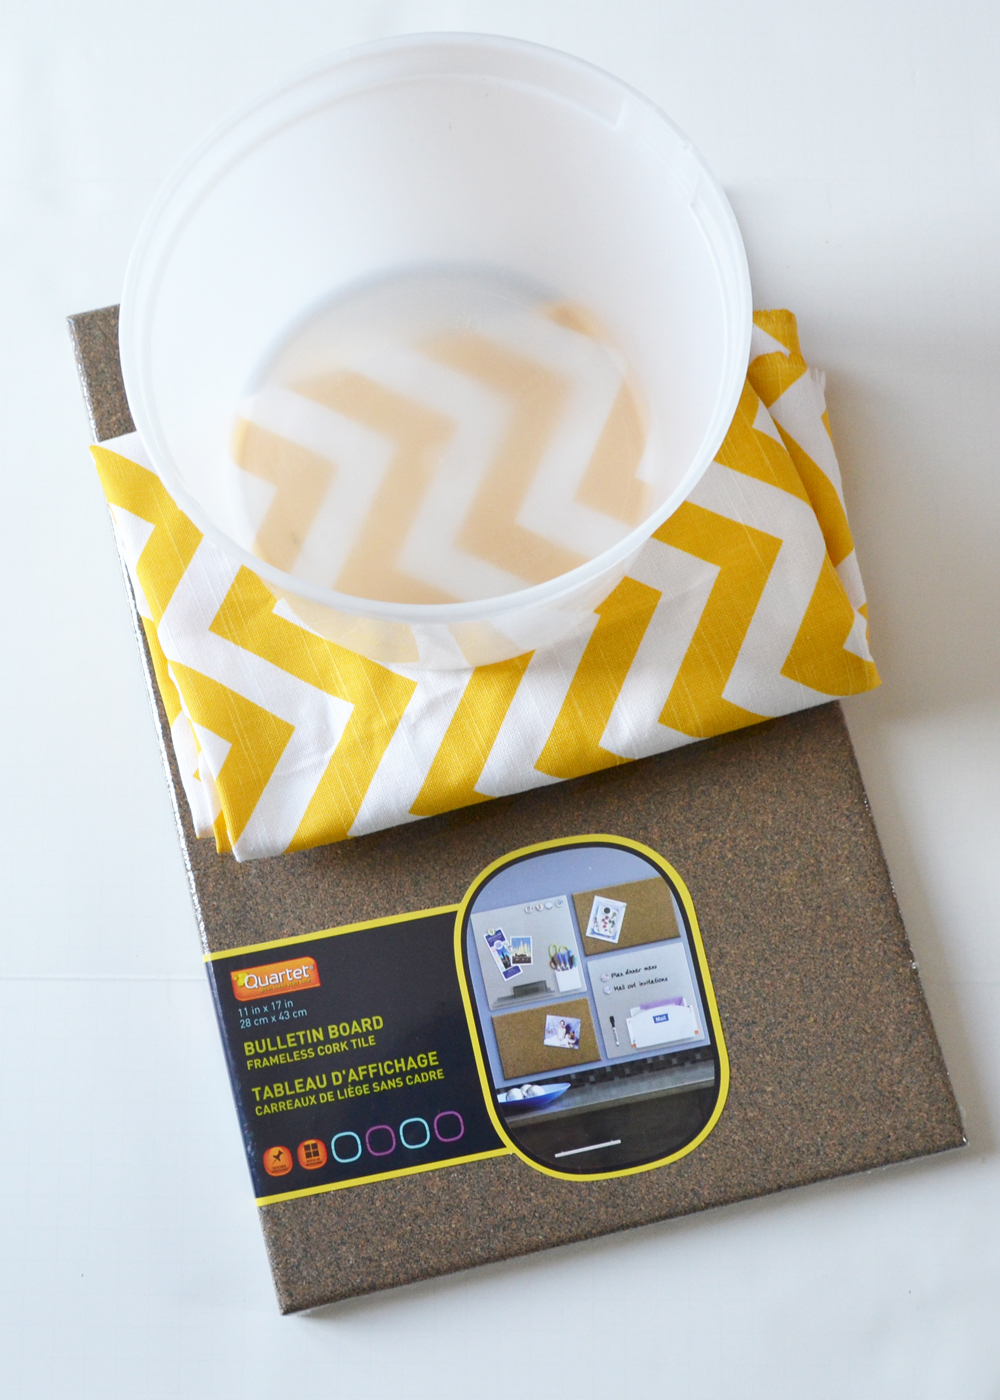
- bulletin board that’s no more than 12″ wide (I bought mine from Walmart)
- old ice cream bucket
- glue gun & glue sticks
- 1/2 yard fabric (I used Premier Prints ZigZag Slub Yellow/White
)
Directions:
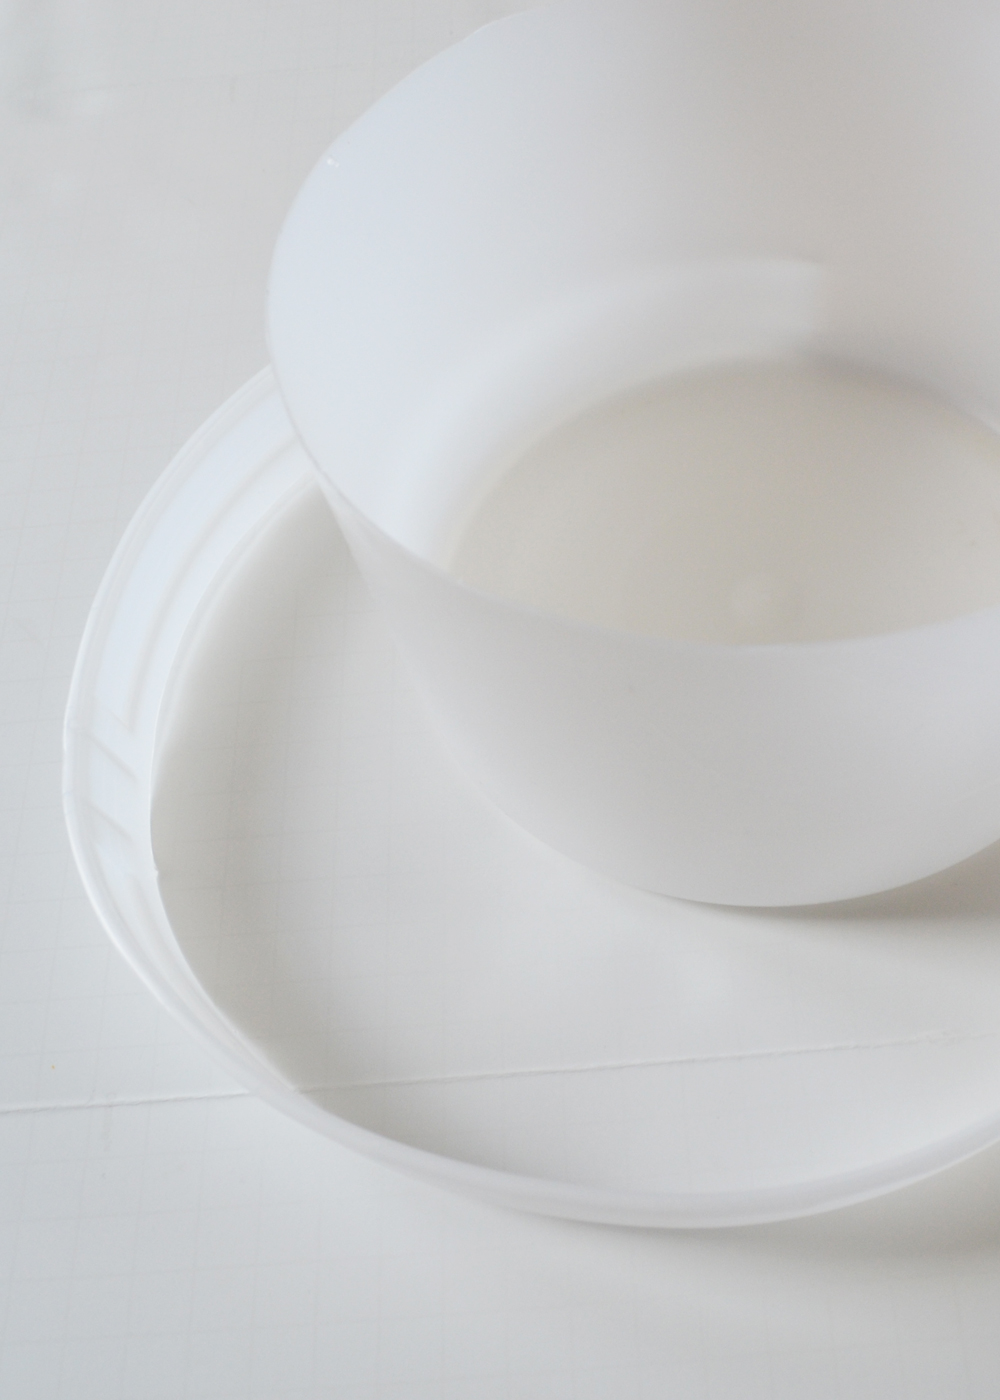
Cut the top 2″ off of an ice cream bucket. This will help keep the pocket on your mail holder nice and stiff and you’re repurposing something!
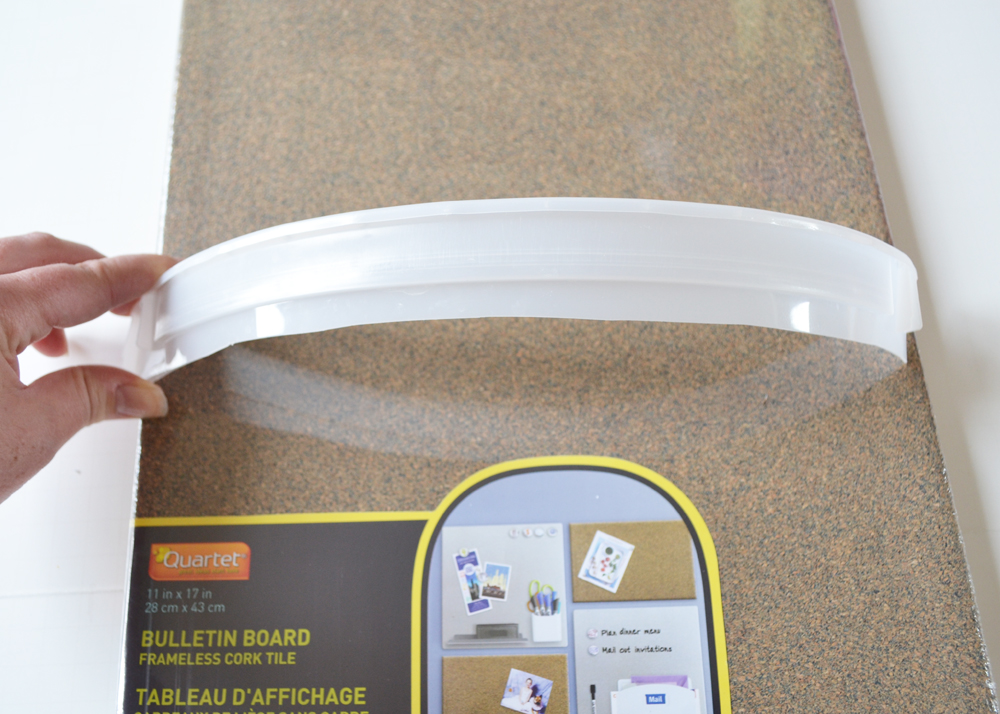
Lay the plastic strip across your bulletin board’s width and determine where you’ll need to cut it to make the top of the pocket. I cut mine so that there was approximately a 2″ rise in the center (from the board to the plastic strip). Also make sure the ends of the strip curve over the sides of the bulletin board and are flush with the back. Cut the strip.
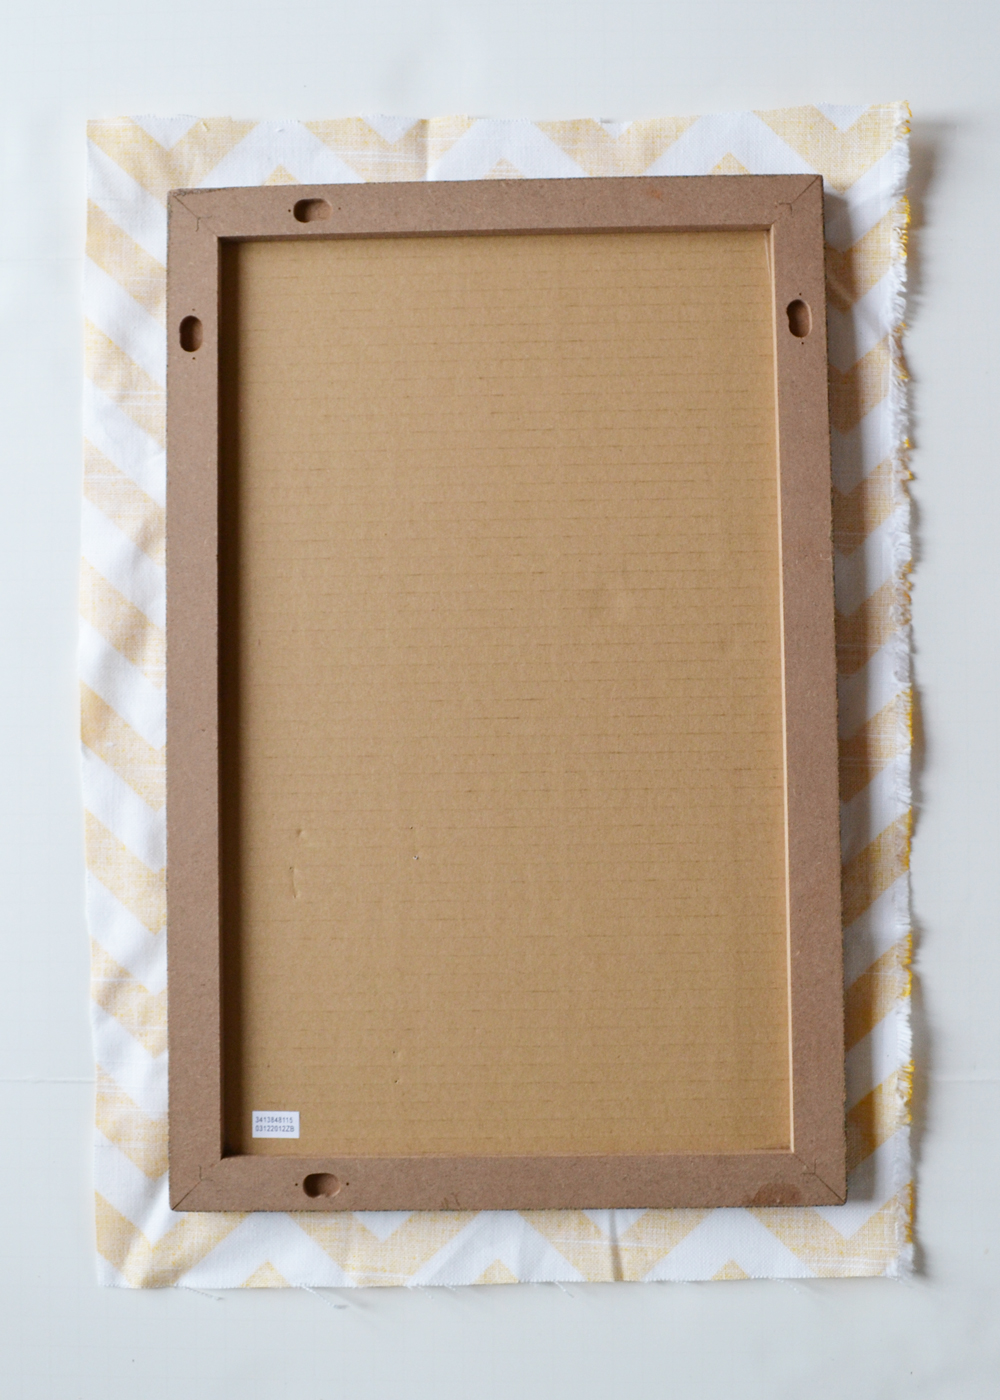
Lay your bulletin board right-side-down on your fabric, and cut your fabric to size. Make sure you have enough fabric on all sides to pull over the side and back edge of the board (leaving extra fabric is always better than cutting it too small)!
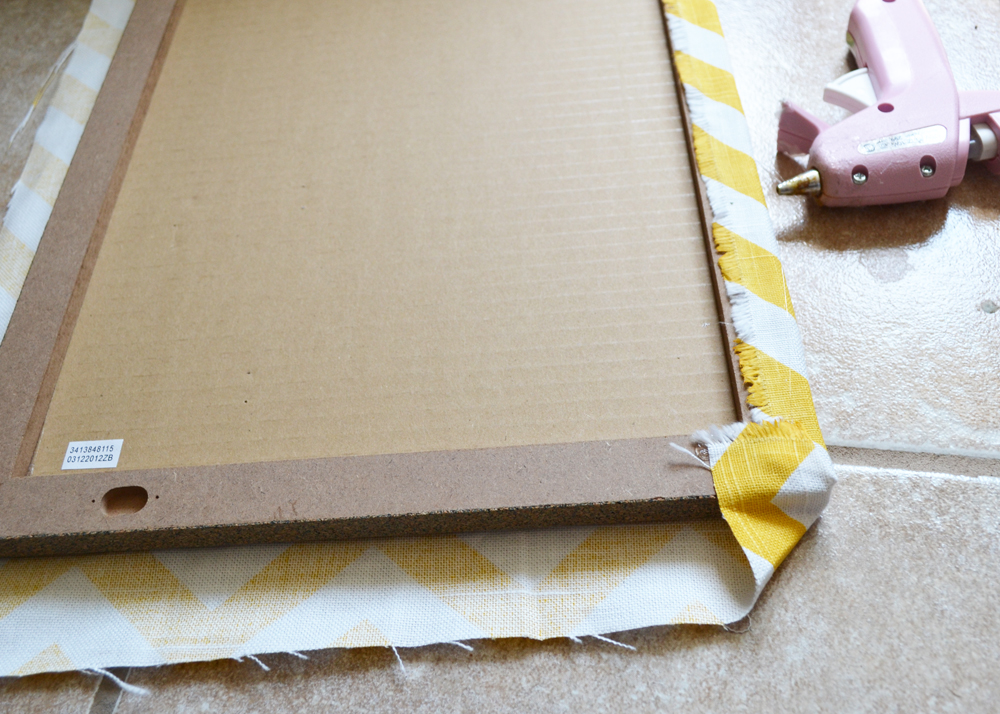
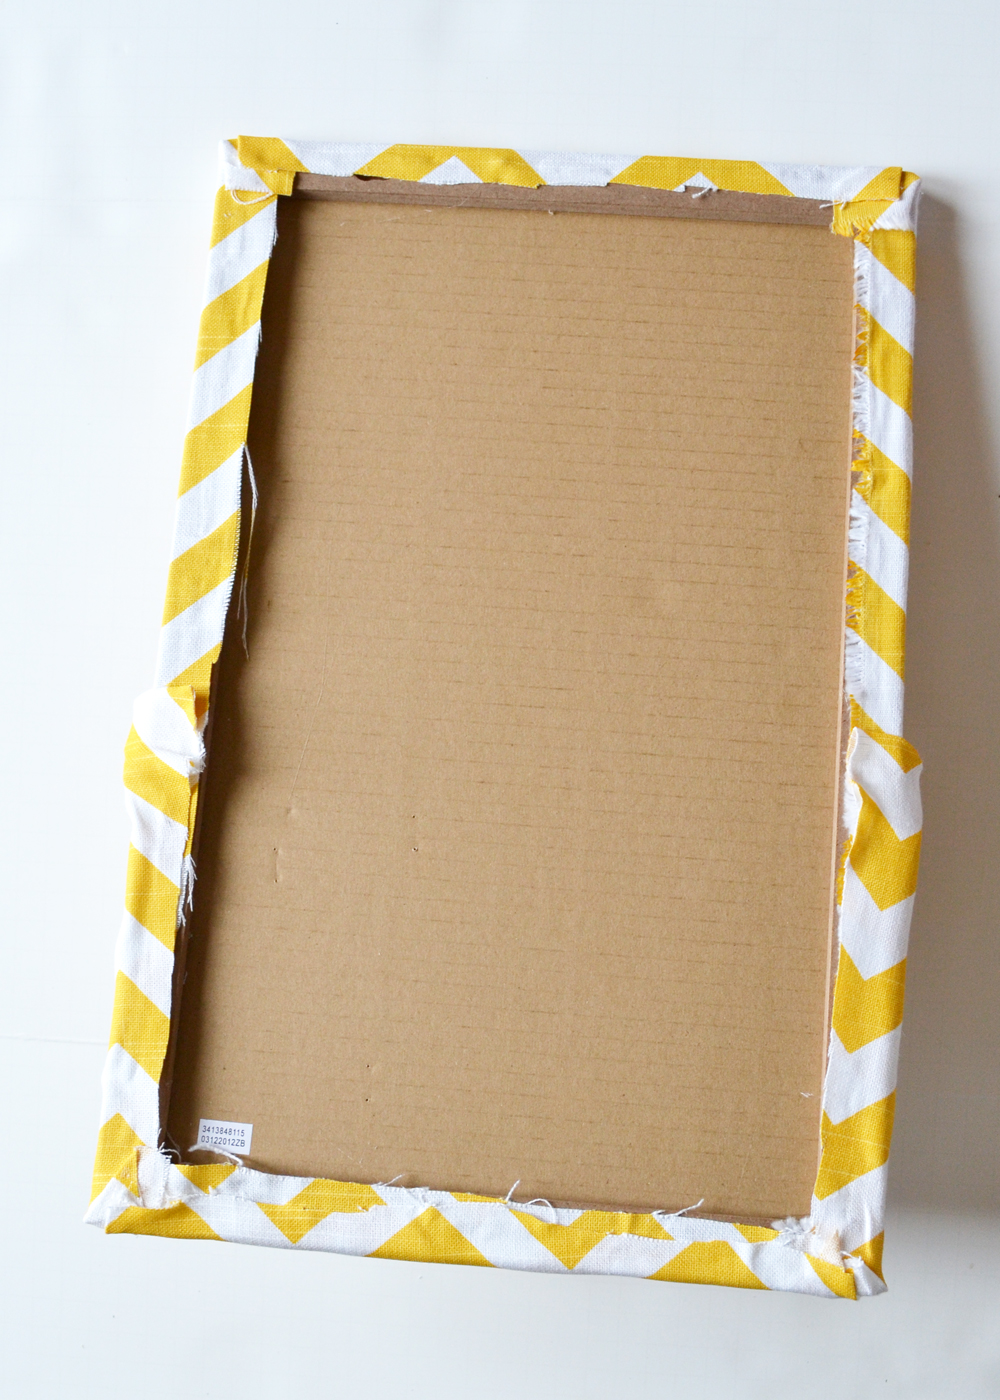
Using a glue gun, pull the fabric taut around the front of the board to the back and glue it down on the back edge. To glue the corners down, fold them as pictured above, and then fold them again along the second angle before continuing on.
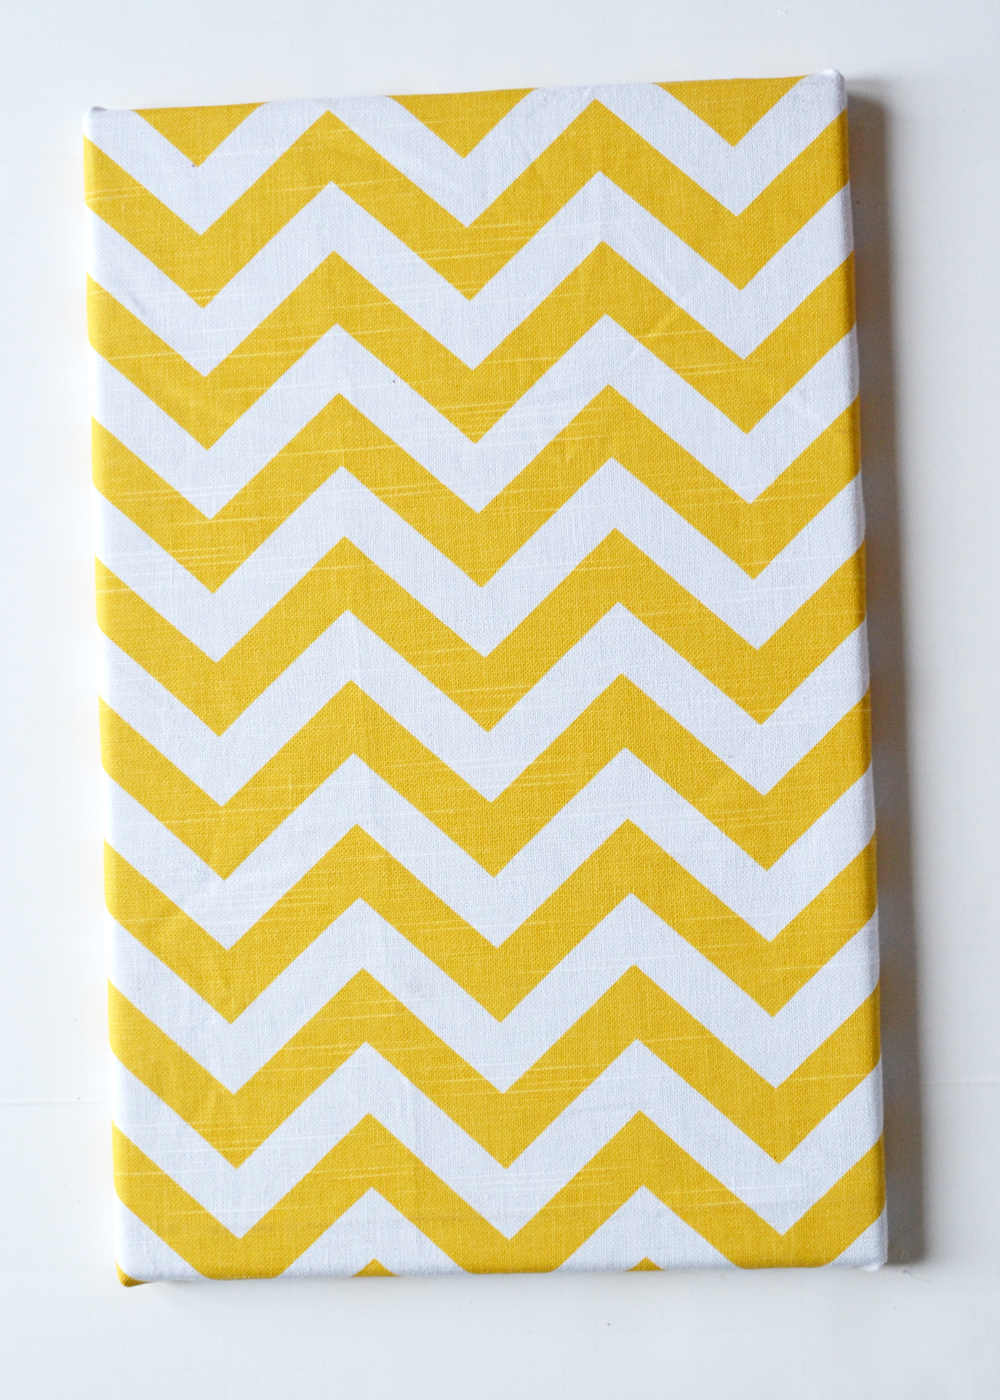
The covered bulletin board will look like this, above – how cute! You could use it as-is, but adding this little pocket takes this board to the next level…
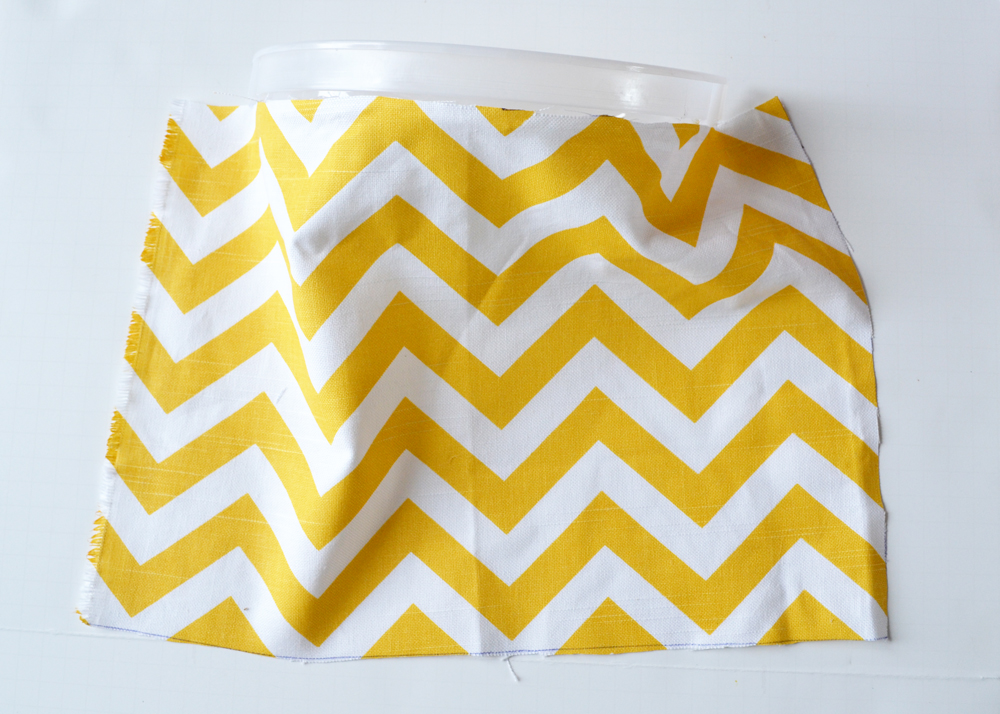
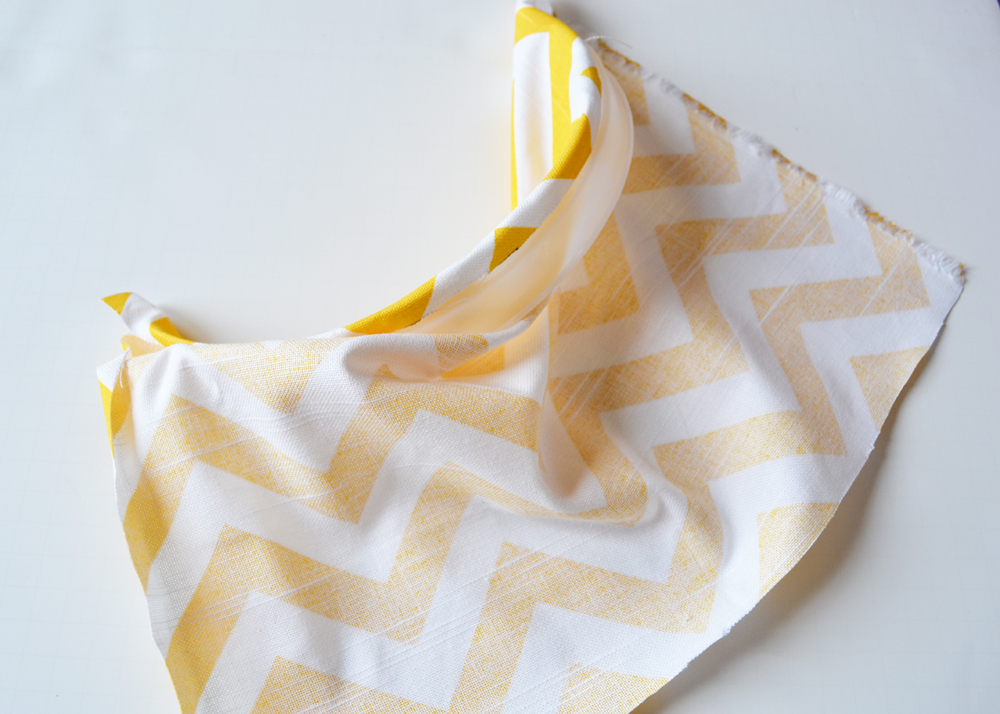
Cut a piece of fabric that is as long as your plastic piece + enough to wrap around the sides of your bulletin board and as high as you want the pocket to be (I made mine about half the height of the board) + enough to wrap around the bottom of your bulletin board + 2 1/2″ to wrap around the plastic strip. Glue about 1/2″ of the fabric, with the right side of it down, to one edge of the strip. When the glue is dry, fold the fabric down so that the right side is showing (as pictured above). Leave an equal amount of fabric on each side of the strip; this is what you’ll use to fold over and glue to your board later.
Turn the fabric over the strip and pull it up over it. Glue it down on the other edge.
Glue the pocket onto the bulletin board by gluing the edges around the board as you did with the original fabric piece. Make sure to pull the plastic strip and fabric taut so that the pocket will be smooth.
You’re all done! Now you have a functional catch-all board that matches your decor!
Christina Dennis is the creator and designer behind Golly Gee Baby, a collection of unique and colourful baby clothing and accessories that are ethically manufactured.

I love that this gets everything up off the counter. My only problem is the “pile zone” in our house has a tiled backsplash so not sure how I could hang this up without drilling into the tile? Maybe 3M stickers would work? Hmm.
I think that’s a great idea, Amanda! Their picture hangers would do the trick, I bet!