A Quick DIY Master Bed Refresh
This post may contain affiliate links · This blog generates income via ads
Hands down, my most favourite social media platform right now is Instagram. There’s something about it that is so positive and inspiring. Unlike other social media platforms, negative trolls rarely gather there, and there’s just so much light-heartedness and support all around. I’m totally a visual person, and pictures everywhere just make me smile!
Last week, the hashtag #inspiremediy caught my eye, and I decided to join in on the fun. Several bloggers were tackling a DIY on their to-do list and sharing it with their Instagram followers. I chose to take on finishing off my master bed. Just the bed… for now. There’s lots to do in our master bedroom and ensuite, but I’ve had the fabric for the pillows I wanted to make lying around for a really long time and the space was just so sad looking.
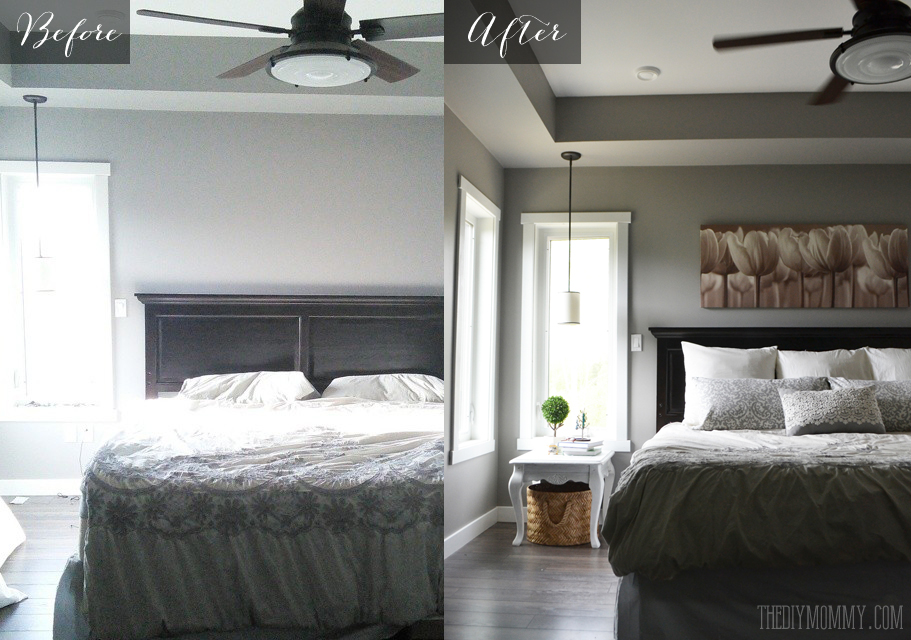
I spent zero dollars and a few days, and I gave our master bedroom the special little lift it needed. A little re-purposing, sewing and some creativity can pack a punch, don’t you think?

First, I made some simple pillows. The little lumbar pillow is made out of cotton velvet and a piece of vintage lace I found at Value Village. I just love it! The damask pillows are pillow cases (I made them in a simple envelope style) over king-sized pillows, and the three rear pillows are cotton voile envelope pillow cases over euro pillows.

My dear husband doesn’t understand my pillow obsession (or the need for decorative pillows altogether), so I made sure all of these were actually functional except for the lace pillow. The euros and the damask pillows are soft and we can use them for sleeping or sitting pillows.
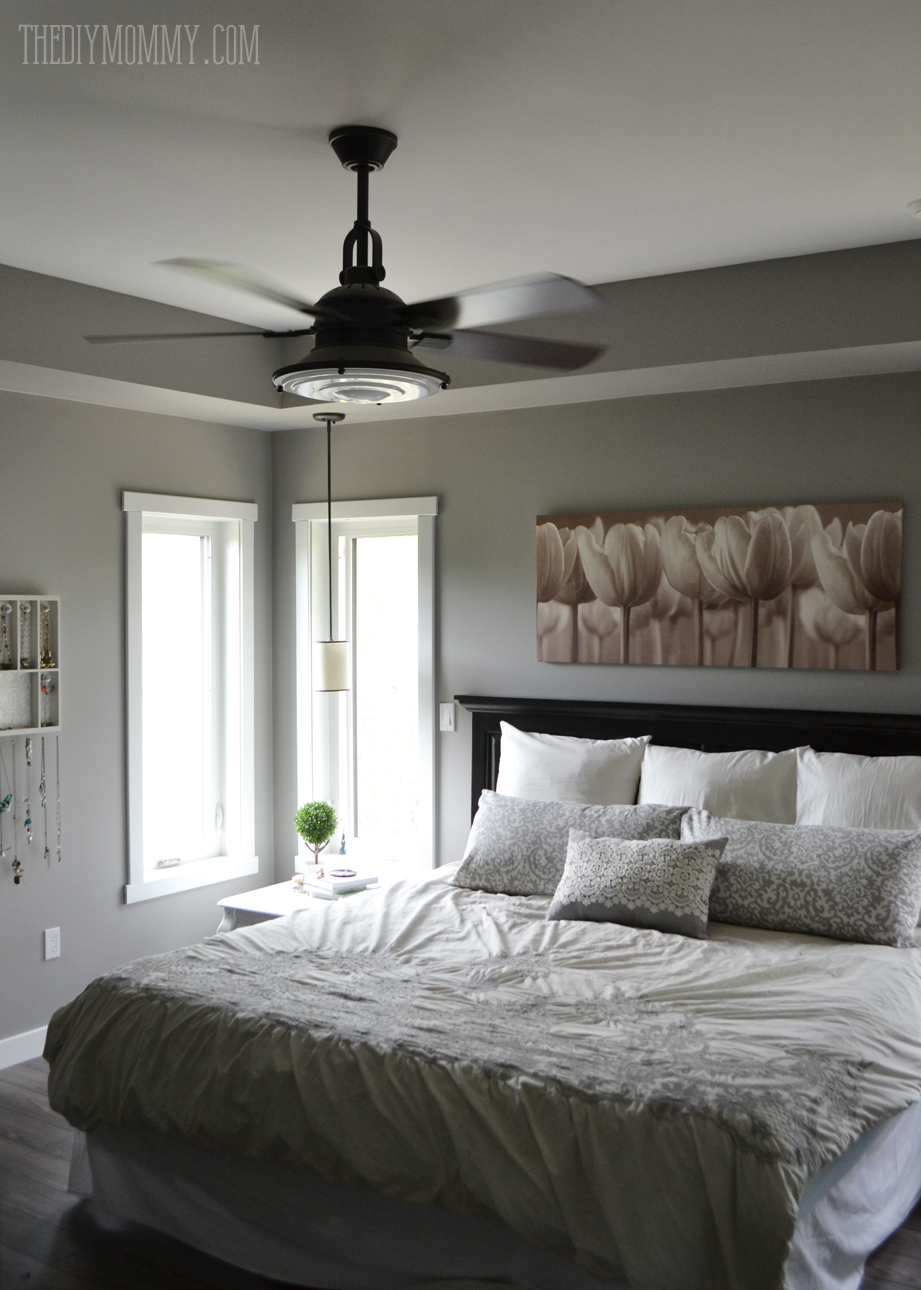
The duvet was a post-Christmas sale score from Anthropologie. It was 70% off and it’s very lovely and soft.
The tulip artwork was originally from Ikea and it was a wedding gift from my parents 8 years ago. Tulips were our wedding flower, so the artwork holds a lot of meaning. I’m still trying to decide if I like the clash of the umber coloured artwork against the grey walls, but I’ll get back to you on that! For now, the artwork holds a special place in my heart and I had it… so I used it.
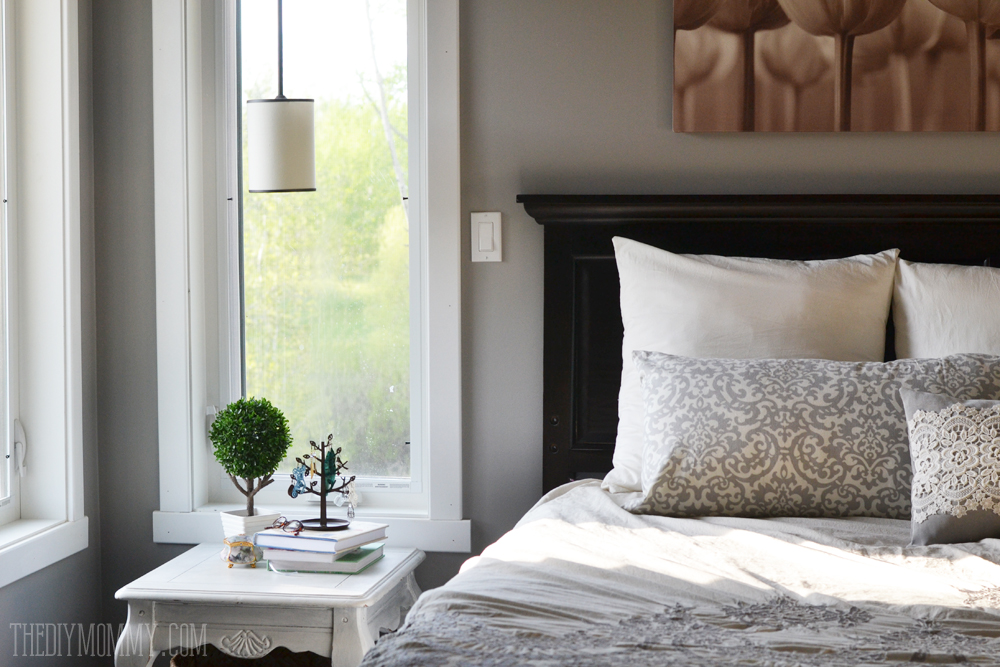
Speaking of using what I had, I carried up one of the side tables I re-painted to use as a nightstand on my side of the bed. I’m going to eventually use them for our formal sitting room downstairs, but that won’t be for a while.

I think it looks so cute as a nightstand! I scored this pretty herringbone basket at Crate and Barrel for 60% off, and it fits perfectly underneath this table to provide extra storage.
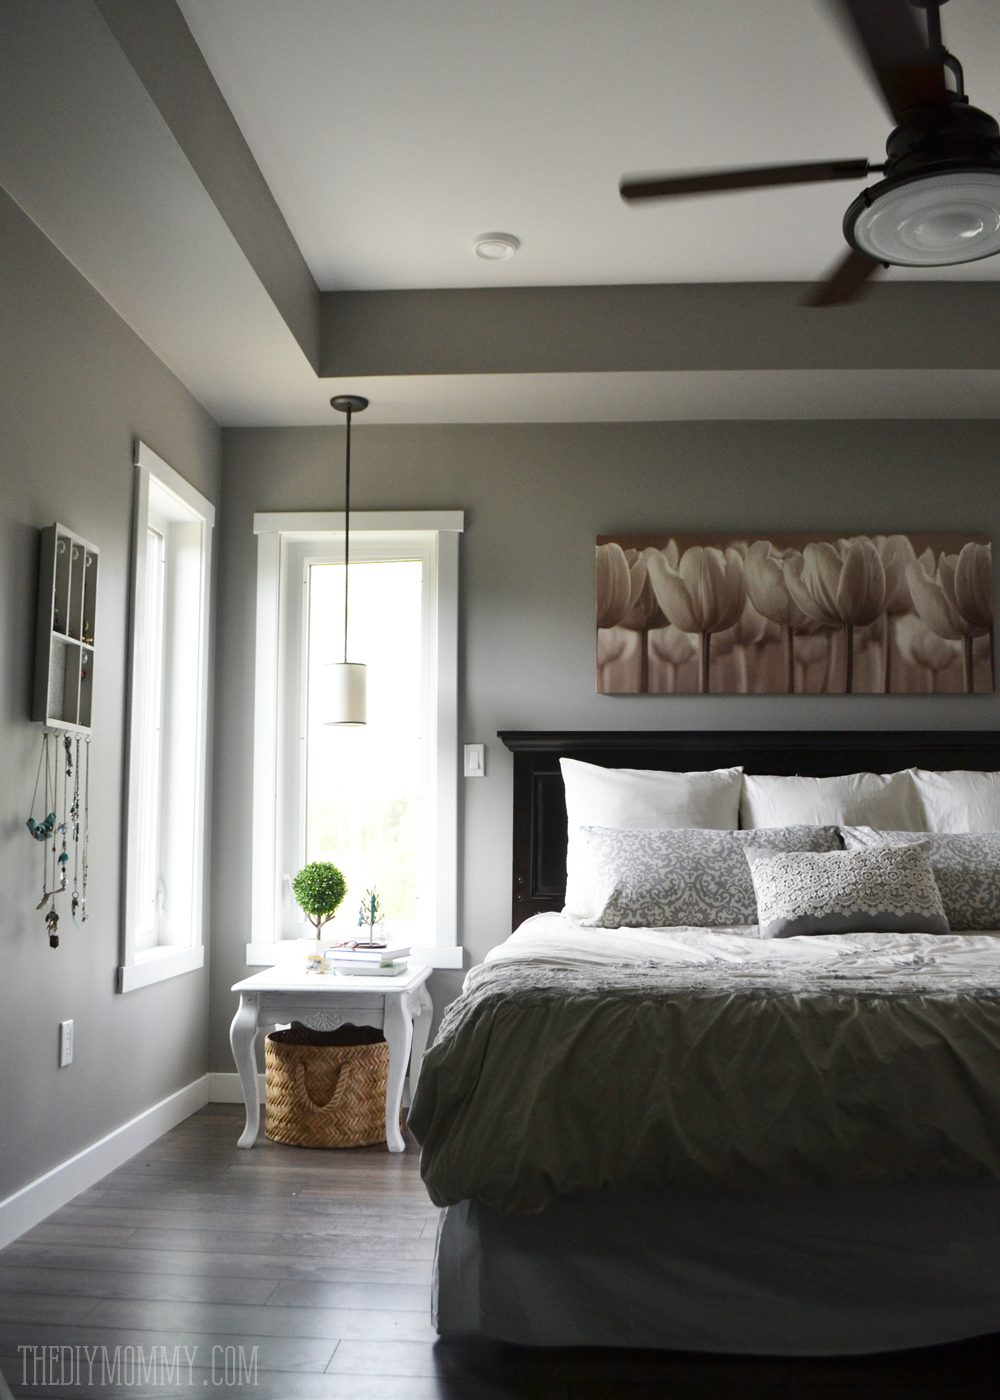
I even hung up my DIY jewelry holder so that I could clean all of the loose jewelry off of my window sills and display it in our room! It looks so much prettier now on display.
There you have it – a quick and easy DIY master bed refresh using what I had on hand. What do you think? I’d love to buy some soft, floaty drapes, new nightstands and a rug in the future, but for now I’m really happy with this quick update. Our master bedroom is looking more like the retreat it should be, and it’s so satisfying to get a project done and spend nothing more to do it!
It really looks so great, Christina! I’m not finding there to be a clash between the art and the wall colour at all, and that side-table-as-nightstand is working PERFECTLY! The whole look is completely magazine-worthy now, even without drapes and an area rug (though I totally think that floaty drapes will look lovely!)
I share your love of decorative pillows, also have some for my master bedroom that I’m taking FOREVER to finish, and my husband doesn’t get it, either! LOL
Christina what a cute mini room makeover! I really need to do the same on our bedroom and on my daughter’s bedroom. One day soon I’m going to get to it. Thank you for the inspiration!
Crystal
Oh, my bedroom needs a makeover so badly. Your ideas have inspired me to get going!!
Love what you did with the pillows!
Love the new layers! Isn’t it great when you can decorate without spending much or nothing at all.
I love that lace treatment to the pillow, Christina! I’m going to pin it because I’d love to make my own!
Thanks, Tara! I love it too. I might use the idea to make some more too!