DIY Wood Bead Chandelier – $7 Boho Light Fixture Makeover
This post may contain affiliate links · This blog generates income via ads
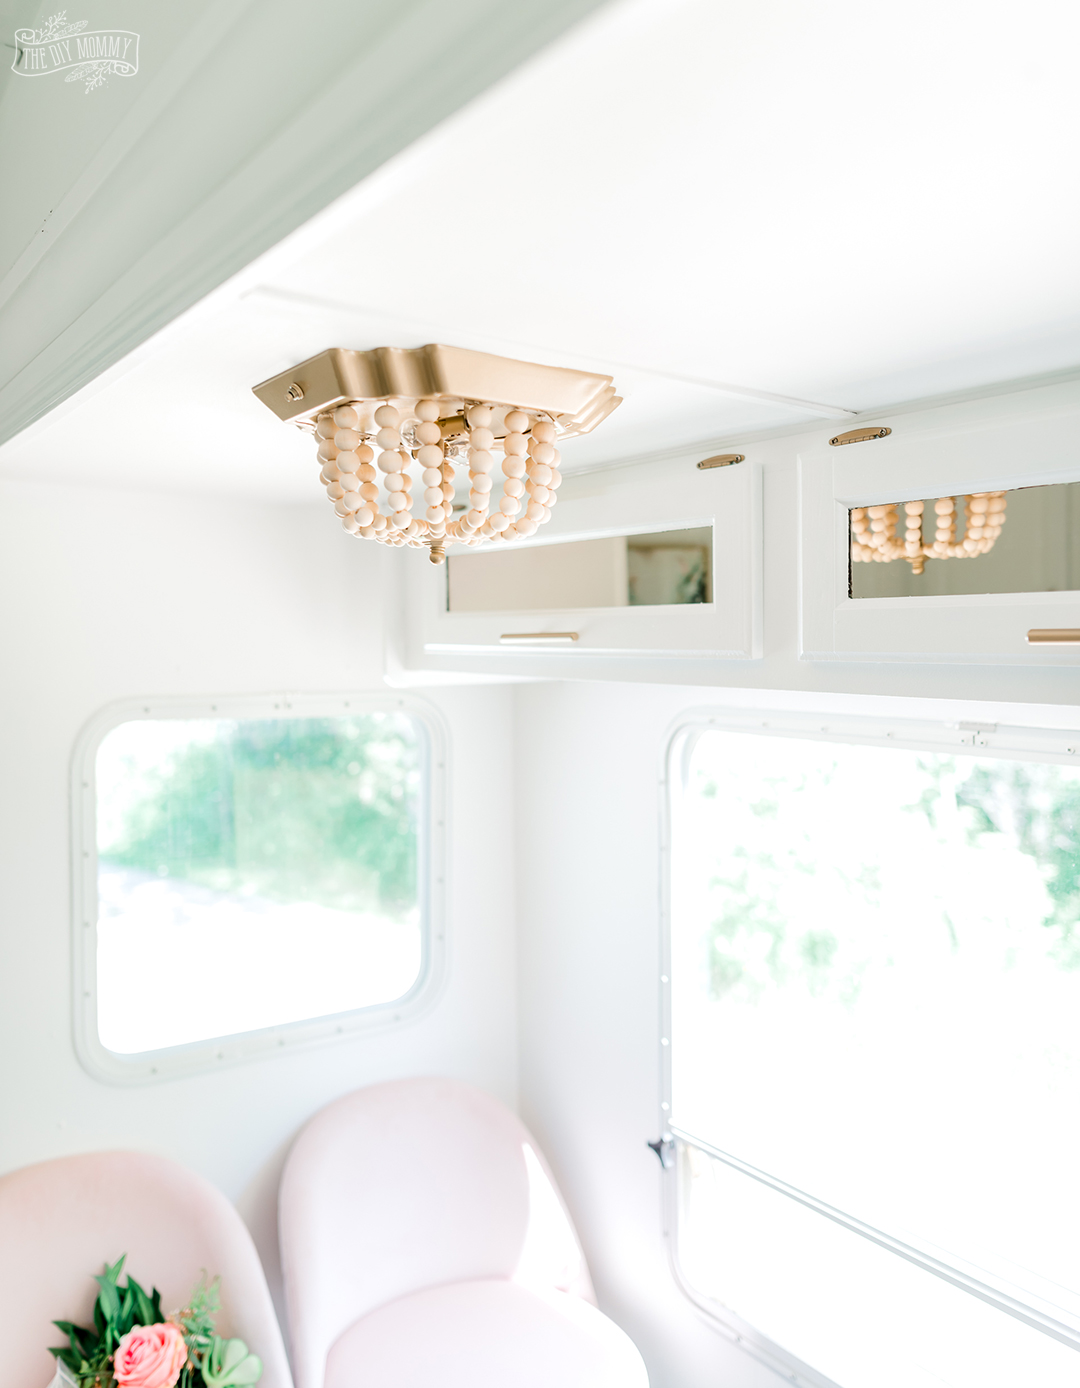
See how I transformed a flush mount fixture in our camper into a beautiful DIY wood bead chandelier with this ceiling light DIY $7 boho makeover!
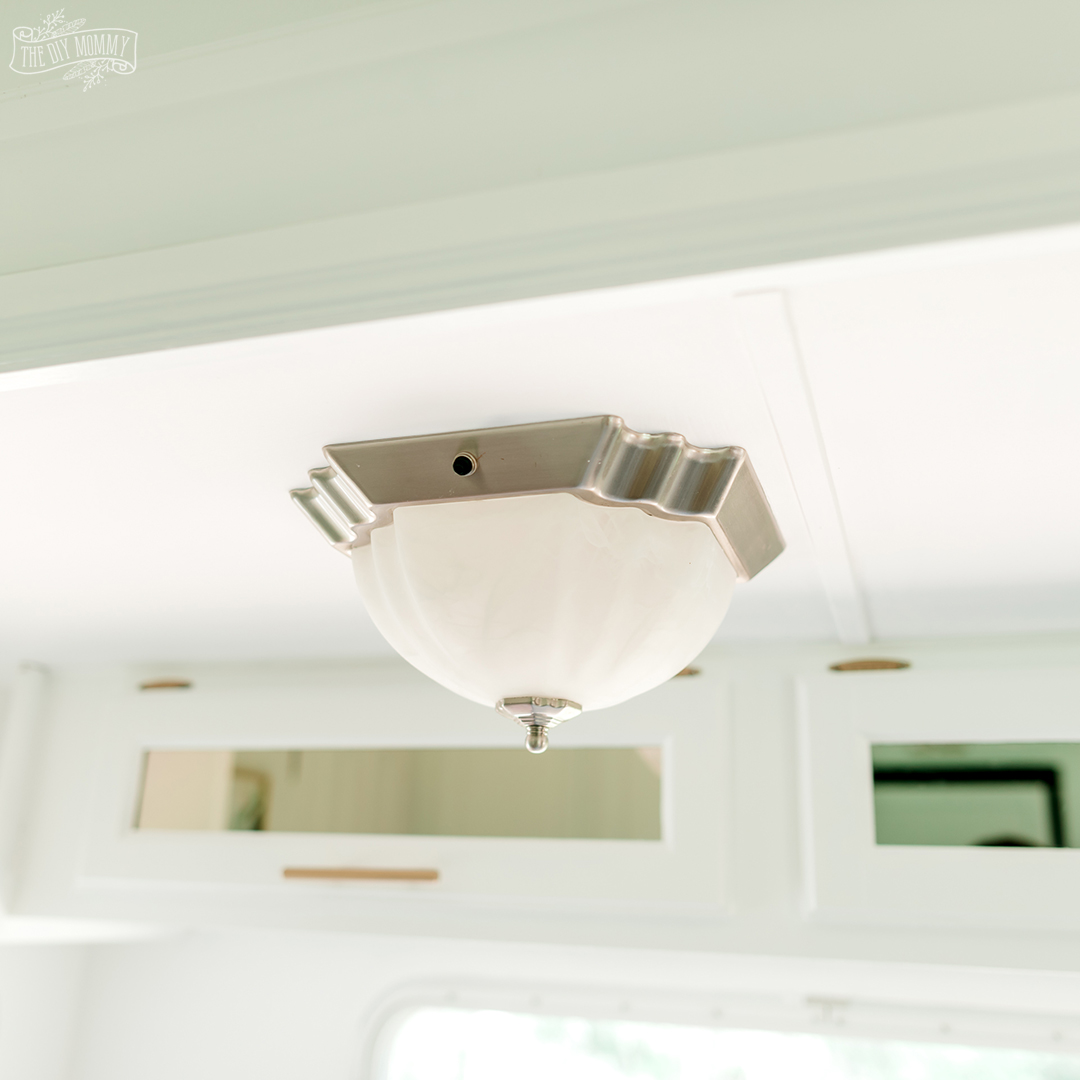
We’ve all seen a flush mount ceiling light like the one above, right? Some people like to call ’em “boob lights”, and it’s obvious why. They can be quite dated and lacking personality, so I wanted to give these ones in Our DIY Camper 2.0 a budget-friendly upgrade!
(If you want to read more about our camper makeover, click right here.)
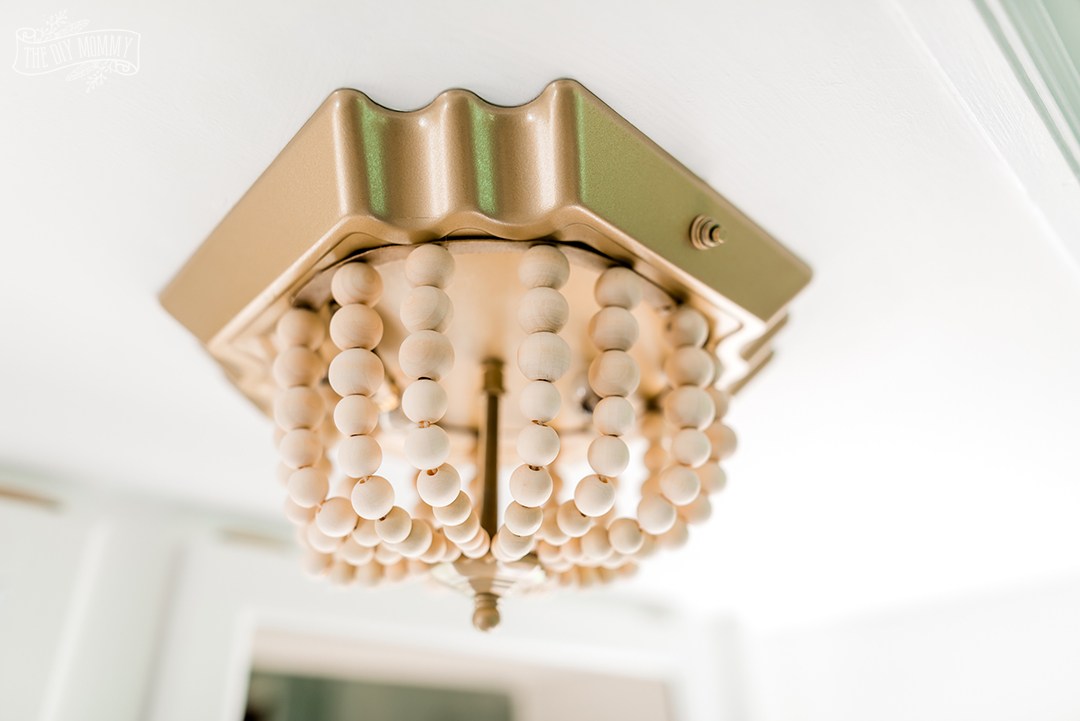
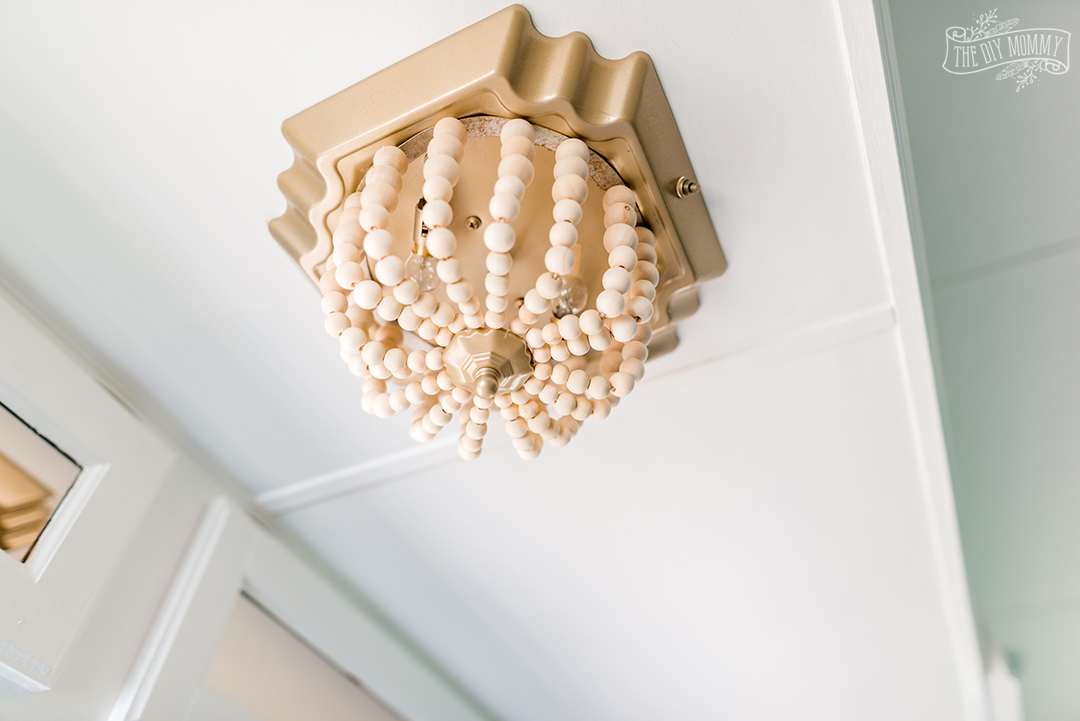
Using this Rustoleum Pure Gold Spray Paint, these wooden beads, this macrame string and some leftover cardboard, I made these DIY wood bead chandelier light fixtures! The price tag on wood bead chandeliers from a designer decor store like Pottery Barn can be hundreds of dollars, so I saved a lot of money by making this myself.
I love how they add texture and a bit of boho glam style to our camper. They only cost me $7 to make, and I’m liking how they’re holding up in the RV so far!
Watch my YouTube video tutorial to learn how to make these DIY boho beaded light fixtures from start to finish:
I used my Cricut to cut the cardboard templates. You can access my Cricut design file here if you want to do the same. Alter the size of the template and material you cut to suit your fixture.
You could also use different materials to make the outer hoops and inner circle that the beads attach to. Some other ideas are embroidery hoops or quilting hoops (drill holes in them) or metal rings (wrap the macrame cord around them).

I used macrame cord, scissors, and a yarn needle to attach various sizes of wooden beads to the cardboard rings. Each strand has 10 wood beads (3 large, 3 medium, 2 small beads and 2 extra small). I secured them all with a final square knot at the end. You could make your strands of beads longer or shorter dependent on the look you want.
Vary the way you attach the beads to the metal fixture dependent on your situation. I used Gorilla hot glue sticks for the camper, but you could also screw the string of beads directly to the fixture. The options are endless!
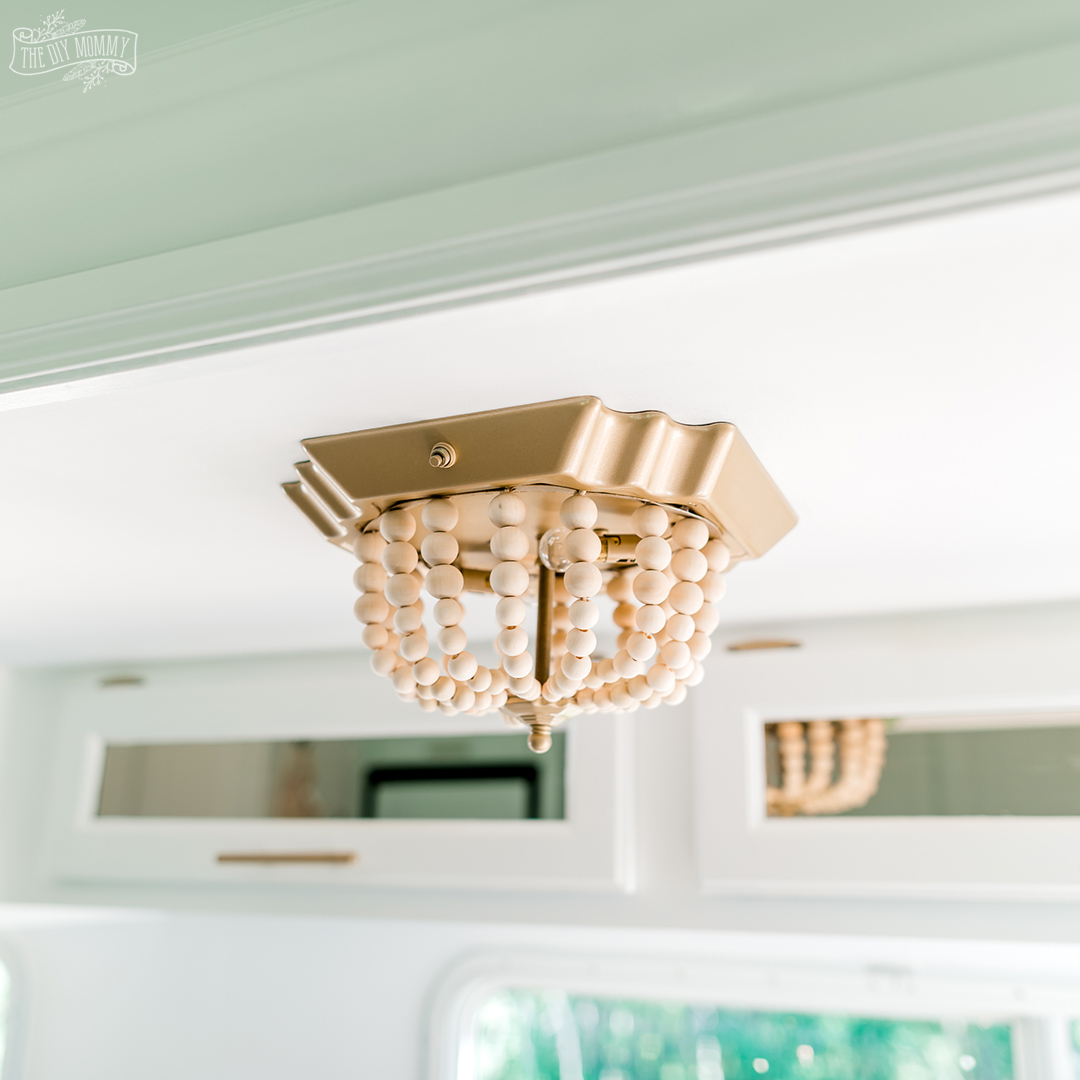
I think these DIY boho beaded light fixtures turned out fabulously for only 7 dollars, and they’d be easy to change out if I ever tire of them.
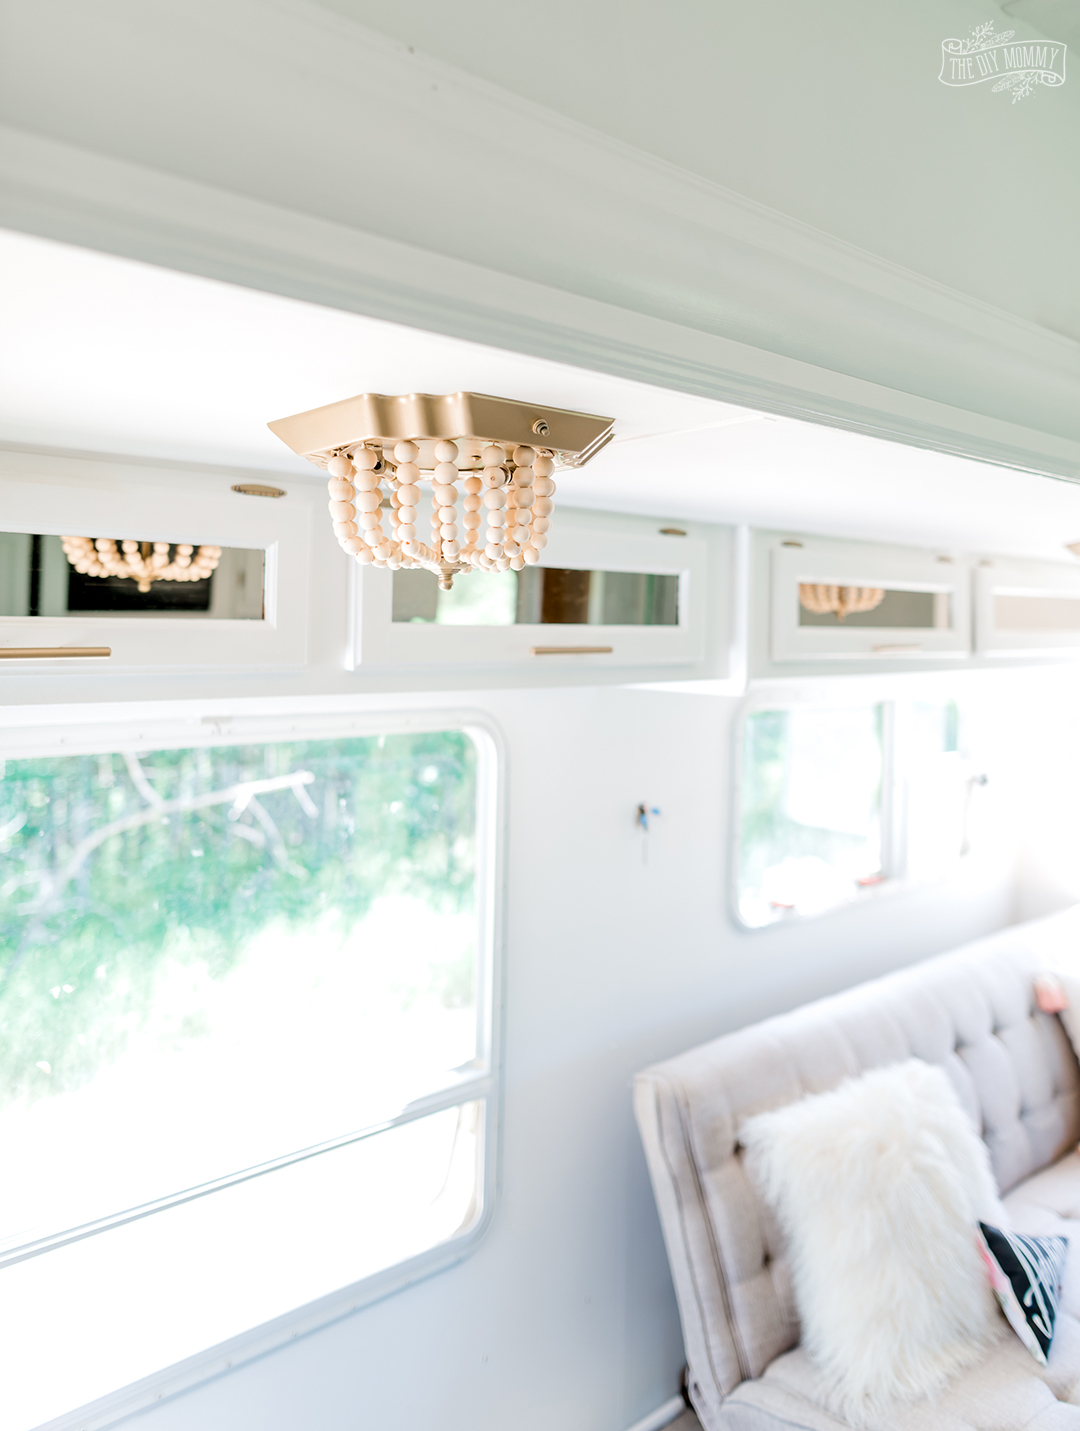
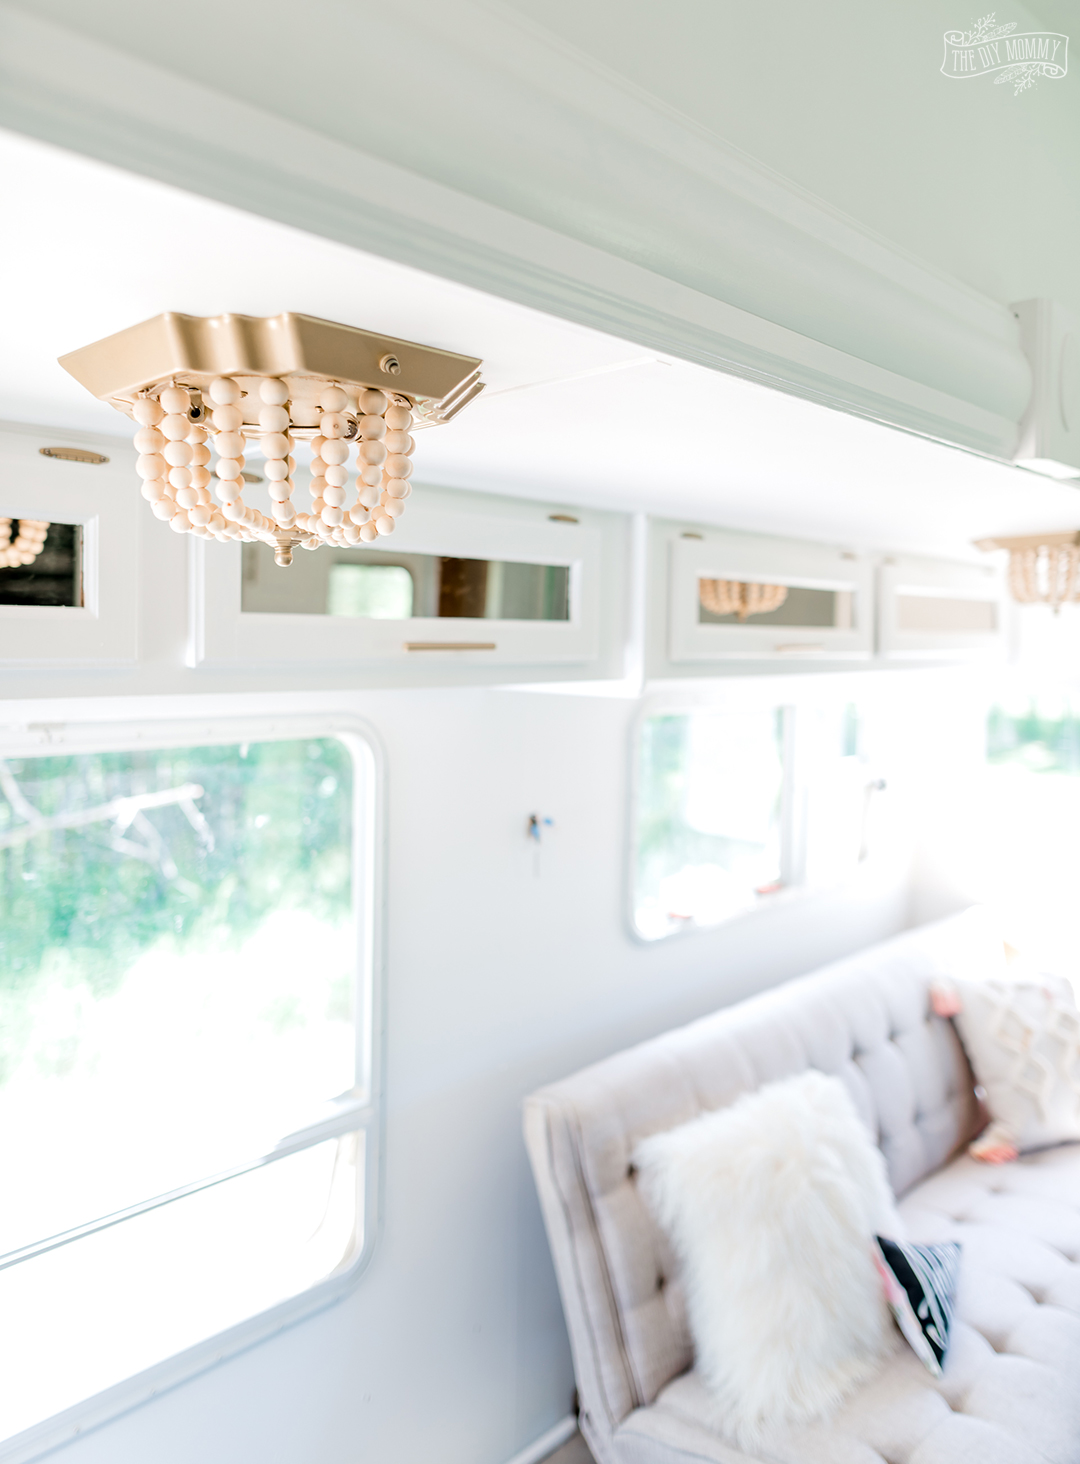
I can’t wait to share more of our camper renovation with you soon! The main room is almost complete and it’s looking so fresh and fun.
Here’s how to make your own wood bead chandelier
Note: My chandelier is a low voltage fixture in our RV, so when working with a higher voltage fixture ensure that the materials you use are suitable for more heat.

DIY Wood Bead Chandelier Light Fixture Upcycle
See how I transformed a flush mount fixture in our camper into a beautiful DIY wood bead chandelier with this ceiling light DIY $7 boho makeover!
Materials
- old flush mount light fixture
- gold metallic spray paint
- Cricut machine
- cardboard
- macrame cord
- various sizes of wooden beads
- yarn needle
- Gorilla hot glue
Instructions
- Remove the old glass shade from the flush mount ceiling light.
- Loosen the bolts attaching the metal portion of the fixture to the ceiling, and tuck some cardboard behind the fixture to mask off the ceiling for painting. Remove the light bulbs. Alternatively, you can remove the fixture entirely, carefully disconnecting the wiring (turn off the electrical).
- Use a gold metallic spray paint, and spray the metal base with a few light coats of paint.
- Use a Cricut to cut out two circle shapes with holes from cardboard. You can find my free Design Space file for this template here. Spray paint the cardboard gold if desired.
- String some macrame cord through one of the holes in the cardboard piece and attach a large yarn needle on the end. String 3 large beads, 3 medium beads, 2 small beads, and 2 extra small beads onto the cord.
- String the needle through a hole of the smaller circle template, and then continue stringing beads in the pattern above but in reverse.
- Continue until all the strands of beads are finished (I have 16 strands of beads on my light fixture).
- Tie a firm, square knot after you've completed all the bead strands.
- Apply some Gorilla hot glue to the top of the cardboard piece and attach the beaded design to the spray painted metal portion of the light fixture.
Notes
I'm upcycling a low voltage RV flush mount light fixture. If you're upcycling something with a higher voltage, ensure the materials you're using will withstand the heat of the bulb for safety.
Tell me: What do you think of this DIY wood bead chandelier?
Pin Me:

I think it is very Cute!! Good idea. Barb
I love this idea, it looks so pretty and unique.
I love it and am trying to do the same in my laundry room since reading this! I can’t get your Cricut file to open though, I’m new to cricut so I’m not sure if something’s wrong or if I’m doing something wrong.
Since the structure is permanently attached to the fixture, how would you change the lightbulbs if one were to go out? Would it fit in between the strands of beads?
You can move the beads around to sneak one in 🙂
I love everything you do, Christina!! I especially love your camper renovations! Thank you for the wonderful inspiration!
Ingenious! Look fantastic!
I wish I order this for my home; just amazing <3
I would love to know how your vinyl plank flooring is holding up. Did any pop up?
I’m making plans to redo our motorcoach flooring.
Our vinyl plank flooring is holding up great. No problems so far.