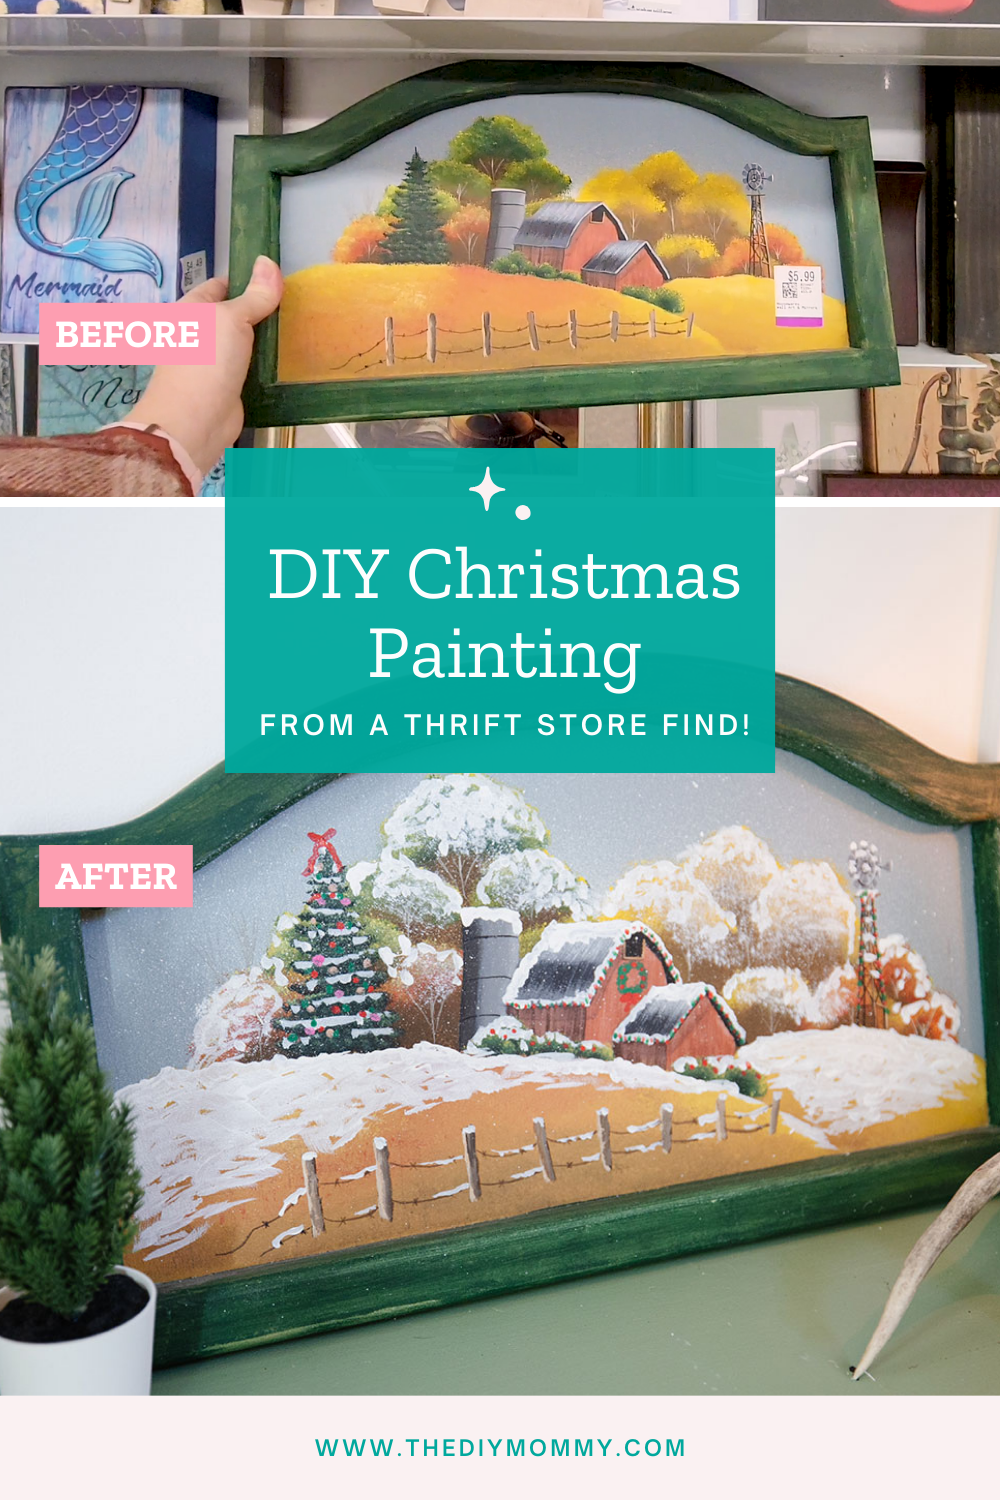
Christmas Thrift Store Painting: So Fun & Easy!
This post may contain affiliate links · This blog generates income via ads
If you’re looking for a fun little craft, this Christmas thrift store painting project is one of my favourites this season. All you need is a landscape painting from the thrift store, some acrylic paint, and some craft paint brushes. Let me show you how to make some festive art for the Holidays – no skill required!
You Will Need
- Thrift store landscape painting
- Acrylic paints in festive colors (red, green, yellow, and white)
- Small craft brushes
- Larger stiff brush for splattering
- Water and paper towels for cleaning brushes
- Protective cover for your workspace
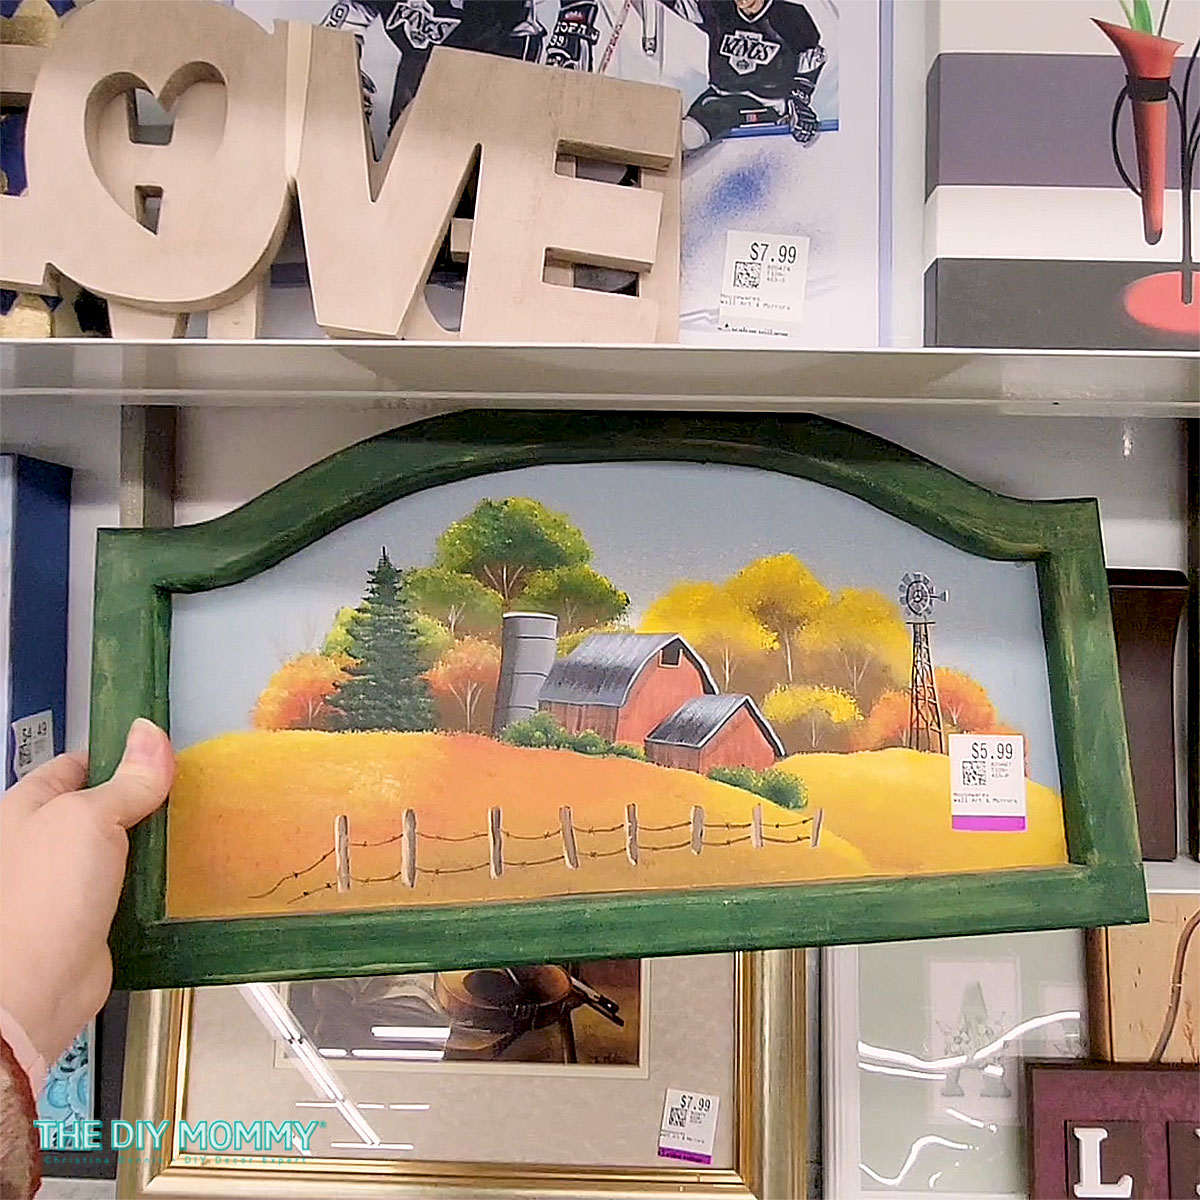
Step 1: Choose the Perfect Thrift Store Painting
Head to your local thrift store and find a landscape painting with a charming scene that serves as the perfect canvas for your Christmas makeover. Look for something with buildings, trees, and an expansive sky to act as backdrops for your festive makeover.
I found my Fall-themed barn painting at Value Village for under $5 with my coupon.
Step 2: Prep Your Workspace
Lay down a protective cover to keep your workspace clean and organized. Gather all your materials, and let’s get started!
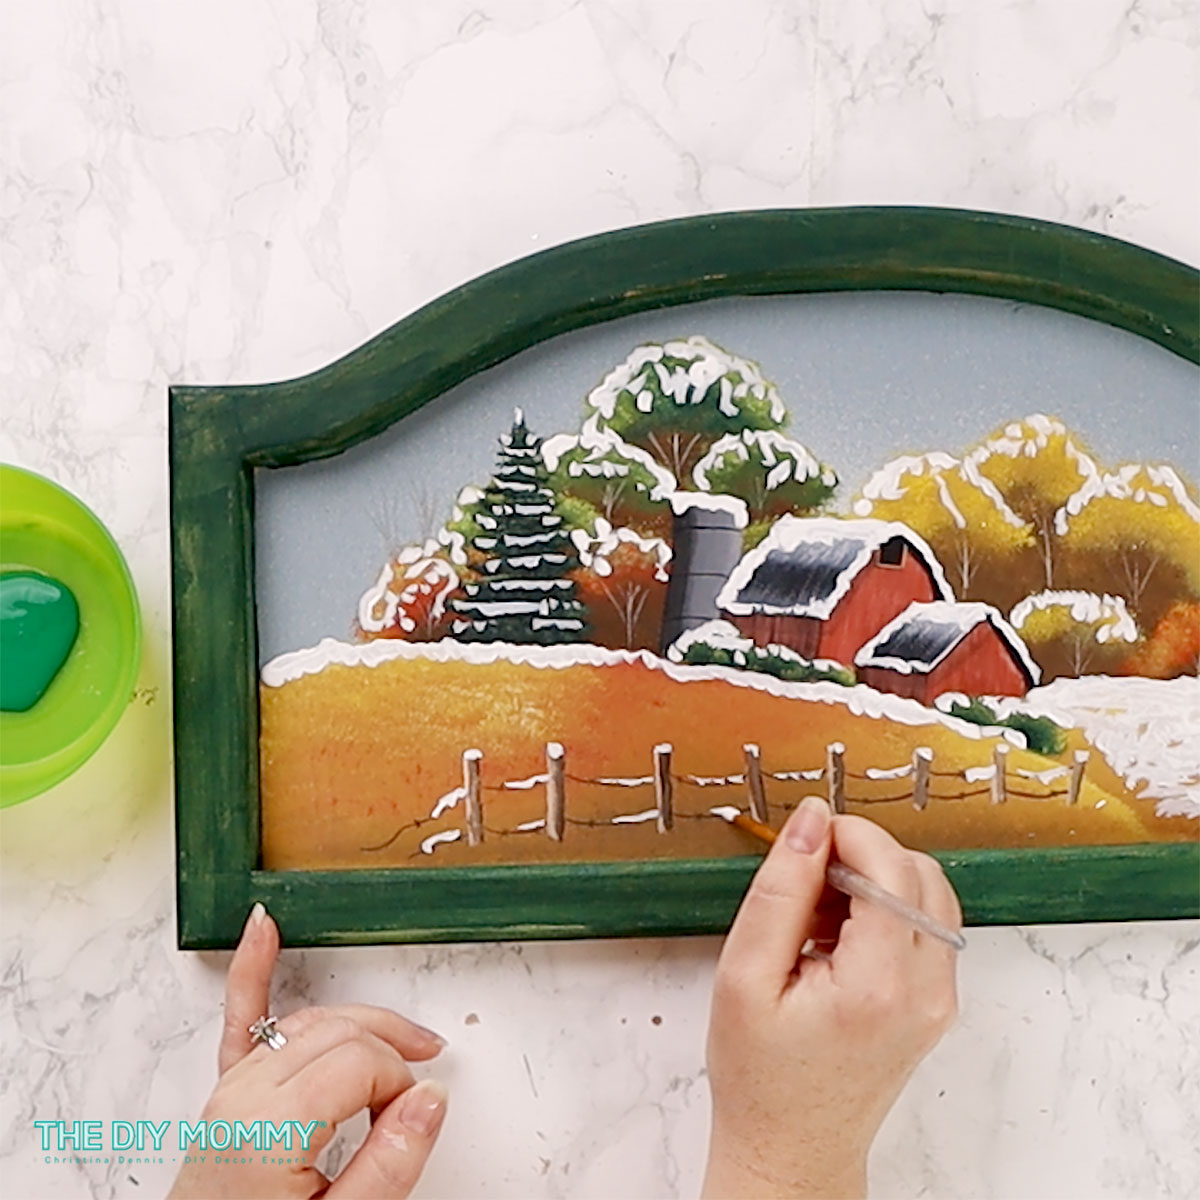
Step 3: Snowy Accents
With a fine brush, add snowy accents to the buildings and trees. A light touch of white paint on the edges will create the illusion of freshly fallen snow. This step adds depth and dimension to your Christmas masterpiece. You can also add quick brush strokes of white to the ground for the illusion of snow.
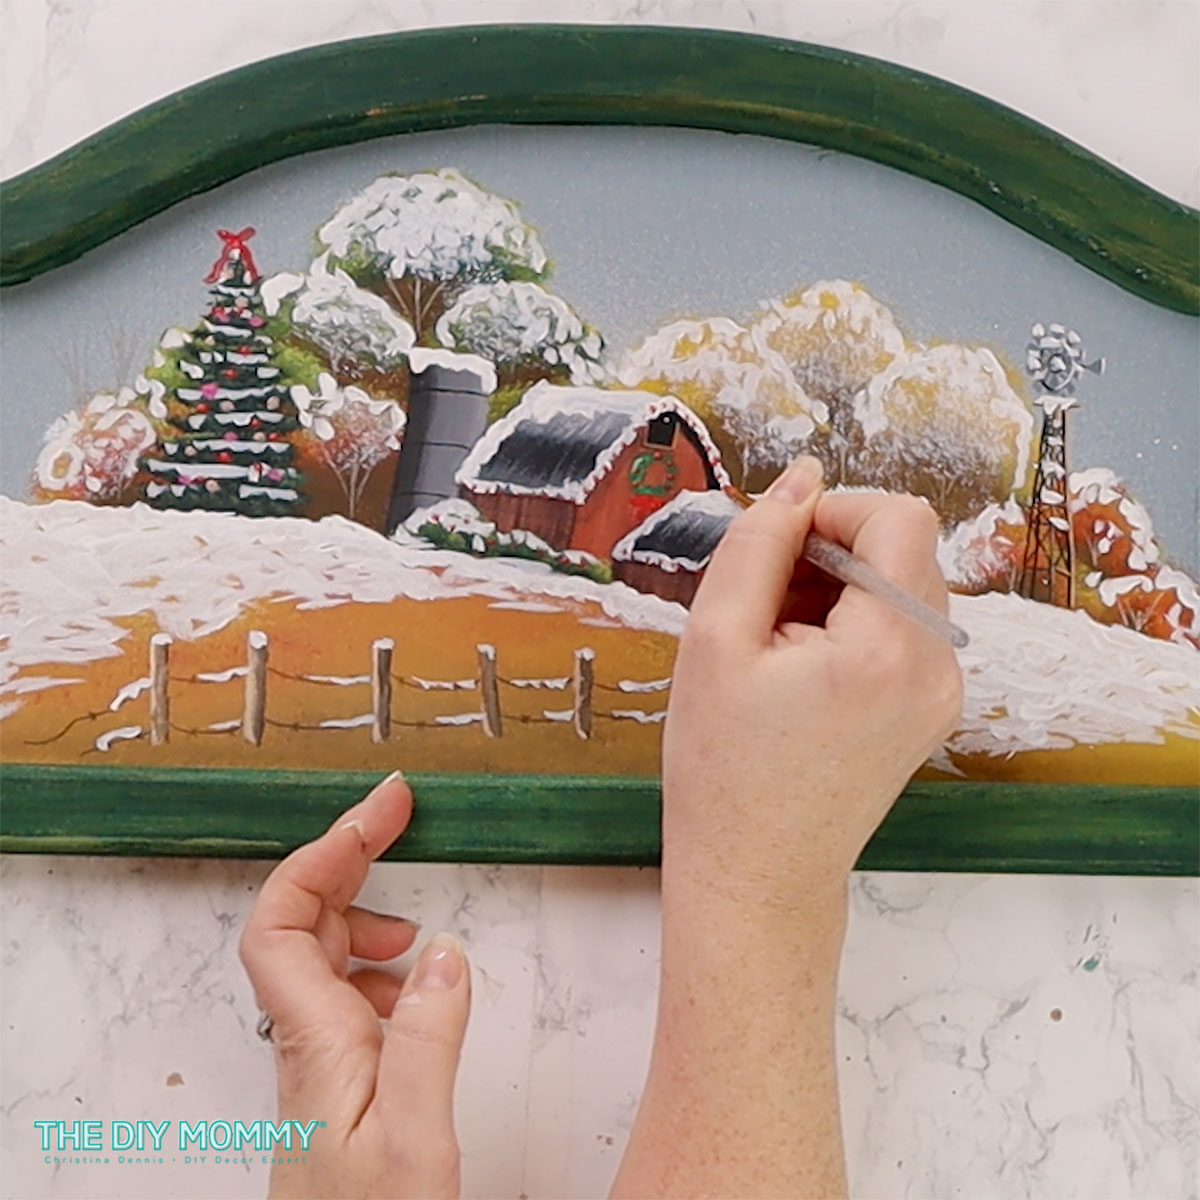
Step 4: Adding Festive Details
Now comes the fun part! Use small craft brushes to add festive details to the buildings and trees. Paint wreaths on doors, string Christmas lights along rooftops, and don’t forget to add colorful ornaments to the tree branches. Experiment with reds, greens, and yellows to capture the warmth and joy of the holiday season.
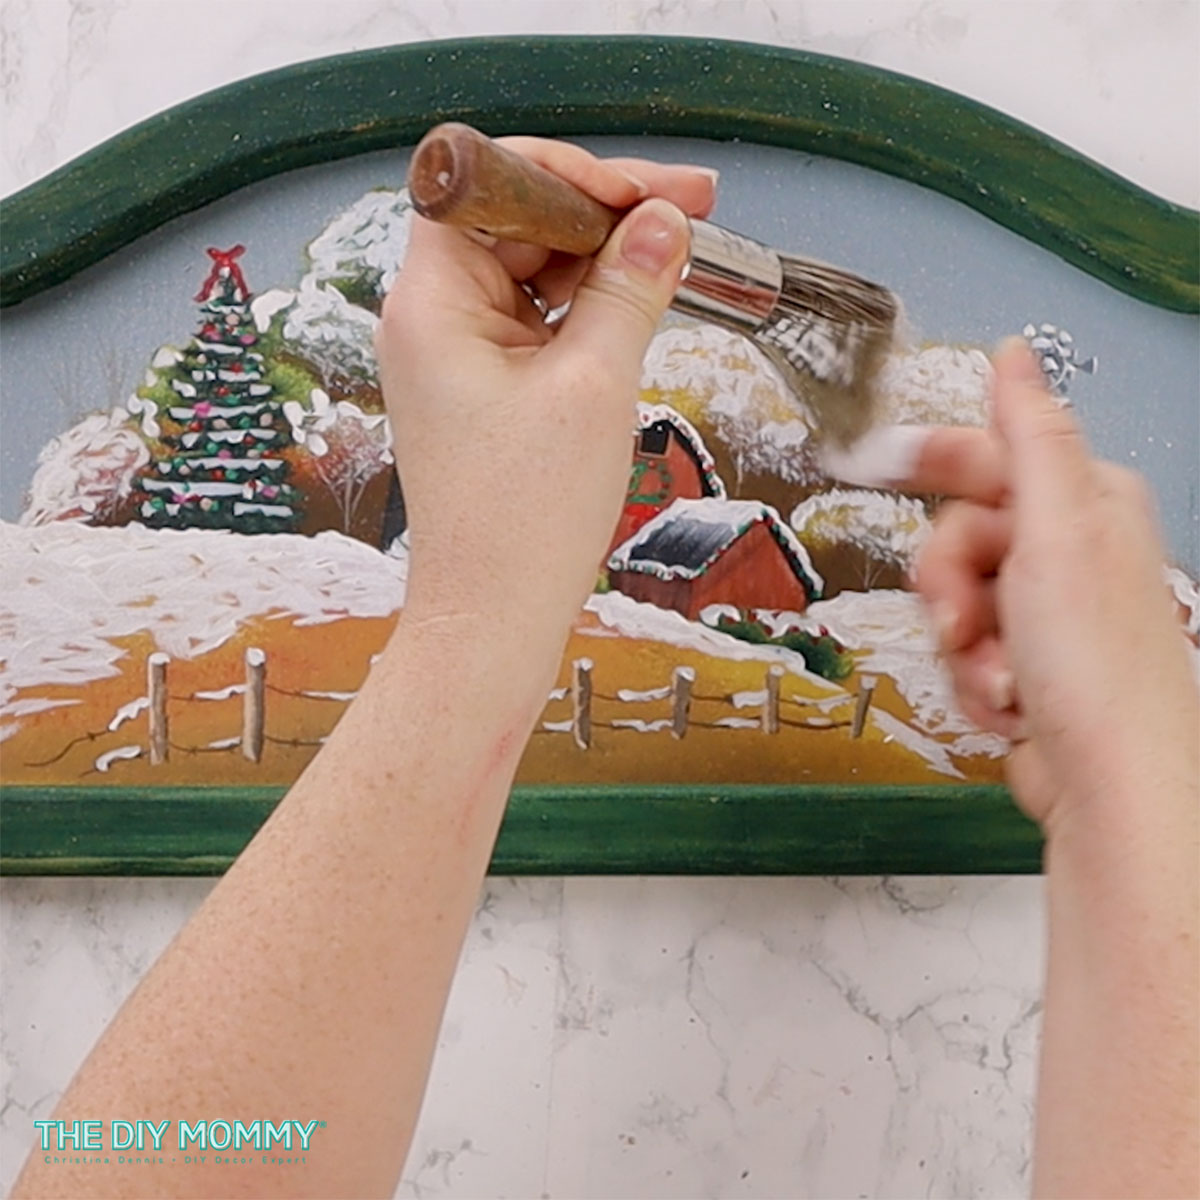
Step 5: Snowy Sky Splatter
Take a larger brush and splatter white paint across the sky to create a snowy effect. Embrace the randomness for a realistic snowfall look.
Step 6: Finishing Touches
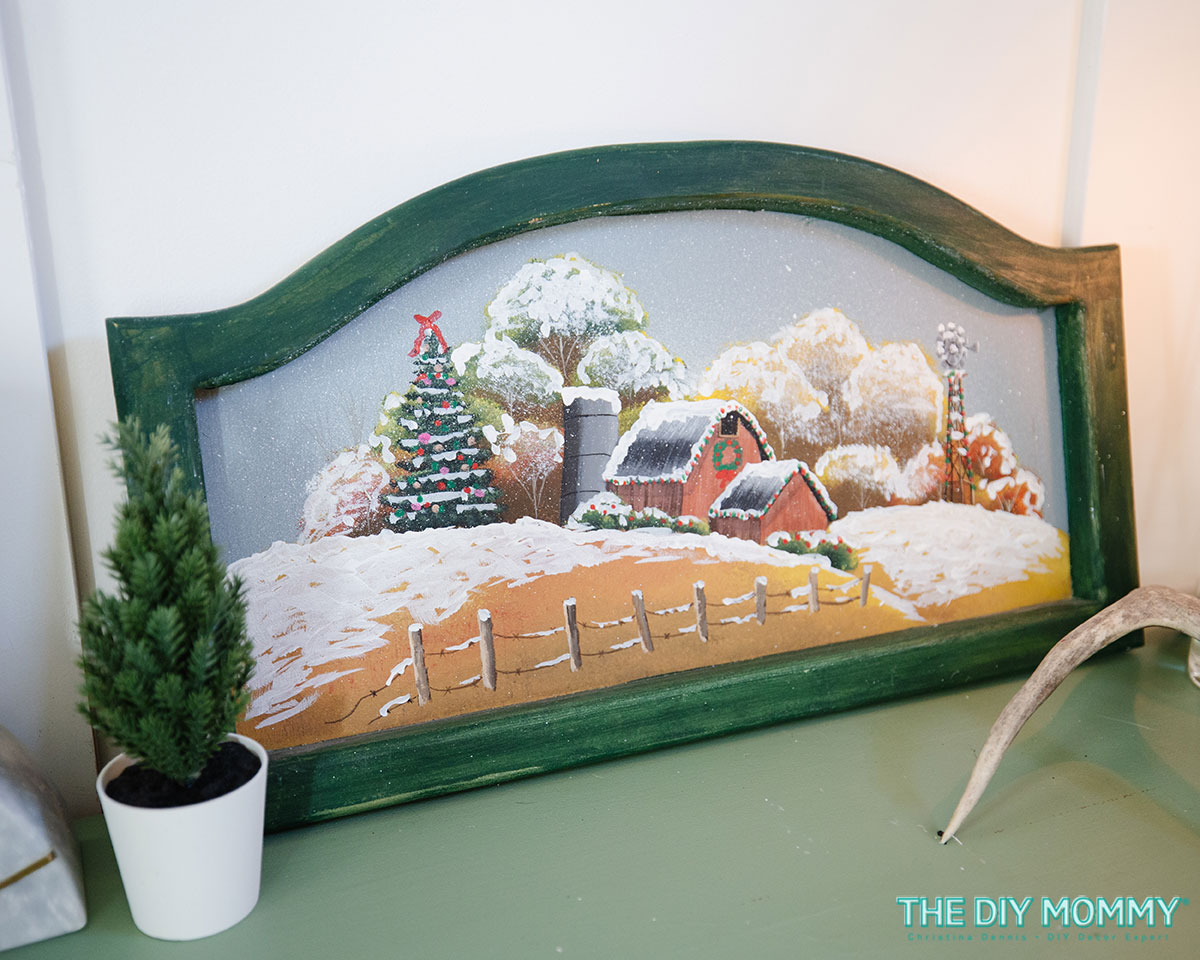
Take a step back and admire your work. If you feel like something is missing, consider adding more details like snow-covered chimneys, smoke rising from the buildings, or even a jolly snowman in the foreground. Let your imagination run wild!
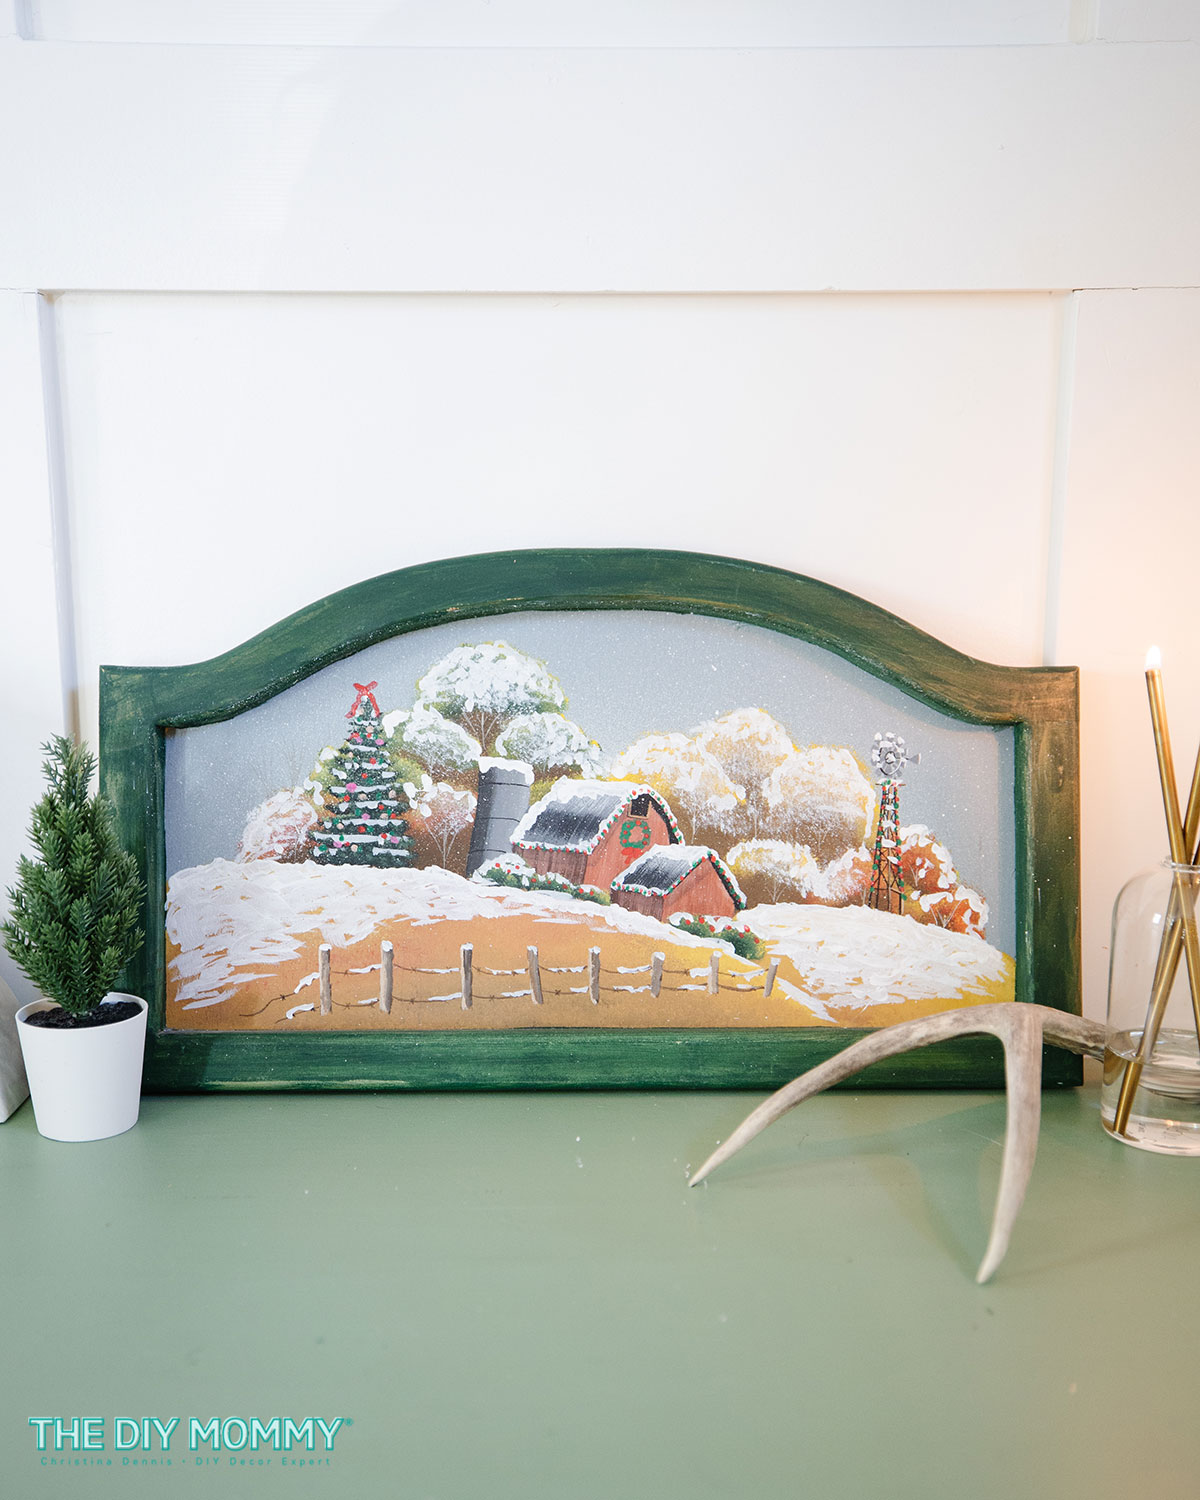
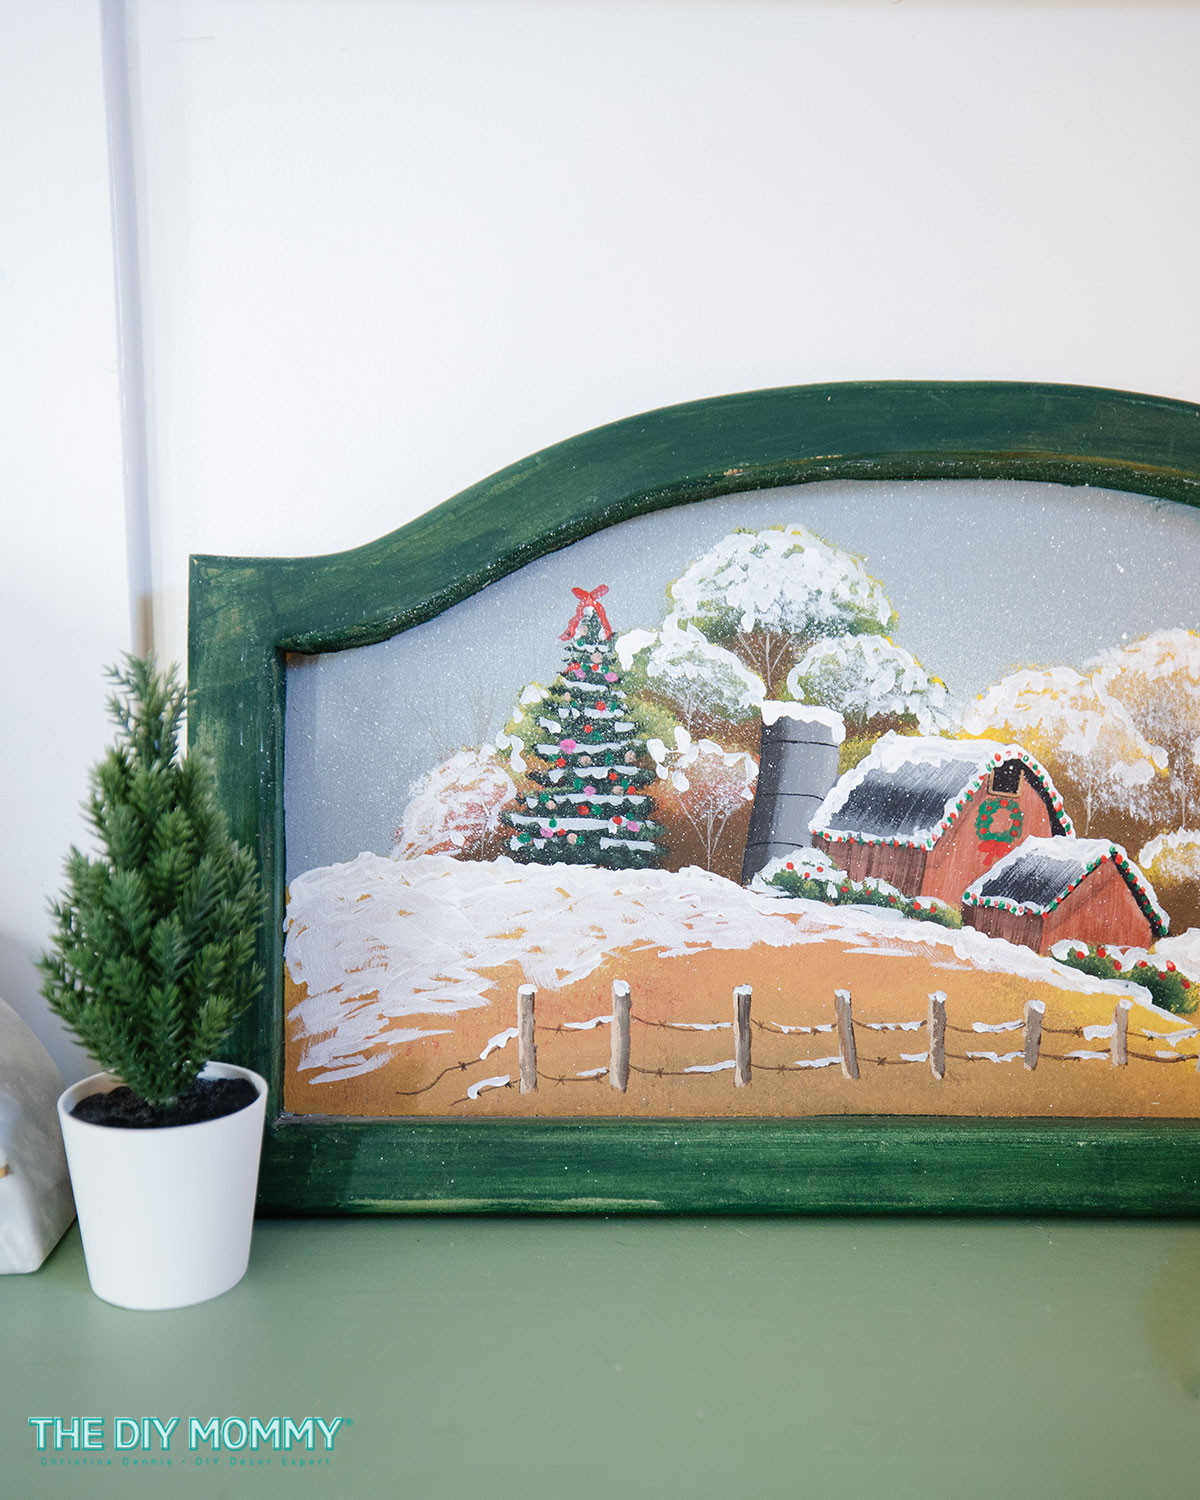
Display your masterpiece proudly and let it be a unique and personalized addition to your holiday decor. Remember, the key is to have fun and let your creativity shine. Happy crafting, and may your holidays be merry and bright!
You can watch the step-by-step video tutorial on how to make this Chrsitmas thrift store painting right here on my YouTube channel.
I love how my Christmas thrift store painting turned out. I think this would be such a fun craft do to with friends while enjoying some Christmas cookies. It’d be a great party idea!
PIN ME: